
Fine line neck tattoos dominate feeds right now, but the look that photographs best is not always the one that lasts. Neck skin moves, stretches, and sees a lot of sun, so line weight, placement, and session staging matter more than the reference image. Below are 27 neck pieces that balance aesthetics and longevity, starting with a snake that hugs the side of the neck and follows its natural curve.
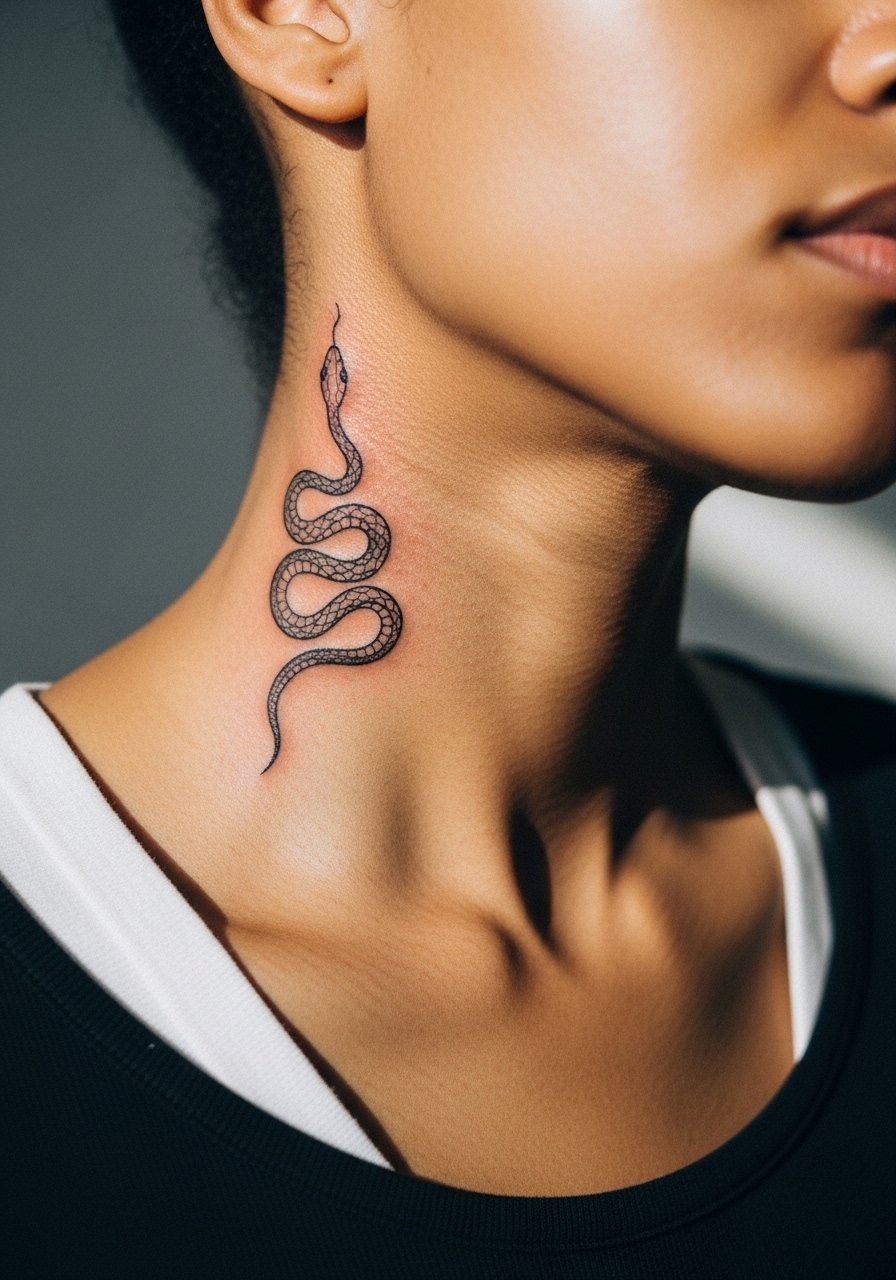
1. Fine Line Snake Along the Side Neck
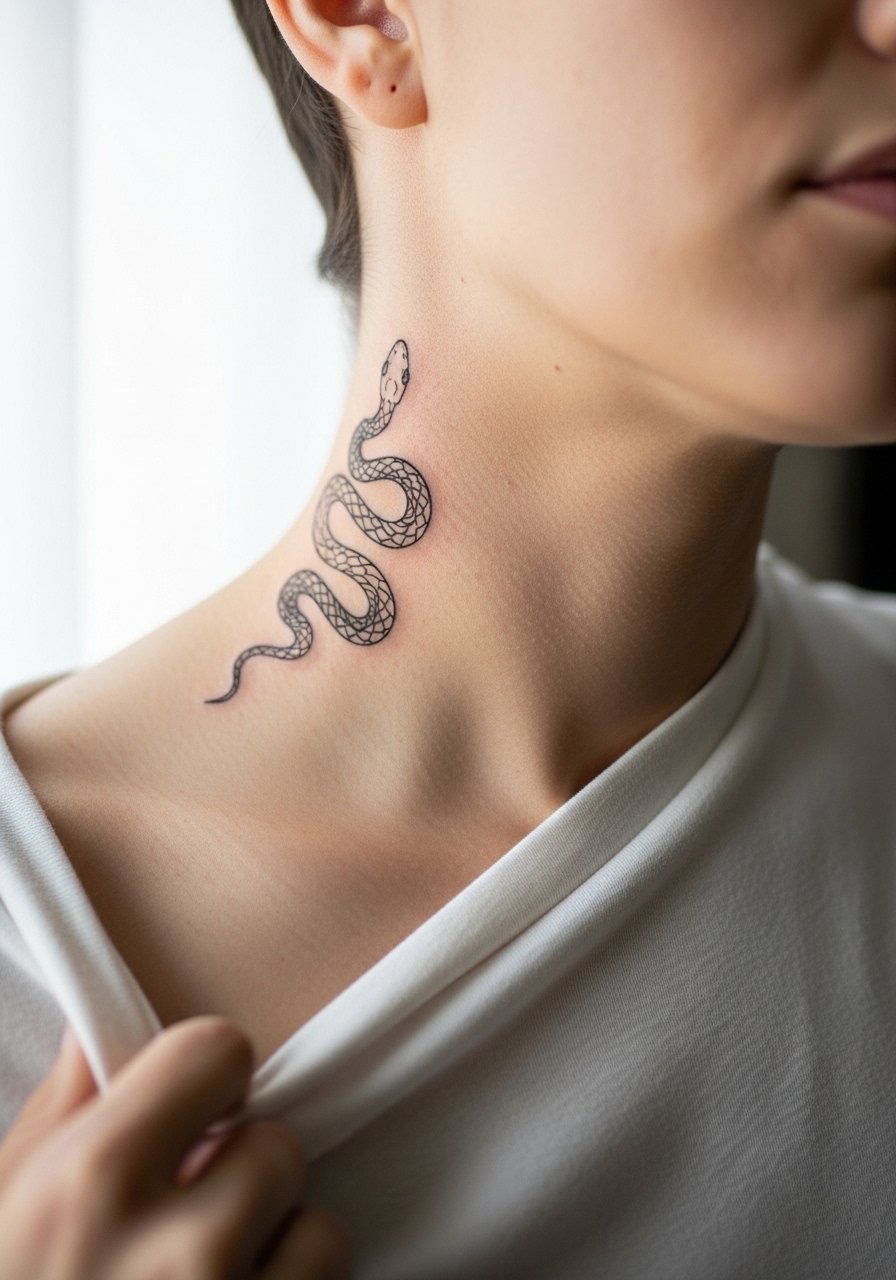
Start this one by telling your artist you want the curve to follow the clavicle and jawline, not the stencil straight up the neck. Pain sits around a 5 out of 10 for the fleshy side, and a typical small snake takes a single short session. A common mistake is asking for ultra-thin single-needle lines without spacing, which can blur faster. Expect the shape to read clean at six months and to soften by year three unless you plan a touch-up. For showing this off, try an off shoulder blouse that frames the curve and thin hoop earrings to echo the motion.
2. Rose Outline Center Front Neck
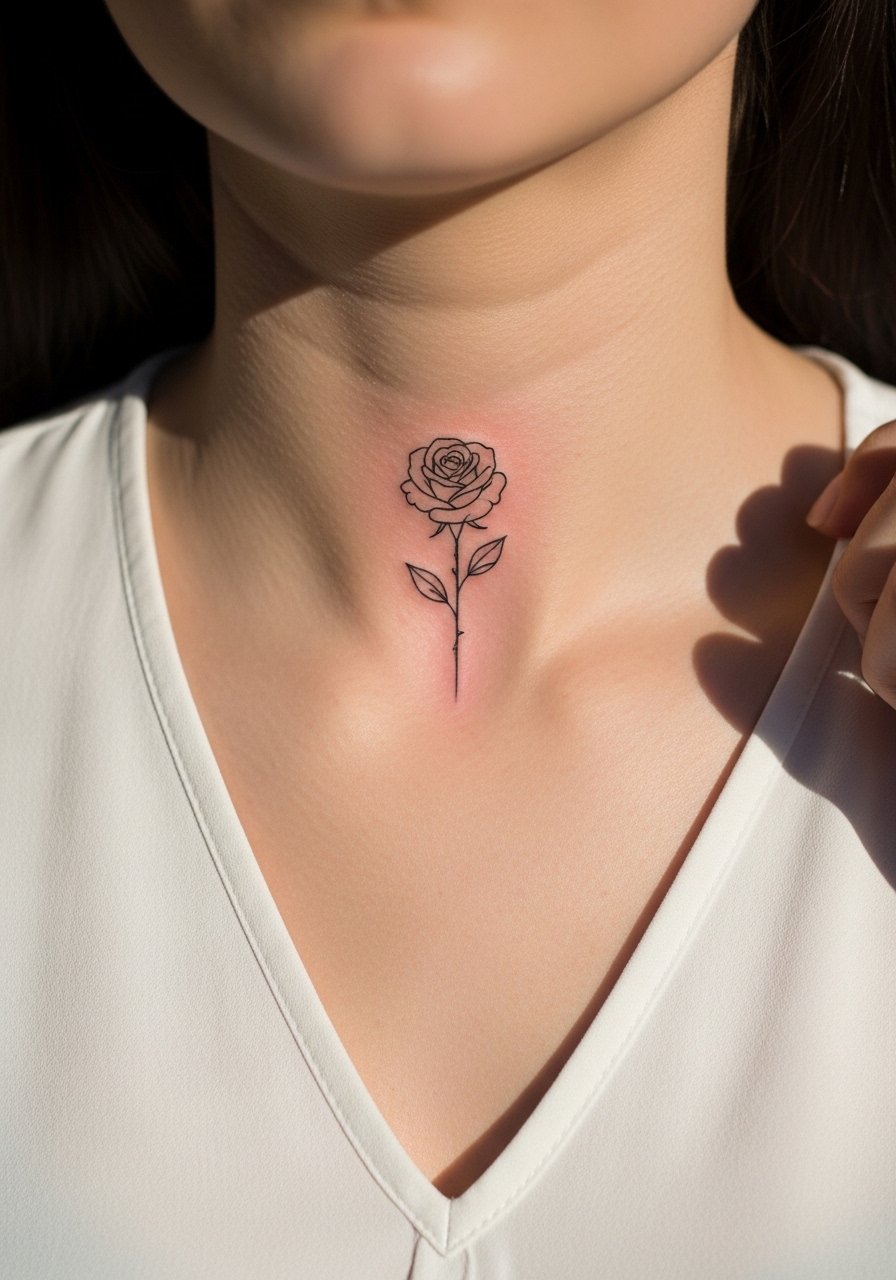
This front piece reads romantic without heavy fill. Mention to your artist you prefer a single-weight outline rather than layered shading so the petals age more predictably. Pain is sharper near the midline, so plan for short breaks and a single focused session. New roses that are overly dense tend to jam and blur; a clean outline avoids that. At two years the rose keeps shape better if the lines are slightly bolder. Pair it with a v neck blouse and a dainty pendant to keep attention on the collar area.
3. Medium Outline Floral on the Nape
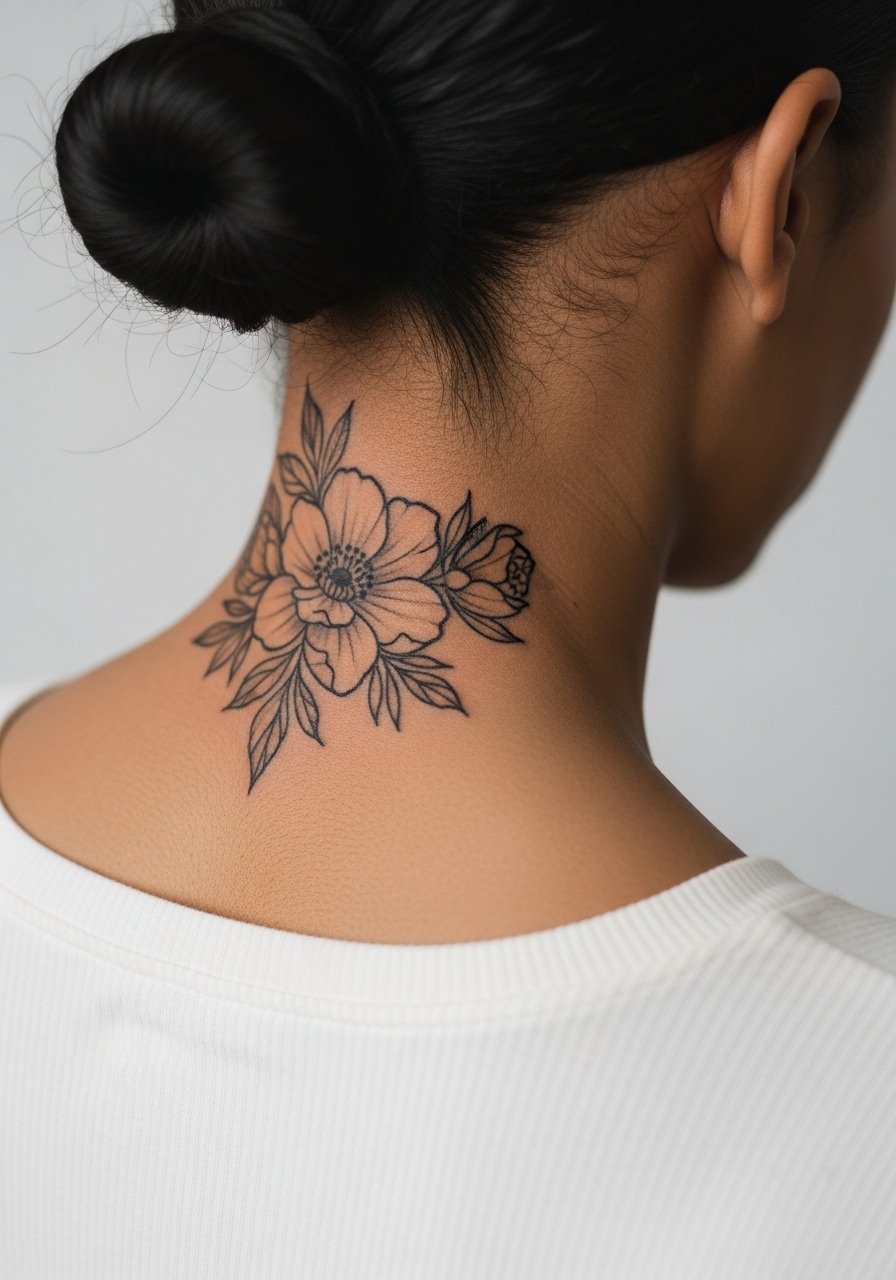
The nape is forgiving because hair can hide it at work. I recommend a medium width, about three inches, so the floral sits nicely when hair is up and stays readable when hair is down. Nape work is usually one session and the pain is moderate. A common misstep is making the piece too small, which muddles with time. For sessions, wear a strappy summer dress or wide-neck top so the artist can access the area easily and you leave looking pulled together.
4. Curvy Vine Motif on the Side Neck
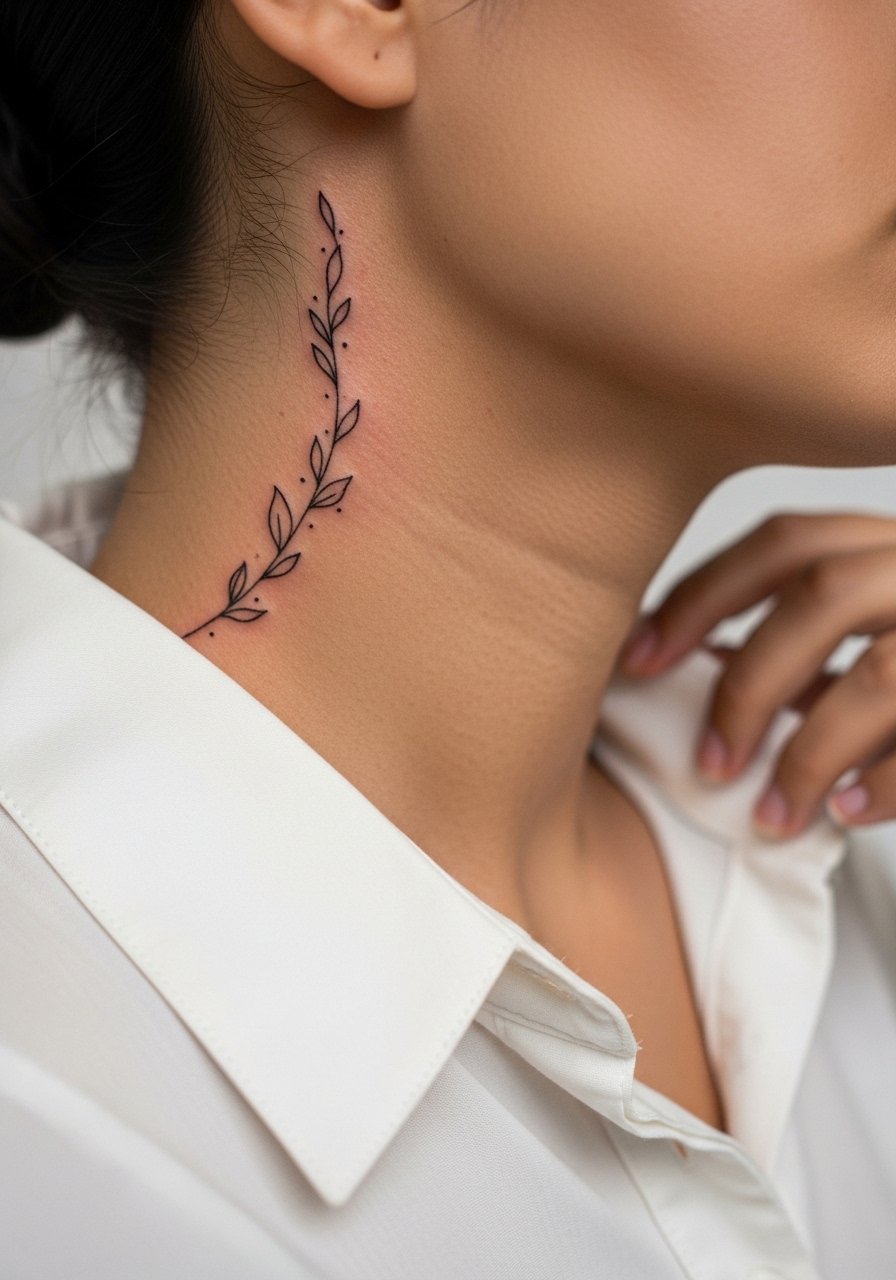
Vines mimic necklaces and are ideal when you want elongation without heavy visibility. When consulting, ask the artist to sketch the vine along your hairline and clavicle so it moves with you. The biggest mistake is crowding the leaves close together. That leads to merging in high-motion spots. Expect a one to two session approach depending on detail. For an everyday look, layer a thin gold hoop earring and a loose button-down you can pull off the shoulder when you want to show the vine.
5. Delicate Script Along the Collarbone Edge
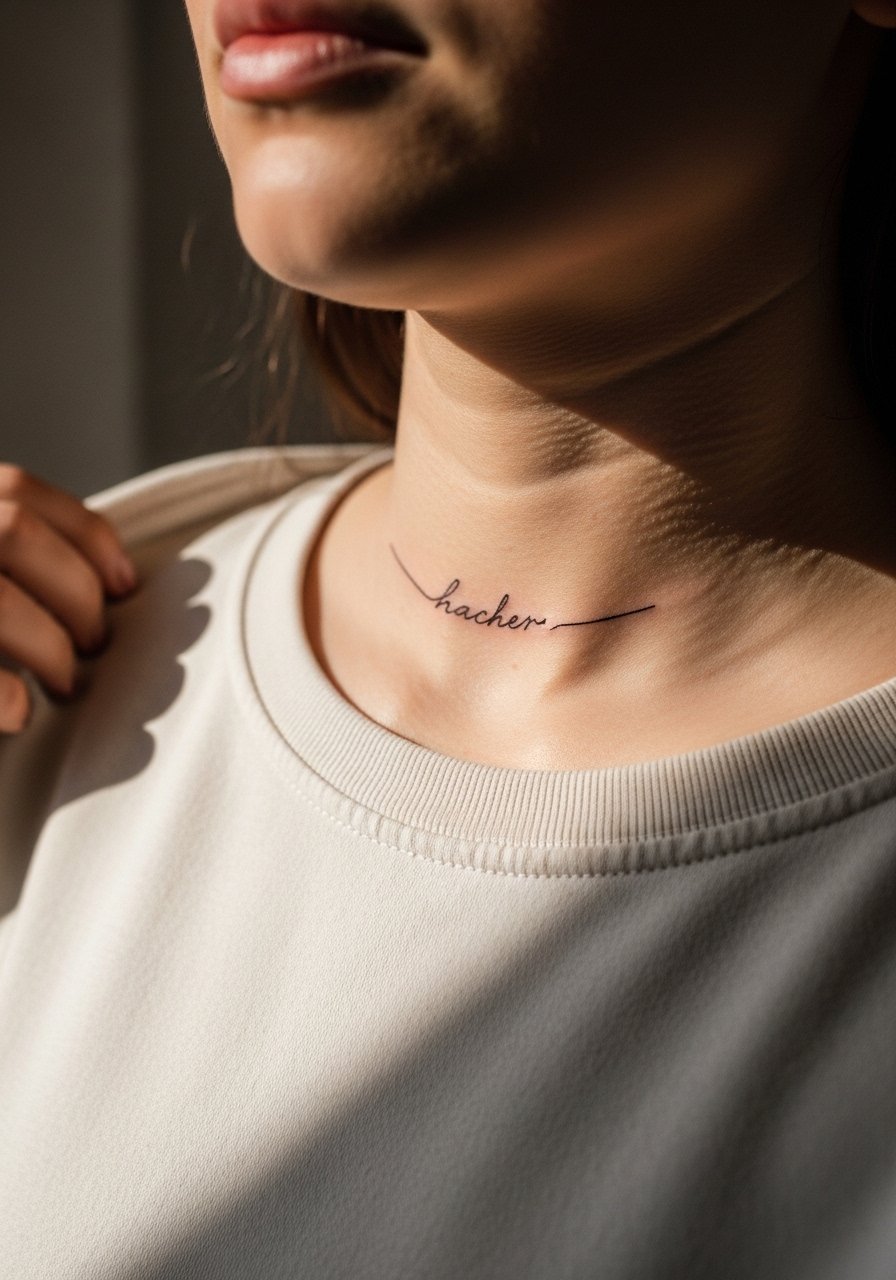
Script here reads intimate and subtle when kept short, one to two inches in height. Tell your artist the exact font weight and ask for a stencil check on skin positioning before starting. A frequent error is choosing a type that looks tight when shrunk to collarbone scale. Fine scripts can blur on thinner skin, so slightly bolder strokes help longevity. During the session wear a strapless or loose top. A dainty pendant necklace can sit above the script without crowding it.
6. Small Heart with Floral Accents on the Nape
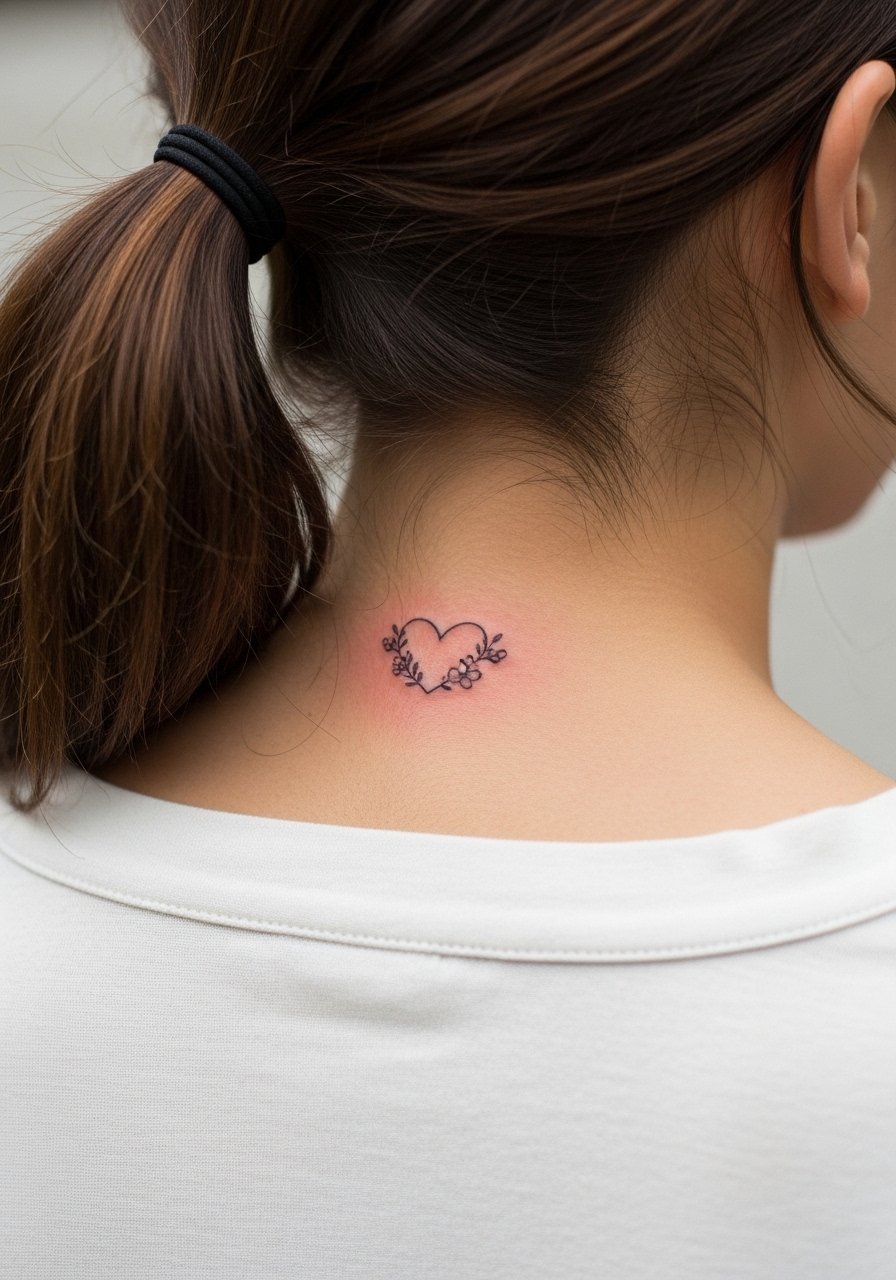
This compact sentimental piece is perfect for concealment under hair. Session time is short and pain is low to moderate. A common aging issue is adding color too soon, which can feather on the nape. If you want color, opt for soft accents and plan for a possible touch-up at year two. For show-off moments, a low ponytail or updo paired with a hair ties silk keeps the nape visible without rubbing the fresh ink.
Studio Day Picks
The six pieces above include fine line and nape placements that need careful prep, so a few small items smooth the session and first week.
-
Stencil transfer paper kit. Helps you preview placement on skin so a side-snake or collar script lands where you expect it.
-
Topical numbing cream. Useful for sensitive front neck spots and lets you stay steady for clean linework.
-
Thin protective film roll. Keeps nape and lower-neck pieces clean during the first few days when clothing rubs.
-
Fragrance-free body wash. Cleans fresh neck ink without irritating delicate linework that fine pieces depend on.
-
Aquaphor healing ointment. A thin layer in the first days helps maintain moisture for crisp lines on small neck tattoos.
7. Butterfly Silhouette on the Side Neck
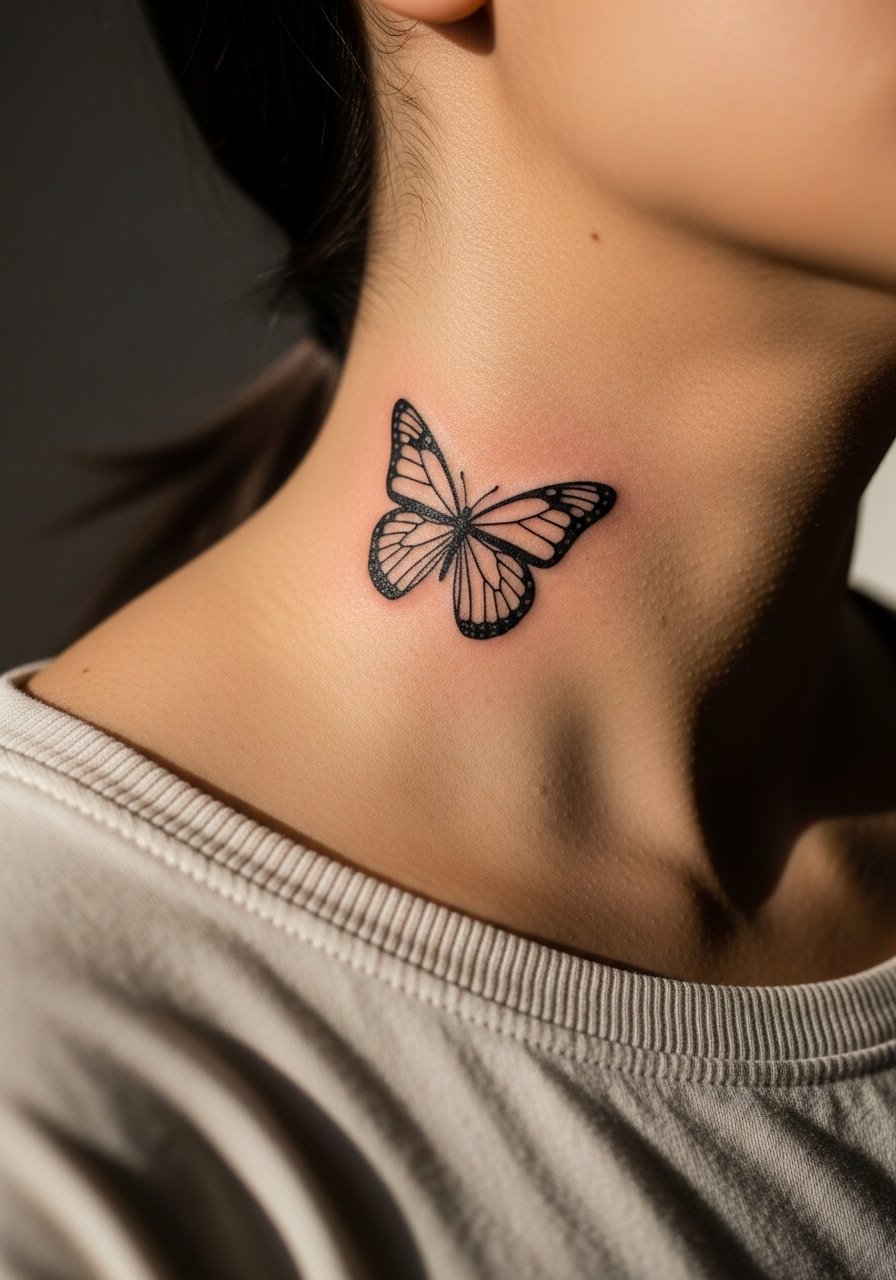
Butterflies are lightweight visually and fit the side neck well. Ask for a simplified silhouette rather than intricate wings so the shape keeps clarity over time. Pain is similar to the snake, moderate but manageable in a single session. A common mistake is cramming too many wing details into a tiny area. For wearing, an off shoulder blouse or an open collar flatters the silhouette and reads like tattoo jewelry.
8. Mandala Fragment at the Front Throat

A mandala fragment brings geometry into a small central space. Tell the artist to leave breathing room between petals so dense dots do not merge. Front throat work is more painful than the side but can be done in two short sessions for medium size. The common aging problem is excessive detail that turns muddy. Keep the central pieces larger and allow dotwork spacing. For nights out, a dainty pendant necklace can hover above without distracting from the pattern.
9. Dainty Chain Link on the Side Neck
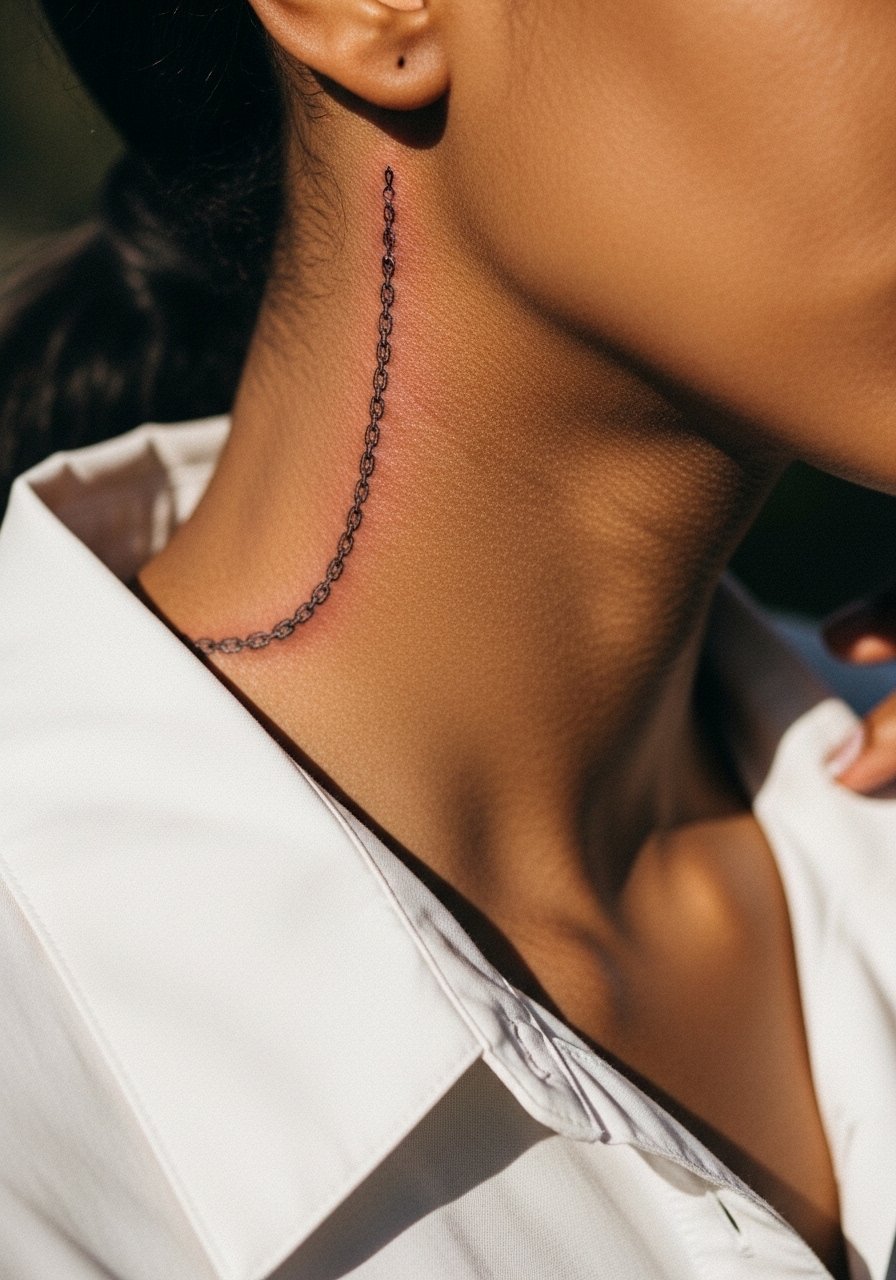
This tattoo mimics jewelry and reads as permanent accessory. During consultation ask for slightly thicker link outlines so the pattern survives daily friction. A mistake is requesting ultra-delicate single-needle links that lose contrast quickly. Session time is short. For showing it off, layer with an actual thin choker or keep the shirt off one shoulder. A loose button up shirt you can slide aside makes the session easier and the reveal effortless.
10. Lotus Bloom Center Nape

A lotus at the nape is spiritual and easy to hide. Color can look soft and lovely at first but may need a touch-up sooner than black linework. I advise asking for a stronger outline around the petals to keep the shape as the color settles. Nape sessions are quick and pain is moderate. For seasonal showing, a low bun or strapless dress highlights the floral. Wear a strappy summer dress when you want the nape to peek out.
11. Tiny Star Cluster on the Side Neck
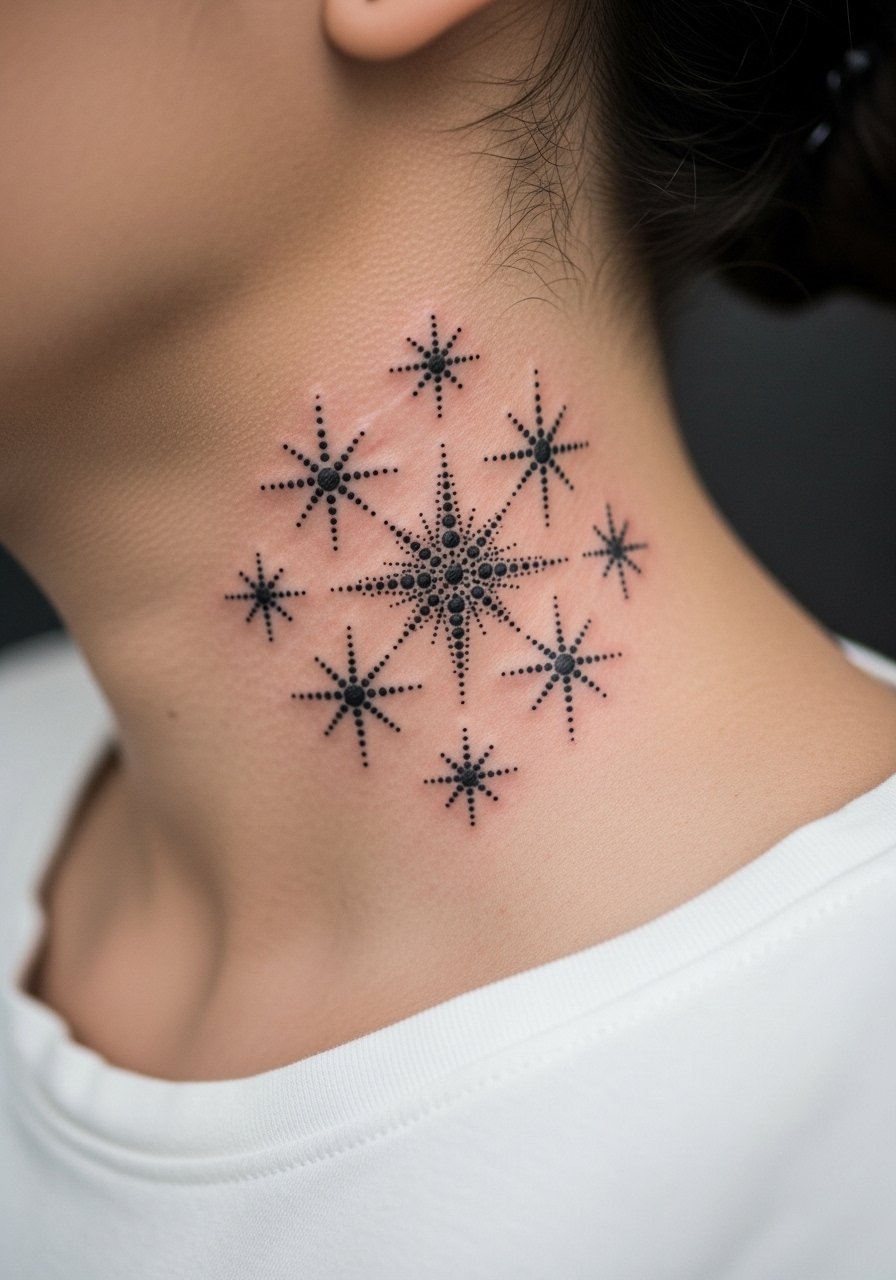
Clusters of tiny stars are low-commitment visually and heal quickly. Tell your artist the largest star should be no smaller than three millimeters for long-term clarity. The side neck keeps dots intact better than high-motion places. A mistake is packing stars too close, which leads to merging. For casual styling, a thin gold hoop earring draws the eye upward without competing with the cluster.
12. Feather with Beads Down the Front Neck
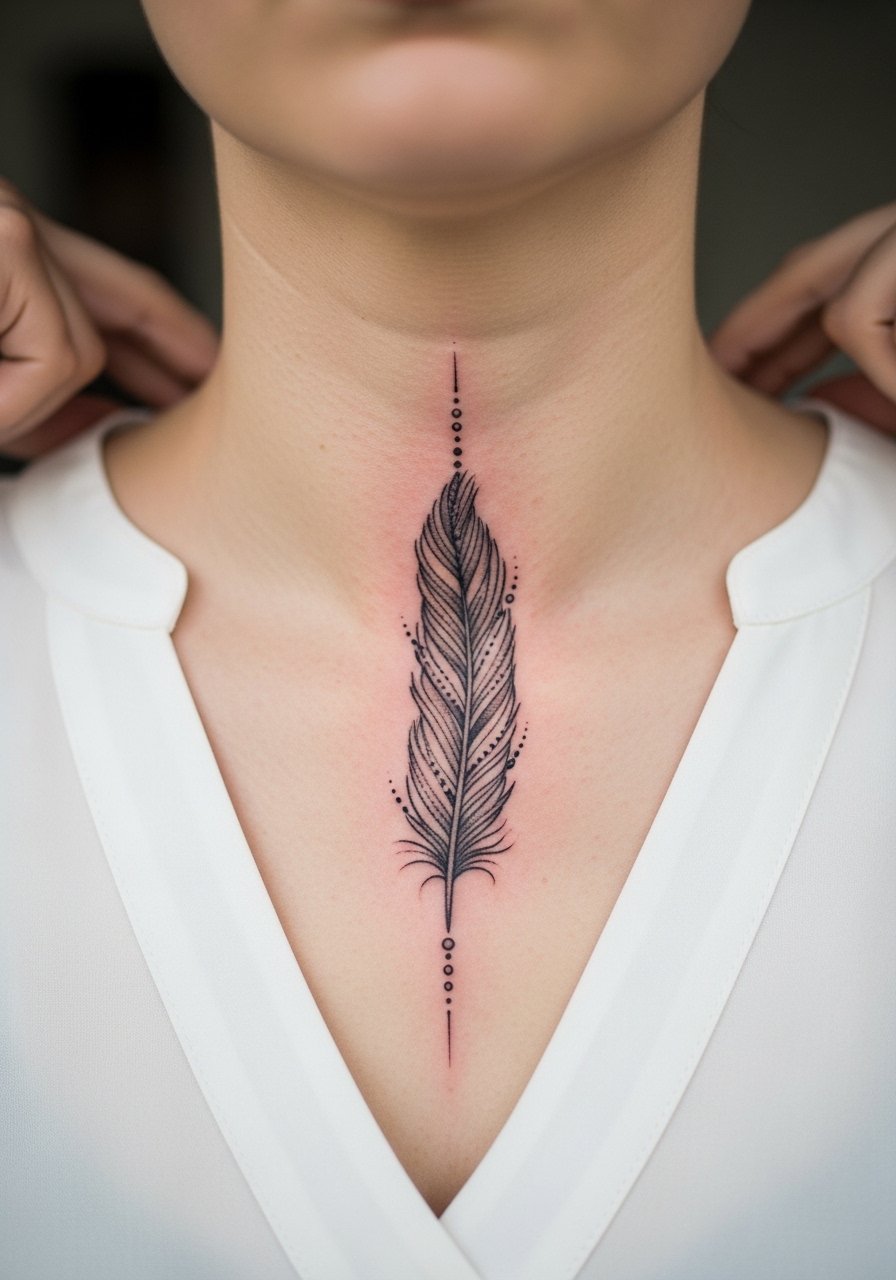
Vertical feather pieces need proportion so they do not read too long on the throat. Ask for bead spacing that matches your collar length. Pain is moderate and larger vertical pieces may take two sessions. A common error is making the quill too dense, which impacts the airy feel. For wear, a v neck blouse or a delicate pendant keeps the feather readable and elegant.
13. Wave Pattern Low on the Nape
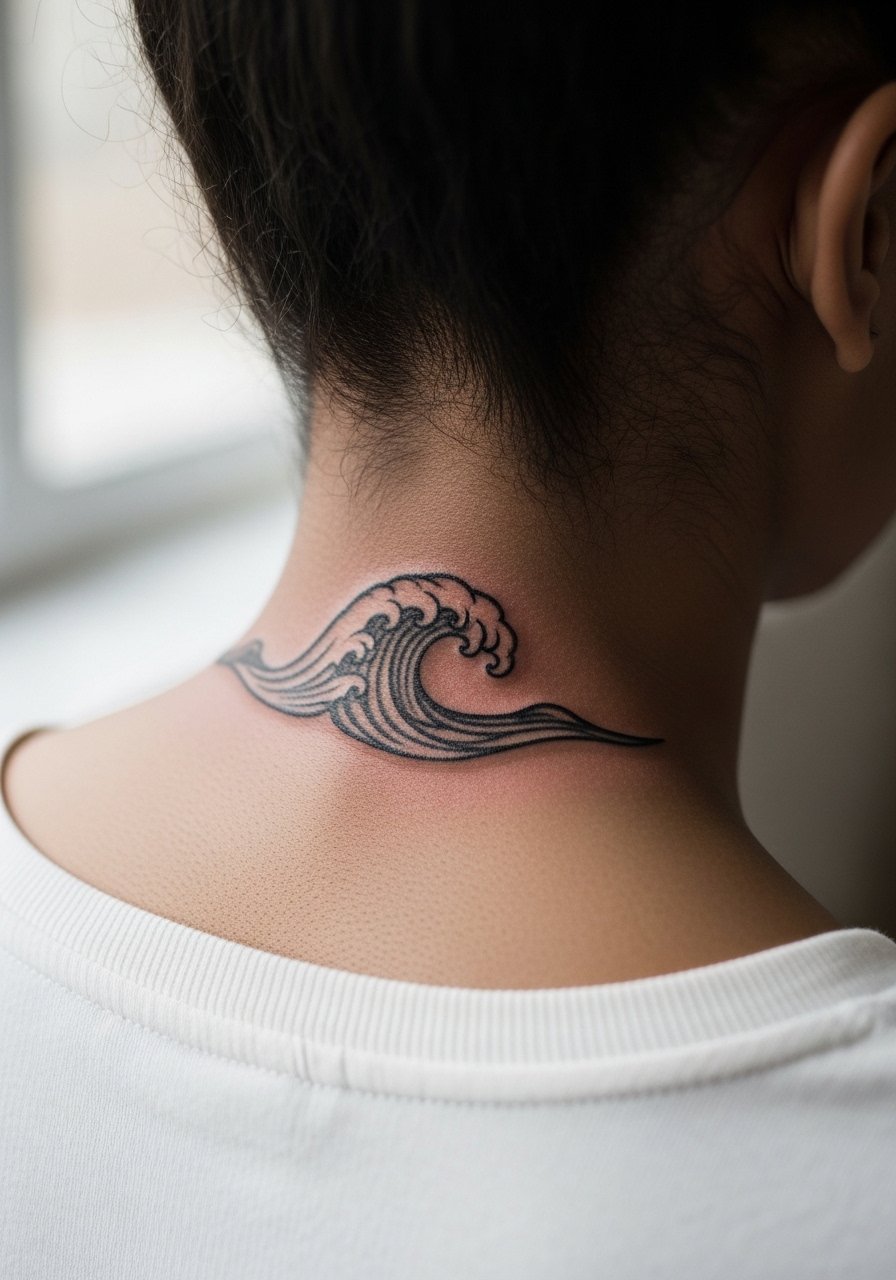
Curved wave lines follow the nape contours naturally and resist blowout when scaled properly. Ask the artist to keep line spacing consistent so the waves do not run together with time. This placement is low-pain and often one session. The typical mistake is shrinking the pattern too much. For styling, an updo or a hair ties silk pony emphasizes the curve without friction.
14. Mini Crescent Moon at the Lower Front Neck
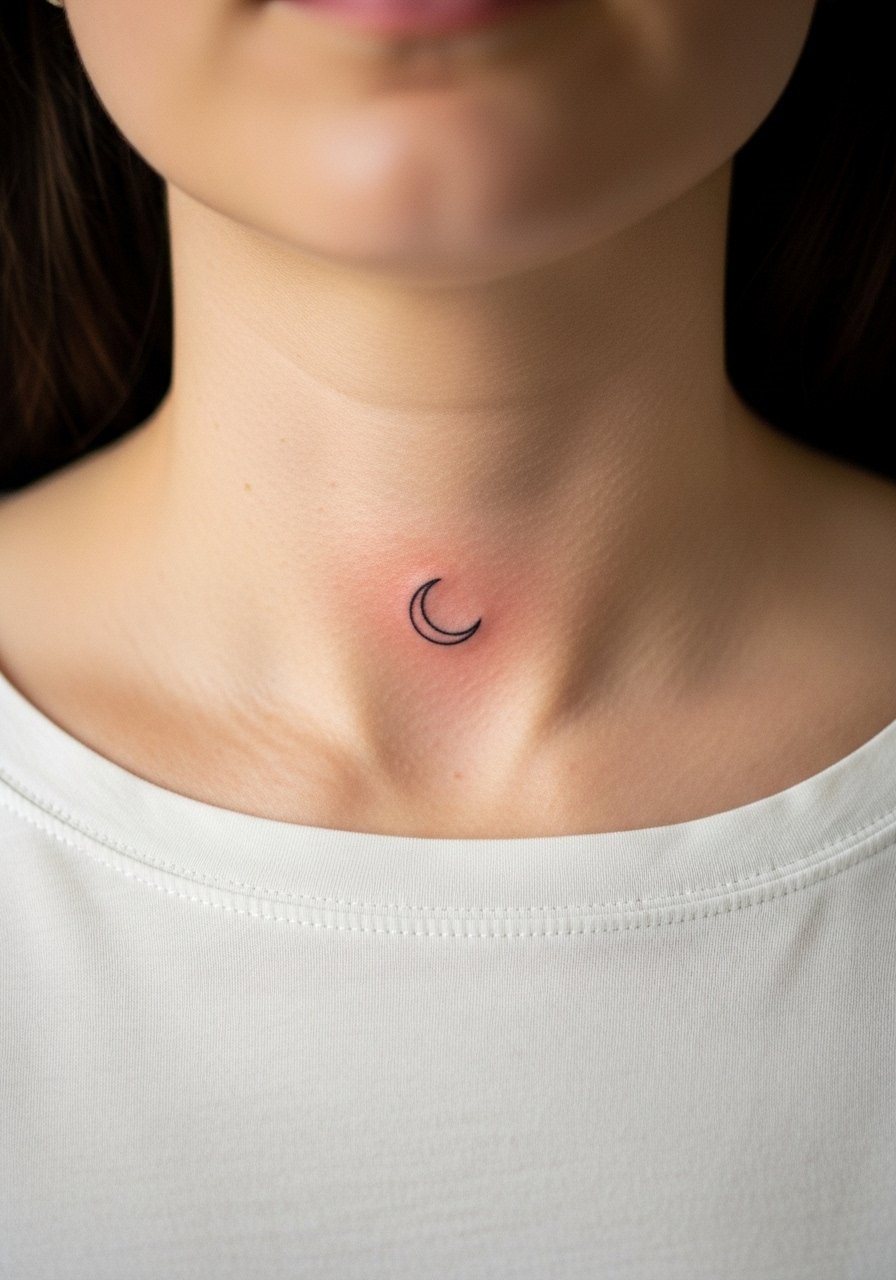
Tiny crescents are discreet and quick. Keep the arc slightly thicker than you think to avoid fading into an indistinct mark. Pain is sharp but brief. A frequent error is choosing micro-scale detail that cannot hold up on the throat. For an understated reveal pair with a dainty pendant necklace that sits above the moon.
15. Small Script Behind the Hairline

A script hidden behind the hairline is private and easy to conceal. Ask for a stencil check with hair up to ensure legibility when exposed. The area heals like the nape and the session is short. A mistake is selecting a font that looks readable on paper but shrinks into unreadable loops once placed. For upkeep, a gentle hair routine around the spot avoids persistent rubbing.
16. Snake Wrapping from Nape to Collarbone
This more ambitious snake uses the neck curve to create a three-dimensional effect. During consultation request full-body stencil placement so the snake flows naturally across the contours. Expect one to two sessions and moderate pain where the skin is thin. A common error is forcing too many scales into small sections which leads to blotchiness. For a staged reveal wear an off shoulder blouse that mirrors the snake curve.
17. Tiny Anchor on the Side Lower Neck
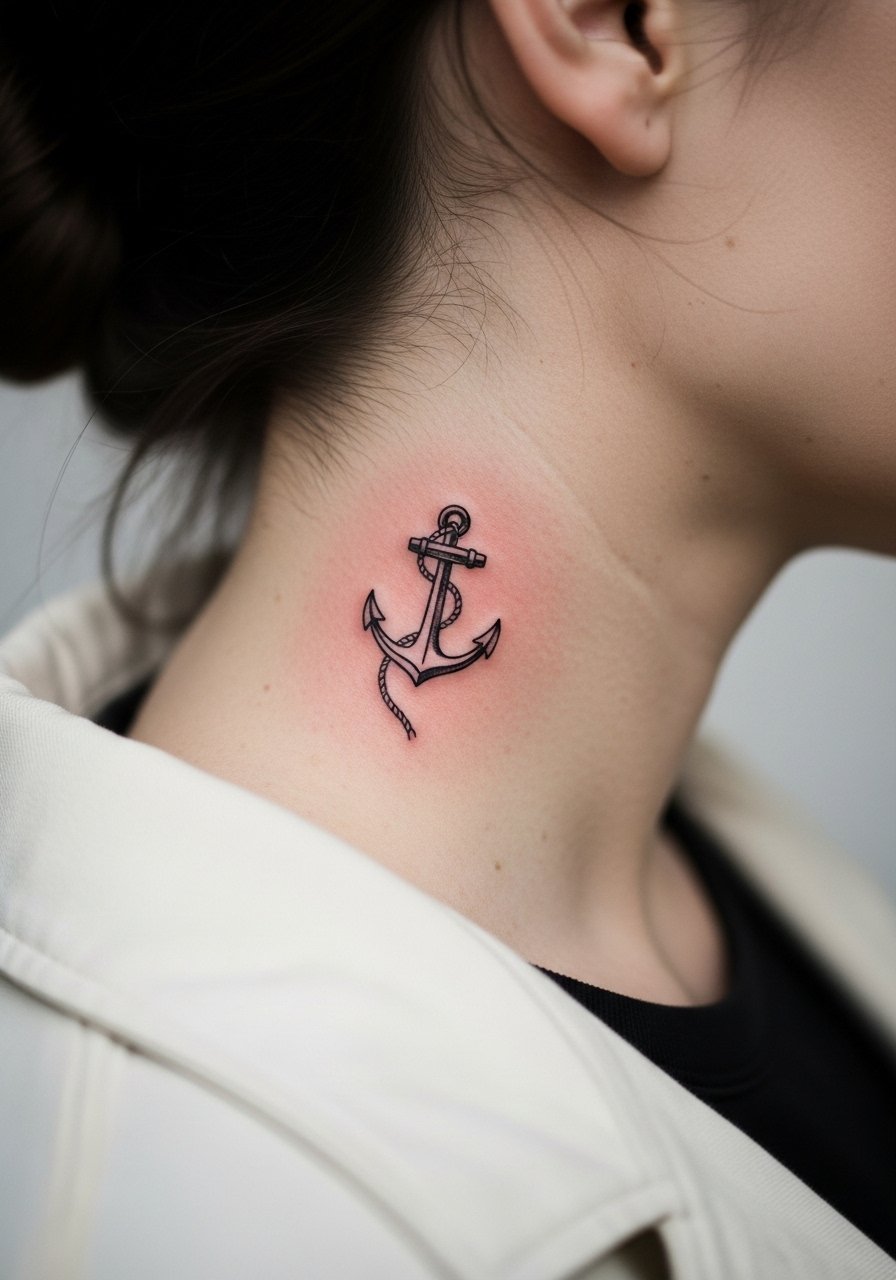
Anchors are compact symbols that read clearly when kept bold enough. Tell your artist you prefer thicker limb endpoints so the anchor resists fading. Pain is manageable and sessions are short. A mistake is requesting extremely delicate lines when the area faces constant movement. For wearing, a thin gold hoop earring complements the nautical feel without crowding.
18. Small Geometric Triangle Center Neck
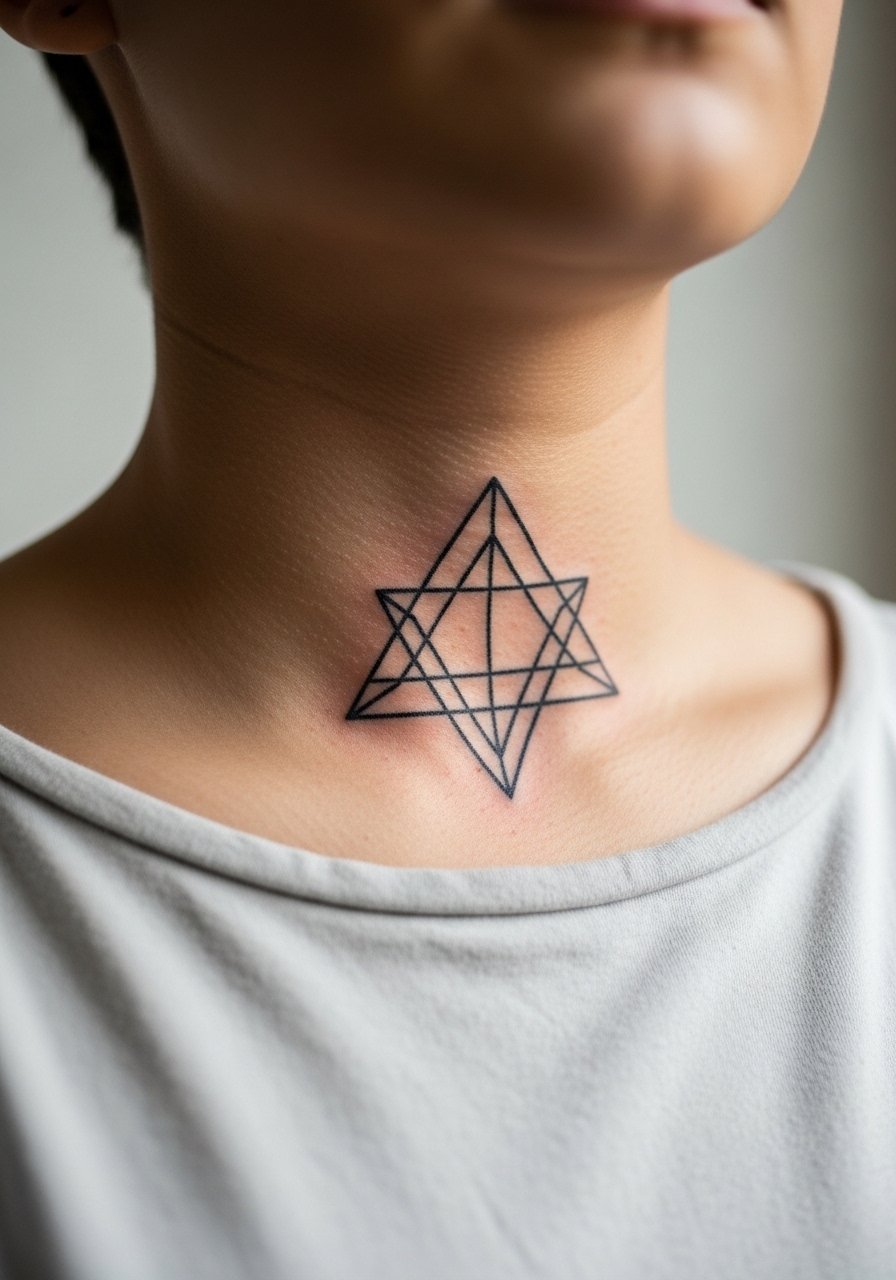
Geometric shapes need breathing room. Ask for a slightly larger scale so the angles remain crisp over time. Front center placement is more sensitive and can take two short passes for heavier line work. The common aging problem is going too small. For evenings out, a low neckline or simple collar frames the triangle without distraction.
19. Choker Illusion Barbed Wire
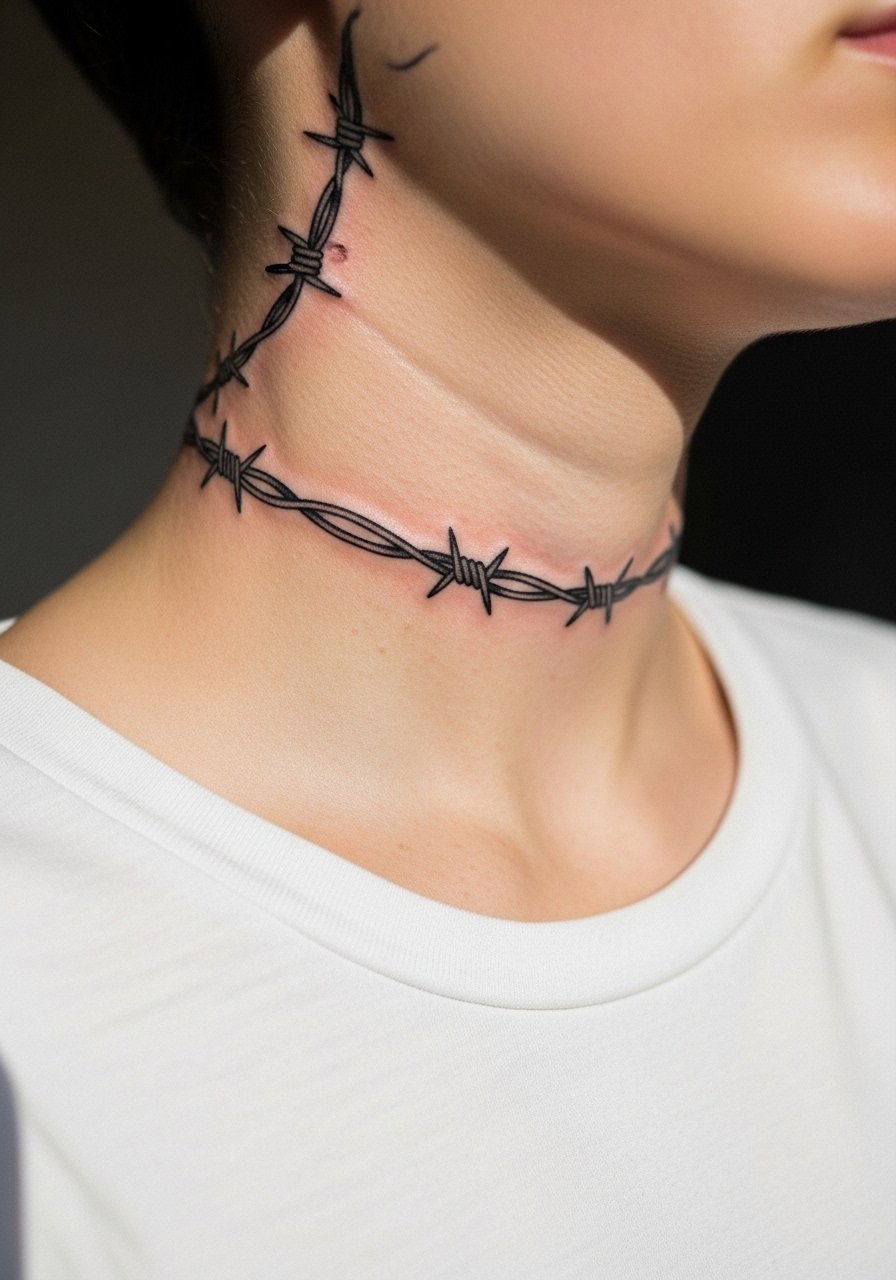
Choker illusions are bold visually and work best when the line weight is consistent. Tell the artist you want the barbs slightly rounded to avoid harsh wear marks. Pain around the back is lower because the skin is thicker at the nape, but the front hits more. A mistake is adding too many tiny barbs which can blur. Pairing with a thin actual necklace is optional for layering.
20. Small Musical Note Near the Ear
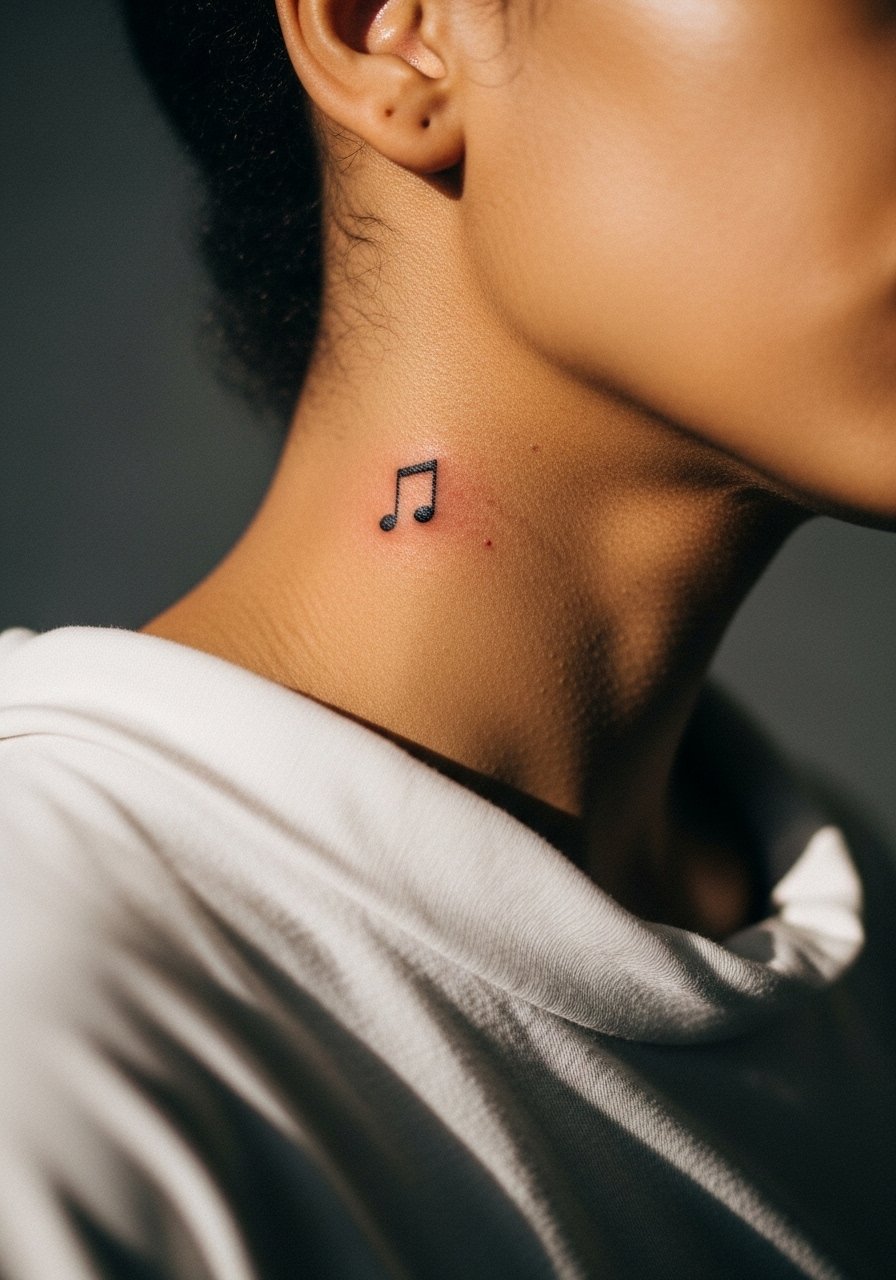
Music symbols are playful and compact. Ask for a thicker stem so it stays legible beyond the first year. The area is moderate pain and heals quickly. A common error is insisting on micro stroke detail that vanishes. For an effortless look, tuck hair behind one ear and wear a thin gold hoop earring to balance the placement.
21. Tiny Paw Print Center Nape
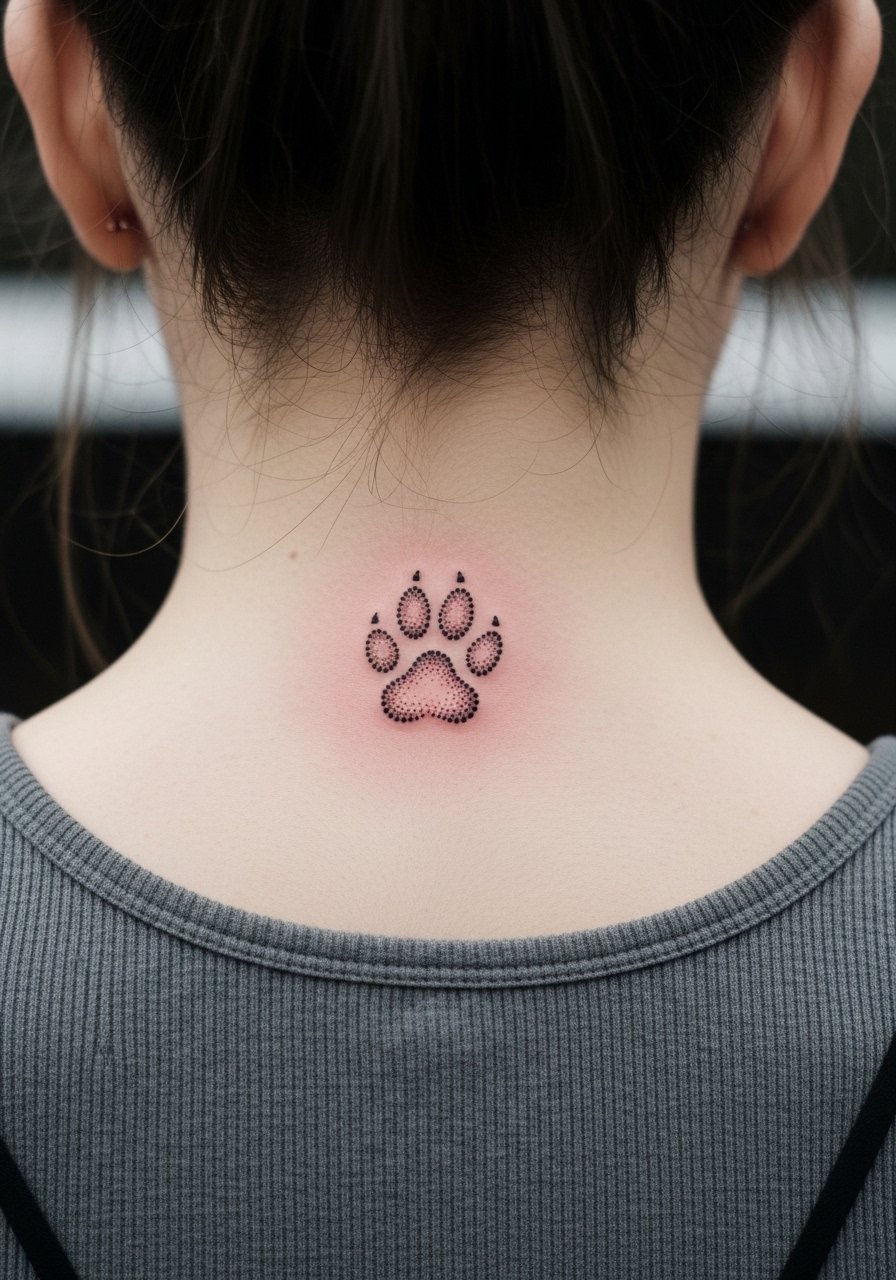
Paw prints are compact and sentimental. Make sure the pads are slightly larger than you think so they do not blur together. The nape tolerates small icons well and the session is brief. A mistake is over-detailing tiny claws which can merge. Wear a strappy summer dress when you want the spot to peek out without friction.
22. Minimal Crown at the Lower Front Neck
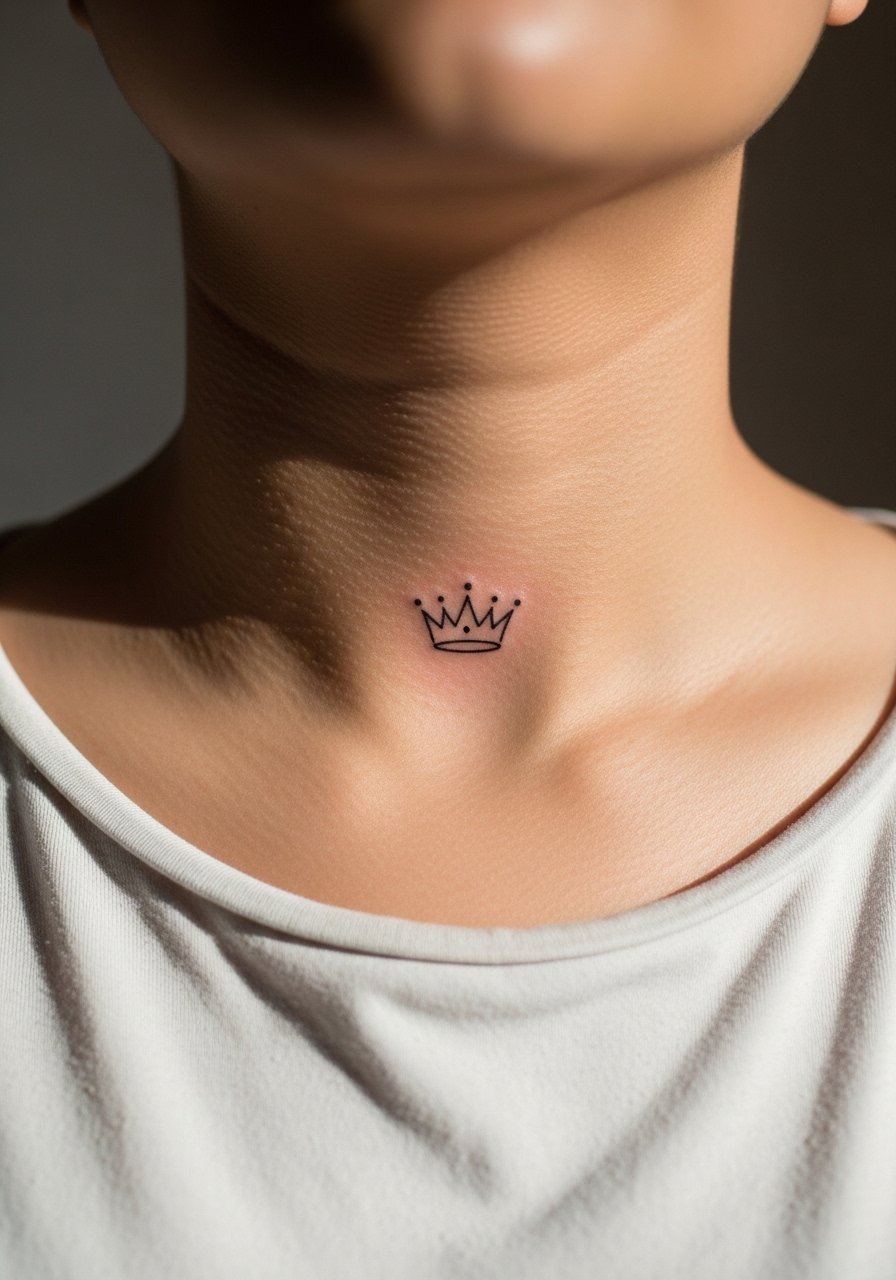
Crowns read neat when kept geometric and slightly bold. Ask your artist for slightly tapered points and a small but solid base. Pain is sharp and brief. A common mistake is cramming jewels or tiny details into a very small crown. For styling a thin chain or a small pendant can sit above it without stealing focus.
23. Small Sun and Moon Pair on the Side Neck
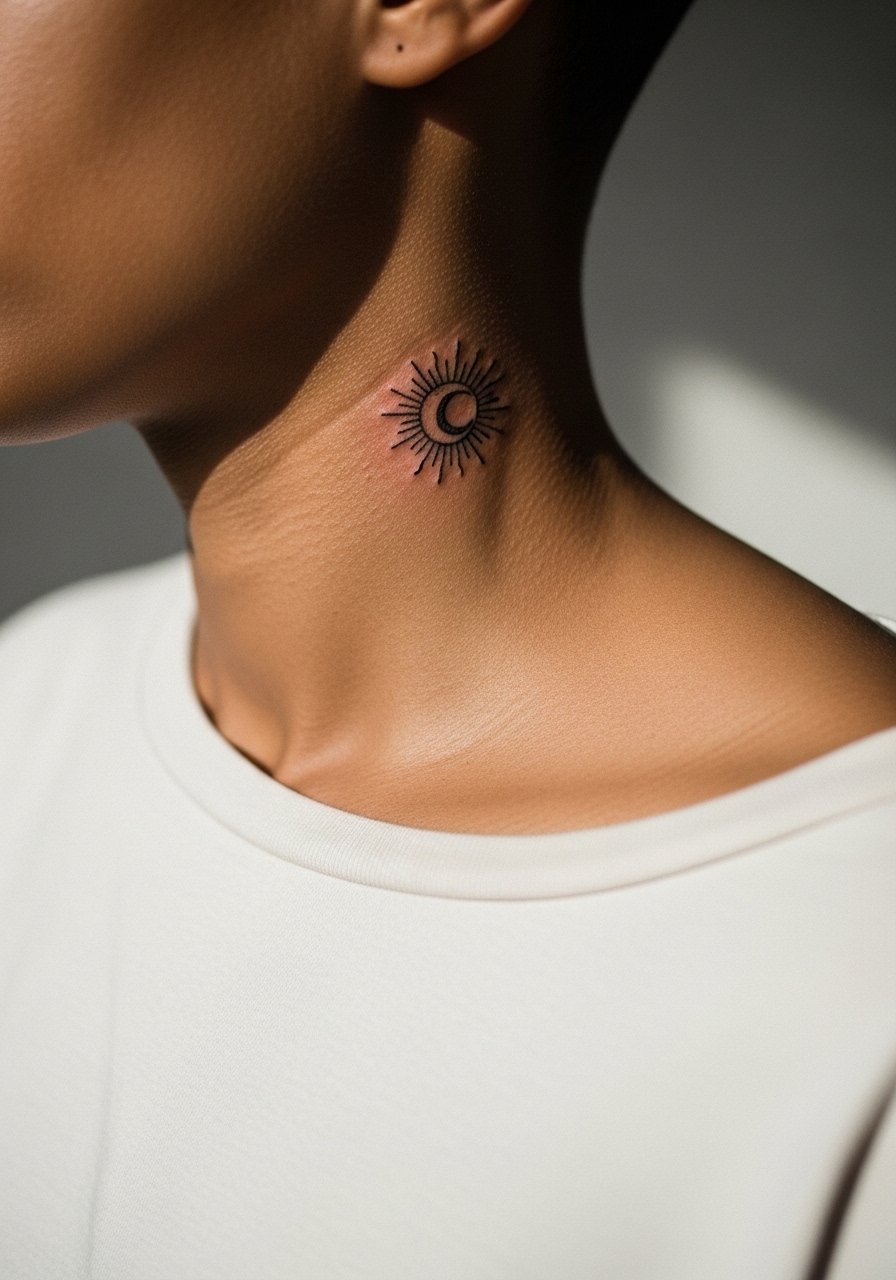
Pairs of celestial symbols work well across the side neck when spaced correctly. Ask your artist to scale the sun slightly larger than the moon to preserve contrast. Pain is moderate; sessions are short. A mistake is making both elements identical in size which flattens their visual hierarchy. For nights out, an off shoulder blouse frames the pair nicely.
24. Tiny Compass at the Nape
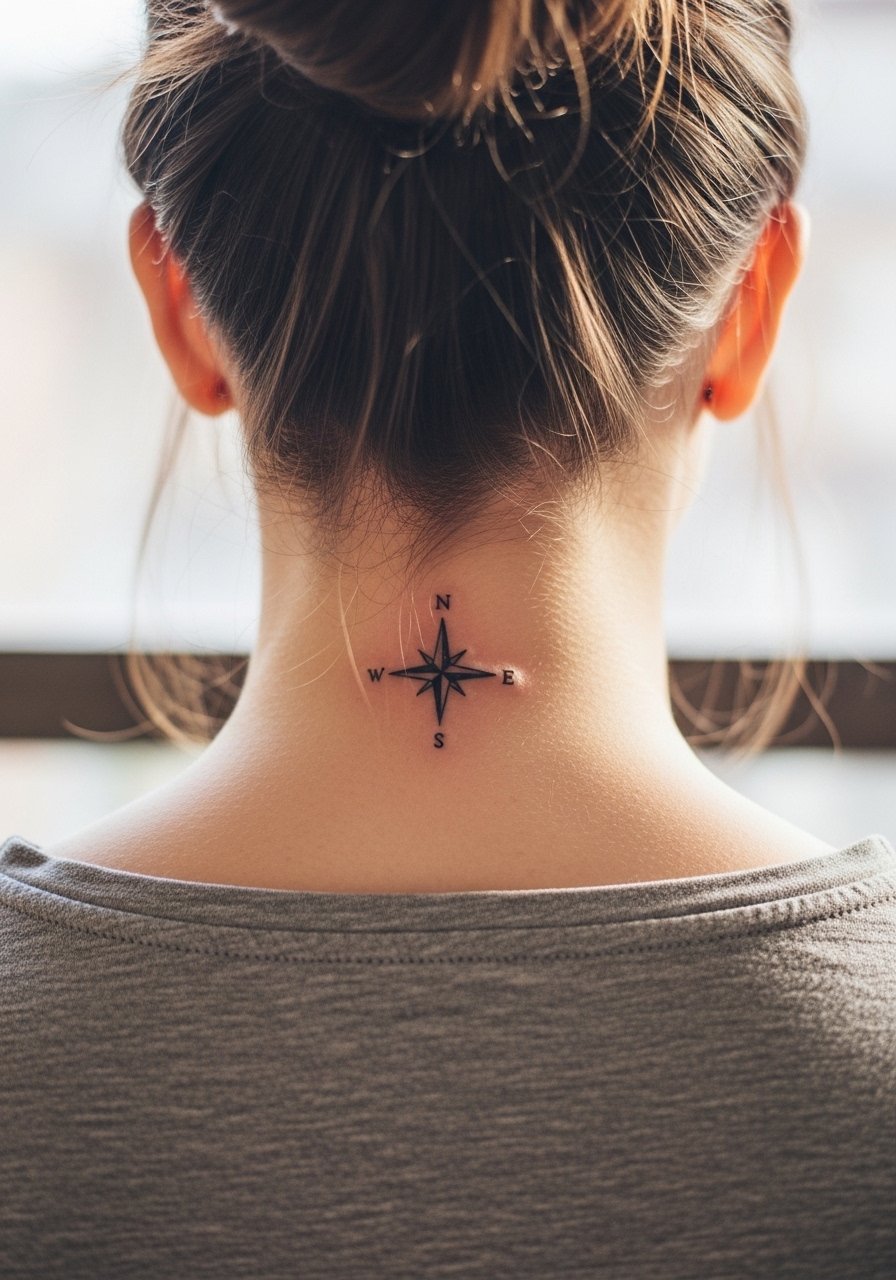
Compasses are neat center pieces for the nape. Ask for fewer internal lines and a slightly bolder outer ring so the cardinal points stay readable. Nape placement keeps the piece private and pain is moderate. A common mistake is overcomplicating the face with tiny ticks that merge. A simple updo or a hair ties silk band shows the compass tastefully.
25. Watercolor Swallow Along the Side Neck
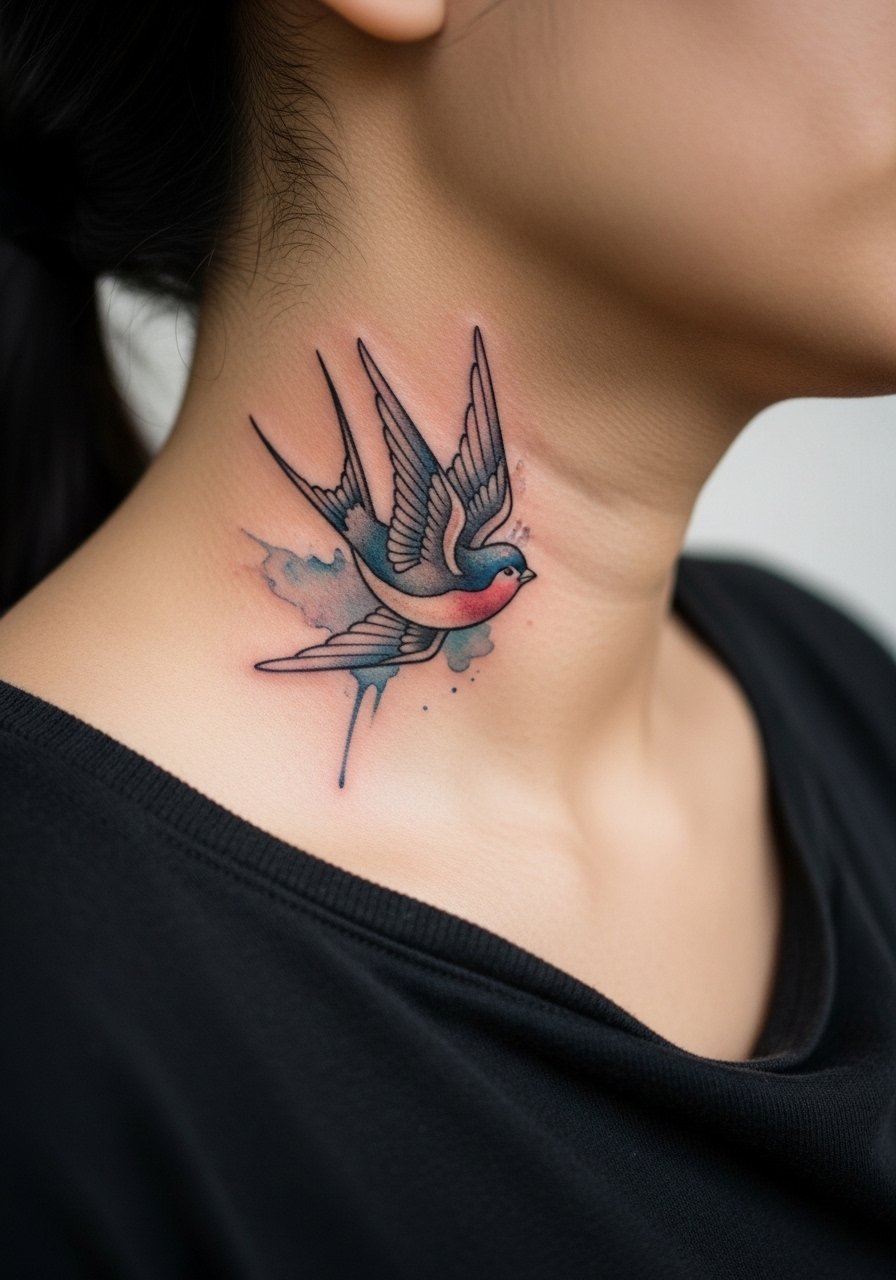
Watercolor can be beautiful on the neck but color fades faster than black. If you want wash effects, request a stronger outline to hold the shape. Pain is similar to other side placements and sessions can run longer for layered color. A mistake is packing too many hues into a tiny area. For showing it off, a v neck blouse keeps the swallow visible without rubbing.
26. Roman Numerals Script at the Lower Neck
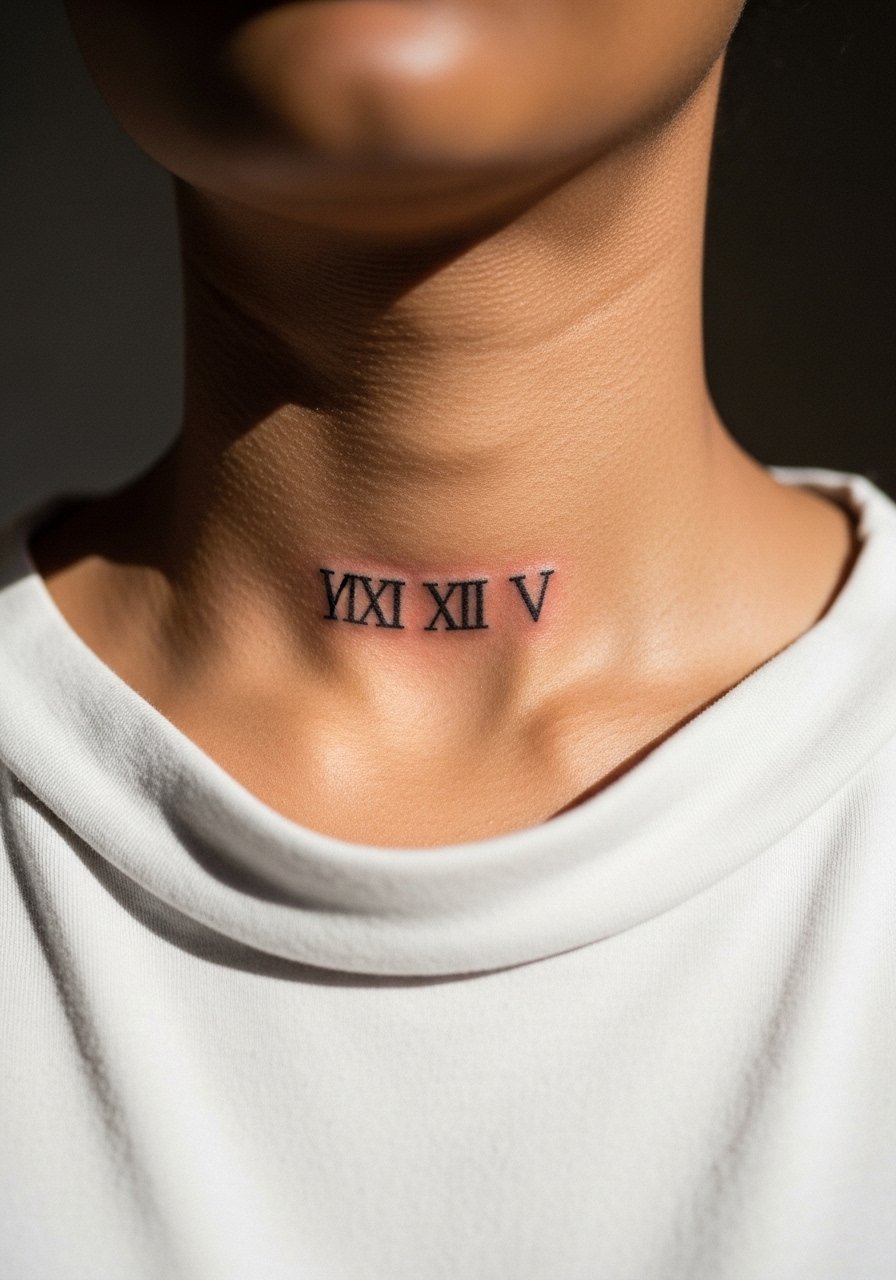
Roman numerals are crisp when you choose a readable serif and scale appropriately. Tell your artist the exact point size needed so the numerals do not close up. Pain is brief and the session short. A common error is overly condensed numerals that become smudged lines over time. A simple collar or pendant keeps the area framed and clean.
27. Ornamental Lace Panel at the Nape
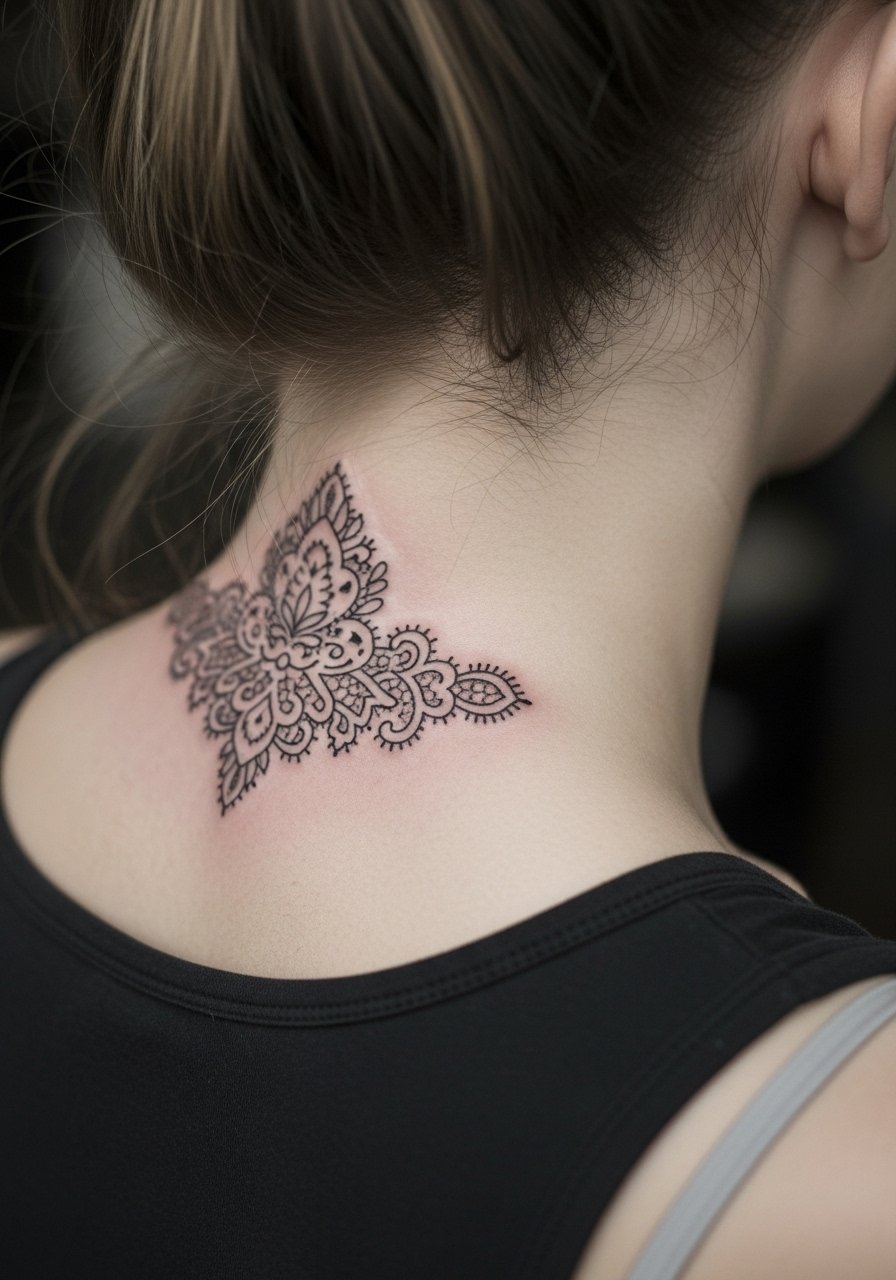
Lace panels look delicate but need space to breathe. I recommend spacing the motifs so negative space protects the detail. Nape sessions are moderate in pain and often finish in one session for a panel this size. A mistake is compressing the pattern into a small square, which leads to loss of texture. For wardrobe, a backless or low-back top reveals the lace without chafing.
Frequently Asked Questions
Q: Do fine line neck tattoos fade faster than bolder styles on the neck?
A: Fine line pieces are more prone to softening because thin needles sit in shallower channels. Some artists argue that single-needle work can hold with careful depth and spacing. The reality is that placement and sun exposure matter most. Expect touch-ups sooner for ultra-fine work, and ask your artist about line weight during the consult.
Q: How should I hide a nape tattoo at work without changing my hair?
A: A high-collar shirt, silk scarf, or a wide-neck top pulled up can cover the nape without a permanent change. I have seen people use loose scarves or collar swaps on conference days and still wear the tattoo for weekends. Testing temporary sticker tattoos can help you visualize concealment before committing.
Q: Is Saniderm better than dry healing for neck tattoos?
A: Artists split into two camps. One camp favors protective film for a cleaner early heal and fewer external contaminants. The other camp prefers dry healing to allow scab control and natural peel. Both approaches can work. Ask the artist which method they use most and why, and follow their specific timeline.
Q: Should I expect extra pain for front-throat placements compared to side-neck work?
A: Yes, the midline front can feel sharper because the skin is thinner and more innervated. Side neck placements tend to be less intense. Shorter sessions and numbing cream are common strategies for front-throat comfort.
Q: Where can I find more reference images and local bookings for neck tattoos?
A: Browse hashtags like #necktattoos and #finelineneck on social platforms for style galleries, use an app focused on tattoos for curated portfolios, search "[city] neck tattoo studio" to find local shops, and read r/tattoos threads for firsthand healing tips. Those discovery paths help you match style to artist without naming individuals.
Q: Do I need special clothing for the session and the first week of healing?
A: For the session wear a loose top the artist can move aside. For nape or lower neck work choose a tank or a wide-neck shirt. For front-neck pieces bring a shirt that unbuttons or has a deep V so you do not stretch the fresh ink. A protective film or ointment from the shop will be part of the immediate aftercare steps.
