
Traditional small tattoos often last longer if you pick tough linework over ultra-fine detail, even though the thin pieces look like winners on social feeds. Prices feel higher than they used to, artists cancel sometimes, and fine lines can blur faster than expected. Read these 17 small traditional ideas with real advice on placement, how they age, and what to ask in consultation to avoid common pitfalls.
1. Anchor with Rope on Inner Wrist
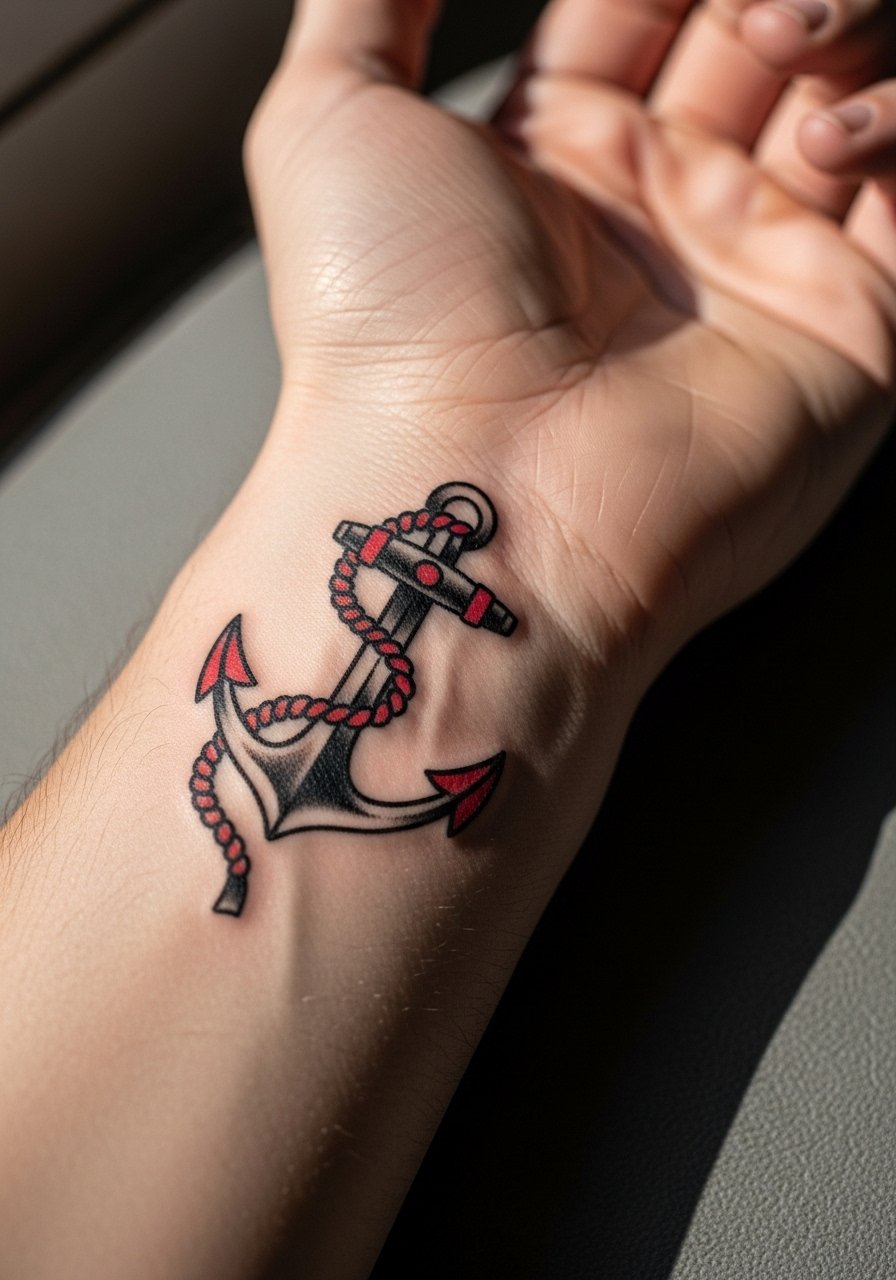
I’ve seen anchor pieces on wrists that still read clean after five years because they use deliberate spacing and heavy linework. For this placement expect a short single session and moderate pain. Tell your artist you want slightly thicker outer linework and a single red fill rather than tiny shading inside the rope. The most common mistake is asking for hairline details that blur against constant washing and friction. For showing it off, roll up a chambray shirt and stack a thin leather bracelet on the opposite wrist so the anchor has breathing room.
2. Snake Wrapped Around a Dagger on the Collarbone
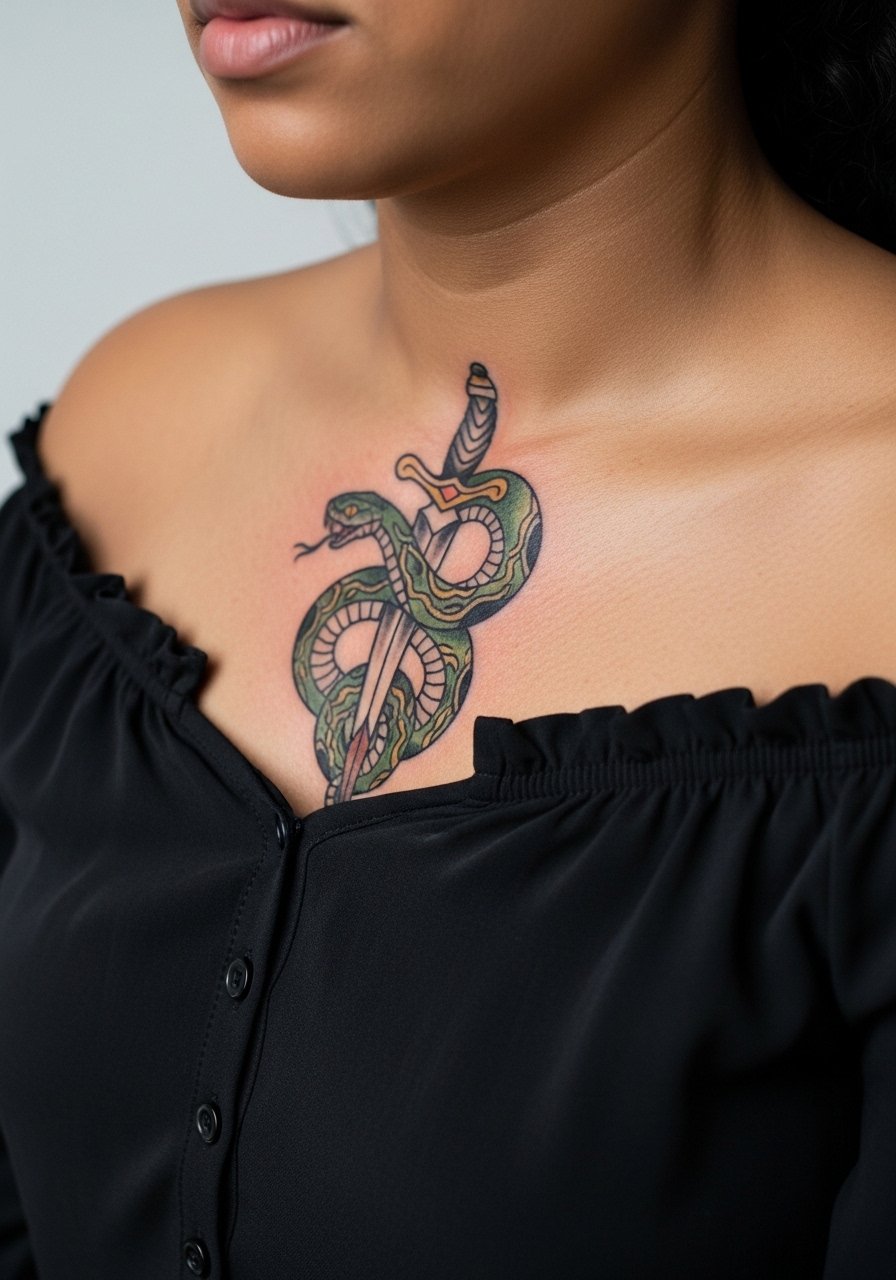
Fair warning, collarbone work can feel sharp during the session because the skin is thin and sits over bone. For a snake-and-dagger ask for clear negative space between scales and dagger blade so the design does not merge as the ink settles. One camp of artists prefers stronger saturation here to prevent fading. Another camp still prefers lighter fills to keep movement and contour. Ask your artist which approach they use. For outfits, an off-shoulder blouse frames the tattoo without covering the curve of the snake and keeps the dagger visible.
3. Medusa Head on the Outer Upper Arm
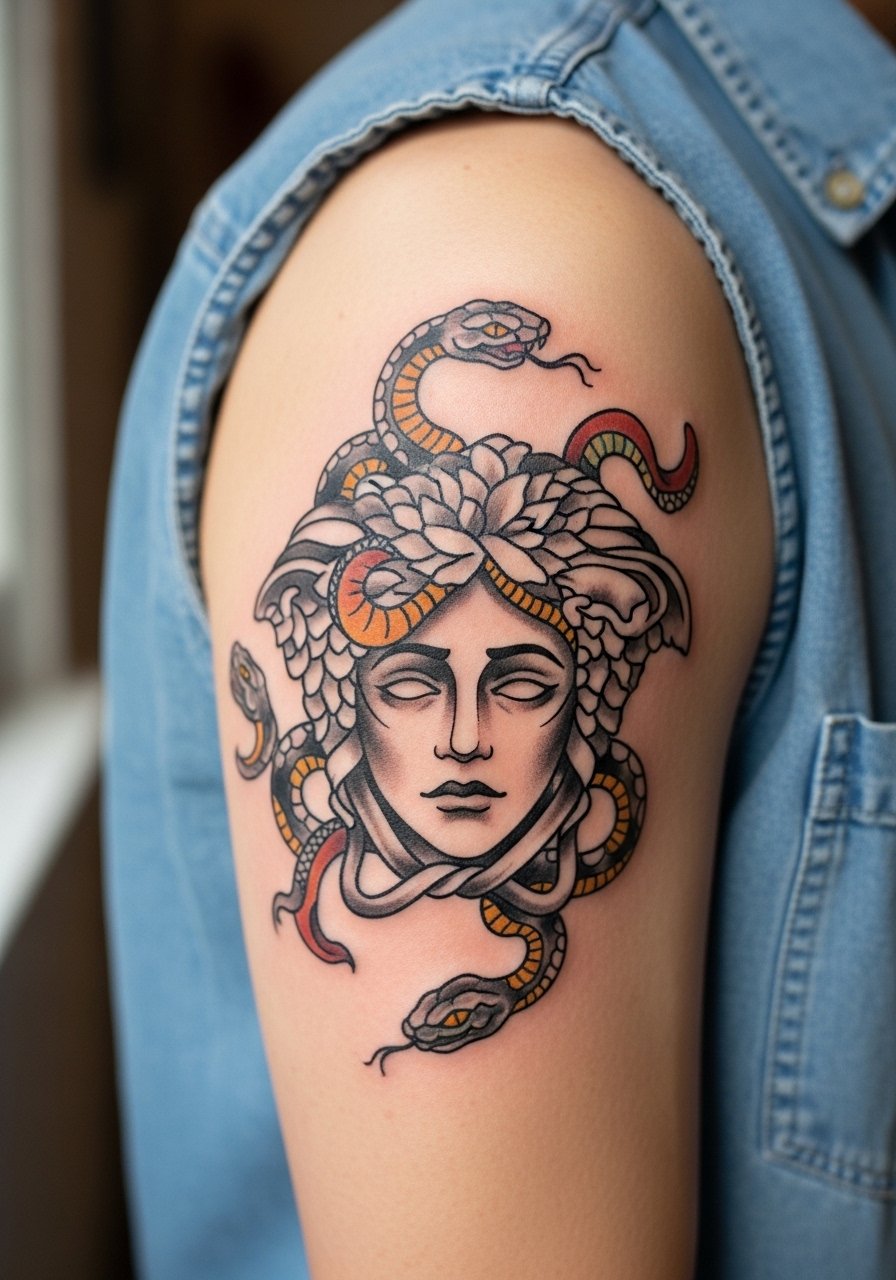
There is real traction for Medusa motifs as empowerment pieces. Expect a two-session timeframe if you want facial detail and selective color. During consultation ask the artist to keep the hair serpents slightly larger than they sketch on an iPad so the negative spaces hold after healing. A common mistake is cramming too many little snakes into the face area. For touch-ups plan a revisit at year two for saturation boosts if you spend a lot of time in the sun. The session feels manageable because the outer arm is forgiving on pain and blowout risk is low with proper depth.
4. Unicorn Horn with Stars on the Ankle
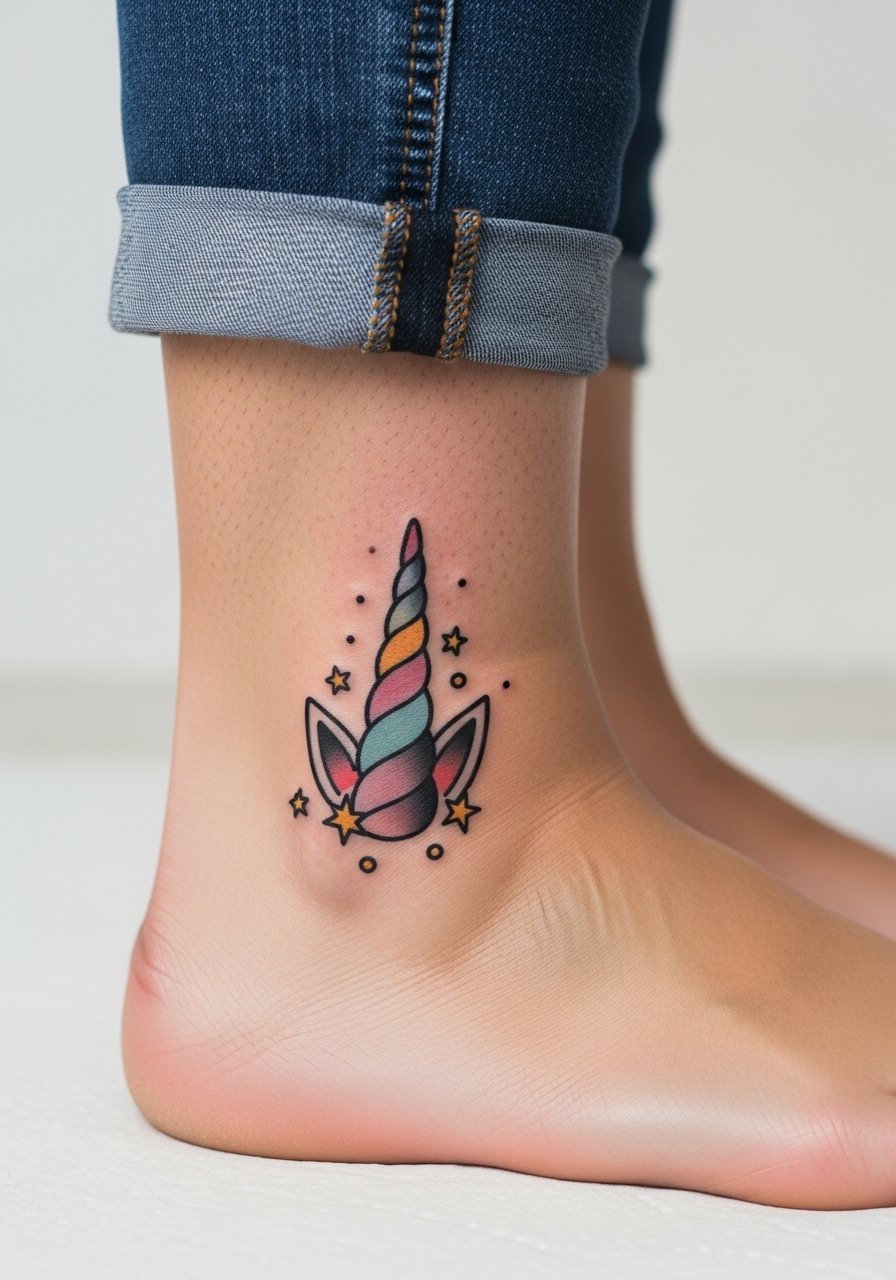
Ankle pieces age differently because skin there rubs against socks and shoes. Ask for bolder outlines and slightly heavier color saturation so the pastel fills hold up. The typical mistake is asking for hair-fine stars that disappear after a year. For session wear bring loose shorts or a skirt so the artist can work without fabric pressure. To show it off, pair the tattoo with cropped jeans or flat sandals that keep the ankle visible without constant rubbing.
5. Swallow Bird in Flight on the Forearm
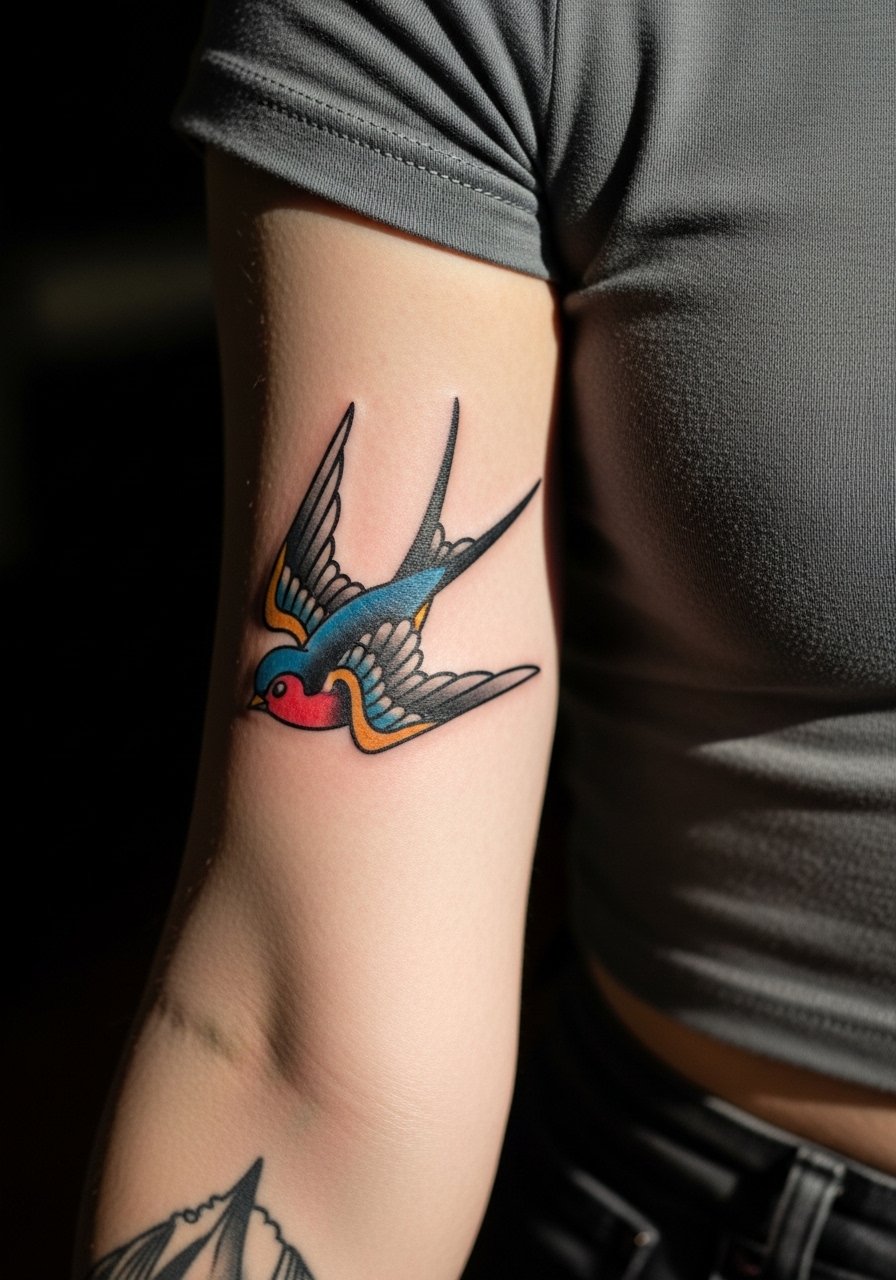
Most forearm swallows that still read crisp after several years use clear wing separation and a heavier outer linework. Plan a single session and expect low to moderate pain. Tell your artist you want less internal dot shading and more flat color panels so the wings remain distinct as the piece heals. The mistake I see is requesting micro detail inside the wing that fills in. For casual styling, roll sleeves up and pair with a thumbhole sleeve tee to keep the bird visible in cooler weather.
6. Rose with Banner on the Wrist
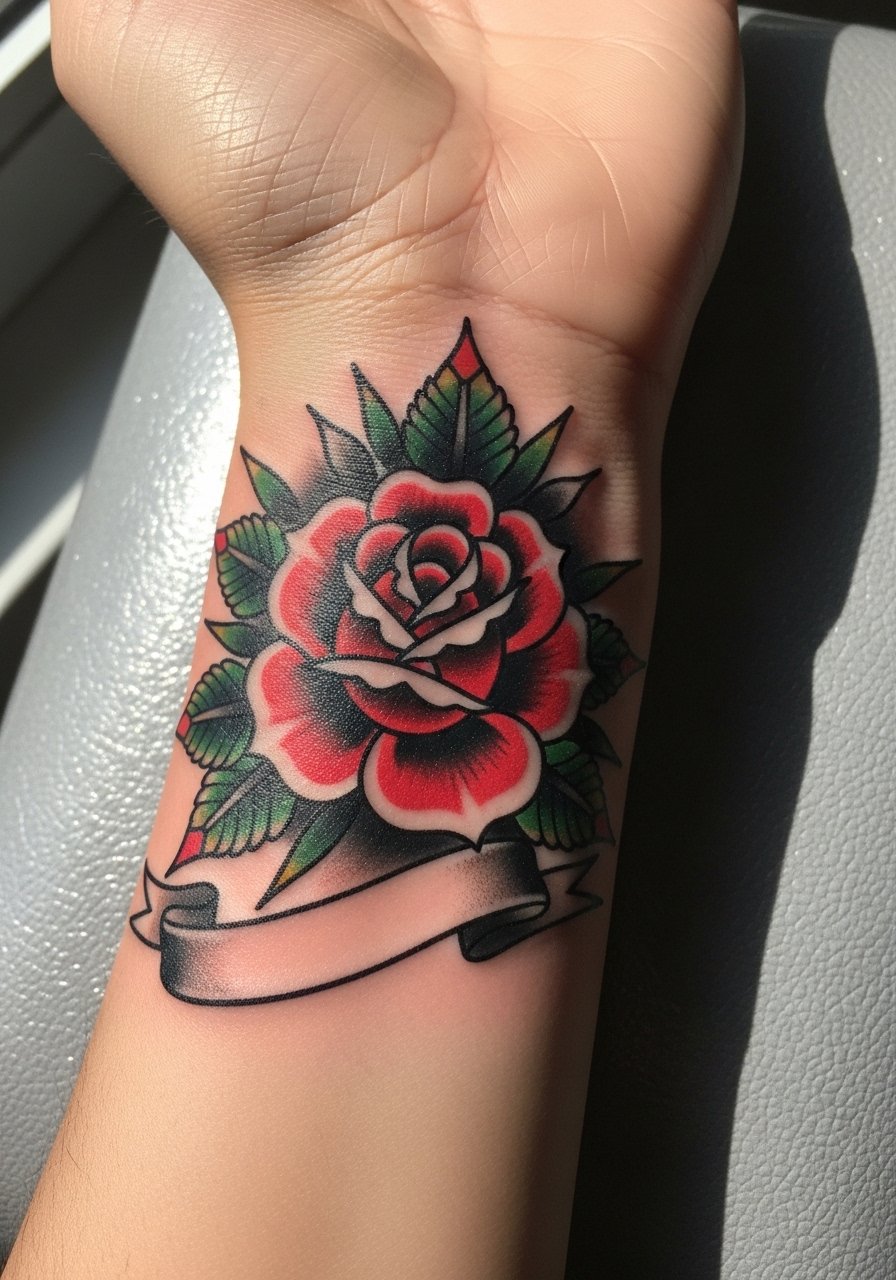
If you want a banner for initials or a date, ask for clean letter spacing and a slightly wider ribbon so the text stays legible long term. Wrist locations need thicker outer lines because the area sees constant washing. The common aging issue is tight script that turns blotchy after a year. For the appointment wear a loose short-sleeve or tank so the artist has clear wrist access. Pair the healed piece with a minimalist watch or stacked dainty bracelets, and consider a navy button-up short sleeve for a casual framed look.
Pre-Session Essentials
The wrist and ankle pieces above heal differently from larger arm work, so a few targeted items make the session and the first week easier.
-
Stencil transfer paper kit. Lets you preview exact linework placement on skin before the needle touches, useful for wrist banners and ankle motifs.
-
Topical numbing cream. Applied 30 to 45 minutes before can ease collarbone and wrist sensitivity without affecting linework if used as directed.
-
Thin protective film roll. Keeps finger and ankle tattoos cleaner during the first days when friction and hand washing are unavoidable.
-
Fragrance-free body wash. Gentle cleansers reduce irritation for newly inked areas like forearms and ribs without stripping color.
-
Aquaphor healing ointment. A thin layer early on helps with scab management, especially for denser traditional fills.
7. Heart with Arrow on the Side Finger
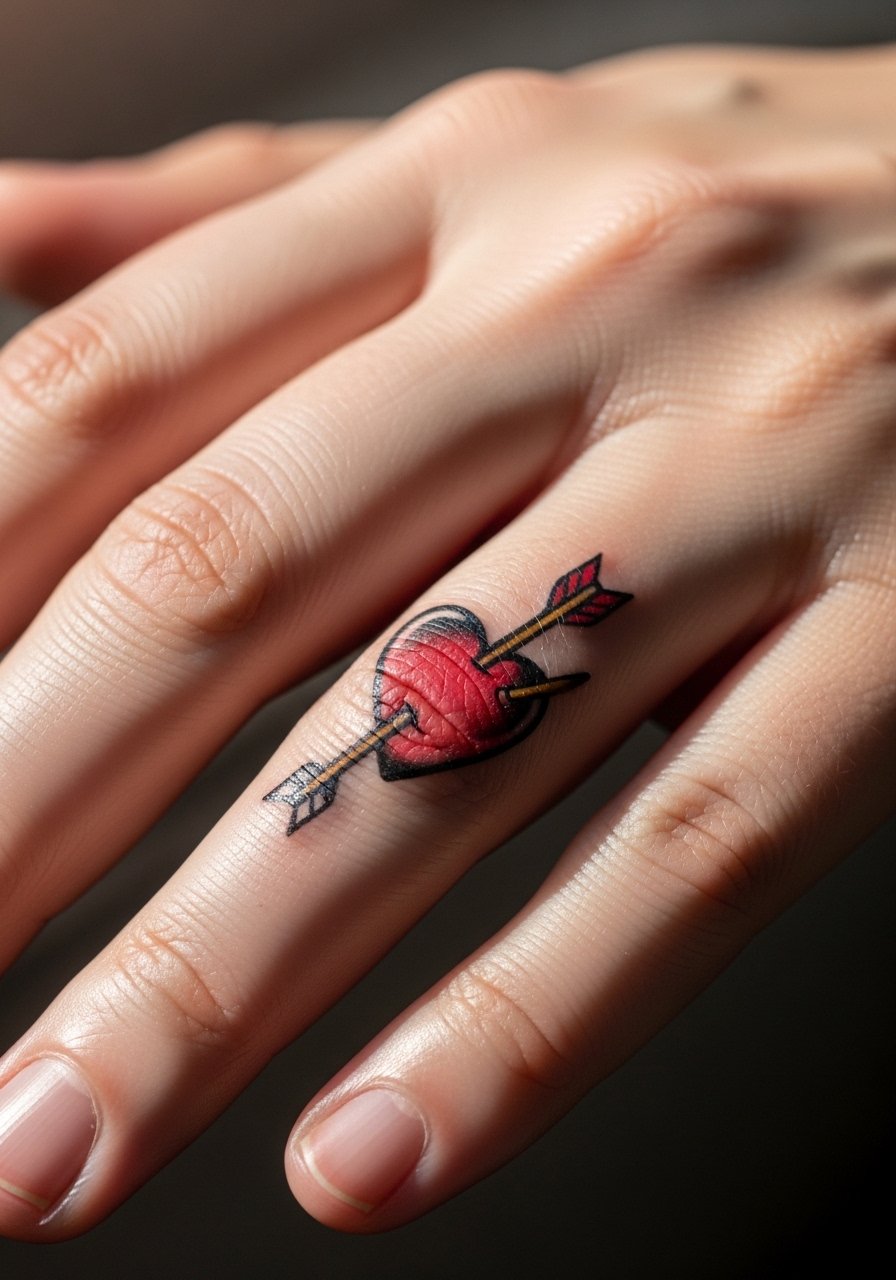
Finger ink is exposed to constant washing and friction so expect faster fading. The biggest mistake is requesting dense shading or tiny script on a finger. Opt for a simple red heart with a clean black arrow and plan for a touch-up at year one. The session is brief but the healing window needs diligence. For the appointment wear a short-sleeve top so the artist can access your hand easily. Keep expectations realistic about longevity because finger skin sheds faster than other zones.
8. Dagger with Roses on the Outer Thigh
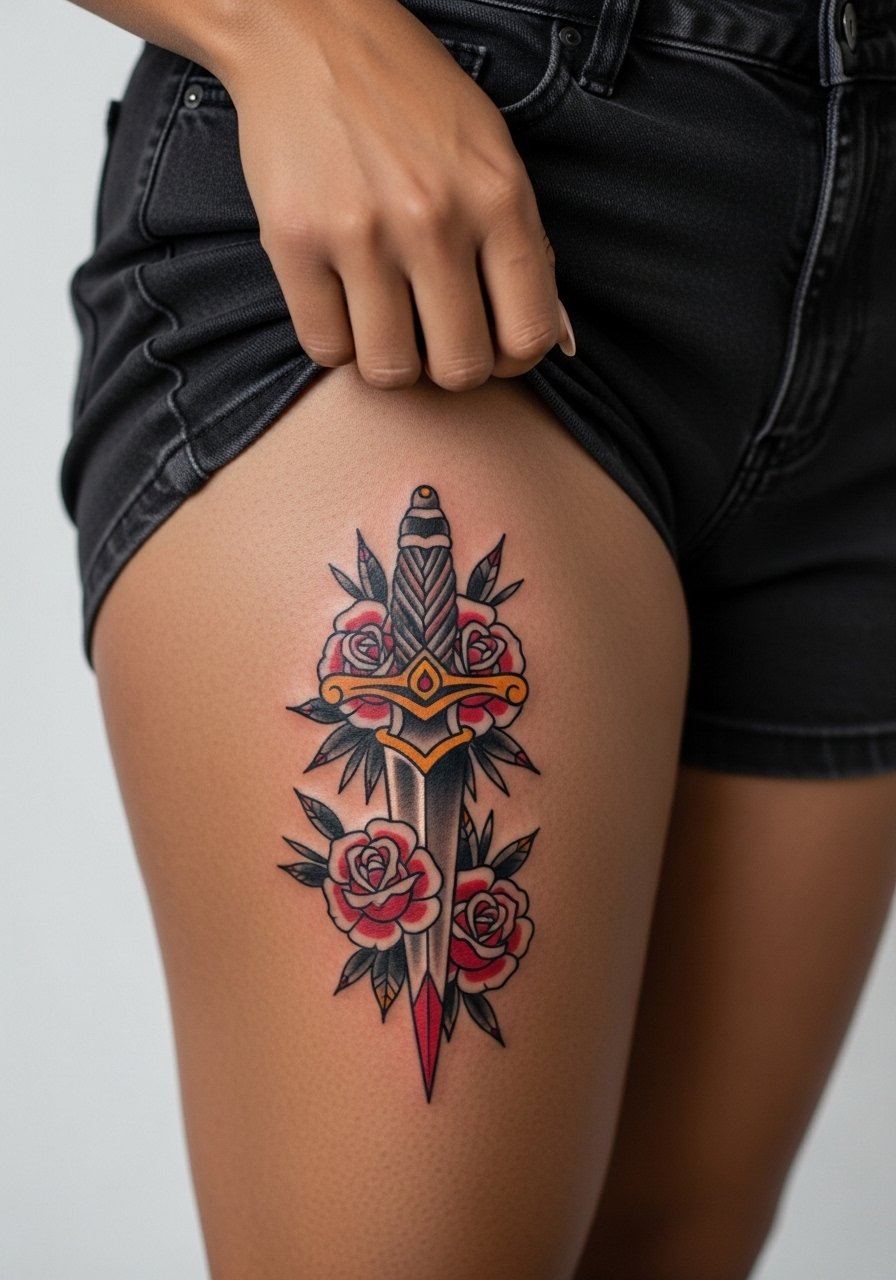
Thigh pieces are great for concealed, larger small-work that still reads detailed. Expect moderate pain and one to two sessions depending on size. When consulting, ask the artist to keep the dagger spine crisp and the roses slightly simplified to prevent petal details from merging if you lose or gain weight. The main mistake is packing tiny petals into narrow spaces. For sessions wear loose shorts or an A-line skirt so you can expose the area without pulling tight fabric. For looks, high-waisted shorts or an a-line skirt lets the tattoo peek out naturally.
9. Butterfly Emerging from a Cocoon on the Shoulder Blade
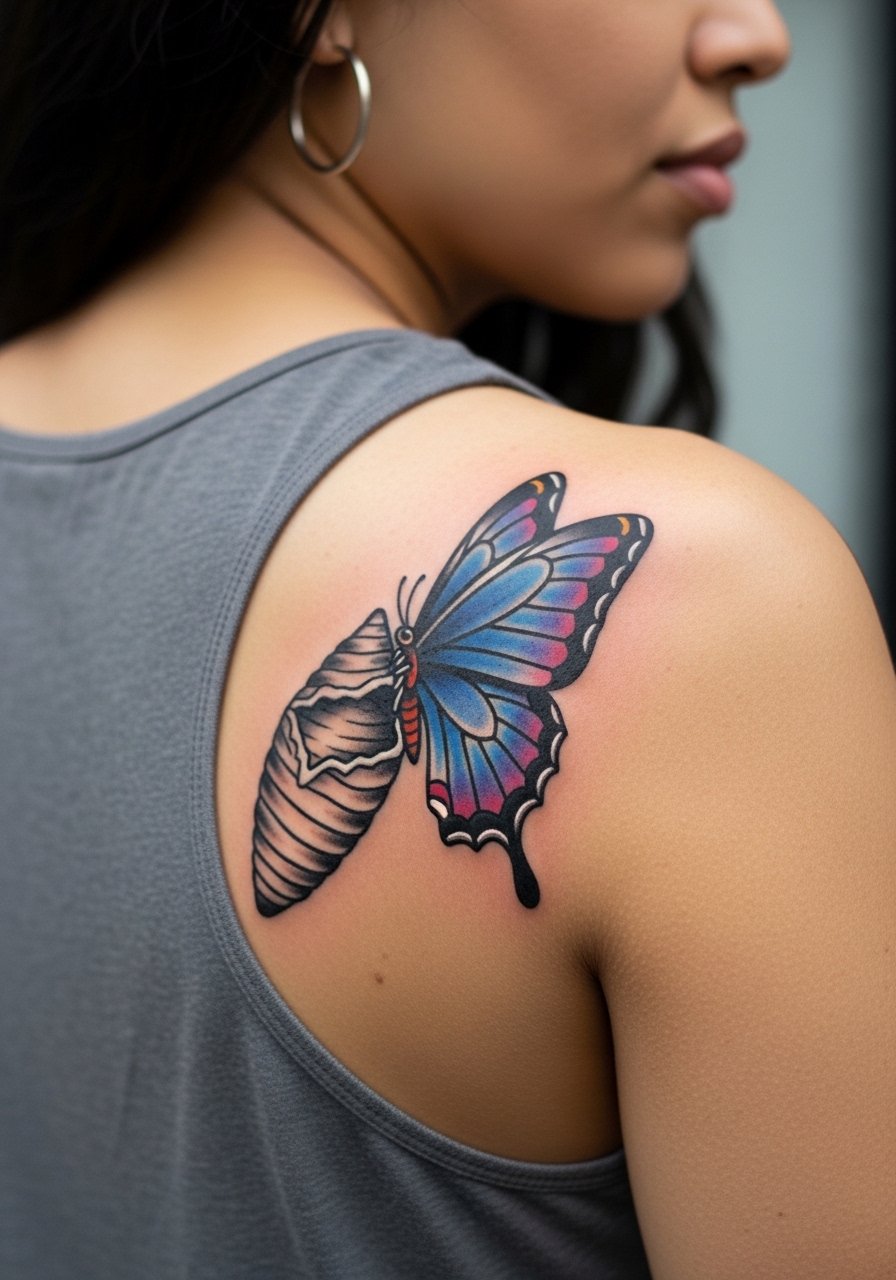
Shoulder blade work is forgiving on pain and great for designs that spread horizontally. Ask for clear wing margins and avoid dense stipple inside the wings if you want long-term definition. A common error is requesting ultra-fine dot work that looks great fresh but softens at two years. For the session wear a loose tank top or a button-down you can pull aside so the artist has unobstructed access. For events try a strappy tank or backless dress where the butterfly reads at a glance.
10. Star Cluster with Banner on the Ribcage
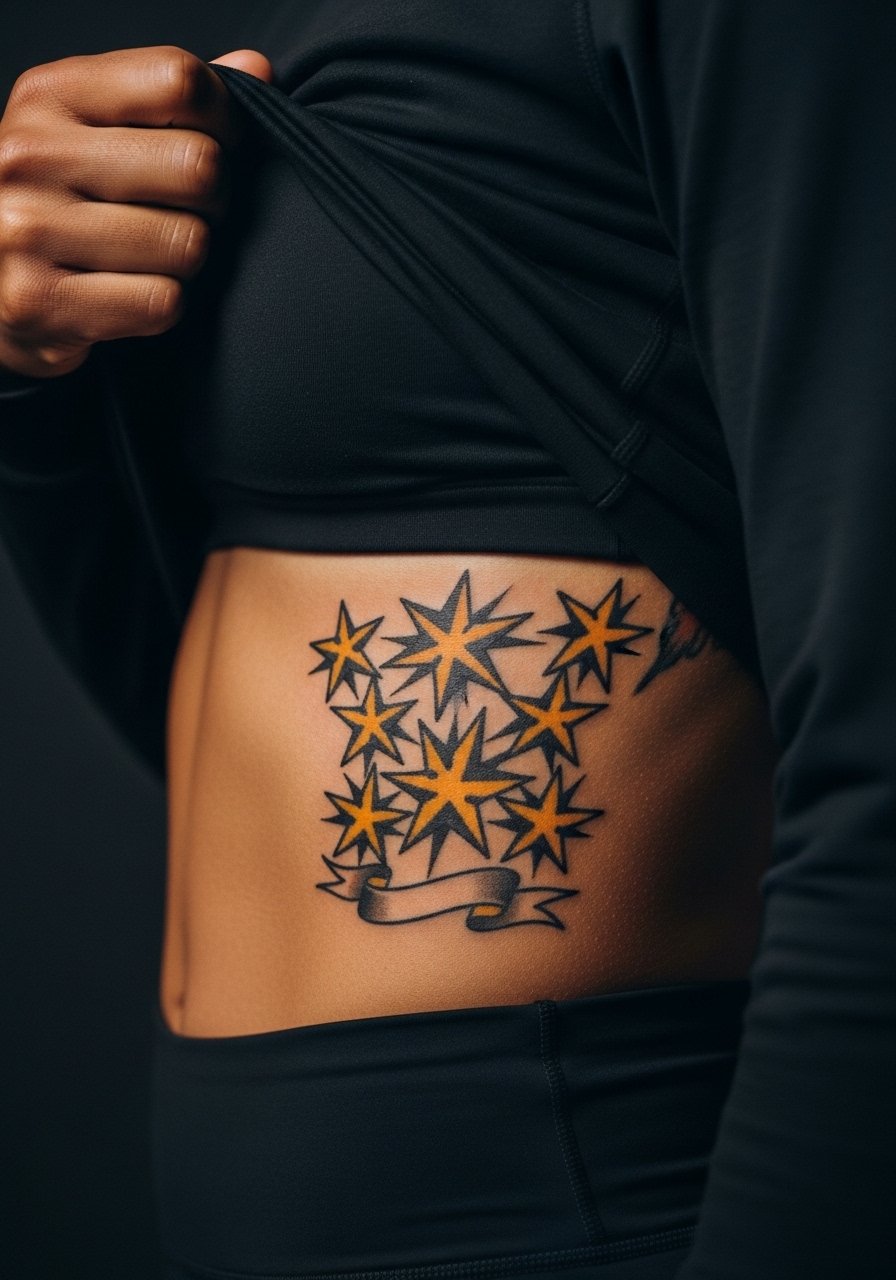
Fair warning, ribs are high on the pain chart and not ideal for first-timers who fear long sessions. Fine line work on ribs divides artists into two camps. One group says the skin stretch there blurs lines within two years. The other group argues that proper needle depth and spacing preserve detail. Ask the artist which camp they follow. For the session wear a cropped top so you can expose the area without being unclothed. Banners on ribs need extra width to stay legible as the body moves over time.
11. Small Compass on the Ankle
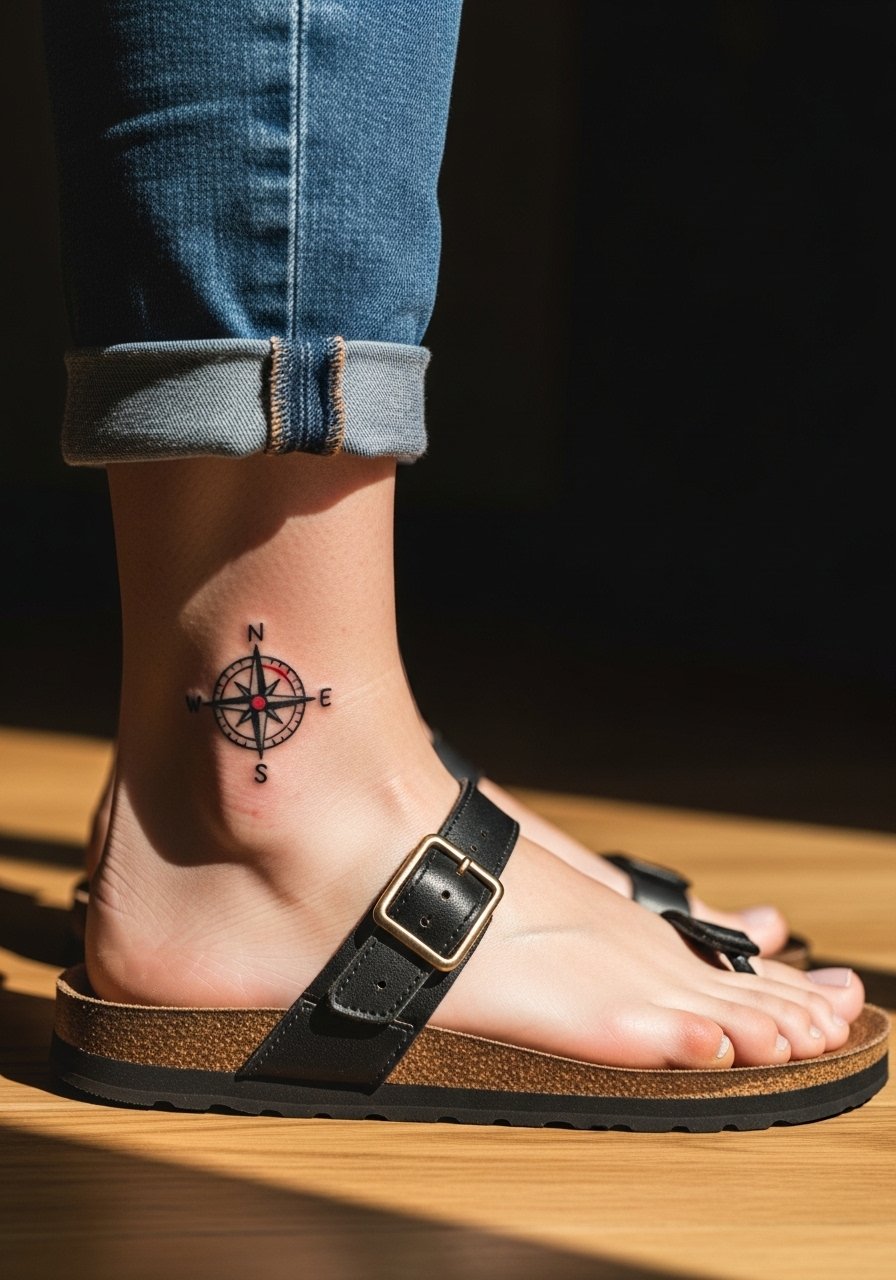
A compact compass reads best with a solid outer ring and simple cardinal marks rather than lots of tiny ticks. The ankle sees a lot of rubbing so thicker linework helps longevity. The session is quick but expect touch-ups if you frequently wear socks that rub the area. For showing it off, wear flat sandals or cropped trousers that keep the ankle visible. During the appointment wear loose pants you can roll up without tension on the skin.
12. Crescent Moon on the Inner Bicep
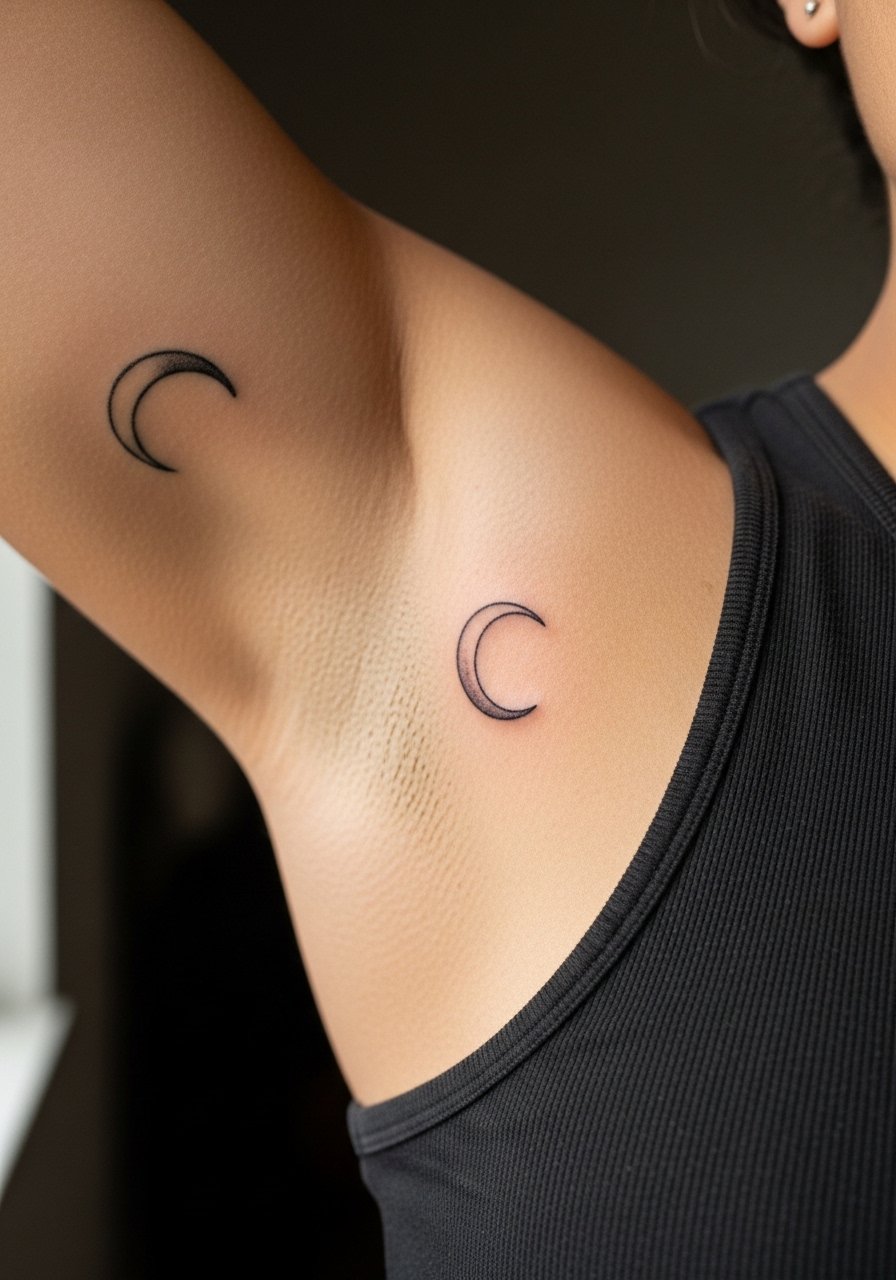
The inner bicep is a forgiving canvas for subtle curve work but it can experience friction when arms are against the body. If you want a crescent with detail, ask for a slightly thicker crescent edge and minimal internal filler. The common mistake is demanding hairline shading that becomes patchy. Expect moderate pain as the needle approaches the muscle. For the session wear a tank top or sleeveless button-down so the artist can position the arm for a clean shot.
13. Tiny Script in the Back of the Neck
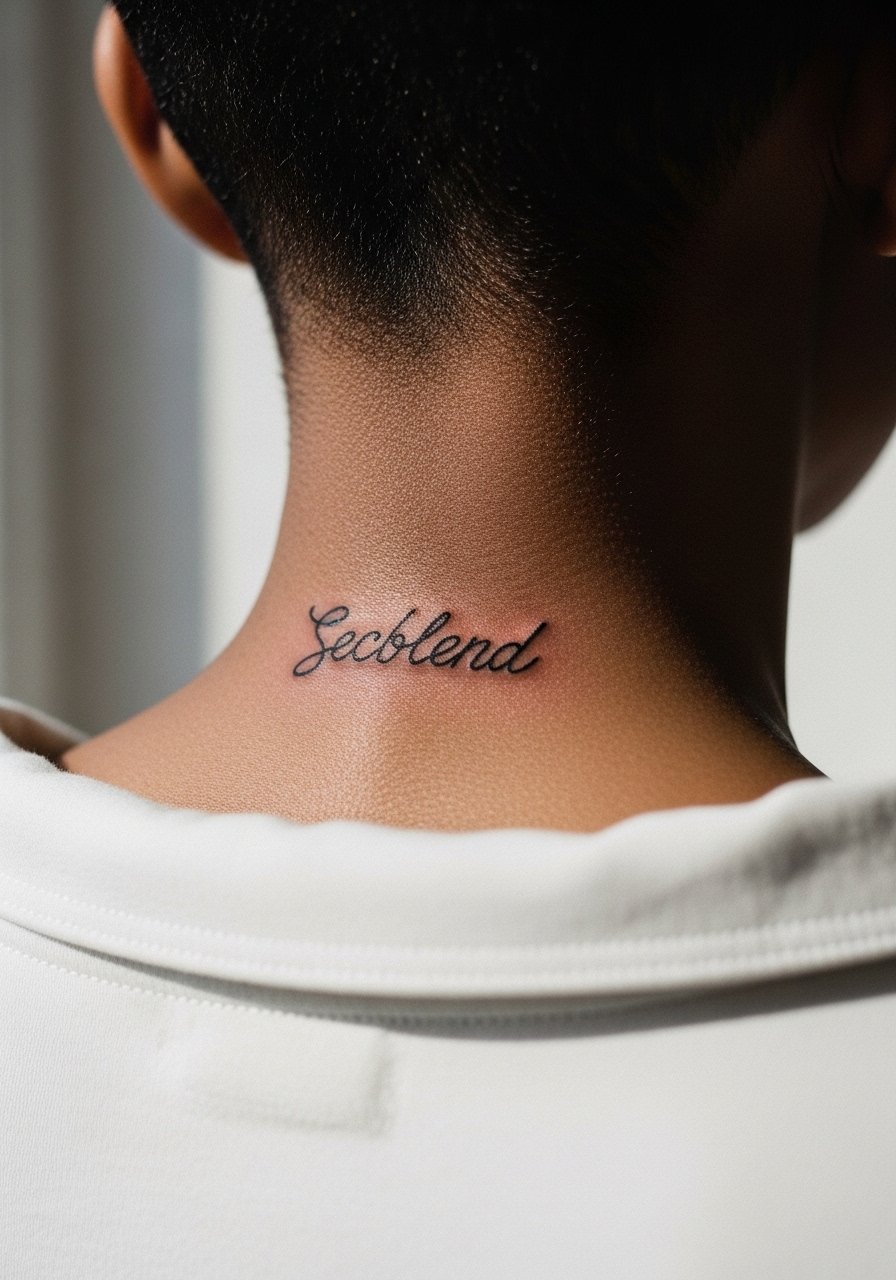
Neck script reads well when letters are spaced intentionally and the font is bold enough to survive movement and sunlight exposure. A common error is choosing a micro cursive that merges within a year. Ask for a slightly larger cap height and open counters. The session can sting because the area has thin skin. For the appointment wear a wide-neck tee you can shift without exposing the chest. Consider career implications before a neck piece since visibility is high.
14. Tiny Sun Peeking Over the Wrist Crease
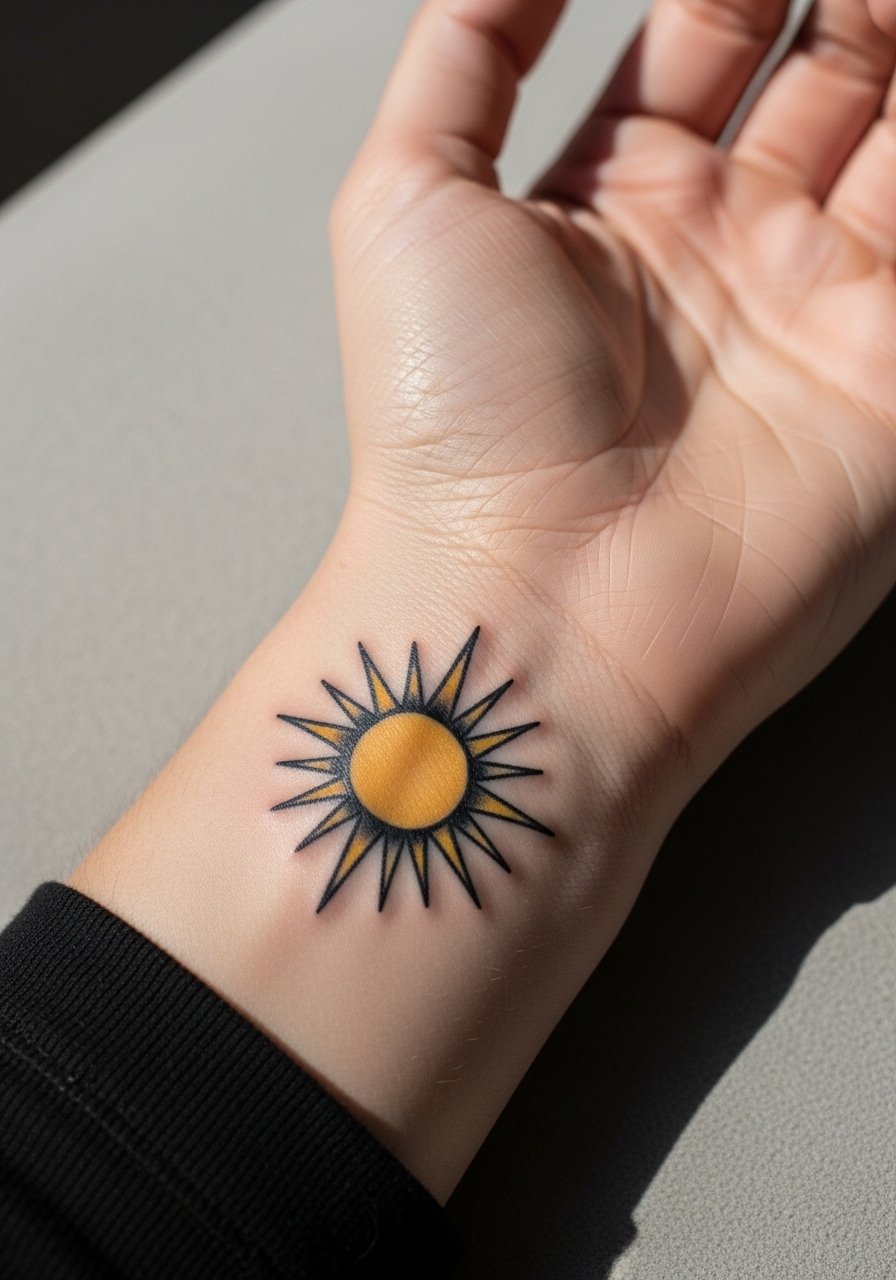
Placement at the wrist crease creates movement that can soften rays over time. Design around that by keeping ray ends a touch away from the crease line and using flat color panels. The error I see most is packing thin rays across the bend. For the session wear a loose short-sleeve top so the wrist is free. A small sun pairs nicely with a minimalist gold pendant that sits above the wrist area.
15. Matchstick with Flame on the Inner Wrist
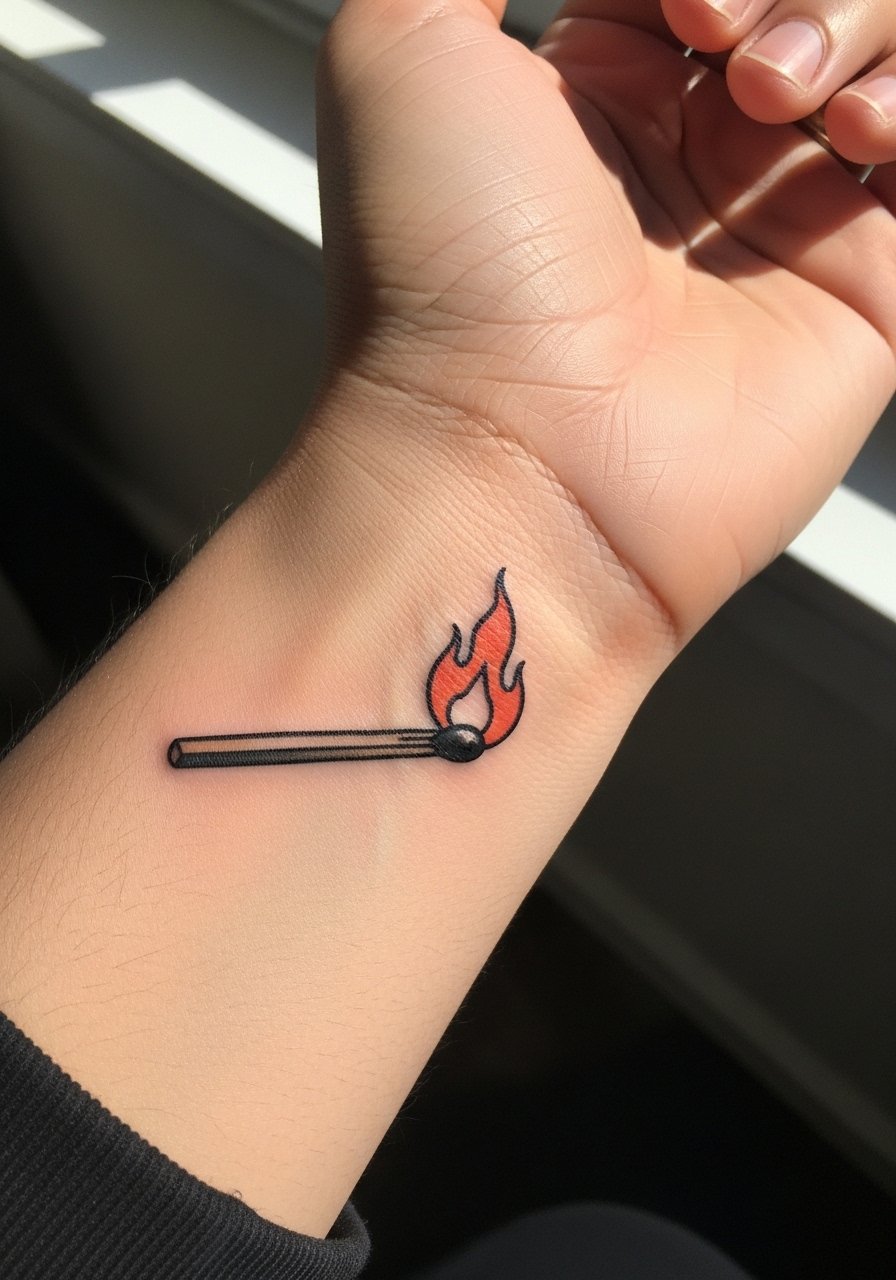
The inner wrist tolerates small vertical designs well if the match head is slightly oversized. The biggest mistake is tiny flame detail that fills in and looks muddy. Ask for clear contrast between the match head and the stick. Session time is short but watch for early scabbing from motion. For the appointment wear a loose button-down or tank that gives the artist unobstructed wrist access. A rolled-up linen shirt in cream keeps attention on the vertical line of the match when it's healed.
16. Keyhole Behind the Ear
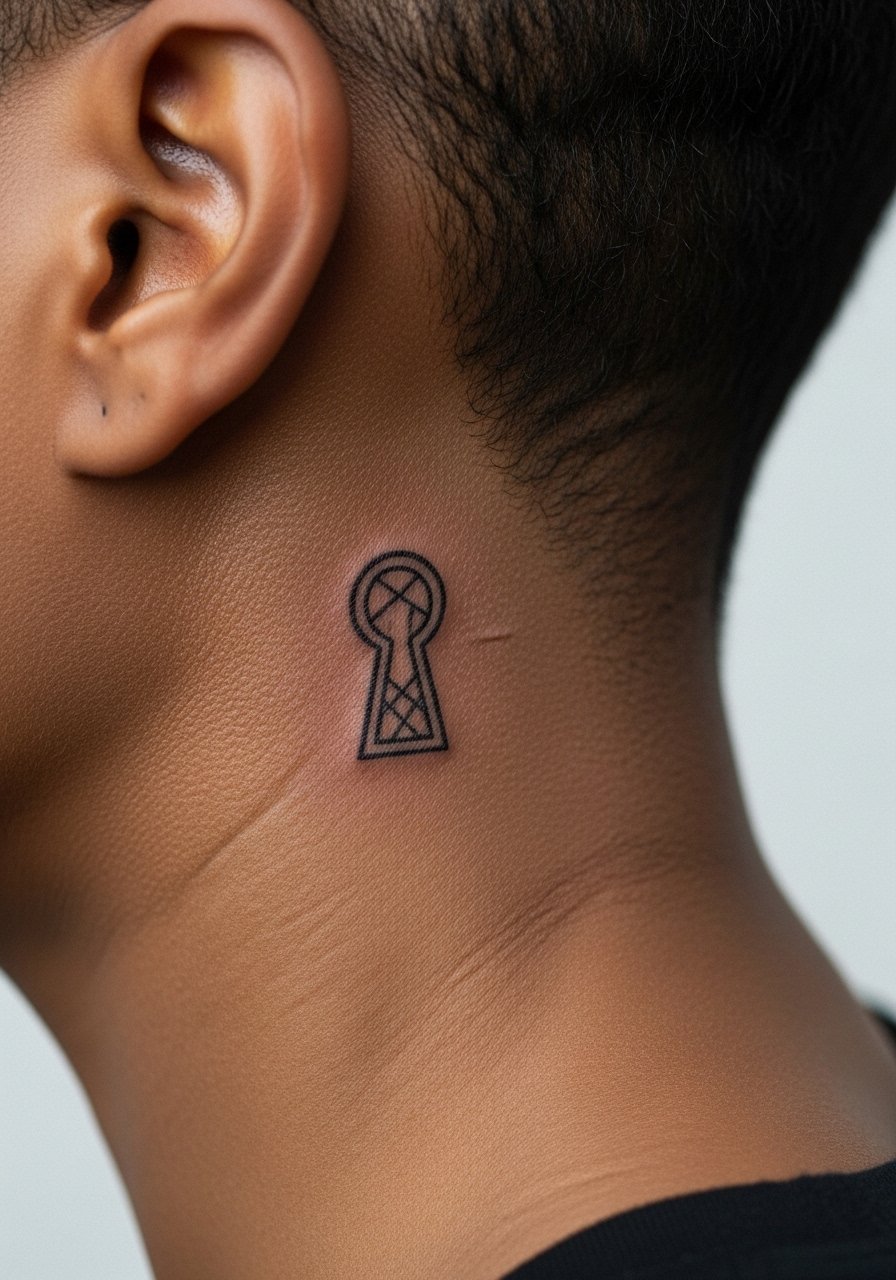
Behind-the-ear pieces are tiny and very discreet. The biggest downside is fading from hair contact and frequent shampooing. Ask your artist for slightly bolder outer lines than they would use on a flat area so the silhouette reads after a year. Sessions are short but healing requires careful drying after showers. For the appointment have hair tied up so only the immediate area is exposed and the artist can work without interference.
17. Tiny Key on the Hip Edge
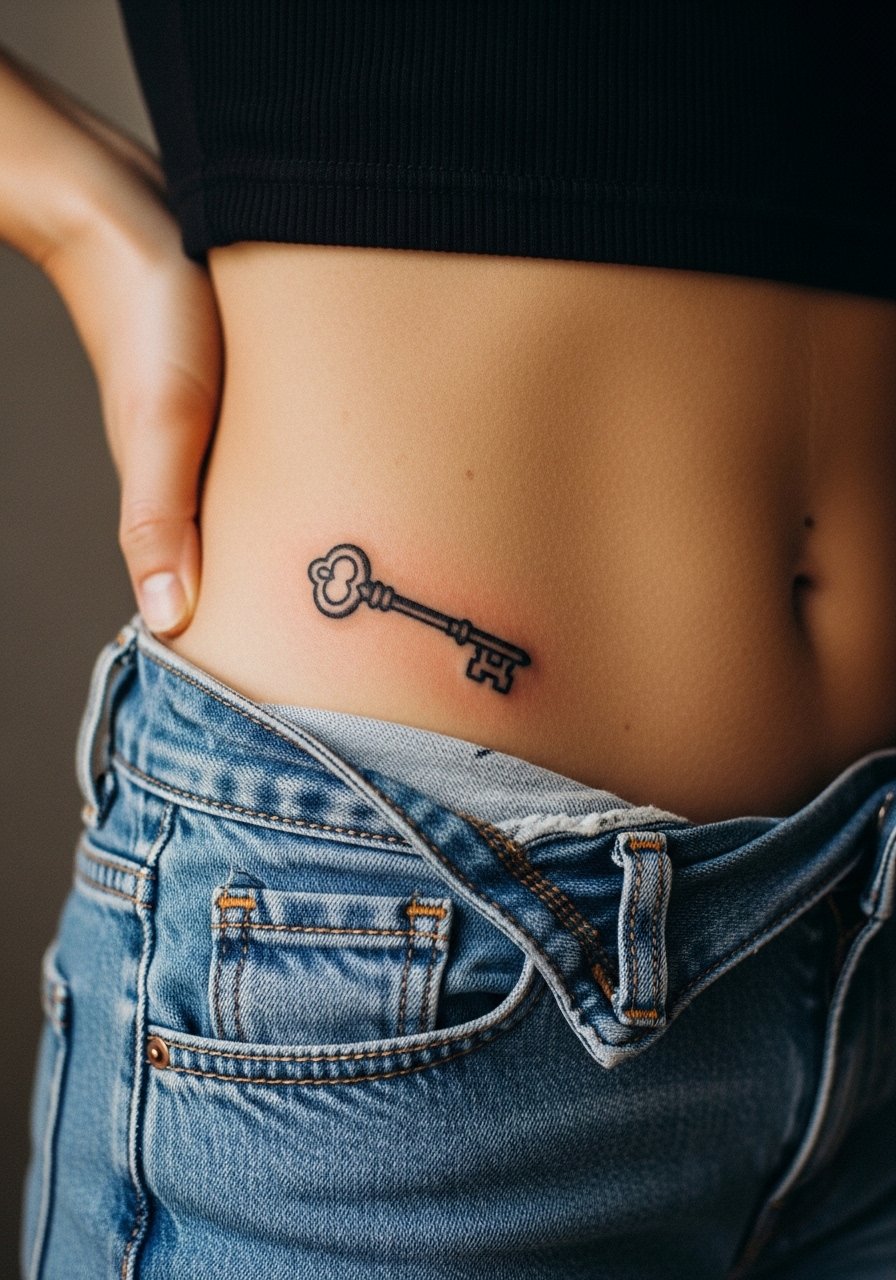
Hip-edge tattoos are excellent for designs you want kept private yet easy to show. The skin here holds ink well but shifts with weight change, so ask for a slightly simplified key silhouette to minimize delicate filigree. A common mistake is requesting filigree teeth that blur. For the session wear high-cut shorts or a swimsuit bottom you can shift so only the area needed is exposed. Expect low to moderate pain and good long-term saturation when the design is kept clean.
Frequently Asked Questions
Q: Fine line pieces are so popular. How do I avoid them blurring on wrists and fingers?
A: From what I've seen, the trick is to prioritize thicker outer linework and reduce interior micro detail in high-friction zones. Ask your artist to increase spacing between lines and to plan a touch-up at around year one. If you prefer super-fine aesthetics, pick placements that see less abrasion than fingers and wrists.
Q: Are ribcage tattoos worth the pain for small traditional designs?
A: Ribcage pieces can look fantastic but they are painful and need careful design choices. Artists split into camps on fine line there. One group avoids tiny detail because stretch and movement can blur ink. The other group uses deeper placement and spacing to preserve detail. Discuss which approach your artist uses and plan for longer sessions or breaks.
Q: What should I wear to appointments for collarbone and shoulder blade tattoos?
A: For collarbone choose a strapless bralette or an off-shoulder blouse you can pull aside. For shoulder blade wear a loose tank or a button-down you can slide off one shoulder. A good option to pack is a strapless bralette so you stay comfortable without exposing more than necessary.
Q: I heard small tattoos cost more than before. Any tips to save without sacrificing quality?
A: Prices have trended up. If budget matters, look for studio guest spots, reputable apprentices doing supervised work, or weekday walk-in specials. Check portfolios closely and confirm refund or reschedule policies so repeated cancellations do not cost you more in the long run.
Q: How often do small traditional wrist and ankle pieces need touch-ups?
A: Expect many wrist and ankle pieces to benefit from a touch-up between one and three years, depending on sun exposure and friction. Dense saturation and heavier outlines extend time between touch-ups. Plan for a consultation about expected longevity during booking.
Q: Is Saniderm or dry healing better for small tattoos on hands and feet?
A: Artists are divided. One camp prefers Saniderm to protect against friction and speed initial healing. The other camp favors dry healing, arguing it reduces trapped moisture and lowers infection risk. The right choice depends on your lifestyle and the artist's aftercare protocol. Ask which they recommend and why before you leave the chair.
