
Fine line work often looks best when it is planned to age, not just to photograph well. Many people chase the tiniest, most detailed reference and then wonder why lines blur or saturation spreads after a couple of years. Choosing space, line weight, and placement with longevity in mind makes a tiny sibling motif read as intentional for longer, and the first idea below shows how to get that balance right.
1. Fine Line Arrow on Inner Wrist
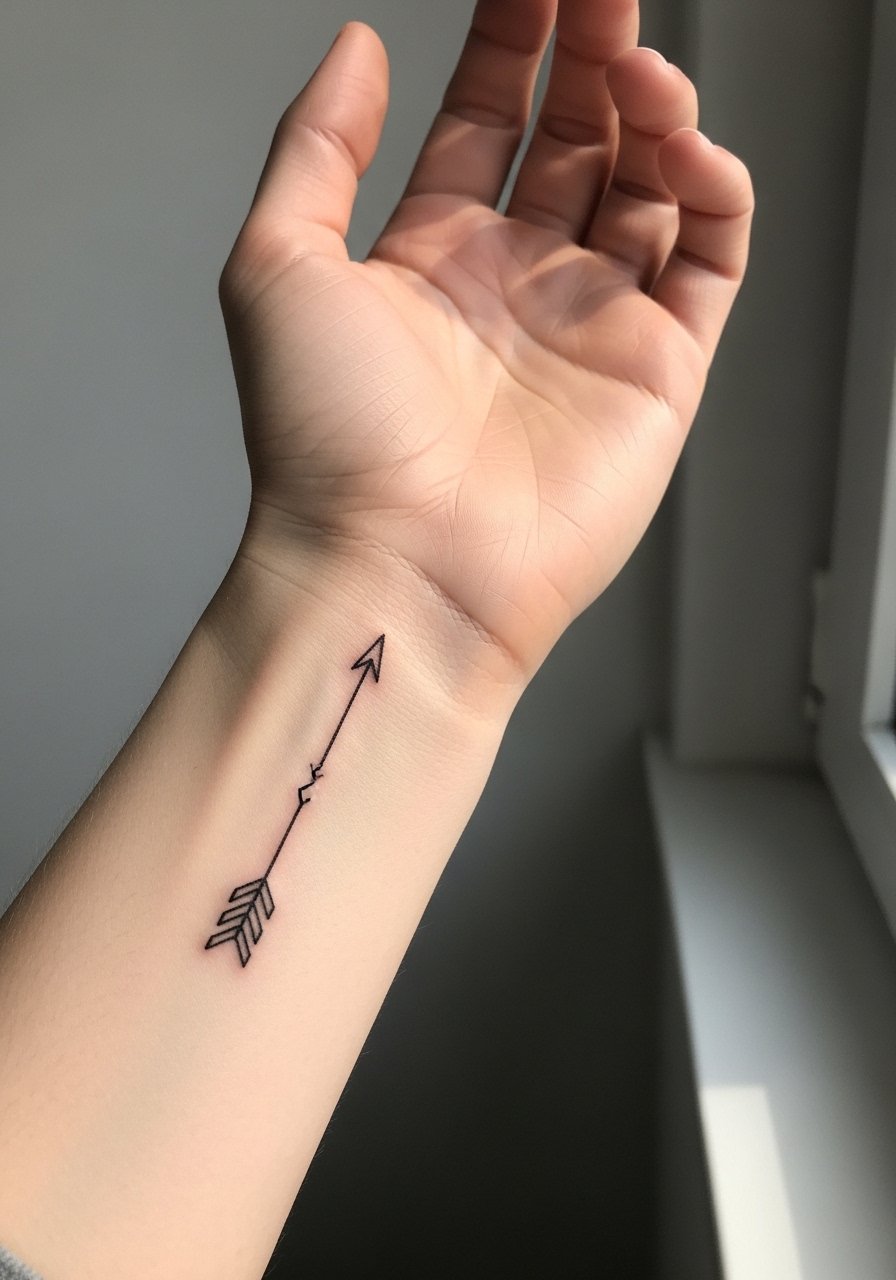
A tiny arrow on the inner wrist reads like a private signal between siblings, practical for someone who wants meaning without a headline. I recommend slightly thicker linework than a micro tattoo to give the piece room to age, and tell your artist you want the arrow to hold at year three, not just look delicate fresh. Expect low session time and mild wrist sensitivity during tattooing. A common mistake is asking for needle-thin lines with dense feathering, which tends to blur. For showing it off, a thin chain bracelet on the opposite wrist keeps attention on the ink while staying understated.
2. Intertwined Roots Tree on Inner Forearm
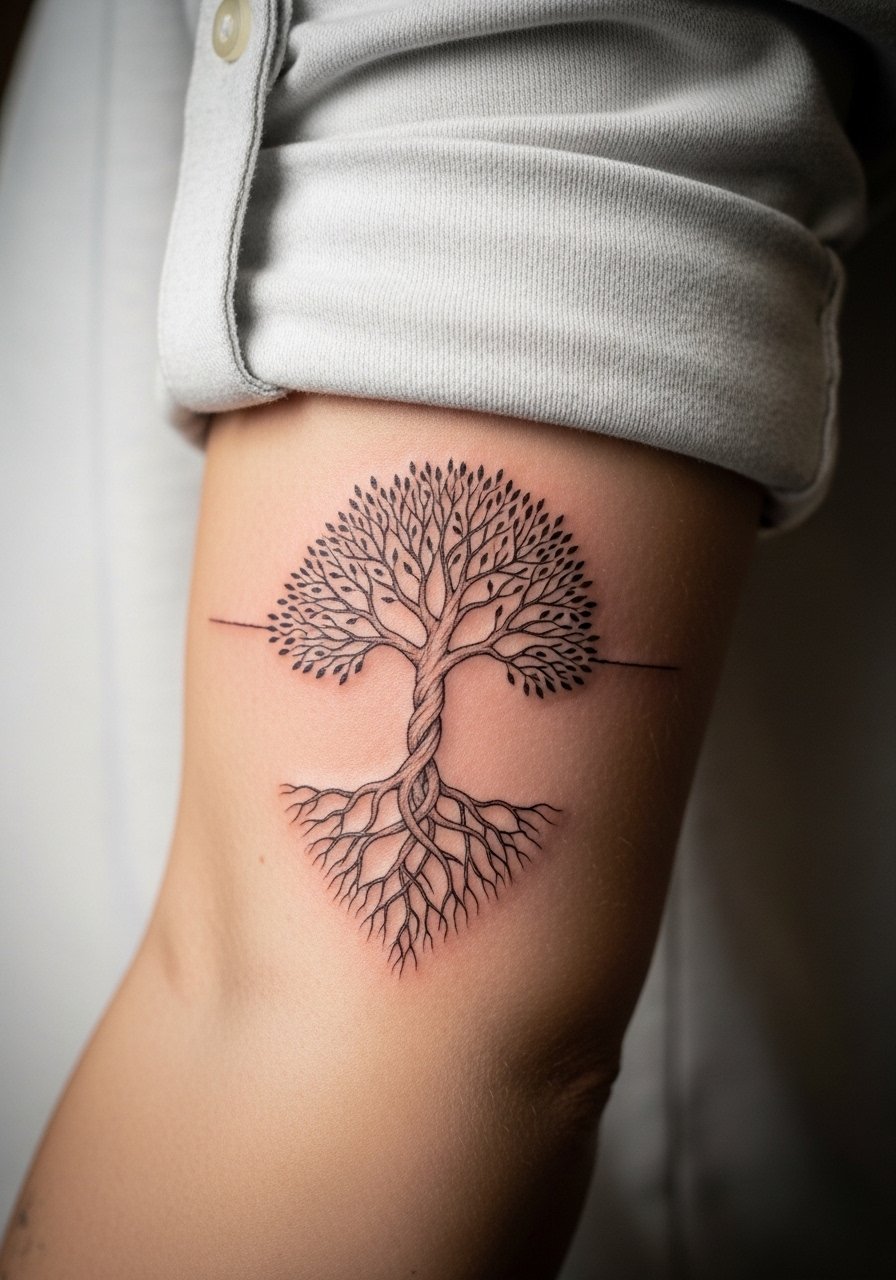
A medium-sized fine line tree with roots that weave into one another works well on the inner forearm because the flat canvas keeps linework crisp. When you consult, ask your artist for slightly more spacing between root strands and for some stipple shading to give depth without dense packing. Forearm pieces are easy to show off, so pair this with a roll cuff button down in white or light gray for an effortless frame. Expect moderate session time and minimal pain. Avoid asking for hyper-detail in a tiny footprint, as the roots will merge over time.
3. Blackwork Puzzle Piece on Shoulder
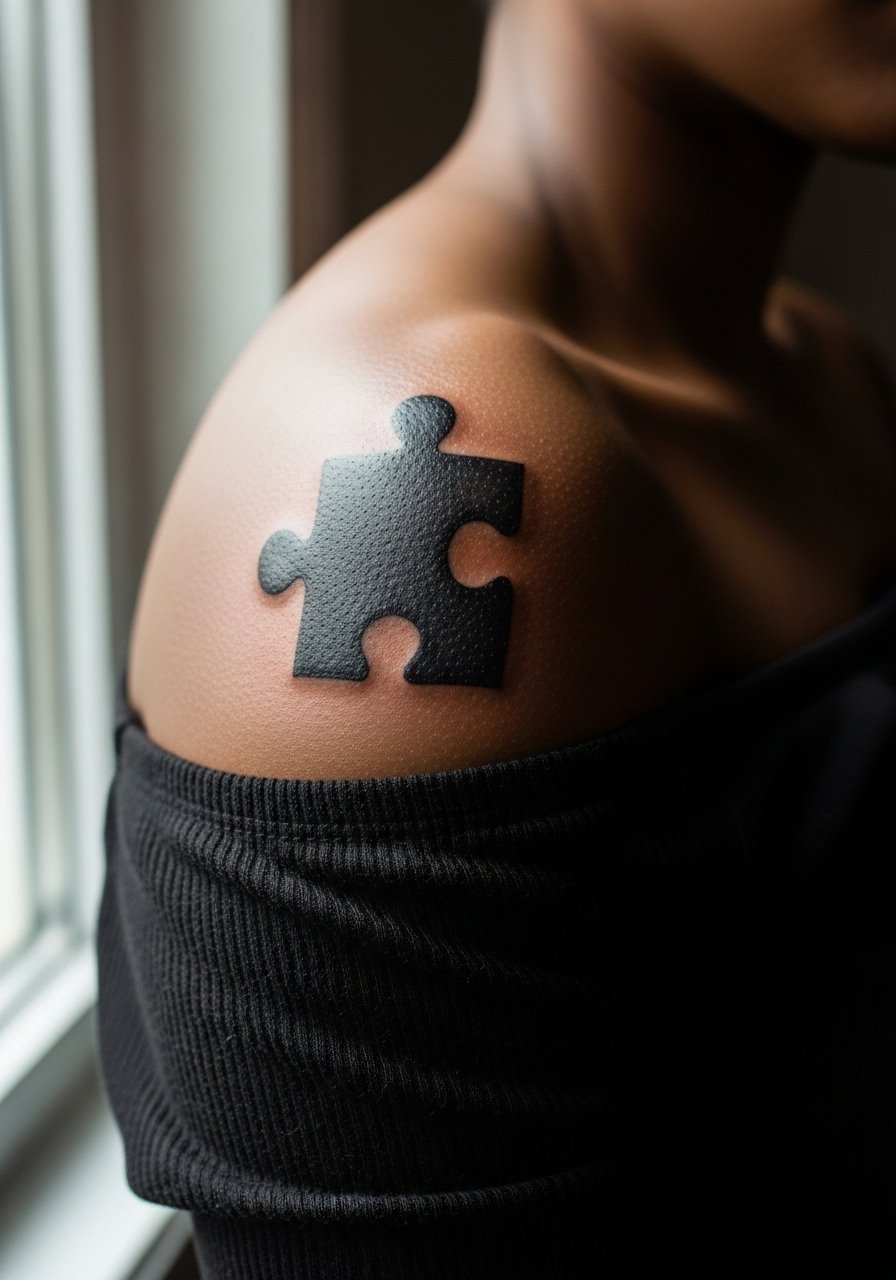
Bold black puzzle pieces that interlock across two shoulders read clearly from a distance and hold up because of strong saturation. If you want matching halves, plan negative space carefully so the join still reads after settling. For studio day, wear a loose button-down shirt you can pull aside for access. Pain is moderate on the shoulder and touch-ups are common when the edges need crisping after six to twelve months. A frequent error is asking for tiny, high-detail puzzle teeth instead of simple, bold connectors.
4. Watercolor Heart Halves with Birthstones on Ribcage
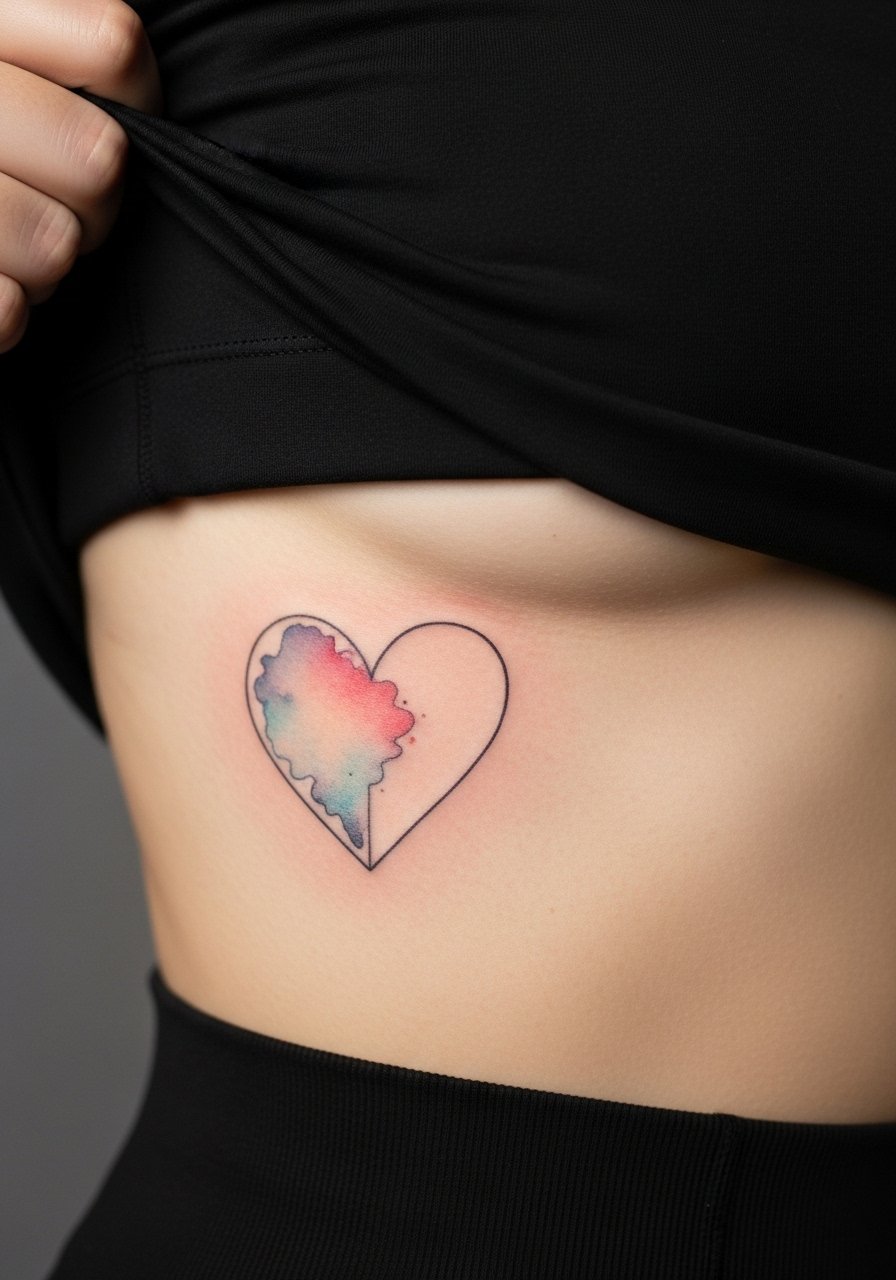
Ribcage pieces are beautiful and painful. Fair warning: the rib area is higher on pain scales but gives room for color and flow. For sibling halves, use subtle birthstone color accents inside the watercolor wash rather than dense color fields. Name both camps on ribs and fine line explicitly. One group says delicate lines on the ribs blur within two years because of skin stretch and movement. The other group argues that with proper depth and spacing the lines can hold up. Ask your artist where they land before booking. Wear a fitted sports bra to the session and expect two sessions if you want saturated color.
5. Neo-Traditional Lion and Lamb on Upper Arm
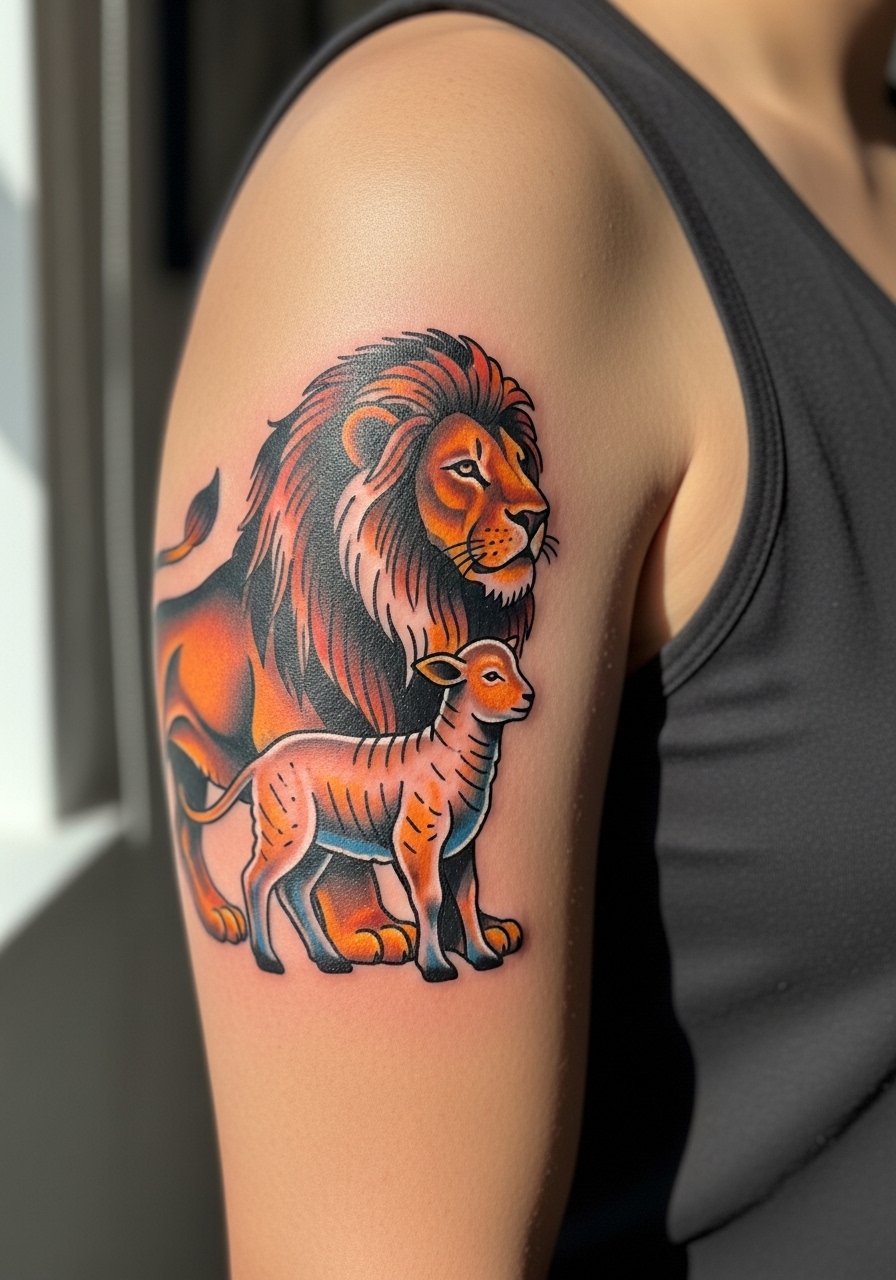
There is a lot of personality in a neo-traditional lion and lamb pairing. One sibling can pick the more guarded silhouette and the other the gentler one, giving a clear contrast without being literal. Request bold outlines and mid-level saturation to avoid early fading while keeping illustrative details like whisker strokes and floral accents. Session time is moderate and pain is low on the outer upper arm. For the appointment, a loose tank top lets the artist work comfortably and keeps the rest of your torso covered.
6. Fine Line Coordinates of Childhood Home on Ankle
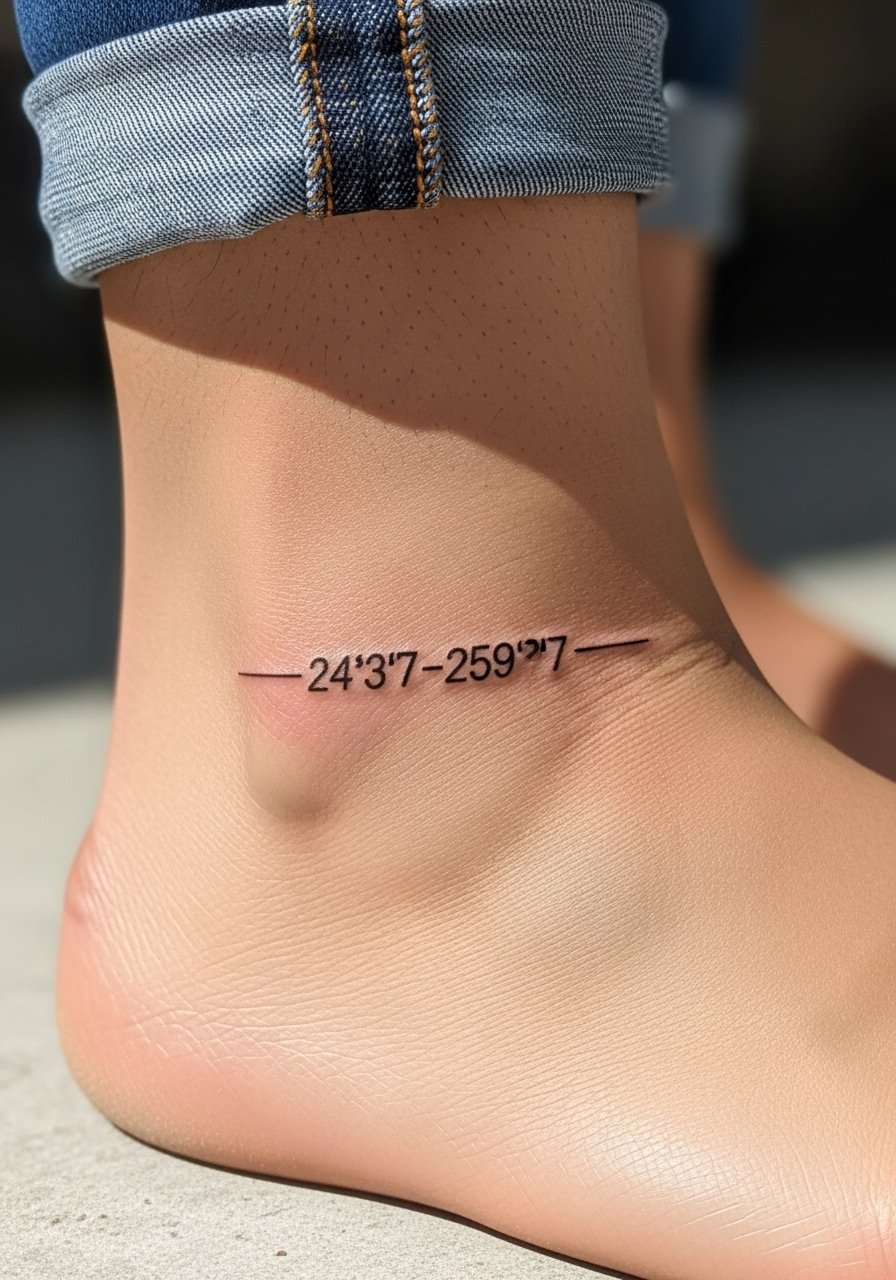
Coordinates are stealthy and very personal, which fits siblings who want an insider mark. The ankle is a micro canvas so keep font simple and spacing generous to avoid the numbers smudging. Plan for friction from shoes and socks in the first weeks and expect a touch-up in a year. For showing it off, cropped ankle pants or a dainty anklet chain frame the area without competing. Session time is short and pain is moderate because of bone proximity. A common misstep is choosing a tiny serif font that fills with ink.
Pack Smart
The wrist and ankle pieces above heal differently from larger arm work, so a few small items smooth out the session and the first week.
-
Stencil transfer paper kit. Lets you preview line placement on skin before committing, which is handy for the coordinate and arrow pieces above.
-
Topical numbing cream. Applied per instructions before the appointment helps with wrist and rib sensitivity without compromising linework.
-
Thin protective film roll. Keeps small areas like fingers and ankles clean during the first days when friction is highest.
-
Fragrance free gentle body wash. Cleanses healing skin without irritation, useful for forearm and leg pieces above.
-
Aquaphor healing ointment. A thin initial layer can protect fresh fine line work, especially on high-friction spots like the ankle.
7. Fine Line Morse Code "Family Forever" on Finger
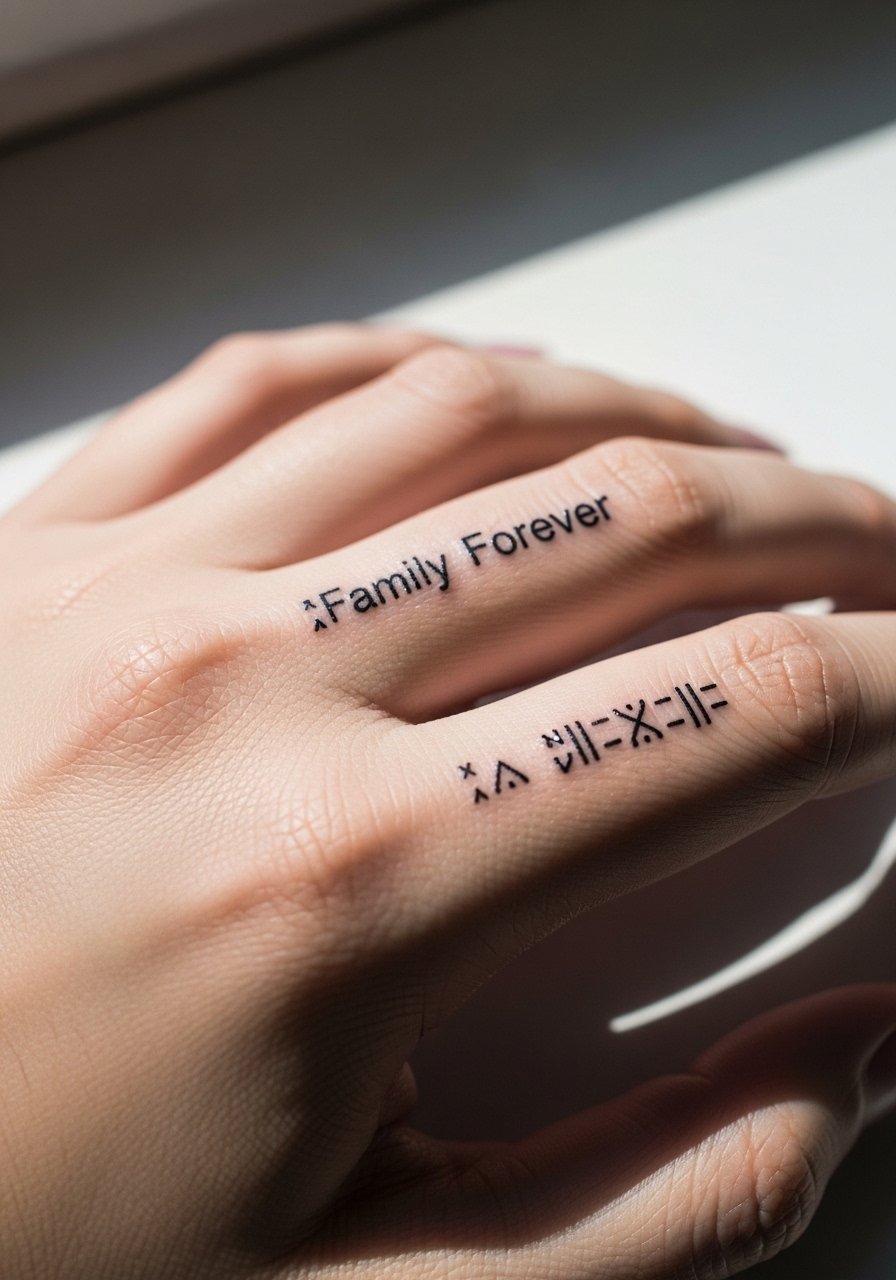
Morse code on fingers is a discreet way to encode a sibling phrase. Keep the pattern horizontal along the finger and ask for slightly bolder dots so they do not blur into one another. Fingers are high-friction and likely to need touch-ups, so expect at least one revisit within a year. The session is quick but stingy. A common error is packing dots too close together for readability after settling. Hand tattoos can affect some workplace policies, so check that before committing.
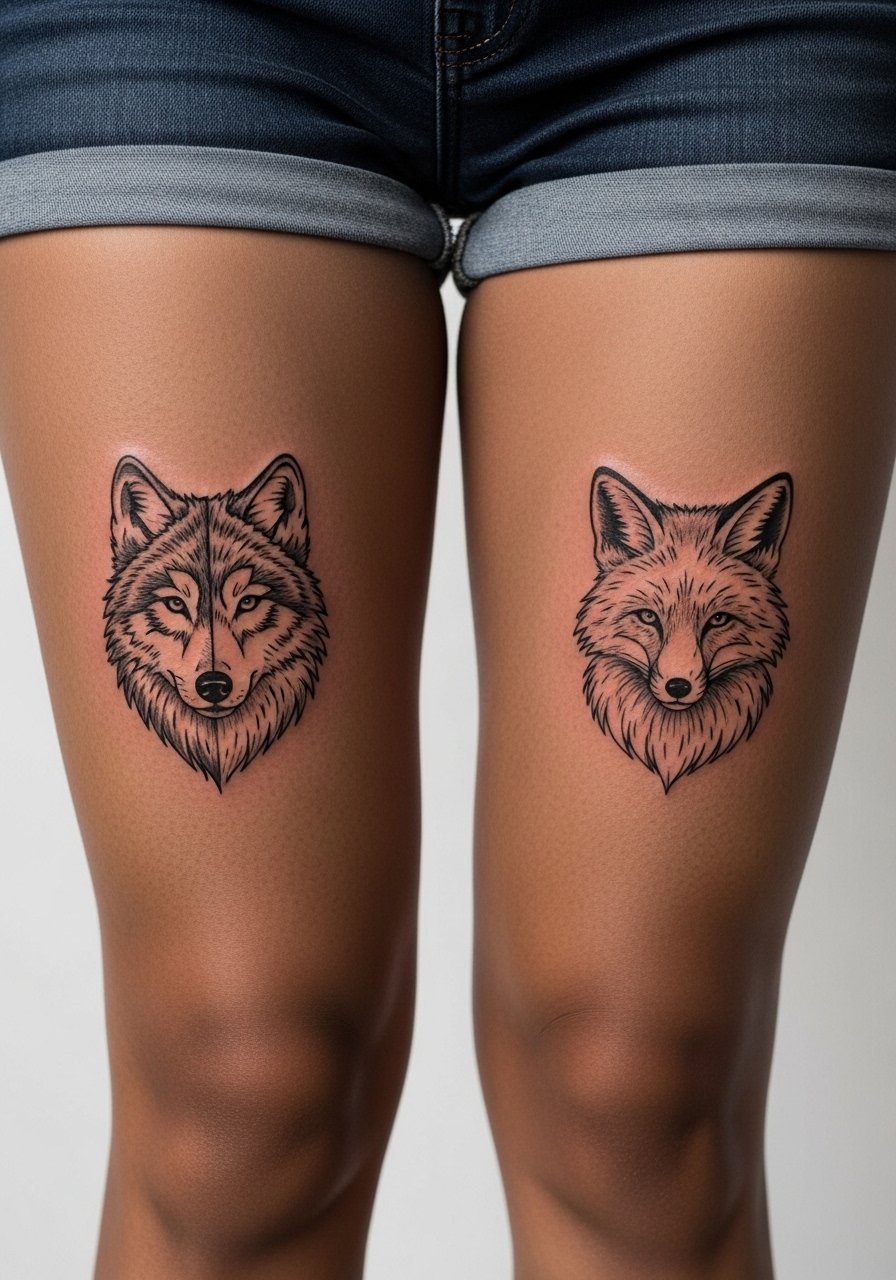
8. Yin-Yang Wolf and Fox Silhouettes on Calf

Complementary animal silhouettes are a great way to show opposing yet linked personalities. The calf gives muscle terrain where curves enhance a yin-yang composition. Ask for clear negative space between the two shapes and for a slight stipple edge so lines do not look harsh as the skin moves. For show-off outfits, cropped pants or sneakers frame the calf nicely and a cropped ankle pant keeps the design visible. Sessions feel relaxed sitting or lying on your side, and touch-ups are typically minor.
9. Micro-Realism Childhood Toy on Inner Bicep
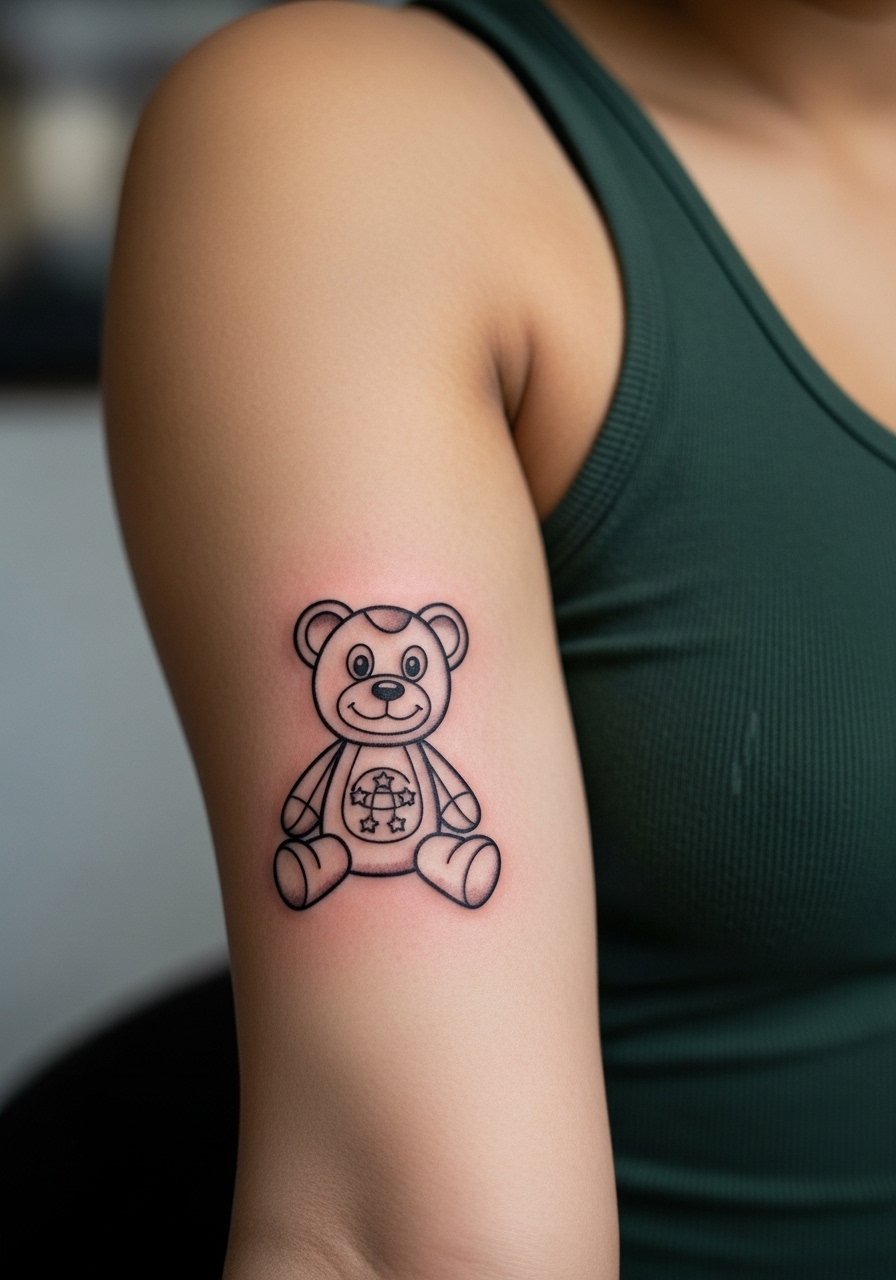
Micro-realism captures nostalgic miniatures well on the inner bicep where there is enough flat canvas for detail. Ask your artist for linework with subtle gray wash rather than heavy color fill so the tiny features age more gracefully. Inner bicep work is moderately painful and needs the arm raised during part of the session. Wear a loose button-down shirt you can slip off by the shoulder for access. Avoid cramming a full portrait into a postage-stamp size, because fine shading will soften over time.
10. Blackwork Sun and Moon Phases on Thigh

Thigh pieces tolerate solid blackwork and larger compositions because they have fewer friction points and more tissue to accept saturation. A sun and moon sequence across opposite thighs or mirrored on sibling bodies reads as a strong graphic. Plan shading to remain graphic rather than photoreal. For showing it off, a flowy summer dress or shorts reveal the area while protecting skin the rest of the time. Pain varies by spot on the thigh and touch-ups for saturation are common after the first year.
11. Ornamental Mandala Halves on Shoulder Blade

Mirrored mandala halves that meet on the spine or shoulder blade are an elegant way to show symmetry between siblings. This placement needs negative space and spacing between spokes so the geometry does not merge over time. Some patterns trace to specific cultural traditions, so consider honoring origin with adapted motifs rather than direct replicas. For session access and showing it off later, an open-back dress or a tank top works well. Expect moderate session time and multiple passes for heavier blackwork.
12. Traditional Anchor and Rope Interlocking on Forearm
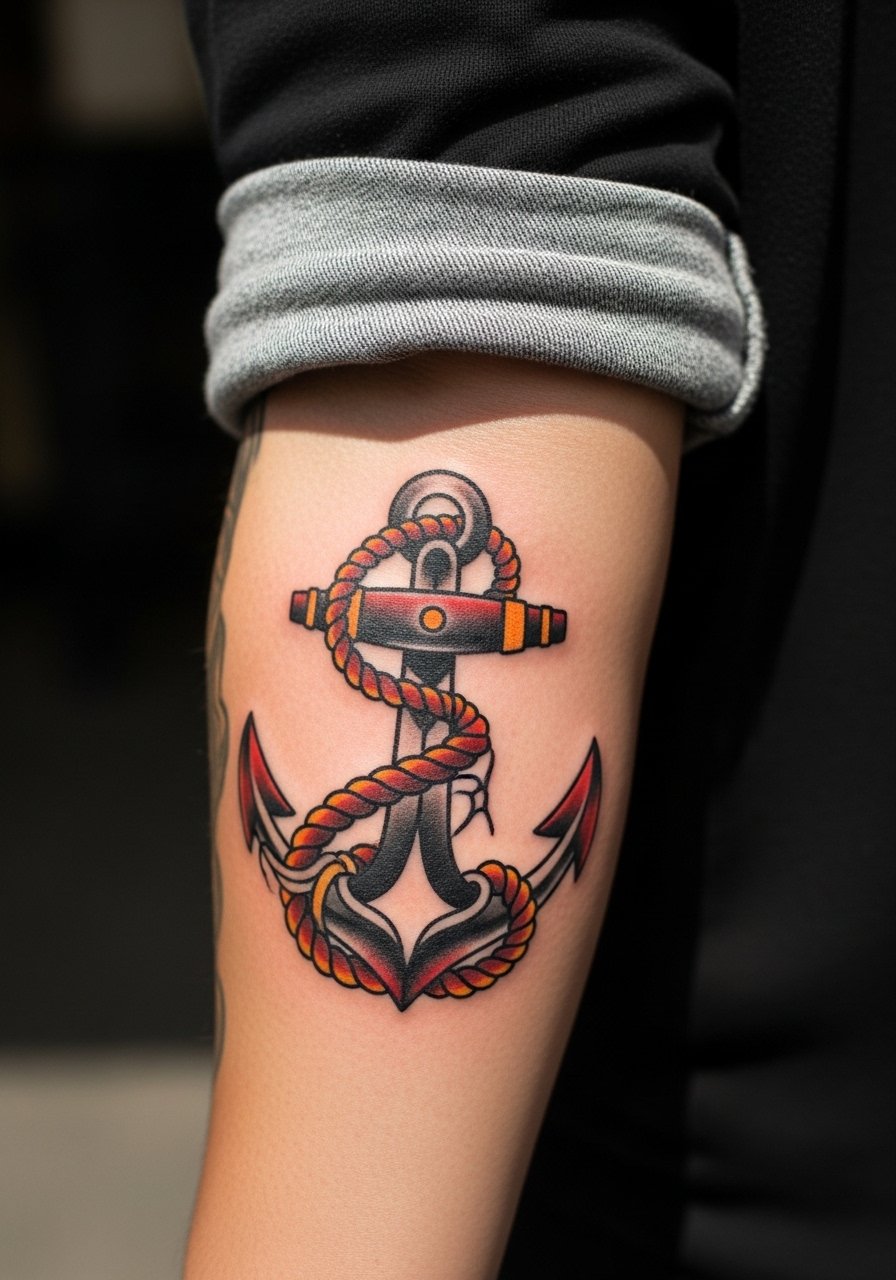
Classic anchor and rope artages into a strong statement that is forgiving on aging because of thick outlines and solid fills. For sibling versions, have the ropes designed so halves interlock visually when arms sit side by side. During consultation say you want heavy outlines and mid-level saturation to avoid early patchiness. Forearm sessions are straightforward and pain is mild to moderate. For showing the piece, roll your sleeves or wear a slim minimalist watch on the opposite arm to balance attention.
13. Ignorant Style Doodle Heart and Quote on Collarbone
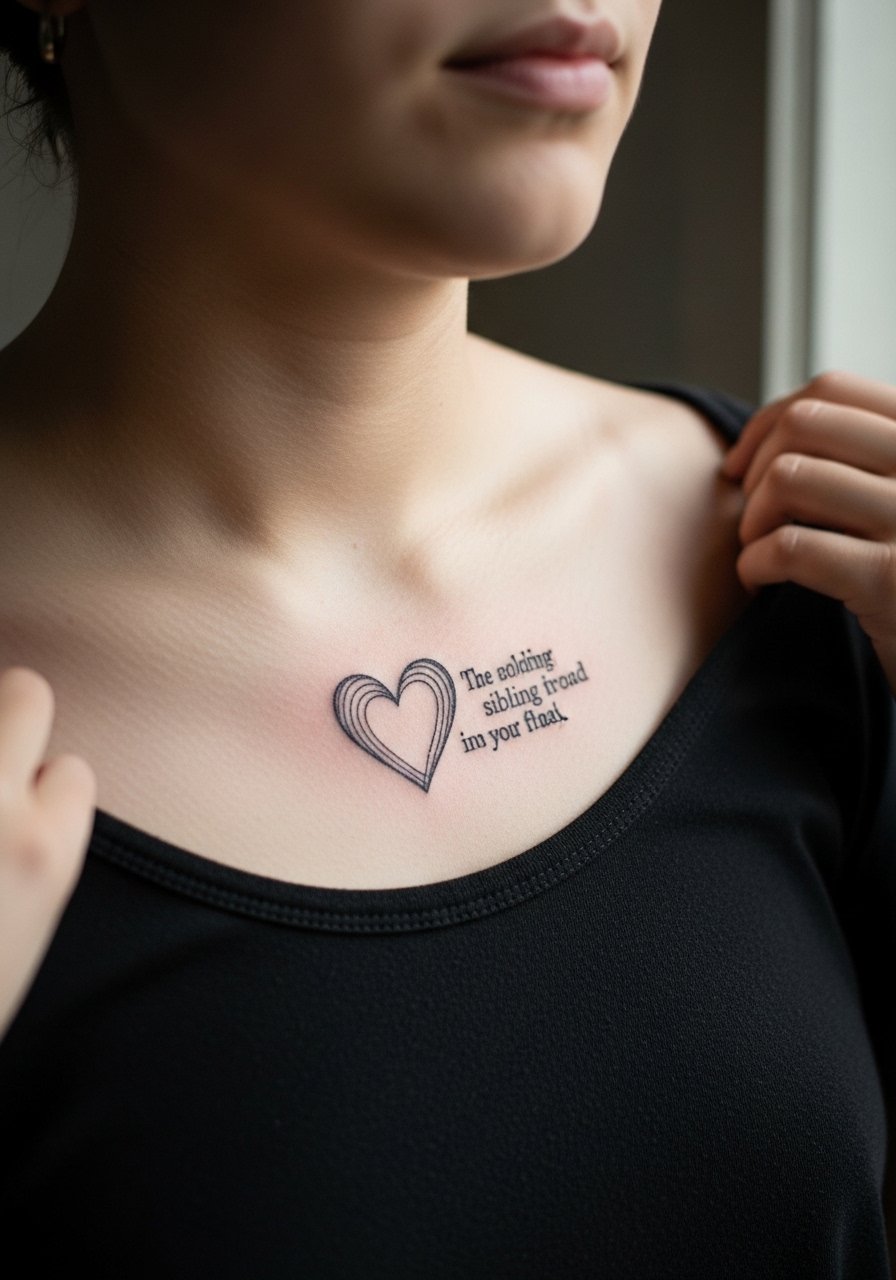
Loose, hand-drawn doodle hearts with a playful quote read casual and youthful on the collarbone. Collarbone skin moves and sits close to bone, so ask for bolder line weight than you might pick on softer areas. For studio day wear a wide-neck shirt you can adjust easily and for evenings an off-shoulder top frames the design. Avoid tiny script that crowds the doodle because the ink will spread into bone-shadowed areas over time. Pain is higher near bone but the visual payoff is immediate.
14. Watercolor Birthstone Halves on Outer Thigh
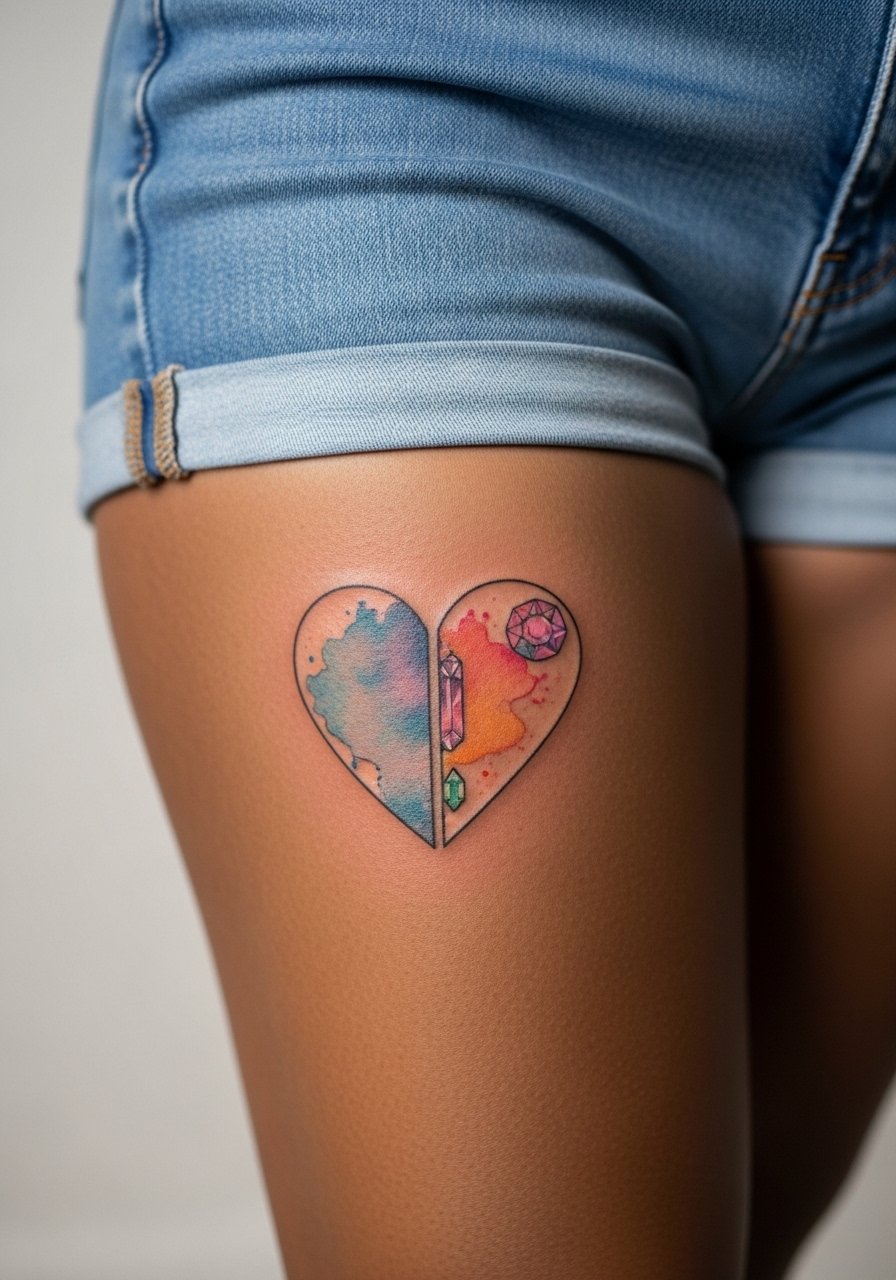
Outer thigh watercolor gives room to play with pigment and flow. Birthstone accents can be small saturated dots inside a washed heart half so the color stays readable. Hydration and sun protection matter long term for color pieces on legs. For the session wear loose shorts so the artist can access the area without fabric rubbing. Expect two sessions if you want strong color layering and plan a touch-up down the road if the wash softens.
15. Minimalist Infinity with Initials on Inner Forearm
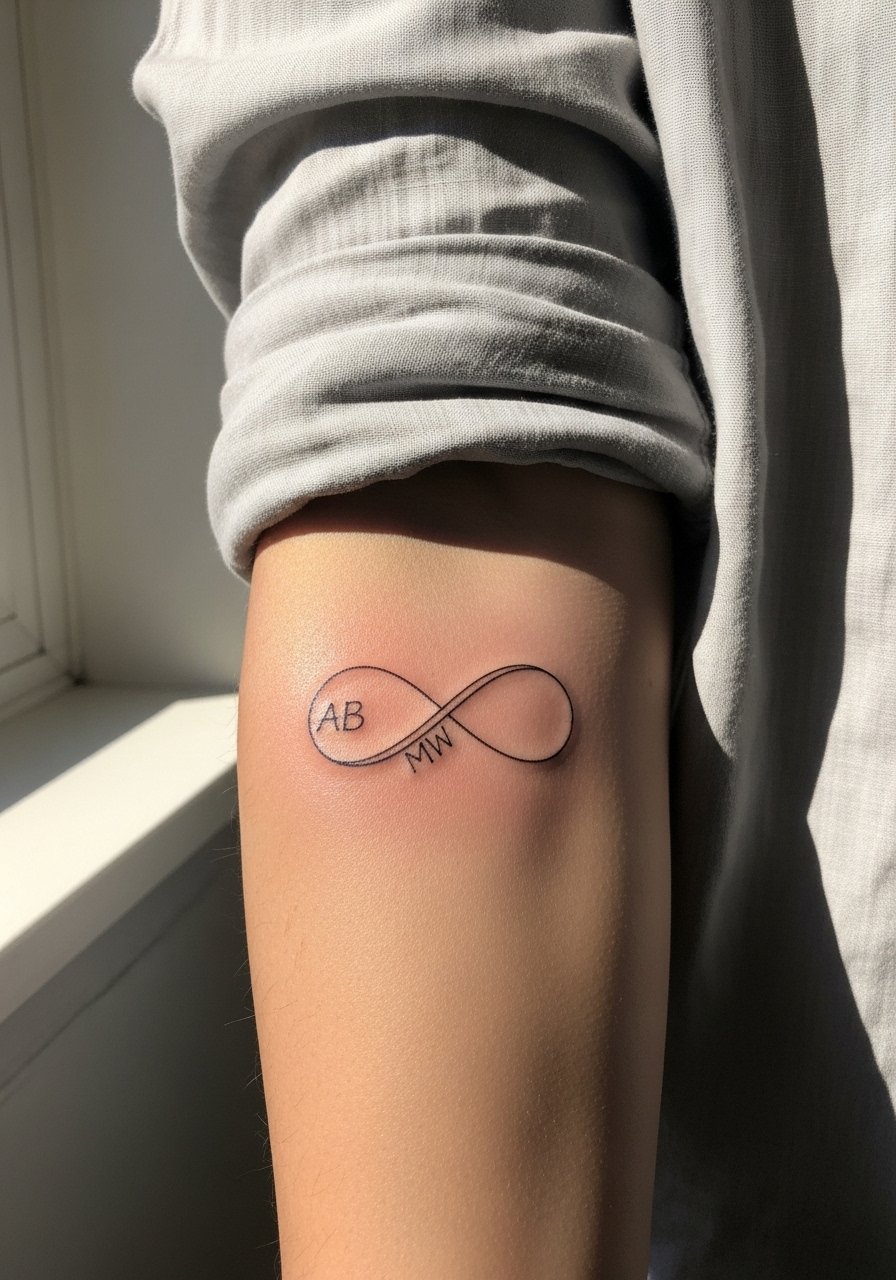
An infinity with initials brings symbolism without being overt. Inner forearm placement gives a readable line for this motif, but avoid micro curls and tiny lettering. Ask your artist to sketch initial placement inside the loop and step back to check legibility at arm length. For showing it off, a light gray linen shirt rolled at the cuff frames the forearm and keeps attention on the linework. Session time is short and touch-ups are usually minimal if spacing is correct.
16. Fine Line Botanical Pair on Upper Back
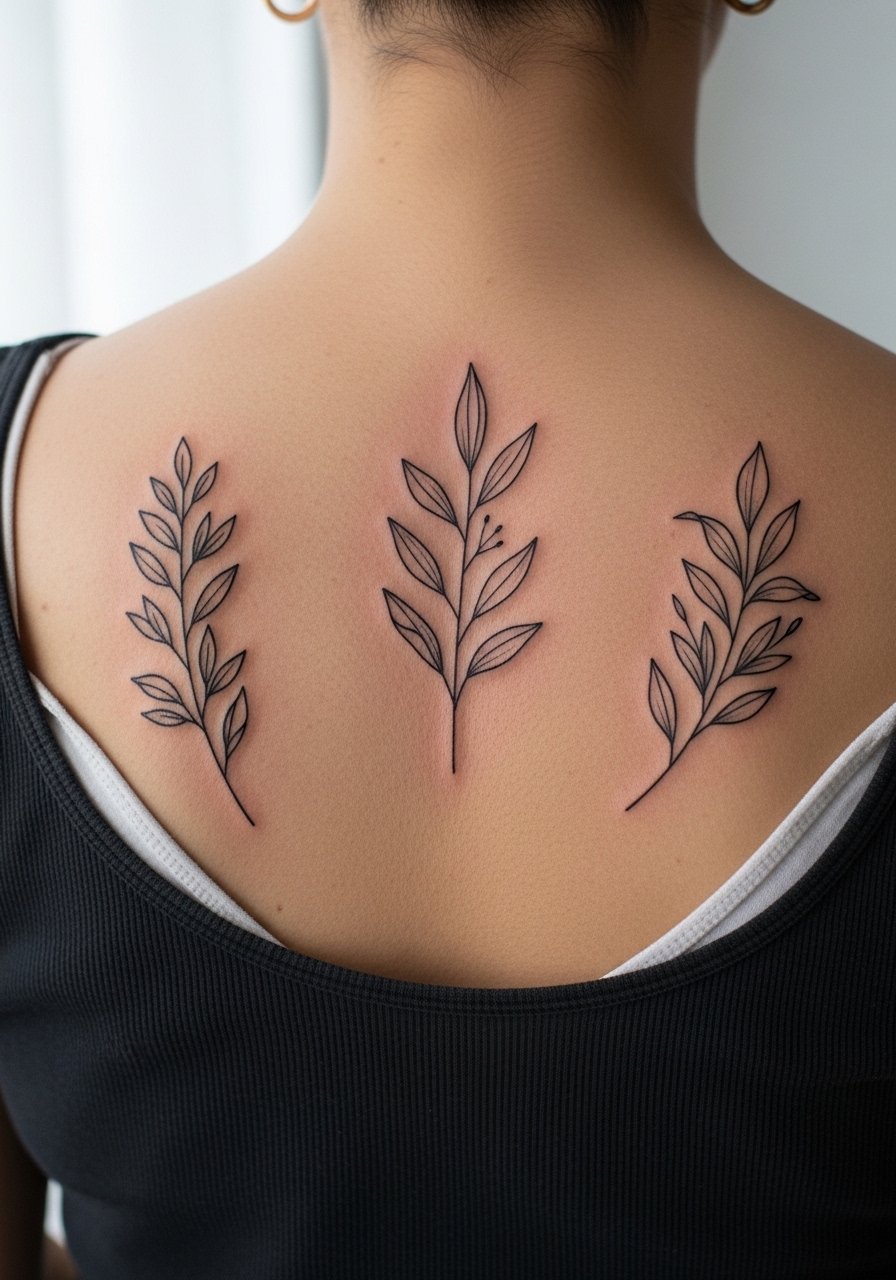
A pair of complementary botanical illustrations across the upper back reads like a shared emblem without identical matching. This area is forgiving for fine line as long as designers avoid cramming leaves and stems into too-small spaces. During consultation bring clear references that show exact line weight and ask the artist to leave breathing room in the composition. For evenings an open-back or backless top showcases the work beautifully. Sessions run moderate in time and pain is low compared with rib or sternum placements.
17. Stipple-Shaded Constellation Pair on Wrist
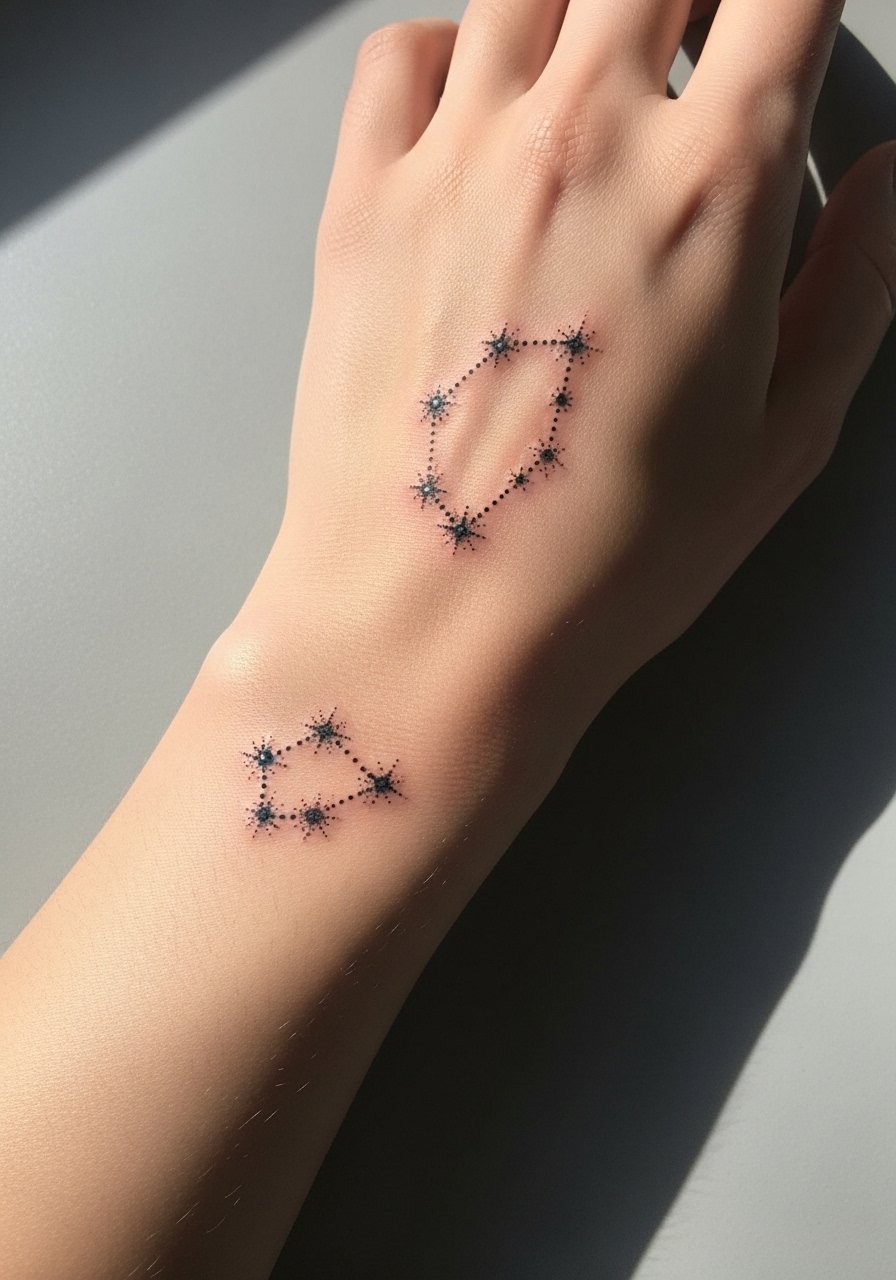
Constellation pairs work well as understated sibling markers on the wrist. Stipple shading offers texture without heavy lines and allows small stars to remain crisp longer than thin script. Wrist movement and washing mean the area needs careful aftercare initially, and minor touch-ups are common. For display, stack dainty bracelets or a thin chain pendant necklace higher up the arm so the wrist design gets its own space. The session is short and pain is low to moderate.
18. Dot-Work Geometric Halves on Side Neck
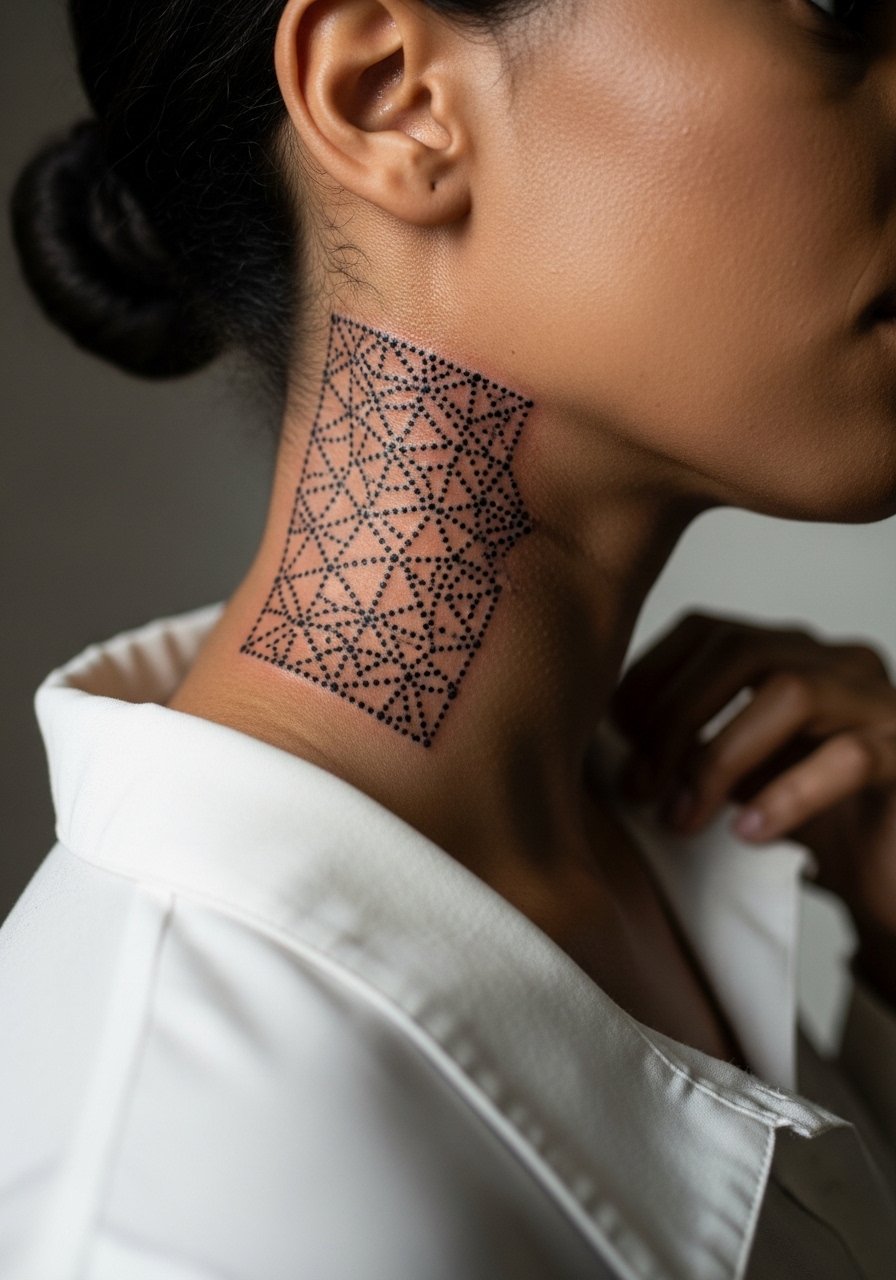
Neck placements ask for careful discussion about visibility and career impact. Geometric halves that sit just below the hairline can be discreet if framed by a collar. Dot work holds well when dots are spaced intentionally, and the design benefits from negative space rather than dense packing. For studio access wear a wide-neck shirt you can pull aside. Pain is higher on the neck and healing needs vigilance because of movement and hair. Talk with your artist about long-term visibility.
19. Scripted Birth Year Roman Numerals Behind the Ear
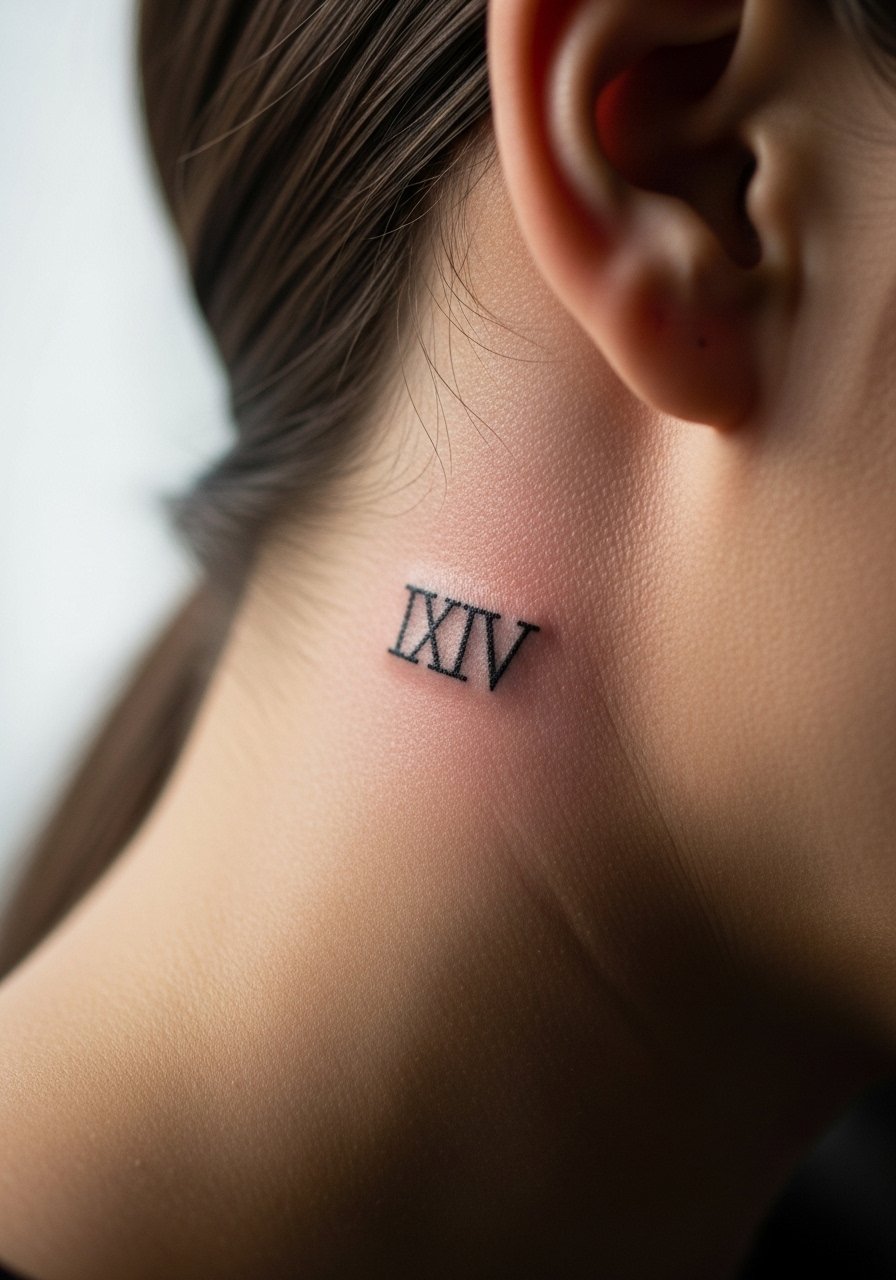
Behind-the-ear numerals are a quiet and symbolic option for siblings who share a birth year or a meaningful date. This place is tiny so choose bold numerals with spacing. Remember to describe the exact text to the artist so the styling stays readable. The session is brief but sharp, and you must meet the placement rules for visibility and hairline. If you are concerned about office policies, this placement is discreet. Ask your artist to preview the stencil against hair and head tilt.
20. Tiny Key and Lock on Finger and Thumb

A micro key-and-lock set split across finger and thumb is playful and literal. Fingers are high-friction and require over-preparation for touch-ups, so be realistic about longevity. Ask your artist for slightly bolder outlines on these micro pieces and plan on a revisit within a year. The session is short and your hands will feel the tattooing more than larger areas. If you want to showcase the duo without constant visibility, design the lock so it reads only when hands come together.
21. Split Animal Silhouette on Opposite Inner Thighs
Inner thigh placements allow for larger silhouettes and private designs that siblings can reveal selectively. This site is softer and needs a skilled hand for consistent linework. For the session plan on loose joggers or shorts so the artist can elevate the leg and work comfortably. Expect moderate to high pain and a careful healing period due to friction from clothing. A typical mistake is asking for ultra-detailed fur texture in a small thigh piece; bold silhouettes translate better over time.
Frequently Asked Questions
Q: Will fine line wrist and forearm pieces blur faster than bold blackwork?
A: In my experience fine line does tend to soften sooner than bold blackwork because the lines sit closer together and there is less saturation to anchor them. Placement matters more than style alone. If you want fine detail to last, ask for slightly increased line weight and extra spacing during the consultation, and plan a touch-up around year two or three.
Q: Do watercolor birthstone accents require different care than black linework?
A: Color demands more sun protection and patience while it settles. Keep the area shaded during long sun exposure and follow the artist's sealing guidance. Hydration and gentle cleansing help color hold, and many color pieces benefit from a planned touch-up session after initial healing.
Q: What should I ask an artist about ribs and fine line given the debate on longevity?
A: Name both camps directly when you ask. Say you understand some artists avoid thin lines on ribs because of stretch and movement and you want to know how the artist approaches spacing and needle depth. A clear answer about their technique and examples of healed ribs in their portfolio is the best way to decide.
Q: Are finger and ankle tattoos worth it if I want something discreet for work?
A: Fingers are visible and wear out fast, while ankles are easy to hide with shoes or socks but see a lot of friction. If discretion is your goal, ankle coordinates or behind-the-ear numerals can be subtle. For fingers accept the maintenance trade-off and design with bolder dots or lines.
Q: Which clothing should I wear to a shoulder or upper arm session to make the artist's job easier?
A: Wear a loose button-down you can pull aside or a tank top that can be slipped off by the shoulder. A loose button-down shirt or a racerback tank makes access easy without exposing more skin than necessary.
