
Fine line filler trends look flawless in saved boards, but the tattoos that still read tidy in photos years later are often quieter on day one. Some abstract treatments give breath between elements so the work settles without turning into a blurred patch. Scroll through these 17 ideas and you will find concrete ways to articulate gaps, what to ask for in consults, and how to style pieces so they get noticed for the right reasons.
1. Dot-Cluster Constellation on the Wrist
There is an immediacy to tiny dot clusters on the wrist that reads like a shorthand constellation. Ask your artist for varied dot sizes and spaced negative areas so the group does not merge as it heals. Fair warning, the wrist sees a lot of friction and frequent washing, so expect a touch-up window earlier than on the forearm. For the session wear a loose button-down shirt you can roll or pull aside so the artist has clear access and the fabric does not press against fresh ink. The session is short and mildly sensitive, and a common mistake is asking for dots too close together which leads to blotching over time.

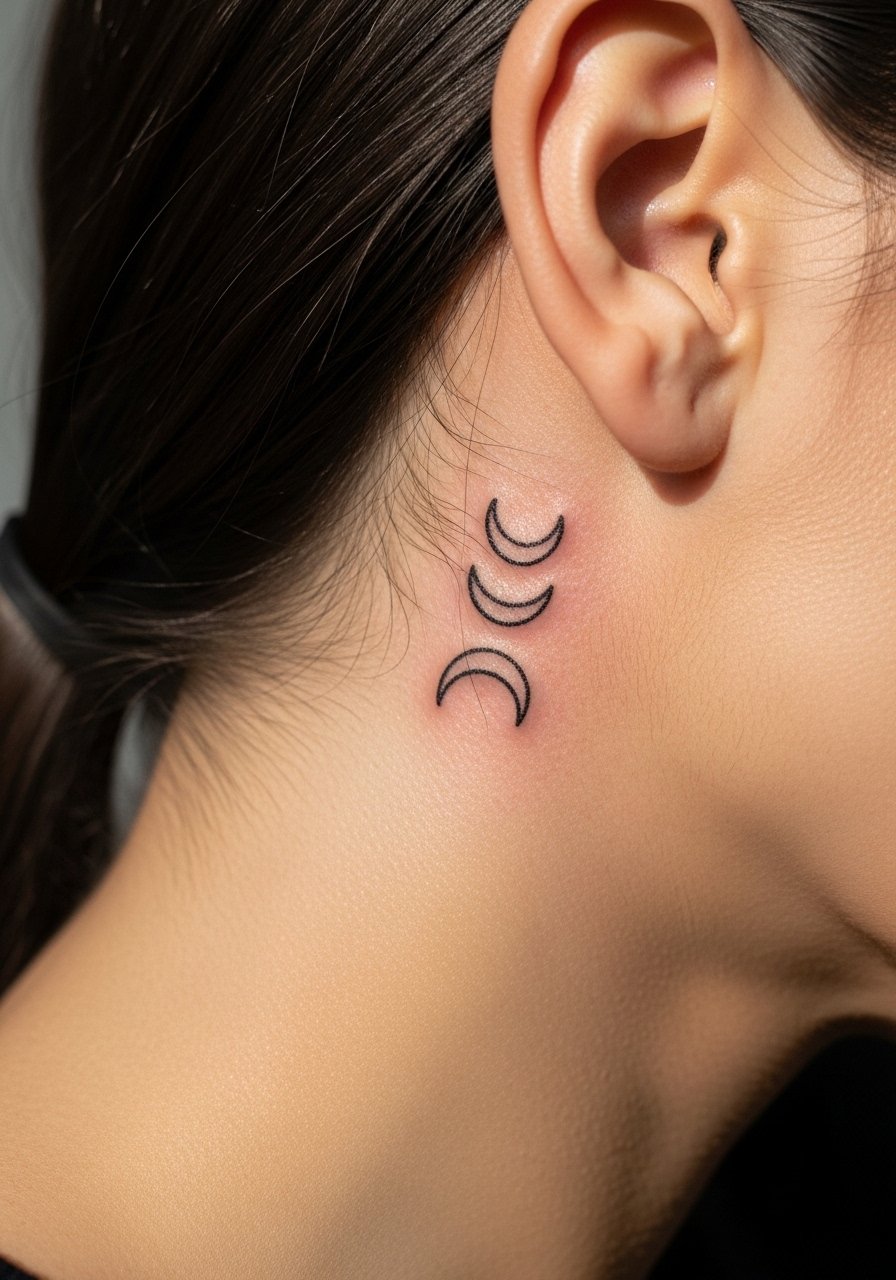
2. Micro-Geometric Crescents Behind the Ear
When you bring this behind-the-ear idea to a consult, show the exact curve widths you want so the crescents sit cleanly in that small zone. The artist will need to work near hair and the hairline, so plan for quick breaks if the scalp is sensitive. Behind-ear tattoos require careful stencil placement because even a tiny shift reads obvious in such a small motif. For session comfort pin your hair up and wear a high-neck top with the hairline exposed so the artist can see the full canvas. Expect low pain and a short session, but watch for blowout risk if the linework is too fine for that curvature.
3. Stipple Wave Filler Along the Ankle
Fair warning: the ankle is a thin skinned area and the session stings more than a forearm piece. That sensitivity gives you an advantage because the artist will often go slower and that helps crisp stipple shading. Ask for stippling with room between dots so the pattern keeps texture rather than turning into a solid gray patch. For show-off outfits try rolled jeans and sandals, otherwise the area gets rubbed by socks and shoes while healing. A common mistake is tight, dense stipple meant to look solid. The more space you build into the dots, the longer the piece will read with clarity.

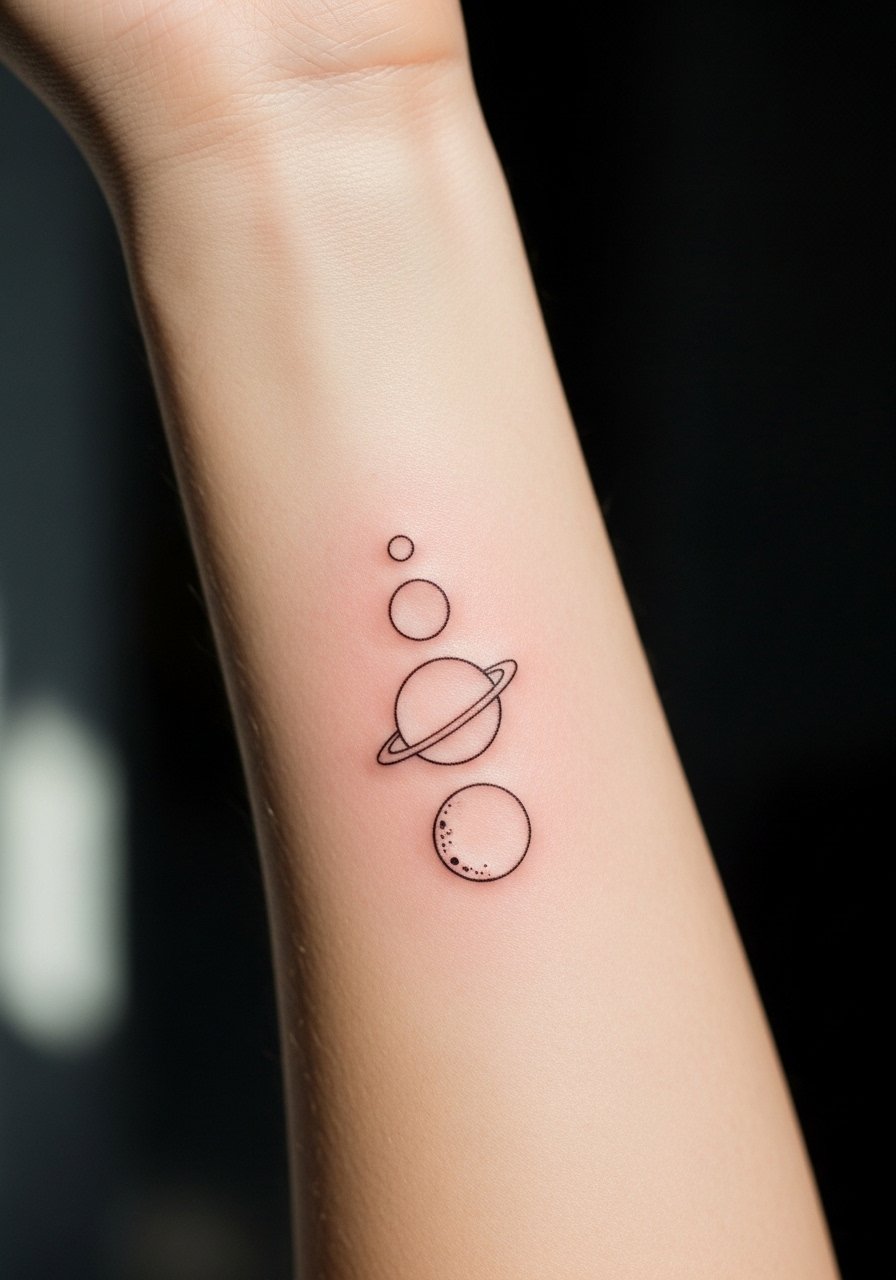
4. Minimal Planetary Stack on the Inner Forearm
Most minimal planetary stacks age best when each planet has its own breathing room. I've seen stacks done with equal tiny orbs that merge into a single blur within a few years. Tell your artist you want graduated scale and slightly varied spacing, and ask them to demonstrate the negative space on the stencil before any needle hits skin. For daily outfits pair this forearm piece with rolled sleeves and a thin chain pendant necklace that sits above the wrist area to balance attention. The session time is brief and pain is low, but plan a touch-up window in two to three years for crisp dot edges.
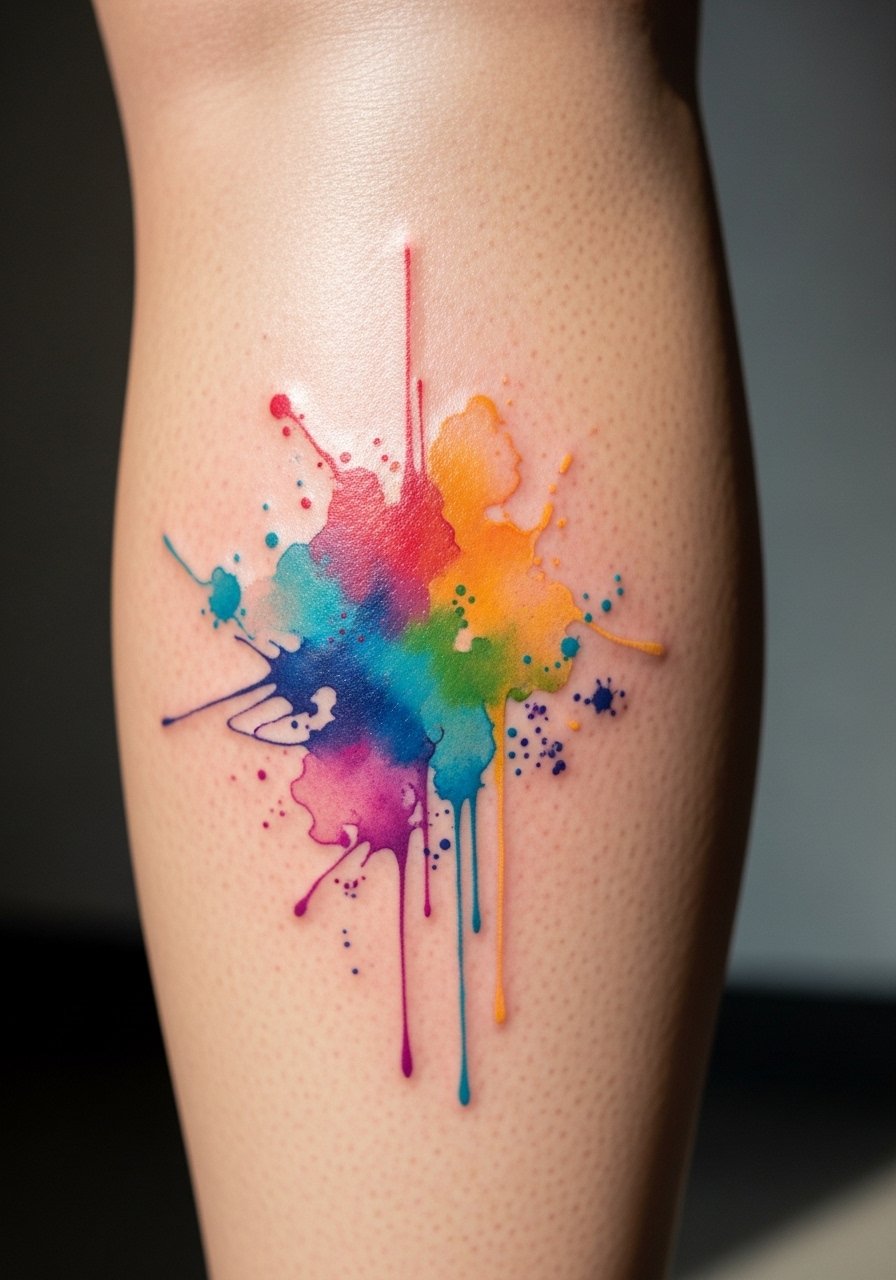
5. Abstract Watercolor Splash as a Calf Filler
The wrong watercolor wash on a gap can age into a faded bruise if the edges are carried all the way out. The version that holds requires confident soft edges and deliberate color stops so the pigment sits in pockets rather than spread thin. When you consult, bring reference images that show the exact balance between wash and line, so the artist knows where to anchor saturation. For showing it off pair with open-back midi dresses or cropped pants that let the calf read as a single graphic. Calf sessions are moderate for pain with steady machine time and often a single appointment.
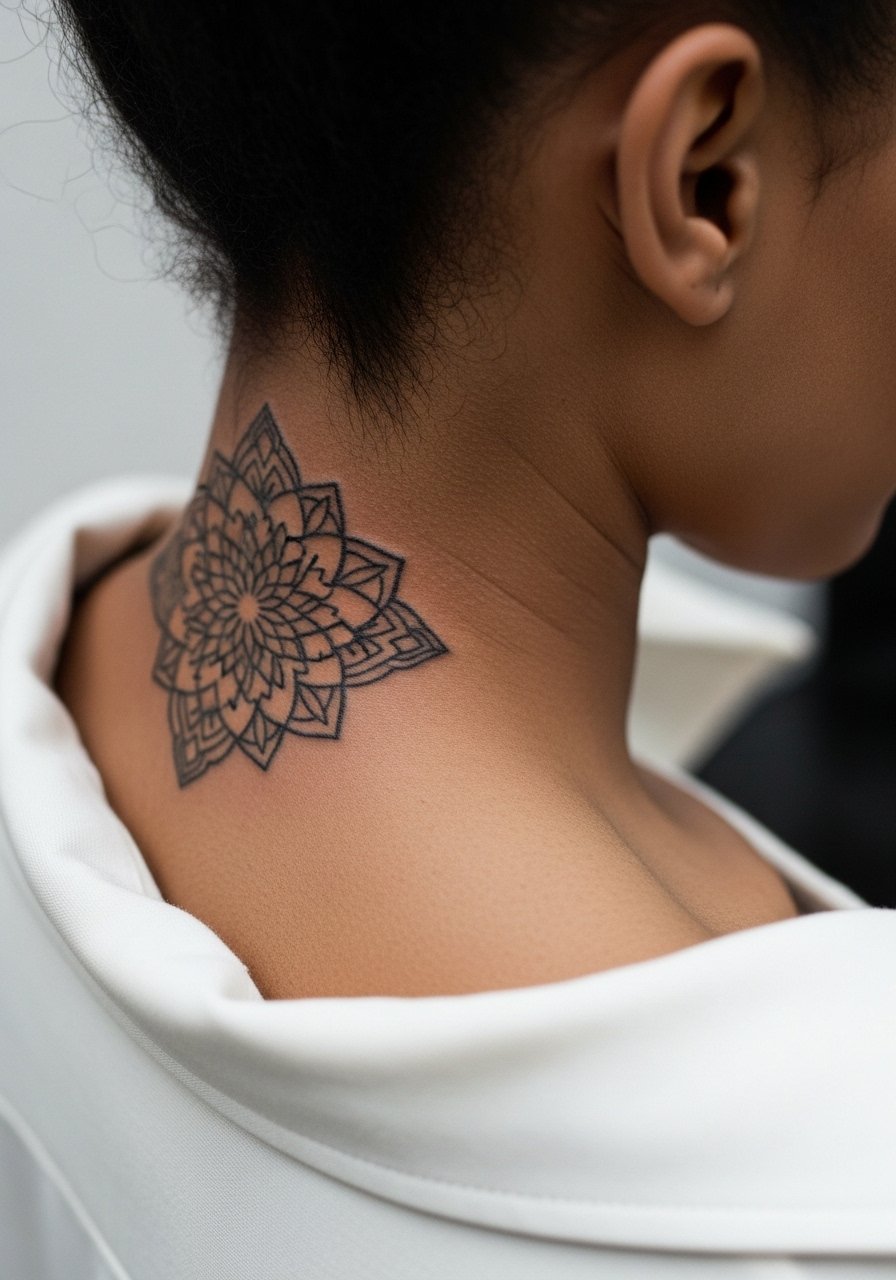
6. Broken-Line Mandala at the Nape
Artists split on how dense mandalas should be at the nape, and you should hear both sides. One camp argues dense detail in that spot blurs in a few years because the skin flexes and hair rubbing disturbs the ink. The other camp says selective spacing and slightly bolder linework settle fine. Ask your artist where they stand and why. For the session tie your hair up and wear a wide-neck shirt you can pull slightly to the side so only the nape shows. This placement is medium on pain and benefits from deliberate spacing so the mandala reads as texture rather than a single dark patch.
Studio Day Picks
The wrist and calf pieces above heal differently from chest and rib ideas, so these studio day items help with access, comfort, and early protection.
-
Stencil transfer paper kit. Lets you preview placement on skin, which is handy for small abstract clusters and crescent elements.
-
Topical numbing cream. Applied per directions about 30 to 45 minutes before the session it can take the edge off ankle and rib sensitivity without dulling the artist's feel.
-
Thin protective film roll. Good for fingers and wrists during the first 48 hours when friction and hand washing are unavoidable.
-
Fragrance free body wash. Keeps healing zones clean without irritating fresh linework for forearm and calf pieces.
-
Aquaphor healing ointment. A thin initial layer helps lock in moisture for fine work without clogging the tiny channels that delicate dot and line pieces depend on.
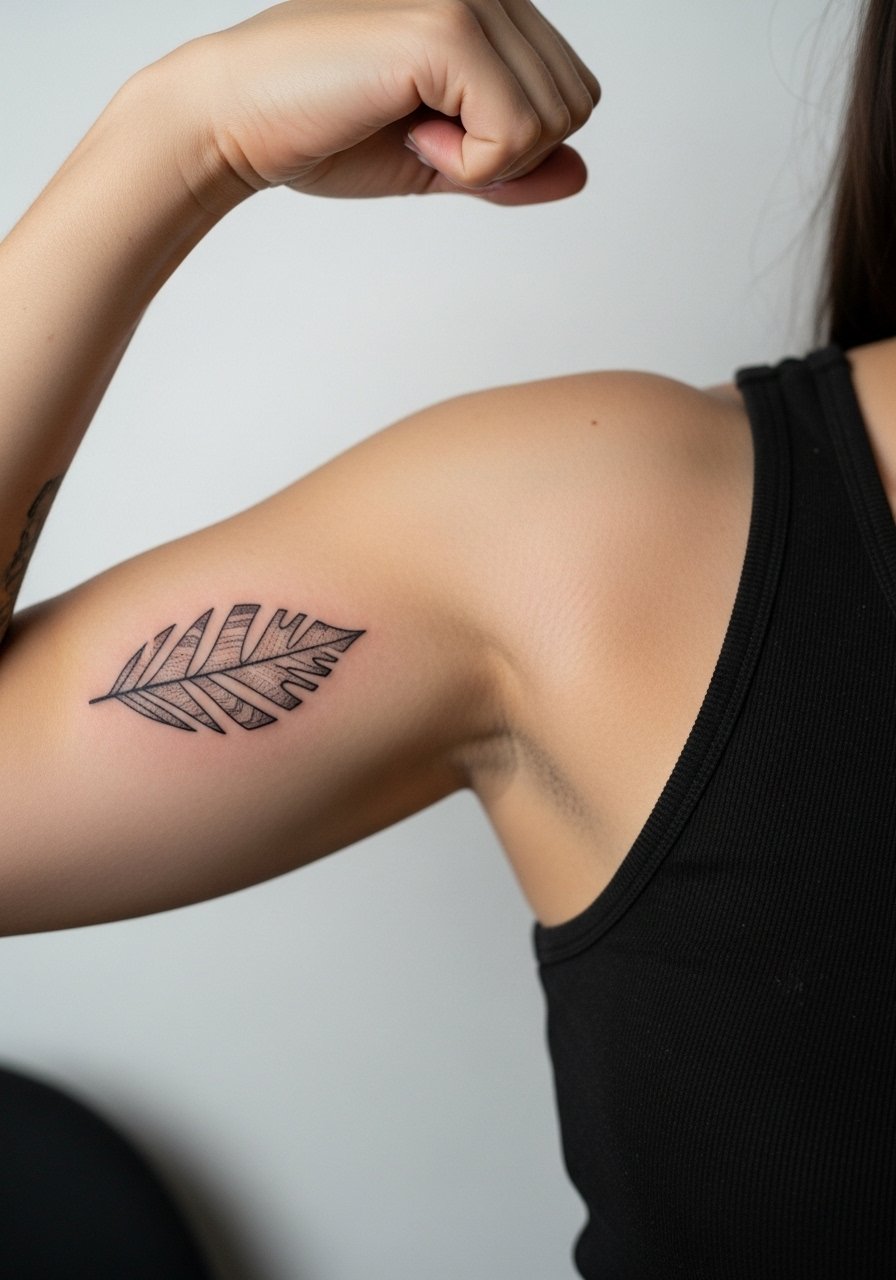
7. Negative-Space Leaf Fragment on the Inner Bicep
I've seen inner bicep negative-space pieces age gracefully when the leaves are isolated and not filled in with heavy shading. The inner bicep stretches with arm movement, so ask for slightly larger margins between elements than you think you need. For the session wear a tank top and raise your arm so the artist has a clean field without fabric tugging. This placement is soft to moderate on pain and the touch-up timeline is often two to three years for detailed edges. A common error is requesting microfilling in a moving area, which can blur into a single tone as time passes.
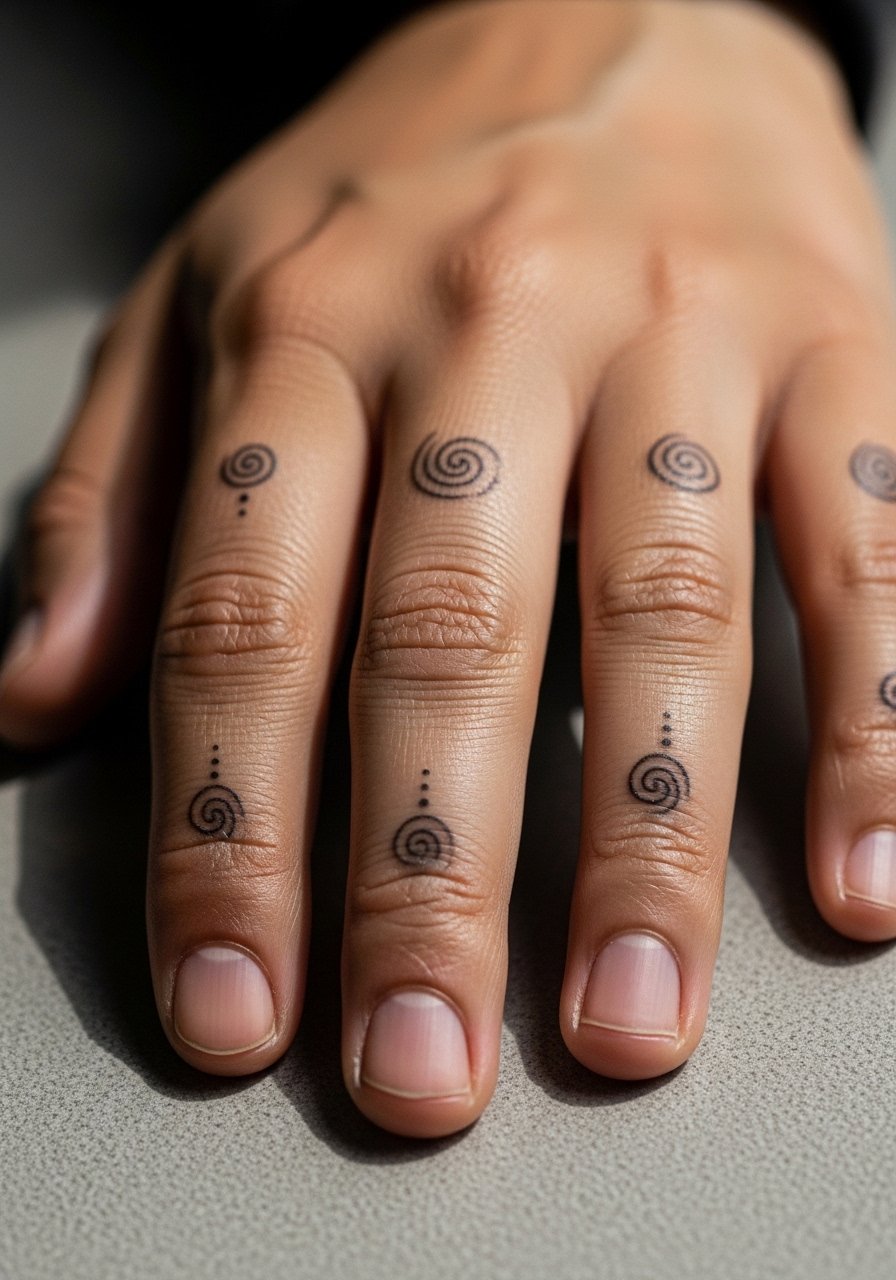
8. Tiny Swirl Fillers on Fingers
When people ask for finger fillers they often want everything extremely tiny. The biggest mistake is going too small without spacing, because fingers see constant washing and abrasion. Ask for slightly bolder single-line swirls and leave tiny negative pockets so the design keeps character. Session times are short but you will likely need touch-ups sooner than other sites. For showing off, pair with a minimalist ring stack that sits either side of the swirl so the jewelry frames without crowding. Expect a hands-on healing window and dress the part with rings you can remove during the first week.
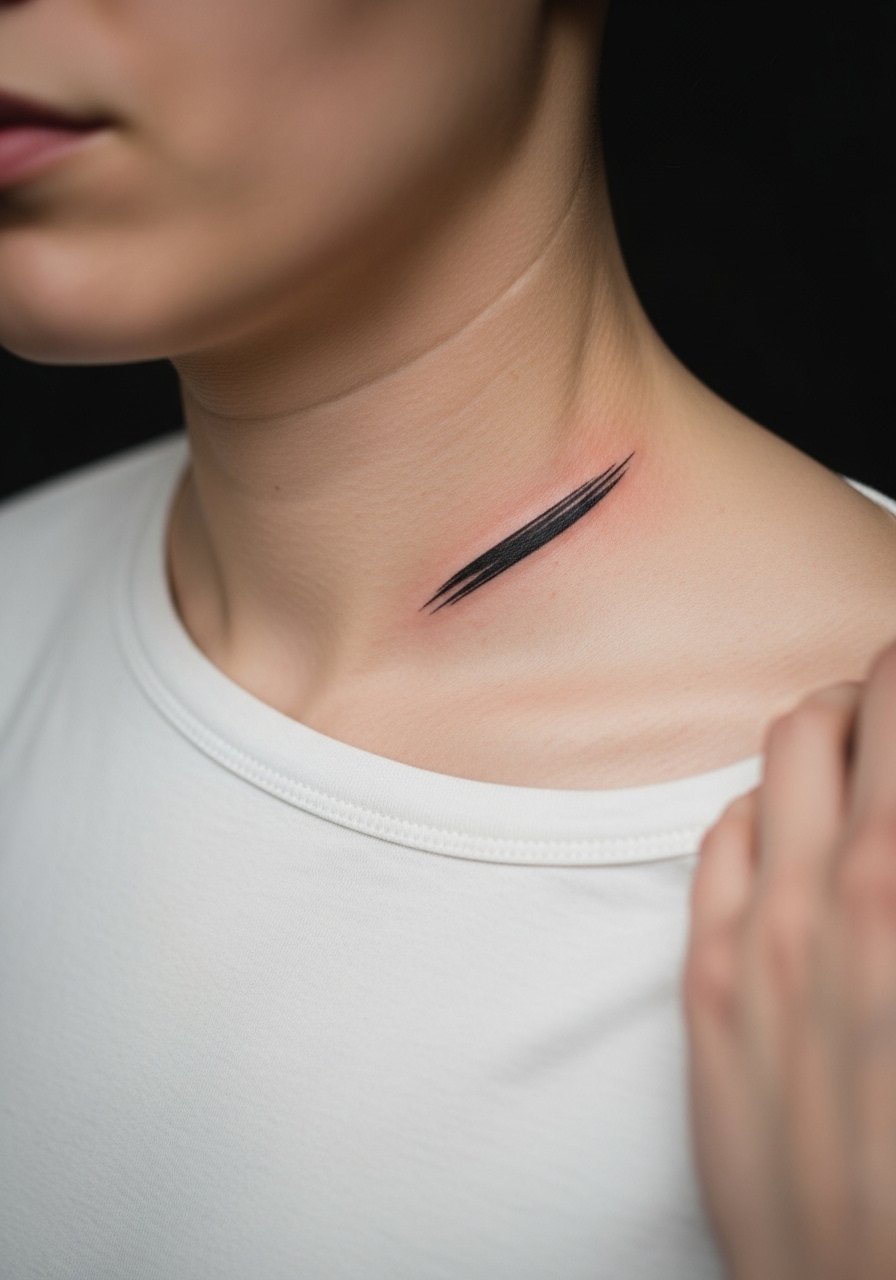
9. Floating Brushstroke Along the Collarbone
When you sit down with your artist for a collarbone brushstroke, show them references of the exact thickness you want so it sits like a gesture rather than a smudge. The collarbone heals well if the stroke is slightly offset from the bone edge and given soft stops at each end. For the session wear a wide-neck shirt you can pull aside or a sports bra that offers access so the artist can work without you feeling exposed. For evenings pair the piece with open-back tops that let the shoulder and collarbone read as an intentional frame. Sensitivity is low to medium and the look translates well into jewelry.
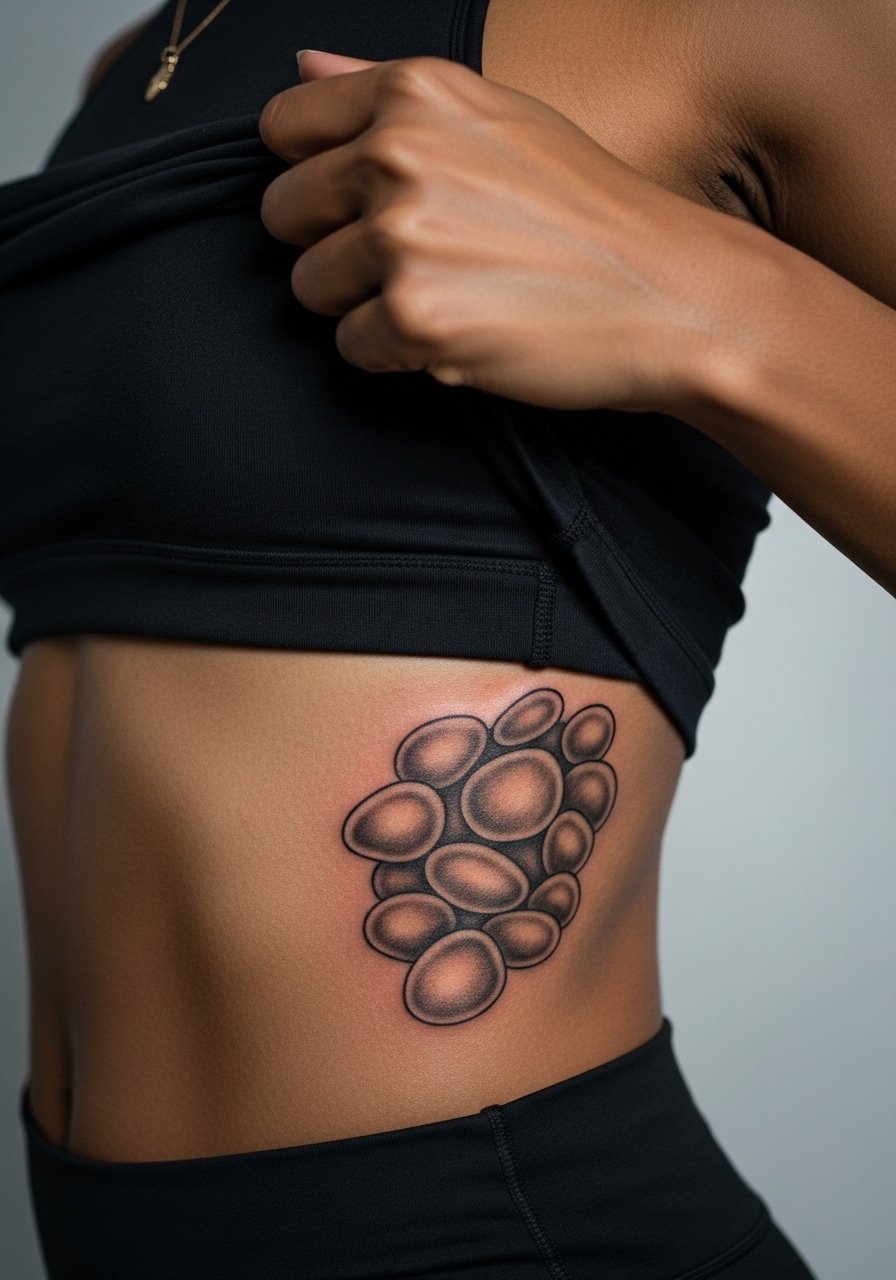
10. Whip-Shaded Pebble Cluster on the Ribcage
Most people do not realize the ribcage is an area where two camps disagree openly about fine line work. One camp says fine line on ribs blurs quickly because the skin flexes and breathes differently with each breath. The other camp insists that with careful needle depth and spacing the lines settle fine. Name both sides when you consult and ask your artist which approach they use. For the session wear a cropped athletic top you can lift slightly so only the rib zone is exposed. Pain is higher here and session breaks are common. The right spacing prevents dense areas from turning into a single shaded block over time.
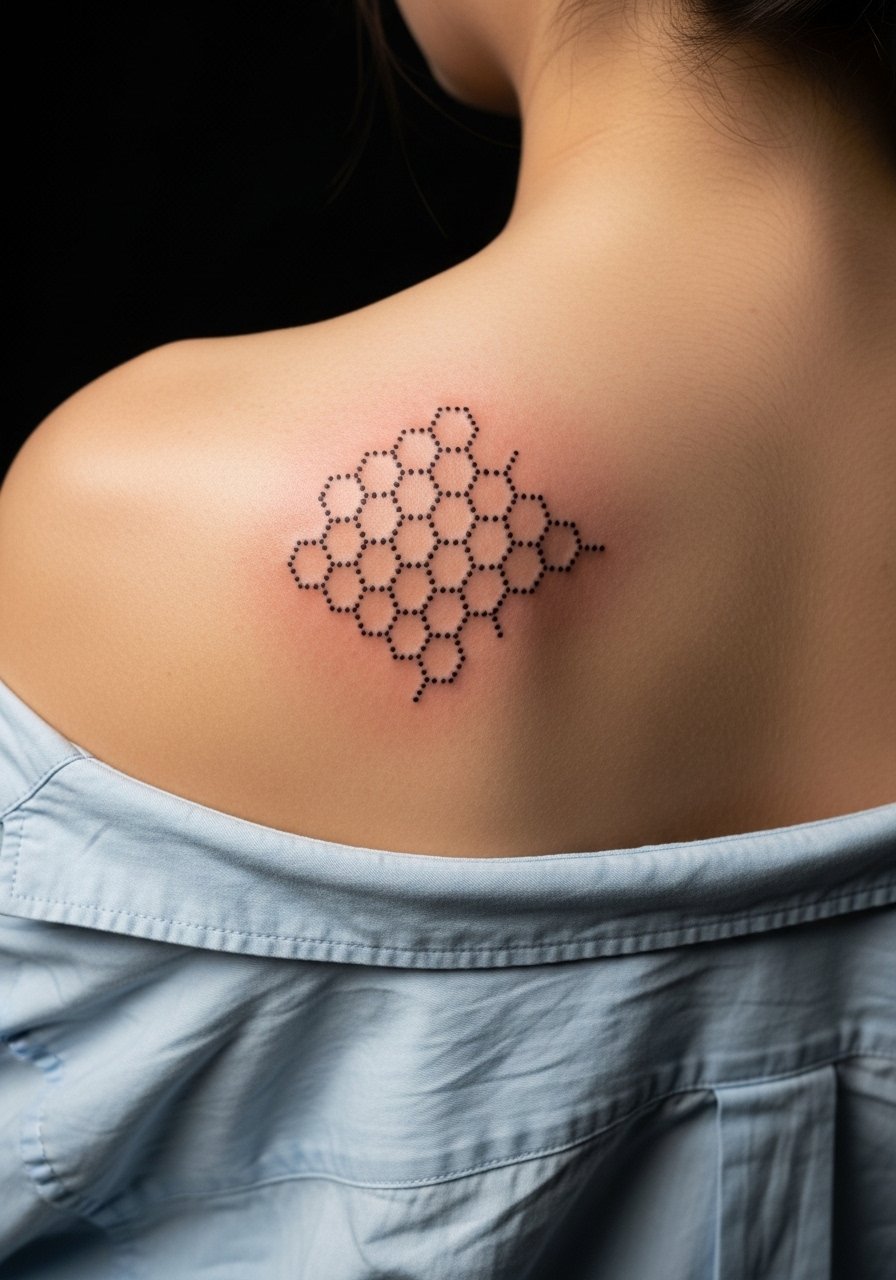
11. Micro Dotwork Honeycomb for Upper Back Gaps
There is a quiet visual logic to micro honeycomb that fills negative areas while keeping motion across the back. When done with deliberate spacing it reads as texture not as a solid patch. For showing it off, wear a loose button-down shirt you can hang open, or a backless dress for evenings. Upper back sessions are medium in pain and often split into two shorter appointments for comfort. A frequent mistake is requesting honeycomb so dense it loses the hexagonal structure when healed.
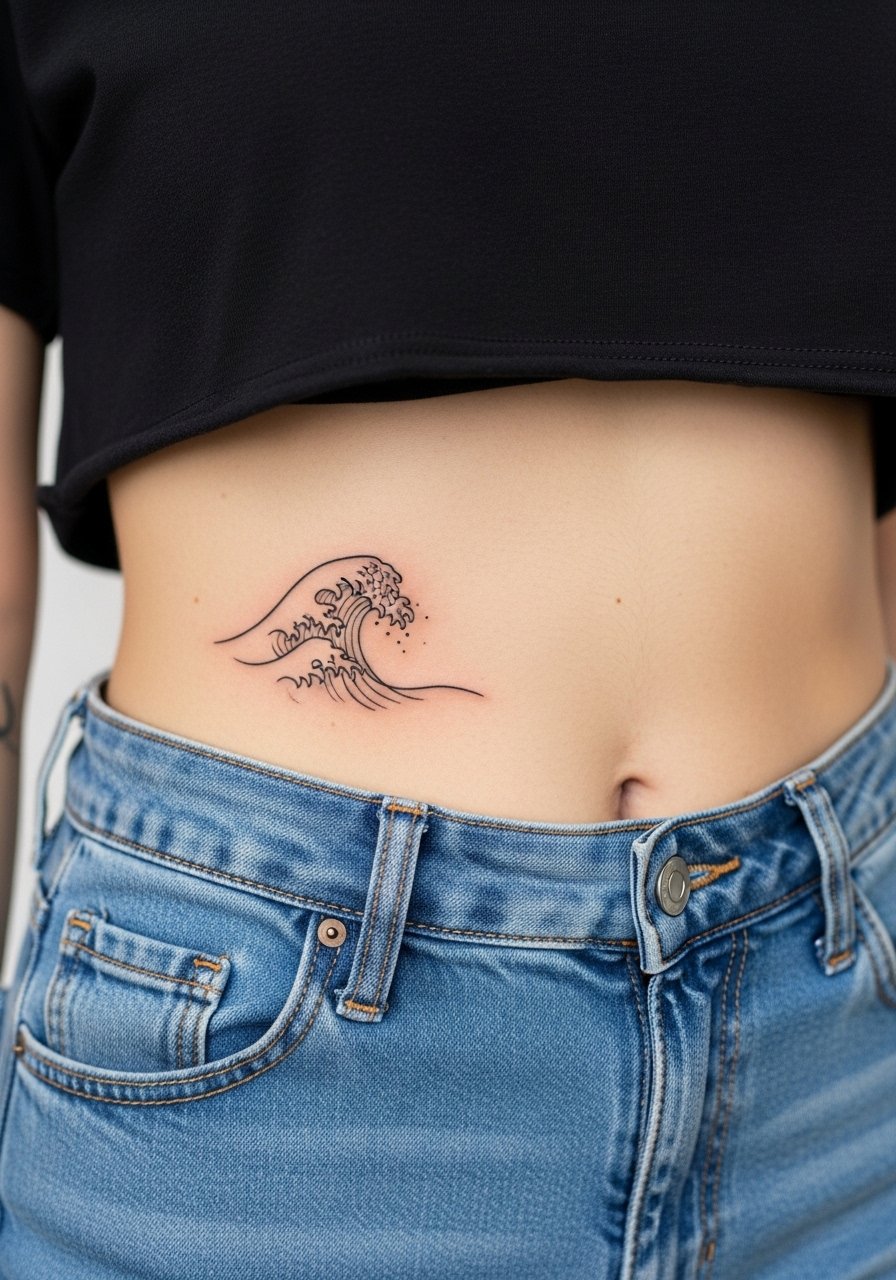
12. Minimal Scripted Wave on the Side Stomach
Fair warning: side stomach skin moves a lot when you bend and sleep, and that motion affects fine script and waves. If you want a wave motif ask for slightly bolder line weight and a small gap at curves to avoid merging. For the session wear a cropped tee and high-waisted bottoms so the artist can expose only a narrow strip without you being uncomfortable. Pain is moderate and sensitivity varies by how close the piece sits to the hip bone. The most common error is insisting on paper-thin script in a high-movement zone.
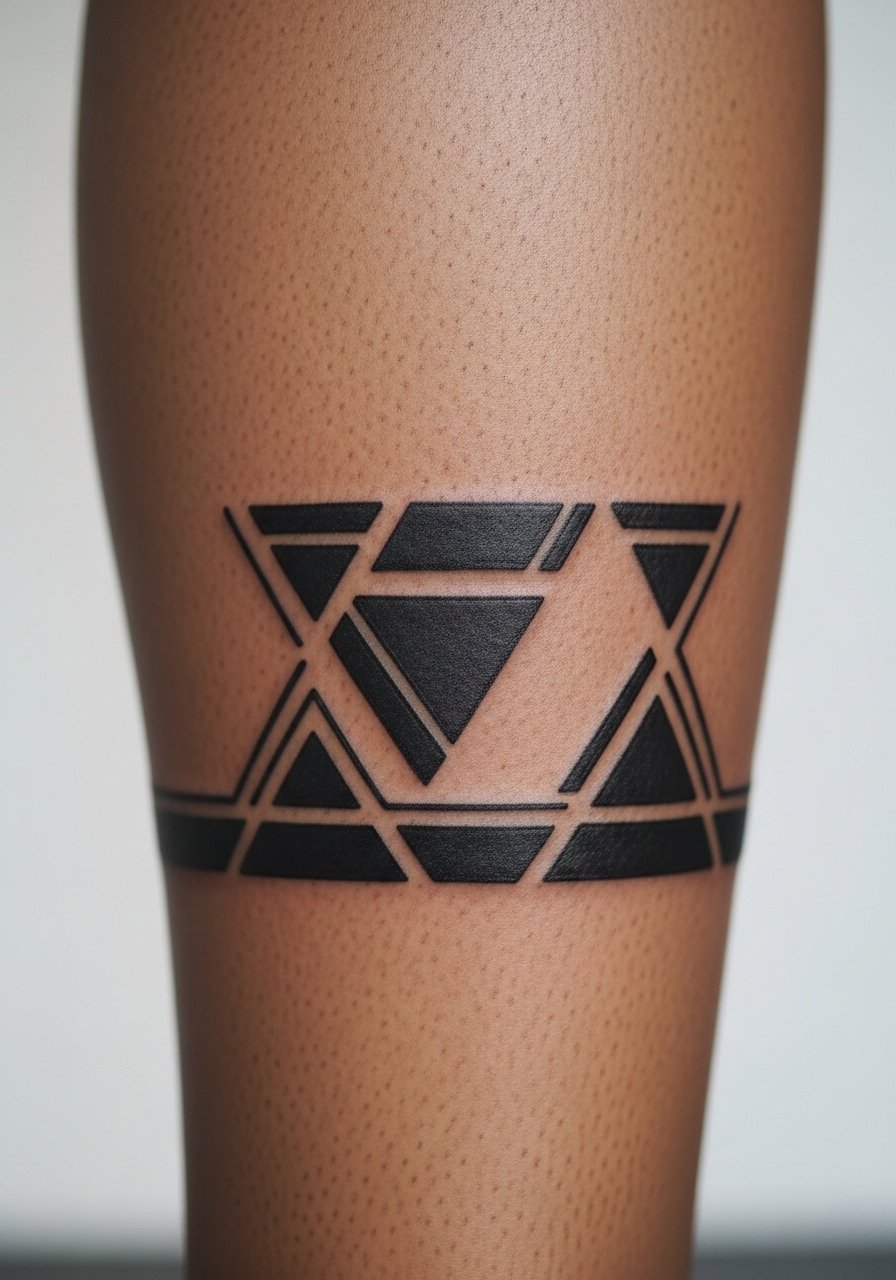
13. Fragmented Triangle Band That Wraps the Calf
There is a practical advantage to a fragmented band on the calf because the negative breaks let each triangle breathe as muscle shifts. Ask for slightly separated triangles and staggered scale so the band reads dynamic from any distance. For casual outfits pair the calf wrap with cropped trousers or sandals so the pattern reads as part of your silhouette. Calf wrapping sessions take moderate time and are less sensitive than ankles. A common mistake is having triangles too close together, which creates a single dark stripe after healing.
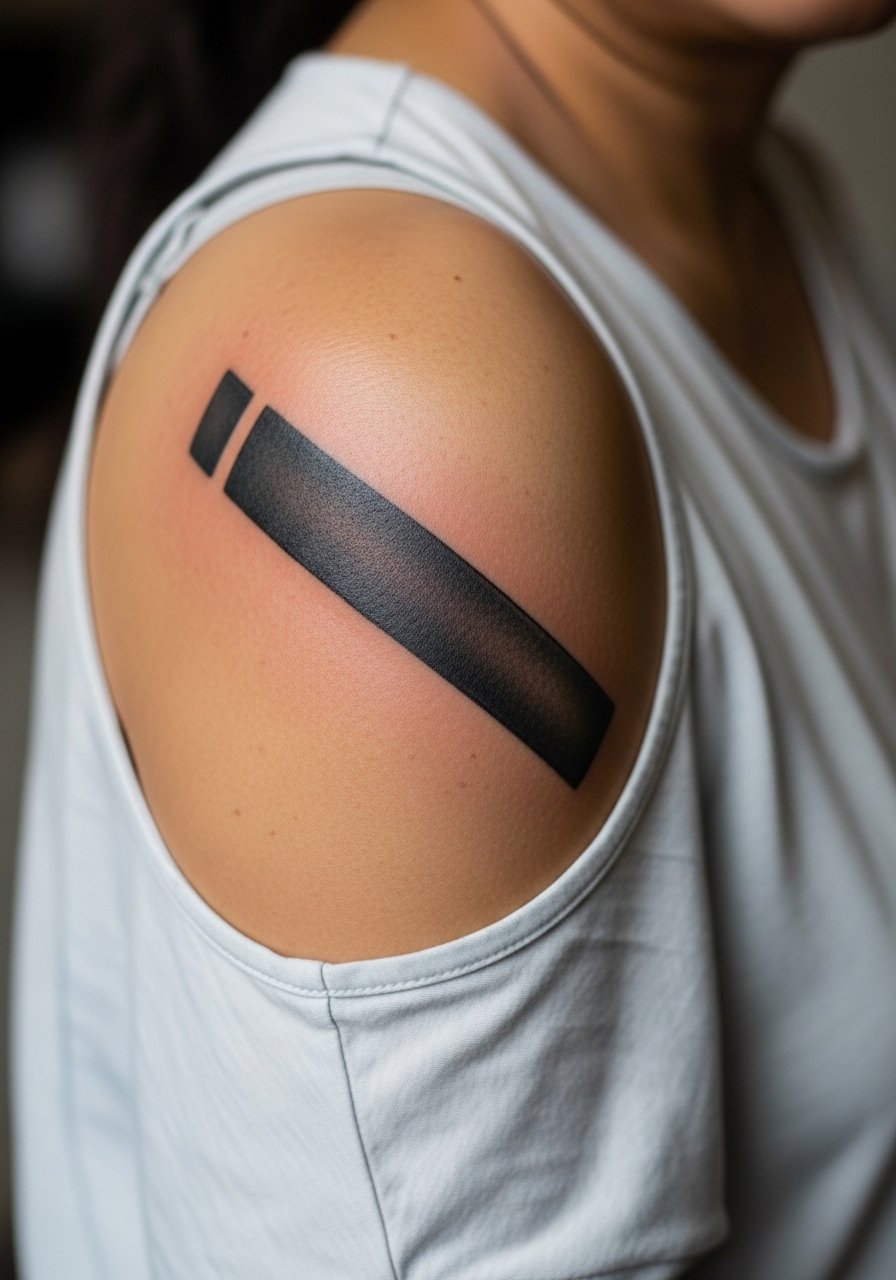
14. Diagonal Bar Motif on the Outer Shoulder
The outer shoulder is forgiving for bolder abstract bars and straight-line motifs because the area's skin is thicker and less prone to blowout. The biggest mistake is asking for bars too thin for the machine and placement. Tell your artist you want cleaner stops at each end so the bars do not feather outward. For session access wear a loose tank top that you can pull aside easily. Pain is low and most outer shoulder pieces finish in a single appointment. This placement also pairs with layered necklaces if you want a subtle frame.
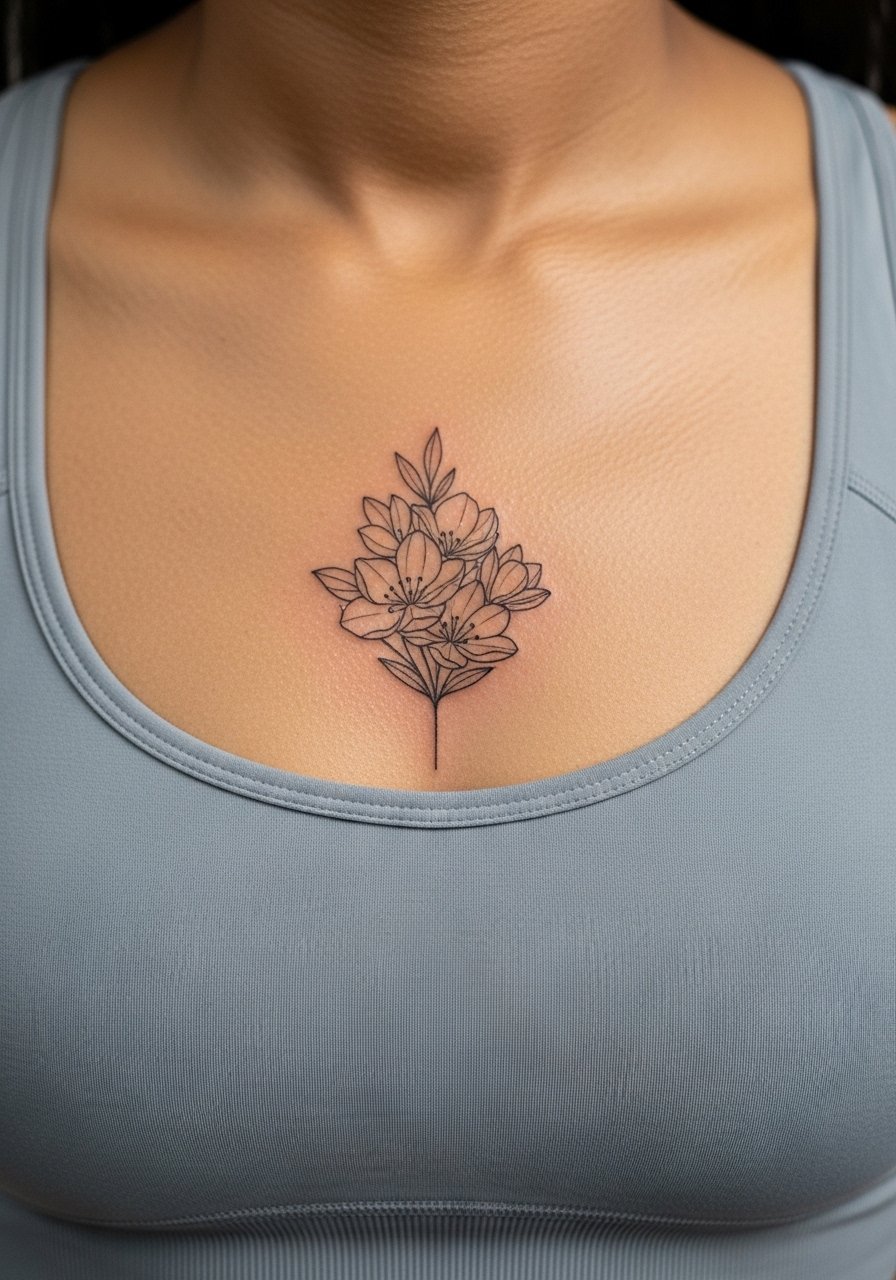
15. Sternum Negative-Petal Cluster
When you choose a sternum cluster, wear a fitted sports bra or bandeau so the artist can work while you feel secure. The sternum can be a sensitive area because it sits near bone and breath affects needle placement. Tell your artist you want negative petal shapes rather than heavy fill so the center breathes and does not darken uniformly. For career-sensitive reasons know that chest pieces are more visible with certain necklines and jewelry. Sessions here are medium to high on pain and often need measured breaks to keep the linework clean.
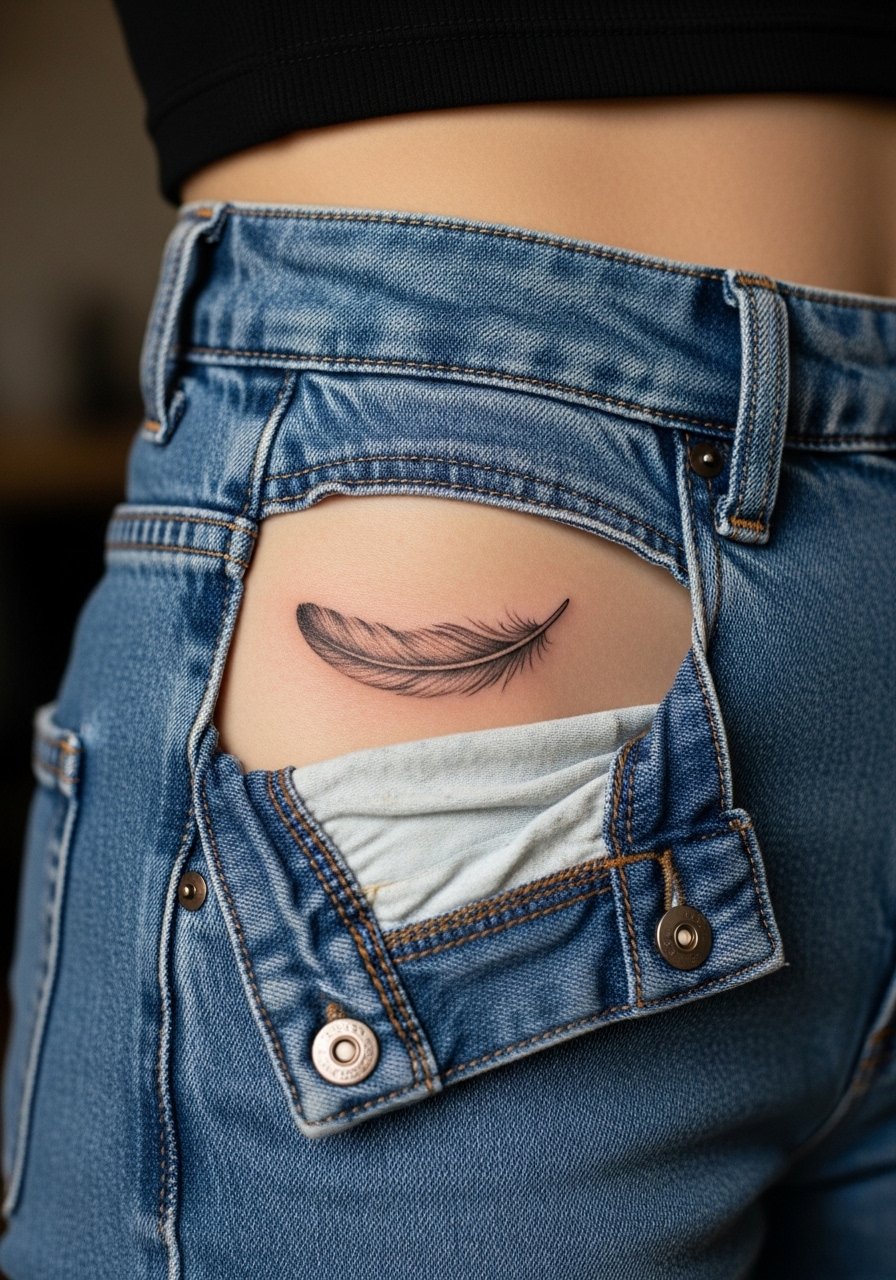
16. Micro-Realism Feather Near the Hip
I've seen micro feathers near the hip last well when artists use a mix of fine line and light stipple to suggest barbs rather than drawing every hair. For session comfort wear high-waisted jeans or a swimsuit bottom you can lower slightly so only the hip area is revealed. Hip motions and clothing friction are the main concerns while healing, so leave some negative space at the feather base to avoid rubbing into a smudge. Pain is low to moderate and touch-up needs depend on how often clothing rubs the site.
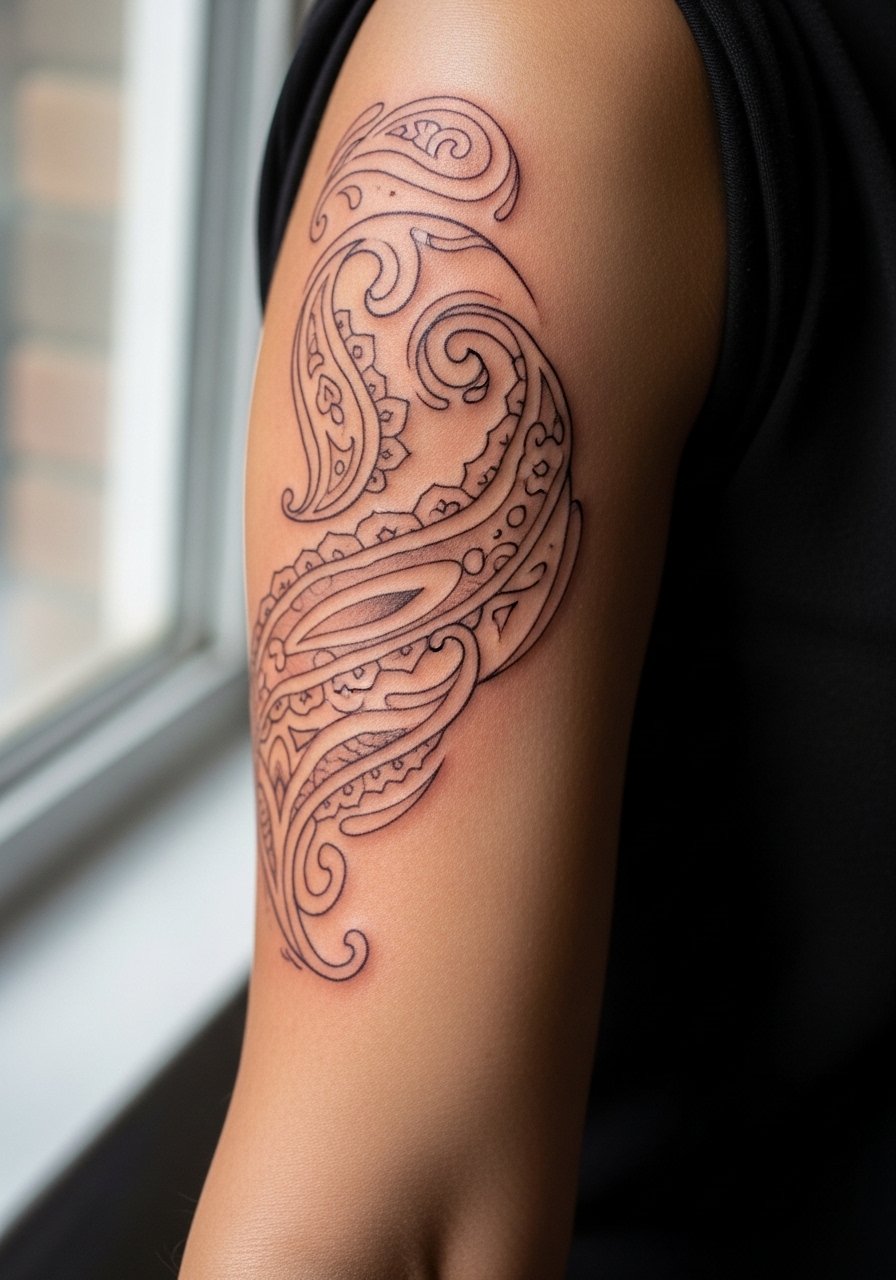
17. Abstract Paisley Filler for Sleeve Gaps
For sleeve gaps the paisley fragment is useful because it can be sized to sit between larger motifs without fighting them for attention. In consult say which neighboring pieces you want it to read with and bring clear photos from the angles you usually see your arm. Pair this filler with rolled sleeves or short-sleeve shirts that let the sleeve read as layered artwork, and consider a racerback tank for summer show-off looks. Sleeve gaps often require touch-ups later, especially where color meets linework, so expect a maintenance plan.
Frequently Asked Questions
Q: Will fine line abstract fillers blur if I try to connect them into a sleeve later?
A: It depends on spacing and contrast. If you plan a future sleeve, ask your artist to leave slightly larger negative margins around each filler so there is room for new work to breathe. That planning reduces the need for heavy overwork later.
Q: Do watercolor-style fillers need a different approach to aftercare than line-based work?
A: Yes, watercolor areas rely on softer saturation and can look patchy if exposed to excessive sun early in healing. The practical step is to keep them shaded from sunlight and avoid abrasive clothing. After the initial healing window, strong sunscreen is useful once the skin has fully healed.
Q: Why do geometric mandalas sometimes fade faster on ribcages than forearms?
A: The ribcage moves with every breath and the skin tension differs from the forearm. Dense geometric work on ribs can blur if the lines are too close. One camp says avoid extreme density there, and another says careful spacing plus slightly bolder strokes will settle fine. Ask your artist which approach they use.
Q: What should I wear to an appointment for a sternum or chest filler?
A: Wear a fitted sports bra or a wide-neck top you can pull aside so only the tattoo zone is exposed. That keeps you comfortable and helps the artist work without you feeling overly exposed. If you plan to show the piece afterwards, open-back tops and layered necklaces help frame chest work.
Q: Are there visible styling choices that help small wrist or finger fillers pop?
A: Yes, dainty stacks and minimalist watches or rings help frame tiny work without competing. A thin chain bracelet or a simple ring set keeps attention on the design. One option people often reach for is a thin chain bracelet that complements wrist fillers without crowding them.
Q: Is it true protective film beats dry healing in every case?
A: Artists are split on that too. One side favors protective film for the first 24 to 72 hours to reduce scabbing and external contamination. The other side prefers short film use and then gentle dry healing for certain skin types. The right choice depends on the artist's aftercare approach and your skin reaction, so ask before you book.
