
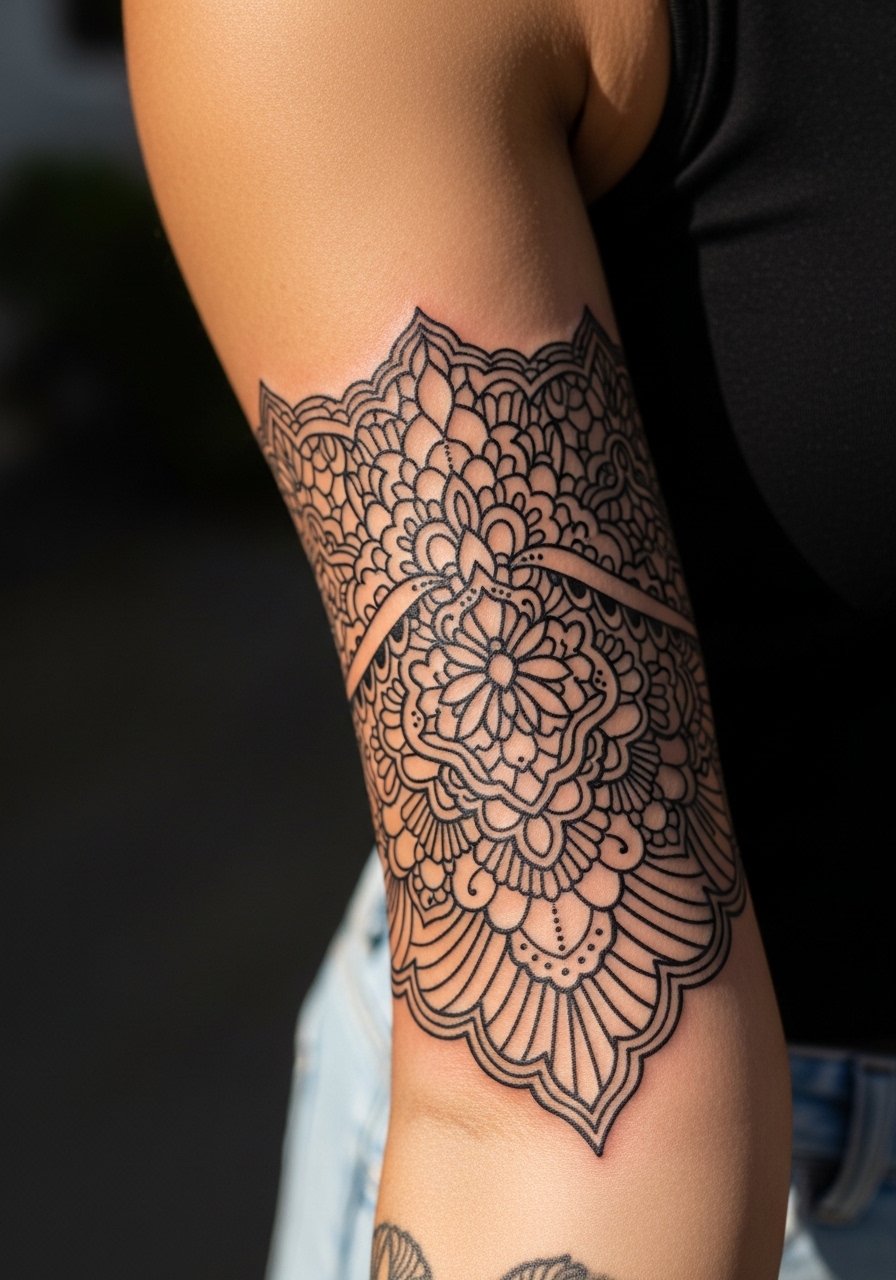
The stencil went on the outer arm and the lace negative space read clearer than anyone expected. I have seen sleeves like that survive years because the artist left breathing room between motifs and prioritized saturation over tiny detail. If you are leaning neo traditional with heavy blackout, plan for multiple sessions, honest consults about spacing, and a realistic touch-up timeline before the first anniversary.
1. Full Arm Blackout with Negative Space Lace
I've seen a few of these on sleeves and the ones that still read crisp at year three were designed with negative space gaps that act like breathing room. Ask your artist to map the lace motifs at life size so the uninked areas do not become thin lines after healing. A common mistake is packing too much filigree into a narrow forearm band, which blurs into a gray patch after repeated flexing. Expect long sessions and strong saturation work, and plan for a touch-up around six to twelve months if you use a dry-heal approach. For showing this off, fitted matte tanks work well and keep the arm the visual focus, try a matte black tank top men for daytime looks.
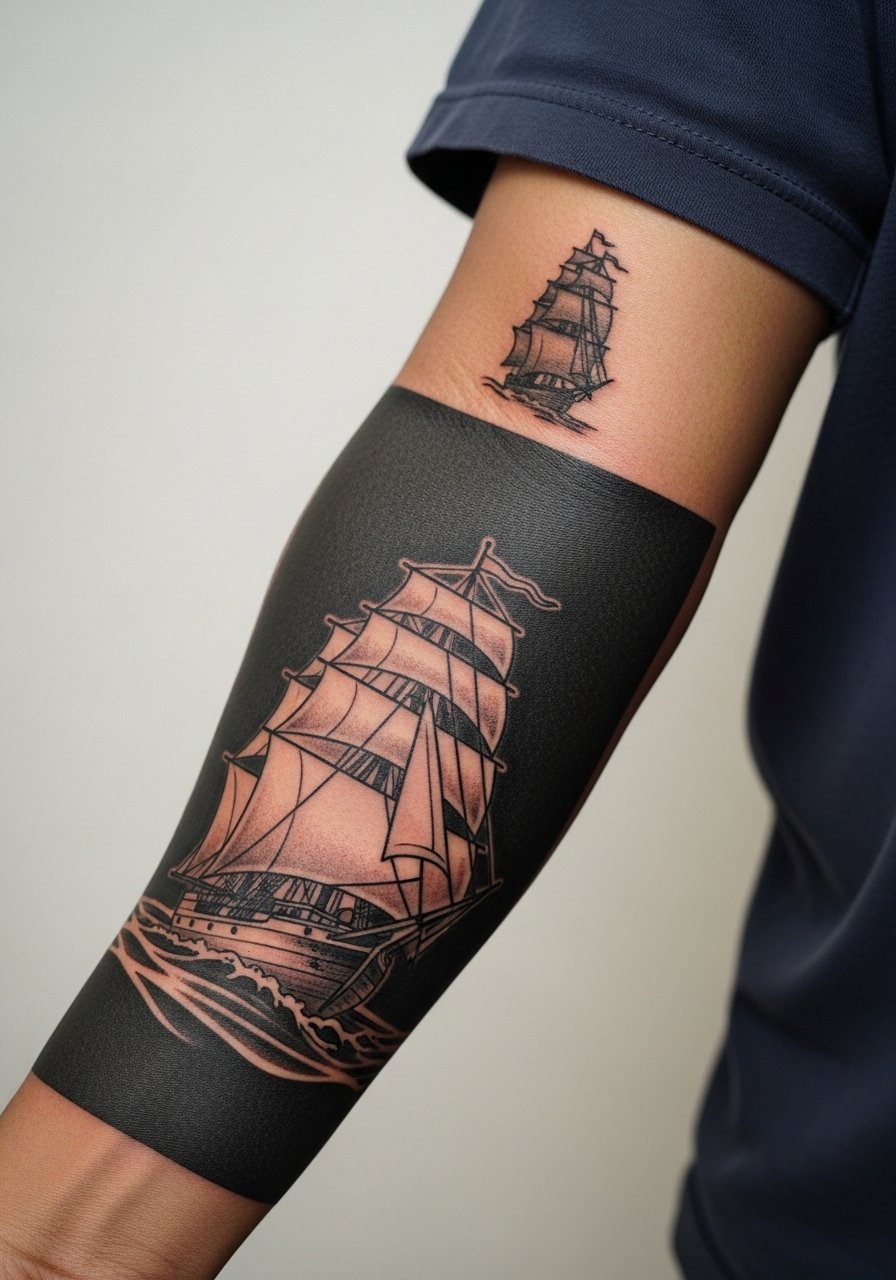
2. Forearm Blackout with Uninked Ship Silhouette
Fair warning: the inner forearm takes more rubbing from clothing than people expect, which can dull negative space edges faster than on the outer forearm. If you want a minimalist ship silhouette, tell the artist you want the silhouette bold with clear surrounding negative space rather than a bunch of thin internal lines. That avoids the common fade-into-gray issue. Sessions are shorter than a full sleeve but still require steady saturation work. For session day wear, a short sleeve button-up you can roll up is ideal, and for showing off later try a rolled cuff denim shirt that frames the wrist and forearm.
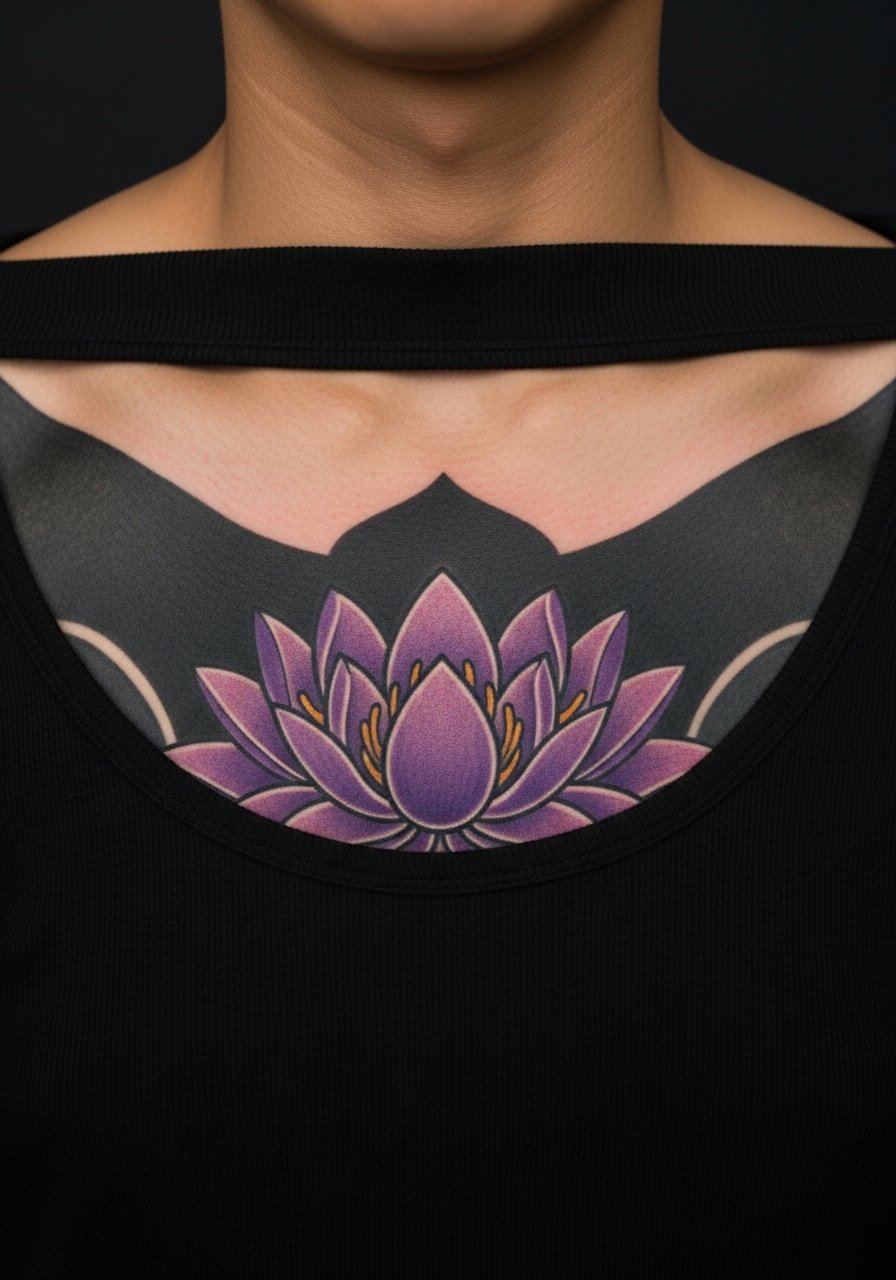
3. Chest Blackout with Purple Lotus Overlay
Most people underestimate how chest skin tans and shifts, which changes contrast around the negative space. The version that ages well uses a slightly larger lotus bloom and thicker color edges so the purple pop keeps depth against the black for years. Artists are split on barrier methods here. One camp prefers sealed film for large chest work to reduce early moisture, while the other favors dry healing to preserve saturation. Ask where your artist stands and why before you book. Plan for three to six sessions and wear an open button shirt or wide-neck top on the day. For nights out, a deep v neck tee black frames the lotus without clashing.
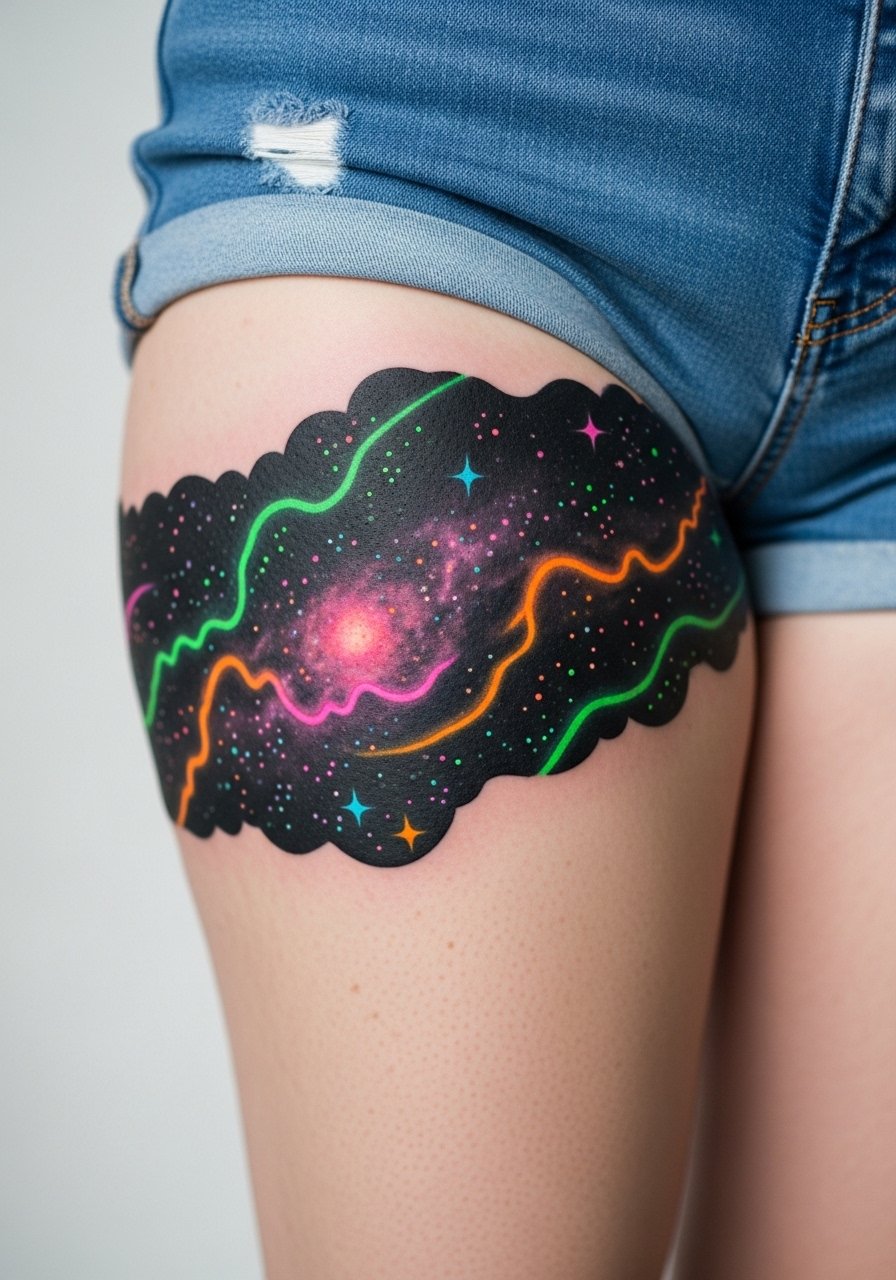
4. Thigh Blackout Galaxy with Neon Accents
There is a texture to thigh work that reads like a stage backdrop when done with neon highlights. The thigh can handle larger swaths of blackout but weight fluctuation can warp edges, which is why people who plan major life events delay this placement. Ask for banding or anchor shapes that keep the edges from drifting visually as the body changes. Healing in summer brings extra sweat challenges, so expect slower epithelialization. For showing this piece, high-waisted shorts in black keep the neon visible and clean, try black high waist shorts women for summer outfits.
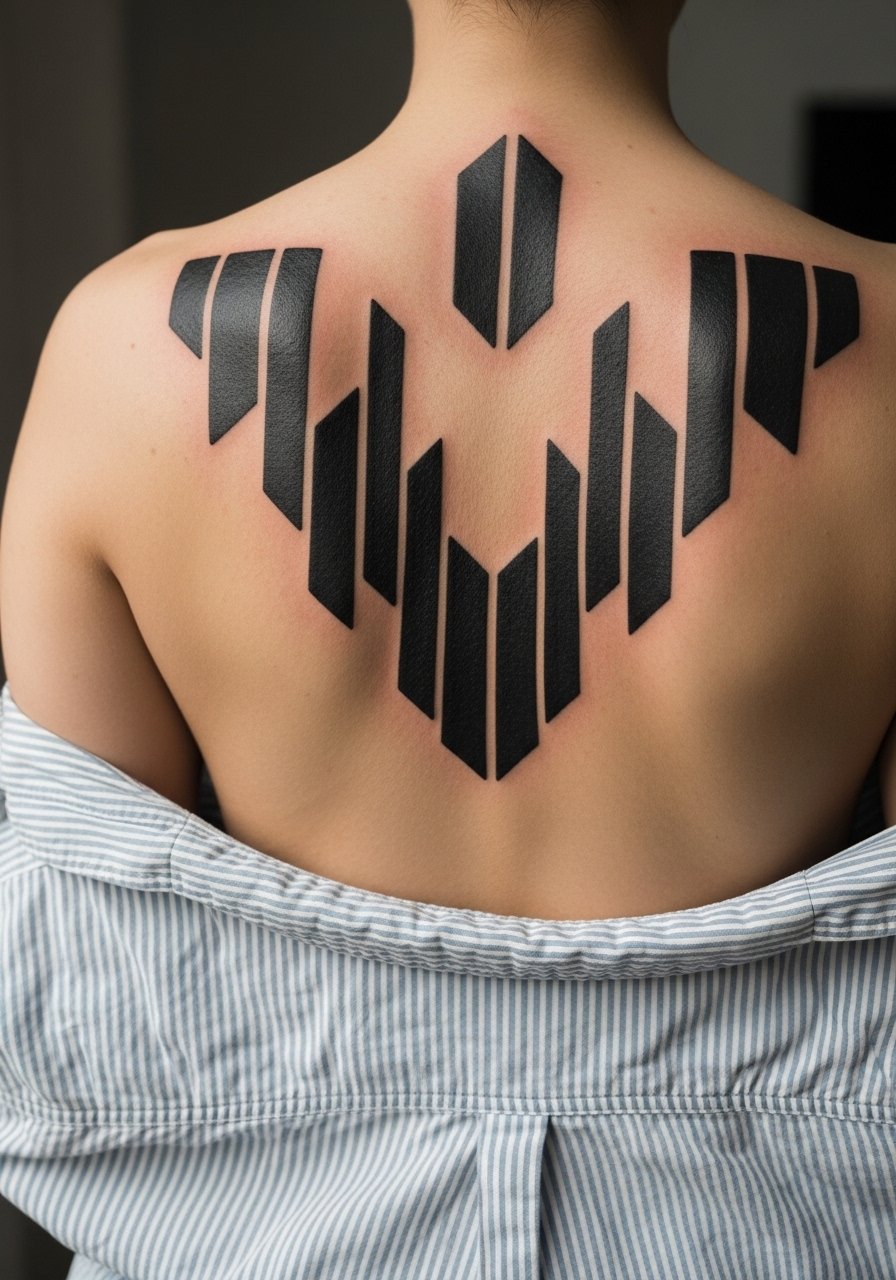
5. Back Blackout with Geometric Negative Space
The back is where you can think very large without constant sun exposure in daily life, but this is also the place most commonly used for cover-ups. The mistake people make is trying to cram small, dense geometrics onto a large plane. Ask for larger negative space modules so the shapes hold as the skin settles. Back blackouts often split artists into preference camps on wrap methods versus dry healing due to curvature and edge lift. Schedule multiple sessions and anticipate touch-ups well after the last sitting. For session day, a loose button-down is easiest to slide off without disturbing fresh ink.
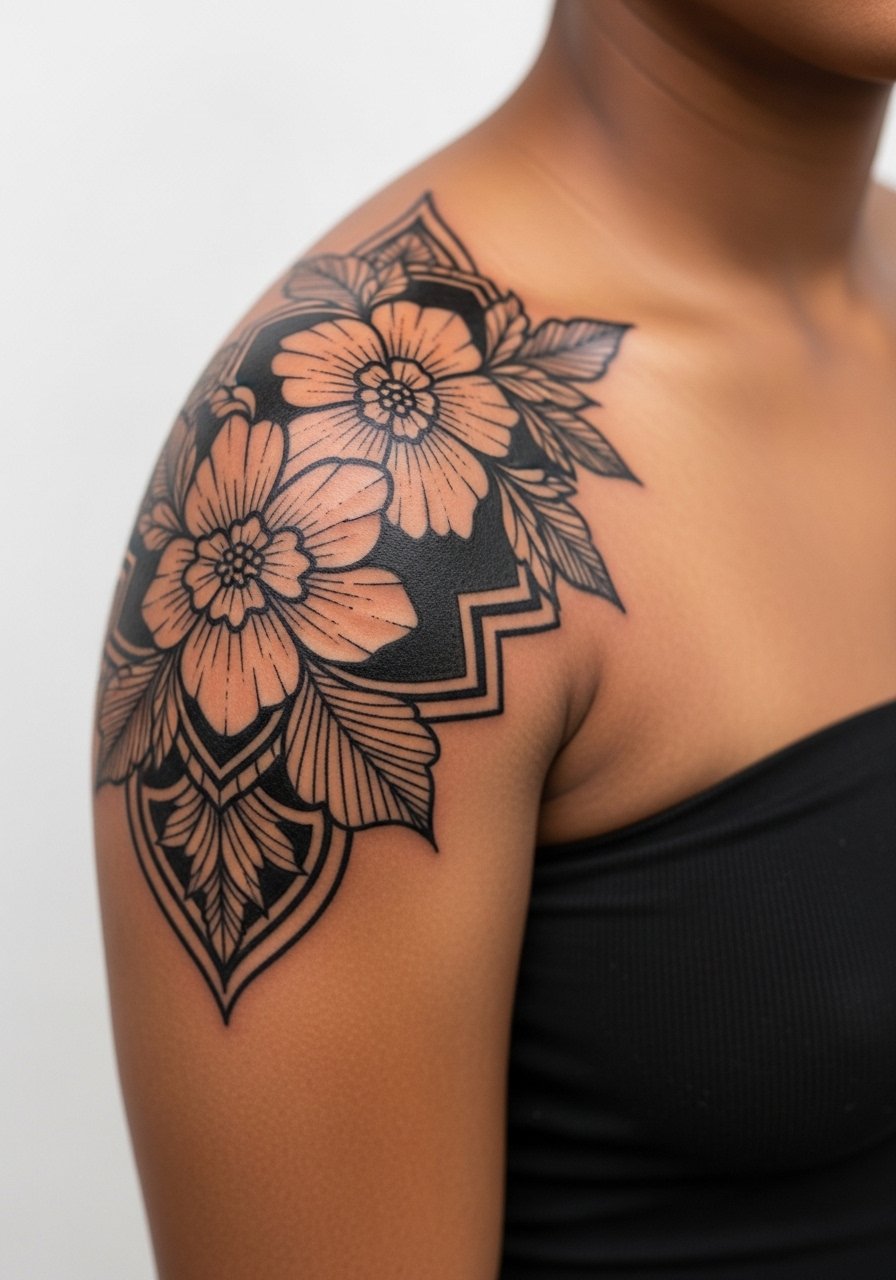
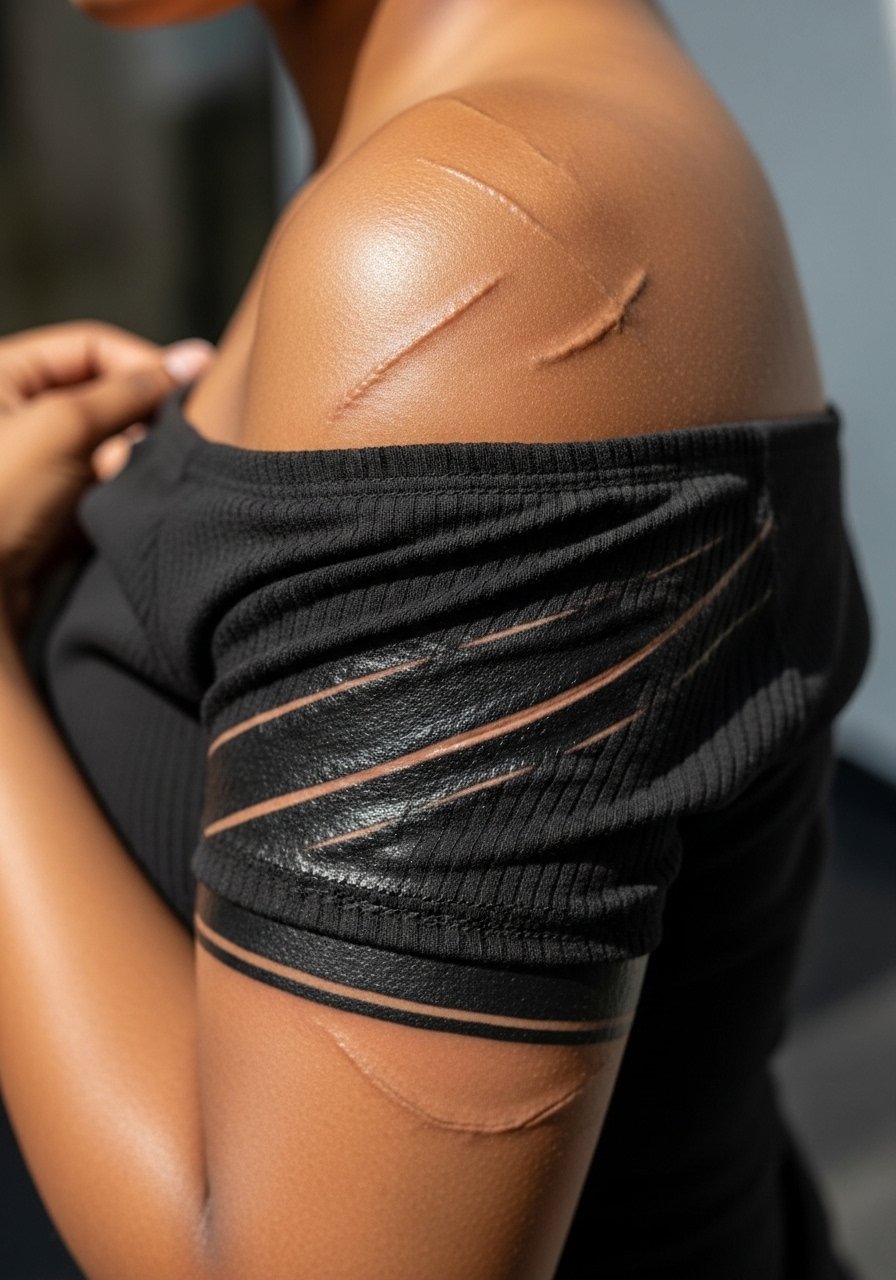
6. Shoulder Cap Blackout with Floral Negative Space
When you sit down with an artist for a shoulder piece, bring reference images that show the scale you want at arm length so the floral voids do not shrink into specks as they age. The shoulder is a forgiving spot for first-time blackout collectors because it flexes less than the inner elbow or ribcage. Sessions are usually short and leave enough margin for a sleeve upgrade later. For the appointment, wear a strapless tank or open button shirt so the artist has clear access. Expect to discuss touch-ups for the cap edge at the six to twelve month mark.
Studio Day Picks
The first six ideas include large-area black work and delicate negative space, so a few specific products make the chair and first week easier.
-
Fragrance free antifungal cream. Useful for thigh and chest blackouts in humid months where yeast infections are a small but real risk during occlusive healing.
-
Indie thin oil balm for tattoos. A lightweight oil balm keeps saturation without the pore-clogging feel that heavier greases can create on large black areas.
-
Silifast second skin sheets. Favored by some for curved zones like shoulders because it conforms better than rigid film and reduces edge lift.
-
Rice bran oil serum. Absorbs quickly for dry-heal protocols and can be easier on large blackout areas than thick ointments.
-
Saniderm tattoo bandage. One mainstream option for folks who prefer an occlusive first layer, helpful on chest and back sessions to keep sweat and friction off the fresh work.
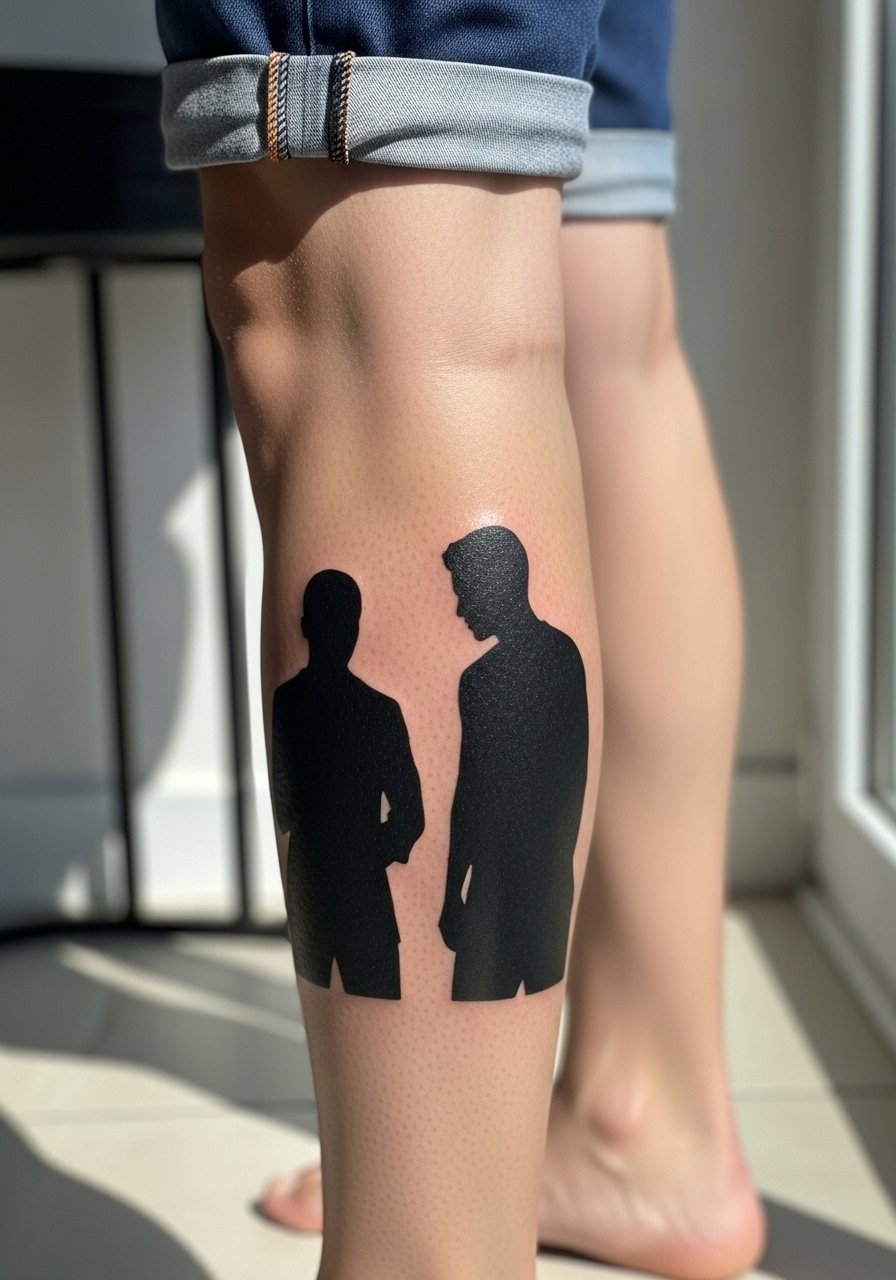
7. Calf Blackout with Silhouette Figures
Artists note the calf is forgiving for runners and athletes but it sees a lot of friction from socks and shoes during the first two weeks. There is a small but important debate about occlusive dressings on lower leg work. One camp says protective film reduces scabbing and infection risk. The other camp argues that breathable dry healing produces deeper saturation. Name the debate out loud in consultation so you and the artist pick a consistent plan. For session comfort, bring loose shorts and prop the leg so the artist can maintain steady linework. This placement ages cleanly if the silhouettes are given bold negative shape rather than fragile inner detail.
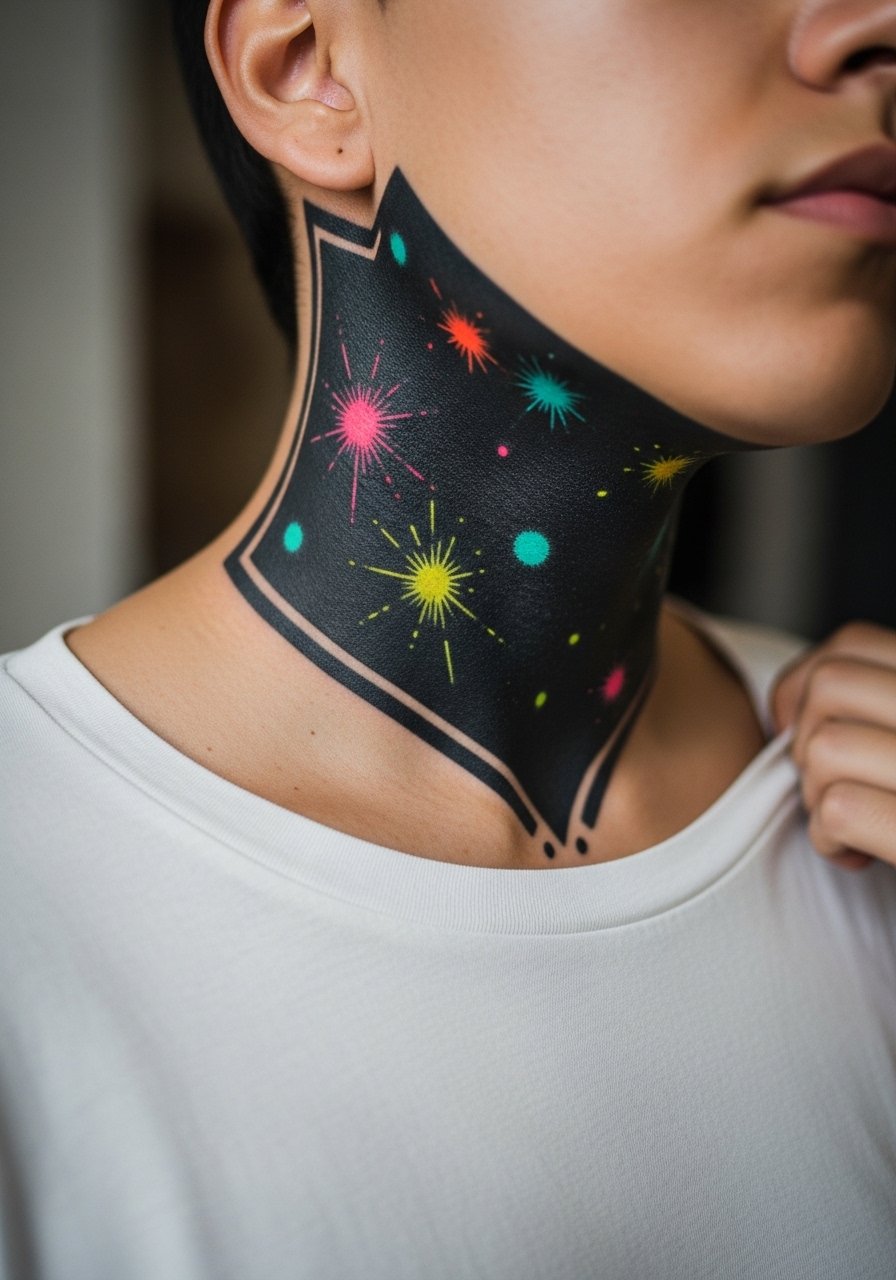
8. Neck Blackout with Small Color Bursts
This is a high-visibility choice that people either love or later hide with collars. The neck heals under a lot of movement and clothing contact so color accents need stronger outlines to keep their pop. If you want neon bursts, ask for high-contrast edges and fewer internal fine lines that can blur in a year. Think about career visibility before committing, and pair this look with a silver choker necklace thin or a high-collar sweater when you need to cover up. Sessions are short but can sting more than the forearm.
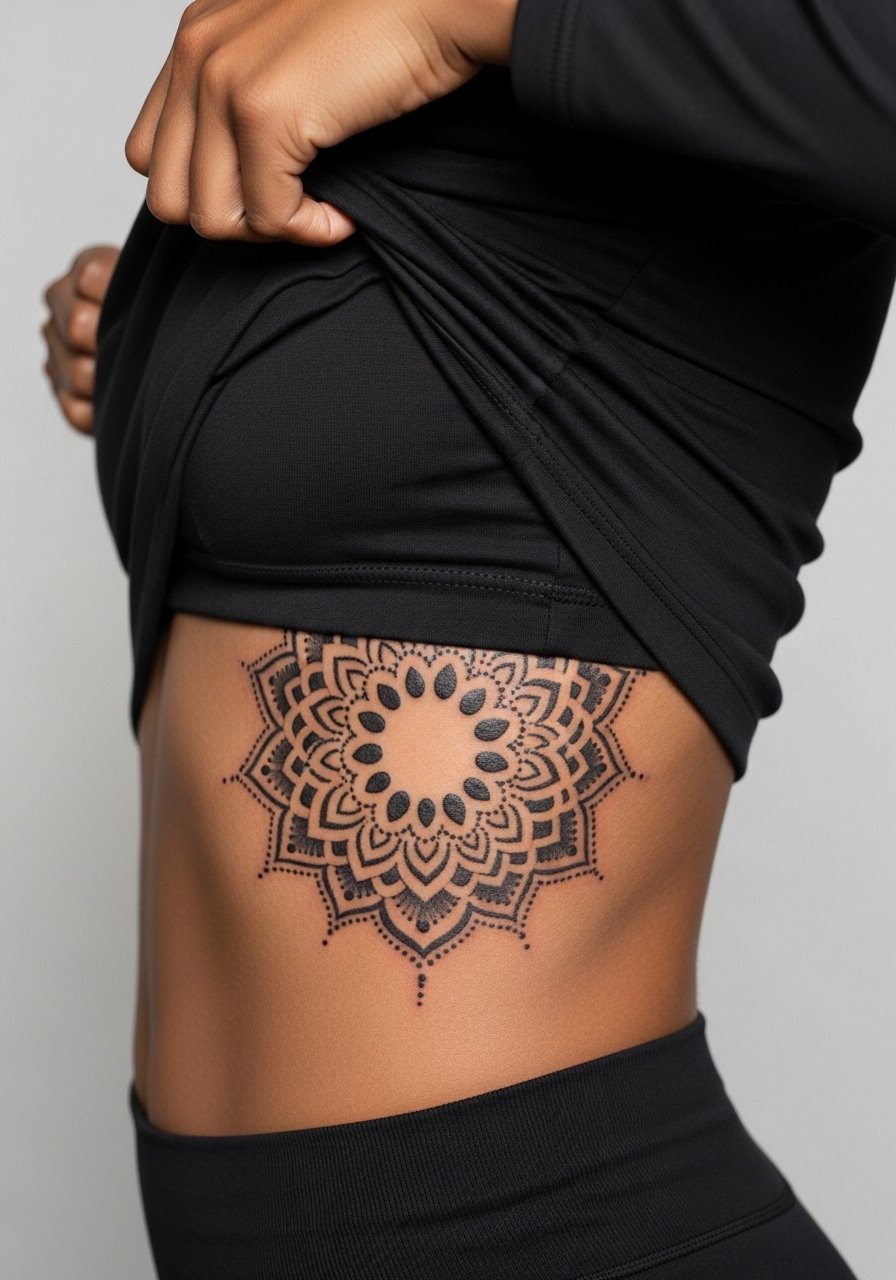
9. Ribcage Blackout with Mandala Negative Space
Decision pressure hits hardest on the ribs because small changes in scale become obvious once the person moves. If you want a mandala, ask for increased spacing between concentric rings so stipple and dot work does not merge over time. There is an active debate about fine line on ribs. One camp says lines blur quickly because the skin stretches and the area is thin. The other camp claims that with correct depth and spacing fine line can last. Discuss this explicitly with your artist and plan for touch-ups if you pick denser detail. For the session, wear a loose tank or crop so the artist can work while you lie comfortably.
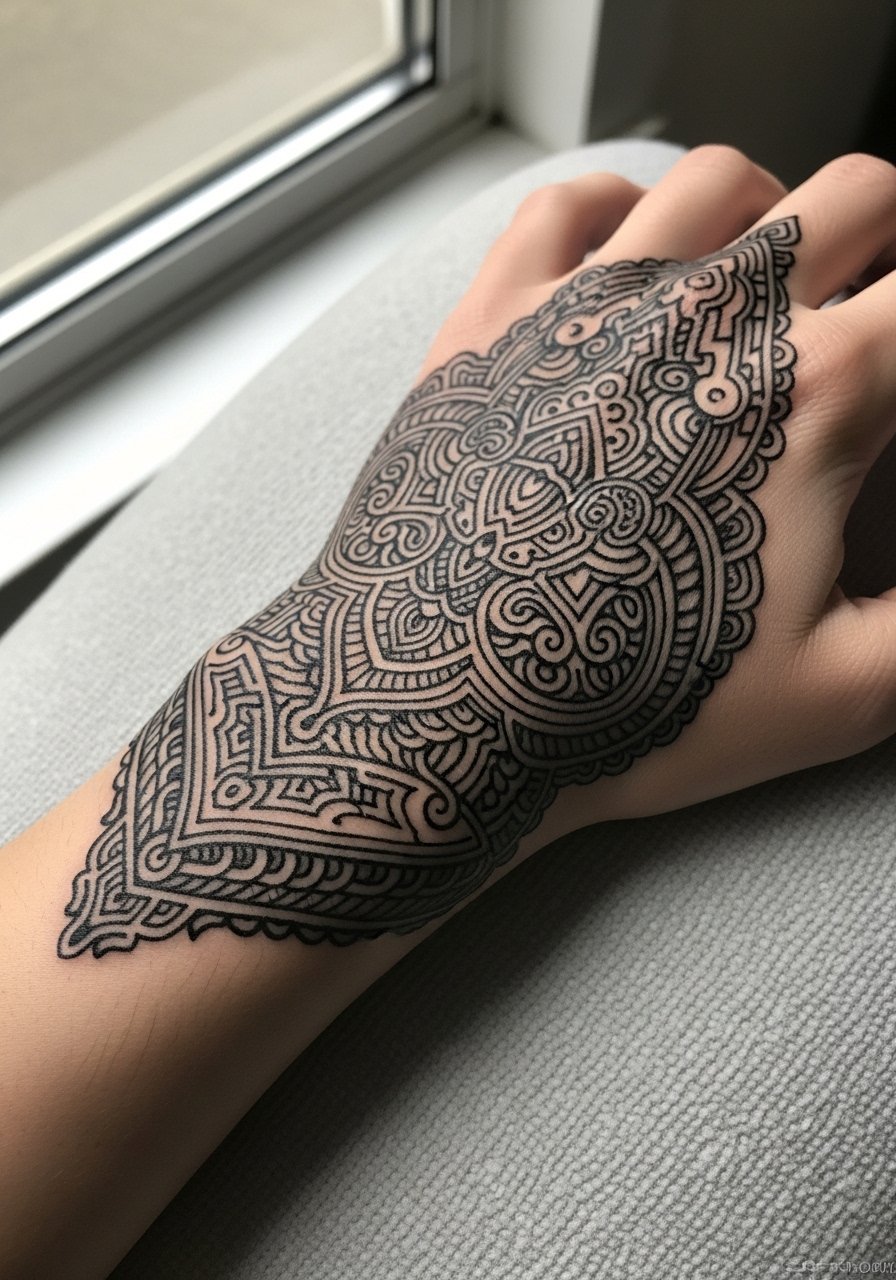
10. Hand Blackout with Linework Accents
Fine line detail over a heavy hand blackout looks striking but this placement lives in constant motion and frequent washing. Trend-versus-reality applies here because small, minimalist rings and script that look clean online often need yearly touch-ups in real life. If you want a back-of-hand blackout with thin decorative lines, request slightly bolder linework for the negative space accents to survive daily abrasion. The session is short and the discomfort is sharp but brief. Keep expectations realistic about yearly maintenance and pair with minimal rings so the artwork remains readable.
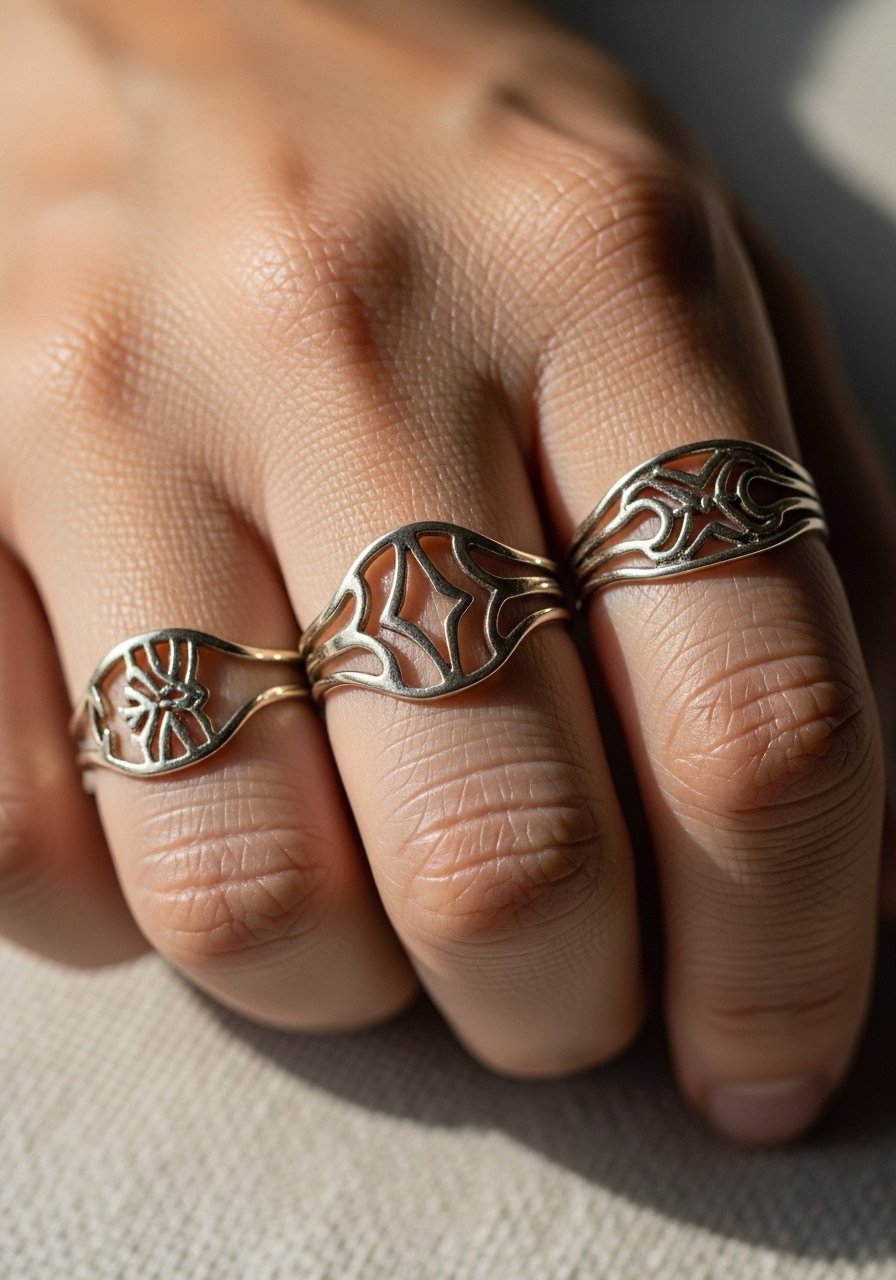
11. Knuckle Ring Negative Space Set
I've noticed that ring-like negative space on knuckles reads like jewelry when executed with clean, bold edges. That placement is underrated and underrepresented in galleries but it heals fast compared with palm work. Tell the artist exactly which finger widths you want left uninked so the spacing matches how you wear actual rings. Session length is short but expect discomfort during and a slower color lock in because of continuous hand use. For showing it off, a minimalist watch or stacked thin bracelets on the opposite wrist keeps the focus balanced, try rolled ankle jeans slim for casual looks that accent hands in photos.
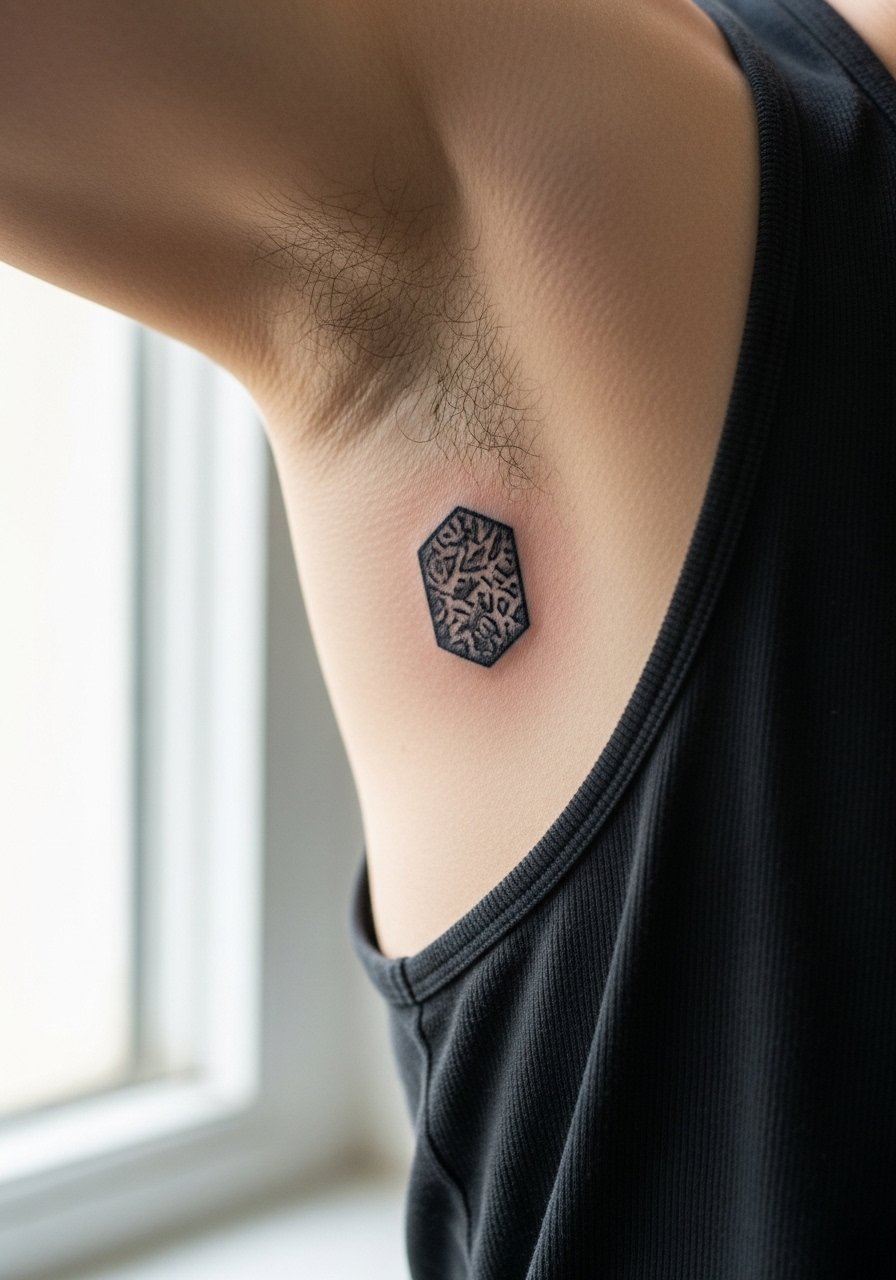
12. Inner Bicep Blackout with Micro-Realism Detail
Pain warning: the inner bicep is tender and sessions can feel long due to sensitivity. The advantage is intimacy and protection from sun exposure. If you want micro-realism inside the blackout, specify the scale and request more spacing around focal elements so shading does not bleed into the heavy black. Artists differ on numbing creams for long chairs. One group says numbing is useful for eight hour sits. The other group worries it masks feedback that keeps saturation even. Tell your artist honestly how you tolerate pain and ask their preference before the first session. Wear a tank with the arm raised for access.
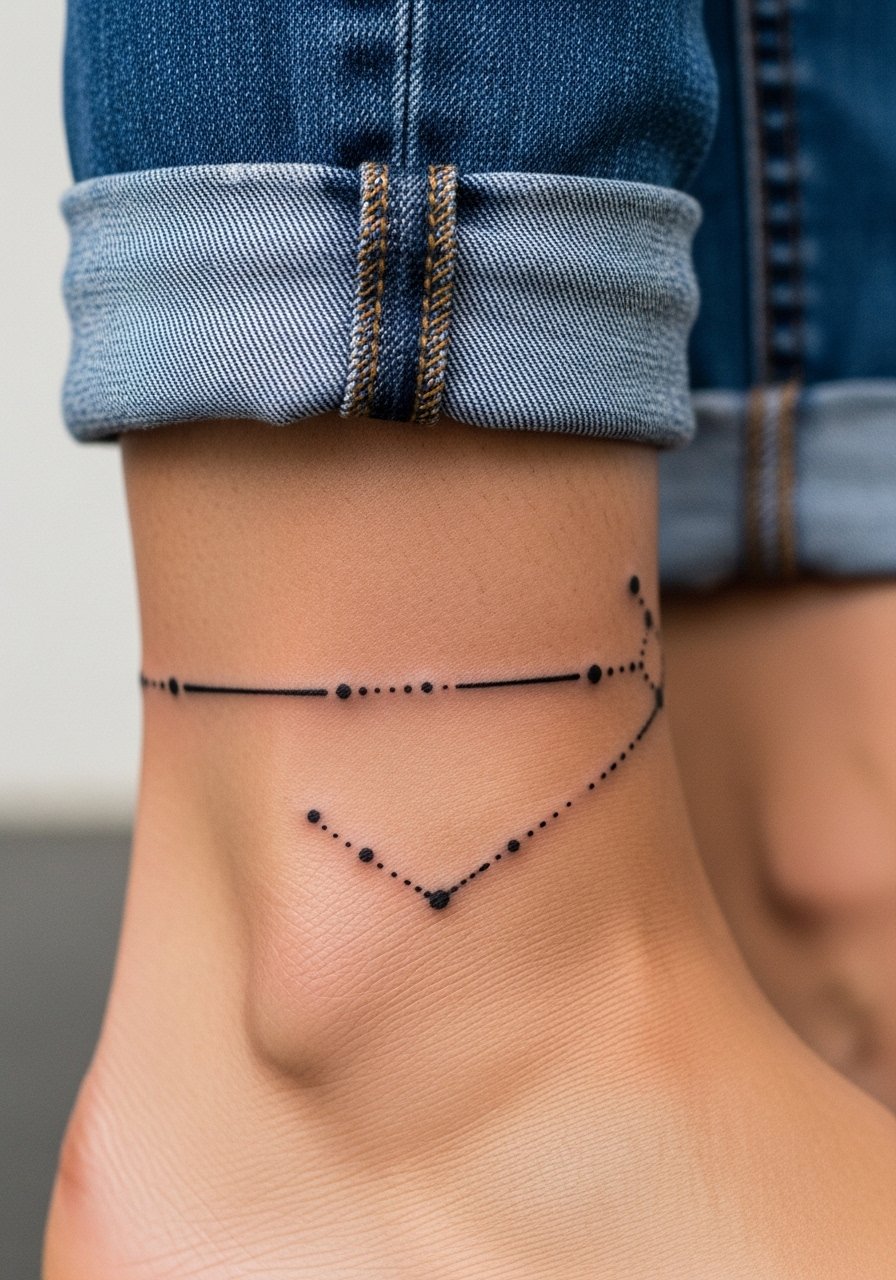
13. Ankle Blackout with Minimalist Negative Space
Aging and wear here are influenced by shoe friction and seasonal sock use. Most ankle blackouts that survive crisp lines keep negative space minimal and bold rather than finely detailed. For runners and people on their feet, ask for thicker outlines and larger uninked motifs so the piece reads through scuffs. Sessions are easy to position but the first two weeks require low-sock strategies to avoid rubbing. For showing it off with cropped pants, a pair of rolled ankle jeans slim or sandals does the job cleanly.
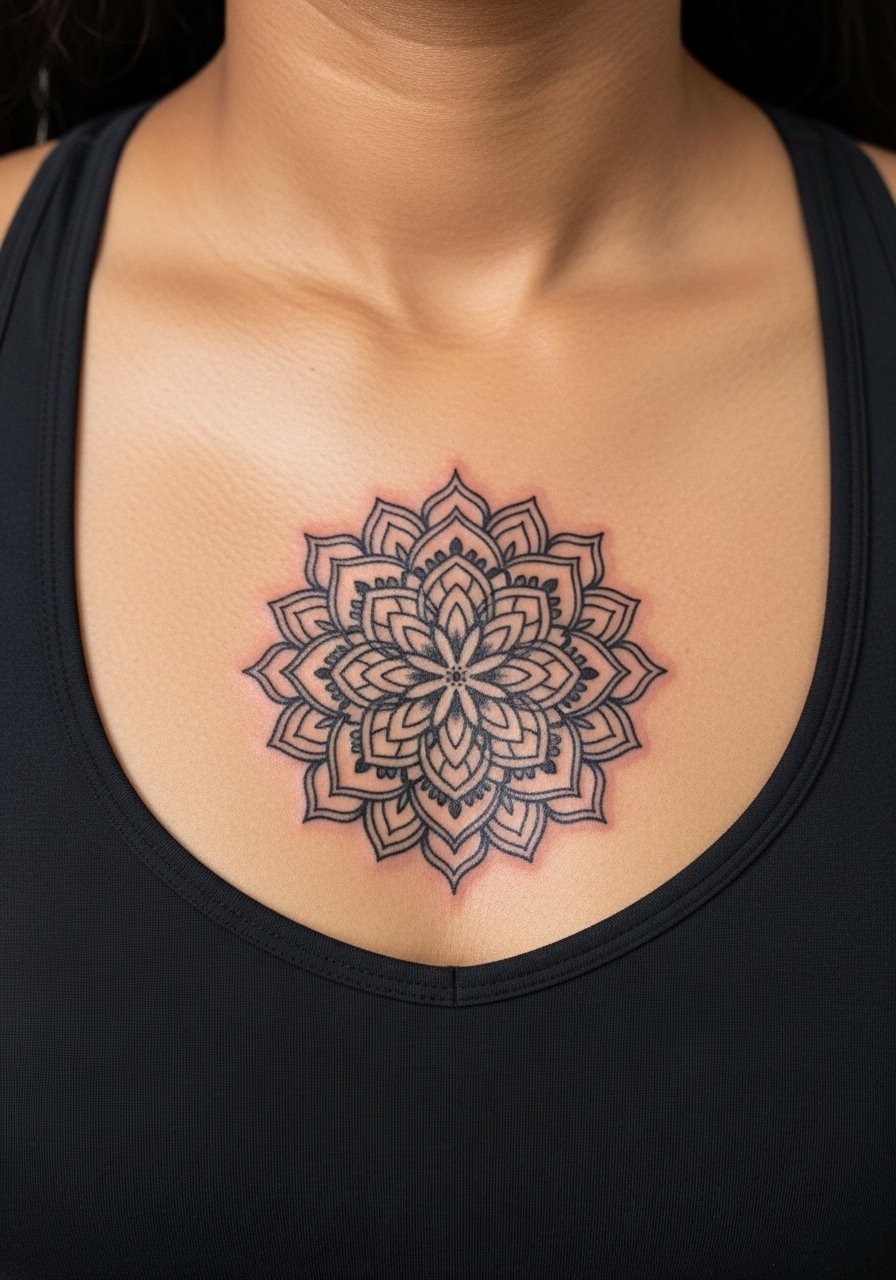
14. Sternum Blackout with Central Mandala
There is a visual richness to sternum pieces that reads well under fitted clothing but the placement demands care in the first weeks. Expect stinging in the sitting and a slow peel as the area moves with breathing. A common mistake is crowding the central area with too many tiny petals. Recommend larger, more spaced motifs so stipple shading keeps texture rather than filling into a patch. For the session, wear a fitted sports bra so the artist can work without full exposure, and be ready for slower epithelialization than limb work.
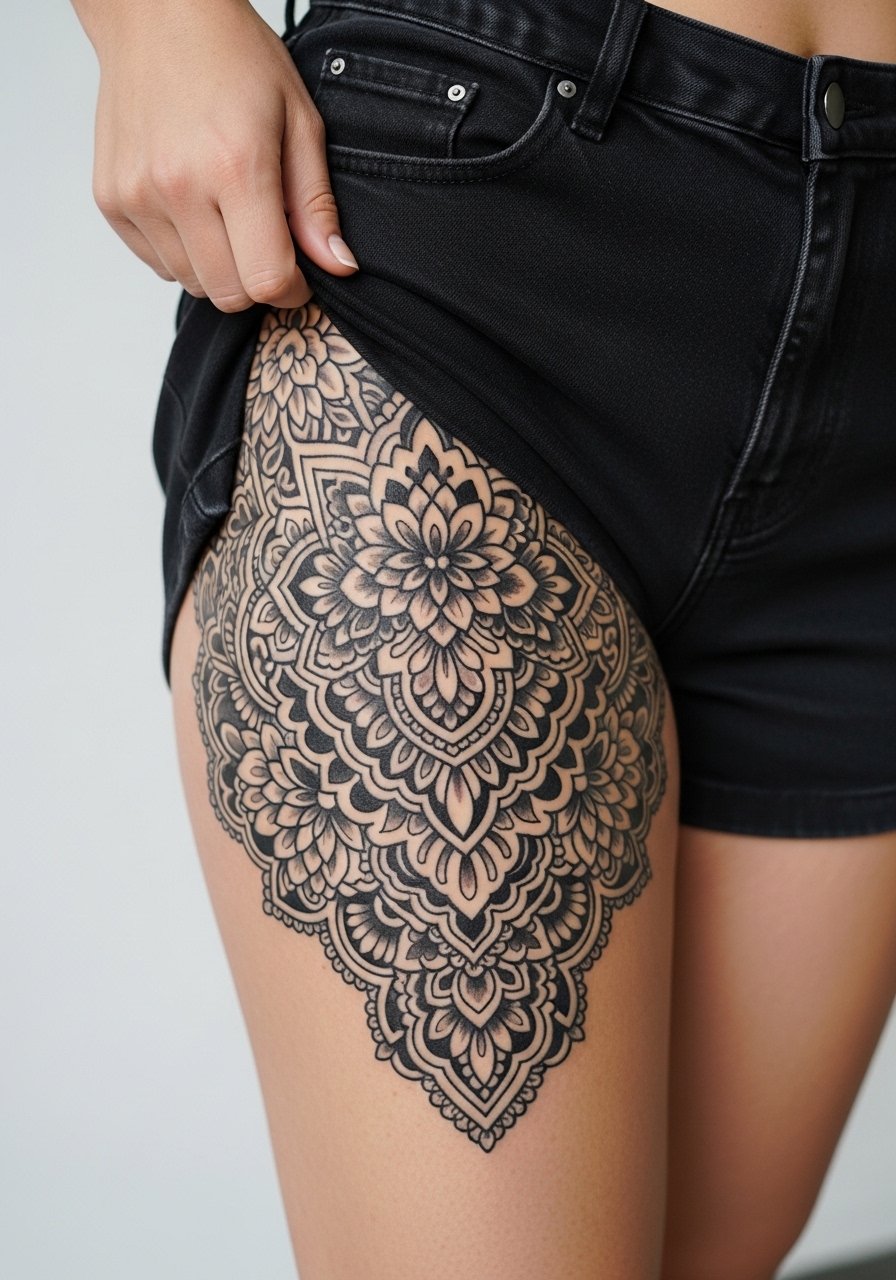
15. Hip and Upper Thigh Blackout with Floral Cutouts
The hip is a great place for discreet negative space work that reveals selectively. The biggest mistake is placing tiny cutouts too close to the waistband where stretch and movement change the shapes. For longevity, tuck anchor shapes into the hip crease and keep the florals larger. Session time is moderate and comfort is high when you wear high-cut shorts or a swimsuit bottom so the artist can reach the area. For showing this off, high-waisted shorts or slim joggers in black make the cutouts pop and keep outfits simple, try slim jogger pants charcoal.
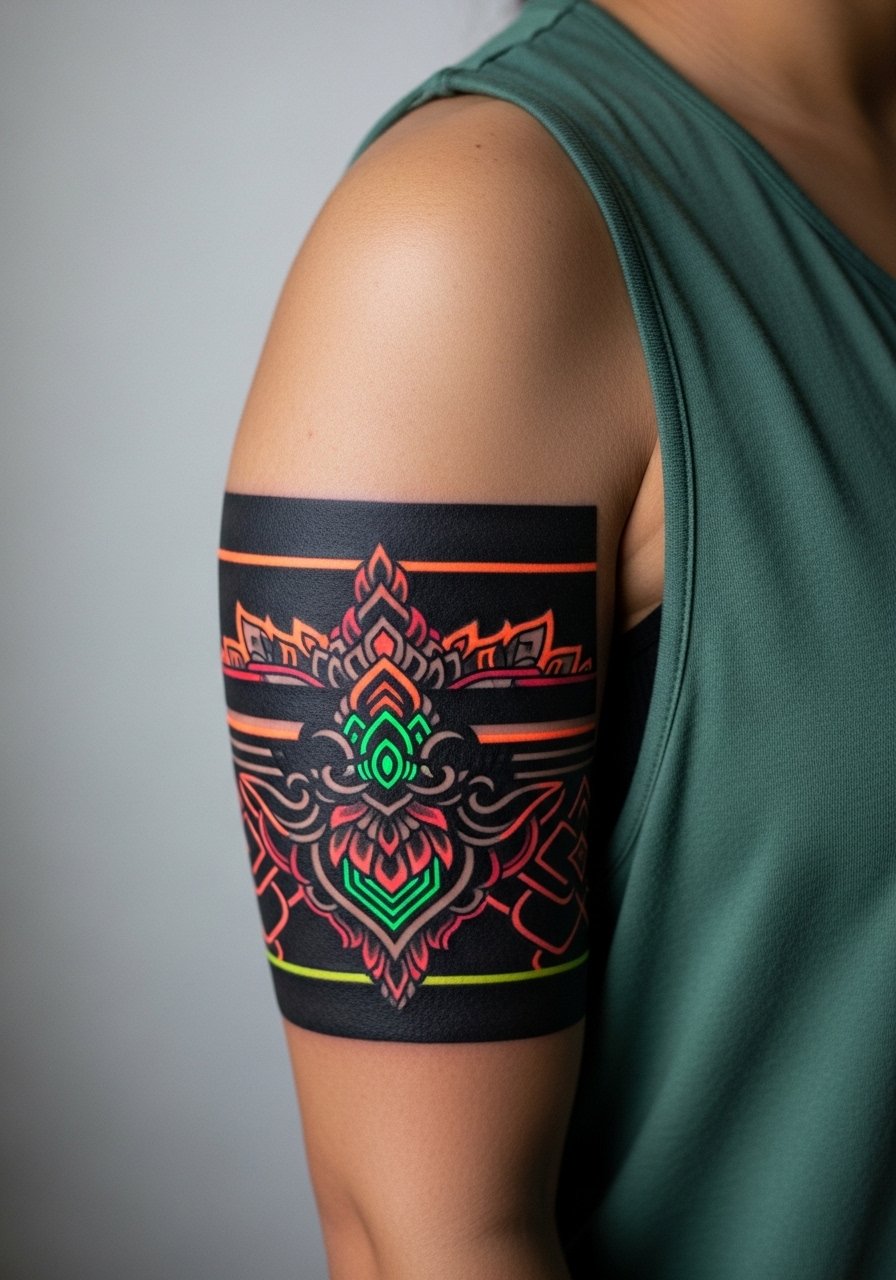
16. UV-Reactive Accents on Blackout Canvas
Consultation lead: say you want UV-reactive inks only visible under blacklight when you book this one so the artist knows how to mix pigments and layer them over saturated black. This is an under-covered idea that works well on nightlife-forward collectors and on sleeve panels set aside for neon detail. The trade-off is that UV inks can appear less vibrant in daylight and may need occasional passes to keep glow intensity. Discuss safety and longevity with the studio in advance. For the session wear, comfortable sleeve access is best and expect a careful layering approach over multiple sittings.
17. Scarification Texture Integrated into Blackout
Styling lead: this is a rarer approach where subtle scar lines are integrated with heavy black areas to add tactile texture, and it requires a studio that openly discusses scar management. The session is more involved because scarification is a different process and adds healing complexity to blackout work. If you are considering it, ask for examples that demonstrate how texture reads healed on similar skin tones and plan for a longer recovery. For showing off the contrast between ink and texture, off-shoulder tops or fitted jackets work well, pair with an off shoulder top black for evening wear.
Frequently Asked Questions
Q: How does negative space in blackouts hold up on dark skin tones?
A: From what I have seen, negative space can lose contrast on darker skin unless the uninked areas are sized to create higher contrast or the artist adds small color accents. Ask to view healed work on similar skin tones during consultation and be prepared for tighter spacing or a color pop to keep the design readable.
Q: Will a full arm blackout cover old tattoos completely on the first session?
A: Usually not. Most full arm blackouts are built over multiple sessions to ensure even saturation and to avoid overworking the skin. Expect staged coverage and a touch-up plan once the piece has fully healed.
Q: Should I use an occlusive bandage or dry heal for large blackouts?
A: Artists are split on the Saniderm versus dry-heal question. One camp argues for occlusive film to reduce early contamination on large areas. The other camp prefers dry healing to help ink settle deeply. The safest approach is to ask your artist which method they use for blackout work and why, then follow that plan consistently.
Q: How often will the fine line negative space need touch-ups on high-friction spots like hands and wrists?
A: Expect yearly touch-ups on hands and wrists in many cases. Those areas see repeat washing and abrasion, which fades edges faster than on the forearm or back. Plan touch-up time into your budget if those placements matter to you.
Q: What should I wear to a chest or sternum blackout session to make it easy for the artist?
A: A loose front-open shirt or a fitted sports bra works best so you can expose the area without full disrobing. For showing the healed chest artwork, a deep v neck tee black frames the center piece cleanly and keeps styling simple.
