
Fine line tattoos are dominating saved boards, and the reality is they often need more planning than people expect. Tiny illustrative pieces look delicate fresh, but placement, spacing, and how the skin moves determine whether the linework reads clean at year three. Read these 17 compact ideas with practical notes on pain, aging, and what to tell your artist before the needle hits the skin.
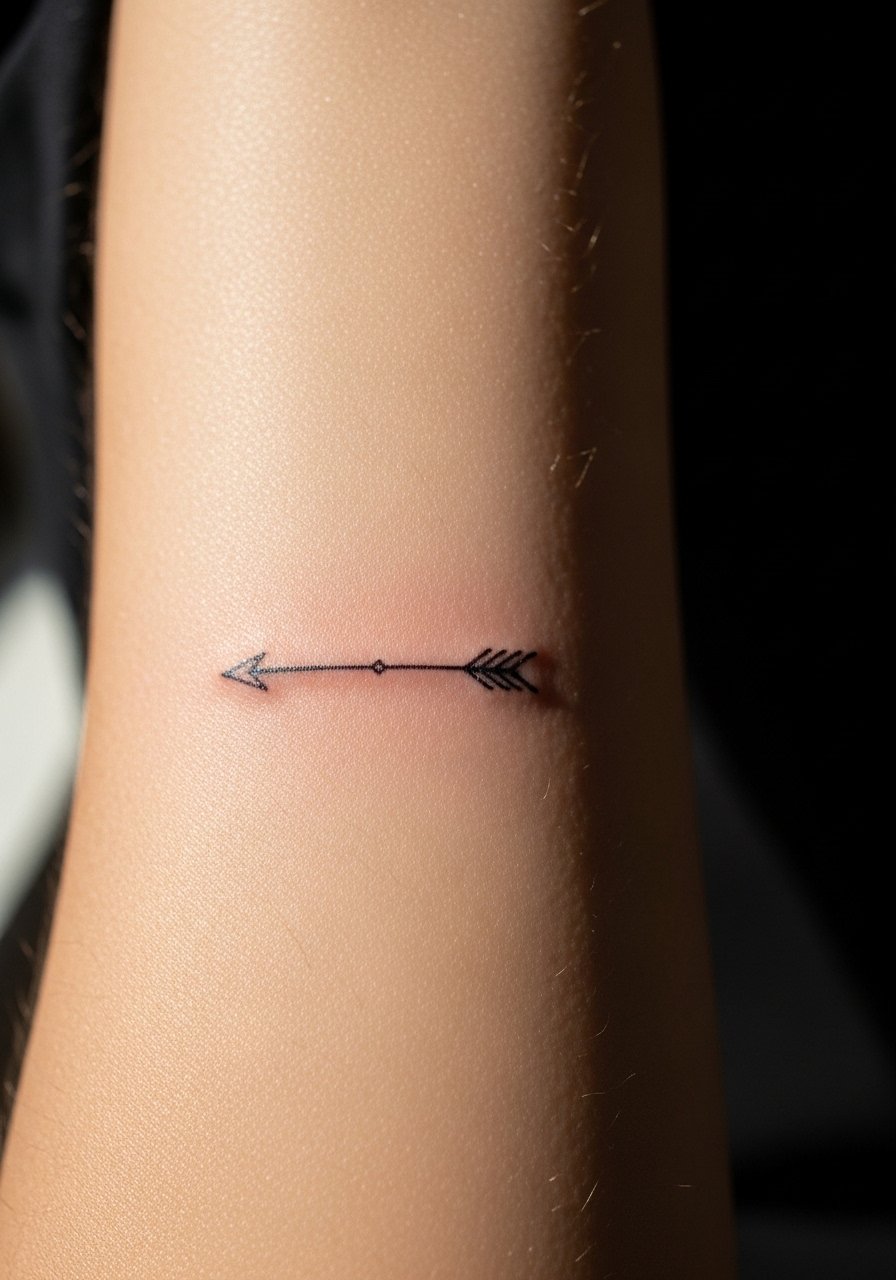
1. Fine Line Arrow on Inner Forearm
I've seen this style on forearms that get rolled up a lot and still read clean after several years when the artist kept line weight slightly thicker than the smallest flash. Expect a 2 out of 10 pain level on most scales and a short session under 45 minutes. Tell your artist you want consistent linework and avoid ultra-tiny arrowheads that fade into a blur. Common mistakes are packing too many decorative ticks near the shaft, which creates a busy healed look. For showing it off, the forearm pairs well with rolled sleeves and a loose button-down shirt that you can pull aside during the session so the artist has clear access.
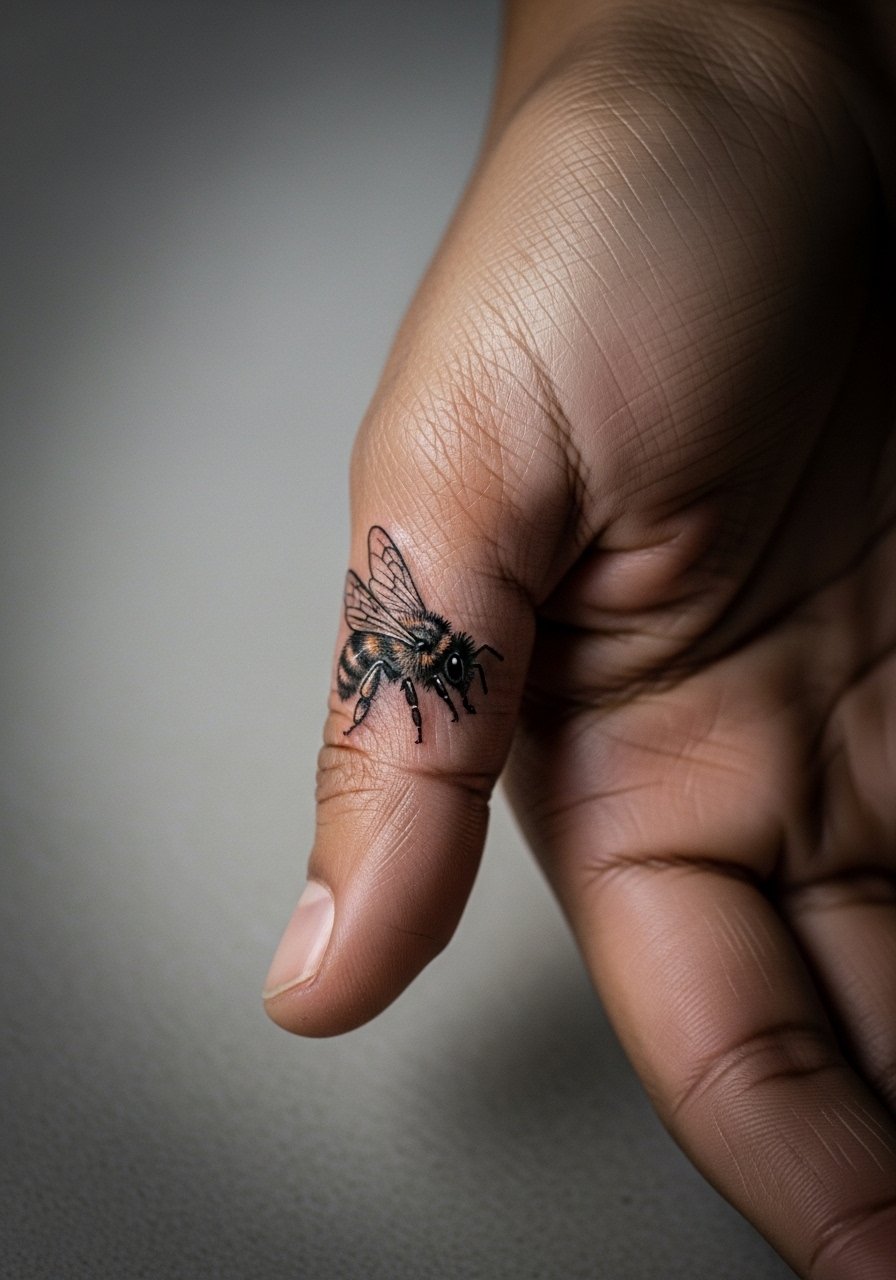
2. Micro-Realism Bee on the Thumb
Fair warning, thumbs are surprisingly sensitive, around a 6 to 7 on many pain scales, but a tiny micro-realism bee makes a striking spot tattoo. Session time is often under an hour. Bring references that show the exact angle you want and ask for slightly bolder contouring so the wings do not merge with skin movement over time. Blowout risk is high here because the skin is thin and mobile. For appointment day, wear a thin ring guard or thumb sleeve so the artist can work without fabric snagging the area. Expect a possible touch-up at year two for crisp wing detail.
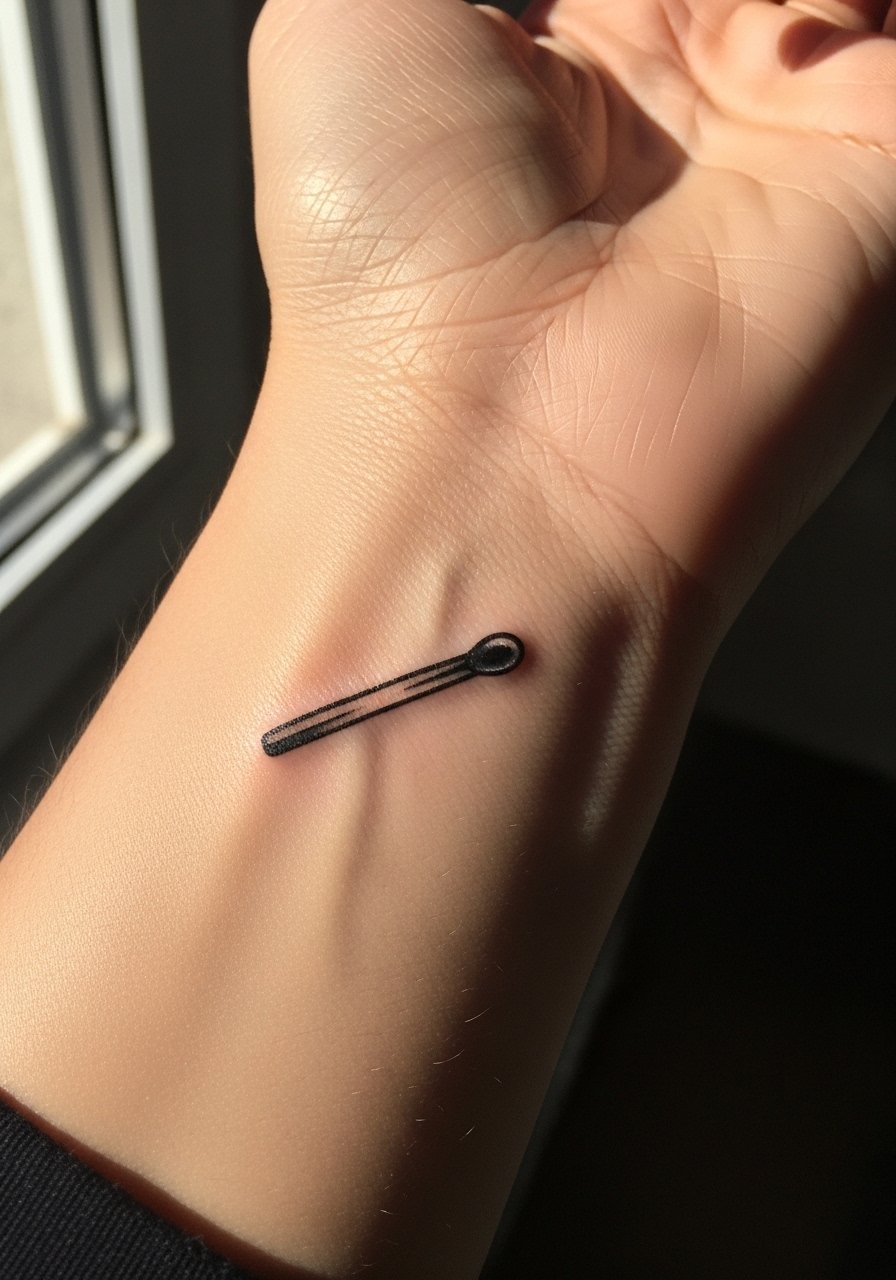
3. Tiny Traditional Matchstick on the Wrist
There is something about a tiny matchstick with a small flame that reads classic and ages predictably on the wrist. Pain is moderate at a 3 to 4, and most sessions land around 30 minutes. The mistake I see is asking for tiny, thin flames with low spacing; those areas tend to soften faster. Ask for clearer silhouette and slightly more space between elements so stipple shading can hold up. Wear a minimalist watch to frame the wrist when you want to show it off. Because the wrist washes a lot and rubs against bracelets, expect a touch-up timeline sooner than larger pieces.
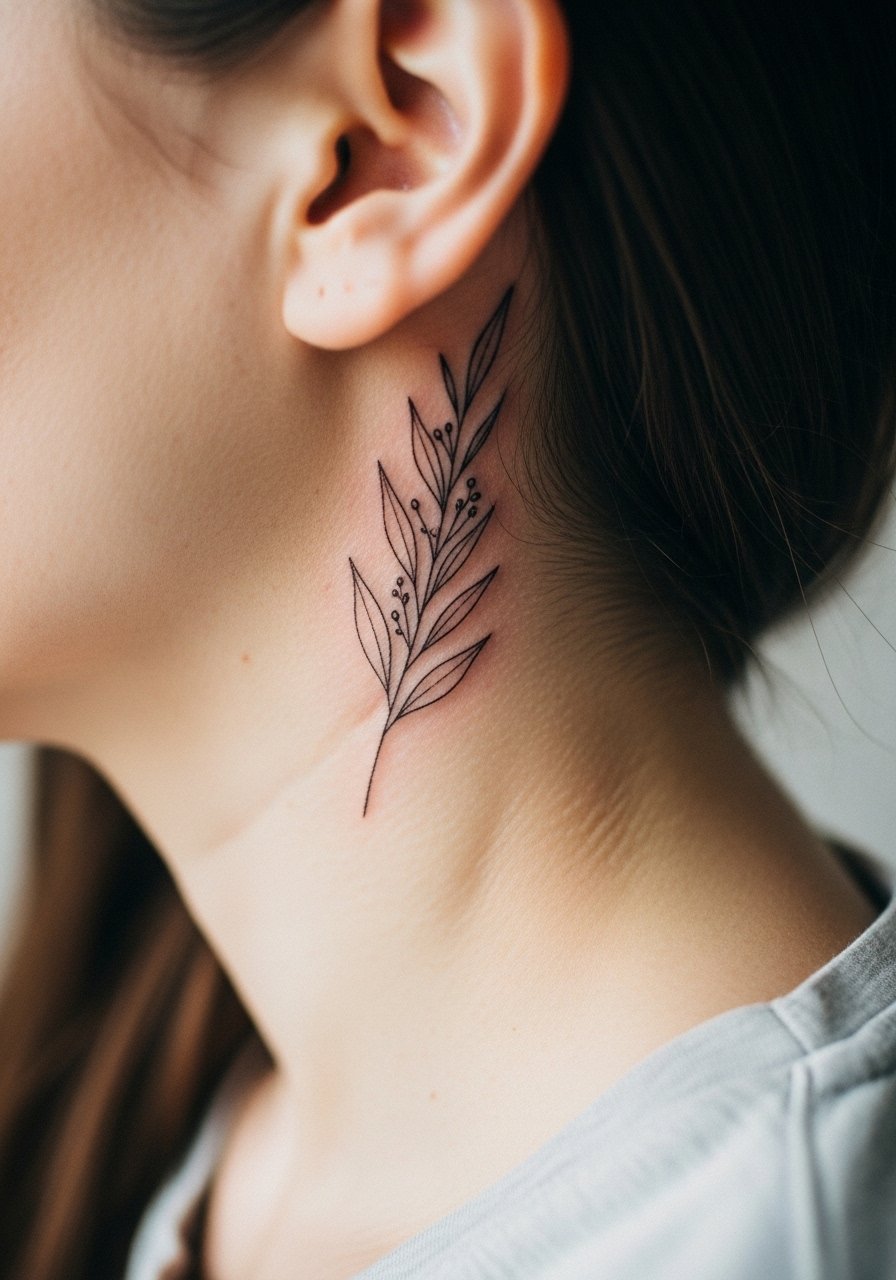
4. Botanical Sprig Behind the Ear
When placed on the skin just behind the ear, a delicate sprig reads like a private accent that appears when hair is tucked up. This area is low pain, around a 2, and session time is short. Artists split on the technique here. One camp says the thin skin and constant motion blur fine line quickly. The other camp says with correct depth and slightly bolder stems it settles fine. Ask the artist which approach they prefer and why. For visibility, pair with hair-up styles and consider a small thin chain pendant necklace that complements the line direction. Keep the design simple to avoid parts that could merge as the area heals.
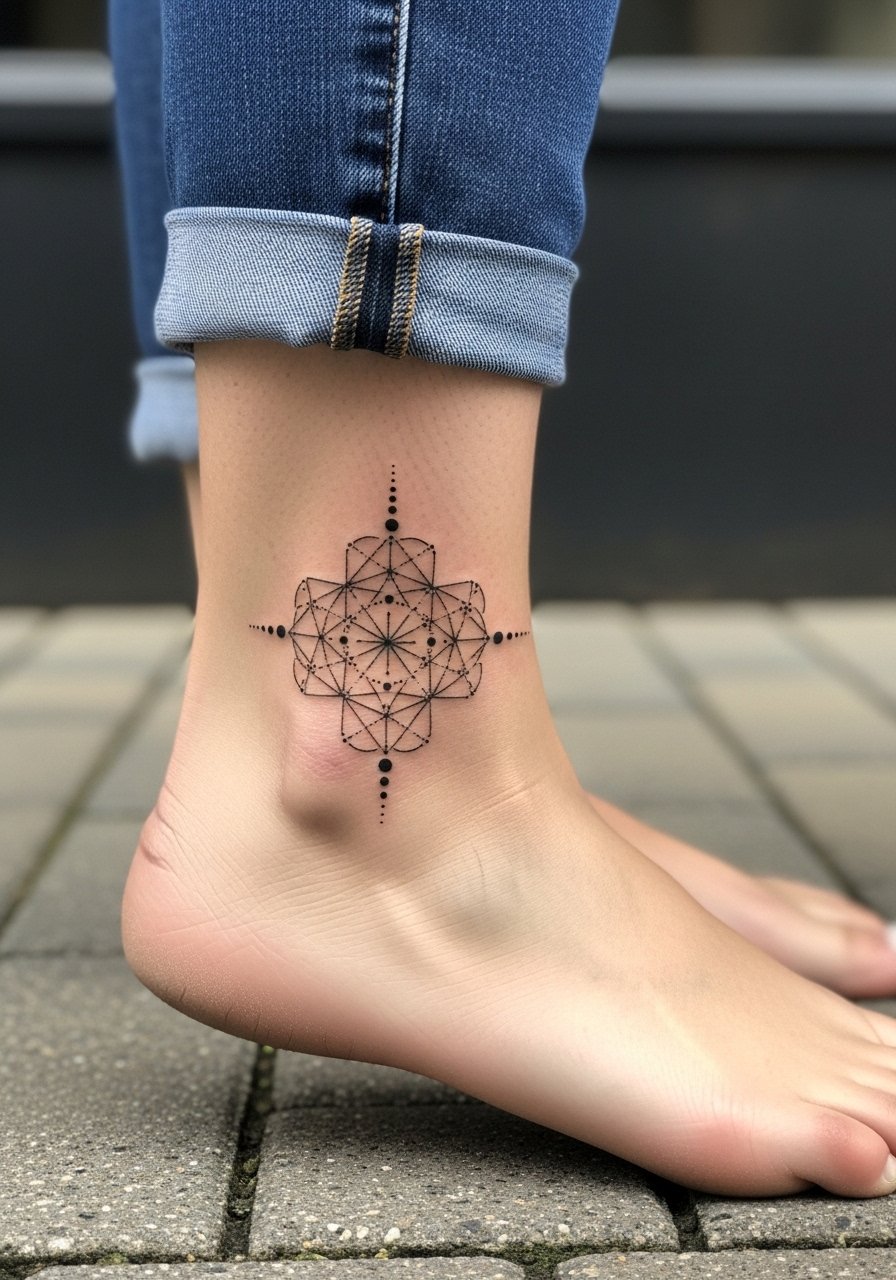
5. Geometric Dotwork Ankle
The ankle works well for tiny geometric clusters that lean on dot work and stipple shading. Pain varies but many rate it a 4 to 6 because of the thin skin near bone. Common mistakes are cramming dense dotwork too small, which fills in over time. Ask for spacing that scales with the size so concentric patterns keep contrast at years two and five. For session wear and showing off, roll up a pant leg or slip into simple slide sandals so the artist can access the area and you can reveal the tattoo cleanly afterward. Expect occasional touch-ups in high-friction spots like ankles.
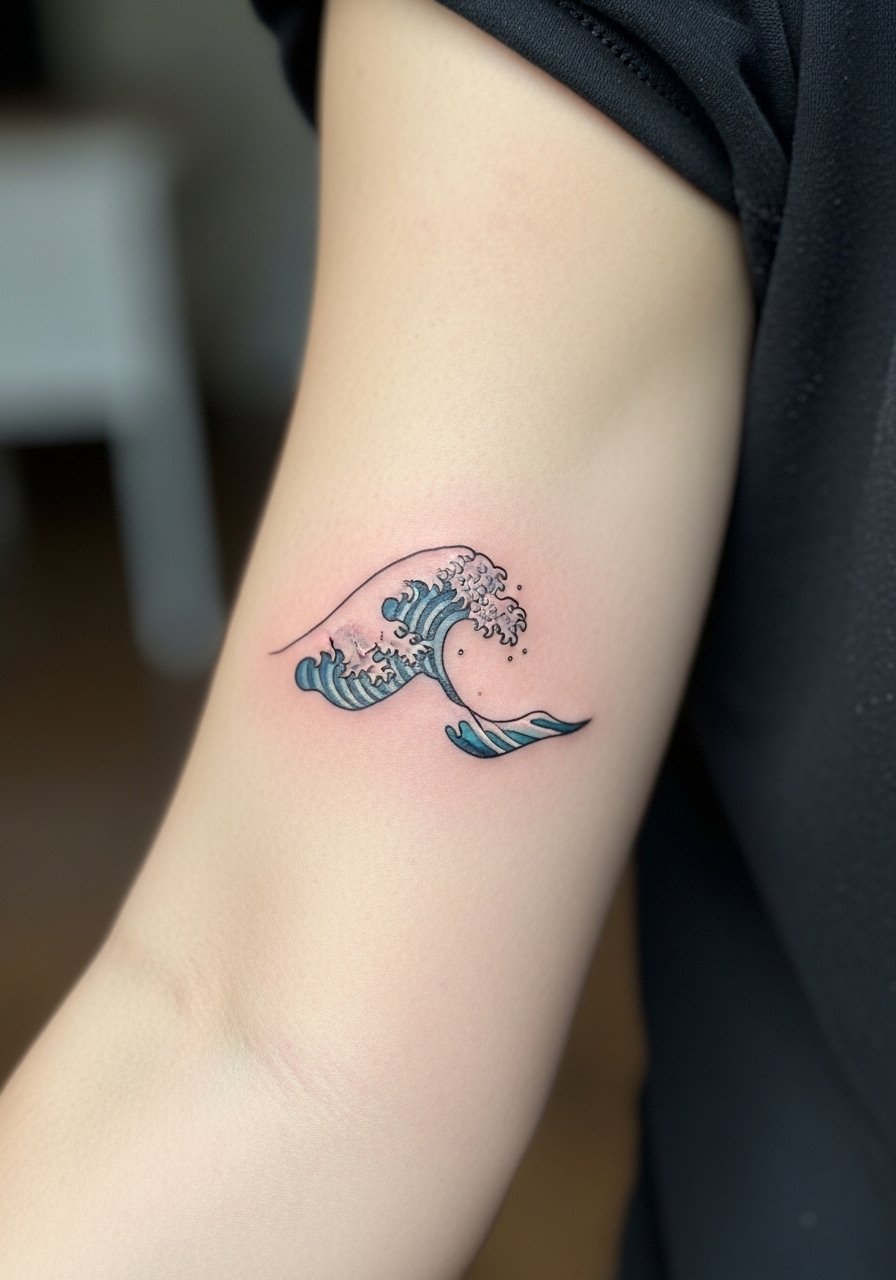
6. Mini Watercolor Wave on Outer Forearm
There is a visual freedom to tiny watercolor waves that still read fresh when placed on the outer forearm. Pain is low, session time around 45 minutes. The aging problem with watercolor is bleed and loss of vibrancy, so ask for a slightly darker outline or micro-shading to hold the shape as pigments soften. A common mistake is choosing color saturation that is too light from the start. For casual show-off looks, pair this with rolled-up linen sleeves and an open cuff bracelet to keep attention on the watercolor wash without crowding the arm. Expect color to need refresh at year three depending on sun exposure.
Studio Day Picks
The small forearm, wrist, and ankle pieces above benefit from simple gear that keeps the session smooth and the first week manageable.
- Stencil transfer paper kit. Lets you preview line placement on skin before committing, which is especially helpful for the arrow and botanical ideas above.
- Topical numbing cream. Applied per instructions an hour before can reduce edge pain for thumb and ankle spots during short sessions.
- Thin protective film roll. Useful for finger and wrist pieces that face friction from daily washing and typing.
- Fragrance-free gentle body wash. Cleanses healing skin without irritating delicate linework on forearms and ankles.
- Aquaphor healing ointment. A thin layer in the first days helps retain moisture around fine line tattoos without suffocating the skin.
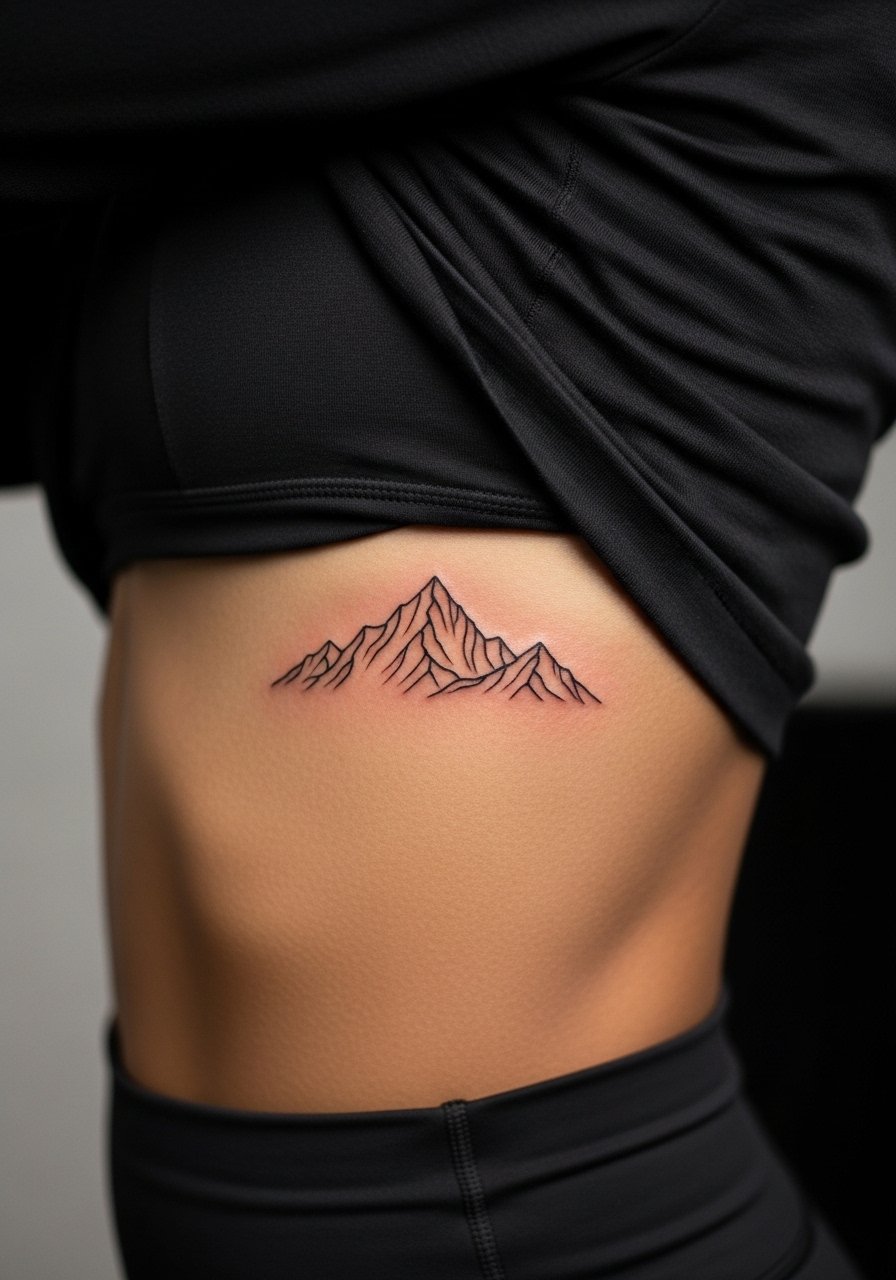
7. Minimalist Mountain Range on the Ribcage
Fair warning, the ribcage is often a 7 to 9 on pain scales, but a tiny, well-spaced mountain band can look dramatic and private. Artists are split on fine line here. One camp says the constant skin stretch forecasts blurring within two years. The other camp argues that with proper depth and spacing, fine line holds. Ask your artist which camp they fall into and why. Sessions are usually longer because breaks are common. Skip dense detail. For this placement, choose slightly larger negative spaces so the ridgeline survives movement. Expect touch-ups earlier than forearm work.
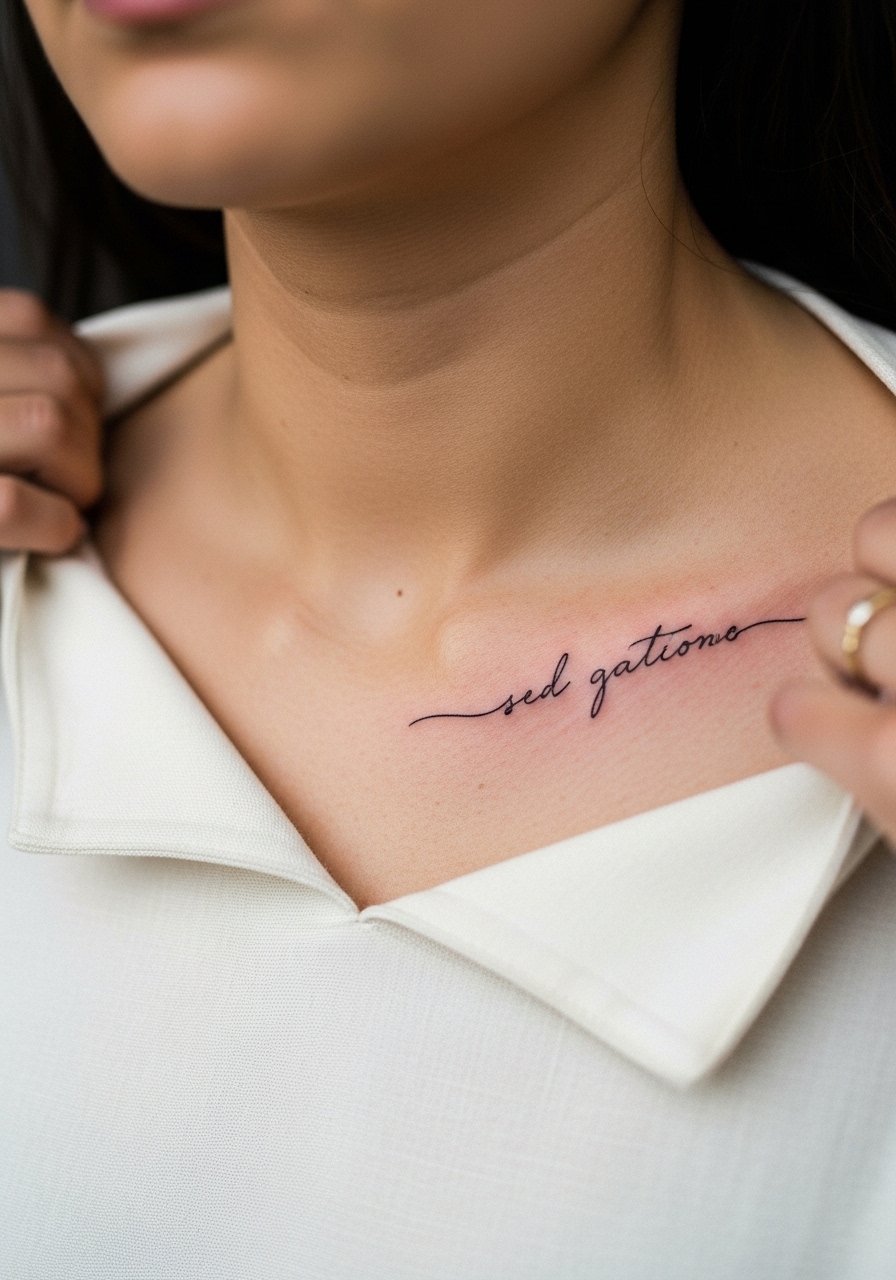
8. Scripted Single Word on the Collarbone
A single-word script near the collarbone reads refined and remains visible with open necklines. Pain is mild to moderate depending on proximity to bone. Tell the artist the exact script weight and spacing you want, and specify whether you prefer cursive or a clean serif for long-term legibility. A common mistake is choosing ultra-fine cursive that loses counters as it heals. For showing it off, pair with an open-back or wide-neck blouse so the text sits naturally above fabric lines. Expect minor softening over several years and plan a small touch-up if you want crisp counters.
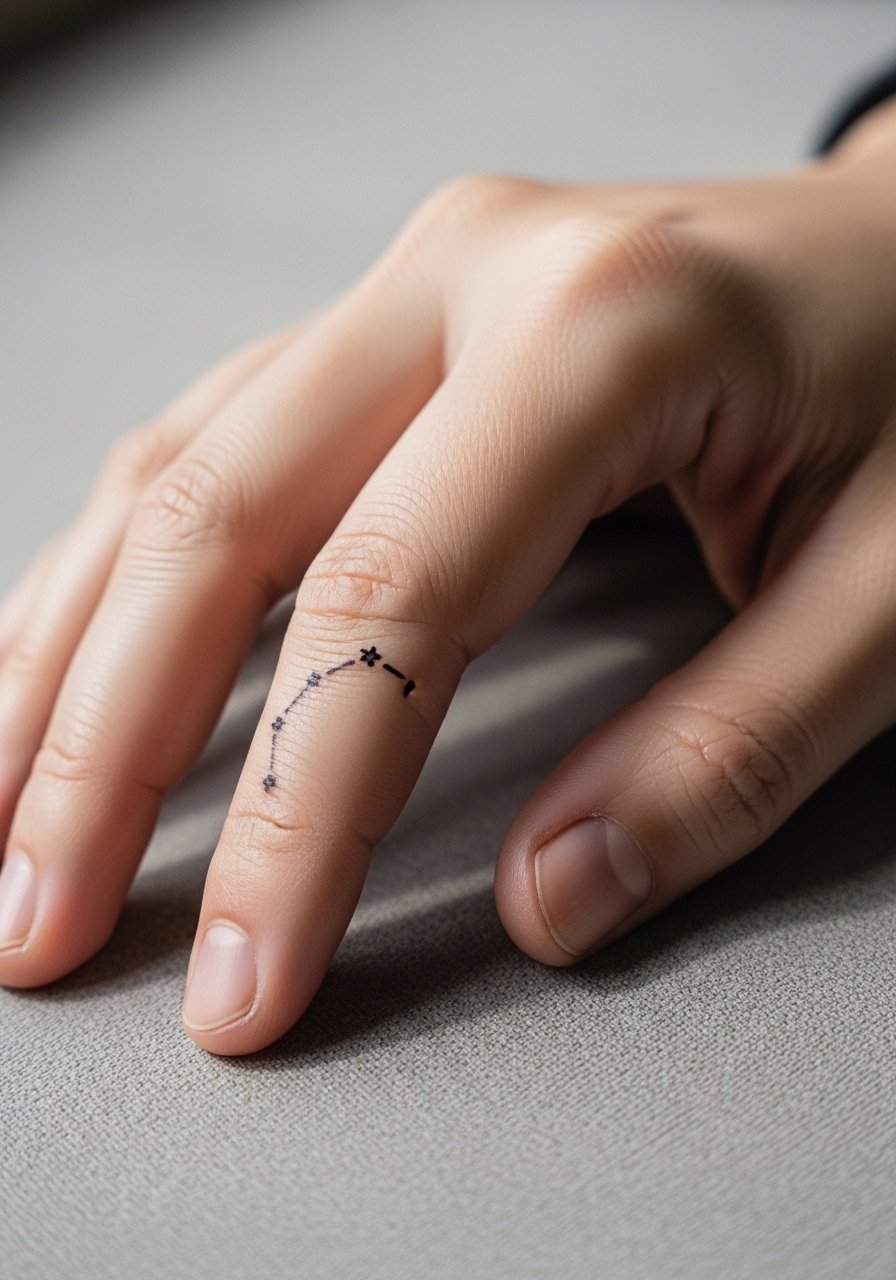
9. Tiny Constellation on the Finger
Fingers are notorious for early fading and touch-ups, but a tiny constellation can be worth it if you understand the trade-off. Expect a 5 to 7 pain level and a short session. The mistake people make is asking for dense dot clusters on knuckles. For longevity, place small stars away from the point of most frequent bending and ask for slightly bolder dots. Wear a delicate stacking ring to complement the constellation without rubbing the ink. Plan on a possible refresh within one to two years, especially if the design sits over a joint.
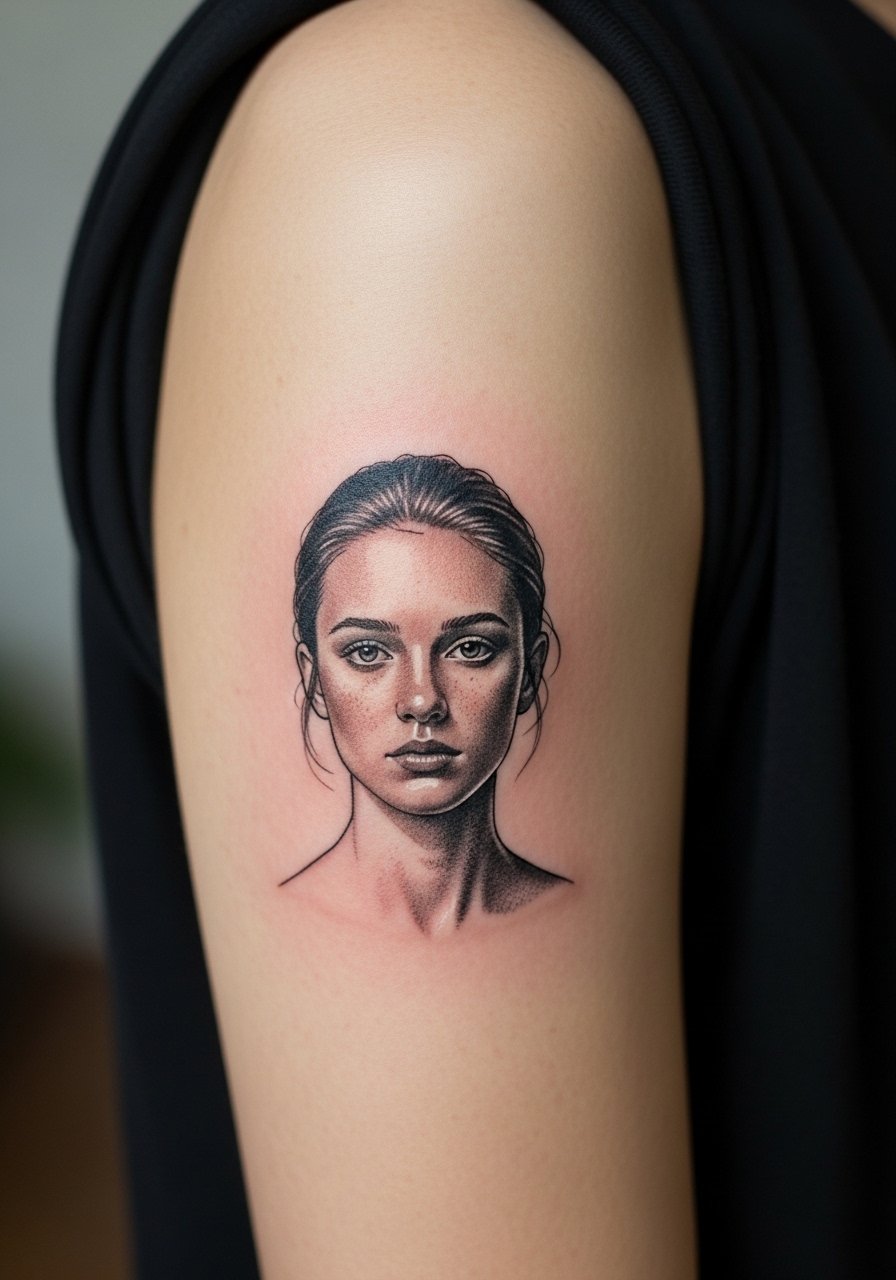
10. Miniature Portrait on Upper Arm
A tiny portrait in micro-realism on the upper arm can hold detail if kept at a size the artist recommends. The outer upper arm is forgiving and rates low on pain. The most common mistake is shrinking a reference too much and asking for hyperfine shading that will wash out. Tell the artist you want emphasis on strong silhouette and selective detail rather than full facial texture. Upper arm placement protects the piece from daily friction and sun, so aging is generally favorable. If you plan to show it, roll a sleeve or wear a sleeveless top during warm months. Expect touch-ups based on skin type and exposure.
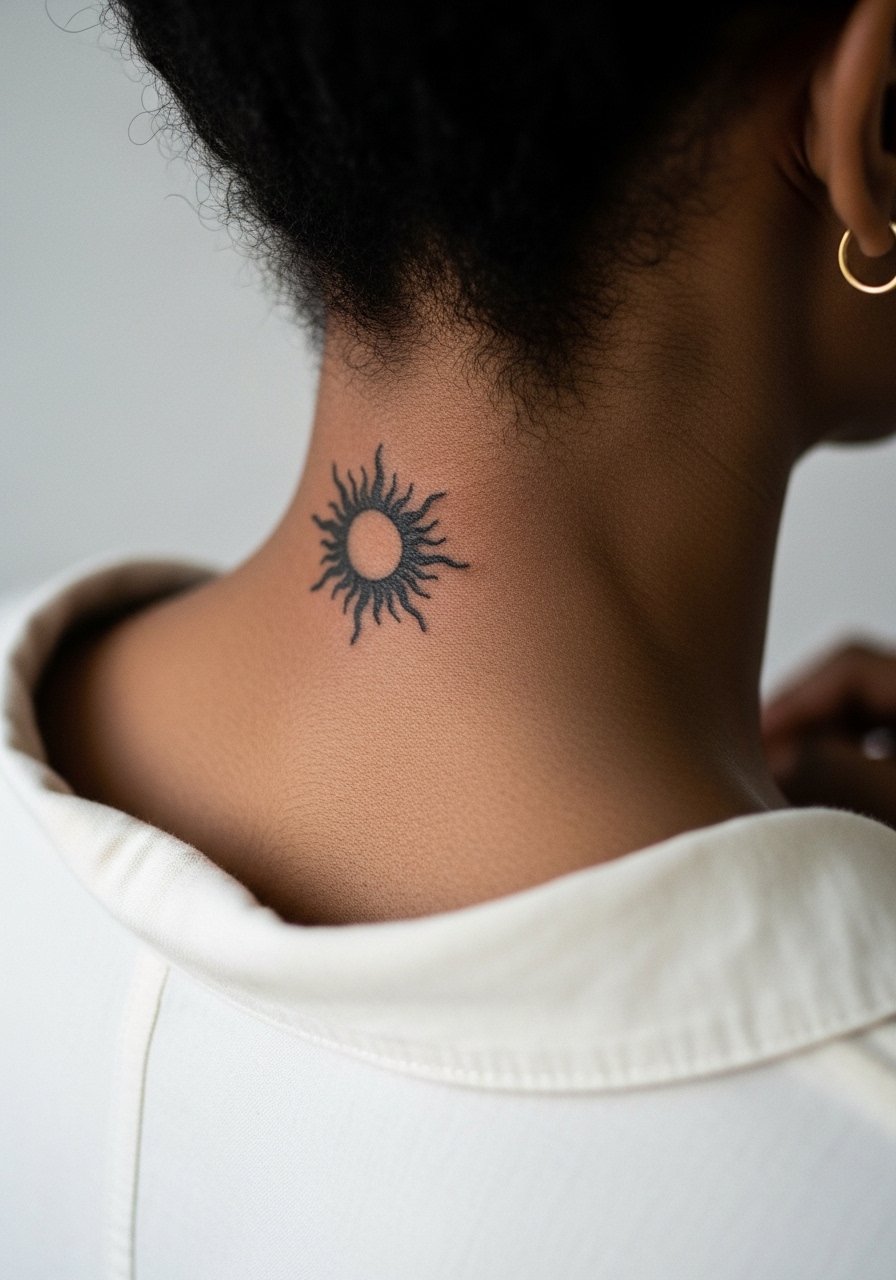
11. Small Blackwork Sun at the Nape of the Neck
The nape is a high-visibility spot when hair is up and low when hair is down. Pain is moderate and sessions are short. The common mistake is overfilling the center on a small sun, which can look like a solid blotch after healing. Ask for clean negative rays and consider stipple texture rather than heavy saturation. For show-off styling, wear a wide-neck tee that frames the nape so the sun peeks from beneath your hair. This placement ages well if sun exposure is limited, so keep hair down or apply SPF to the spot when exposed.
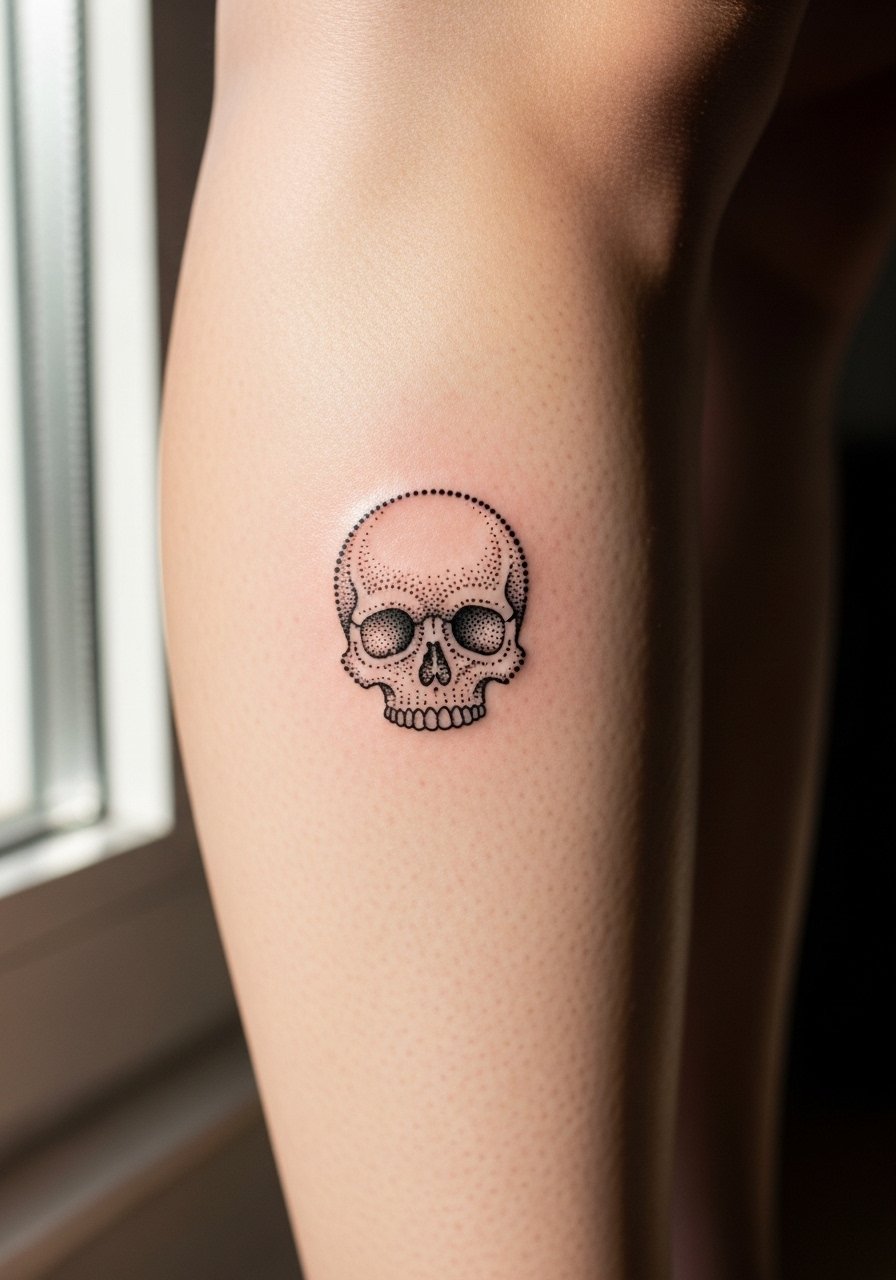
12. Tiny Stipple Skull on the Calf
Calf placements give you room to keep dot work and stippling airy, which helps the skull retain its form as it heals. Pain is low to moderate and session time is usually under an hour. The usual error is compressing too much stipple into a small patch. Ask for graduated stipple and for darker anchor points so the eye reads at a distance. Wear loose drawstring linen pants to the session so you can roll the leg without pressure on fresh ink. Calf tattoos usually age predictably because they avoid constant abrasion.
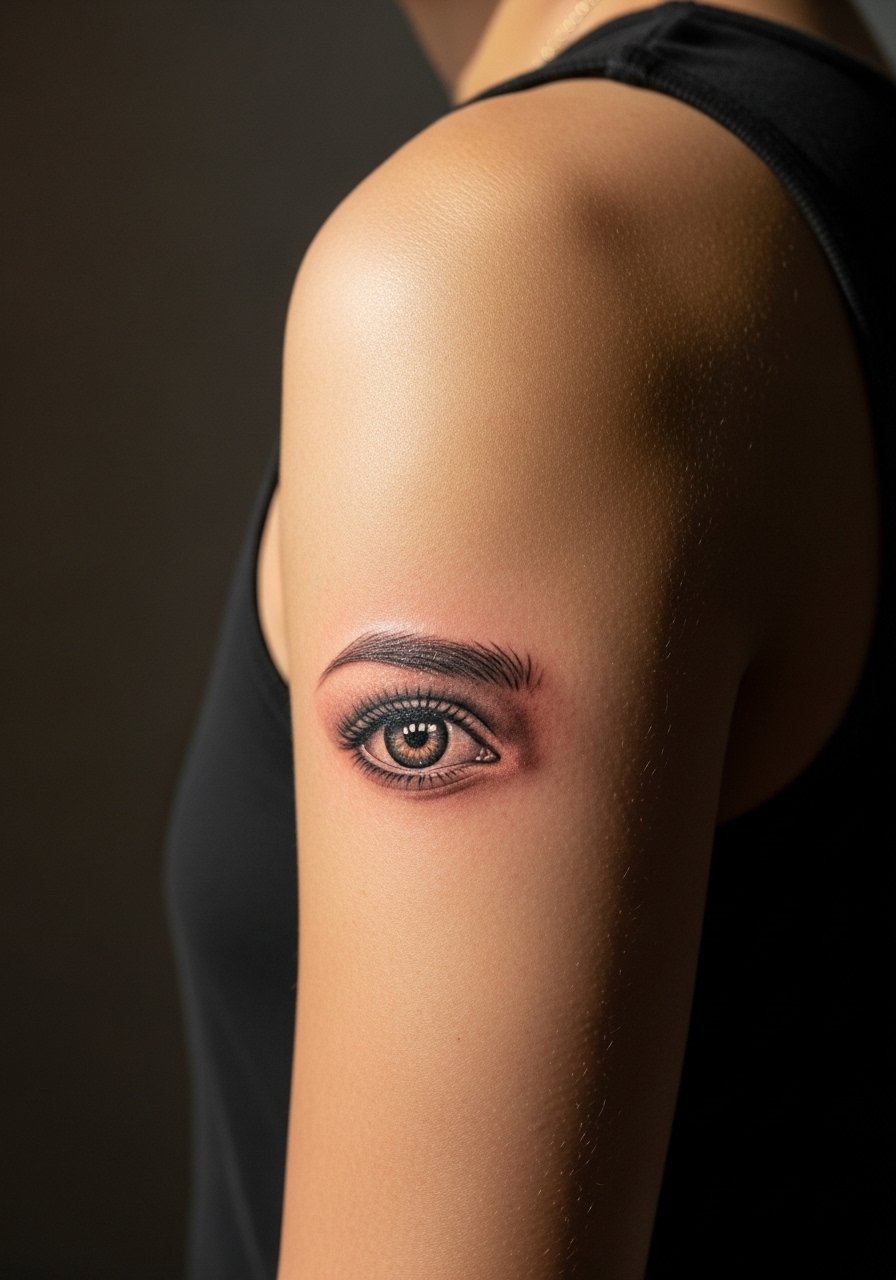
13. Micro-Realism Eye on Inner Bicep
Inner bicep is tender, so expect a 6 to 8 pain level and a session where breaks are likely. Artists are split on whether extreme micro-realism settles well here due to skin elasticity. One group says fine textures blur with arm movement. The other group reports success with scaled-back detail and stronger contrast. If you choose this spot, ask for defined edges and selective highlights rather than full photoreal detail. Also wear a tank top to the session so the artist can access the area without shifting fabric. Inner bicep pieces often need touch-ups sooner than outer-arm work.
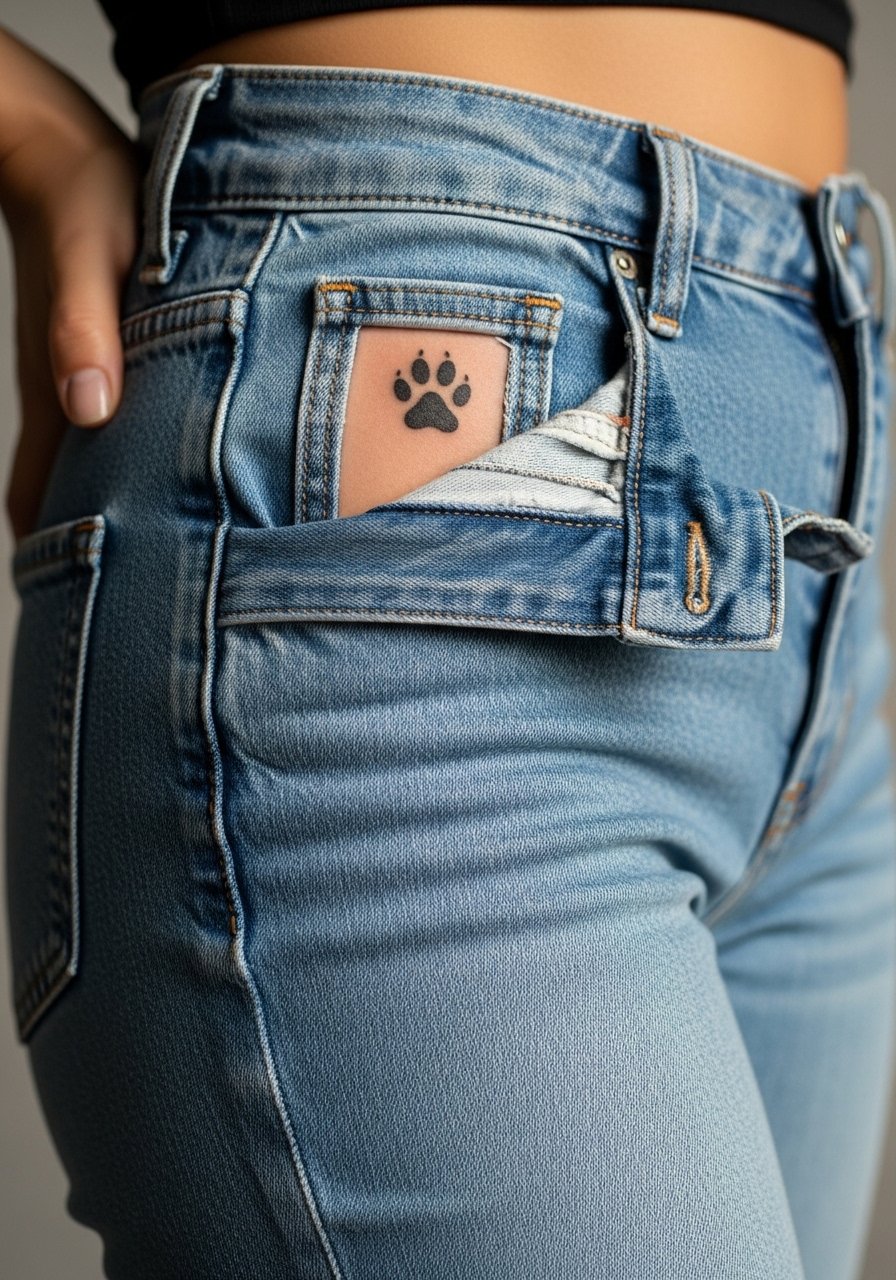
14. Minimalist Paw Print on the Thigh
Thigh tattoos sit in a sweet spot for low abrasion and privacy, and a tiny paw print reads personal without much risk. Pain varies but is generally a 3 to 5 depending on upper versus inner thigh. For an inner-thigh placement, the session needs extra care and a modest wardrobe choice. Ask your artist to map the exact location with a temporary stencil so it sits where you want under clothing. If the design is near the hip, choose high-cut shorts for the appointment. Because thigh skin is forgiving, the paw print tends to age well unless you place it on an area that rubs with tight clothing.
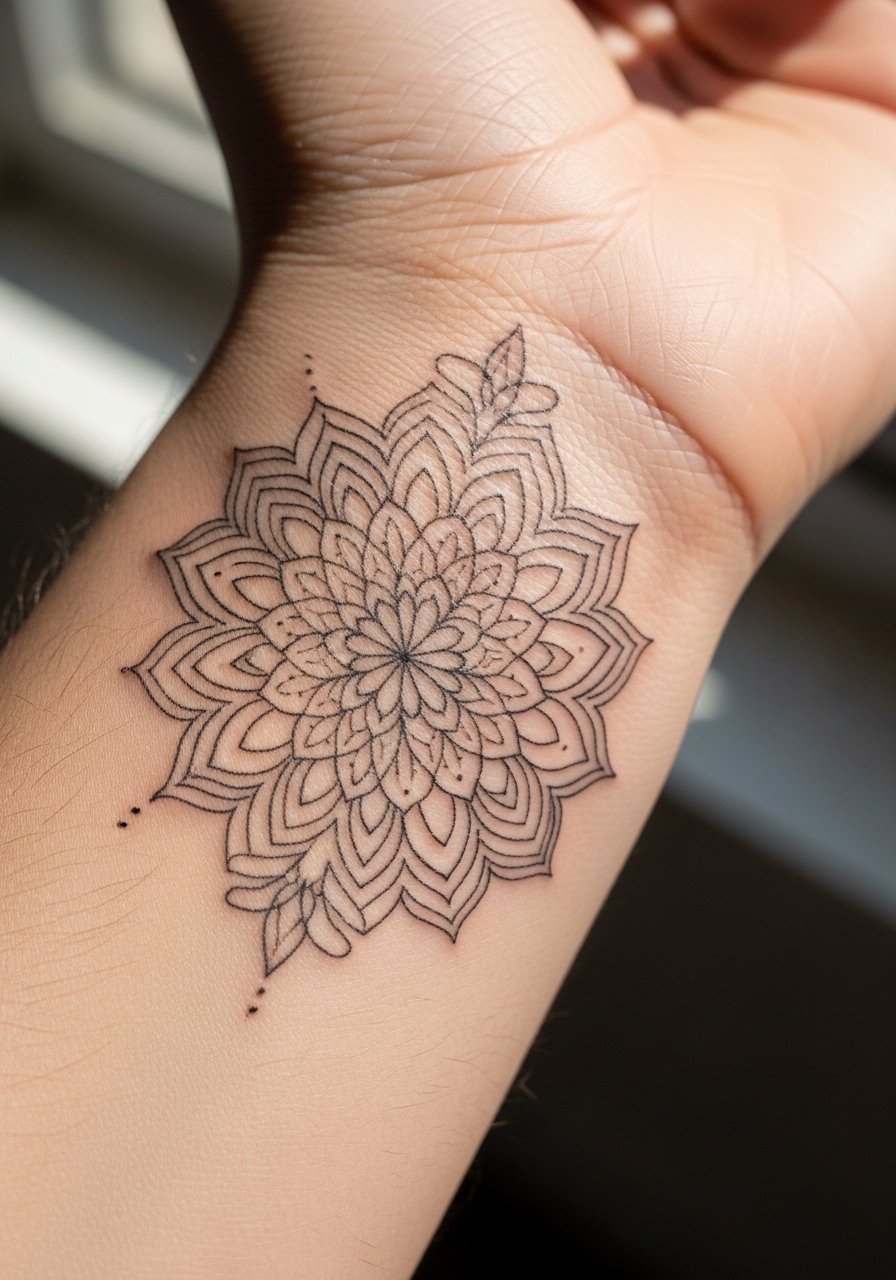
15. Fine Line Mandala Wrist Wrap
A small mandala wrapping the top of the wrist can look intricate without taking much space if the design breathes. Wrist placement means more hand washing and friction, so plan for touch-ups. The biggest error is cramming too many spokes and leaves into a tiny ring. Ask for balanced negative space and slightly bolder outer rings to preserve silhouette. For show-off looks, stack with a thin chain bracelet to highlight the circle without crowding it. Expect the inner details to soften first, and plan a refresh if you want crispness long term.
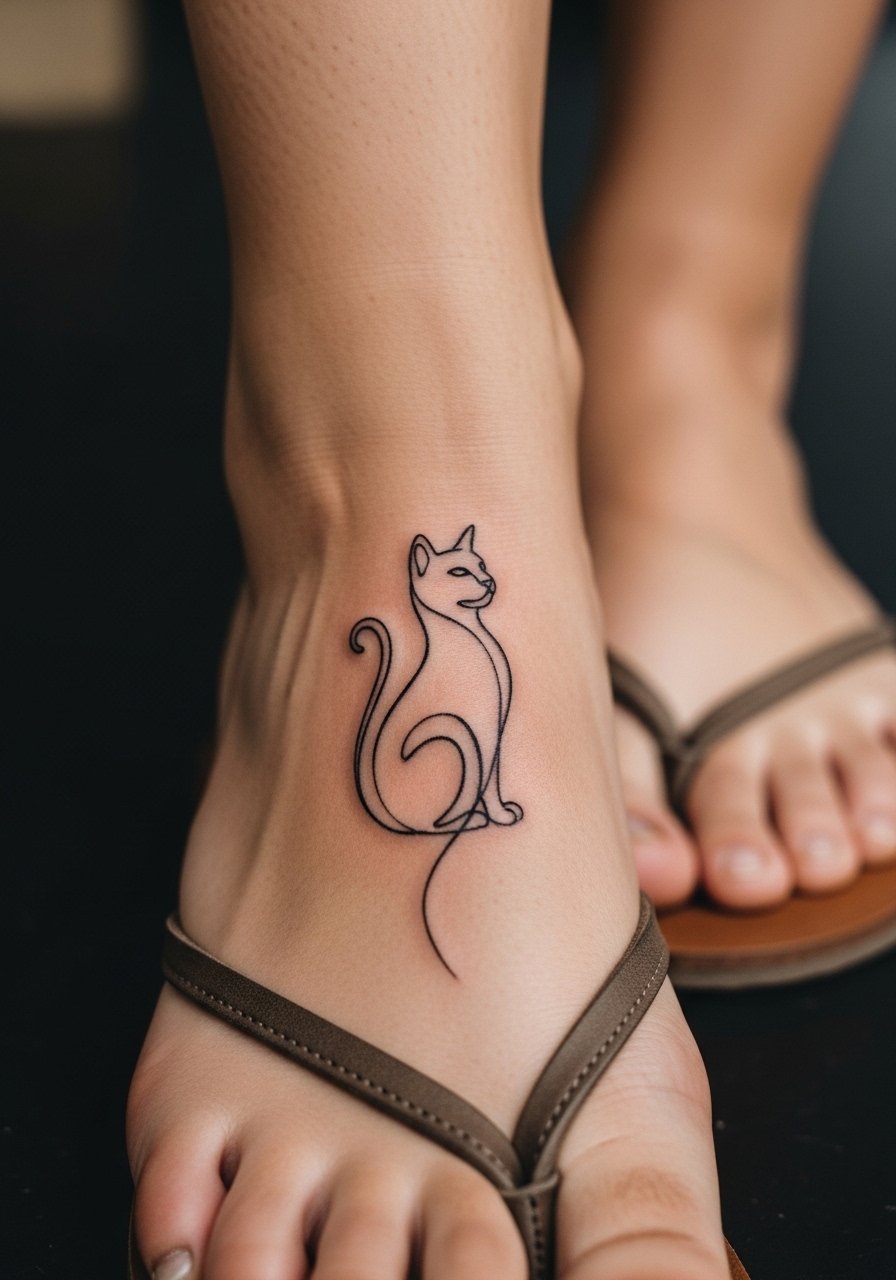
16. Tiny Line Art Cat on the Foot
Foot tattoos sit behind shoes much of the time and take more care while healing, but a small line art cat on the upper foot is charming and low profile. Pain is moderate at 4 to 6 because of proximity to bone. Common mistakes are choosing too-fine lines across high-friction zones like the instep. Ask for slightly thicker contour and for placement away from seams in shoes to reduce rubbing. Wear a pair of sandals to the session so the artist can work without pressure from closed shoes. Foot pieces often need earlier touch-ups due to daily wear.
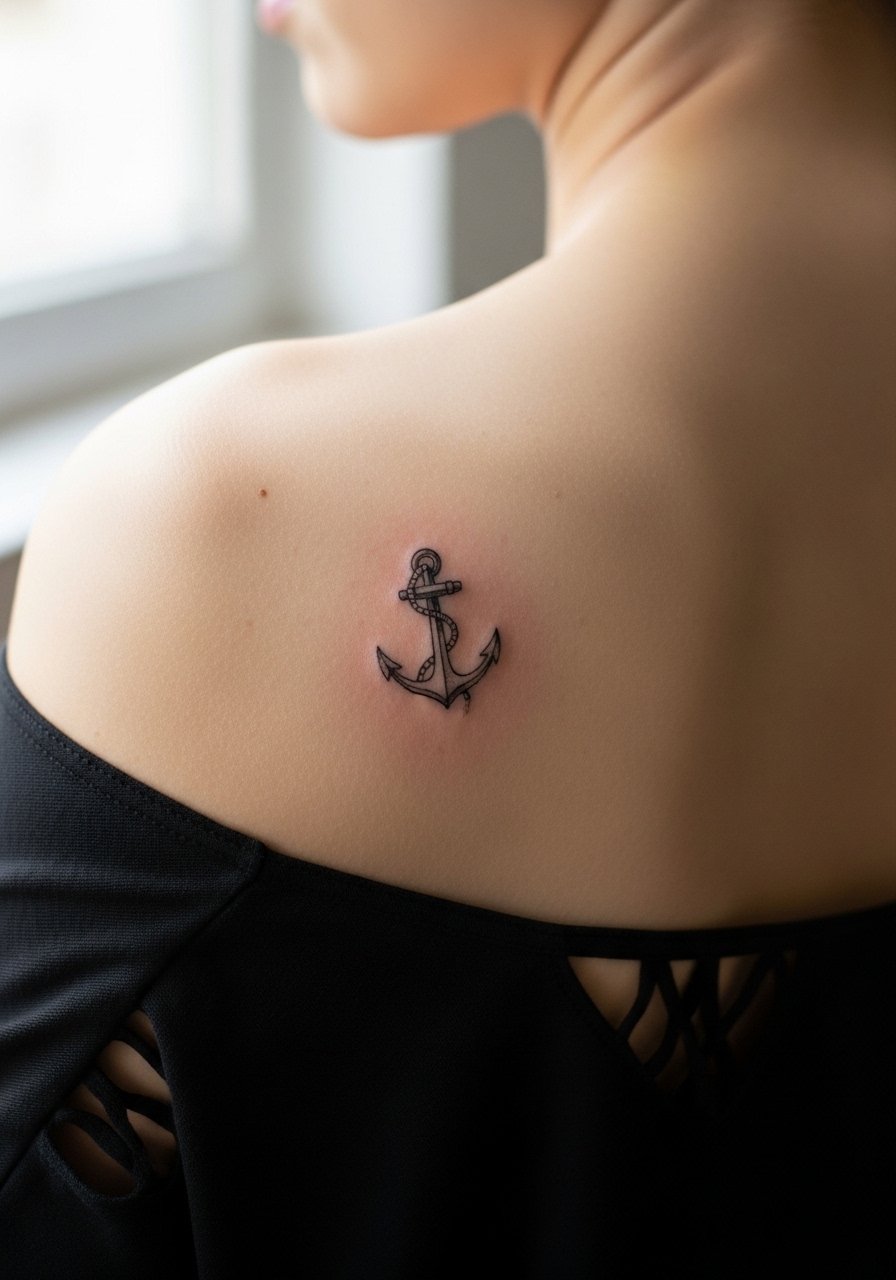
17. Dainty Anchor on the Shoulder Blade
Shoulder blade placements sit under clothing but show well with open-back tops. Pain is low to moderate and sessions are quick for tiny pieces. The common mistake is placing the anchor too close to the spine where movement can distort shape. Ask the artist to position it slightly outward on the blade and to keep the anchor's shank bold enough to last. For evenings out, an open-back midi dress frames the piece without competing for attention. This area sees minimal abrasion, so the anchor tends to age gracefully with occasional light touch-ups.
Frequently Asked Questions
Q: Will fine line tattoos blur faster on ribs compared with forearms?
A: From what I've seen, ribs tend to show blur earlier because the skin stretches and the area gets more movement. Forearms are more stable and protected, so fine line holds longer. Ask your artist about spacing and line weight before booking to set realistic expectations.
Q: How should I dress for a behind-the-ear or nape appointment?
A: Wear a top that allows the artist to expose only the tattoo zone. For behind-the-ear choose a shirt you can pull your hair out of easily, or for nape pick a wide-neck shirt you can slide aside. A wide-neck tee often works well.
Q: Are finger and thumb tattoos worth it if they need touch-ups frequently?
A: They can be if you accept the maintenance. Fingers and thumbs face constant washing and friction so plan for refreshes and ask for bolder anchors rather than ultra-fine detail. Many people treat them like jewelry that needs occasional service.
Q: What should I ask about if I want micro-realism on the inner bicep?
A: Ask the artist about how they scale detail for moving skin and what touch-up policy they recommend. Request a test stencil at the size you want so you can see how the composition sits when your arm bends.
Q: How long before a tiny tattoo on the ankle or wrist might need a touch-up?
A: It depends on sun exposure and friction. From experience, wrist and ankle pieces often show softening at year one to three if they see frequent rubbing. Ask for slightly bolder outer lines to extend the interval between touch-ups.
Q: Should I be concerned about career visibility with hand or neck tattoos?
A: Yes, some industries are still conservative about visible ink. Think through workplace norms before committing to a hand or visible neck piece. You can pick placements that are easily covered if that is a concern.
