
Fine line and glossy color have circled back from early 2000s pop culture and now read like jewelry on skin. For a Y2K revamp focus on small saturated motifs, playful chrome effects, and tiny gradients that sit well on visible spots. I picked designs that work at different sizes and age differently, with concrete notes on consultation, healing, and what to wear to show them off. Start with an easy wrist piece and then move through bolder placements so you can pace your next session.
1. Tiny Neon Butterfly on Inner Wrist
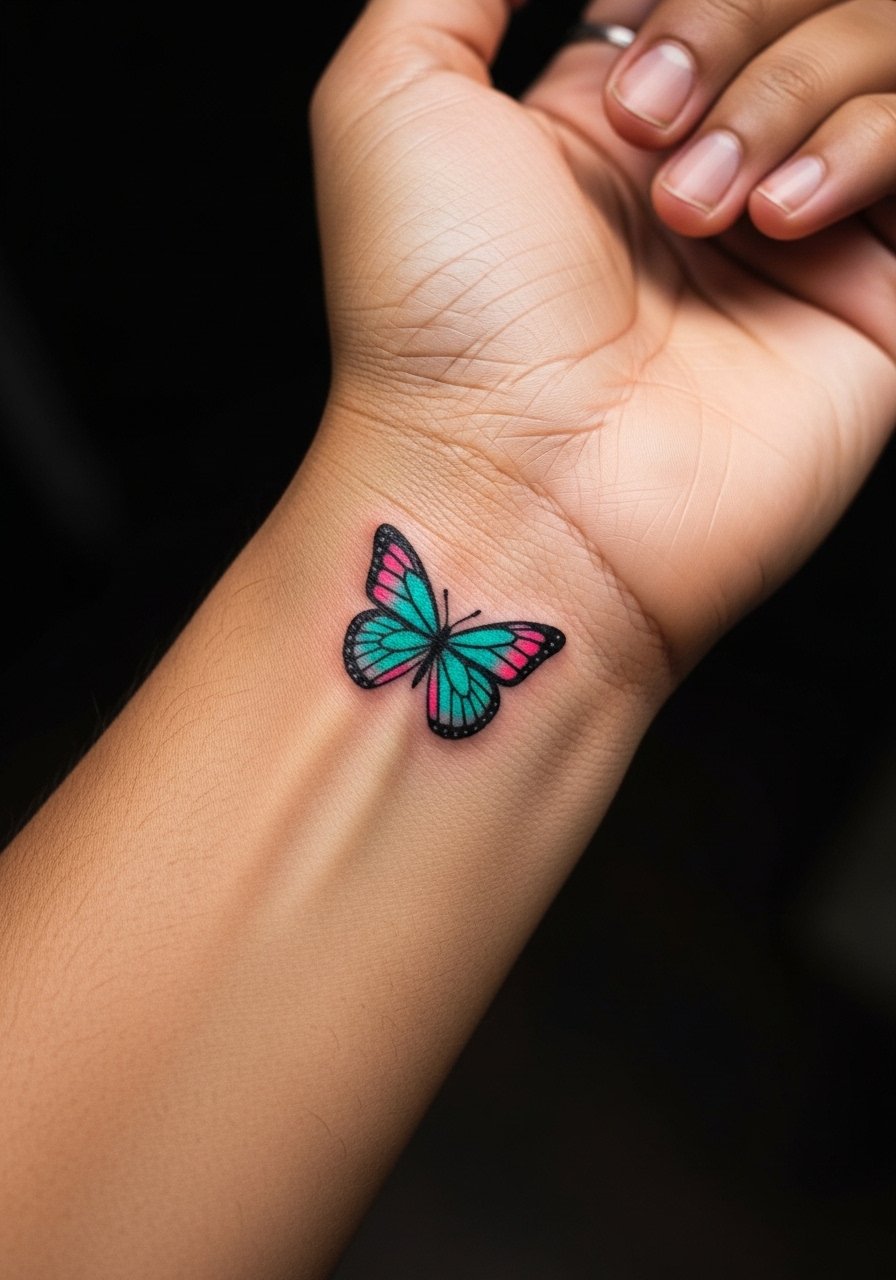
This is the go-to Y2K starter for visible color that reads like a charm. Fair warning: the inner wrist is a high-motion, frequent-wash area so fine detail can blur faster than on flatter skin. Tell your artist you want slightly bolder linework and saturated micropacking so the color has room to sit. Expect a one-hour session and a touch-up in year two for many people. For the appointment wear a racerback tank so the artist can work the wrist and forearm without you tugging at sleeves. A common mistake is asking for hair-fine lines that disappear with normal hand use.
2. Chrome Heart with White Shine on Collarbone

Collarbone chrome reads like jewelry and pairs with open-neck styles. Pain is moderate because the bone sits shallow, but sessions are short if you keep the design compact. Ask for crisp highlight dots and slightly heavier outline to hold the chrome effect over time. The main aging issue is UV dulling of metallic tones so planning touch-ups at three to five years is realistic. For showing it off try an open-back midi dress for evenings. This placement also triggers a small debate in the community about how bright metallic inks hold up. One group says metallics fade fast and patch unevenly. The other group says careful saturation with whites keeps the illusion longer. Ask your artist which approach they favor.
3. Bubble Letter Name on Outer Bicep

This Y2K script uses rounded bubble letters for a nostalgic yet bold statement. Outer bicep gives space so keep letters large enough to avoid blurring between strokes. In consultation, bring a clear reference showing exact letter weight and spacing. Common mistakes are shrinking the letters to fit a narrow band, which causes merging after a year or two. Session time usually runs one to two hours depending on length. Pair this with rolled short sleeves and a loose button-down shirt for casual displays. The bicep breathes well so color saturation holds better than wrist or rib work.
4. Pixel Heart Stack on Ankle
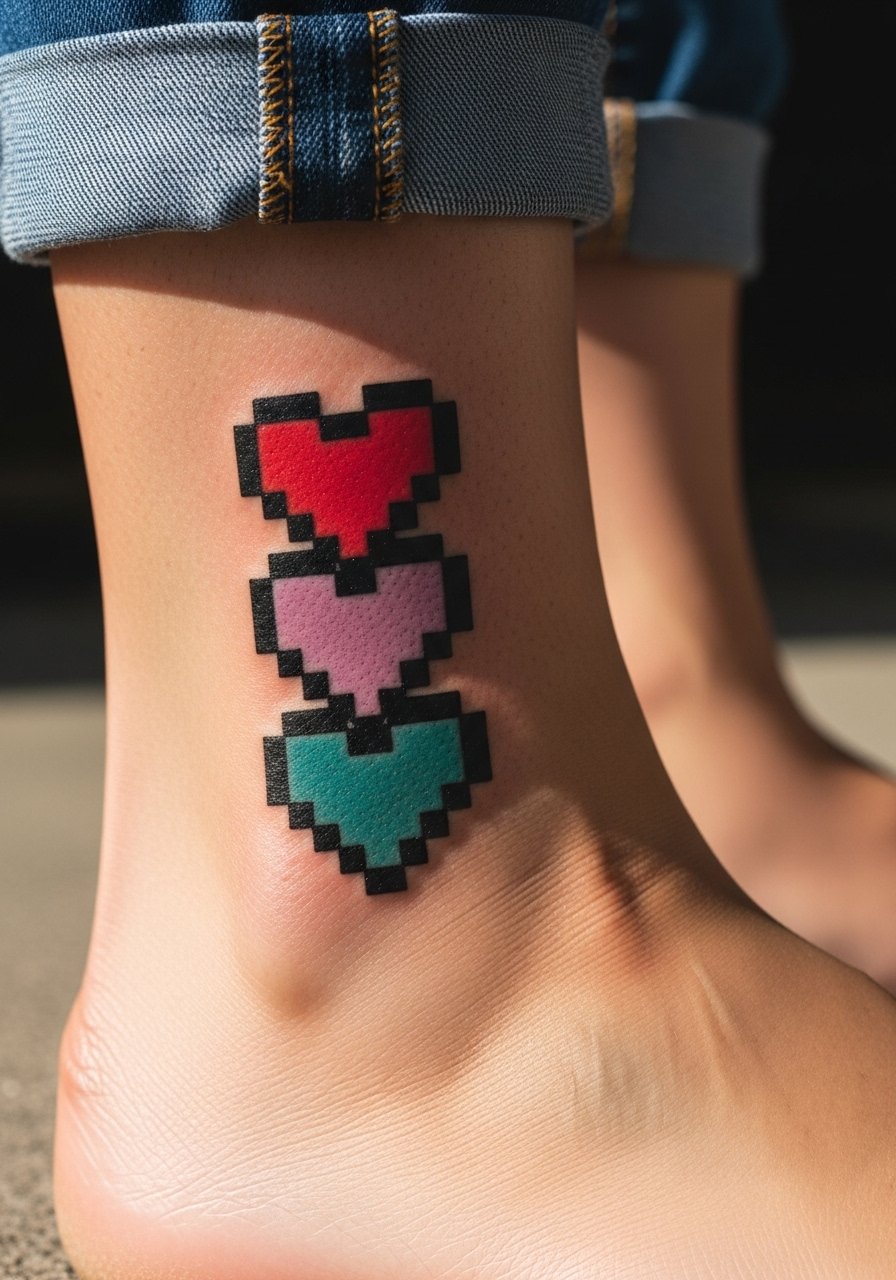
Ankle pixel stacks are charming and low commitment, but expect friction from shoes and socks to flatten saturation. For consultation ask the artist to place the lowest heart where shoe rub is minimal. A common version that ages poorly is tiny, tightly packed pixels placed right where shoes press. This recommended placement keeps pixels legible for years. Session time is under an hour. Wear sandals or rolled pants to your session and consider slip-on shoes afterward to reduce rubbing. For shows consider simple slide sandals that frame the ankle tattoo while avoiding friction.
5. Mini Rainbow Cloud Behind the Ear
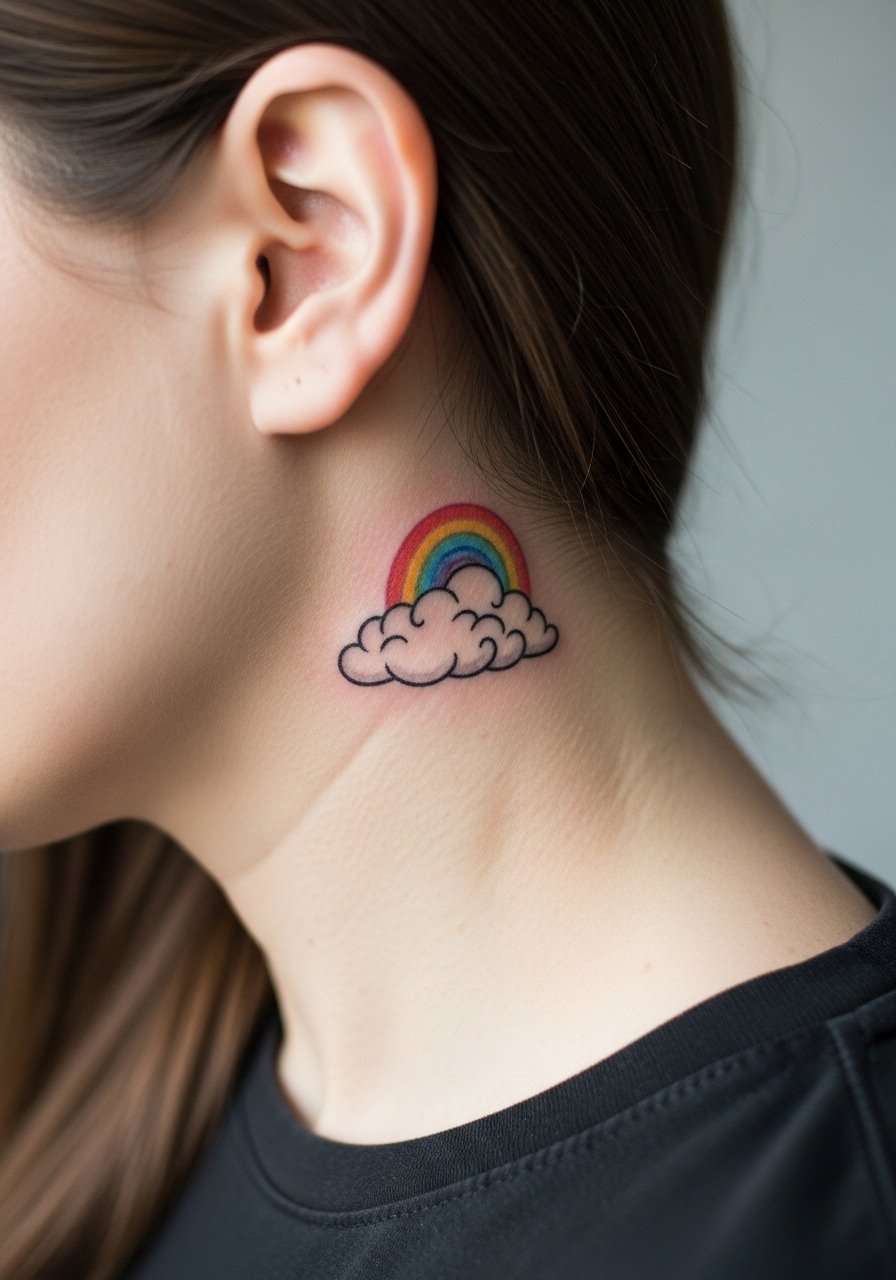
Behind-the-ear placements are discreet and playful but need a skilled hand for small color fills. The surface curves and hairline movement can affect saturation. When you sit for the stencil ask that the piece be placed slightly lower or higher to avoid constant friction from collars. Sessions are short but you may need a touch-up earlier than on flat areas. Wear your hair up to the appointment to give the artist access. This spot can feel tender during poking because the skin is thin. If you work in a conservative field think through visibility even though it is easy to hide.
6. Tiny Glittery Star Cluster on Side Wrist
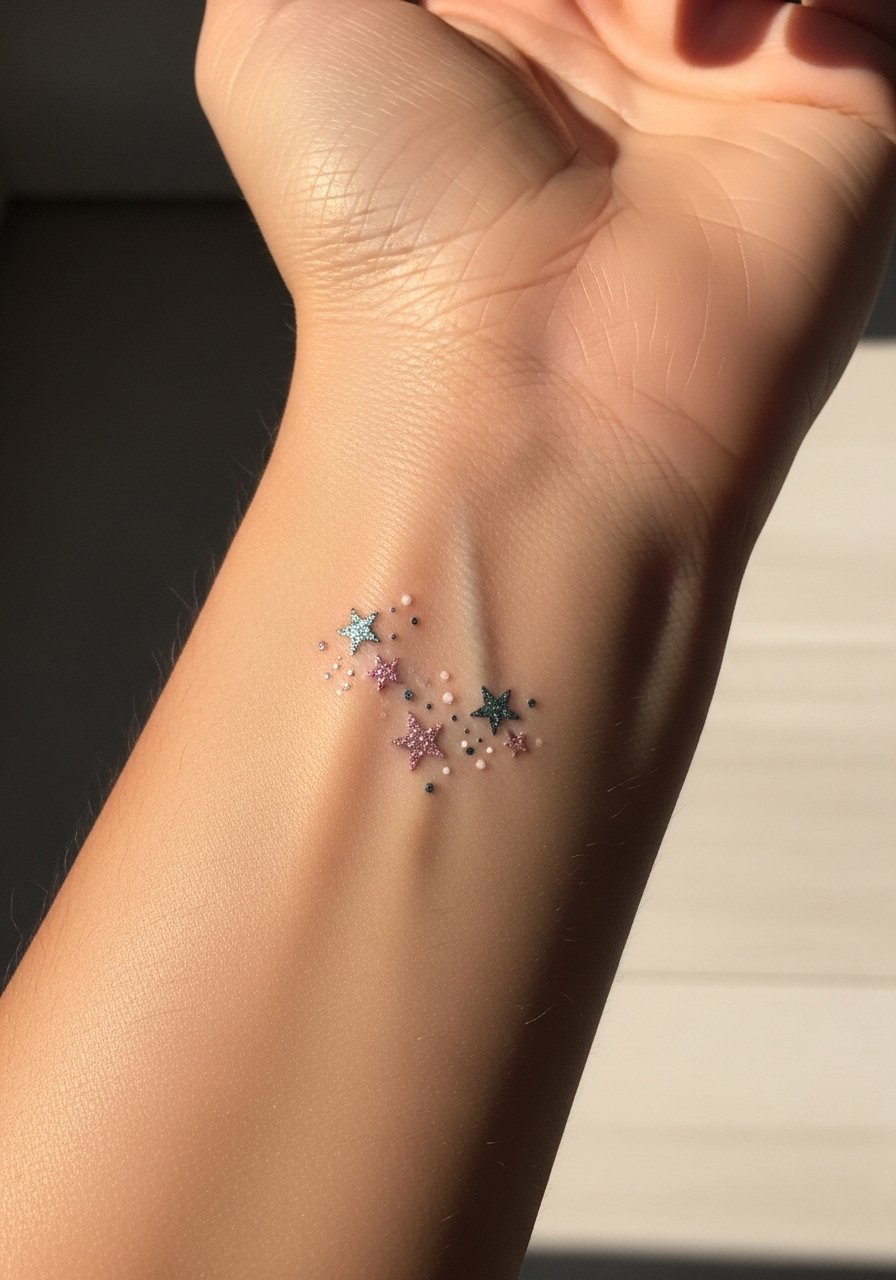
Side wrist clusters photograph well and let each tiny star act like a sprinkled accent. The mistake is overloading the area with micro-dots. Ask for spacing and slightly heavier anchors for the main stars so they do not blur into a single patch. Pain is mild. Session time is from 30 to 60 minutes depending on count. For the session wear a racerback tank or short sleeves so sleeves do not smudge fresh ink. Expect a light touch-up at year two if you use this spot every day.
Pre-Session Essentials
The wrist and ankle pieces above need different prep than chest work, and a few targeted items make the session and first week much easier.
-
Stencil transfer paper kit. Lets you preview placement on tricky curves like the ankle and inner wrist so the design sits where you want it.
-
Topical numbing cream. Apply as directed before sensitive spots like the behind-the-ear or collarbone pieces to manage discomfort.
-
Thin protective film roll. Useful for finger and wrist placements that face constant hand washing and friction.
-
Fragrance-free body wash. Gentle cleansing during the first week prevents irritation for small color pieces on exposed areas.
-
Aquaphor healing ointment. Thin layers help maintain moisture on delicate fine-line wrist work without suffocating the pores.
7. Tiny Candy Heart Under the Collarbone
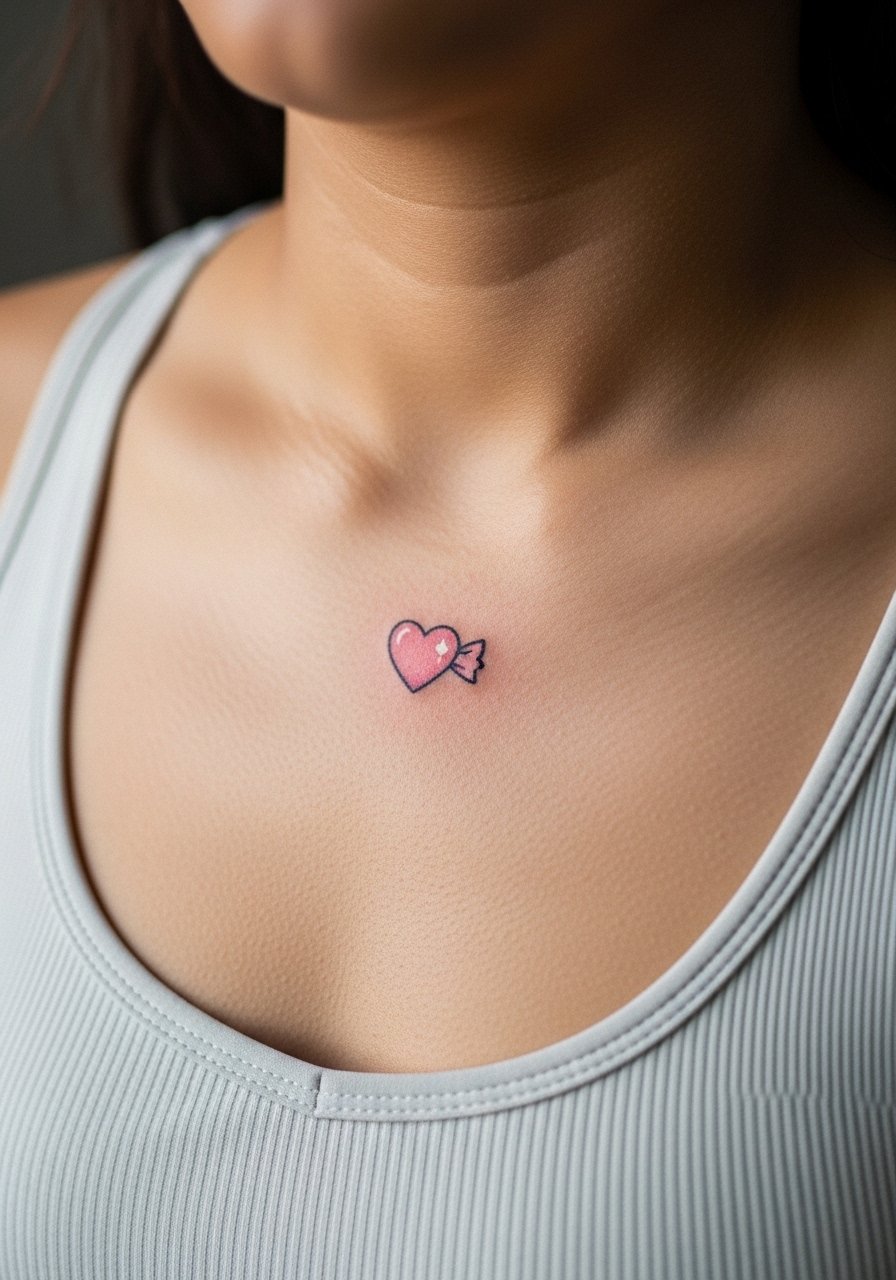
This tiny candy heart sits low on the chest and reads best when paired with low-cut or scoop-neck tops. Sternum and upper chest placements require attention to movement and breathing. In consultation, explain how low you want it in relation to clothing lines. Expect moderate pain and a short session. A common mistake is centering the heart too close to the hollow of the throat which makes evening wear awkward. For showing it off consider a thin chain pendant necklace that sits just above the tattoo and frames it without crowding.
8. Mini Cassette Tape on Inner Forearm
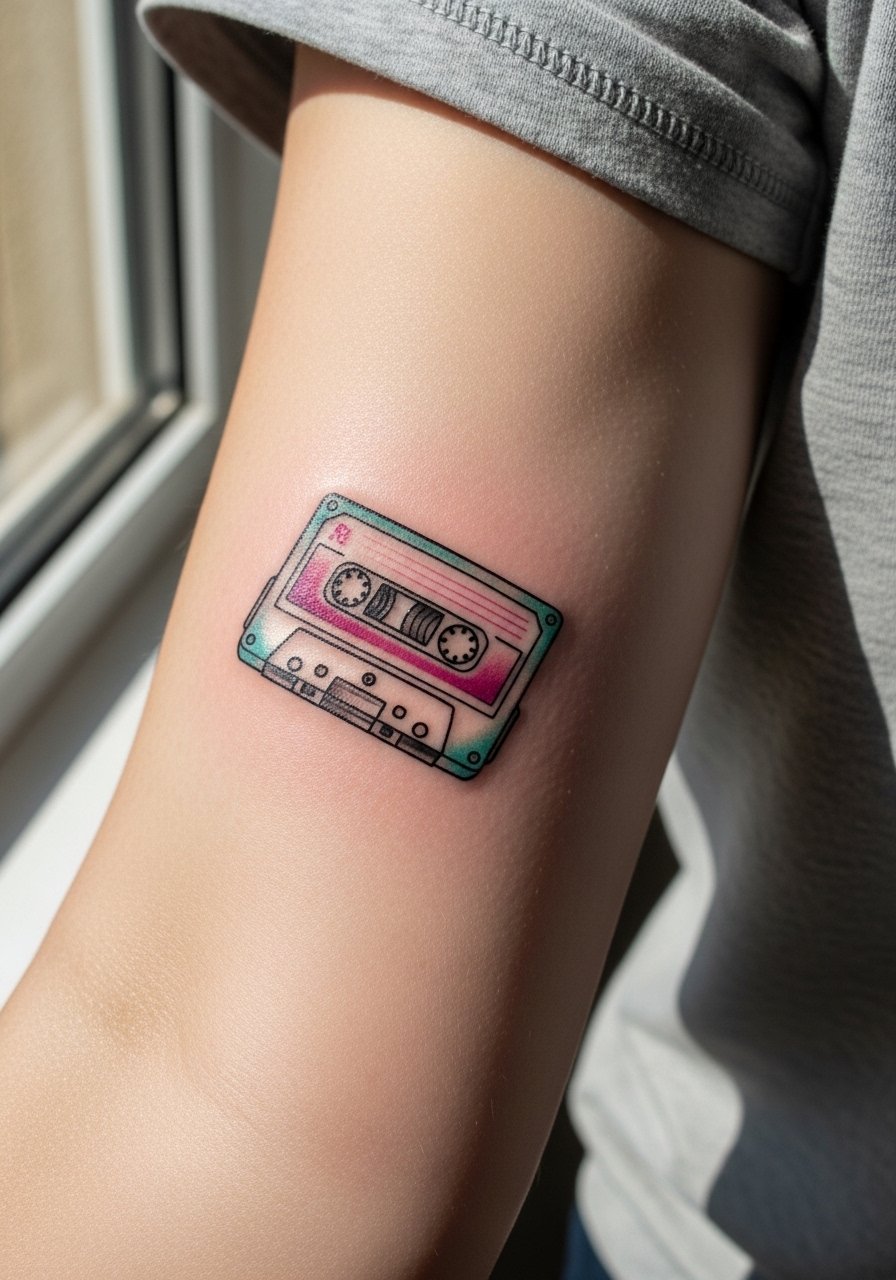
The inner forearm is forgiving and highlights nostalgic Y2K pieces like a cassette tape. This placement supports crisp linework and saturated color with lower blowout risk than hands. Tell your artist you want micro-saturation in the reels and a slightly heavier outline to preserve the tape detail over time. Sessions can run one to two hours depending on shading. A common mistake is cramming tiny text into the cassette label which fades faster than solid shapes. For shows, roll sleeves or wear a loose button-down shirt to frame the forearm.
9. Prism Lightning Bolt on the Calf
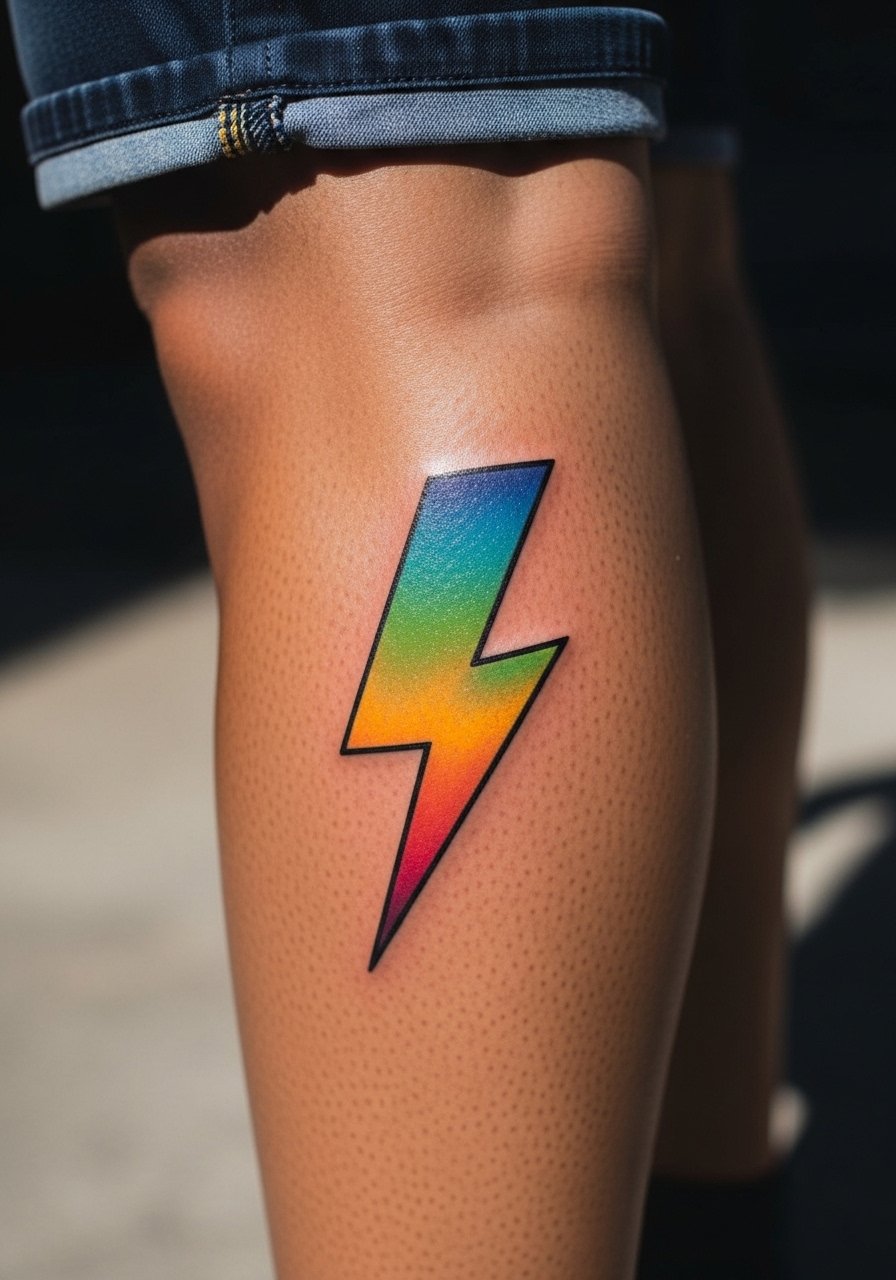
Calf pieces let you go taller and keep color saturation bright because they avoid constant friction. The lightning bolt benefits from hard edges and slightly increased spacing between color bands to prevent muddying as it ages. Tell your artist you want crisp transitions and ask about layering direction for longevity. Sessions are comfortable and can be split if you expand the design into a calf sleeve. A common mistake is making the bolt too thin. Pair with high socks or cropped pants to show off a single edge and consider high-waisted denim shorts for summer looks.
10. Chrome Butterfly Lower Back
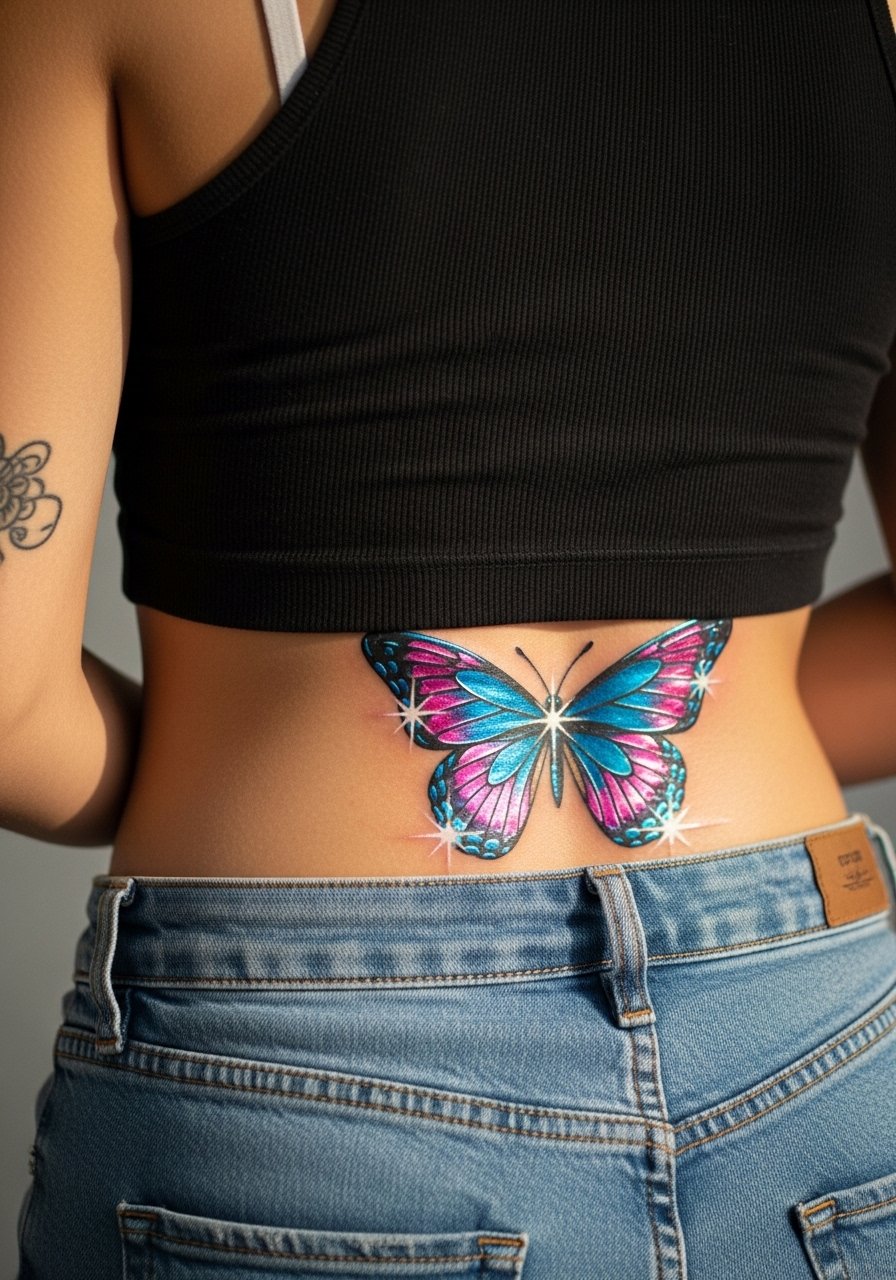
Lower back Y2K butterflies are nostalgic and bold, but this area sees stretching and friction from waistbands that can blur edges. In consultation, plan placement relative to beltlines and seams. The session can be moderate in length. One camp says lower back finishes rarely need touch-ups. The other camp notes waistband abrasion accelerates fading. Both are right depending on your wardrobe, so plan clothing choices that reduce rubbing during healing. For sessions wear high-waisted pants you can pull down slightly to expose only the tattoo area.
11. Tiny Smile Face on Finger
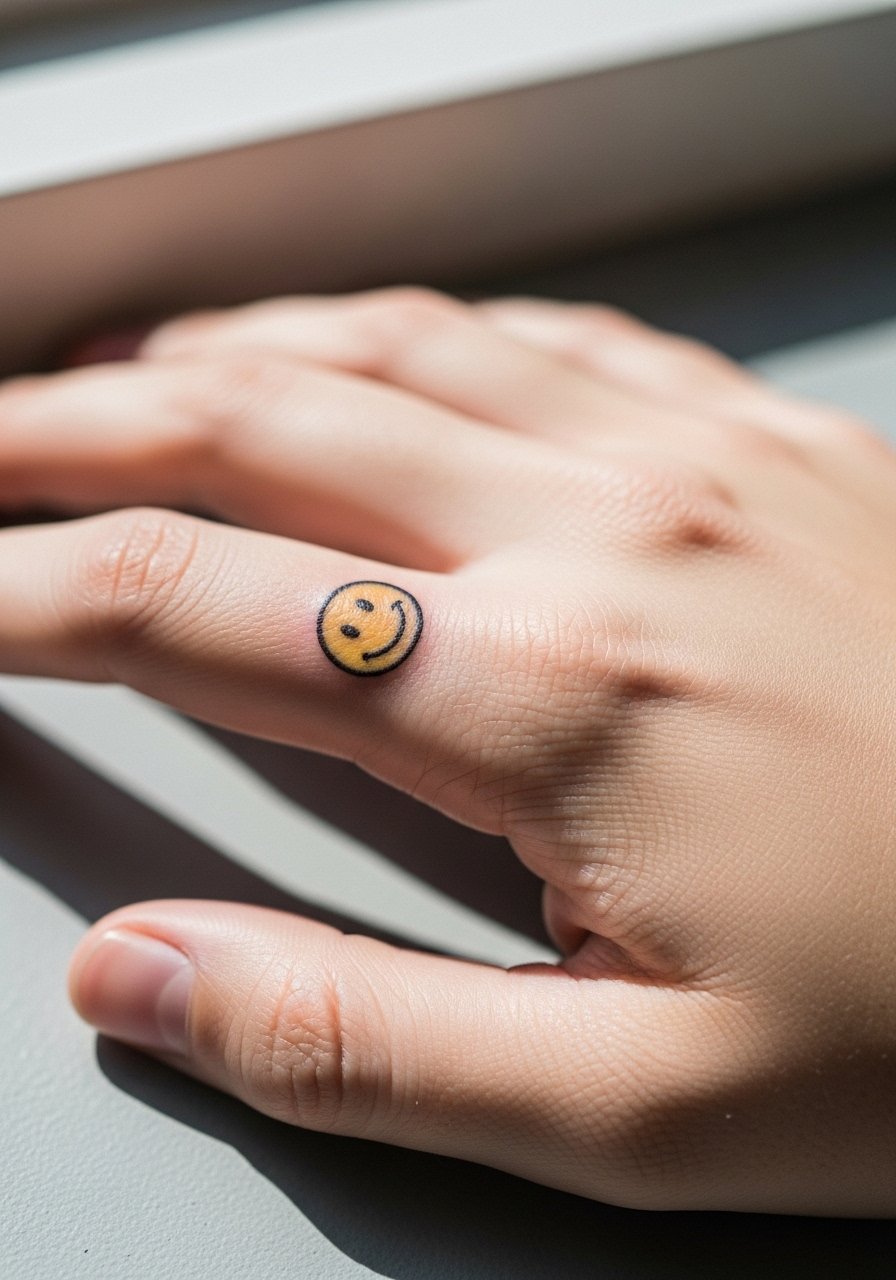
Finger tattoos age differently because of frequent washing and thin skin. Smile faces are iconic but expect heavier fading and possible touch-ups every one to three years. Ask the artist about micro-saturation and whether they recommend a slightly thicker outline for longevity. The session is short but can sting. A common mistake is getting too much detail on such a small canvas. For show-off pairing, keep rings minimal so the tiny smile remains the focal point.
12. Sparkly Planet on Back of Neck
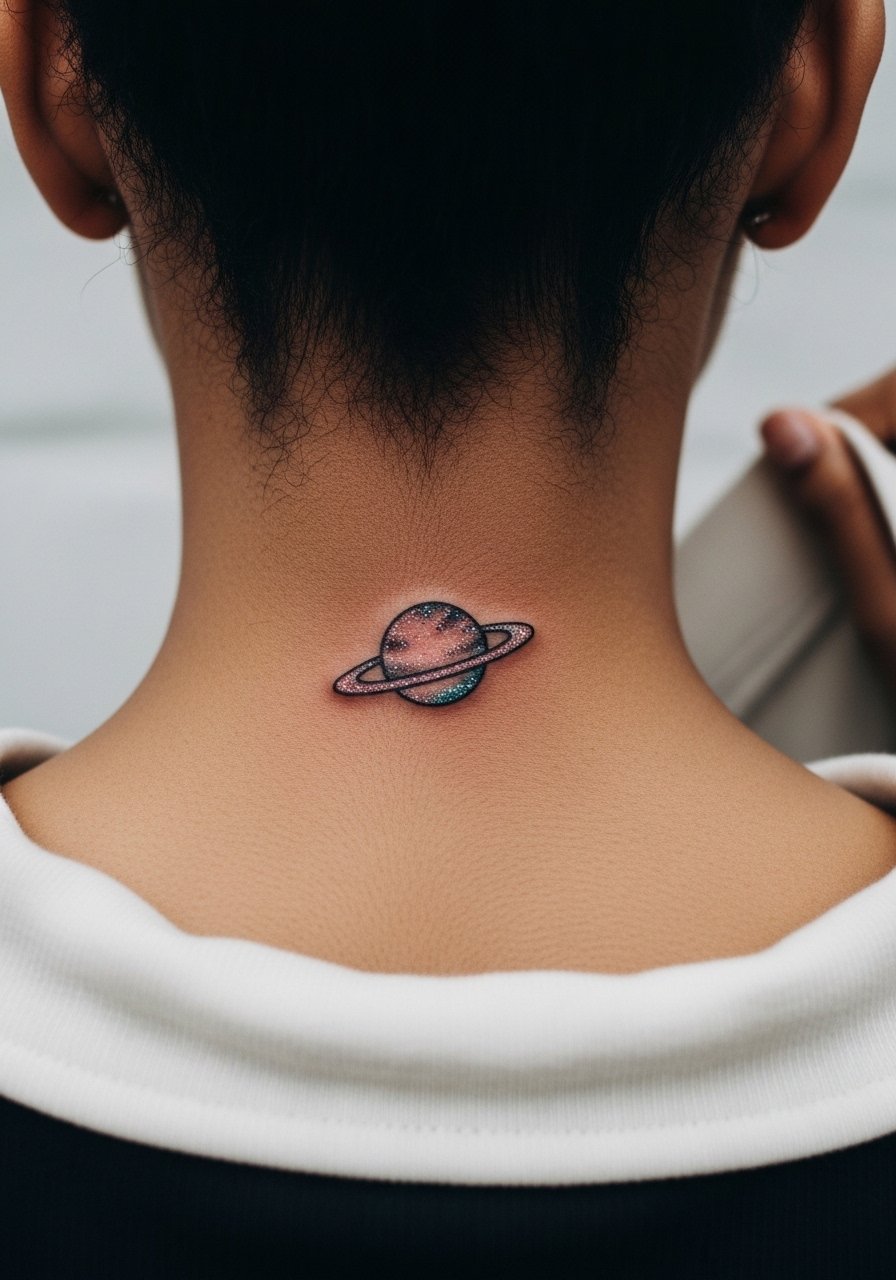
The back of neck is subtle when covered, visible with certain hairstyles. Expect moderate pain and possible issues with regrowth if you change haircuts often. For the session wear a wide-neck shirt you can pull aside. Ask your artist to place it where collars will not rub. The planet reads best with simple, bold fills rather than microgradients that can blur near hairlines. If visibility matters for work check policies, as some industries still frown on visible neck tattoos.
13. Micro Koi on Upper Thigh
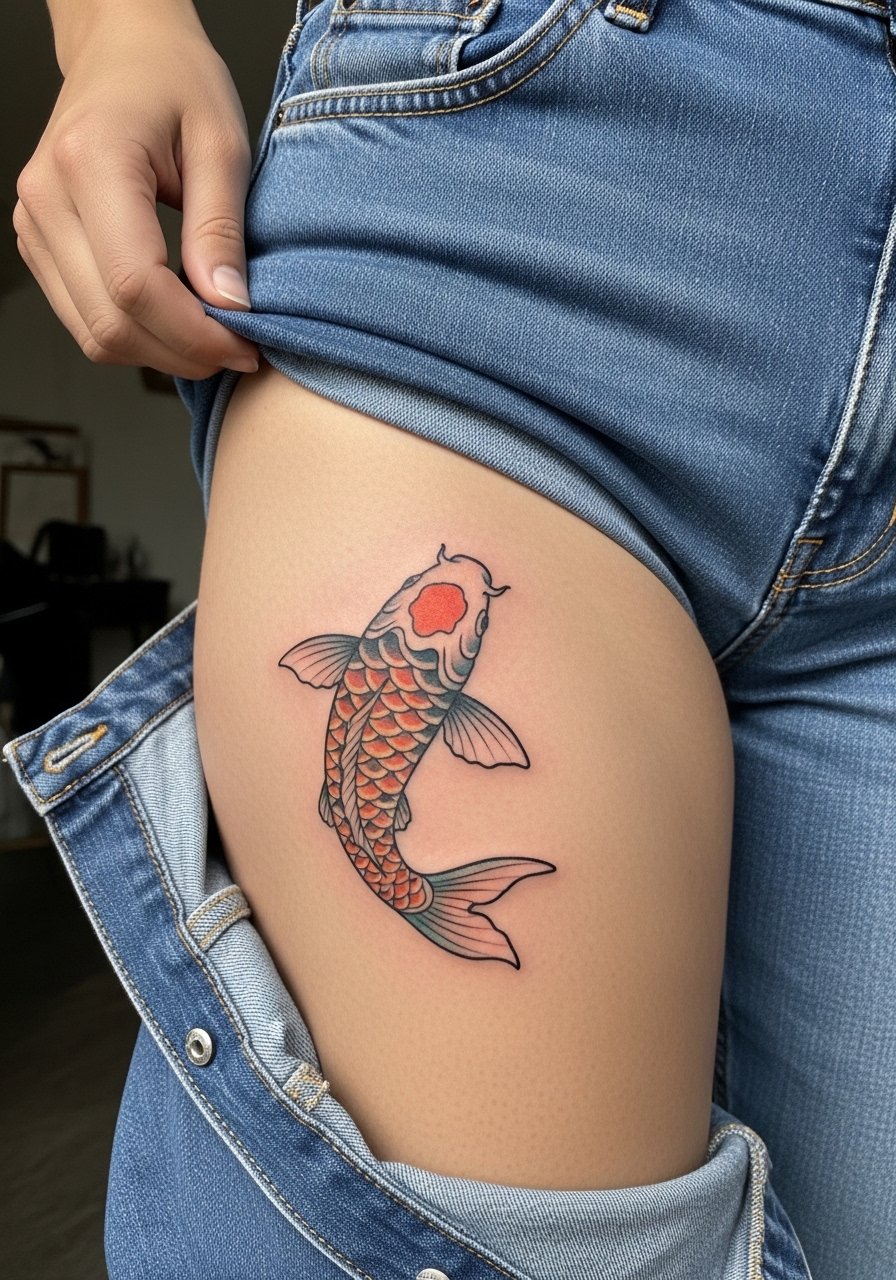
Thigh pieces give you scale and color depth without constant abrasion. Micro koi on the outer or upper thigh ages well because skin there is stable, but inner thigh placement needs more care and often fades faster. In consult say whether you want the piece visible in swimwear or kept private. Session time is moderate to long depending on detail. For the appointment wear loose shorts or a wrap skirt so the artist can access the area. Consider pairing with a high-waisted swimsuit bottom when showing it off.
14. Bubblegum Script on Ribcage
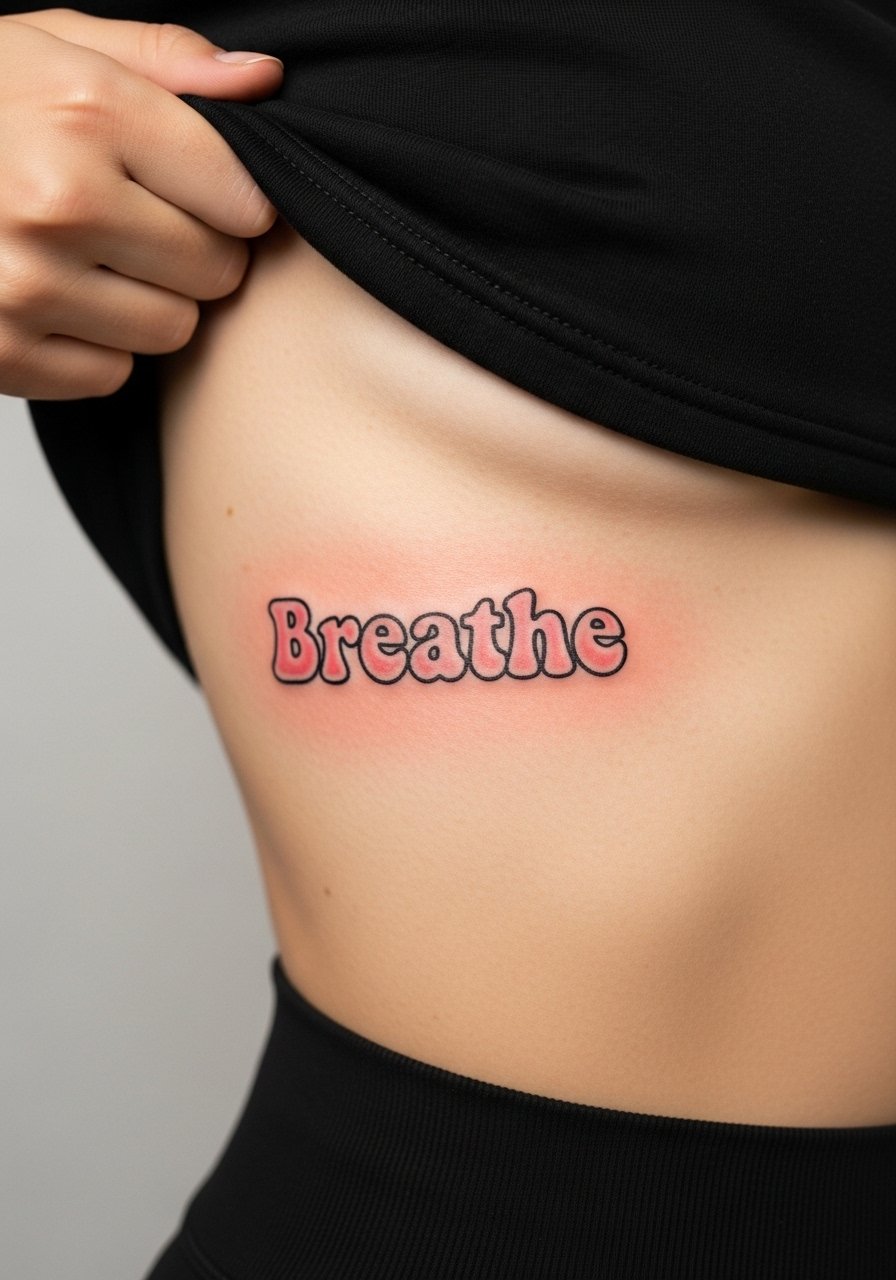
Ribcage is tender and notorious for faster blurring of fine line work. One camp argues ribs are poor for delicate scripts because skin stretch makes lines merge. The opposing camp says with proper depth and spacing small scripts can last. I advise slightly thicker letterforms and increased inter-letter spacing for this area. The session is longer and more uncomfortable. For the appointment wear a cropped top you can lift so the artist has clear access. The biggest mistake is insisting on ultra-thin script for a high-movement zone.
15. Neon Pixel Sun on Shoulder Blade
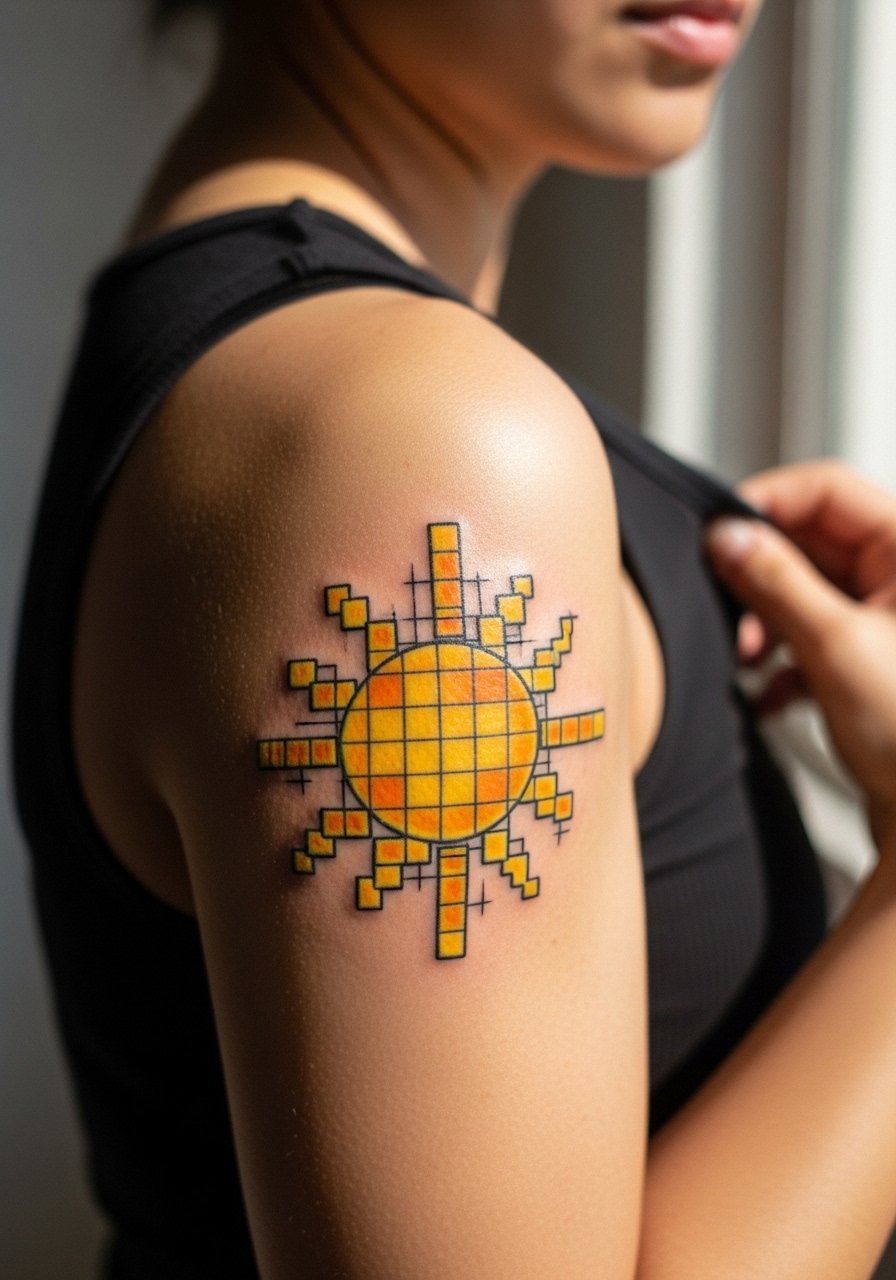
Shoulder blade pieces let color breathe and usually hold saturation well because they avoid constant friction. Tell your artist to space pixels generously to avoid merging as the skin ages. Sessions are comfortable and typically under two hours. A visual mistake is shrinking pixel elements to fit under straps or bra lines. For showing off wear an open-back midi dress or tank that pulls aside easily. Shoulder blade tattoos also adapt well if you later expand into a back piece.
16. Candy Ribbon Anklet
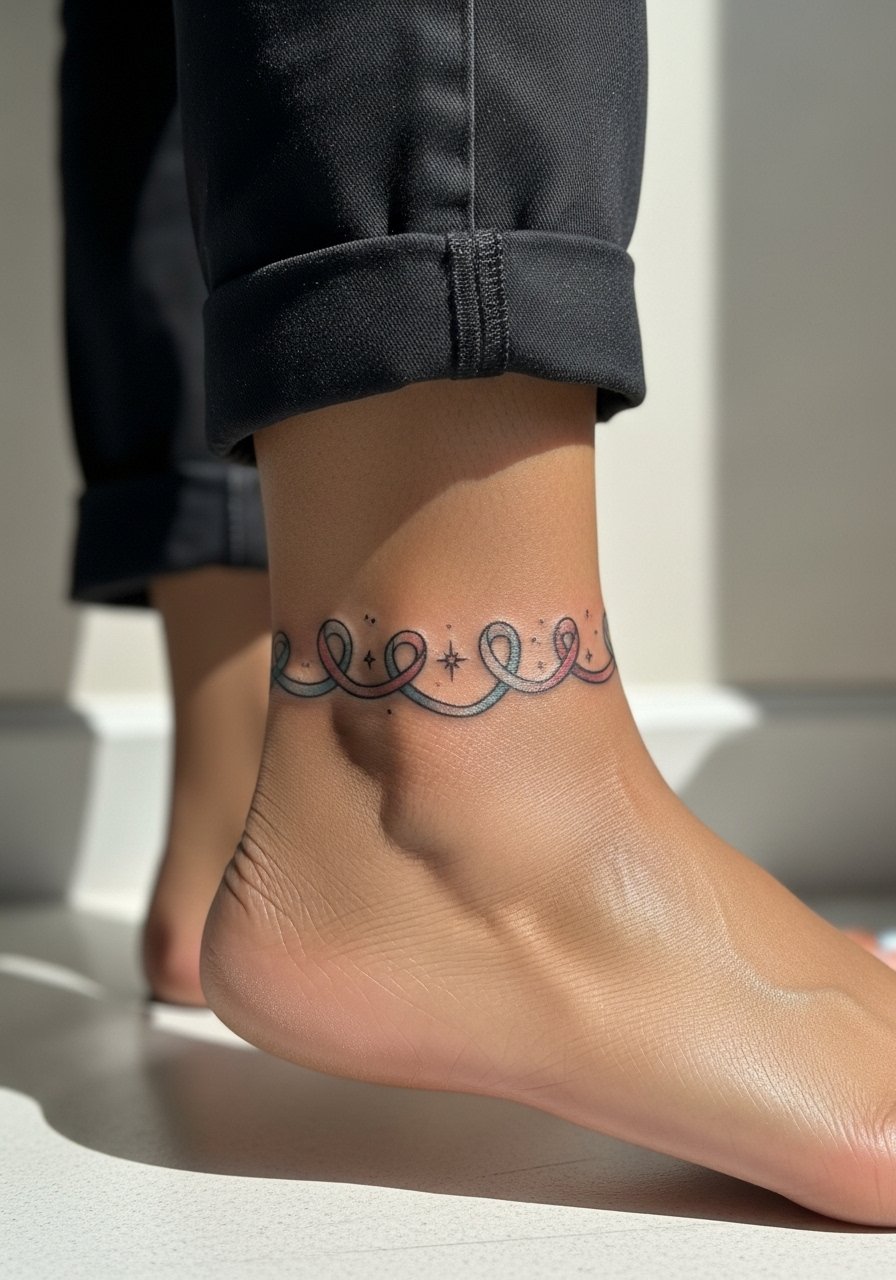
Anklet tattoos are playful but face wear from shoes and socks. Ask the artist to place the ribbon so it does not sit directly under shoe straps. Sessions are quick but expect touch-ups earlier than for the forearm. For the appointment wear loose pants you can roll up easily and choose slip-on shoes afterward. When showing it off a pair of slide sandals keeps the design visible without constant rubbing. The main mistake is putting too much fine detail into the ribbon loops.
17. Y2K Phone Charm on Outer Forearm
Outer forearm is great for slightly elongated motifs like a phone charm. It ages well because it is flat and easy to protect from sun. Tell the artist you want bold contours with small areas of flat color so the charm stays readable over time. Sessions run about an hour. Common mistakes include crowding extra charms that make the design read messy when shrunk. To show it off roll sleeves or choose short sleeves and consider a loose button-down shirt.
18. Tiny Disco Ball Behind the Ankle

The area above the ankle is sensitive to shoe friction but can hold small reflective motifs if placed smartly. Ask your artist to position the disco ball where straps and shoe collars do not compress during walking. Sessions are short. A mistake is putting it too low where socks rub constantly. For a night look pair with cropped trousers or slide sandals that frame the piece.
19. Two-Tone Ribbon Behind the Knee
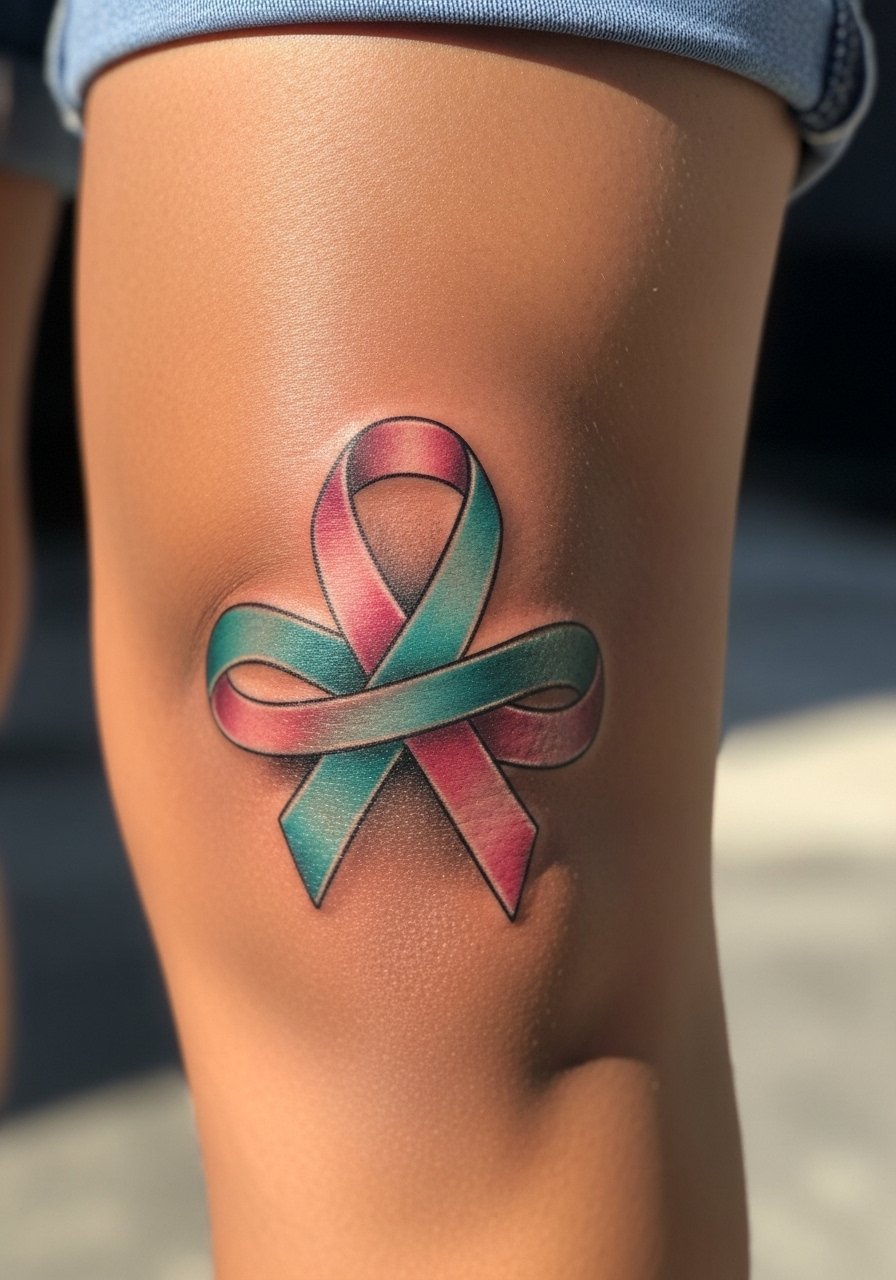
Back of the knee is an awkward stretch zone and can be painful. It also moves a lot which affects healing. For this spot ask for slightly simplified shading and a design that avoids thin cross-hatches. Sessions can be uncomfortable due to skin folding. The common mistake is expecting intricate detail to hold in such a mobile spot. For showing it off pick dresses or shorts with minimal hemlines so the area is visible without pressure.
20. Y2K Cartoon Cloud Sleeve Accent
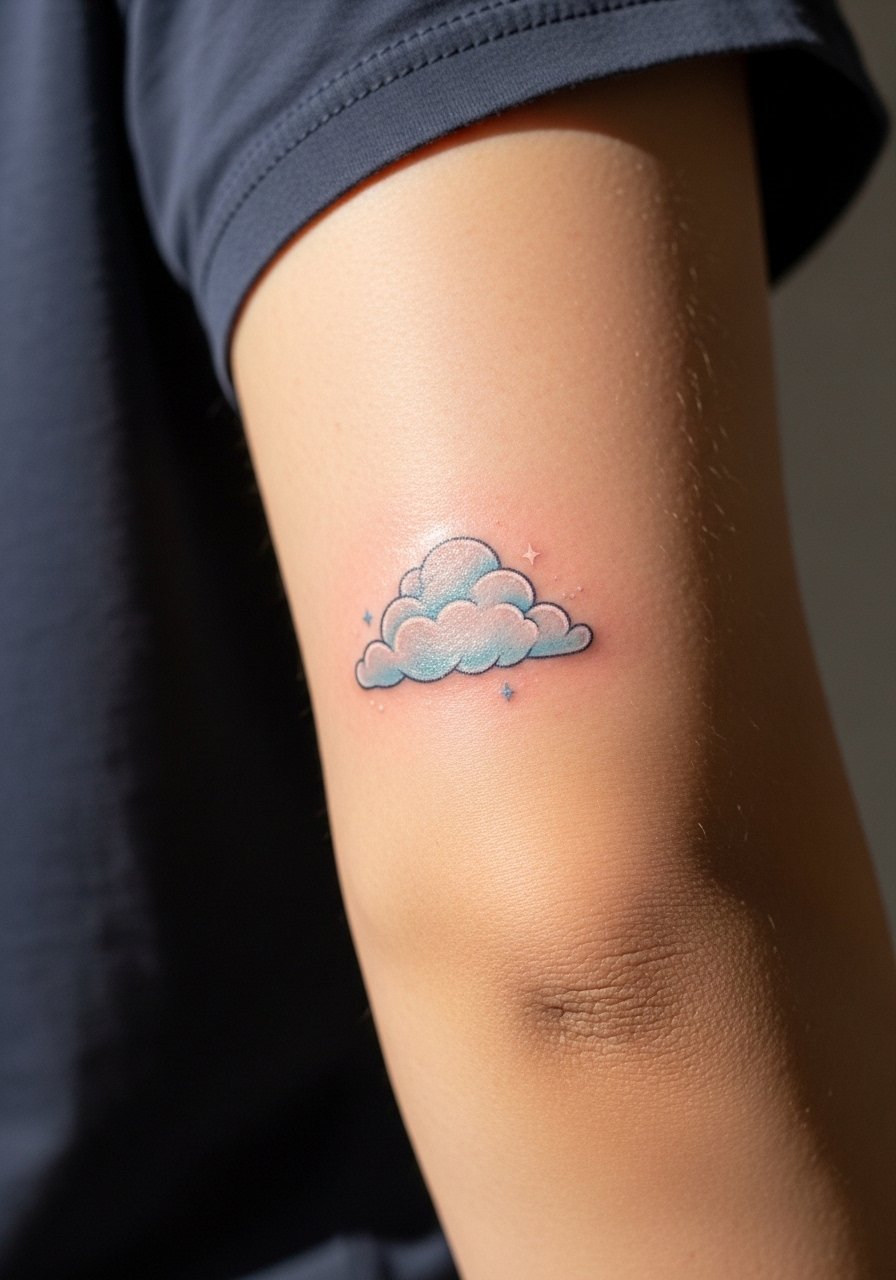
This elbow-adjacent accent plays well as part of a larger sleeve or as a single focal point. Elbow skin and creases make crisp lines tricky so ask for simplified outlines and heavier fills where the skin moves most. Expect more touch-ups than on the forearm alone. Sessions around the joint can sting more. When showing it off, roll sleeves to the elbow or wear short sleeves. The main aging problem is ink migration from repeated bending that softens fine details.
21. Tiny Zodiac Glyph on Ribcage
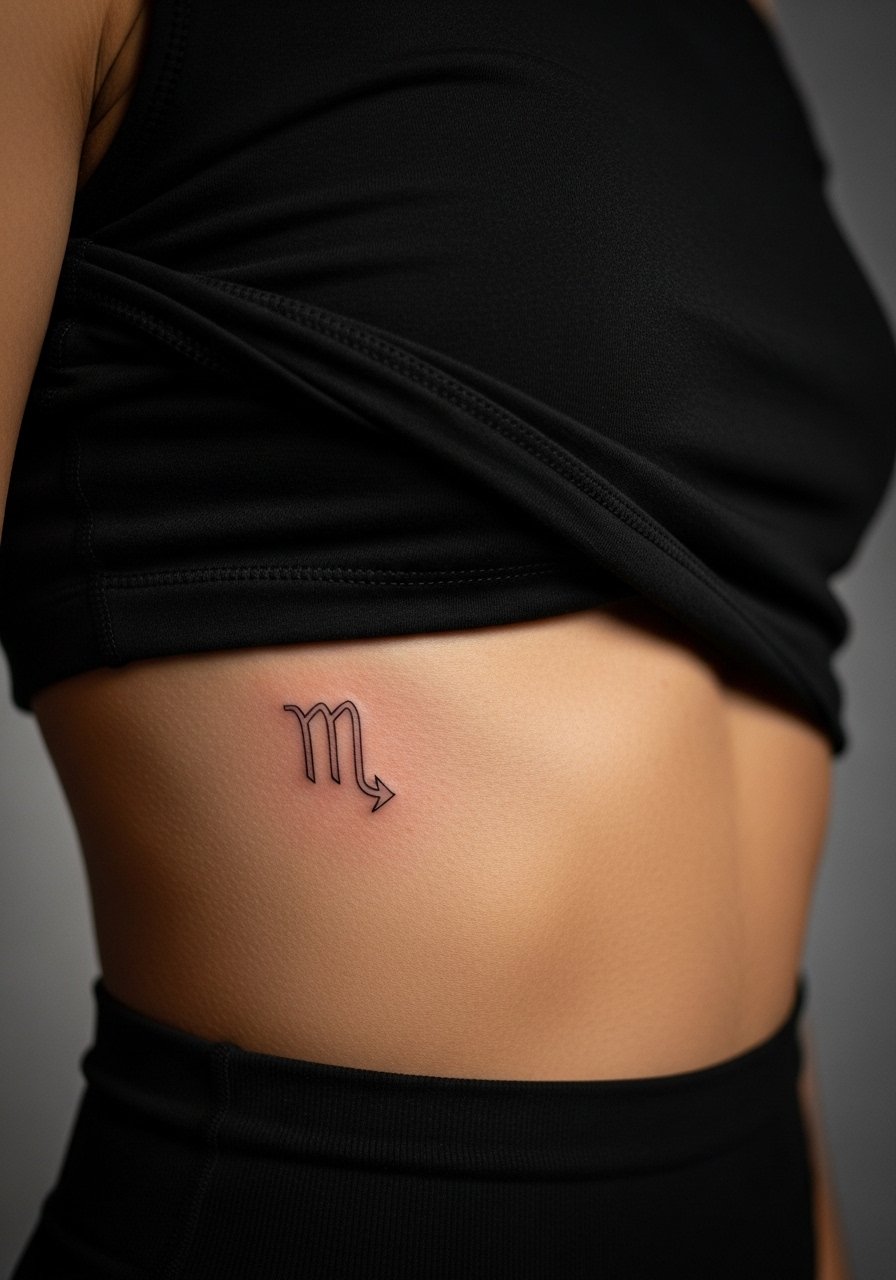
Ribcage placements are intimate and effective for small symbols but are prone to blurring if executed too small. One group of artists says delicate glyphs will fade quickly on ribs. Another group says proper spacing and slightly bolder lines prevent early blurring. I recommend one or two millimeters of extra spacing and a short consultation about breathing patterns during the session. Wear a crop top you can lift to provide access. Expect soreness during and after the session.
22. Neon Butterfly Lower Arm Panel
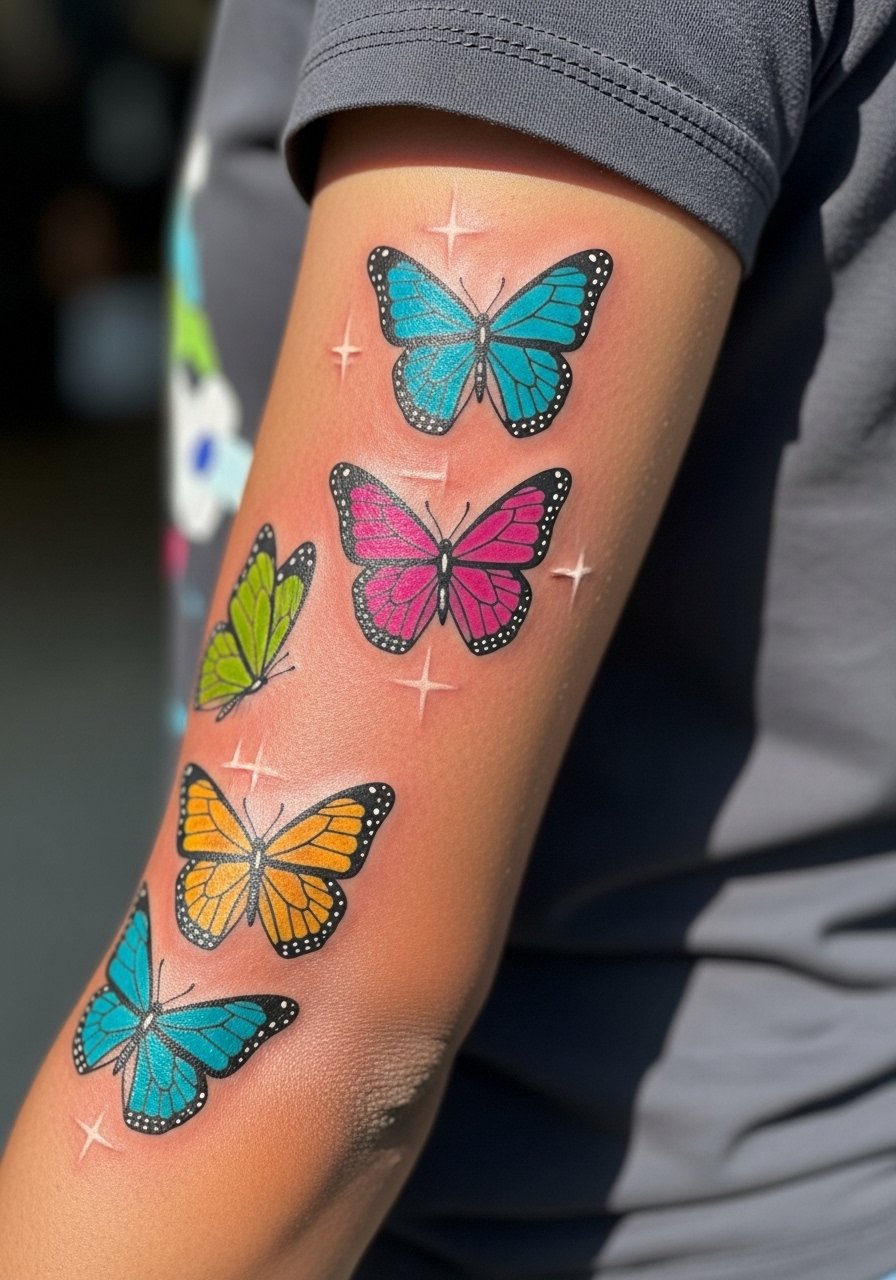
A panel of butterflies reads like a Y2K collage and works well on the lower arm where you can show them off daily. Keep spacing between motifs to avoid merging over time. Tell your artist you want the butterflies to sit slightly apart and for the wing highlights to be white to preserve the neon effect. Sessions can be split into smaller appointments. For showing off roll sleeves and consider stacked bracelets to frame the area but not cover the main pieces. Avoid packing too many tiny fillers.
23. Low-Poly Swallow on Shoulder Cap

Shoulder cap pieces age well because they avoid constant compression and sun exposure if you cover up. Low-poly geometry needs clear separation between facets to avoid muddiness later. Ask your artist to keep hard edges and moderate spacing. Session time is short to moderate. A mistake is over-shading tiny facets which then lose contrast. For shows pair with sleeveless shirts or a loose button-down shirt pulled aside.
24. Pastel Ribbon Underboob Accent
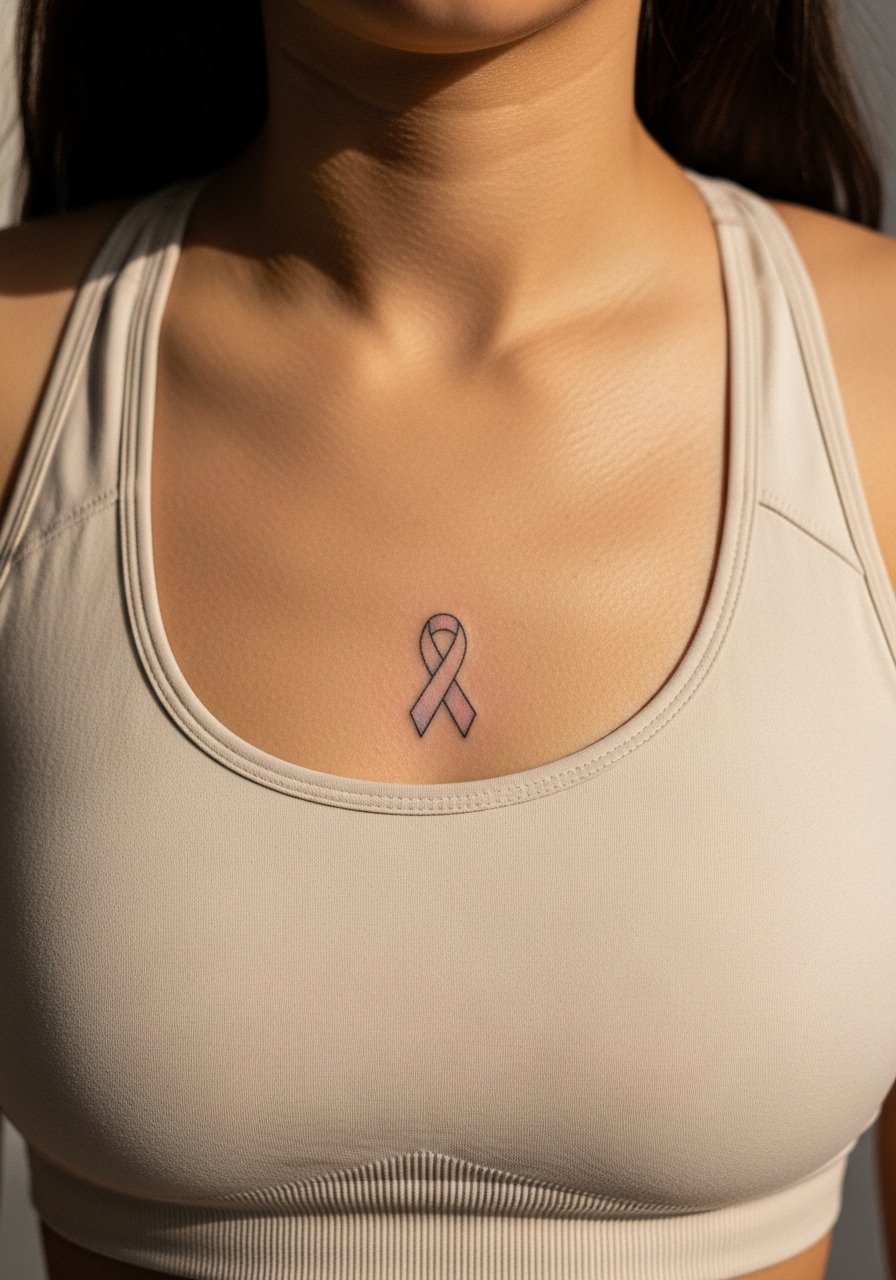
Underbust work can be sensual and flattering but it needs careful clothing planning for healing. Wear a fitted sports bra to the appointment so the artist can see how the ribbon sits under clothing lines. Expect discomfort and a longer healing window due to rubbing from bras. A common mistake is placing the design directly under tight bands. If you prefer discrete pieces this is a good option but consider how often you will wear supportive garments.
25. Tiny Stereo Cassette on Upper Arm

Upper arm pieces are forgiving and great for color that ages slowly. The cassette benefits from slightly heavier outlines and flat color blocks. Sessions are short. The main mistake is compressing text or micro details into the label area. For the session wear a short sleeve you can move aside easily. For shows choose rolled sleeves or a tank top and consider a loose button-down shirt style that frames the arm.
26. Tiny Prism Star on Hand Side

Hand-side tattoos are highly visible and face heavier wear and fading. Prism-style tiny stars need simplified facets and slightly bolder outlines to survive washing and tools. Expect touch-ups more often than for forearm pieces. Discuss career considerations before committing. For the session expect a stinging sensation. The most common error is asking for too many tiny facets in a constantly used area.
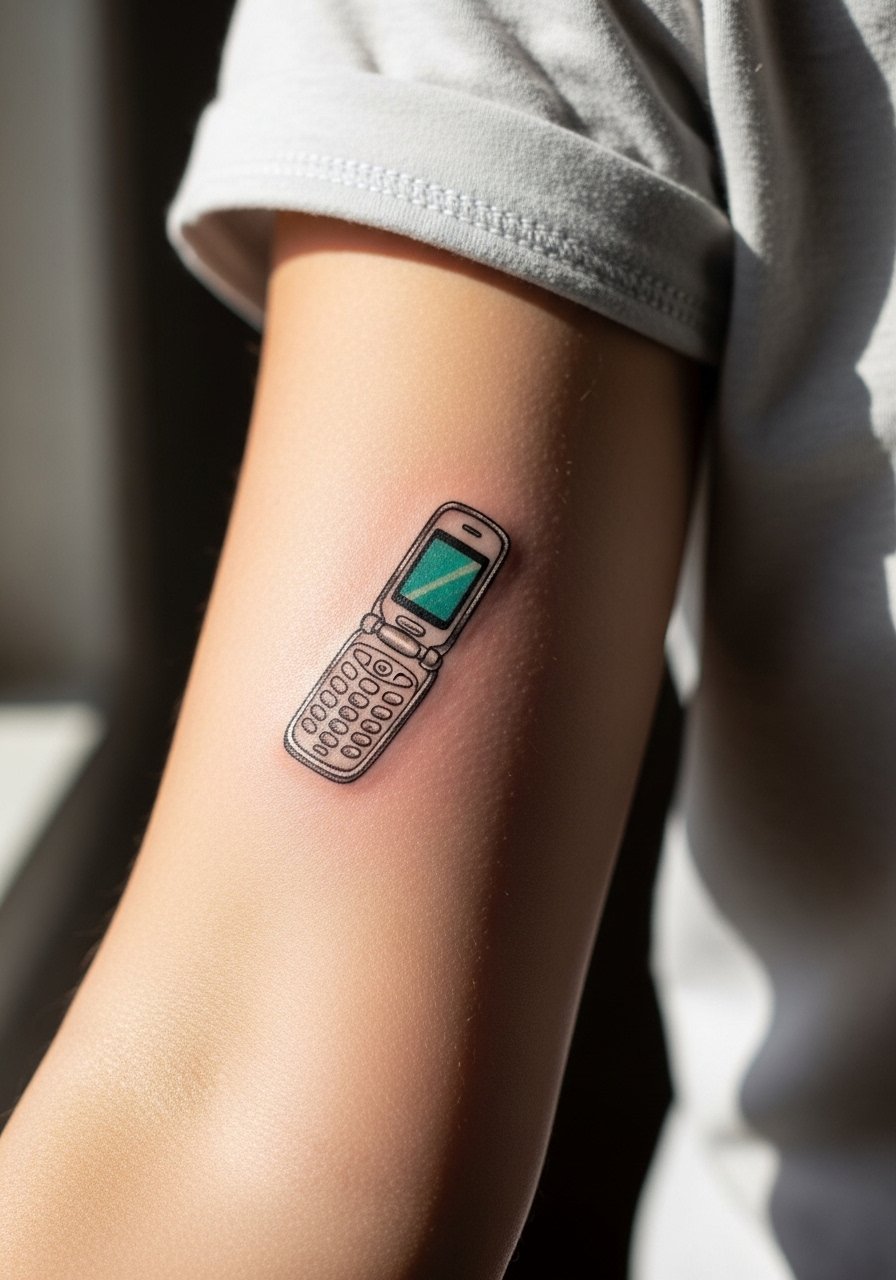
27. Tiny Flip Phone Charm on Side Neck
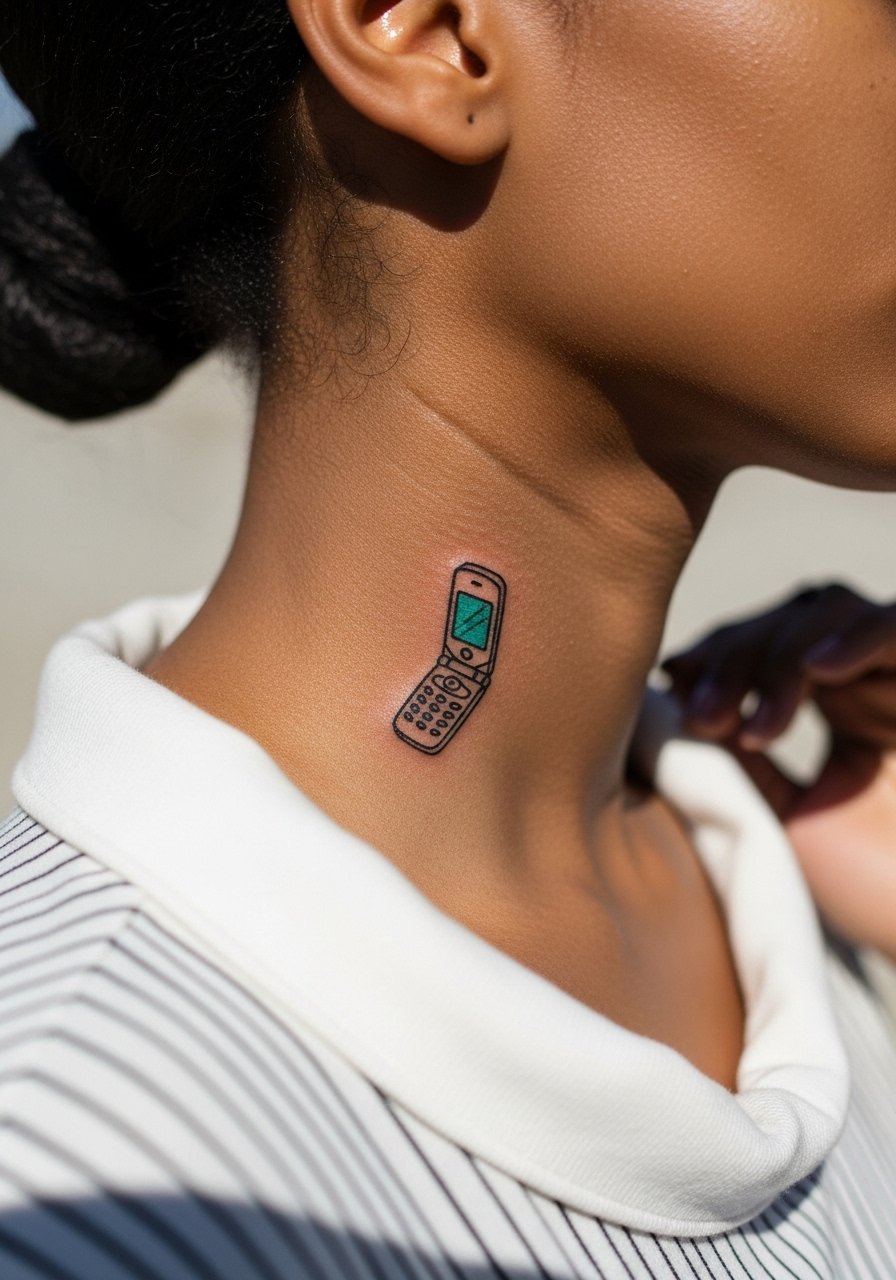
Side neck placements are delicate and visible, which makes them high-impact choices. Pain is moderate to high depending on depth. For a Y2K charm keep the design compact and ask for slightly bolder contours to resist blurring. One-sentence professional note: visible neck tattoos still affect hiring in some workplaces, so think through career factors before you book. Wear a wide-neck top for the session so the artist can access the area cleanly.
Frequently Asked Questions
Q: How long will fine line neon pieces last before needing a touch-up?
A: It depends on placement and daily wear. On low-friction spots like the upper arm or shoulder you might go five years or more. On wrists, hands, and fingers expect touch-ups around two to three years. Ask about slightly heavier linework at consult so the lines have more longevity.
Q: Are metallic and chrome effects worth it if I want low maintenance?
A: Metallic effects look special but often require more frequent touch-ups because whites and metallic blends fade unevenly. If you want lower maintenance, ask for a design that mimics chrome with high-contrast color blocking and one white highlight rather than relying on metallic inks.
Q: I want a small script on my ribs. Will the lettering blur?
A: Ribs move and stretch with breathing so micro scripts can blur. Consider slightly larger letterforms and extra spacing between characters. Talk through your breath control during the session and get a preview stencil placed exactly where you want it.
Q: What should I wear to a thigh or hip session to make the artist's job easier?
A: Loose shorts or a wrap skirt work best. A high-waisted denim shorts style lets you expose only the work zone so the artist can keep everything sanitary and you stay comfortable.
Q: How do I find an artist who understands Y2K color palettes without naming names?
A: Search local directories, browse hashtag threads like #Y2Ktats and #microcolor on social platforms, and check convention guest lists. I find Reddit threads and local studio portfolios useful to compare healed shots rather than fresh photos. Ask to see healed images in the artist's portfolio during consultation.
