
Fine line trends look great on a saved board, but the reality in the chair is different. Geometric work lives or fades based on spacing, placement, and how the stencil reads against real skin. This list focuses on stencil choices that give the artist room to execute clean linework and that are more likely to age into readable shapes. Start with stencil-friendly designs and the first section will show a chest-facing option that balances detail and longevity.
1. Geometric Medallion on Upper Chest
I've seen medallions hold up when the artist scales the negative space so the filigree breathes. Ask your artist for a stencil that sits at least an extra quarter inch away from dense intersections. Fair warning, the collarbone area is bony and rates about a 6 out of 10 on most pain scales, but sessions are quick when the piece is kept to a single pass of linework. A common mistake is shrinking the pattern to fit necklace lengths which causes merging at year two. For show-off outfits try a wide-neck blouse that frames the medallion without exposing more than intended.

2. Sternum Sacred Geometry Panel
Fair warning, the sternum is a sensitive spot and sessions there can be long. Artists split on fine detail in this area. One camp says dense fine line will blur because the skin stretches and moves. The other camp argues that with conservative spacing and slightly heavier line weight the design settles without looking muddy. If you pick this stencil, tell the artist you want deliberate spacing around the central nodes and allow for larger lineweight than you see on Instagram. For the session wear a fitted sports bra so the artist has access and you stay covered.

3. Micro Dot-Work Constellation on Inner Forearm
I've seen tiny dot-work constellations age well when the dots are spaced for movement. The inner forearm is forgiving and rates a 3 to 4 on pain. Tell your artist to transfer the stencil with the whole piece oriented along the arm, not rotated, so the constellation reads while you move. A mistake I see is asking for too many micro-dots in tight clusters which merge into gray patches by year three. For daily wear roll up sleeves or pick a linen shirt to show the arm without rubbing the fresh ink.
4. Interlocking Triangle Forearm Band
Aging observation first. Interlocking triangles with uniform spacing read clean at six months but can soften by two years if lines are too close. When you consult, ask the artist to use slightly bolder outer lines and leave deliberate gaps between repeating elements. The session feels like steady, focused linework rather than long shaded passes. Blowout risk on the forearm is low if the stencil is sized correctly. For session day wear a loose button-down shirt you can pull aside so the artist has clear access to the outer arm.

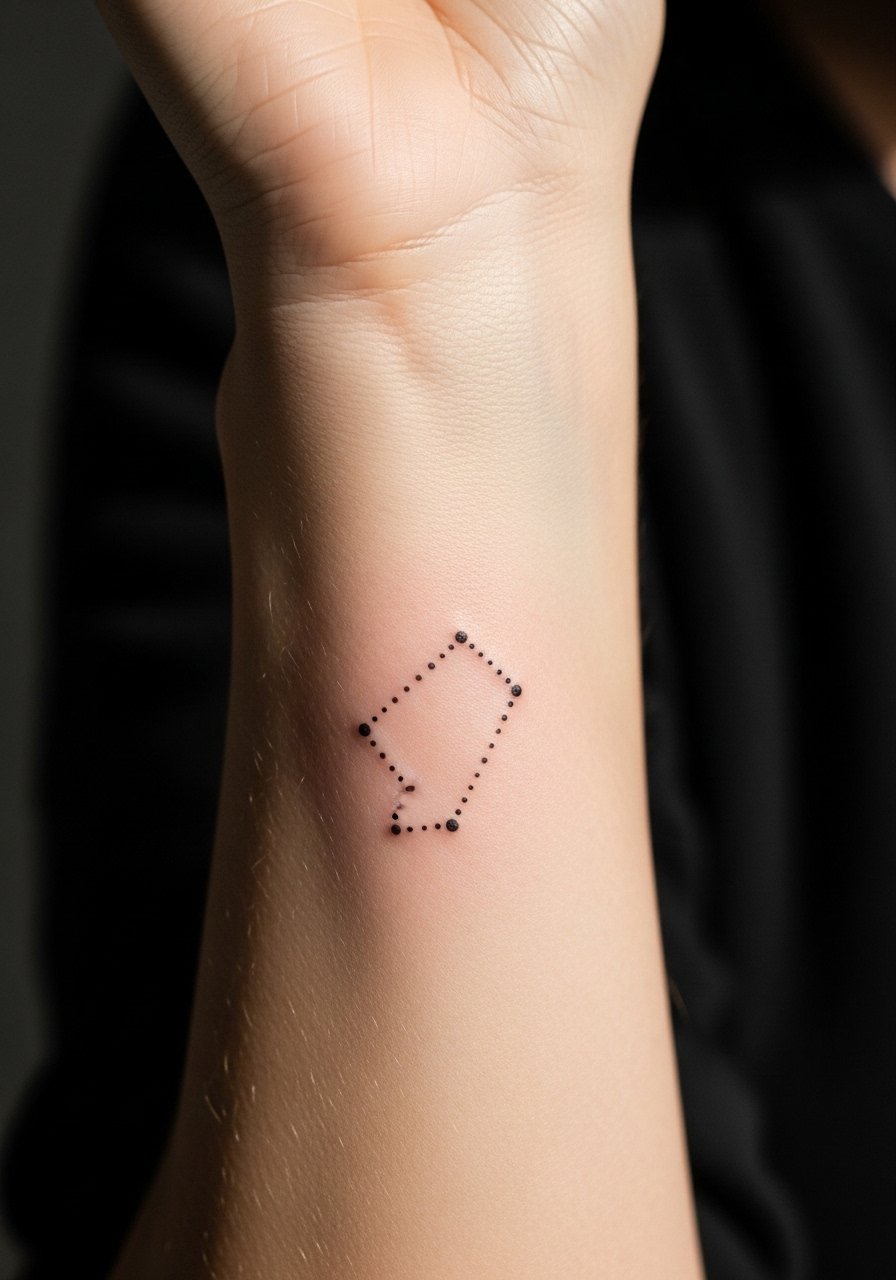
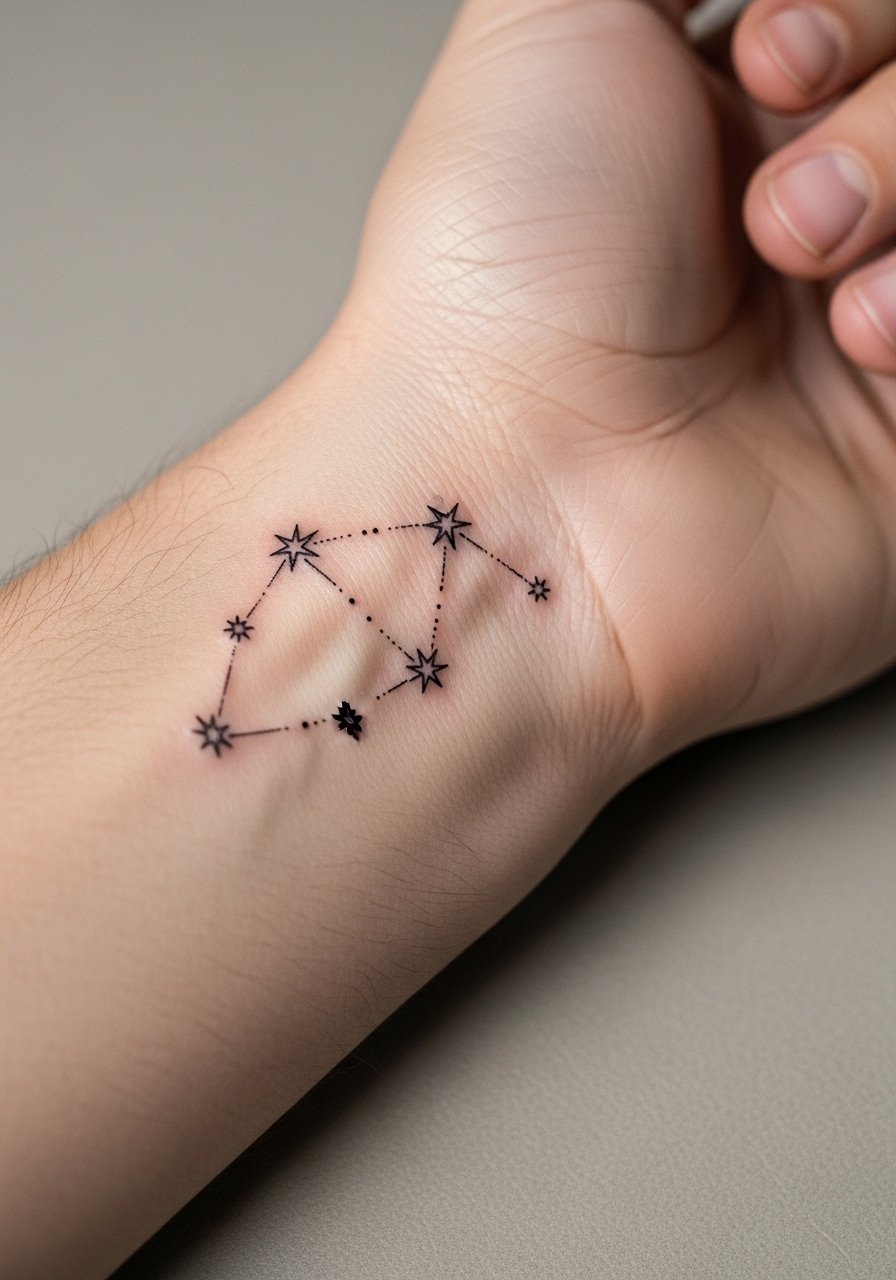
5. Fine Line Constellation at the Wrist
The biggest mistake with wrist geometry is going too small. The skin here moves and gets a lot of friction from clothing and watches. Tell your artist to scale the stars slightly larger and to anchor the stencil with a tiny spacer motif near the wrist crease. Expect touch-ups sooner than on the forearm. For showing it off pair the piece with stacked dainty bracelets, which frame the wrist without crowding the linework.
6. Optical Cube on the Ribcage
Artists split on fine line on ribs. One camp says the rib skin and breathing motion blur thin lines early. The other camp says with proper needle depth and a slightly heavier outline the geometry reads for years. If you want this stencil, request that the artist leave extra negative space between intersecting planes and avoid micro shading inside edges. Expect the session to be painful in waves, and budget a follow-up touch-up at year two. For the session wear a cropped top you can lift or a shirt you can pull aside so only the ribcage is exposed.

Studio Day Picks
The chest, wrist, and rib designs above demand different prep and a few focused items make the session and first week easier.
-
Stencil transfer paper kit. Lets you preview how the geometry sits on cartilage and curved surfaces before the needle touches skin.
-
Thin protective film roll. Helps keep wrist and rib pieces clean during the high-friction first week.
-
Fragrance-free gentle body wash. Cleans healing areas without stripping moisture from fine line work.
-
Topical numbing cream. Useful for the rib and sternum sessions when sensitivity spikes but discuss use with your artist first.
-
Aquaphor healing ointment. A thin layer can reduce tightness in the first days for delicate linework without clogging the tattoo channels.
7. Tessellated Upper Arm Half-Sleeve
Consultation lead here. When you sit with your artist, bring references that show how repeating tessellations flow with muscle curves. The upper arm gives room for complex repeats and the thicker skin helps saturation hold. A common version that ages poorly compresses too many repeats into a narrow band. Ask for a stencil that follows the muscle rather than cutting across it. For the session wear a tank top so the artist has free access and you remain comfortable during longer sittings.

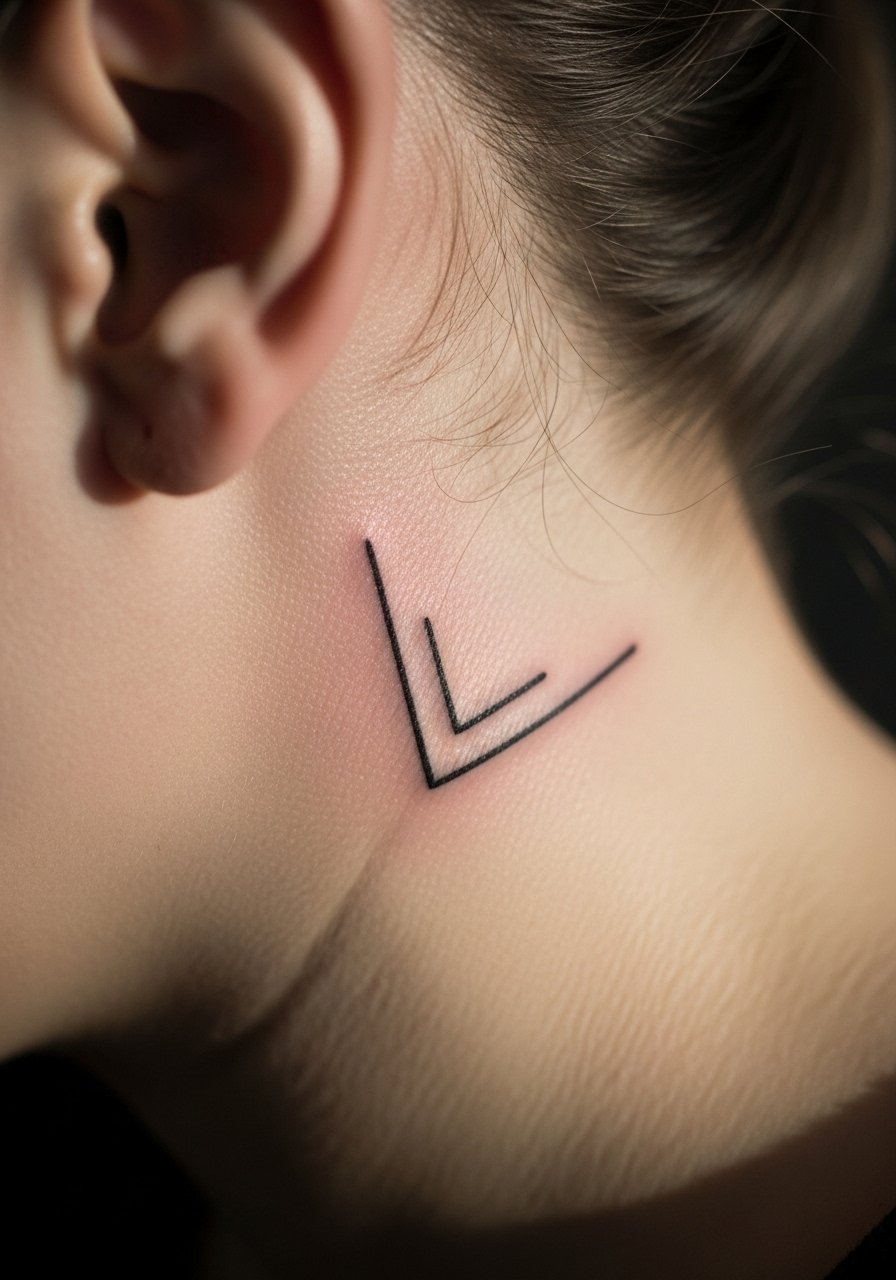
8. Micro Geometry Behind the Ear
Consultation note. Behind the ear requires a stencil placed on the skin below the hairline on the neck. This spot looks delicate but the skin is thin and detail can blur if too dense. Tell your artist you want a few focal nodes and open spacing. The session is short but precise. This placement needs an artist experienced with small-area transfers. Expect touch-ups sooner than a forearm piece because of hair and sweat in the area.

9. Geometric Finger Bands
The hand and fingers have high fade and blowout risk. If you want bands, pick a stencil with slightly thicker lineweight and avoid continuous solid fills near knuckles. A common mistake is asking for multiple tight bands on adjacent fingers which converge into a gray strip within a year. For showing off the piece, stacked rings highlight the negative space so try pairing the bands with delicate stacking rings. Remember hand jobs may need touch-ups often.

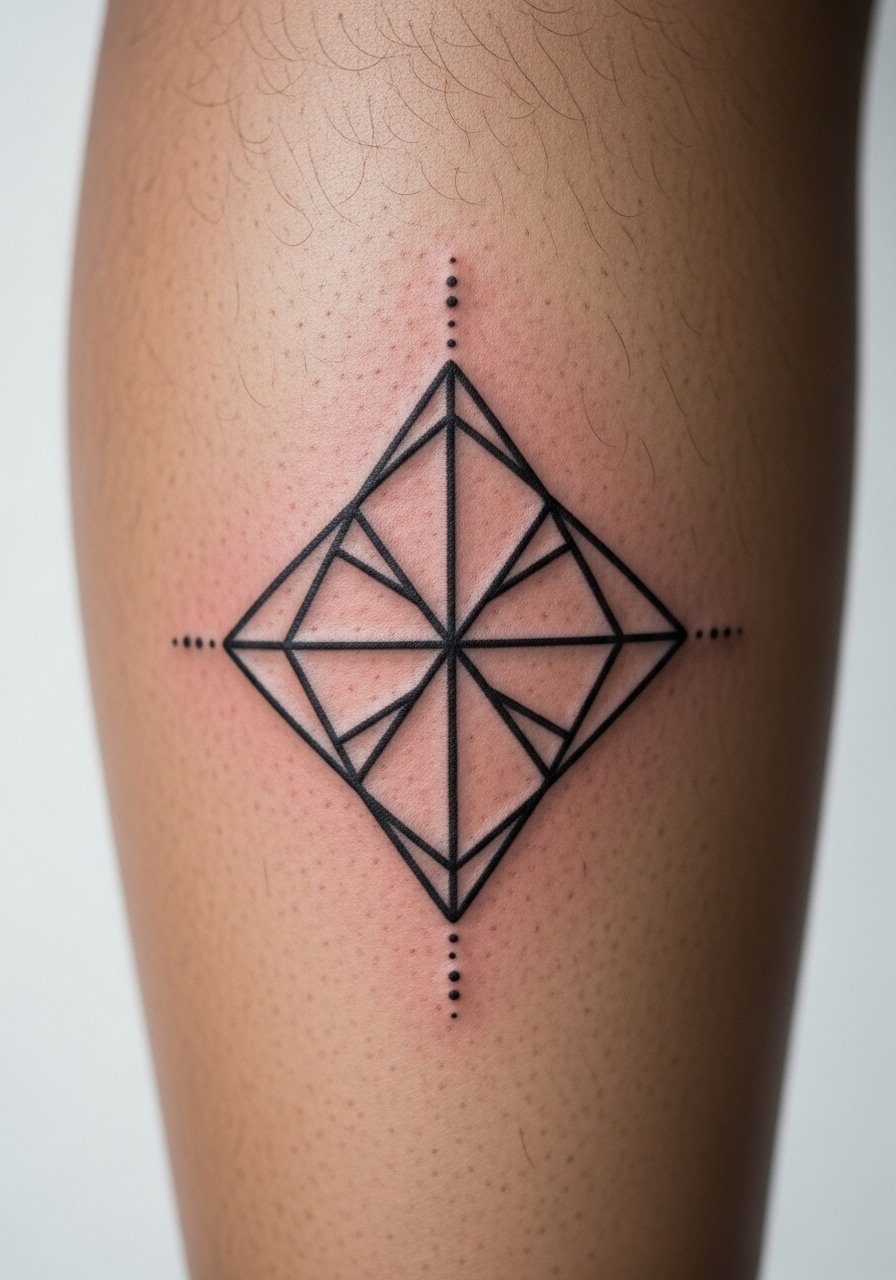
10. Negative Space Diamond on the Calf
Personal observation lead. Calf geometry benefits from negative-space diamonds that sit between muscles. The skin here is lower risk for blowout and the design reads while you walk or wear shorts. During consultation ask for a stencil that adapts to muscle curvature and that keeps open channels along the diamond edges. Sessions are tolerable and often split into two shorter passes for comfort. For the session pull on loose athletic shorts so the artist can roll the leg up without pressure on the area.
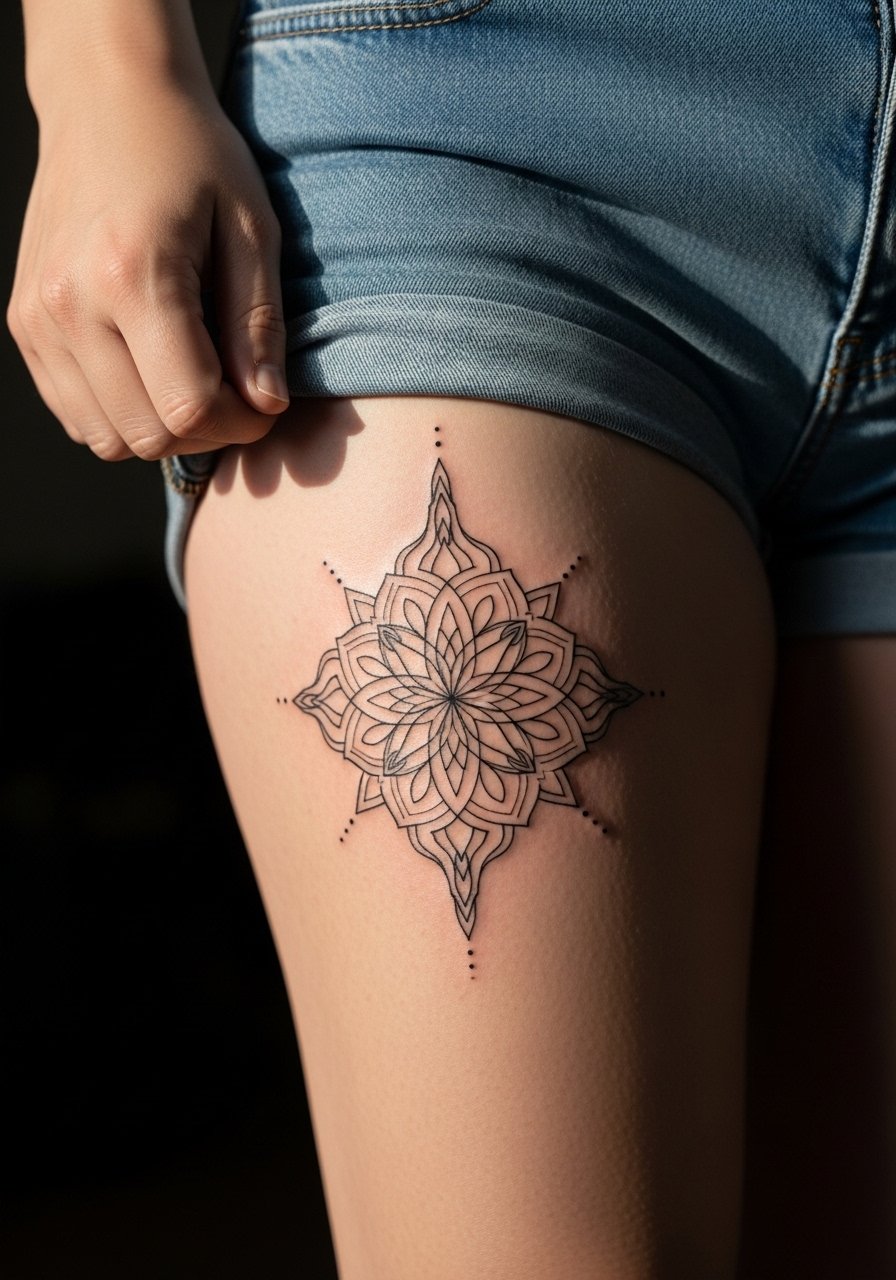
11. Mandala Panel for the Upper Thigh
Pain warning lead. Inner and upper thigh sessions can be sensitive and the skin reacts differently across the area. For mandala stencils keep the center a bit larger and the outer rings spaced to avoid merging with soft tissue over time. The session may require shifts in position which changes how the stencil sits against the thigh. Wear shorts you can shift slightly so the artist has clear access. Some people choose a slightly asymmetric panel that follows the hip curve to reduce touch-ups.
12. Collarbone Arrow Grid
Visual impact lead. A slim grid that sits along the collarbone looks sharp when the lines are crisp and the stencil respects bone contours. The error I see is aligning a strict grid without accounting for the natural slope of the collarbone which leads to visual skew. Ask for a mock-up on the area in the consultation so you can see the direction. For outfits, pick an open-neck blouse that frames the grid while keeping the rest of the chest covered.

13. Interlocking Hex Back Panel
Visual lead. An upper back hex panel benefits from a stencil that respects the spine as the visual axis. Ask your artist to map the centerline on your spine when previewing the stencil. The upper back heals predictably and saturation stays even when the lines are spaced correctly. For session access a button-down you can wear backwards or a loose tank top so the artist can work without you getting chilled. Expect longer session time for large connected repeats.

14. Side Neck Minimal Geometry
Consultation lead. Side neck stencils need careful placement because clothing and collars rub the area. Tell the artist you want the stencil tested with several collar positions to find a spot that will not chafe daily. The session is quick but the piece will be visible in professional settings so think through placement. For photography or showing it off wear a wide-neck shirt with the collar shifted so the tattoo appears without exposing more than the neck area.

15. Chevron Ankle Wrap
Visual impact lead. Ankle wraps look great but suffer from friction with shoes and socks. When you consult, ask the artist to keep the lowest line slightly higher than the ankle bone to reduce contact with footwear. Sessions are short and the pain level is mild to moderate. For showing the design pair it with sandals or roll up jeans to keep attention on the ankle lines.

16. Geometric Sternum Accent with Cultural Note
Controversy lead. Mandala and sacred-geometry motifs bring up cultural origin concerns. One camp treats these patterns as shared visual language that can be adapted respectfully. The other camp urges caution and recommends avoiding direct sacred symbols unless you have a cultural connection. If you choose a sacred stencil for the sternum, ask for a variation rather than a direct replica and discuss origin with your artist. For the session plan on a fitted sports bra that exposes only the intended area.

17. Side Temple Geometric Accent
Personal observation lead. Small geometric accents near the temple read as subtle framing when executed with a spare stencil. Because the head area has delicate skin and hair nearby, the stencil must be placed below the hairline on the neck side or kept a hair's breadth from the hairline. The session is quick and precise. Note that visible placements near the face can affect professional impressions in some fields, so weigh placement carefully.

18. Palm Geometry for the Active Hand
Mistake lead. Palm tattoos take ink poorly and fade fast because of constant use and thicker epidermis. If you want geometry on the palm, pick a stencil that leans into bold, simple shapes and accepts that touch-ups will be frequent. The session feels abrasive and is short. A common error is requesting delicate repeats that disappear within months. Consider a wrist or inner forearm stencil instead if longevity is the goal.

19. Geometric Hip Cluster
Consultation lead. Hip stencils that follow the hip bone curve look more organic than strict grids. During consultation have the artist place the stencil while you stand and while you lie down so they can see how movement affects the layout. Session wear should be high-waisted bottoms you can shift to reveal the area. For showing off pick high-cut shorts or a swimsuit bottom that frames the cluster.

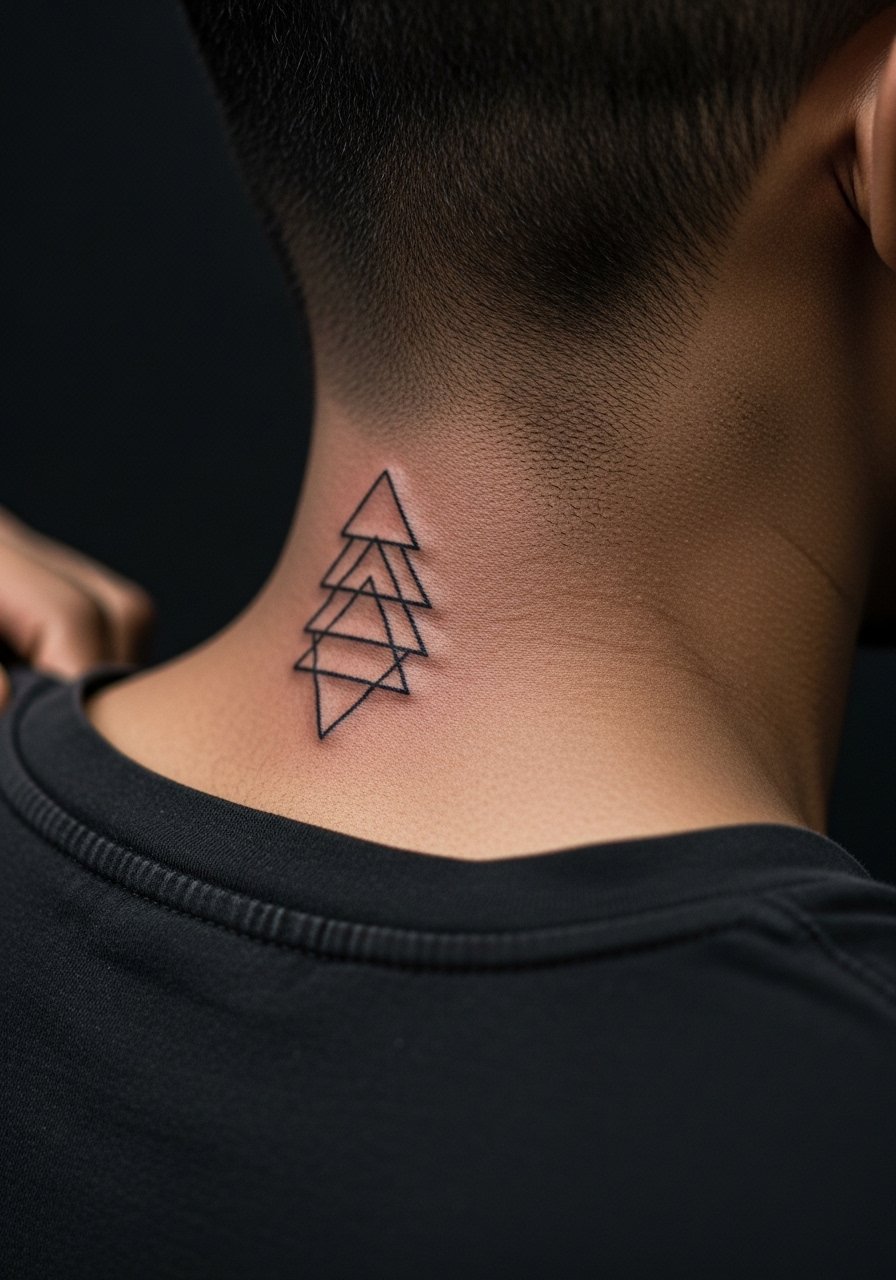
20. Back of Neck Stacked Triads
Aging lead. Small stacked triads on the nape look crisp early but can blur if placed directly on the hairline. Ask for placement slightly below the hairline with room around each triad. The session is quick and tolerable. For session privacy wear a t-shirt with a wide neck or a collared shirt pulled aside so only the nape is exposed. Expect a touch-up in a couple of years for dense clusters.
21. Geometric Calavera Panel on Upper Arm
Mistake lead. When people ask for highly detailed calavera-style geometry at small scale the details smudge over time. For the upper arm request a median scale where teeth and floral elements have room to resolve. The arm's thicker skin helps saturation stay stable. The session feels like alternating linework and small areas of dot shading. Pair this with a sleeveless linen shirt to let the upper arm read in summer outfits.

22. Minimalist Spine-Aligned Geometry
Consultation lead. A spine-aligned geometric column works when each element has breathing room. If you stack motifs too tightly along the spine the lines blend as the skin moves. Discuss spacing and vertical rhythm during the stencil fitting to ensure the piece reads in different postures. Sessions often take two passes with small breaks. For evenings out this piece pairs with open-back dresses when you want a subtle reveal.

23. Geometric Ankle Charm with Tiny Script
Visual lead. Tiny script next to geometry must be specified exactly in the stencil text to avoid gibberish in image previews and transfers. Choose short words or dates and confirm the font on skin during the consultation. The ankle handles small text okay if you keep letters spaced and slightly larger than you think. For showing the charm wear ankle bracelets that highlight the area without rubbing the fresh work.

24. Geometric Hip-to-Thigh Flow
Visual impact lead. A flow piece that moves from hip to outer thigh benefits from a stencil that follows the body's natural S-curve. During consultation ask the artist to mark anchor points so the repeat geometry does not look cut off when you move. Expect the session to involve repositioning and short breaks. For the session wear shorts you can shift slightly so the artist can work without exposing more than necessary.

25. Small Geometric Corner Behind the Ear
Personal observation lead. A tiny corner piece places well behind the ear when kept to three or four clean lines. The trick is to have the stencil sit just below the hairline on the neck so it peeks out without needing to be exposed constantly. Sessions are brief and precise. This placement is subtle and easy to hide with hair for professional settings.
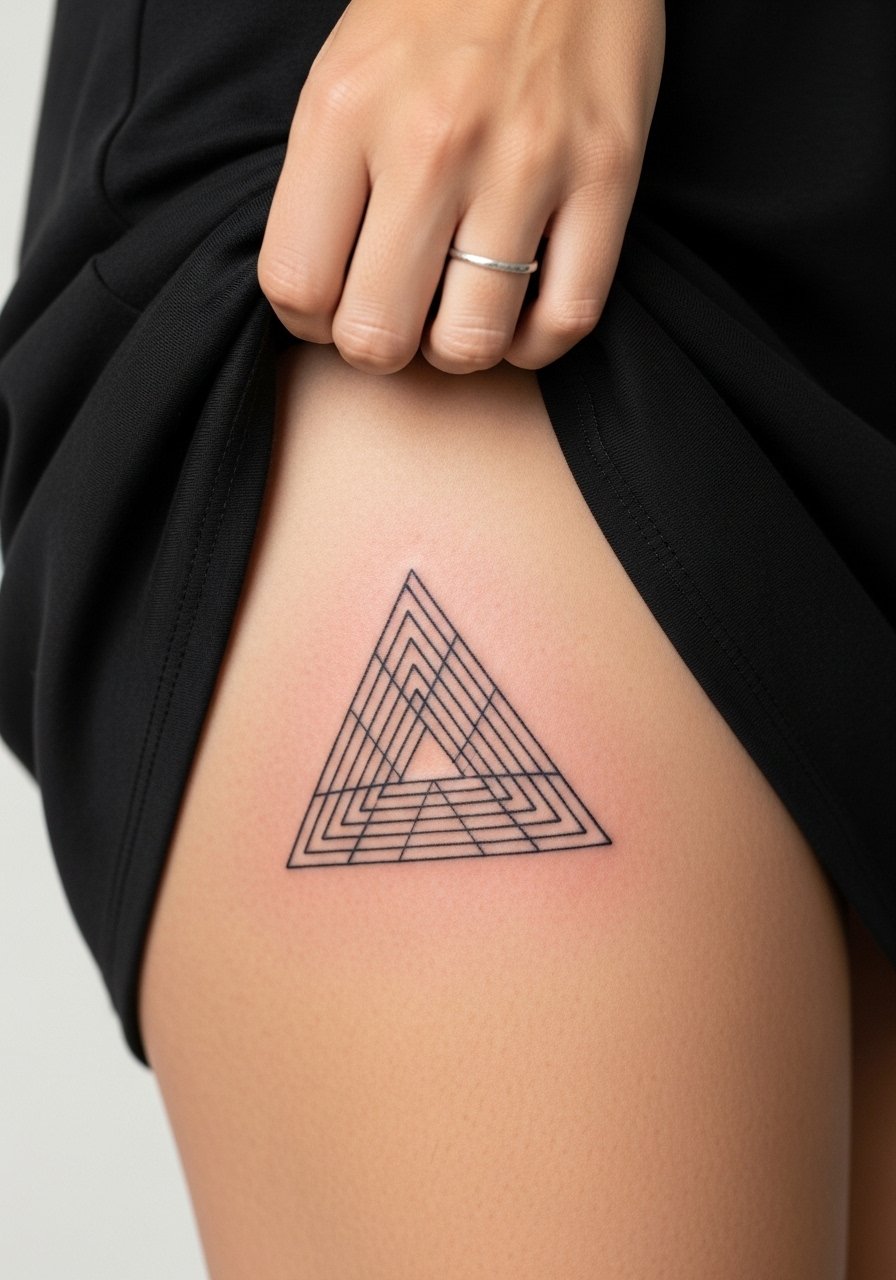
26. Optical Triangle Grid on the Thigh
Aging lead. Dense optical grids on the thigh can hold longer than identical grids on the wrist because of lower abrasion. Still, keep inner repeats spaced and ask for a stencil mock-up that moves with the muscle. The session is comfortable compared with ribs and often done in one window. For showing the grid choose flowy skirts or high-cut shorts that let the pattern reveal itself when you walk.
27. Stippled Geometric Pocket on the Upper Arm
Consultation lead. A small stippled pocket of geometry on the upper arm looks modern when the stipple density is graded outward. Avoid asking for micro dots packed into the center because those areas tend to gray over time. The session involves intermittent shading passes which feel like light tapping. For session comfort wear a loose tee you can pull aside so the artist reaches the upper arm easily.

Frequently Asked Questions
Q: Will fine line geometric tattoos blur faster on curved spots like the ribcage and sternum?
A: Yes, curved and mobile areas tend to speed blurring if the stencil packs too much detail. Choose slightly larger spacing and a modestly heavier initial lineweight for ribs and sternum, and plan for a probable touch-up around year two.
Q: How should I describe stencil placement to an artist for a sleeve of tessellated geometry?
A: Bring photos showing how you want the repeat to flow with muscle lines and ask the artist to mark anchor points on your arm before inking. Request a full-size stencil preview so you can check how the pattern sits when your arm is relaxed and when it is flexed.
Q: Are there geometric stencils that are better for professional environments?
A: Smaller, side-body placements like upper chest close to the collarbone or behind-the-ear accents hide easily and can be covered by clothing or hair. For visible forearm pieces consider scaled, minimalist stencils that read well under shirts and pair with a long-slee linen shirt when you need to conceal the work.
Q: Do palm and finger geometric tattoos need a different stencil approach than forearm pieces?
A: Yes. Hands and palms demand bolder, simpler stencils with generous spacing. Fine repeats and micro-dots do not last on these zones. Expect more frequent touch-ups and discuss realistic longevity with your artist.
Q: How do I respect cultural origins when choosing sacred geometry or mandala stencils?
A: Talk openly with your artist about origin and intention. Some people prefer a variant that nods to a tradition without copying sacred symbols directly. If the design has explicit religious meaning consider alternative motifs or adaptations that honor the source.
Q: When should I plan a touch-up for detailed geometric work?
A: Touch-up timelines depend on placement and skin. For forearm and upper arm pieces expect a touch-up around year two to three. High-friction zones like wrists, hands, and ribs often need touch-ups sooner. Your artist can advise a more specific window after the first healed photo.
