
Fine line shoulder pieces look effortless on a feed, but the way ink settles on the shoulder is different from how it looks fresh. Placement, spacing, and how straps rub during the first two weeks decide whether a tiny design still reads crisp at year three. These 17 small shoulder ideas focus on designs that photograph well and actually stay sharp, with notes on aging, session feel, and what to wear to show them off.
1. Tiny Crescent Moon on Outer Shoulder
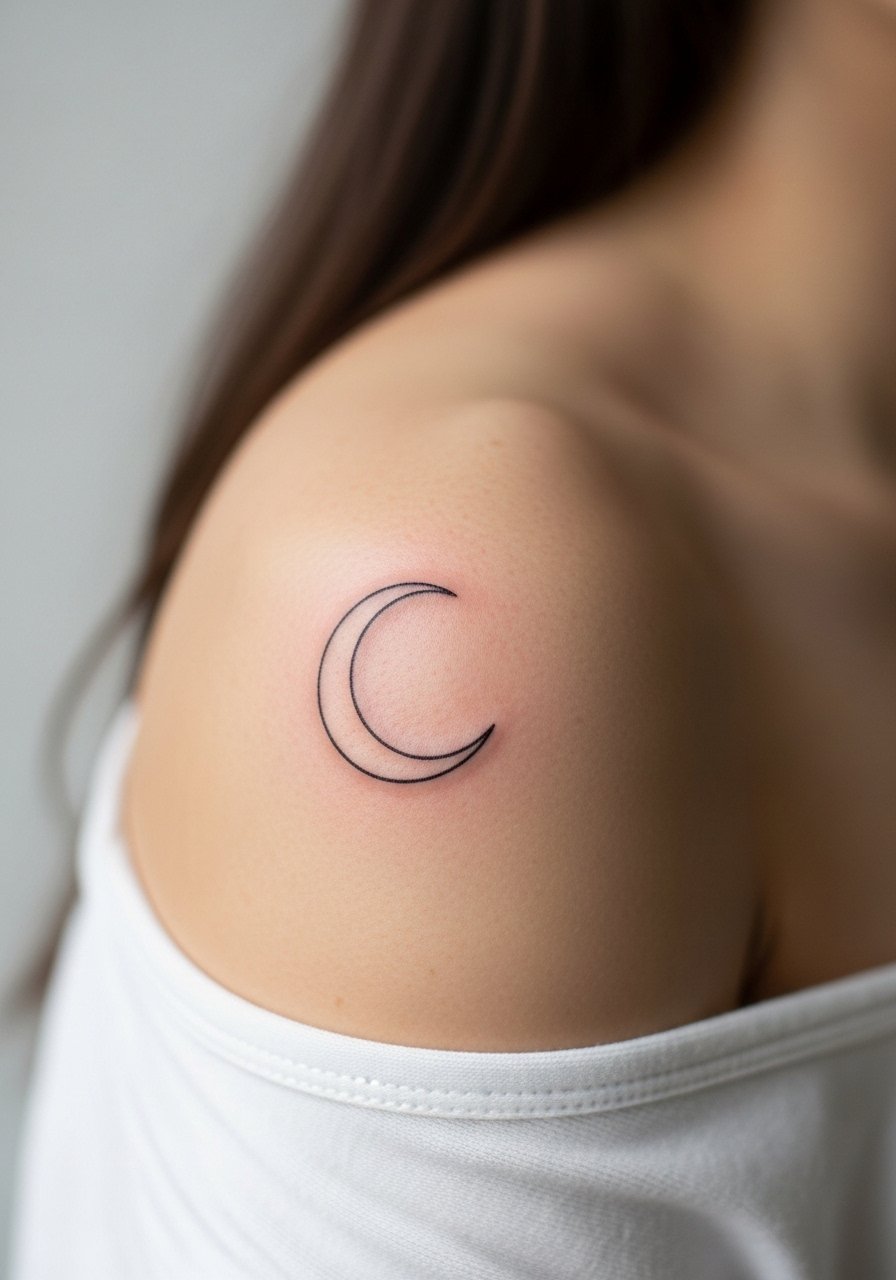
I suggest a small crescent for someone who wants a quiet symbol that still reads from short distance. Say during consultation that you want single-needle fine line with slightly increased spacing between the inner and outer curve so the crescent does not blur into a single line as it heals. Expect a low pain level on the shoulder cap and a session under 45 minutes. Common mistake is going too narrow with the inner line, which merges after a couple of years. For the session, wear a loose button-down shirt you can pull aside for easy access.
2. Petite Sunburst on Anterior Shoulder
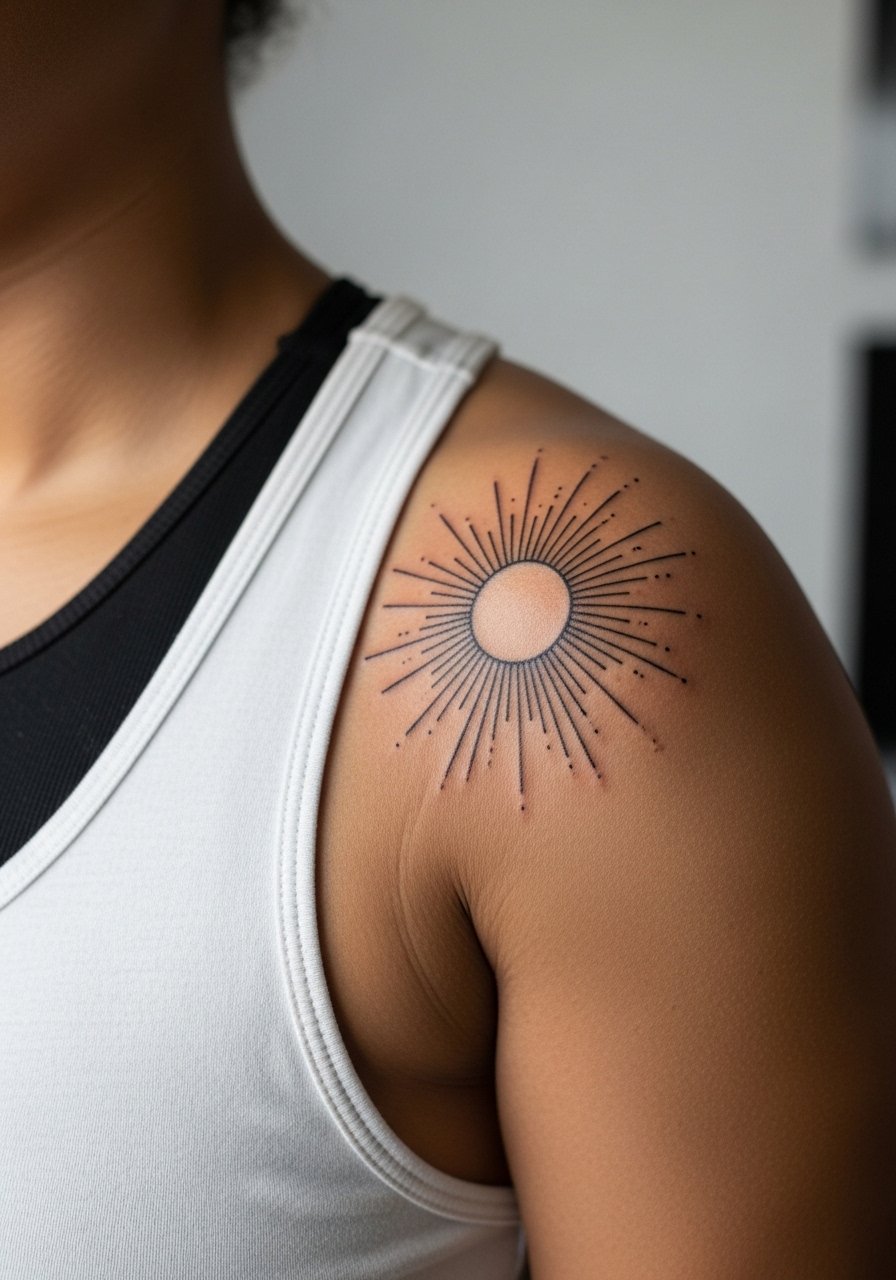
There is a little drama in a tiny sunburst sitting where a strap usually falls. I tell people to place the rays slightly off the exact center so straps do not rub the tips during the first week. Visually this holds up because the negative space between rays lets the design age without lines bleeding together. The session feels like a quick tug across a stable surface, about 30 to 50 minutes. Avoid asking for extremely thin rays at the edge. Pair with a racerback tank top when showing it off so the shape is framed cleanly.
3. Micro-Realism Tiny Wave on Top of Shoulder

A micro-realism wave works well if you want texture without color. Tell your artist you want soft stipple shading not solid black fills, so the tiny tonal shifts remain readable at six months and at year two. The shoulder skin is forgiving, but dense black blocks in micro pieces tend to age into solid blobs. This session is slightly longer than straight line work because of the tiny shading, expect around an hour. For the session wear a loose tank top so the artist can access the shoulder without tugging.
4. Minimalist Arrow Curving with the Shoulder Line
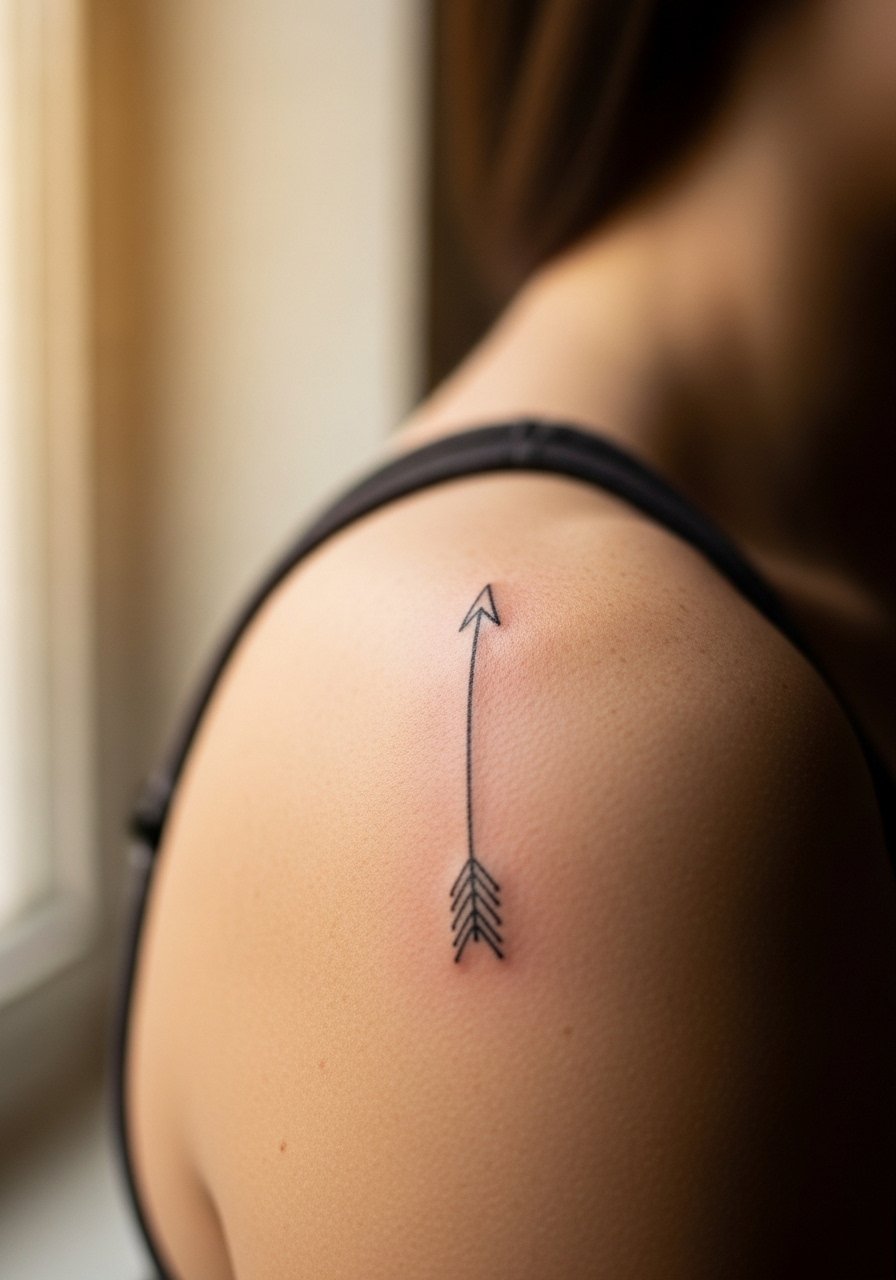
I've seen curved arrows sit beautifully when the artist maps the direction with you first. Bring photos that show the angle you want so the artist can adapt the arrow to your muscle movement. A common mistake is placing the arrow straight across the muscle where it skews when you move. Expect a quick session and minimal pain on the cap. The look is great with rolled-up sleeves or a loose linen shirt for evenings.
5. Tiny Floral Sprig on the Rear Shoulder Blade

Botanical sprigs read well on the shoulder blade because the flat area gives linework room. In consultation ask for slightly thicker main stems with thinner offshoots so the piece keeps structure as the smaller lines soften over time. The shoulder blade can be tender when you lie on it, so plan a session of 45 to 75 minutes with breaks. For showing the piece, an open-back dress frames the sprig while keeping it protected during daily wear.
6. Tiny Geometric Triangle Cluster at the Shoulder Peak
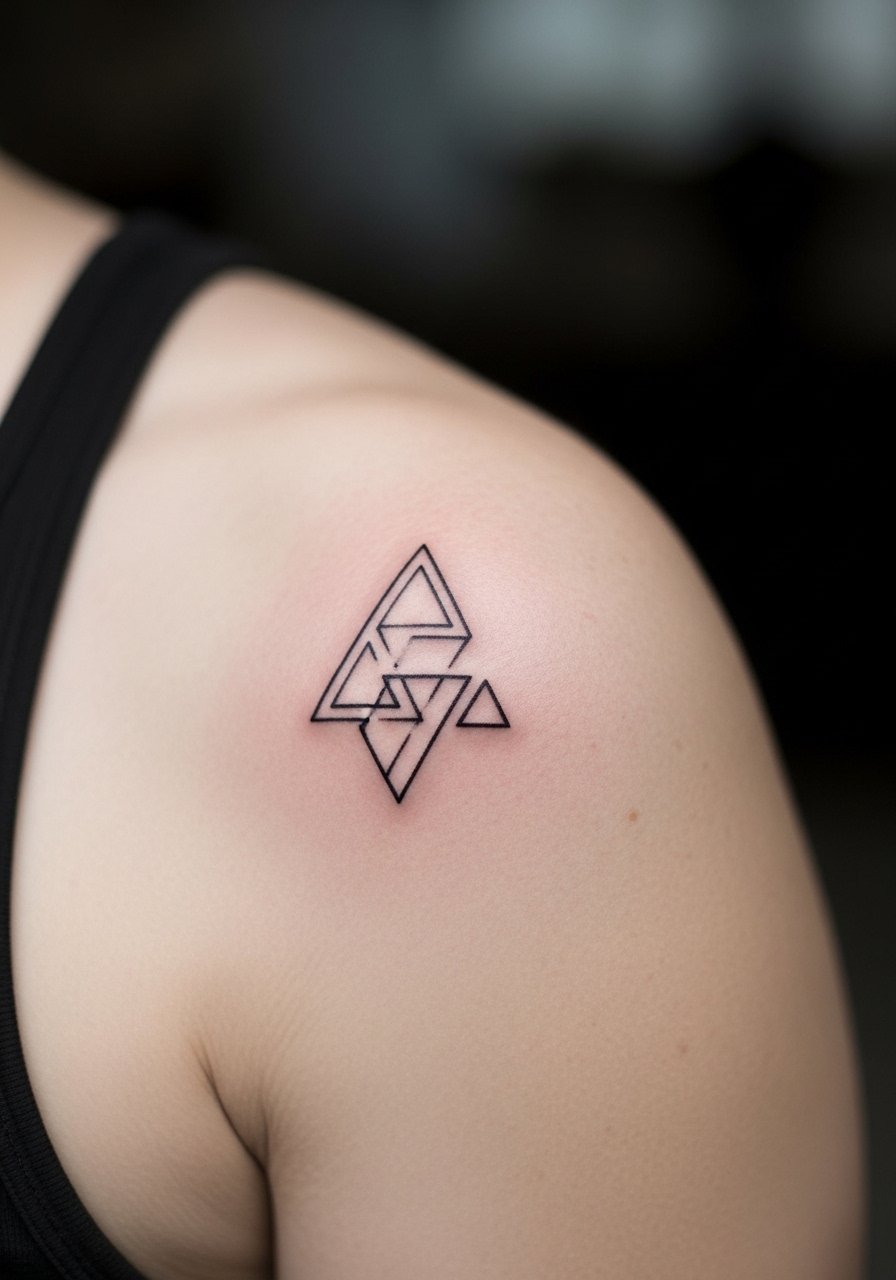
Geometric clusters need spacing to stay distinct. The biggest mistake is shrinking the shapes to fit a small surface without leaving breathing room. Ask for crisp single-needle outlines with a little blank skin between each triangle so the cluster reads at year three. Pain is low and the session is short, about 30 to 60 minutes depending on how many tiny shapes you pick. Pair with a wide-neck shirt when you want to show off the angles.
Studio Day Picks
These shoulder pieces can rub against straps or be covered by shirts, so a few specific items smooth the session and the first week.
-
Stencil transfer paper kit. Lets you preview placement on the shoulder so the artist can adjust the angle before the first needle touches skin, which matters for curved designs.
-
Topical numbing cream. Applied as directed ahead of time it reduces edge sensitivity on the shoulder peak without changing how the artist shades.
-
Thin protective film roll. Useful for covering the shoulder under straps during the first few days when friction can irritate fine line work.
-
Fragrance-free gentle body wash. Keeps the area clean during showers without stripping moisture from delicate lines that need time to settle.
-
Aquaphor healing ointment. Thin layers during the initial healing window protect shoulder pieces from drying out while allowing the ink channels to close.
7. Tiny Script Word Along the Shoulder Curve
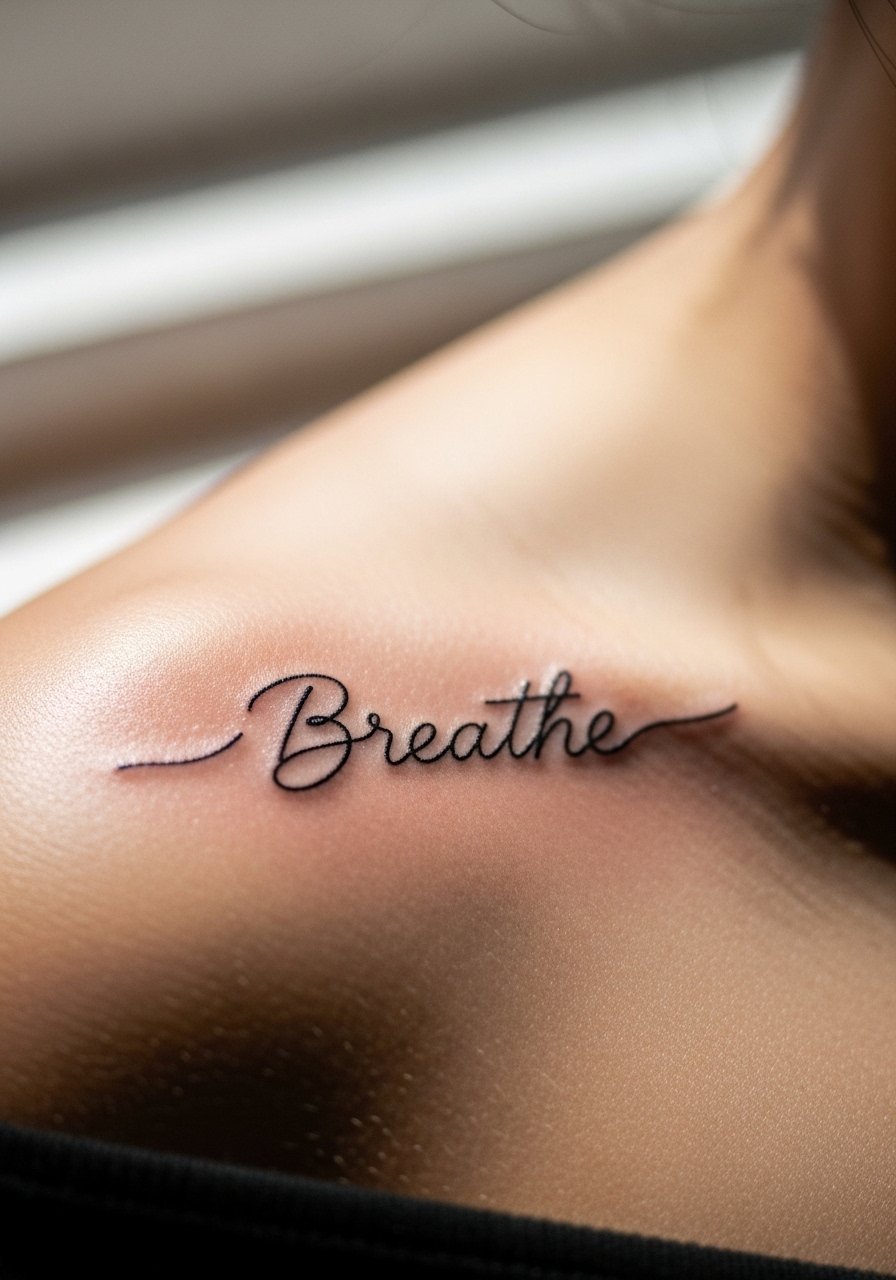
When lettering sits on the shoulder curve you must choose font weight carefully. I tell clients to pick slightly wider letters for visibility after healing. The main mistake is choosing ultra-thin script that disappears after the first sun season. Expect a short session under an hour and light discomfort. For showing this off, a wide-neck sweater or a draped tank complements the flowing text without covering the letters.
8. Dainty Anchor Nestled by the Shoulder Tendon
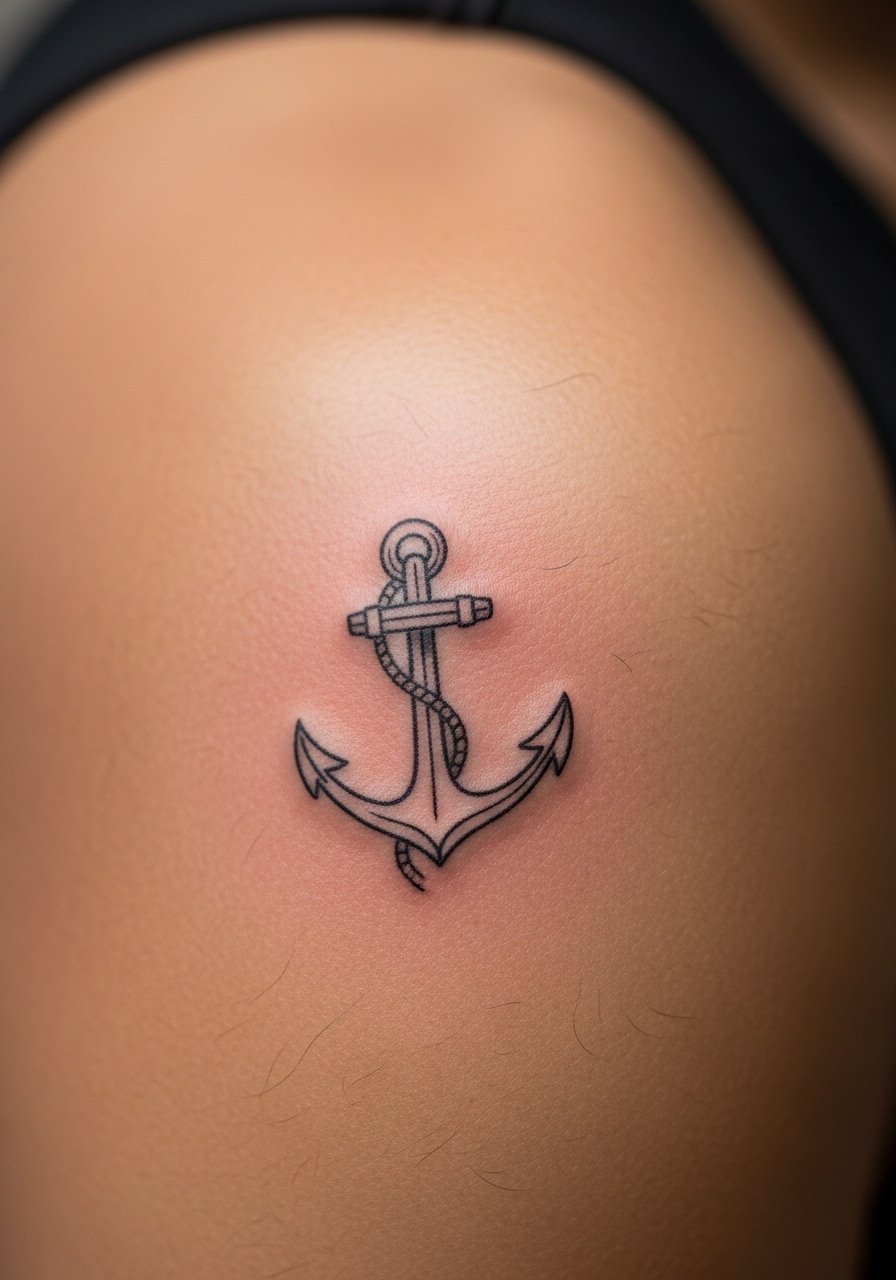
This placement moves subtly when you reach overhead. Tell the artist you want the anchor aligned so the top faces the front of the body not the outside. A common mistake is centering it where the tendon causes the design to tilt during motion. The session is quick and the pain mild. It holds up if the anchor uses a small solid for the center and fine lines for the flukes. Wear a button-down shirt you can pull aside for the appointment.
9. Single Dot with Micro Stacking Under the Shoulder Cap
The single dot looks deceptively simple. Ask for a small grouping of stippled dots rather than a single filled spot so there is texture to read as the ink settles. Shoulder skin is forgiving, but single solid dots can spread into faint halos if placed too deeply. The session is very short and the pain is low. For a casual reveal try a scoop neck tee that exposes the cap without putting straps across it.
10. Tiny Nautical Star on the Back of the Shoulder Blade
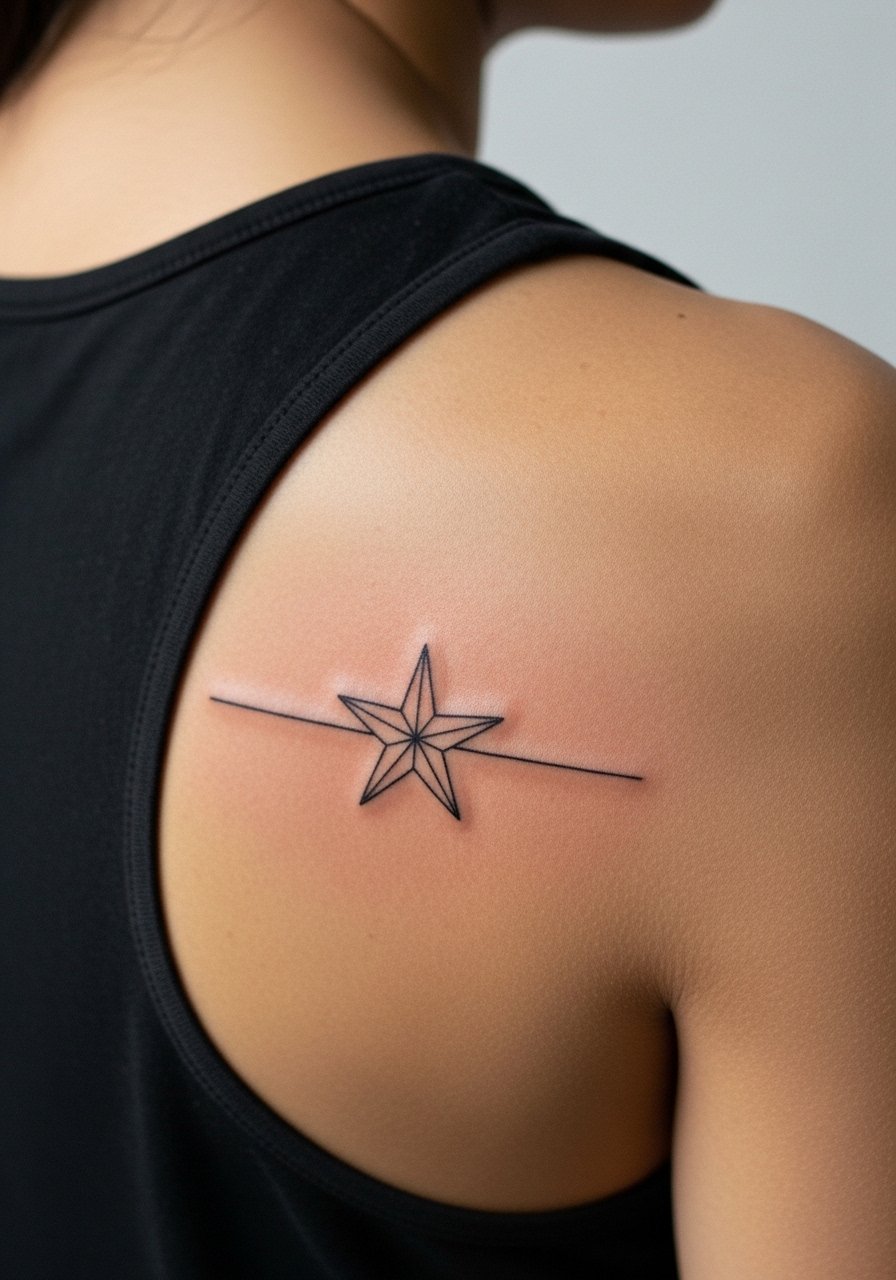
Back shoulder stars look crisp when the lines are slightly bold at the points and tapered at the edges. I recommend asking for subtle bolding so point tips do not blur into dots over time. The area handles small blackwork well, though lying on that side during sleep can irritate early scabs. Plan about 45 minutes. For evenings pair this with an open-back top to frame the star.
11. Tiny Compass Rose Sitting at the Shoulder Socket

A compass needs clear negative space between elements or the cardinal points become indistinct. Tell your artist you want the north point slightly elongated and the inner details simplified so the design reads at distance. The shoulder socket area can be a touch more sensitive. Sessions usually run an hour for the detail. Avoid asking for micro ornamentation that crowds the center. When showing it off, a cap sleeve tee works well.
12. Tiny Pine Tree Silhouette on the Upper Rear Shoulder
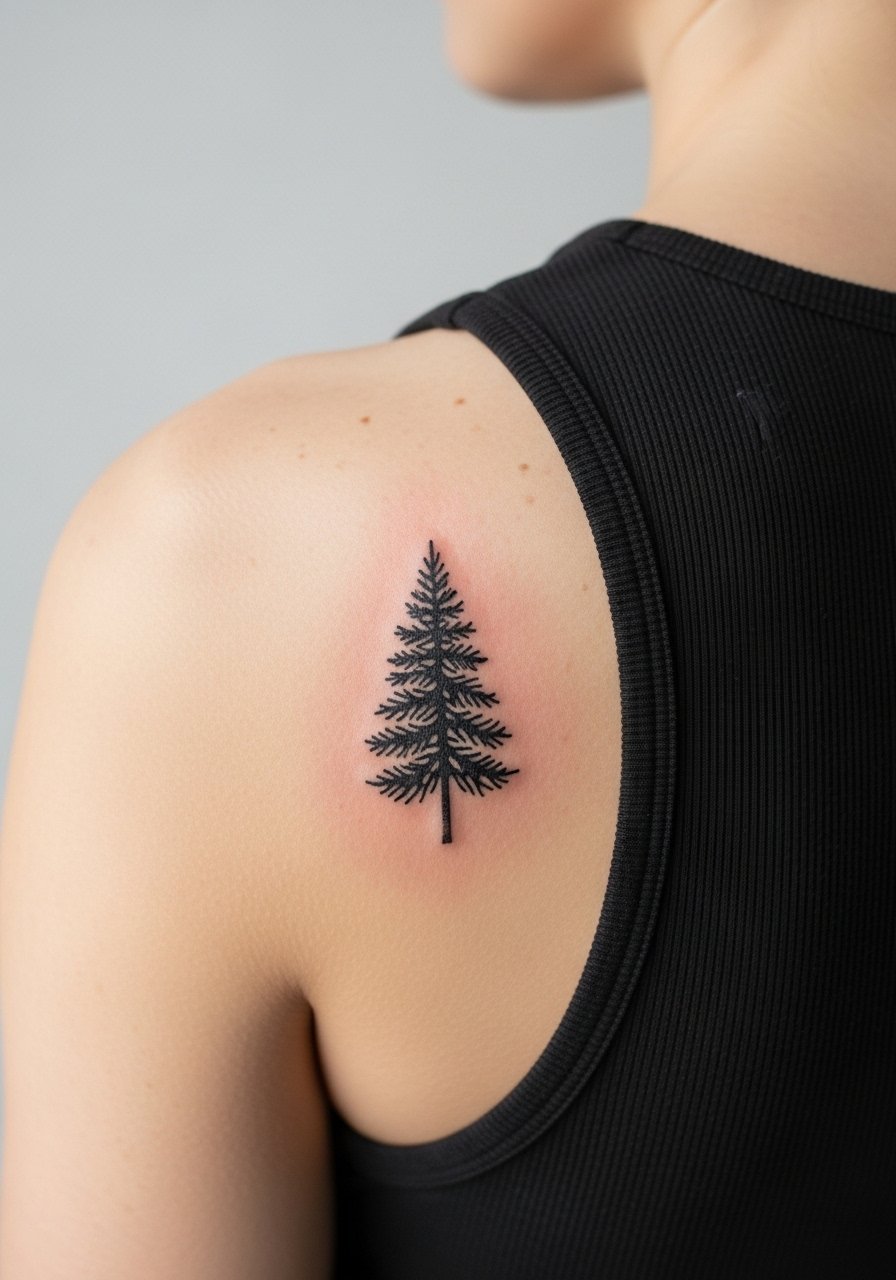
Pine silhouettes look grounded if the trunk is slightly thicker than the top branches. I advise clients to avoid ultra-thin branch lines which blur into the trunk over time. The shoulder blade area gives the small tree support so it keeps its shape for several years. Expect a 30 to 60 minute session. For casual show-off, a scoop back tank reveals the piece without exposing sensitive zones.
13. Tiny Floral Crescent Tucking Toward the Collarbone
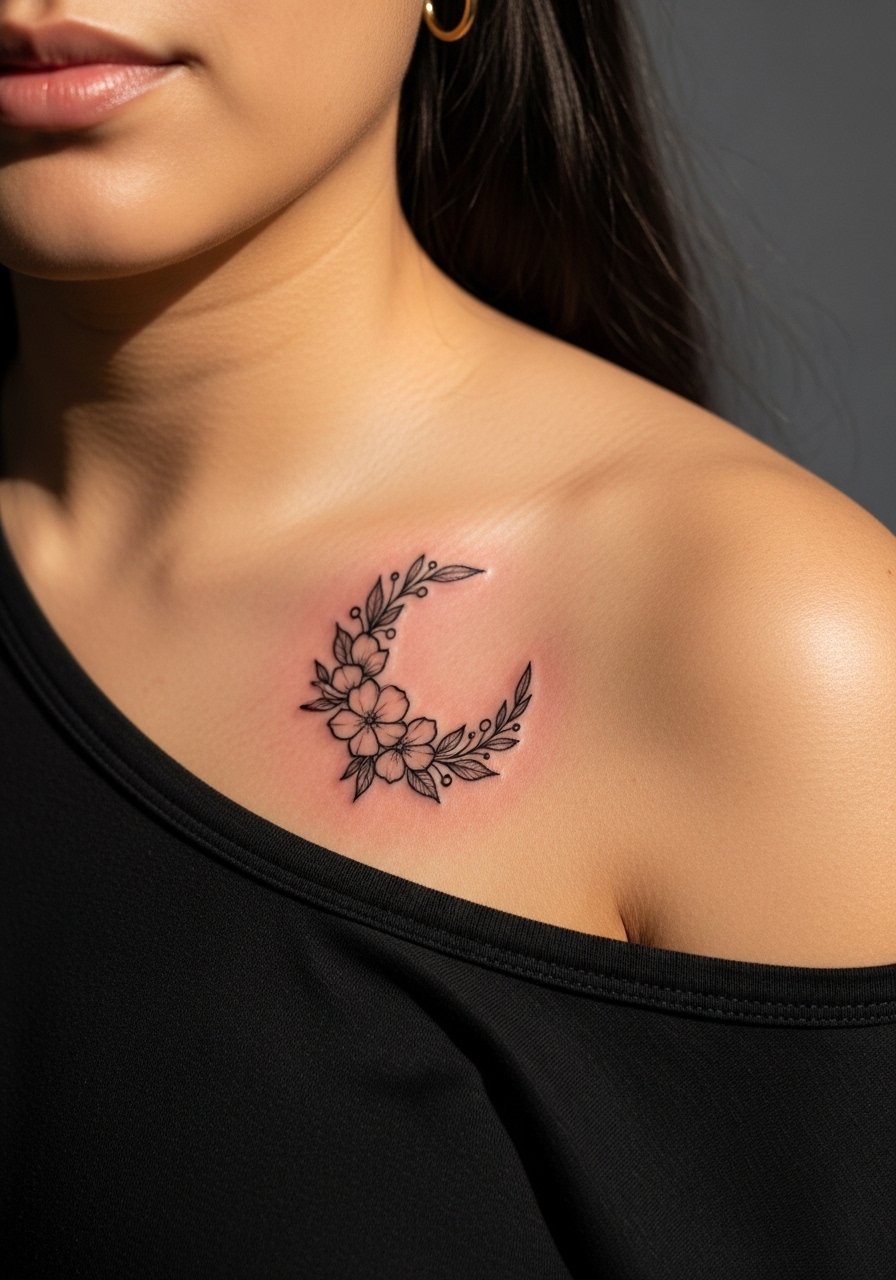
This shoulder-to-collarbone arc needs a mindful wrap so the petals do not cross high motion areas. In consultation ask for slightly larger central petals and lighter outer details so the whole crescent keeps contrast as the finer elements soften. The collarbone proximity makes this one a bit more tender. Session time is about 45 minutes with light breaks. Pair with a wide-neck blouse to show the curve without constant strap contact.
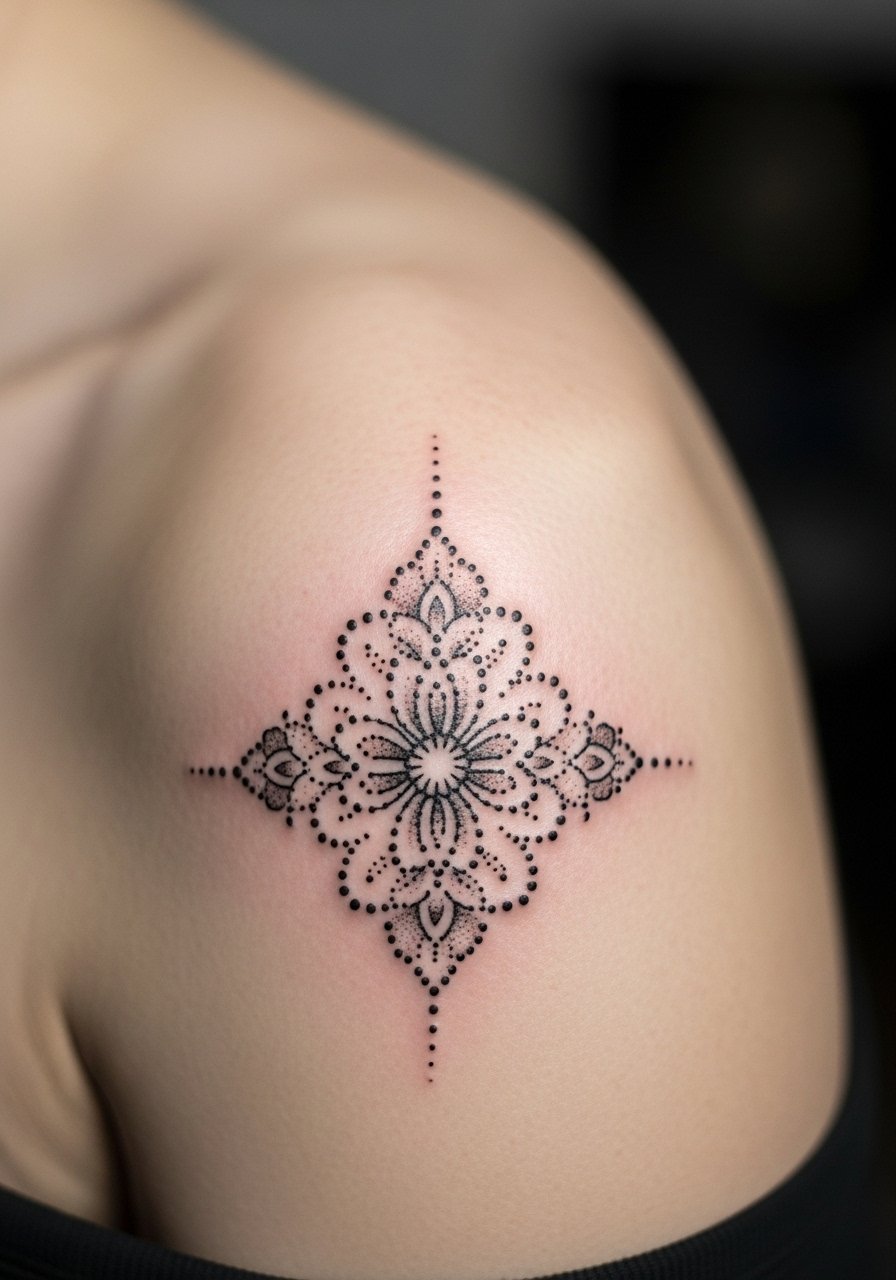
14. Tiny Dotwork Sun Halo Tucked Near the Shoulder Ridge
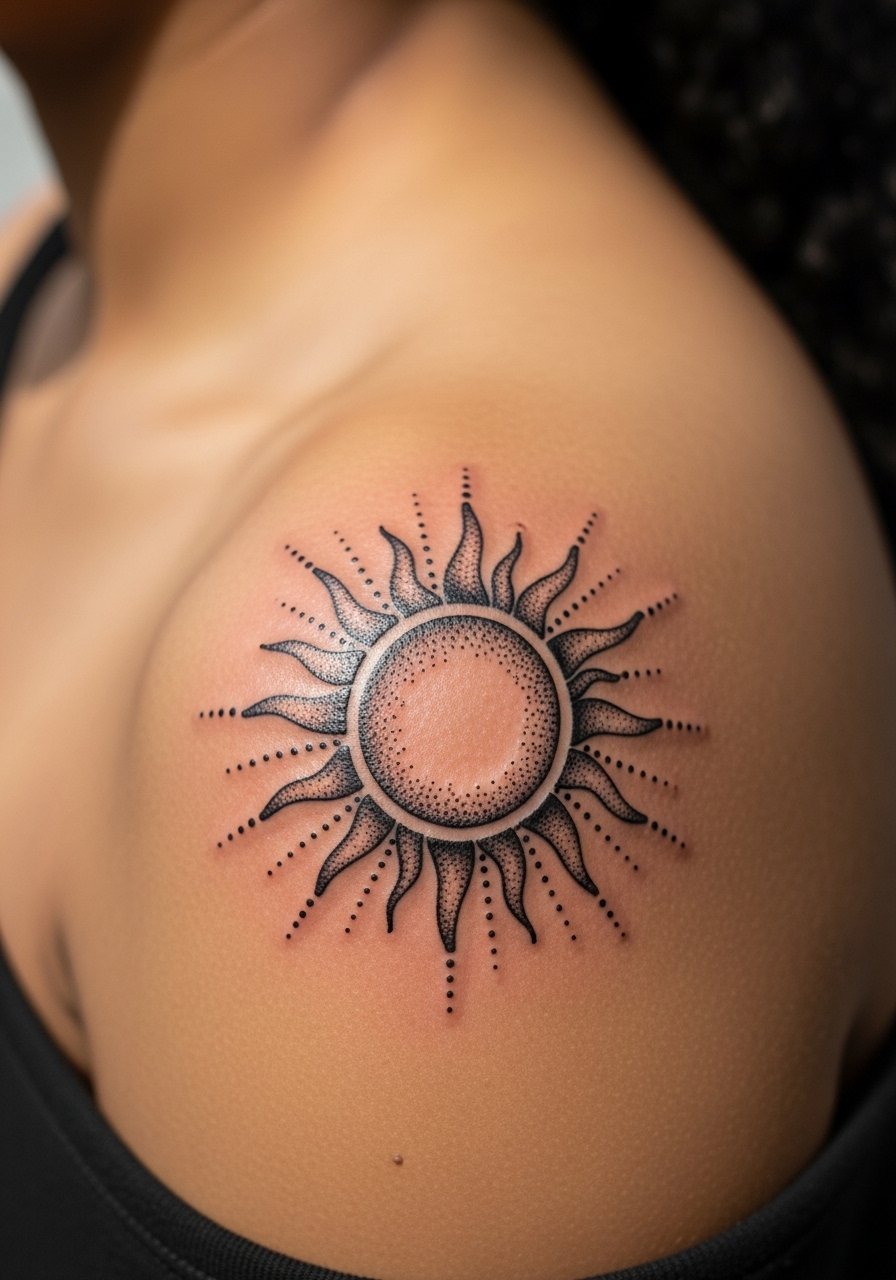
Dotwork plays well on the shoulder ridge because the skin gives enough flatness for stippling. The key instruction is to request stipple not solid shading so the halo keeps texture as it ages. People often ask for dense fill that later looks heavy. Expect around an hour and moderate tenderness in the ridge. Avoid dense black fills in small halos. For showing off wear a tank dress with thin straps so the halo sits center stage.
15. Tiny Anchor Chain Looping Over the Shoulder Cap
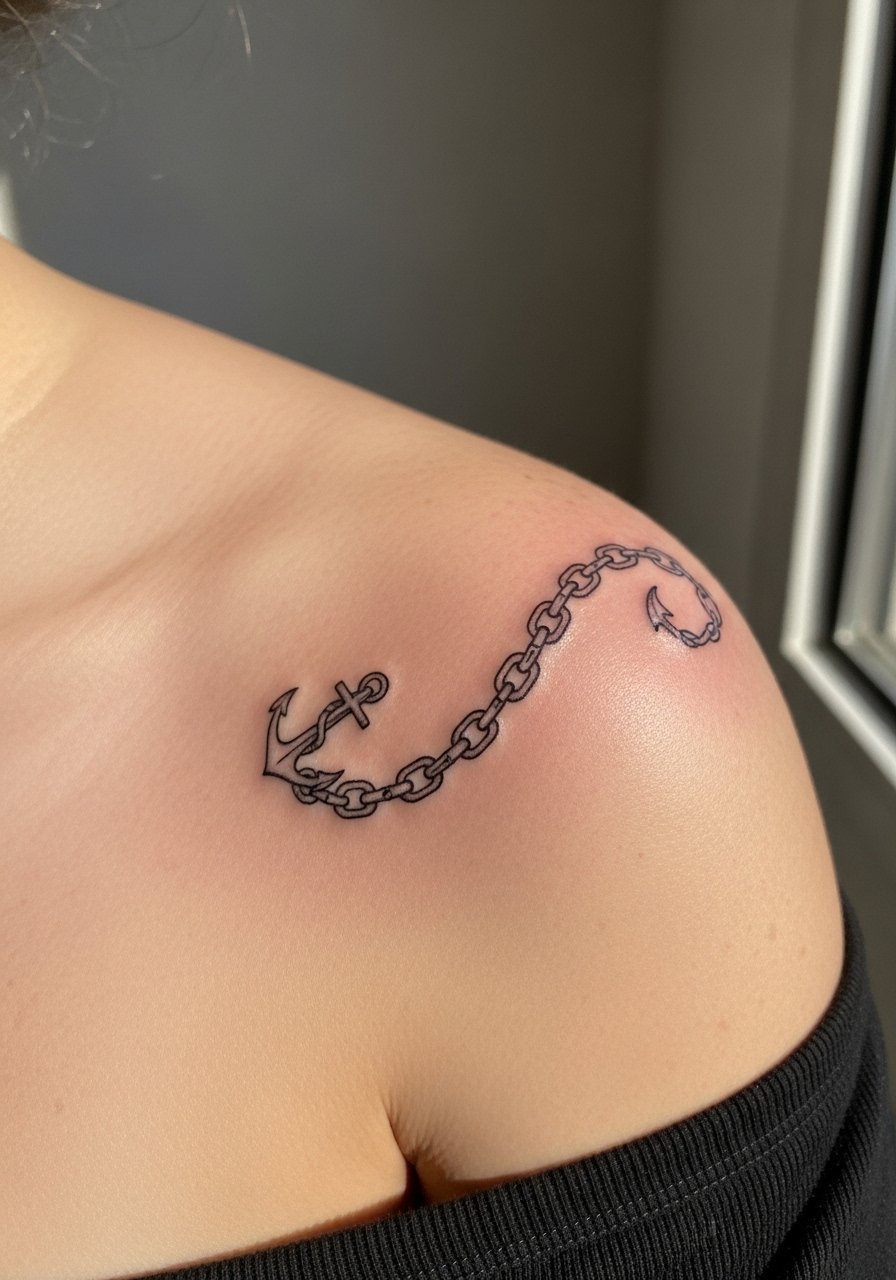
Chain motifs on the shoulder can rub against bags or straps in the first week. Ask for slightly wider links with small negative gaps so each link reads separately after healing. A common mistake is asking for hyper-fine link lines that merge after washing. The session is short but expect a bit more time for consistent spacing. For travel days pack a soft shoulder bag with padded strap or avoid heavy straps during the first two weeks.
16. Tiny Crescent Moon with Star Cluster Near the Shoulder Socket
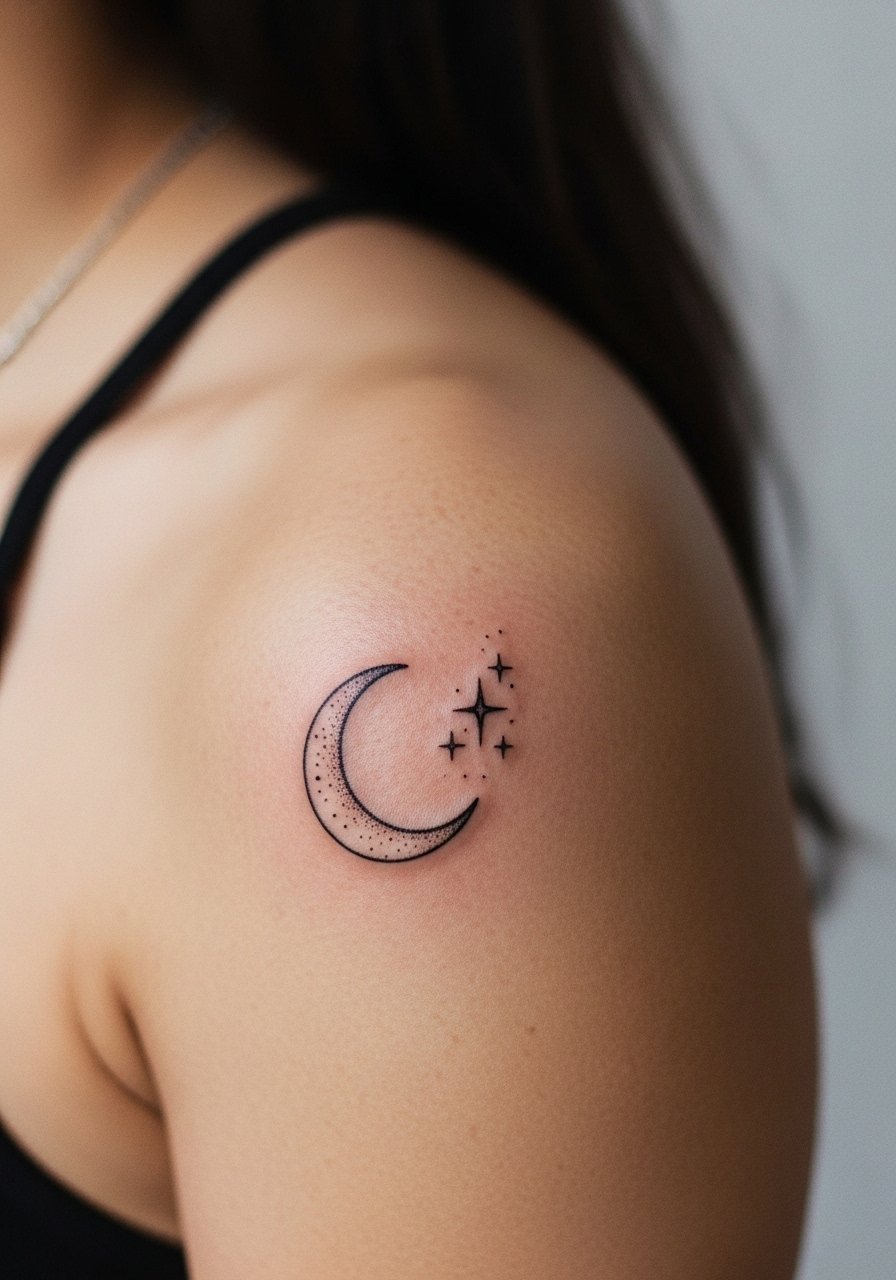
Combining a moon with tiny stars needs deliberate negative space so the cluster does not read as a smudge. I tell clients to place the stars either above or below the moon rather than scattered randomly. The shoulder socket can be slightly more sensitive. Expect a session of 45 minutes for careful spacing. For nights out pair it with an off-shoulder top that frames the moon without rubbing.
17. Tiny Wave Band Curving Along the Shoulder Edge

A small wave band that follows the shoulder edge reads clean when the turning points are slightly rounded rather than sharply angled. Tell the artist you want smooth curvature so the line does not catch and thin out in one spot. The session is quick and pain is minimal. The most common error is asking for a perfect geometric repeat which fights the curvature of the shoulder. For casual reveal roll sleeves or wear a scoop neck tank that keeps the wave visible.
Frequently Asked Questions
Q: Will fine line shoulder tattoos blur faster than thicker work?
A: Fine line pieces can soften sooner because the lines are thin and dependent on skin tension. In my experience, spacing and slight line weight adjustments extend legibility. If you want years without touch-ups, ask for slightly increased spacing between elements and expect a possible touch-up at year two or three depending on sun exposure.
Q: How should I dress for a shoulder session to make access easy?
A: Wear something with a wide neck, a racerback, or a button-down you can pull aside so the artist has unobstructed access. I usually recommend a loose button-down shirt or a racerback tank for comfort and practical access.
Q: Do shoulder tattoos need special aftercare because of straps and bags?
A: They do. The main risk is mechanical irritation from straps during the first week. Try to avoid shoulder straps and heavy bags while the area forms scabs. Use protective clothing or a soft strap if you must carry items.
Q: Are there designs I should avoid on the shoulder if I want longevity?
A: Extremely tight single-needle clusters and tiny dense fills are the ones that tend to lose definition fastest. Designs that allow negative space and slightly heavier anchor lines for structure age more gracefully.
Q: Will a shoulder tattoo affect job prospects or professional settings?
A: Most people I know who work in professional settings keep shoulder pieces hidden when needed by wearing sleeves. A tiny visible shoulder piece is usually easy to conceal, but think about dress codes in your field if visibility matters.
Q: Can I combine a shoulder tattoo with a chest or sleeve later without it looking mismatched?
A: Yes, if you plan ahead. Tell your artist you may expand into chest or sleeve work in the future so they can match line weight and spacing. That conversation prevents a lot of awkward contrast later.
