
The stencil lifted on the spine and for a second everything felt smaller, the room narrowed to the hum of the machine and the thin tap of needle on skin. Pain shows up differently across the back, sun exposure eats linework faster than folks expect, and session clothing can make or break access. Below are practical, minimalist placements that consider healing, visibility, and how they look years later.
1. Central Spine Single Stroke
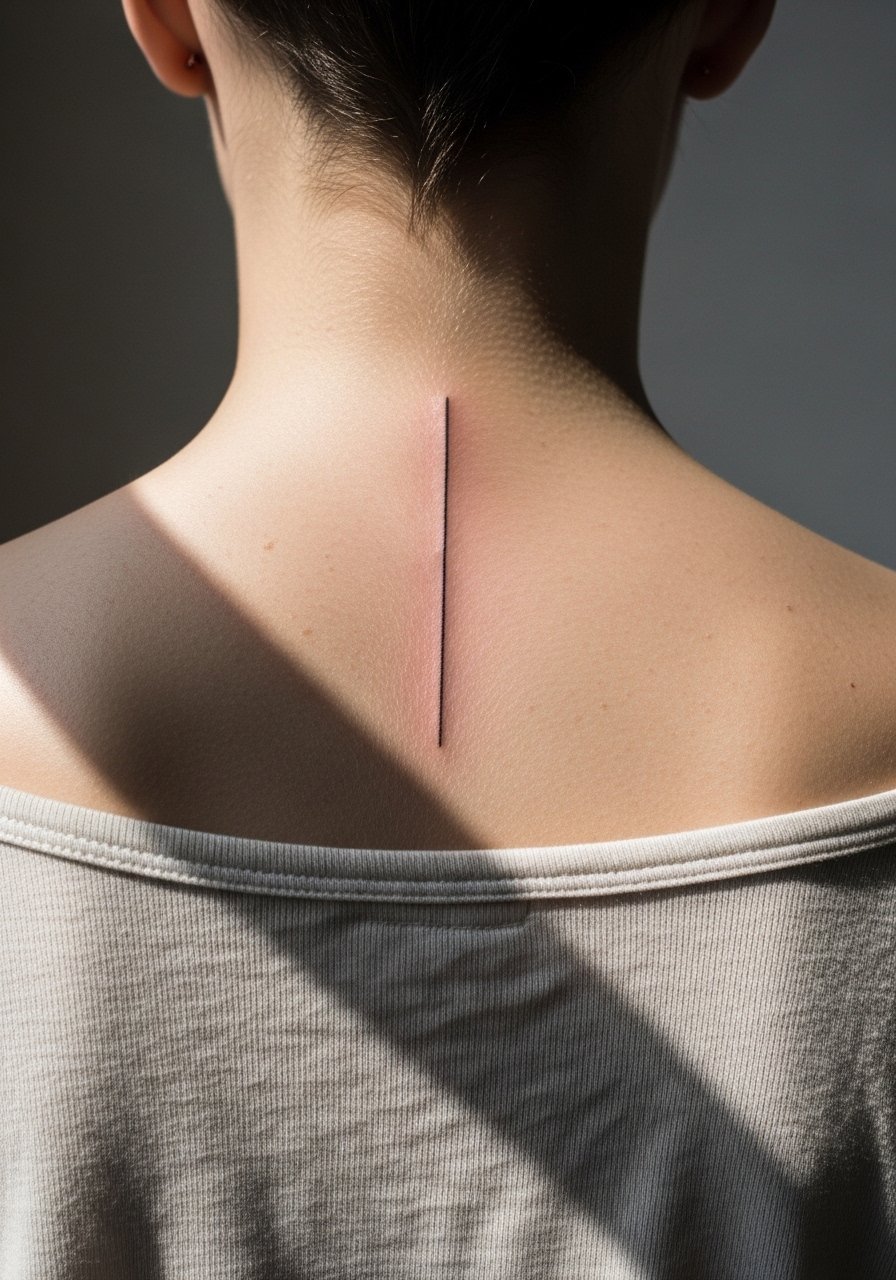
I say spine placement when someone wants a graphic, elongating piece and they mean it. The vertical single-stroke down the spine reads architectural and stays legible if the artist spaces the line and avoids trying to compress detail. Tell your artist to keep linework bold enough to avoid blowout but not filled like blackwork. Fair warning, the spine is more sensitive than the shoulder blade so expect a longer session with steady breaks and a 6 to 12 month touch-up window for fine adjustments. A common mistake is asking for miniature ornamental detail in the center line. Give the design breathing room. Image prompt below shows a close crop with a wide-neck shirt pulled slightly aside so only the spinal skin is visible.
2. Right Shoulder Blade Geometric Accent
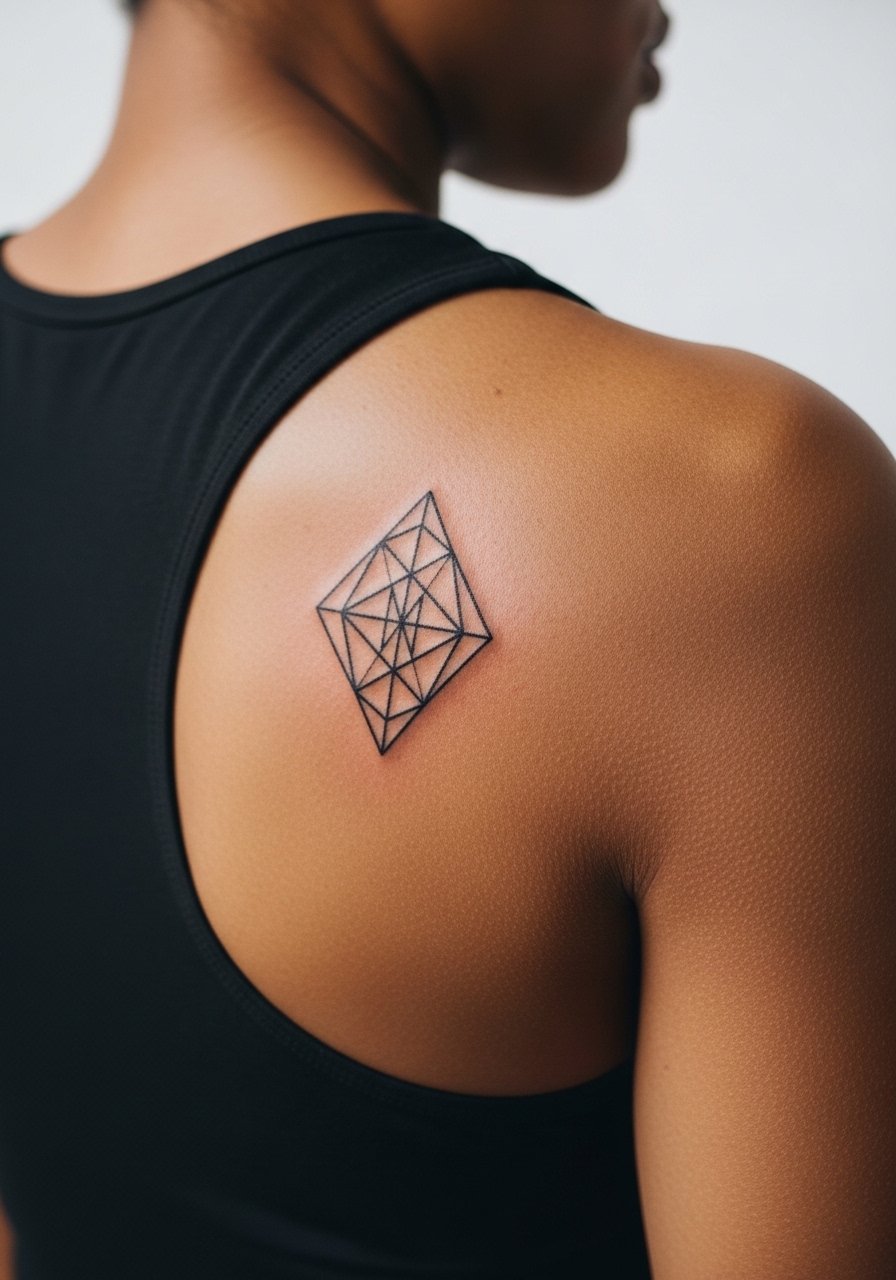
I've seen this placement on people who want something easy to hide and easy to show. The shoulder blade gives a flat canvas so straight lines and small geometric shapes sit cleanly. In consultation, ask for slightly thicker outer lines and stipple shading instead of dense blocks so the piece keeps contrast as it ages. Expect a 3 out of 10 on most pain scales and a session under an hour. For showing it off, pair the placement with an open-back midi dress for evenings or a racerback tank for casual days, both frame the shoulder blade without covering the negative space. Image shows a tank strap shifted aside to reveal only the scapula.
3. Upper Back Single-Word Script
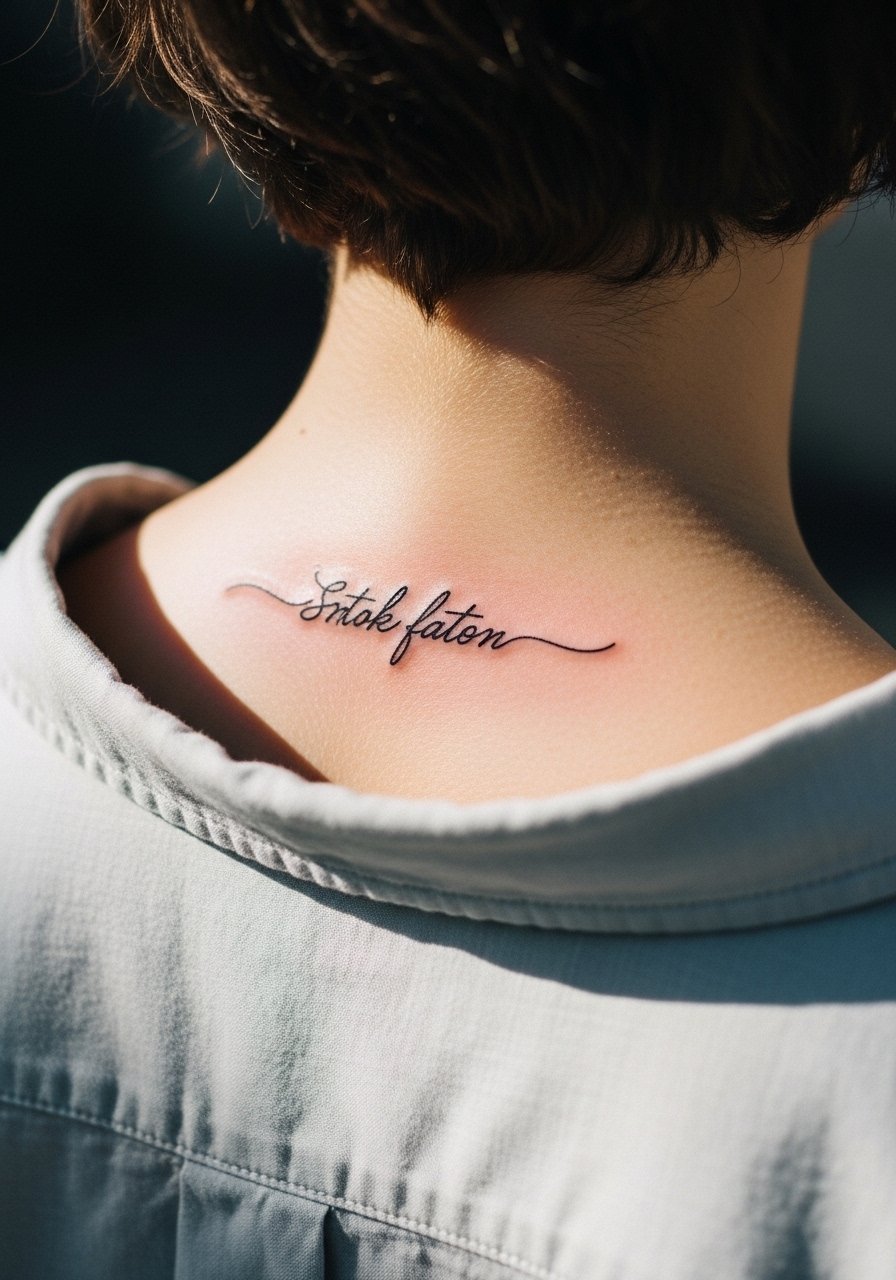
Most single-word scripts on the upper back age well when spaced and lettered deliberately. The upper back is relatively low friction so thin script can survive longer than on hands or fingers. During the consult, specify exact lettering size and ask for one example line weight pulled from real portfolio photos. A common mistake is requesting ultra-tiny cursive that looks elegant on a phone and illegible after a year. Session feel is mild to moderate and usually done in one short appointment. For the session wear, bring a loose button-down shirt you can slide off one shoulder so the artist has clean access without being cold. Image framed to show only the collarbone-to-upper-back zone.
4. Lower Back Minimal Sunburst
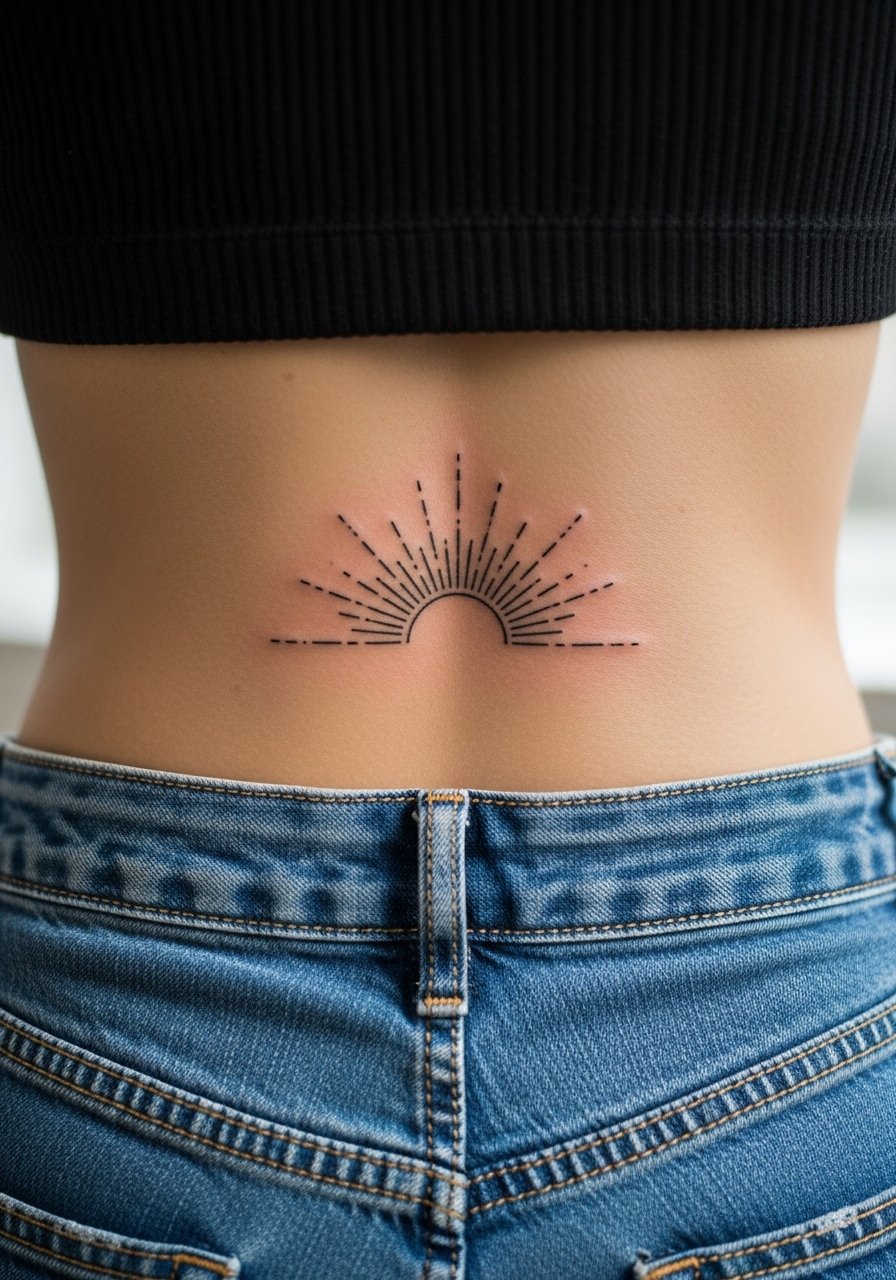
Fair warning, the lower back moves a lot with posture and clothing, so small rays need spacing to avoid merging over time. This placement is a classic for people who want a design that peeks with low waistlines or swimwear. Ask your artist to keep rays open, avoid tiny dots near the center, and design the piece to sit just above the waistband rather than inside it. The session can feel tender when lying on your front, so plan for breaks and a loose top to put back on. Touch-ups are common after the first year for anyone who wears low-rise clothing often. Image shows the tattoo with jeans pulled slightly low to reveal only the lower back area.
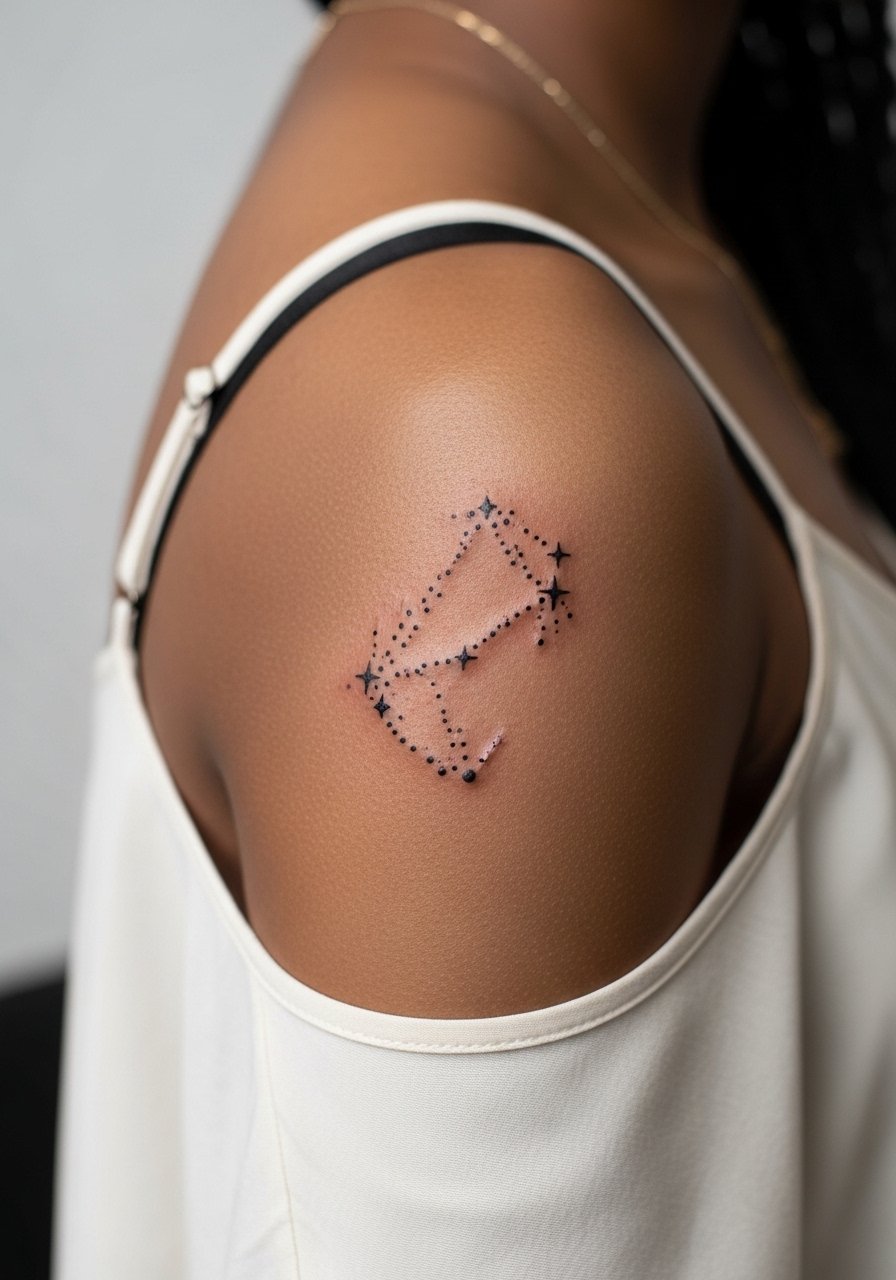
5. Scattered Constellation on Left Scapula
There's something about tiny stars that makes people keep adding to this placement over years. Visually it's subtle, and individual elements can be touched up without disrupting the whole cluster. In consult, bring reference photos that show the exact spacing you want, because scaling down a constellation too much is the biggest mistake. Expect a quick session under an hour and low pain. Pair this with a flowy cami top for nights out so the constellation appears as a deliberate detail. Image must be framed with the cami strap shifted to reveal only the scapula.
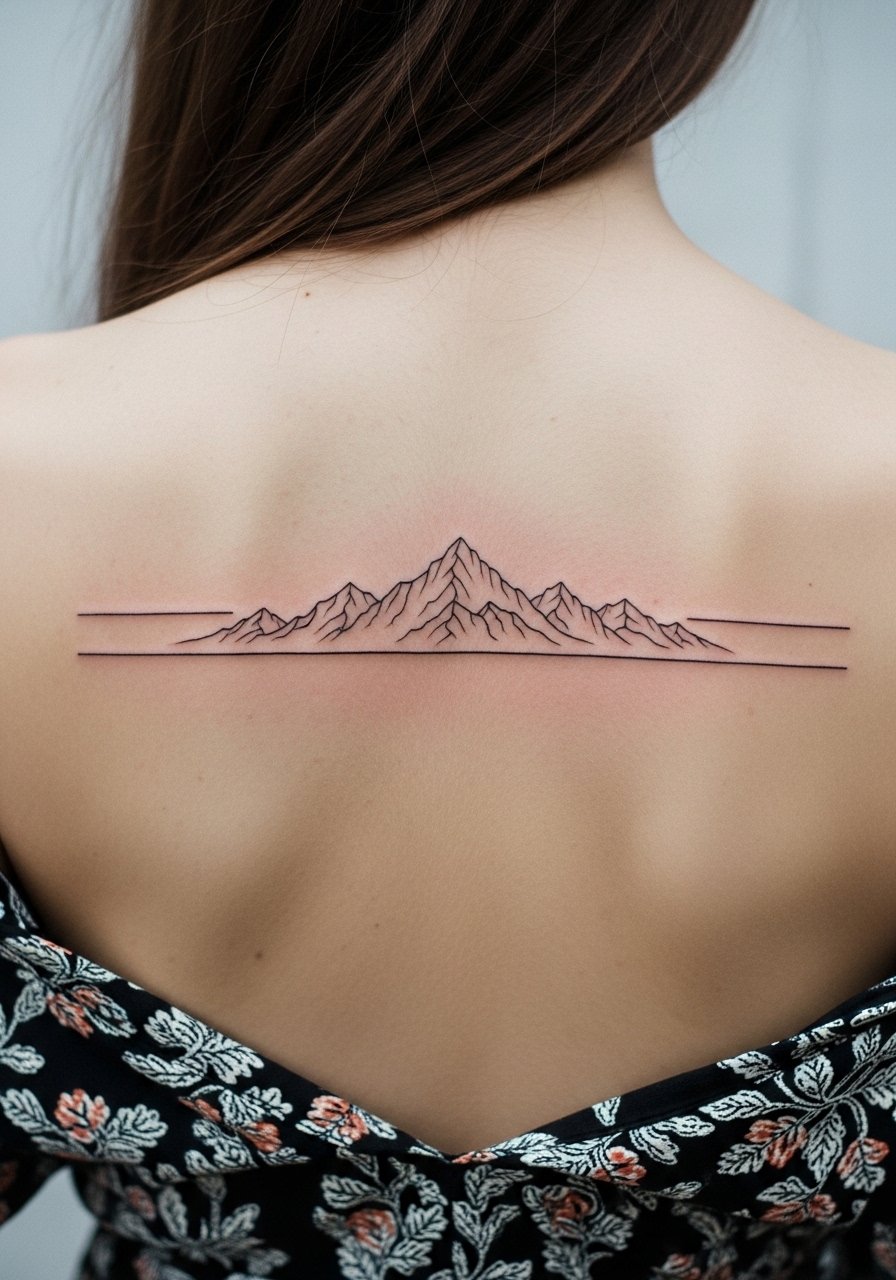
6. Horizontal Minimal Mountain Range Across Upper Back
When you want landscape without covering a lot of skin, a thin horizontal mountain silhouette across the upper back reads like a modern tattoo-forward charm. Tell your artist you want negative space between peaks and avoid dense shaded fills. Aging note, the shallow washes that sometimes appear in micro-shading can soften with sun exposure, so plan for a touch-up at year two or three depending on your lifestyle. This one pairs well with open-back dresses and a loose knit top you can slide down for appointment access. The session is moderate in length because the artist may map multiple small peaks for composition. Image cropped to reveal only upper back.
Studio Day Picks
The spine, shoulder blade, and lower back pieces above require slightly different prep, and a few small items make the session and the first week smoother.
-
Stencil transfer paper kit. Lets you see the exact placement on the back before the needle touches skin, which is crucial for spine and scapula alignments.
-
Topical numbing cream. Useful for long lower back or spinal sessions to keep breaks shorter and the experience more manageable.
-
Thin protective film roll. Ideal for lower back tattoos that rub against waistbands during the first few days.
-
Fragrance-free gentle body wash. Cleans the healing back area without irritating delicate linework, especially helpful for the shoulder blade cluster and the mountain strip.
-
Aquaphor healing ointment. A thin layer in the first few days keeps fine lines moist while allowing the skin to breathe, which helps the spine and script pieces settle.
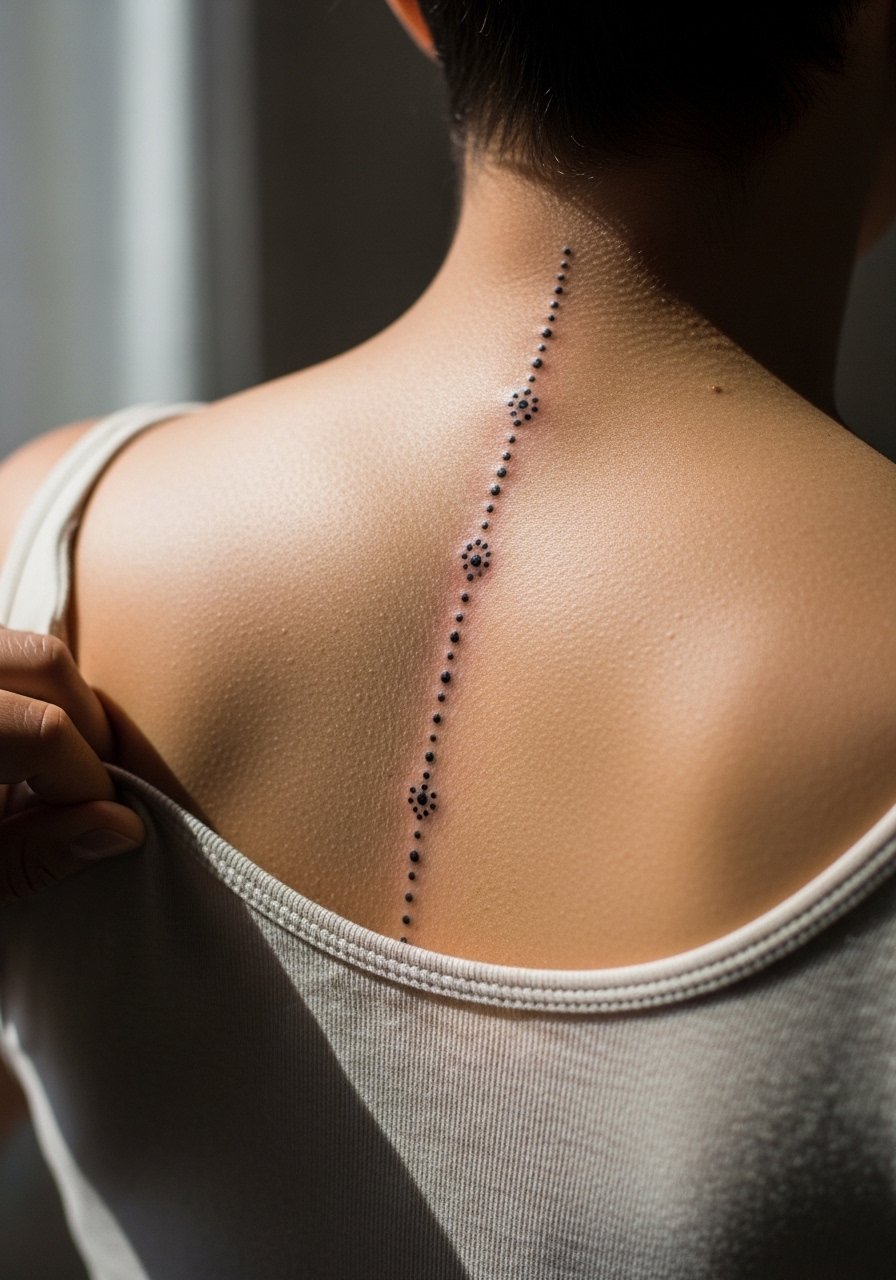
7. Vertical Dot Column Beside Spine
Personal observation, many people choose a vertical dot column for a back accent when they want symmetry without a full-piece commitment. The placement beside the spine is lower friction than the spine itself and is forgiving for dot work if the artist spaces points. Tell the artist you want graded spacing so top and bottom dots do not crowd. This placement is straightforward in a one-hour session with mild pain. Common mistake is compressing too many dots into a tiny strip. Expect touch-up timing similar to fine-line work, often around year two if you spend lots of time in the sun. Image framed with a tank top pulled aside to show just the adjacent spinal area.
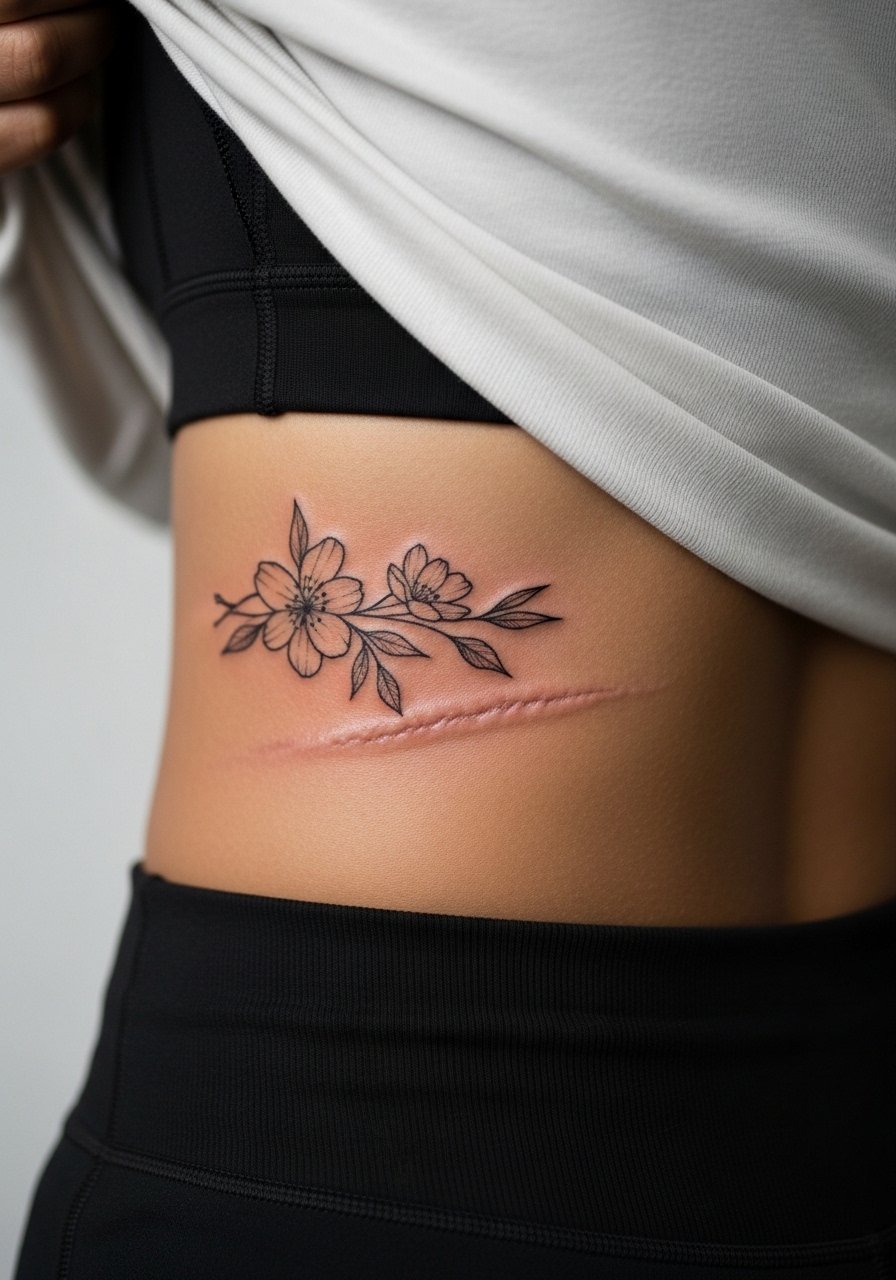
8. Subtle Scar Blend or Cover Detail
Consultation lead, if you have a faint scar on the back you want to soften, small minimal elements that follow the scar line blend the area without trying to erase it. Tell your artist about the scar age and ask for a small test patch or a consult on how ink takes to scar tissue. Artists split into two camps about tattooing over scars. One camp advises waiting longer and working with looser linework, while the other says experienced hands can tattoo older scars directly with careful needle depth. The right choice depends on scar type and your artist's portfolio. Session length varies and specialized experience matters. For appointment wear, choose loose athletic tops so the artist can expose only the scar zone. Image shows jeans and a top revealing just the scar area.
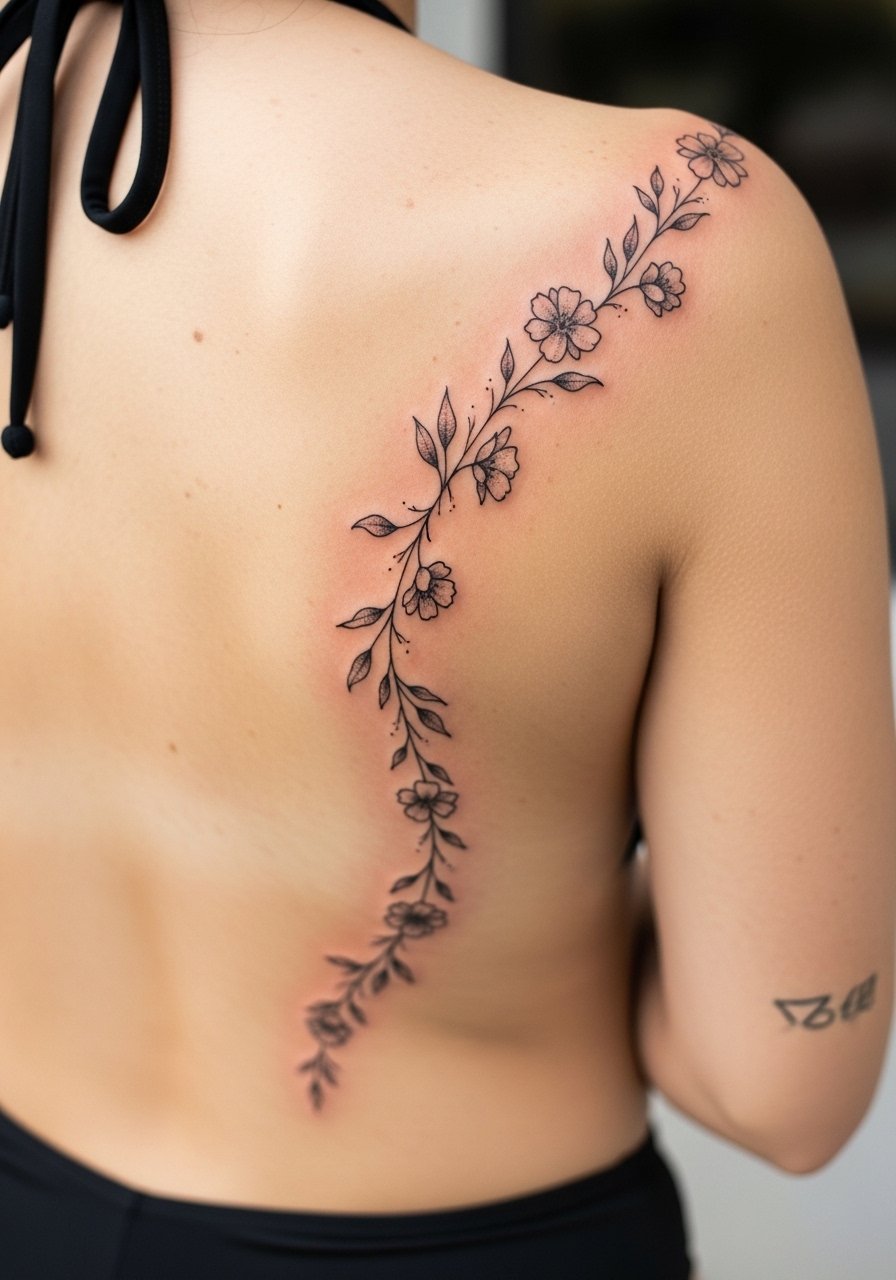
9. Trailing Floral Vine From Scapula Toward Lower Back
Visual impact lead, a vine that moves across the back reads organic and follows natural curves, which keeps the piece flattering as you move. Ask your artist to use stipple shading and thin connecting stems rather than dense black fills so the vine keeps texture without flattening. Pain is mild on the scapula and increases slightly as it approaches ribs or lower back. For showing it off, a low-back swimsuit bottom or a high-slit skirt frames the trailing motion of the design. A common mistake is insisting on heavy shading near the stem which can age into an indistinct blotch. Image cropped to show only the vine area with clothing revealing the trail.
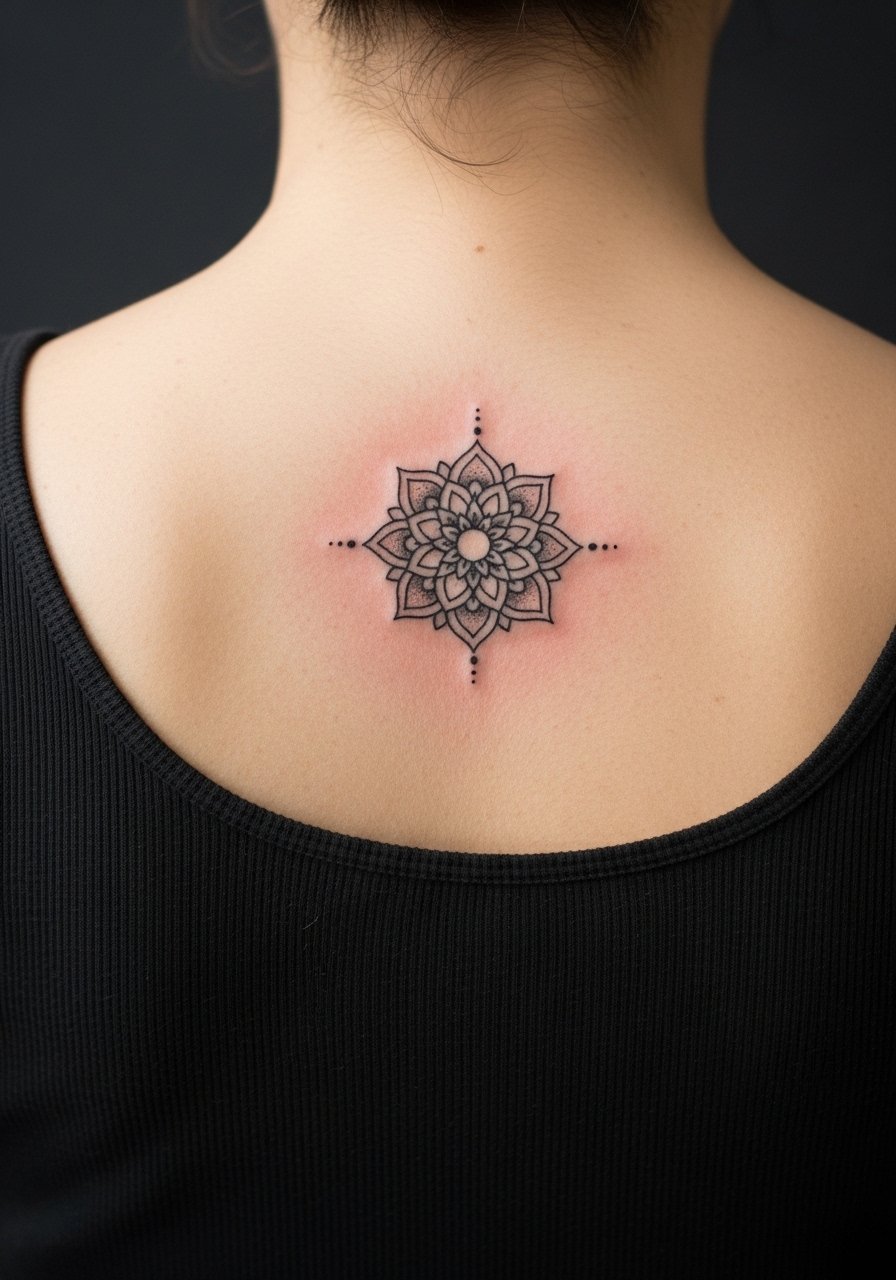
10. Tiny Mandala Between the Shoulder Blades
Cultural origin sensitivity, mandalas trace to spiritual and meditative traditions, so many people choose simplified versions or work with artists who can adapt patterns respectfully. The spot between the shoulder blades centers neatly and is low friction, so dot work and stippling hold well. In the consult, mention you want spacing in the negative zones to preserve clarity. The session is usually under two hours and pain is moderate. A mistake is asking for overly dense inner detail that loses definition with time. Image framed with a tank top strap shifted aside to show only the center back.
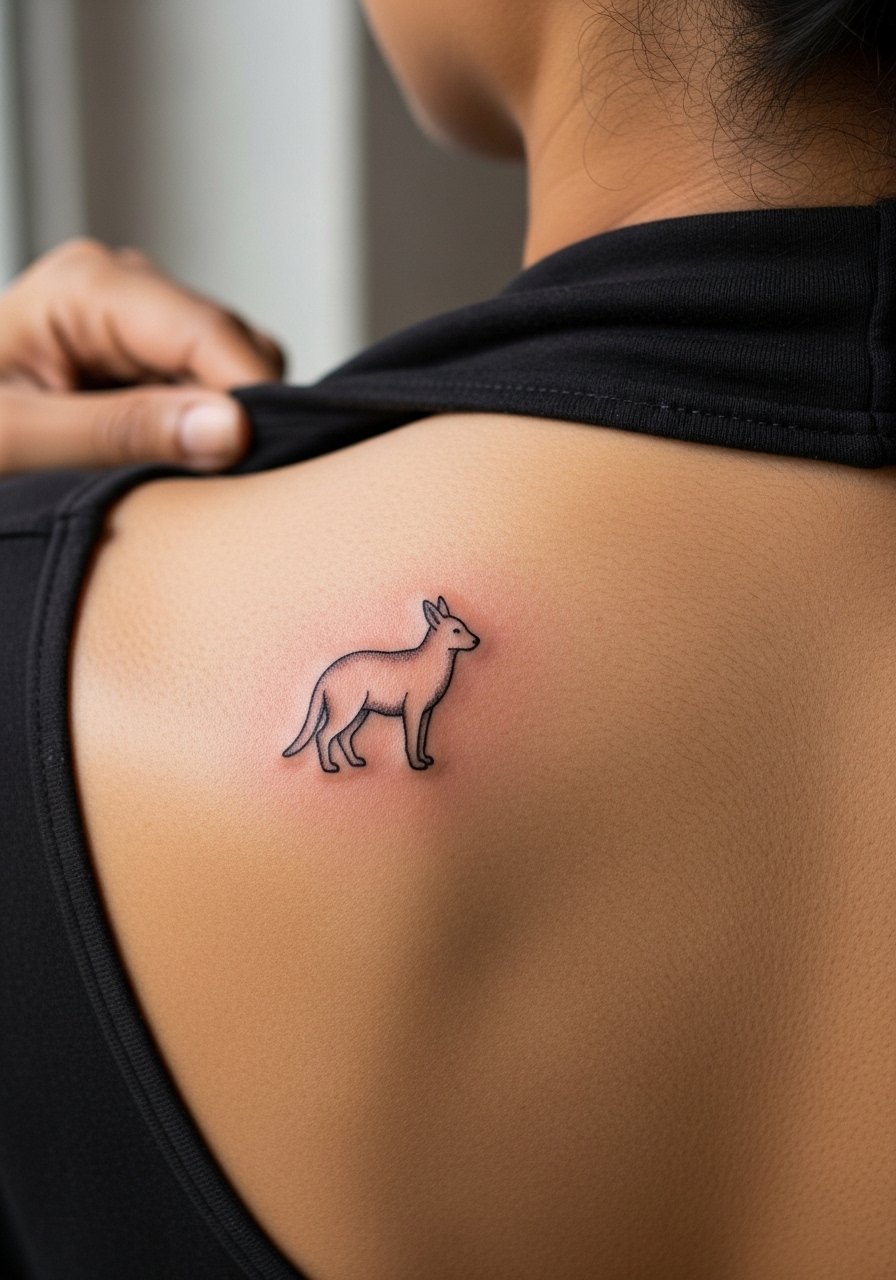
11. Micro-Realism Animal Silhouette on Upper Back
Mistake lead, thinking micro-realism can be shrunk without consequence is common. Small silhouettes need clean contrast and minimal internal detail to age gracefully. Tell your artist you want solid outer contour and minimal internal shading so the animal silhouette remains readable at a distance. The session is short but precise, and touch-ups may be needed earlier if lines sit too close. For showing it off pair with a halter top that frames the upper back silhouette without competing. Image shows the halter collar pulled slightly to expose the upper back area only.
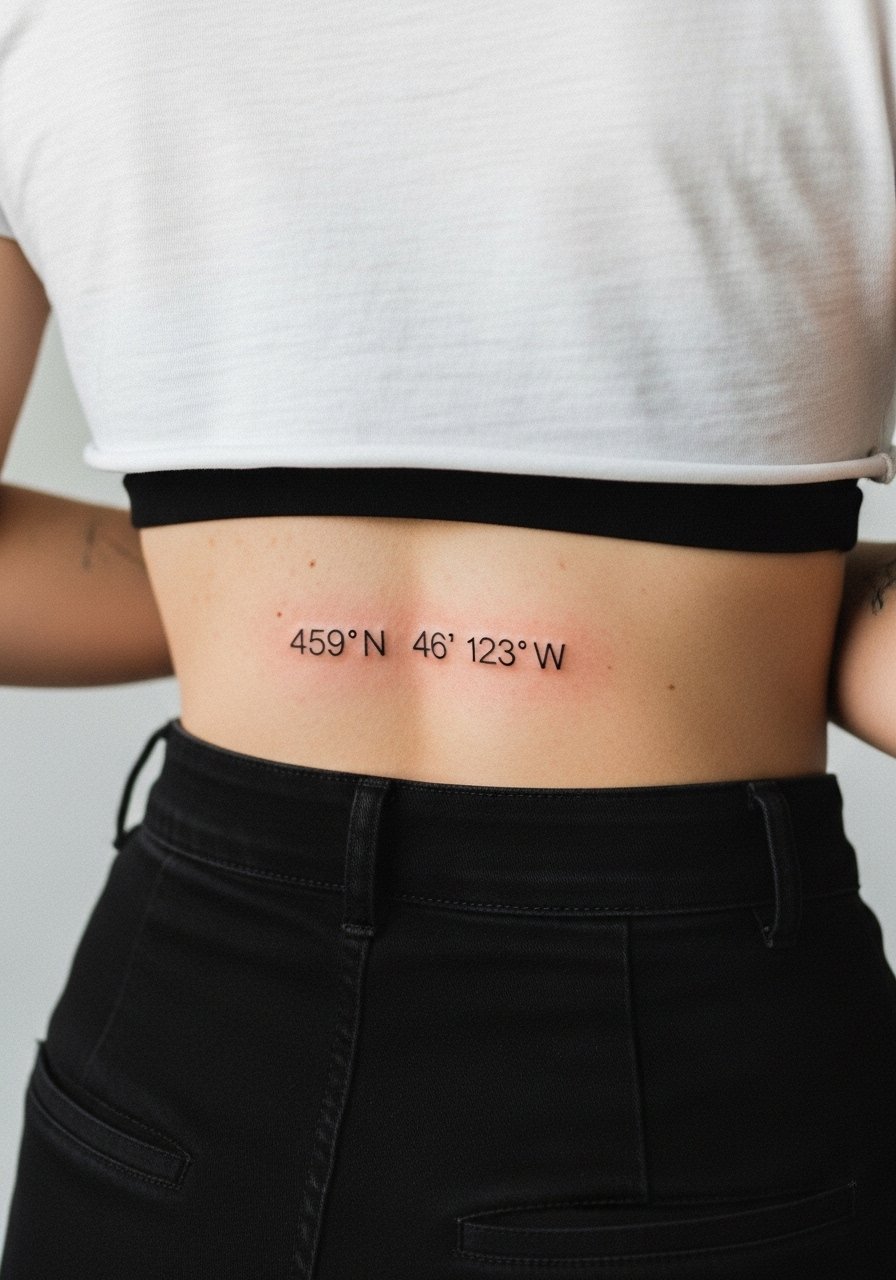
12. Fine-Line Coordinates or Tiny Map Panel
Consultation lead, coordinates or a small map strip across the lower back make for a discreet personal marker. Exact text must be specified in the stencil so the artist reproduces it verbatim and spacing is right. The biggest mistake is requesting tiny serif text that turns into a blur after a year. Opt for minimalist monospace or thin sans lettering at a slightly larger scale. Session feels brief and is low on pain, but heat and sun exposure can fade the numbers so plan a touch-up in a couple of years if you spend time outdoors. Image framed with high-waisted pants and a cropped tee showing a narrow strip.
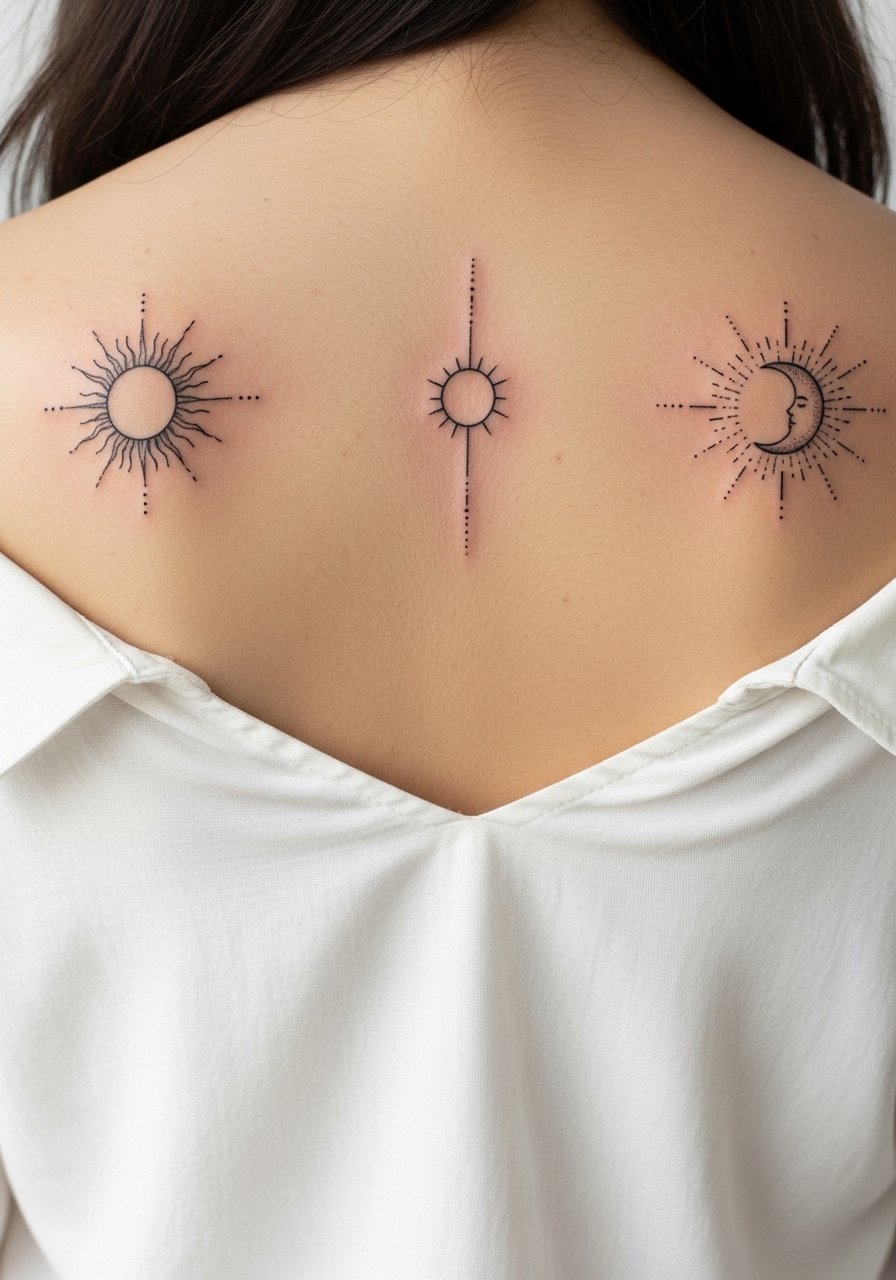
13. Paired Sun and Moon on Opposite Scapulae
Styling lead, paired pieces on each scapula let you balance asymmetry and create visual symmetry with clothing. Tell your artist to mirror scale rather than mirror detail so the pieces read cohesive when you wear low-back or open-shoulder tops. Aging note, small circular elements with inner dotwork need spacing. For showing them off, an open-back blouse keeps both visible in a single view. Sessions are short and often completed in one visit. Image shows both scapulae with a top exposing just the shoulder blade zones.
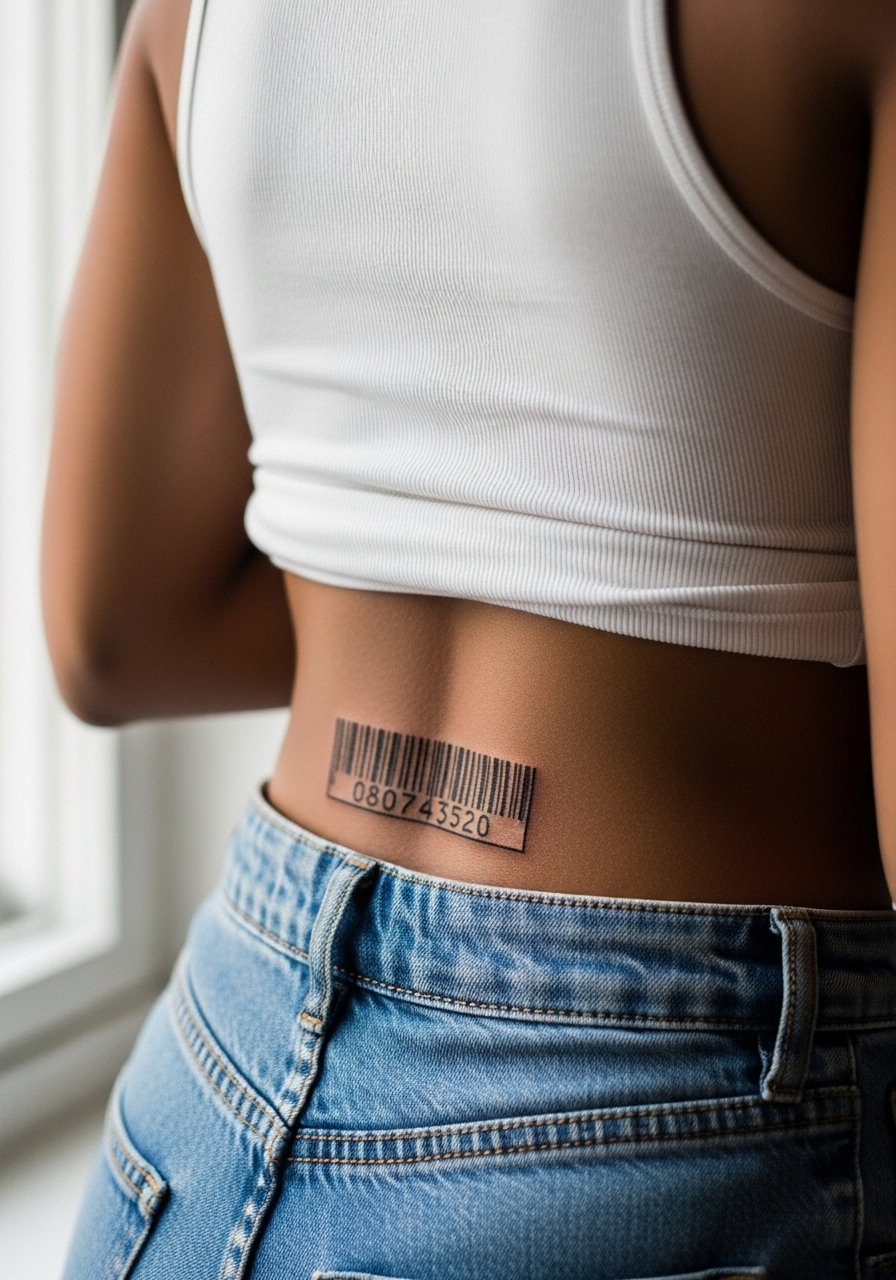
14. Minimal Barcode or Linear Panel Along Lower Spine
Aging and visibility lead, linear barcode or panel designs along the lower spine read modern but demand precise spacing. Ask for a slightly thicker baseline and negative gaps between bars to prevent merging. The lower spine can be tender while lying face down, so plan for a padded table and breaks. A common mistake is compressing the design into a tiny area where the lines rub against waistbands. This placement is best when positioned slightly above the waistband. Image framed with jeans and a tank to reveal only the lower spine strip.
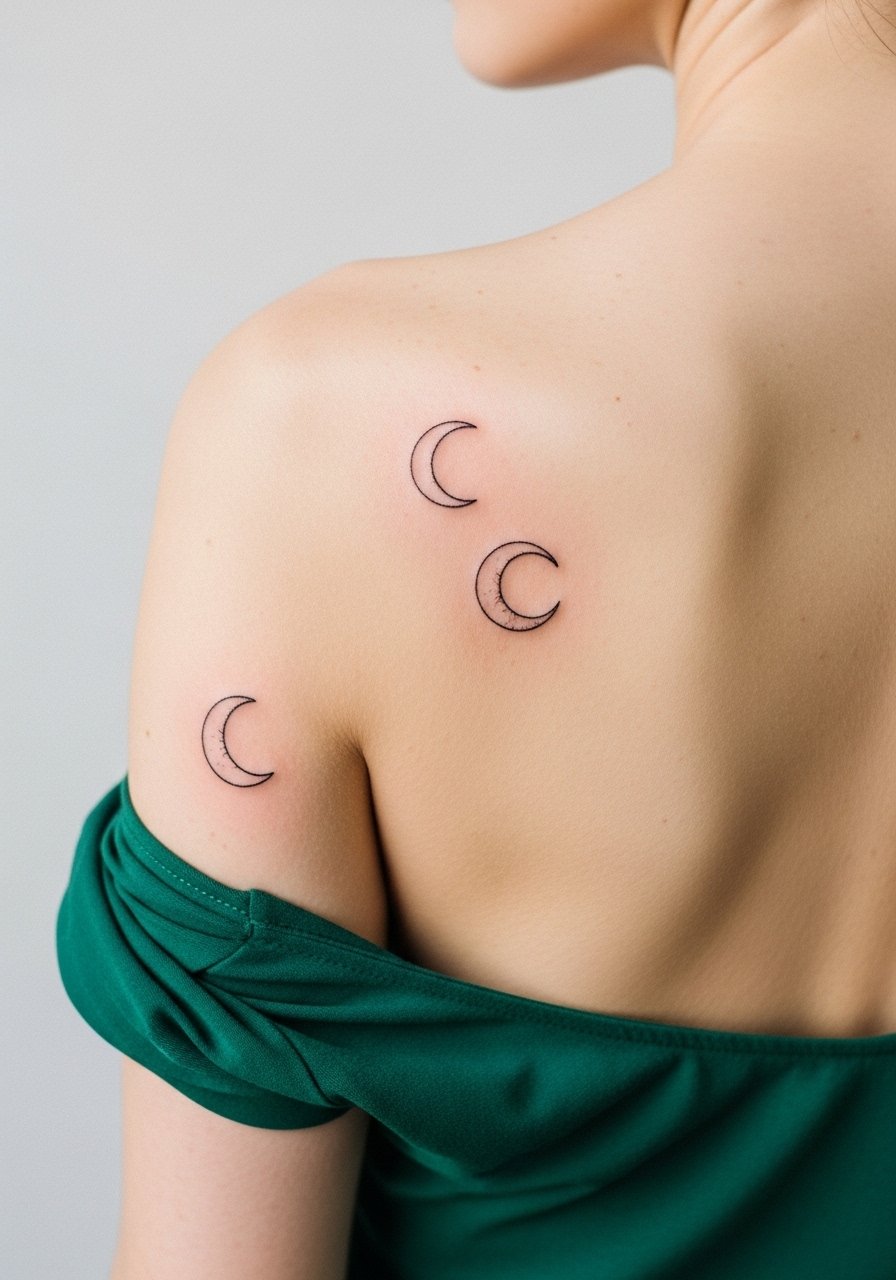
15. Twin Crescent Moons on Scapulae
Personal observation, crescents on the left and right scapulae feel like a quiet statement and they age well because of their simple contours. Request mirror-sized crescents and stipple accent rather than solid black fills. Session time is brief and pain low. For evenings, pair with a scoop-back dress that lines up with the moons. The main mistake is adding dense shading that can flatten the crescents into indistinct marks. Image shows the scoop-back pulled aside to expose only the scapulae.
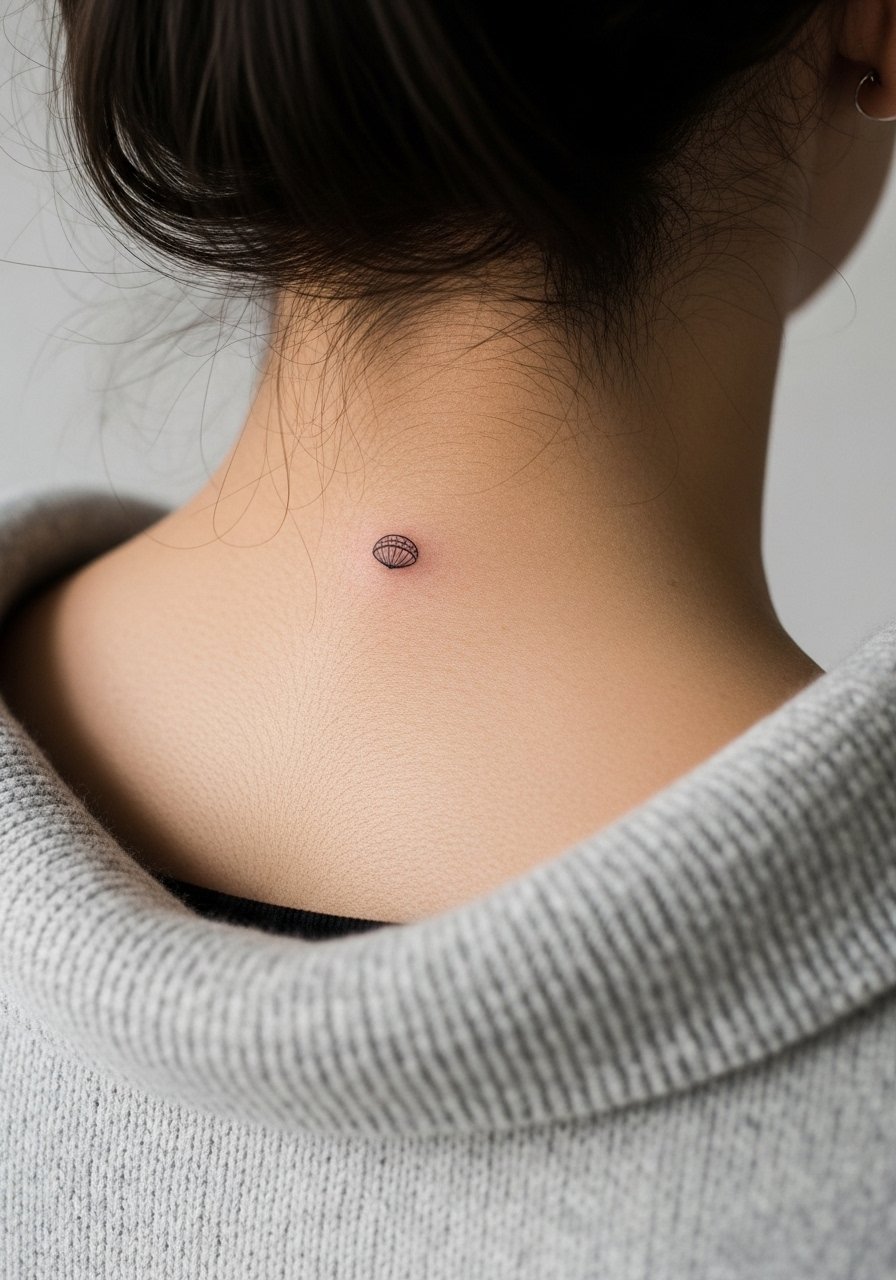
16. Nape Micro-Disc or Tiny Script
Pain warning lead, the nape is sensitive and the skin there moves with neck motion. If you want a micro-disc or a short word at the nape, ask for a wide-neck shirt or a turtleneck pulled down slightly for the appointment so the artist can access the area without framing the entire shoulder. Artists split on nape work. One camp says the constant stretching causes faster fading and curl, the other camp says with correct depth it settles well. Decide after a consult and look for portfolio examples on the nape. For showing it off, a wide-neck sweater pulled slightly aside makes the area visible without exposing more. Image framed on the back of the neck with collar pulled to one side.
17. Upper Half Minimal Geometric Grid
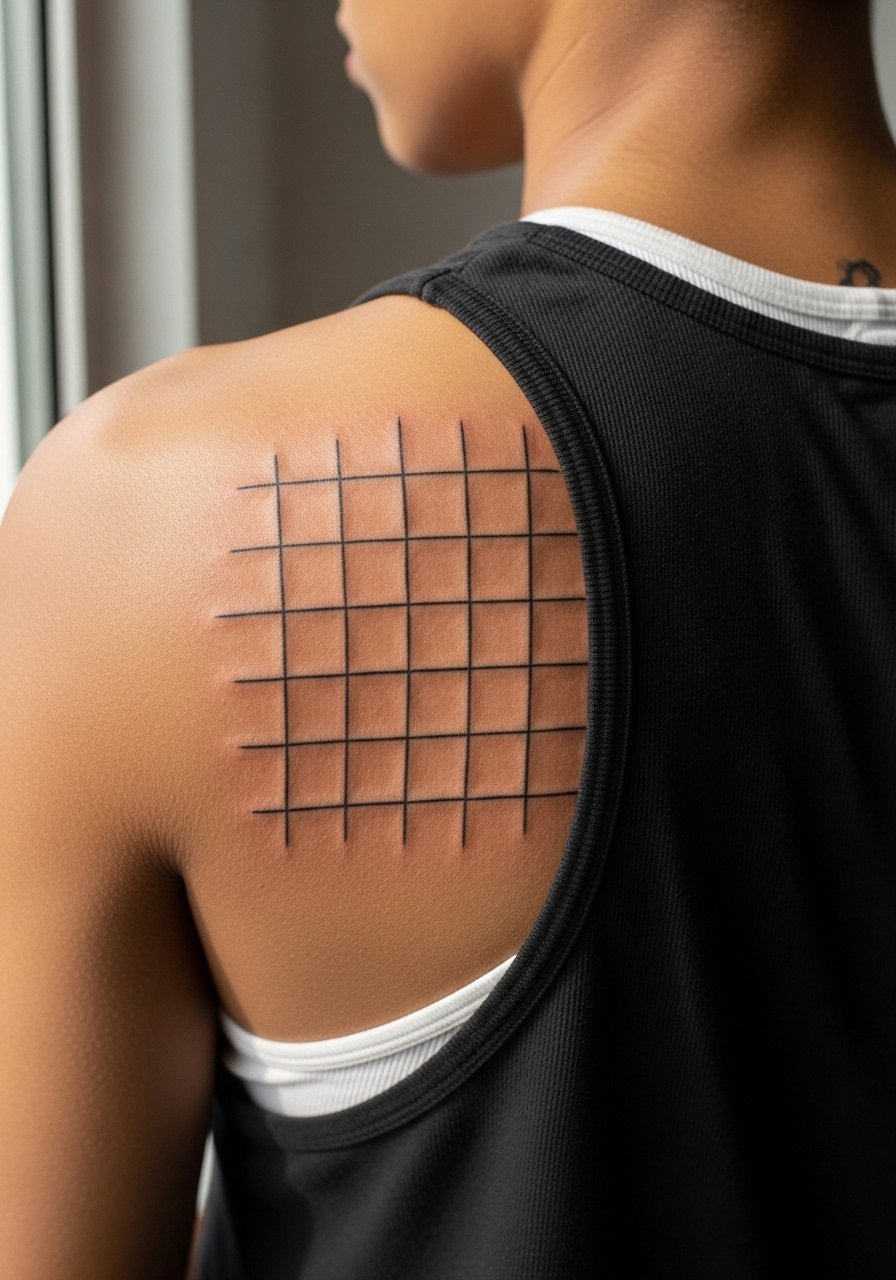
Consultation lead, a small-scale geometric grid across the upper half of the back gives a graphic surface without committing to a full-back piece. Ask your artist for a mock-up showing how the grid moves with shoulder blades and how each square scales. The common mistake is asking for too many rows in a tight zone which leads to merging with movement. Expect a moderate-length session depending on grid size and touch-ups at year two if you live in sun-heavy climates. Image framed with a tank top strap shifted aside to reveal only the upper back grid.
Frequently Asked Questions
Q: Will fine line script on the upper back blur faster than a bolder script?
A: Fine line script is more vulnerable to sun and friction. In my experience, thin cursive can need a touch-up earlier than a bolder sans script. Ask your artist to slightly increase stroke width for longevity and plan on a touch-up around year two to three if you spend a lot of time in sun.
Q: How should I dress for a lower back or spine session to make the artist's life easier?
A: Wear clothing that lets you expose only the tattoo zone. For the lower back, a cropped tee and high-waisted pants work well. For spine or upper back, a loose button-down you can slide off one shoulder is practical. Comfort and accessibility decrease session stress.
Q: Do back tattoos hurt more than arm tattoos, and which back spots are worst?
A: Pain varies. The spine and the lower back where bone is close to skin tend to be more sensitive. Shoulder blades and the fleshy upper back are usually milder. Expect breaks during long sessions and factor that into booking and aftercare.
Q: If I have a faint scar on my back, can I get minimalist ink there?
A: Possibly. The scar age and type matter. Older, flatter scars take ink more predictably than fresh or keloid-prone scars. Bring clear photos and ask your artist about a test spot or consult with someone experienced in scar work before committing.
Q: Will a minimal mountain range across the upper back still read well if I gain or lose weight?
A: Small changes in weight shift surface proportions but the upper back is relatively stable. Designs that use negative space and open lines handle mild stretching best. Tell your artist about expected body changes so they can plan composition and spacing.
Q: Are paired scapula pieces easy to align symmetrically in one session?
A: Yes, but alignment requires good stenciling and body positioning. Most artists will map both sides and check symmetry with multiple poses before inking. If symmetry matters a lot to you, request mock-ups in standing and slightly rotated positions during the consult.
