
Fine line work is everywhere on saved boards, but the upper arm is where a design can actually last and still look deliberate five years from now. The arm moves, clothing rubs, and skin texture changes, so the choices you make now about scale, line weight, and placement matter more than the flashiest reference photo. Start with something that reads both near and far, and the chance it ages well goes up immediately.
1. Minimalist Arrow on Outer Upper Arm

This is the kind of upper arm idea I recommend when you want something low-key that still reads in photos. Tell your artist you want slightly heavier line weight than a finger tattoo, and ask for a little space around the arrowhead so the point does not blur into a dot over time. Outer upper arm pain is mild, expect a single short session under an hour. Common mistake is asking for hairline lines the artist treats like wrist work, which leads to softening after two years. For showing it off, rolled sleeves and a fitted tee frame the piece well, try a loose button-down shirt you can cuff to reveal the arm.
2. Micro-Realism Portrait on the Bicep
Micro-realism on the bicep looks incredible when scaled correctly, but it needs space to breathe. I tell people to bring three references that show different lighting on the face, and to ask the artist to draw at the same proportions as the reference instead of shrinking everything down. Expect moderate discomfort on the curved bicep and a session that can run two to four hours depending on detail. Portraits that are too small lose facial detail by year three, so plan for a larger focal area. Styling tip for nights out: a short-sleeve linen shirt with the sleeve hit just above the bicep shows the work without crowding it.
3. Neo-Traditional Rose on the Outer Upper Arm

Bold outlines and saturated color work well on the upper arm because the canvas is forgiving. Ask your artist for classic lineweight contrast, with thicker outer lines and tighter detail in the petals, that keeps the silhouette crisp as color softens. Session time is typically one to three hours depending on color blocks. A common aging problem is pushing too much tiny detail into petals, which fills in after a few years. Outer arm placement reduces blowout risk compared to inner bicep. For daytime wear, pair this with a rolled-sleeve chambray shirt to balance the saturated palette.
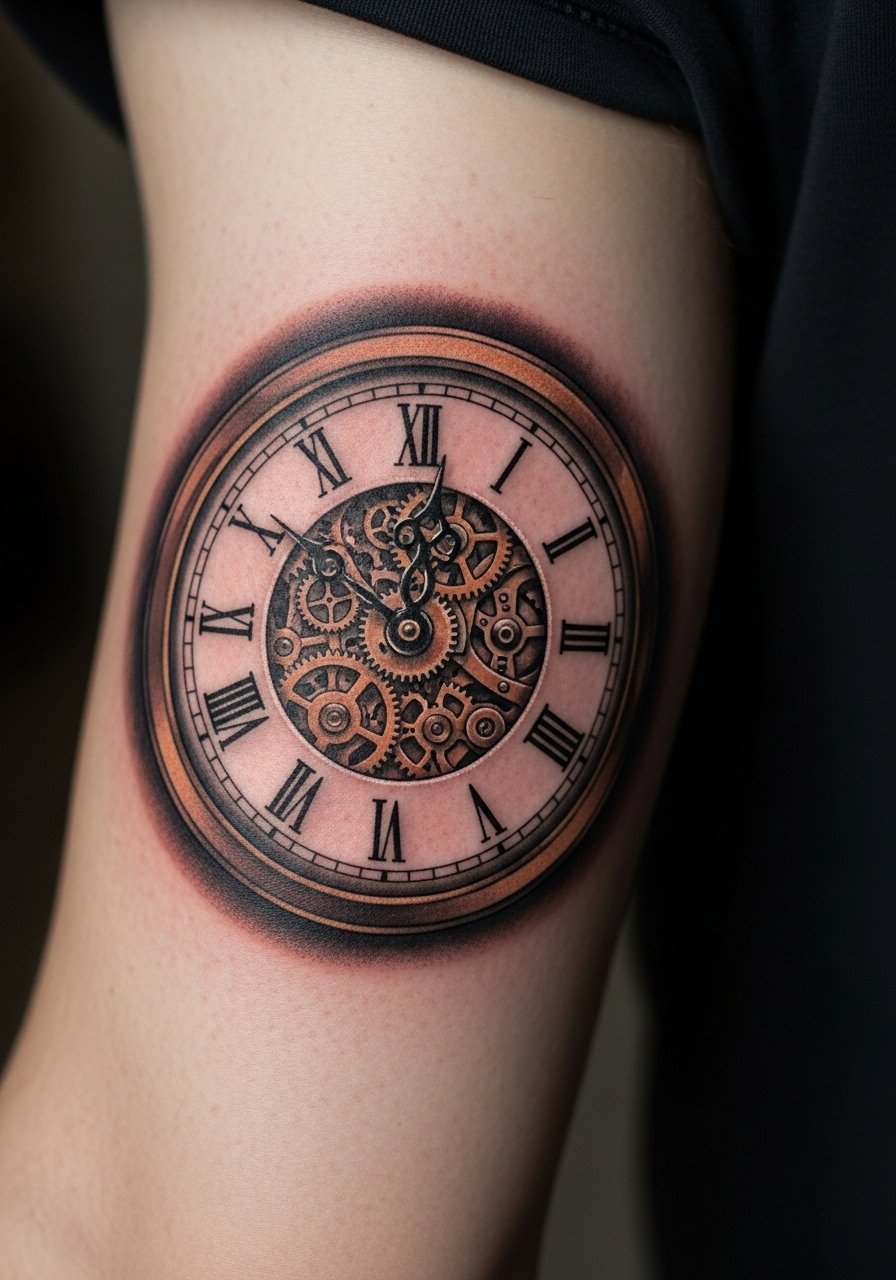
4. Geometric Band Wrap Around the Upper Arm
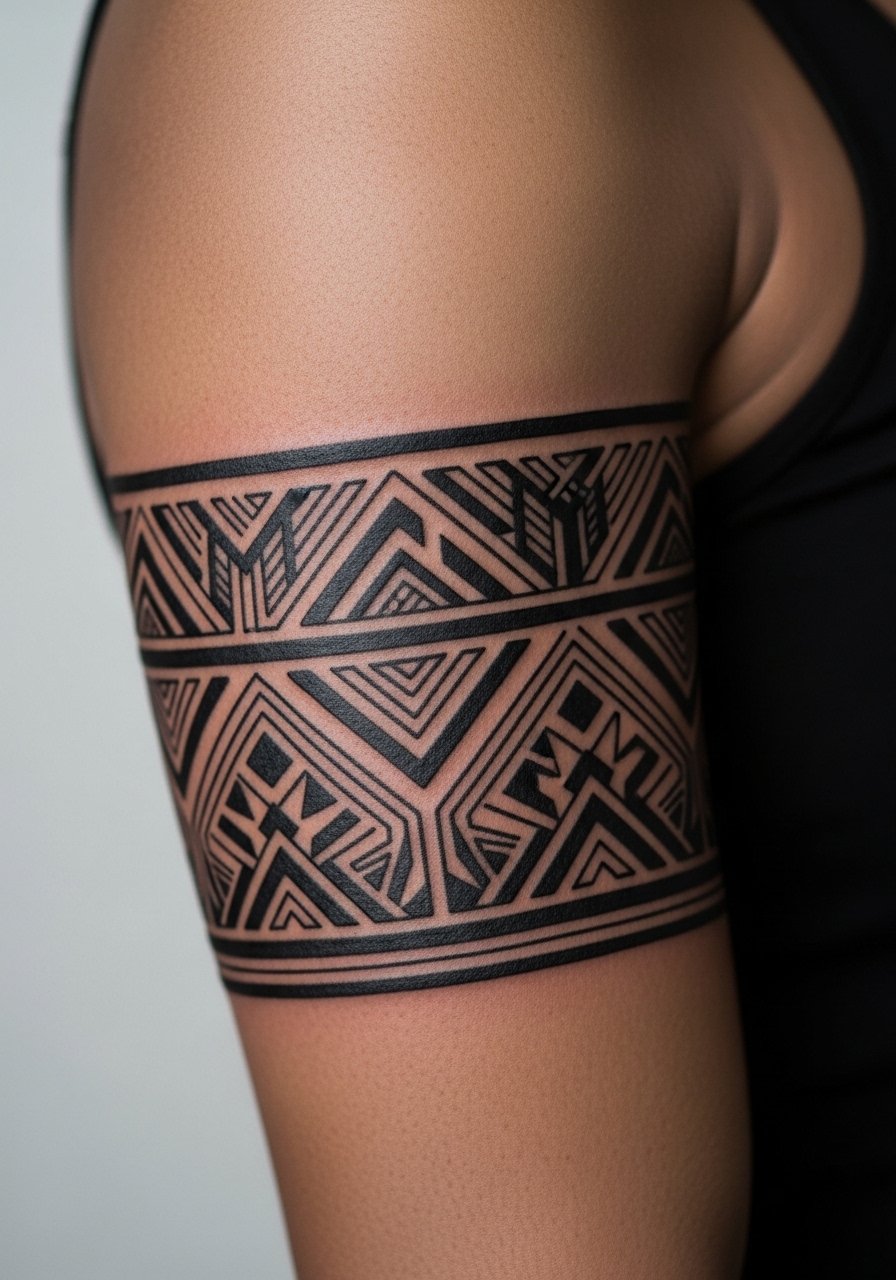
A band that wraps the arm can read graphic in photos and stay readable long-term if you avoid hairline spacings. Tell your artist you want clear breathing room between repeating elements so the ring does not merge after a few years. Pain is usually mild to moderate, with a single-session time of about one to two hours. One mistake I see is requesting ultra-fine repeating dots which tend to blur on the circumference. For a clean look, wear a short-sleeve tee that sits just above or below the band so it becomes part of your wardrobe rhythm.
5. Stipple-Shaded Moon on the Inner Upper Arm
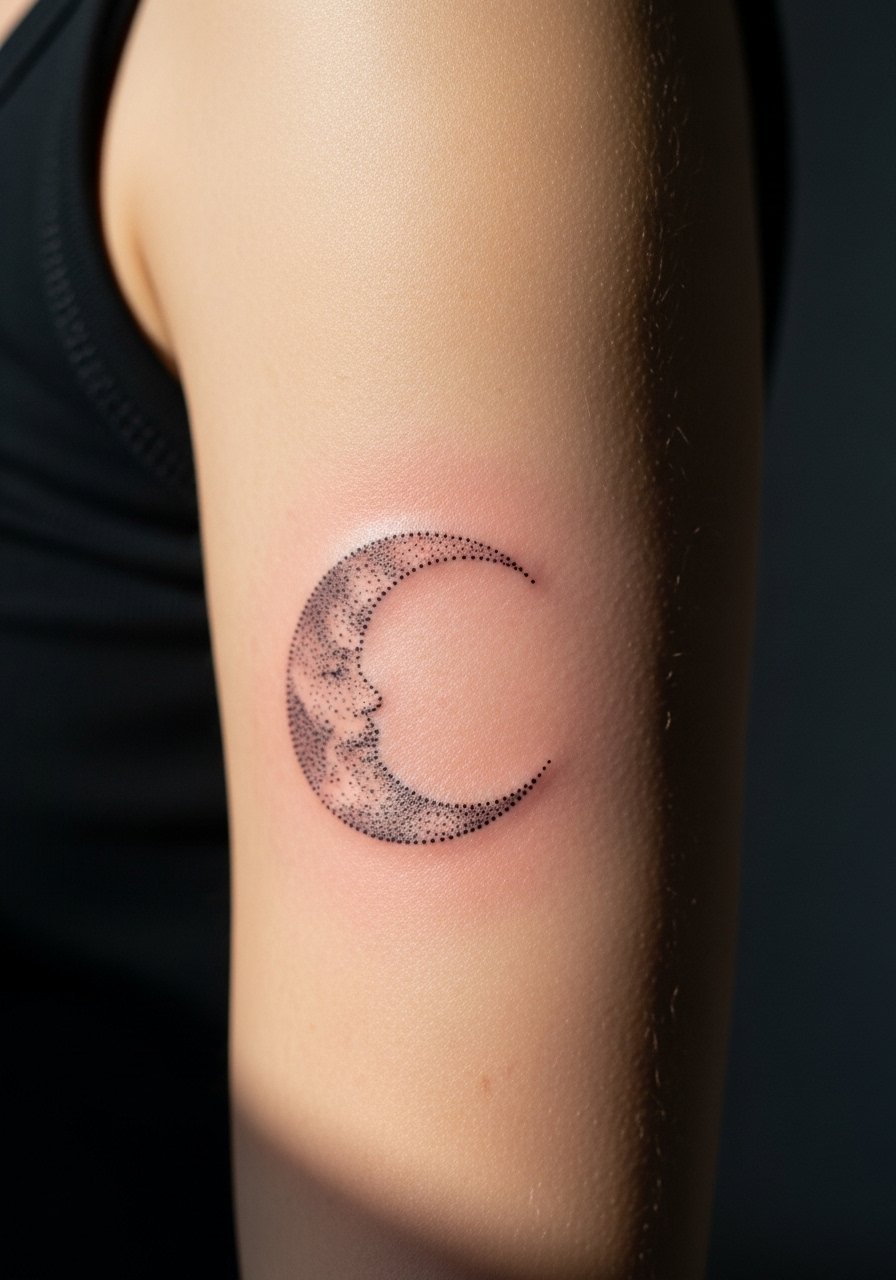
Stipple shading excels on the inner arm because the technique relies on density, not heavy saturation. In consultation, request reference dots that show halftone density rather than solid fills. Expect the inner upper arm to be more sensitive than the outer arm, with moderate pain and sessions that can run an hour or two for dense placements. Artists sometimes overfill stippling, which clumps over time, so ask for a conservative initial pass with planned touch-ups at year two. For the appointment, choose a loose tank top so you can lift the sleeve without discomfort.
6. Blackwork Mandala at the Shoulder Cap
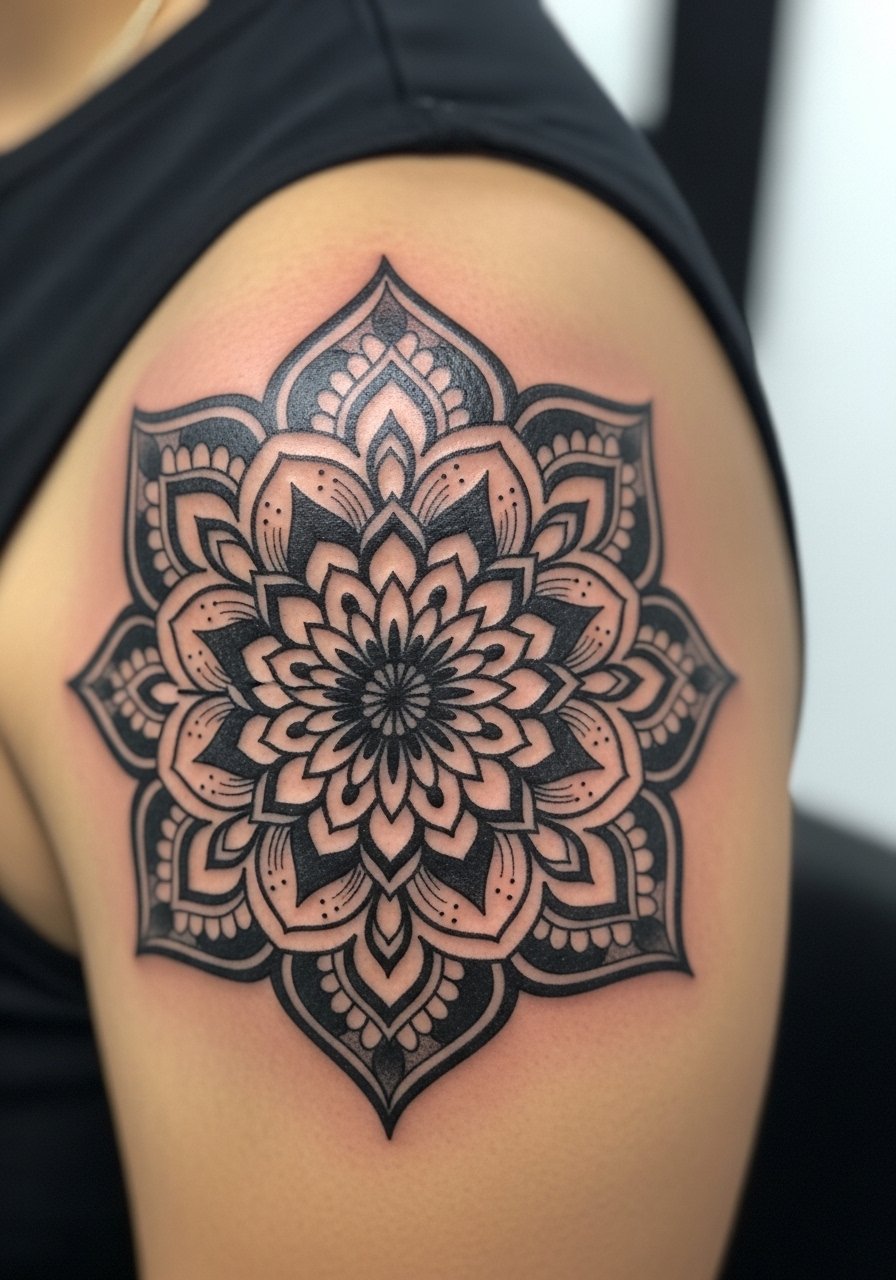
Blackwork mandalas on the shoulder cap age well because the skin there is thick and the area sees less constant friction. During the consult, tell the artist you want bold negative space to prevent dense areas from merging over time. Sessions vary from two to five hours depending on size and saturation. One error is compressing too many tiny elements toward the center, which can appear muddy after healing. For showing it off with short sleeves, consider a crew-neck tee you can roll at the sleeves to make the mandala peek out neatly.
Studio Day Picks
The pieces above are mostly visible and sometimes dense, and a few small products smooth the session and the first week of healing for upper arm work.
-
Stencil transfer paper kit. Lets you preview how a design wraps the upper arm before the needle hits skin, which helps with pieces that curve around the bicep.
-
Topical numbing cream. Applied per product instructions about 45 minutes before a sensitive inner bicep pass, it reduces jumpy flinches without masking too much feedback.
-
Thin protective film roll. Useful for keeping dense blackwork on the shoulder clean while you sleep and during the first showers.
-
Fragrance-free body wash. Cleanses the healing upper arm without stripping pigment from stipple or micro-realism areas.
-
Aquaphor healing ointment. Thin application in the first days helps lock in moisture on larger upper arm fills without clogging the skin.
7. Script Armband with Negative Space
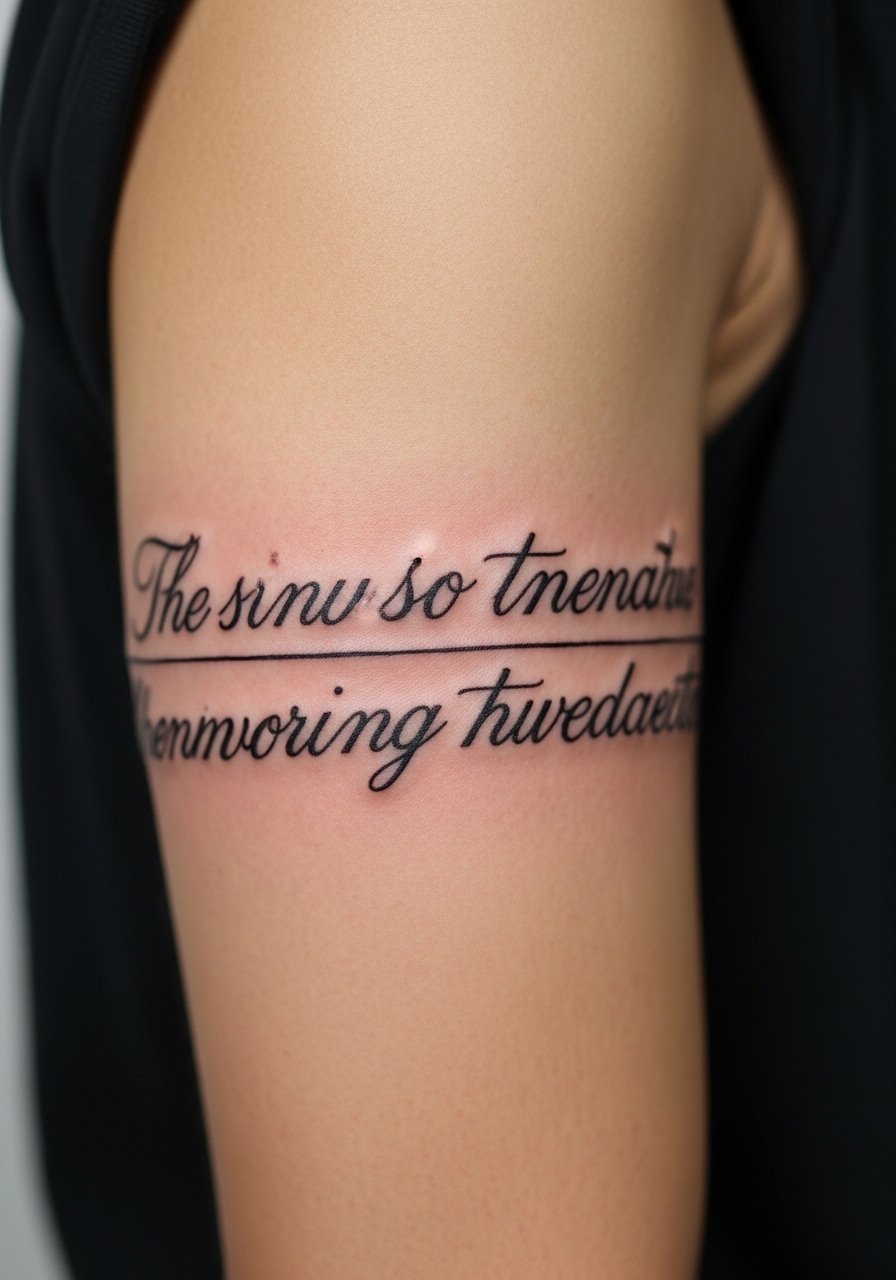
Script around the arm reads best when the lettering is spaced to account for muscle movement and future softening. Ask your artist to write the text in the exact size on skin first to check wrap and kerning. Pain is low to moderate and a session usually takes under two hours. A frequent mistake is choosing tiny script that becomes illegible after a few years. Artists split on single-line scripts here and a few argue against ultra-thin scripts because of arm stretch. For casual outfits, a rolled-sleeve oxford frames the lettering without cutting into the band.
8. Traditional Anchor on the Outer Shoulder
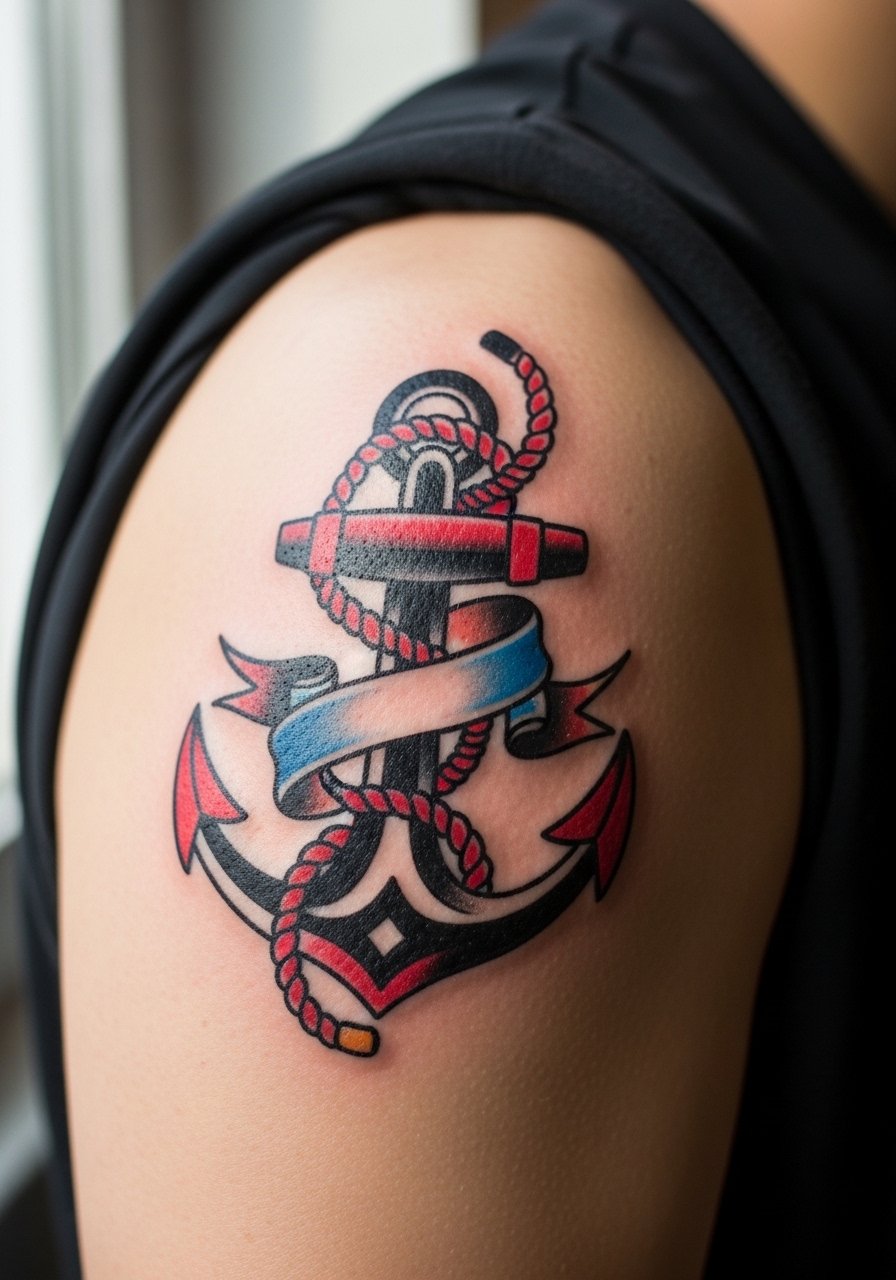
Classic marine iconography looks right at home on the outer shoulder, where bold outlines and saturated fills can hold up for years. In consultation, tell the artist to prioritize silhouette over micro-detail so the anchor reads from a distance. Pain is manageable and a session for a medium anchor is often one to two hours. A common error is crowding the anchor with too many decorative elements that age at different rates. For weekend wear, a tank top with a wider armhole puts the anchor on display without stretching the fabric over the art.
9. Half-Sleeve Botanical Cluster

A half-sleeve of botanicals can be custom or built from flash to cover more area and create flow. Bring foliage references that show size relationships, and ask for a focal bloom with lighter secondary elements, that prevents the sleeve from reading all the same. Sessions will usually span multiple appointments, each two to four hours long, and touch-ups are common at year two. The mistake is cramming every leaf into the same contrast level, which flattens the composition once healed. For a dressed-up look, a short-sleeve button-down with a subtle print complements the botanical tones.
10. Geometric Compass on the Outer Bicep

Compasses need precision, and the upper arm gives the artist a stable surface to stay true to geometry. In the consult, ask that the central axis be marked on the skin so you can test how it sits when your arm is relaxed. Expect light to moderate pain and a session time of one to three hours depending on size. A mistake I see is requesting too many micro-elements around the compass that later blur into noise. For everyday wear, a rolled-sleeve tee shows the compass without detracting from its symmetry.
11. Micro-Script on the Inner Upper Arm
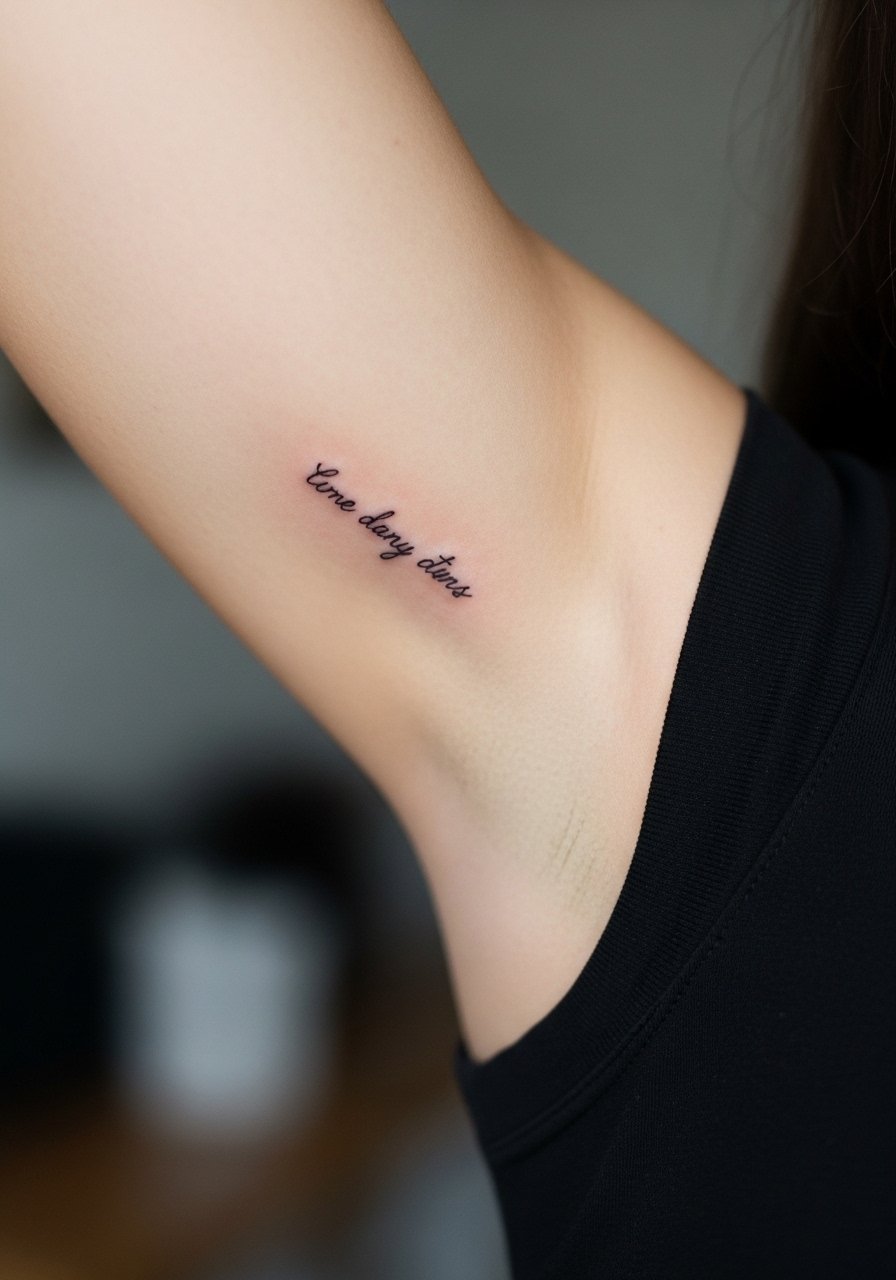
Tiny script on the inner arm looks intimate but is at higher risk of blurring thanks to thinner skin and motion. During the consult, have the artist stencil the exact size on skin and check readability at arm angles you use most. Pain is higher than the outer arm but still tolerable; plan a short session. Many small scripts vanish into the skin after a couple of years because of under-scaling. Artists split on doing micro-script here, so ask where your artist stands. For the session, wear a tank top you can lift so the inner arm is exposed without rubbing.
12. Neo-Japanese Shoulder Motif
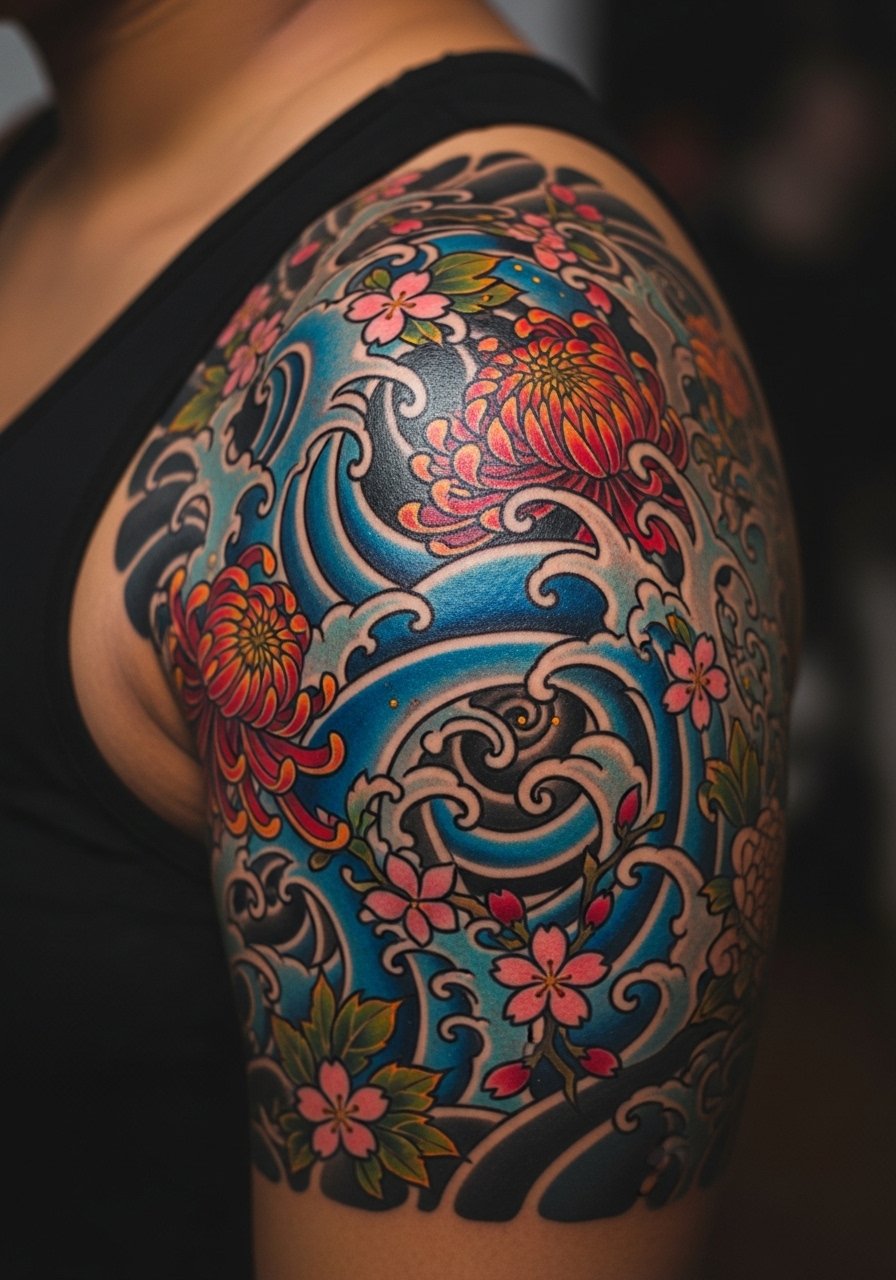
Neo-Japanese motifs marry bold imagery with flowing composition, and the shoulder is a natural anchor for that movement. Tell your artist you want clear negative space around the main motifs to maintain readability when the piece ages. Sessions may be long, often split across multiple visits for color and saturation. A common mistake is packing too many fine details into shadowed areas that later lose contrast. For cultural sensitivity, note that some patterns have historical roots, so discuss reference adaptation with your artist. For casual show-off, a short-sleeve henley pairs well with traditional color palettes.
13. Dot Work Mandala on the Outer Arm

Dot work thrives with breathing room, and the outer arm gives you a flat area to showcase symmetry. Ask for templates that show dot density progression so you understand how dark centers will read after healing. Pain is mild to moderate and a piece like this can be completed over a couple of sessions. The mistake is requesting too tight a center, which clumps and obscures the mandala pattern. For daytime wear, a lightweight crew-neck tee keeps attention on the pattern without competing colors.
14. Bold Black Armband with Negative Space

Solid black bands age dependably on the upper arm because saturation holds better than micro-detail. Ask your artist for a test swatch to check how saturated black settles on your skin tone before committing to a full band. Expect low to moderate pain and a short session for a single band. A common issue is going too thin, which creates uneven wear over time. If you plan to expand into a sleeve later, mention that so the band can be integrated without rework. For evening looks, cuff sleeves or a fitted short-sleeve shirt frames the band cleanly.
15. Abstract Brushstroke Upper Arm Piece
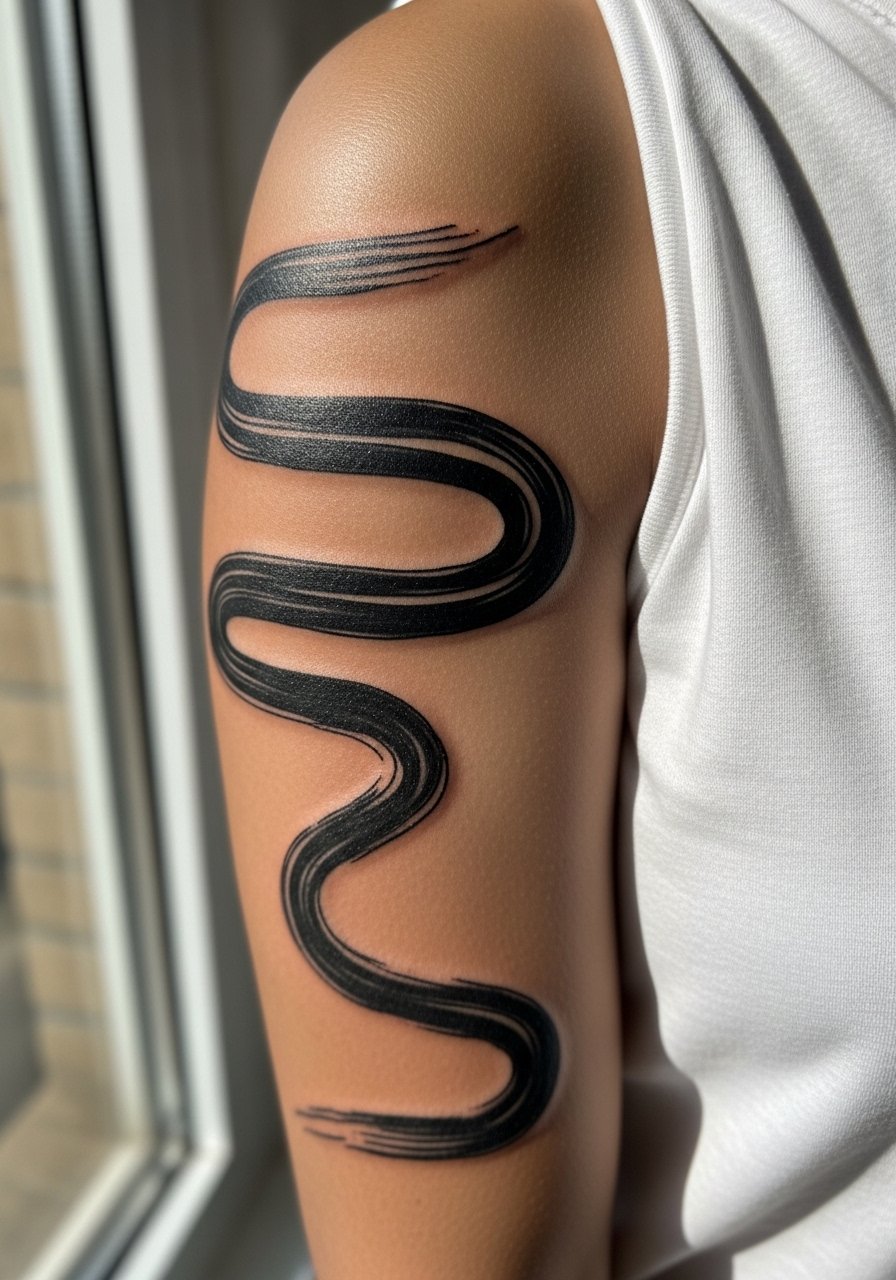
Brushstroke or painterly tattoos play with motion and negative space, and the upper arm lets them breathe without competition from other limbs. In consultation, ask the artist to transfer the strokes in multiple positions so you can see how they flow when your arm moves. Sessions vary based on size and texture work, often one to three hours. Mistakes include over-saturating texture areas that end up looking muddy once healed. For pairing, a short-sleeve blazer or rolled-sleeve shirt gives a modern contrast to freeform blackwork.
16. Micro-Realism Animal Head on the Inner Bicep
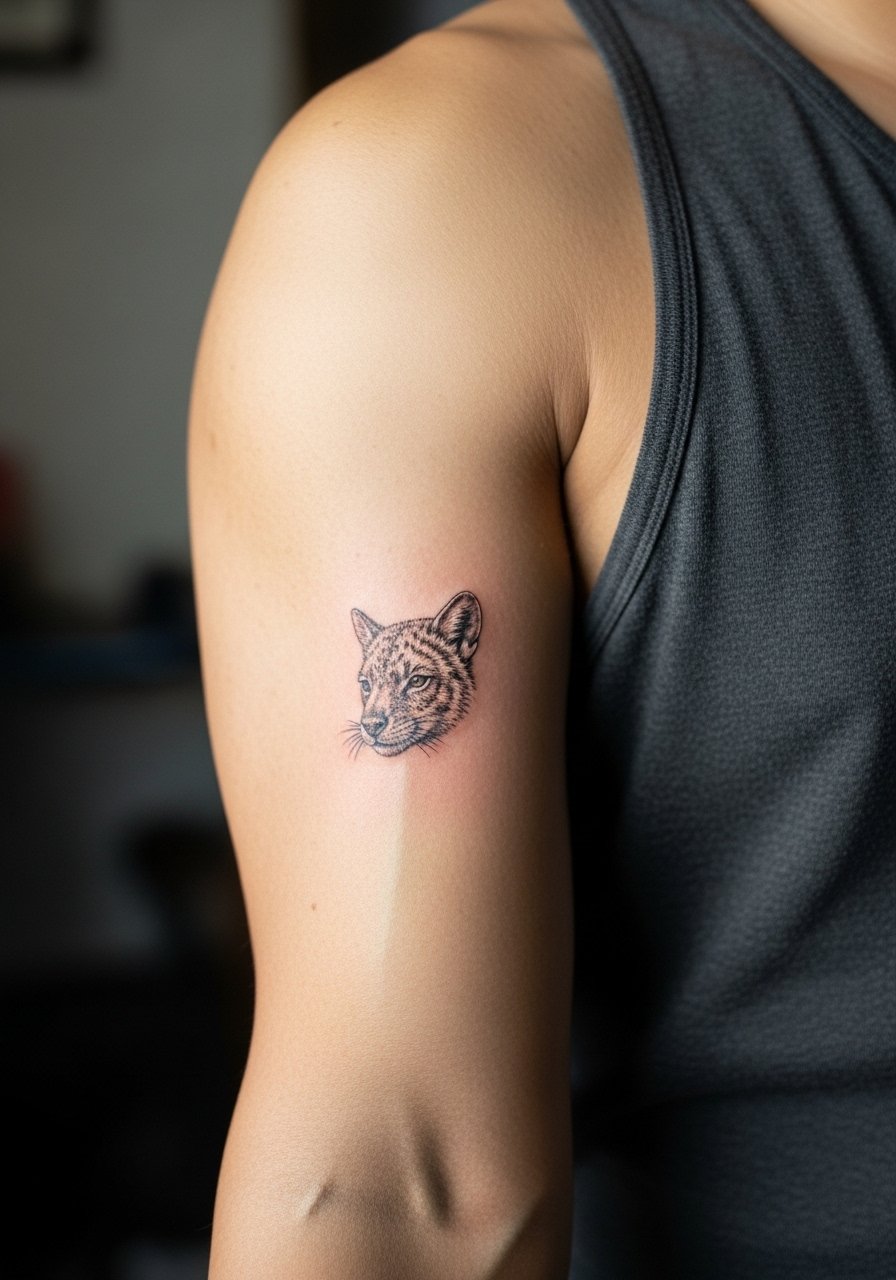
Inner bicep micro-realism is striking up close, but this is a placement that demands an artist experienced with thin skin and shifting canvas. Mention in the consult that you want planned touch-ups at year two because detail can soften. Pain can be more intense due to the sensitive inner arm and sessions are often shorter strings to manage comfort. One mistake is shrinking too much detail into a small area, which fades into muddled tone later. Because of the sensitive placement, look for an artist who lists inner bicep work in their portfolio.
17. Celtic Knotwork Around the Upper Arm
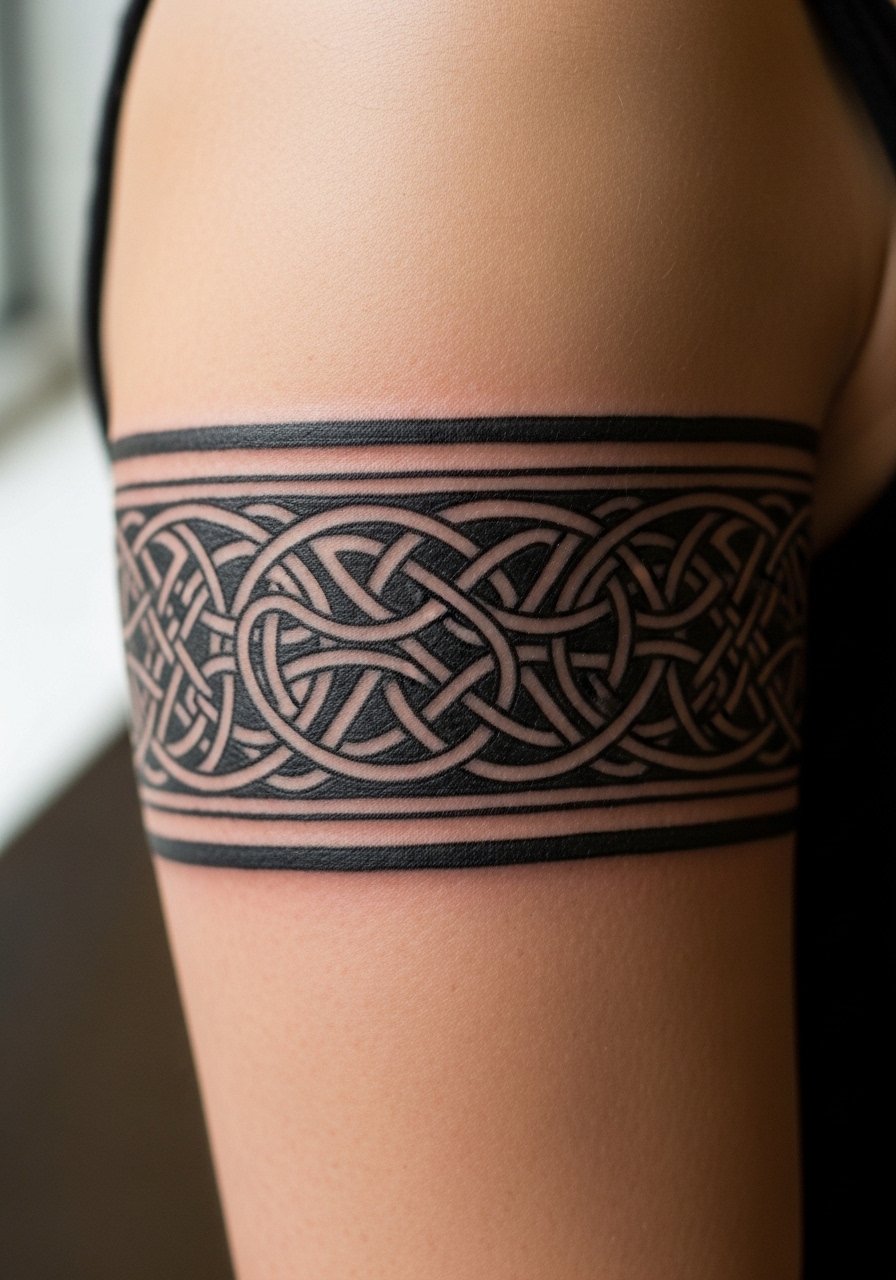
Interlaced knotwork benefits from the roundness of the upper arm, where the pattern can read continuously. Ask the artist to map the flow around the arm before inking so pattern breaks fall in less visible spots. Expect mild to moderate pain and a single session for a narrow band. A common error is asking for too small a knot size, which tends to blur into a texture over time. For wardrobe, a rolled-cuff sleeve shirt or short-sleeve sweater shows off the wrap without interrupting the design.
18. Minimalist Mountain Range on the Upper Arm
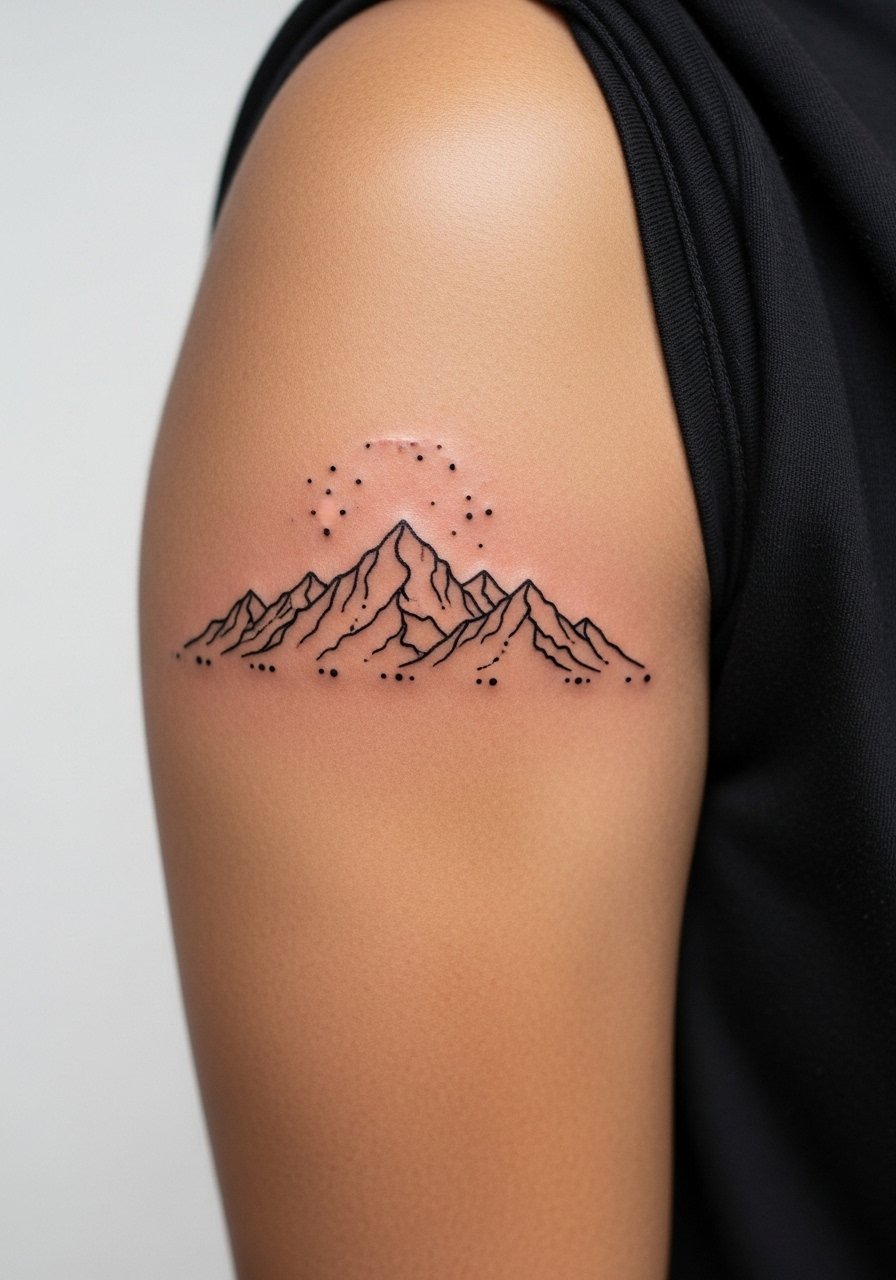
Minimalist mountain ranges look modern on the upper arm and they behave better here than on smaller placements because you can ask for slightly bolder line weight. During consultation, request a line weight spec so the artist knows the minimum needle grouping to use. Pain is low and a session is often under an hour. The mistake is choosing hairline lines that dissolve into skin texture after a couple of years. For casual days, a rolled-sleeve flannel or tee makes the peaks read like intentional details.
19. Botanical Sleeve Accent with Negative Space

If you want a sleeve that leaves breathing room, ask for an accent-style composition with dominant blooms and intentional gaps. That spacing is the main trick to keeping sleeves readable over time. Sessions are multiple visits and touch-ups at year two should be expected, especially where stipple meets color. A common mistake is filling every inch, which ages unevenly as different techniques settle at different rates. For an easy show-off, a short-sleeve denim shirt balances texture against foliage.
20. Geometric Fragmented Triangle on the Upper Arm
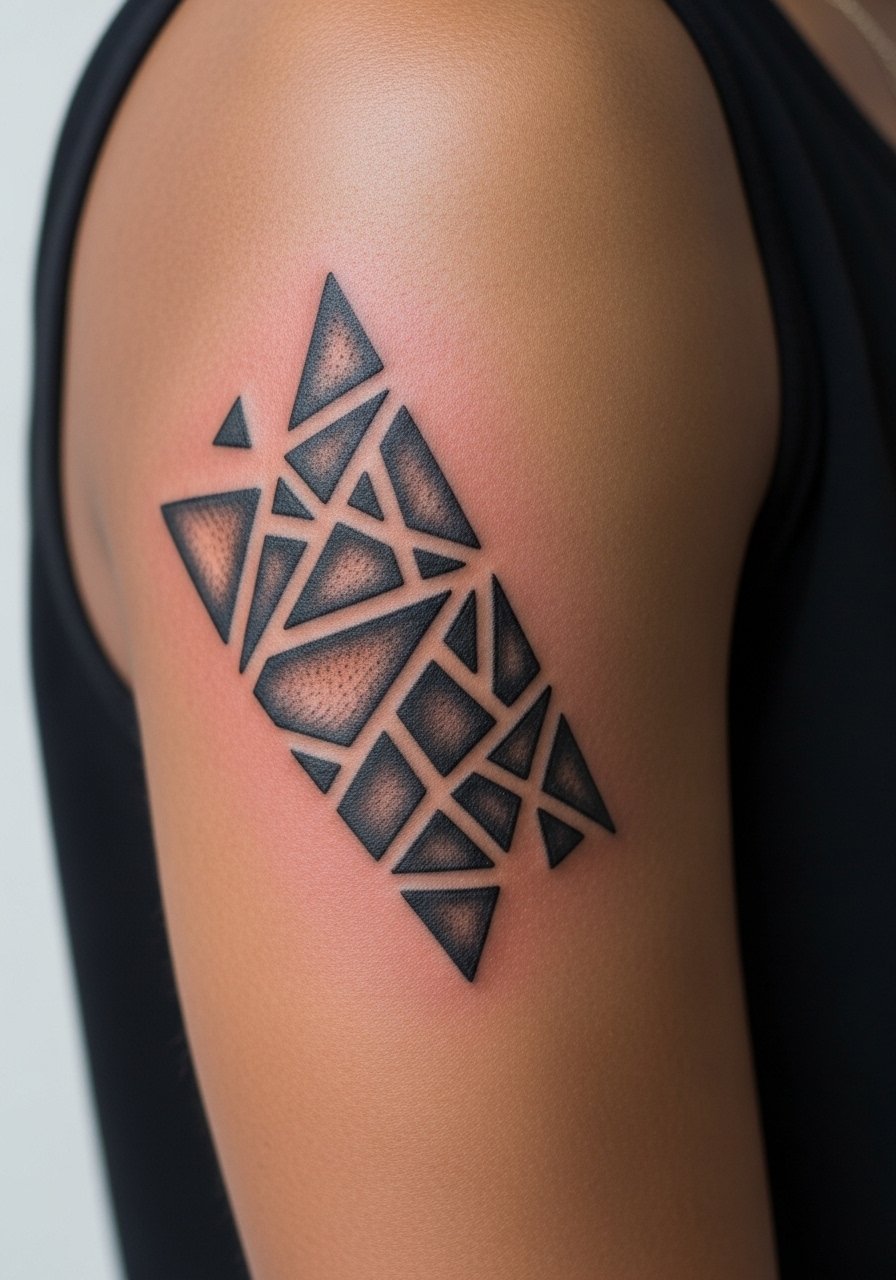
Fragmented geometric work looks deliberate when edges are crisp and spacing is consistent, and the upper arm gives enough room to scale without losing intent. During the consult ask for laser-straight guides drawn on the skin so you can see alignment before permanent ink. Pain is mild and session time depends on size, roughly one to two hours. Small misalignments are the biggest mistake and they become obvious as the piece ages. For contemporary outfits, a short-sleeve tech tee keeps the geometric clean and modern.
21. Classic Script with Subtle Shading on the Outer Upper Arm

Outer arm script works well when spacing and letterforms are adjusted for movement and future softening. In your consultation, have the artist show multiple size options directly on the skin and read them at arm angles you use daily. Pain is low and a typical session runs under an hour. The usual error is over-stylized lettering that loses legibility once the lines soften. For relaxed days, a short-sleeve polo sits neatly above the script and frames it like cuffed artwork.
Frequently Asked Questions
Q: Will fine line upper arm tattoos blur faster than bold work on the same spot?
A: From what I've gathered, fine line pieces do rely more on spacing and placement to hold up. On the upper arm they fare better than the wrist, but they still need slightly heavier line weight than micro wrist work. Plan on a touch-up at year two to three if it has very thin strokes.
Q: How should I prepare clothing-wise for a shoulder or upper arm session?
A: Wear something with easy access that you can remove or shift without pulling on the area, like a loose tank top or a button-down you can slide aside. Bring a layer for after the session that won't rub fresh ink.
Q: Are there designs I should avoid if I travel or work outdoors a lot?
A: Heavy sun exposure is the biggest enemy. Dense color and fine detail both fade faster with repeated UV, so choose simpler silhouettes or plan for more frequent touch-ups if you spend long hours outside.
Q: Do geometric or dot work pieces require special aftercare compared to traditional fills?
A: The basics are the same, but stipple and tight geometric patterns benefit from conservative initial saturation so you do not overfill. If an artist suggests layering too much in one session, ask about staged visits to monitor how the first pass settles.
Q: How do I find an artist who understands upper arm placements without naming anyone?
A: Look for portfolios that show healed shots on the upper arm specifically, and search discovery pathways like local shop directories, convention coverage posts, and community threads. Ask for healed photos from past clients so you can see how their work holds up on similar skin tones.
