
Fine line tattoos dominate saved boards right now, but trends and longevity do not always match. What looks razor-sharp in a screenshot can soften with sun exposure and daily friction. These Stranger Things themed ideas lean into placements and techniques that read well fresh and age honestly, with notes on consultation points, session comfort, and how to show them off or dress for the appointment.
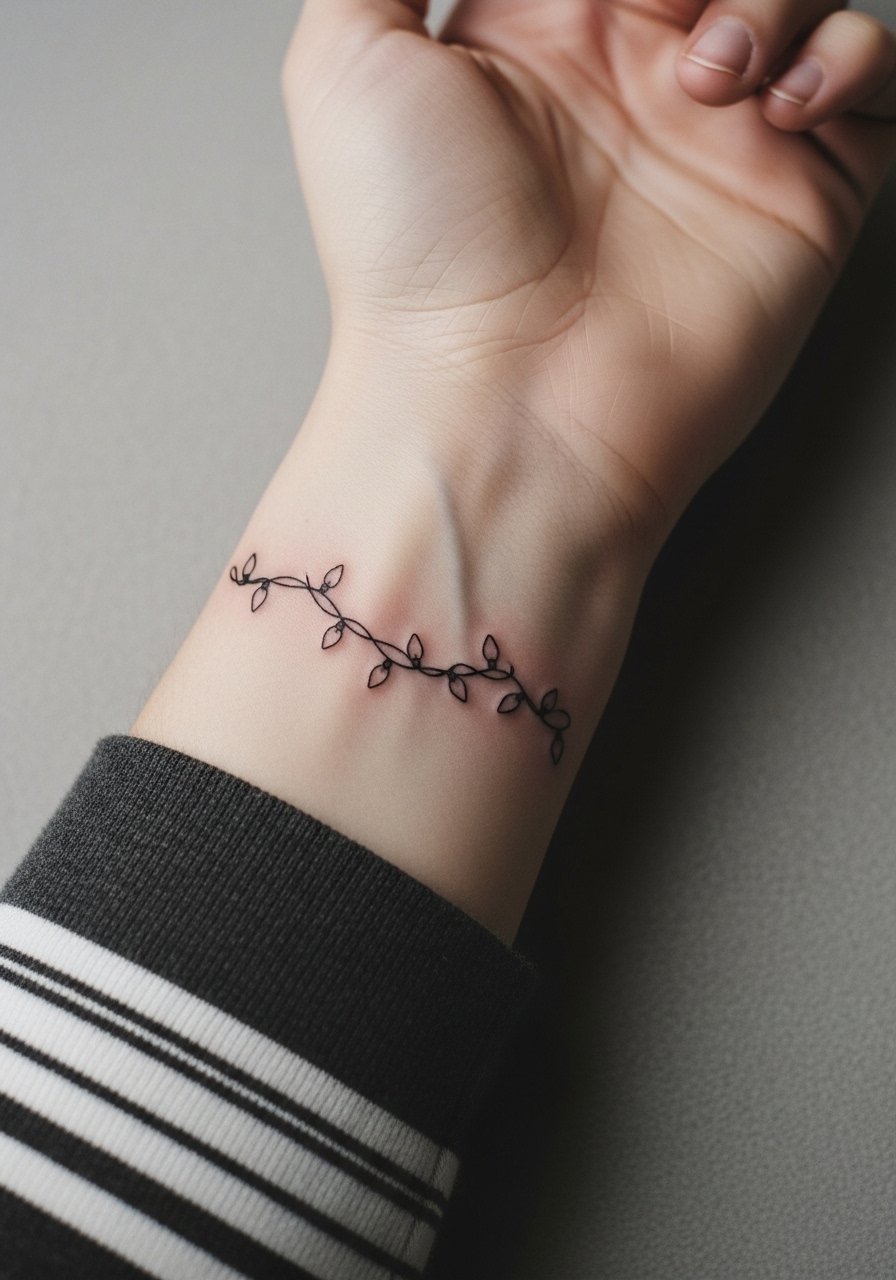
1. Tiny Christmas Lights Wrap on Inner Wrist
I've seen this one on a handful of wrists and the appeal is obvious, tiny bulbs that trace the wrist like a bracelet. Ask your artist for slightly heavier linework and small negative-space bulbs so the lights keep shape as they age. Pain is mild for most people and a single short session usually does it. A common mistake is making the bulbs too small which leads to blur and touch-ups sooner. For the session wear a loose button-down shirt you can pull up without tugging the area. Healed at six months the lines soften slightly, by year three expect subtle feathering without proper spacing.
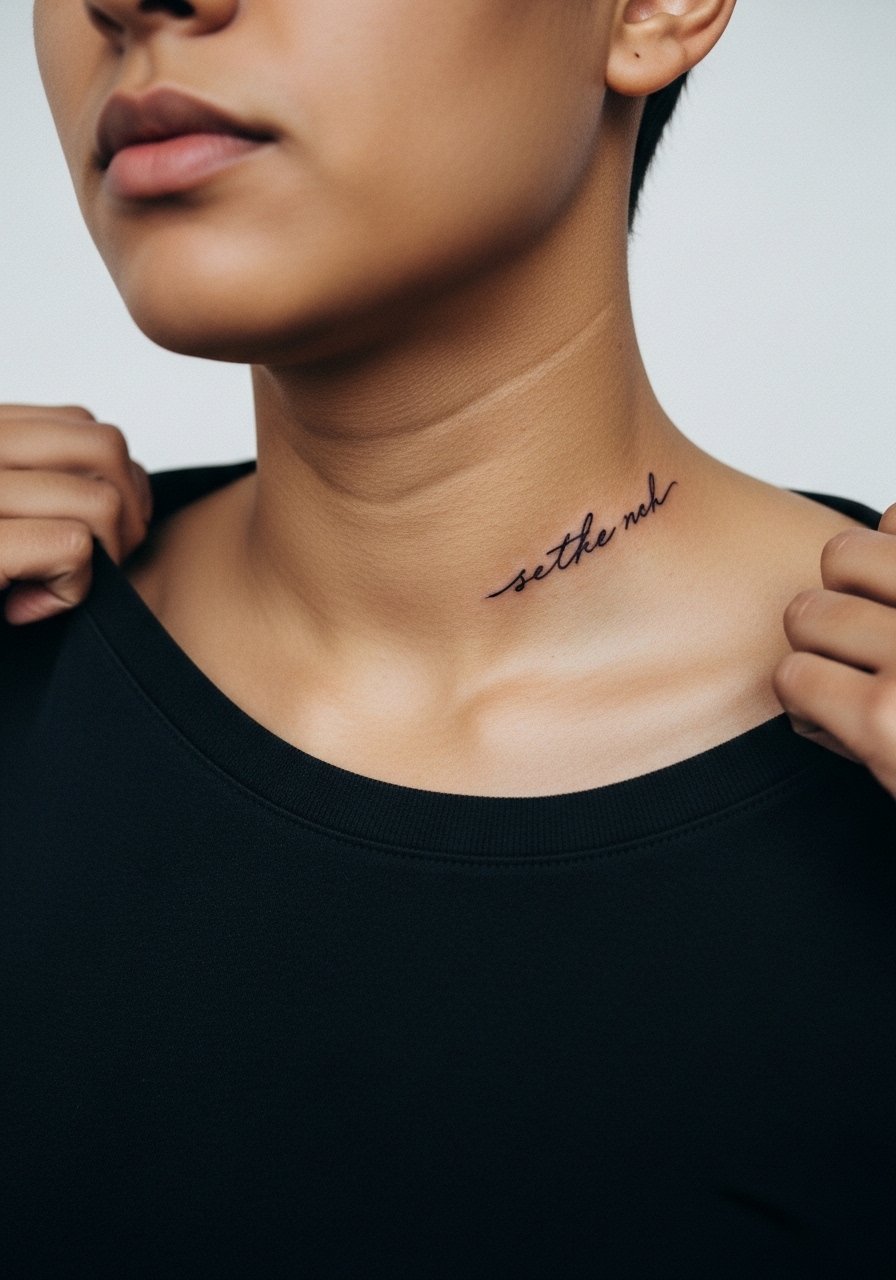
2. Upside Down Minimalist Chest Script Near Collarbone
Fair warning, upper chest reads larger on the body than on a phone screen. Keep lettering thin but spaced, and request a wider kerning so the script does not merge with time. The collarbone area heals well if covered by a wide-neck shirt during the first week. Ask for a healed mockup during consultation so you can check scale on your chest. For evening looks pair it with an open-back midi dress that frames the script. Expect moderate pain and a touch-up around year two for crispness if you spend a lot of time in the sun.
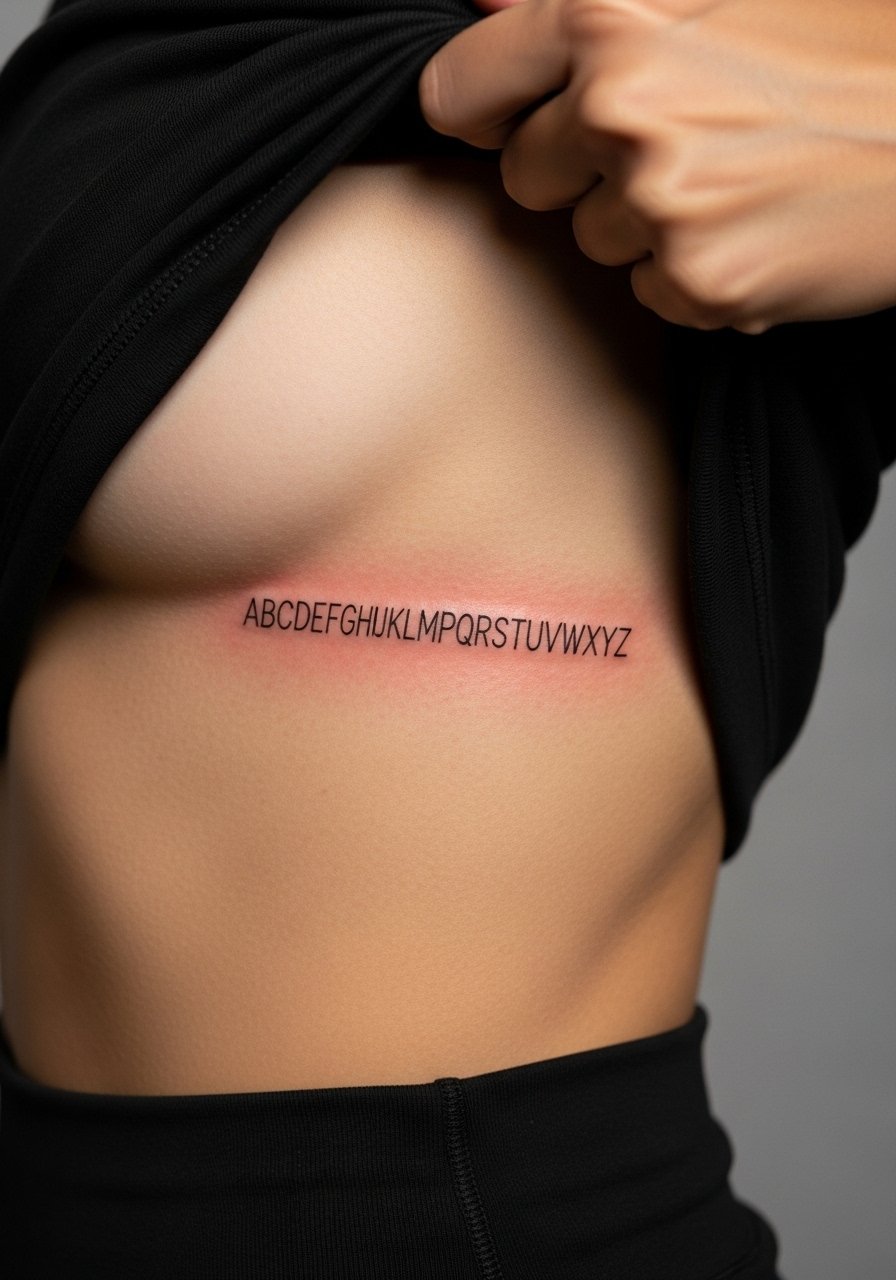
3. Little Alphabet Wall Row on the Side Ribcage
Most people underestimate ribcage sensitivity, this one is a five to eight on common pain scales depending on build. The controversy around fine line on ribs comes up here. One camp says the skin moves too much and fine line blurs in two years. The other camp argues that with proper depth and spacing it can stay readable for years. Ask your artist where they stand and request slightly larger letterforms if they favor longevity. For the session wear a cropped athletic top you can lift without tugging the skin. Healed results at six months read delicate, by year three expect a softening that usually benefits from a small touch-up.
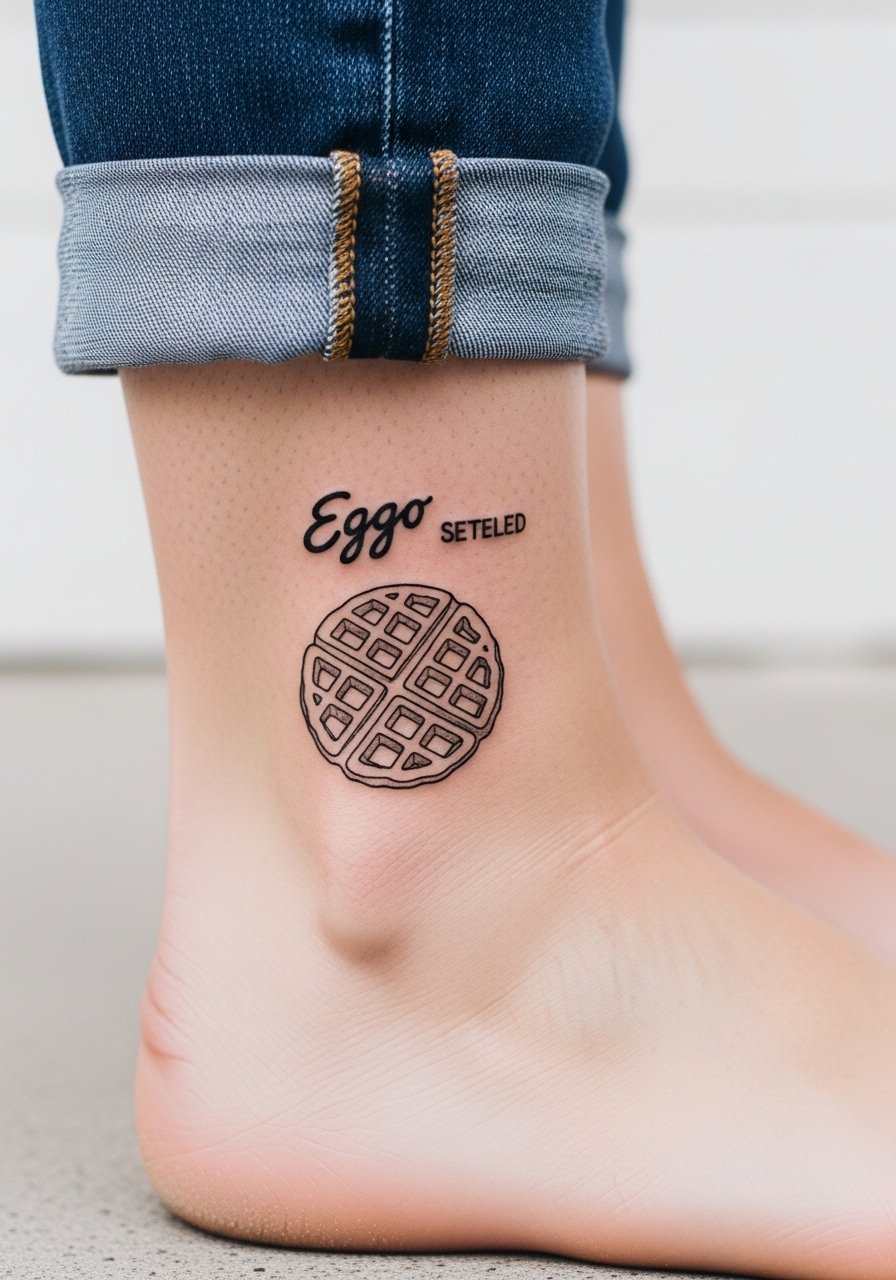
4. Tiny Eggo Waffle on the Ankle
There is real charm in a small pop culture symbol at the ankle, and the area is low on pain for many. Keep the waffle slightly larger than you think, and ask for a thin border with solid dot-work shading so it keeps contrast against shoes and socks. Ankle pieces face constant friction from socks and shoes so expect a touch-up at year two if you wear a lot of sneakers. For showing it off, roll up jeans or wear a pair of sandals that leave the ankle visible. The session is short and sits well for first-timers who want a discreet pop culture nod.
5. Demogorgon Silhouette on Inner Bicep
When you sit down with your artist for this one, bring clear silhouette references so the negative space reads as a creature rather than a blot. Inner bicep work is one of those placements that feels tender because the skin is softer, but the silhouette can hold up well if the artist uses confident linework and moderate saturation. A common mistake is asking for tiny detail in a crowded silhouette which fades into a smudge over time. For the session wear a tank top you can lift the arm out of without rubbing the fresh ink. Touch-ups are often needed at year three for refinement.
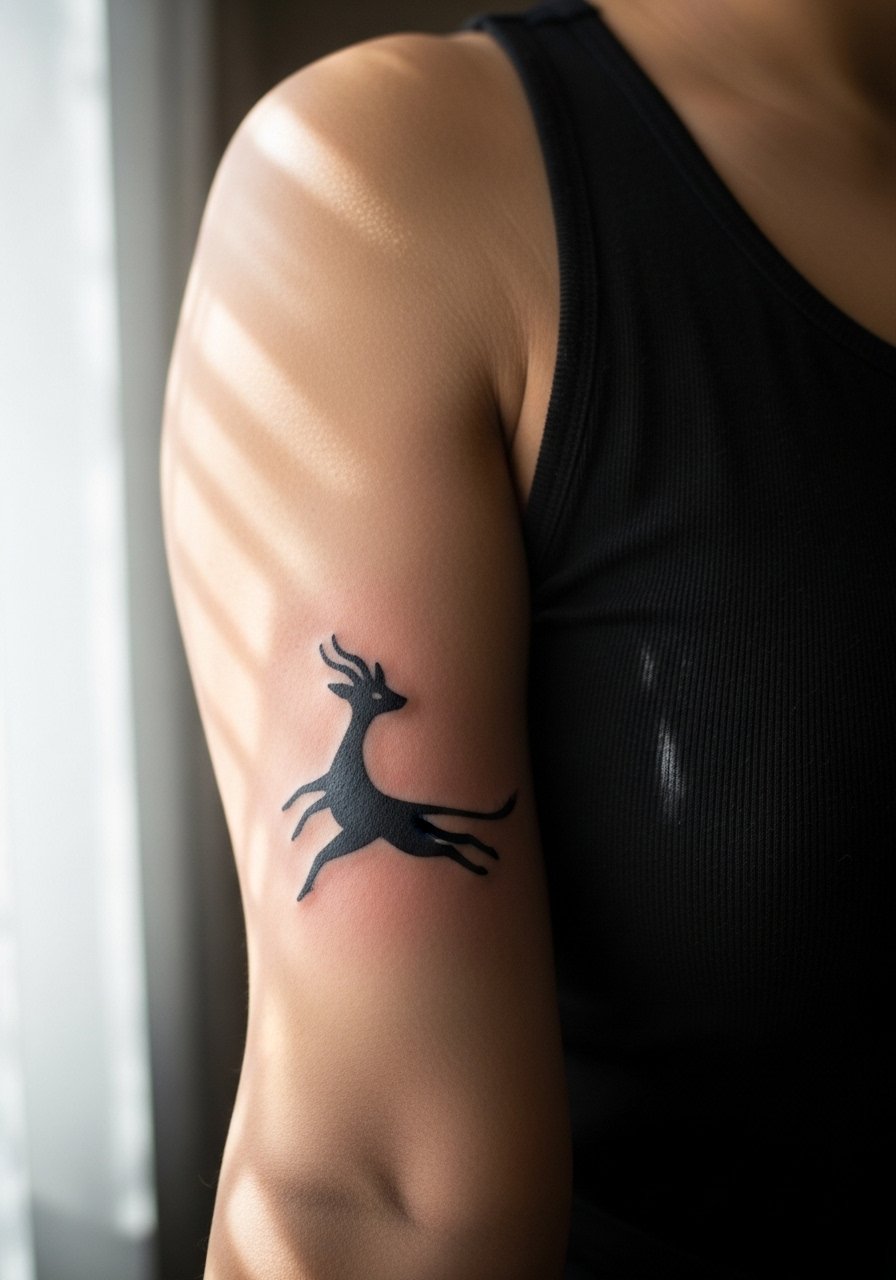
6. Neon Sign Style Script on Outer Forearm
There is something about bold outline and tiny inner color that reads across the forearm, and this placement shows off well. Tell the artist you want slightly bolder outer linework and lighter color saturation inside so the hues age into wash rather than disappear. Forearm work takes day-to-day sun and abrasion so sunscreen later matters. For session comfort wear a short-sleeve linen shirt you can roll without stretching the area. Expect a one to two hour session and a touch-up at year two for color refresh.
Studio Day Picks
The forearm, inner bicep, ankle, and wrist pieces above have different access needs and aftercare challenges, so a short kit makes the session and first week easier.
-
Stencil transfer paper kit. Lets you preview the exact placement on skin before the needle lands, which matters for wrap and chest scripts.
-
Topical numbing cream. Helpful for ribcage or inner bicep sensitivity when your artist is comfortable with topical use.
-
Thin protective film roll. Useful for ankle and wrist pieces that get friction from socks or bracelets in the first week.
-
Fragrance-free gentle body wash. Cleans the area without stripping color, especially helpful for forearm and chest work.
-
Aquaphor healing ointment. Thin layer for the initial few days keeps fine line work from drying into flakes while the skin repairs.
7. Eleven’s Profile Micro-Realism Behind the Ear
A behind the ear placement reads intimate and needs careful framing in the stencil stage. Keep lines bold enough to survive the thin skin and request the image sit just below the hairline on the neck so hair can help conceal during healing. The area is tender but sessions are short. For visible-career considerations remember this spot can be covered by hair if needed. For the appointment plan to have your hair up and clipped. A common mistake is asking for tiny facial detail that does not translate at this scale, ask for simplified features to avoid muddiness as it heals.
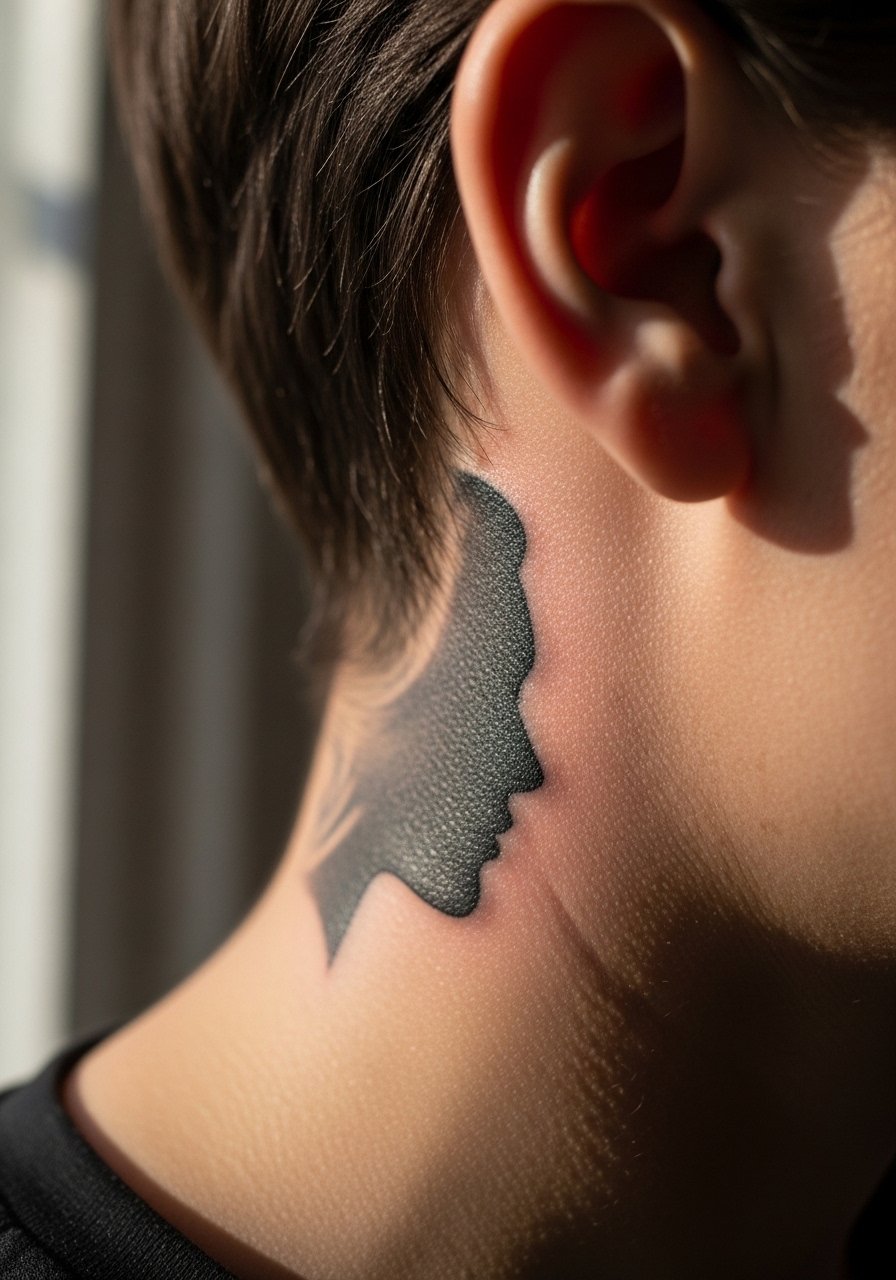
8. Alphabet Wall Single Letter on the Finger
Most finger tattoos get the full effect immediately but face heavy fade because of washing and movement. The biggest mistake is placing thin script or minuscule details on the finger. Ask for slightly bolder linework and a simple glyph rather than a cursive flourish. Expect touch-ups more often than for forearm work, often every one to three years. For showing it off pair with a delicate ring stack that frames the finger without rubbing the ink constantly. The session is short and the pain is sharp but brief.
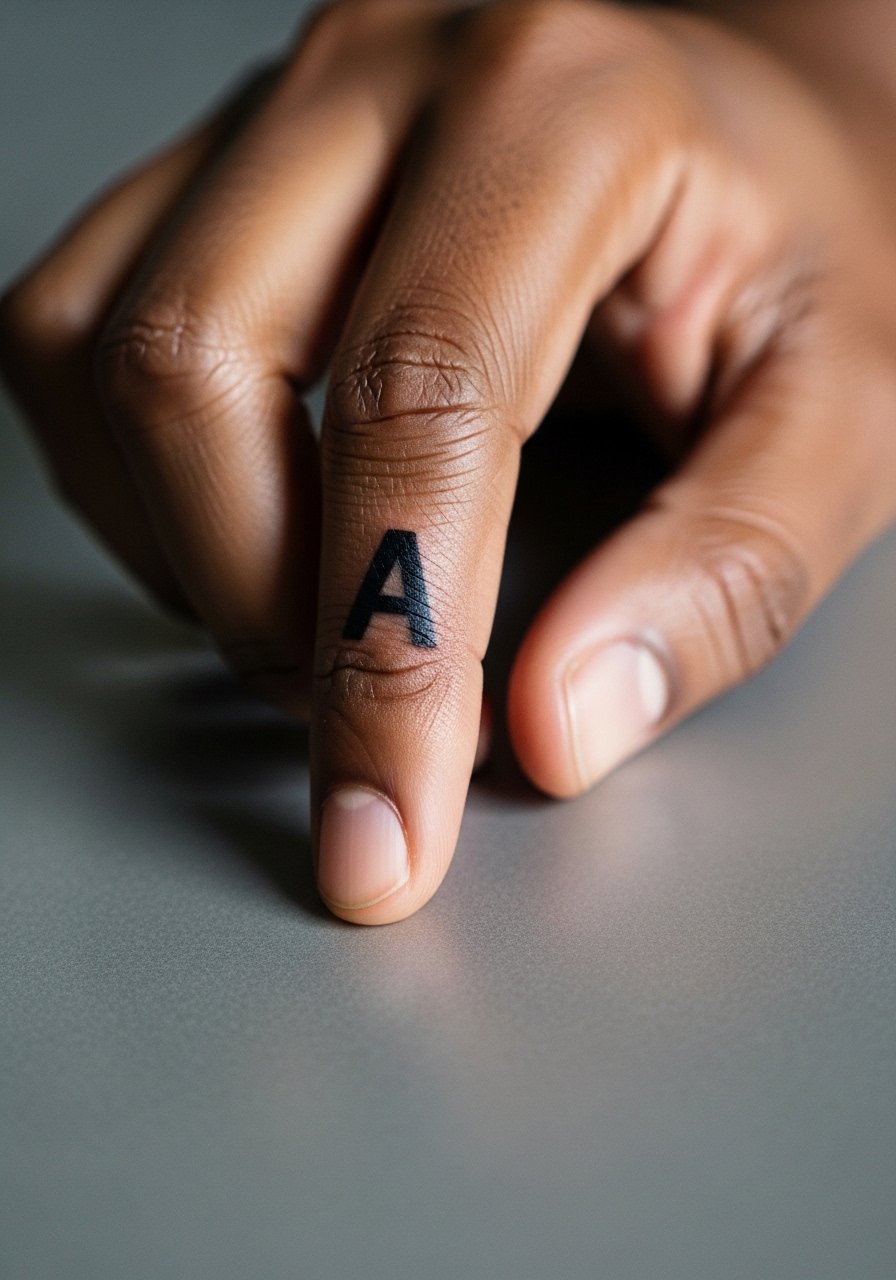
9. Mind Flayer Silhouette Along the Spine
There is visual drama in a vertical silhouette that follows the spine, and open-back clothing shows it off beautifully. Tell your artist you want staggered negative space to keep limbs readable over time. Spine work is painful for many and sessions are often split into two shorter visits. For showing it off, an open-back dress highlights the negative space. A common mistake is cramming too much tiny detail into the negative sections, which collapses into shadow after a few years.
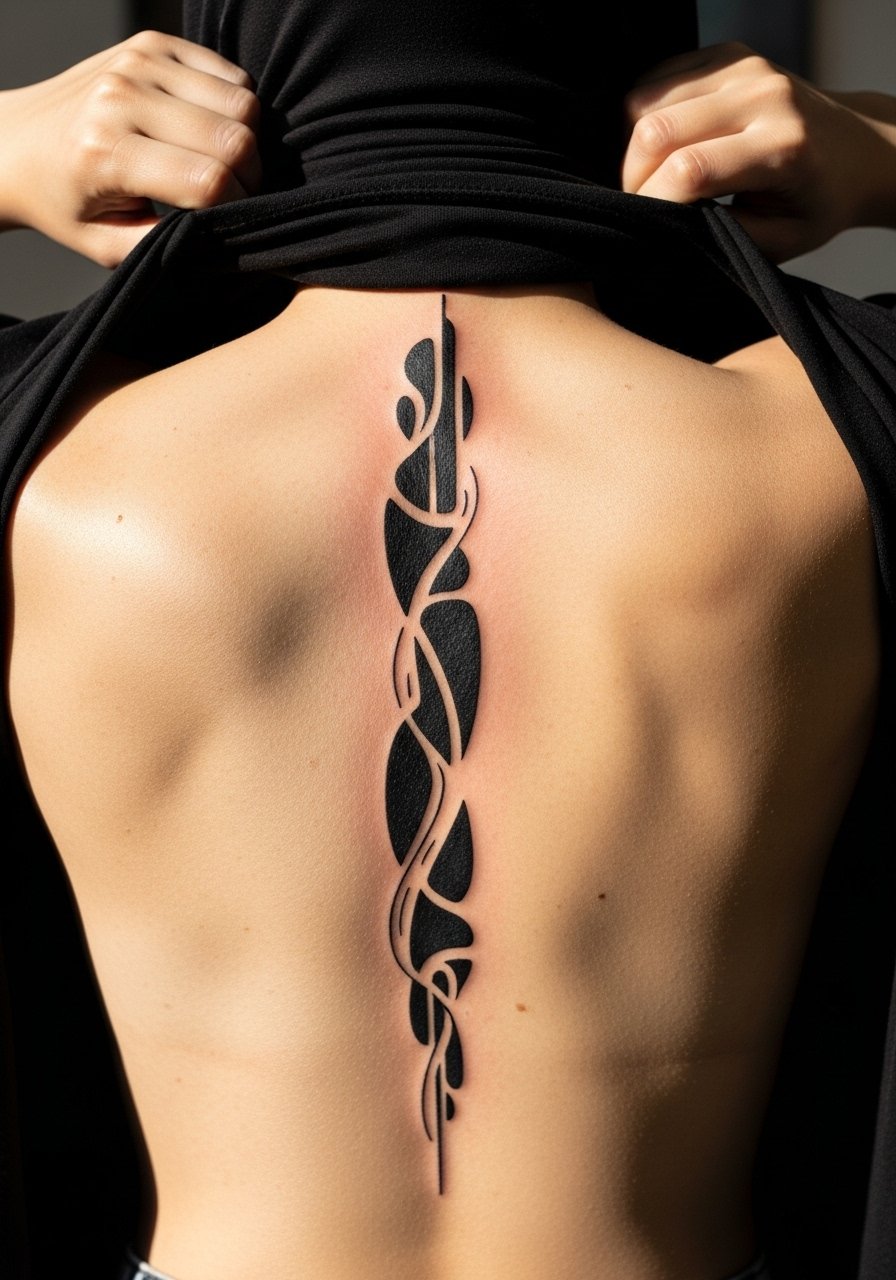
10. Stranger Things Map Fragment on the Upper Arm
A compact map fragment works well on the outer upper arm because the skin sits flat and heals predictably. During consultation request clear blocky landmarks and slightly heavier contour for readability at distance. The session is moderate and most people walk out with minimal soreness. A mistake is asking for a tiny, highly detailed map that loses clarity within a year. For the session wear a short-sleeve shirt you can easily slide off without stretching the upper arm area.
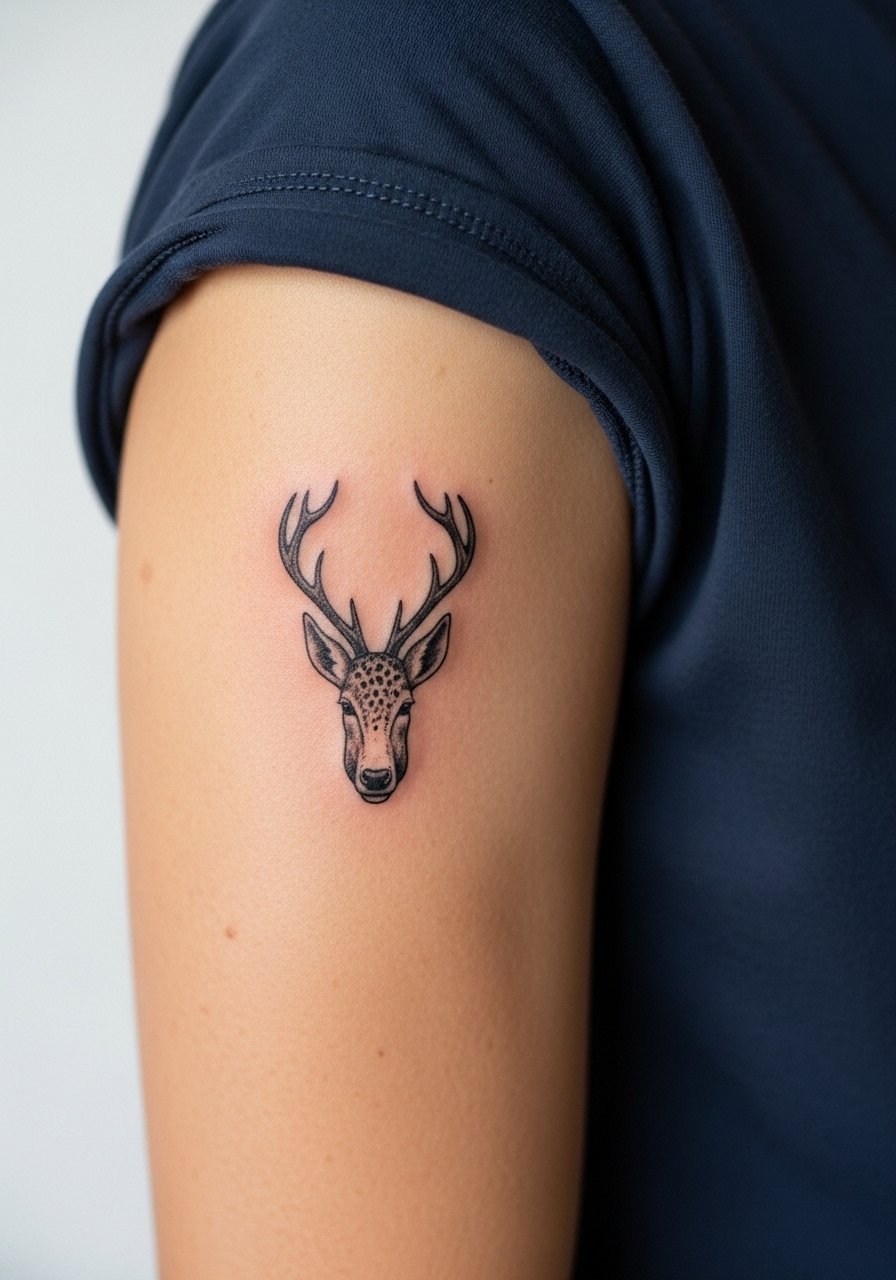
11. Vecna Sigil on the Back of the Hand
Hand tattoos still affect hiring in some industries, so think about your career path before committing. The back of the hand gets daily sun and wash so expect faster fade. Ask for high-contrast linework and simple negative space to retain the sigil shape. The session feels sharp and short. A common mistake is incorporating overly fine interior details that disappear within months. For showing it off, pair with a thin chain bracelet that leaves the back of the hand visible without rubbing directly over the ink.
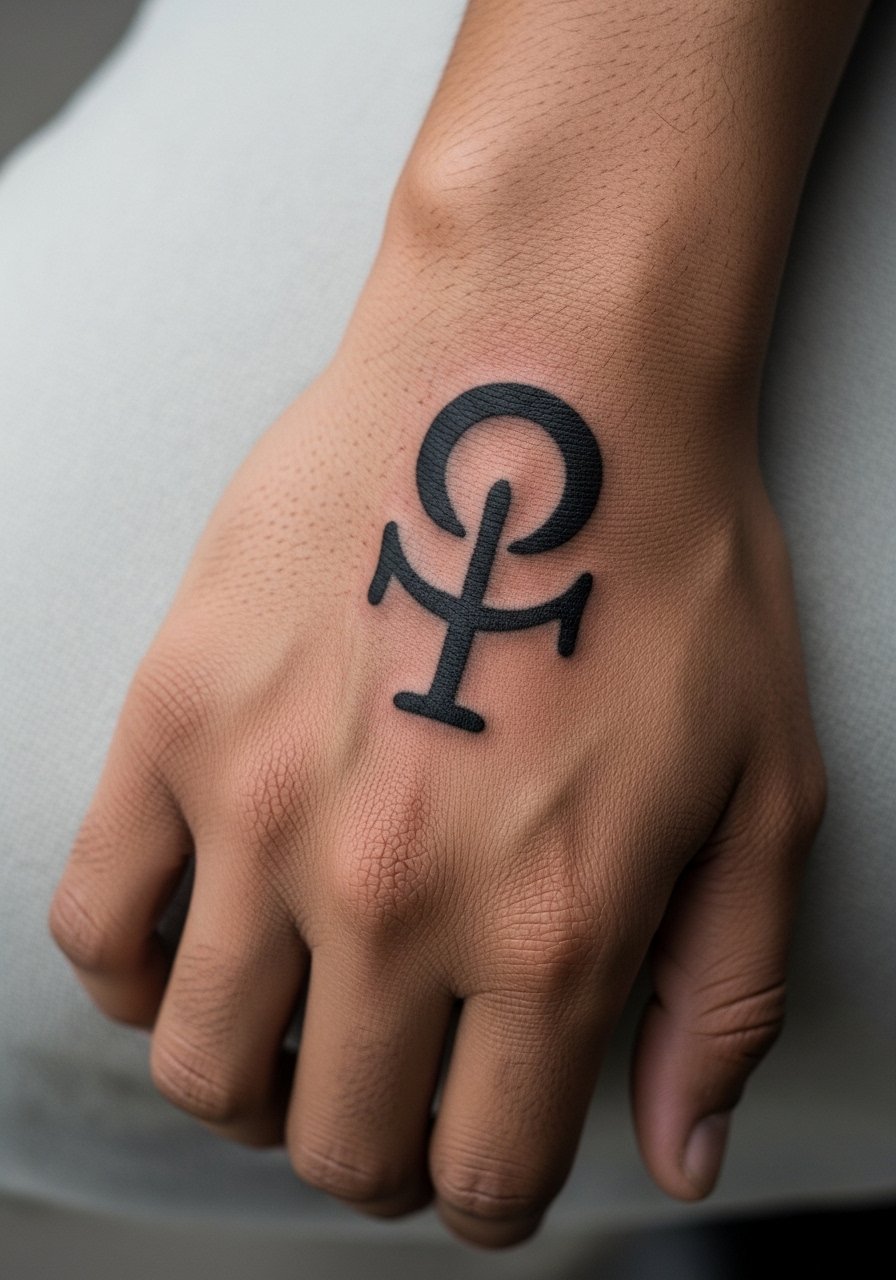
12. Alphabet Wall Neon Bulb on the Calf
Calf pieces age well because the area gets less sun and abrasion than lower limbs. Visual impact lead works here, the neon bulb motif looks graphic at a distance and detailed up close. Ask for moderate saturation inside the outline so the color softens gracefully over years. The session is comfortable and often allows for longer sittings. A common mistake is using a very bright, thin fill that disappears; request a slightly denser fill that settles into a muted glow by year two. Healed at six months the color will already have softened.
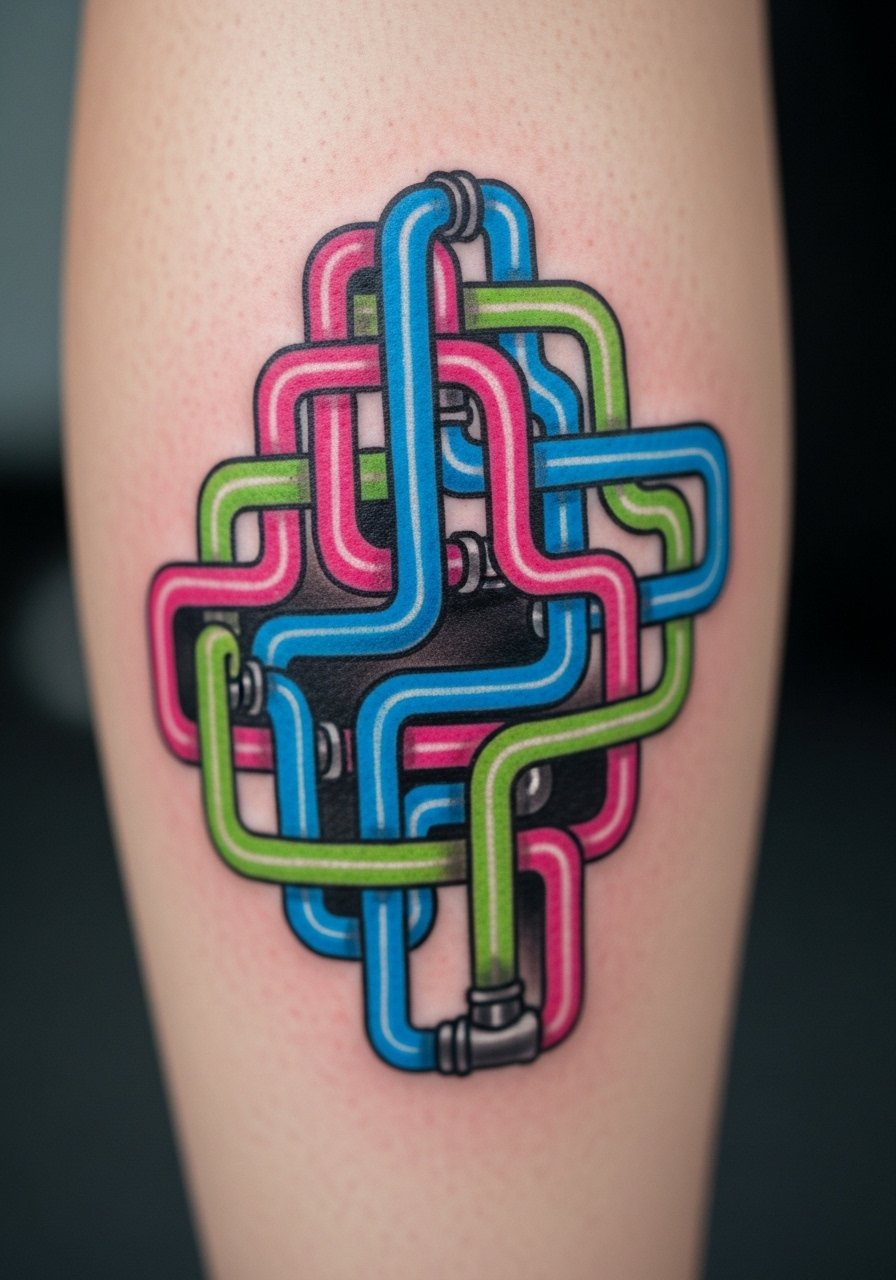
13. Hopper’s Badge Style Minimal Crest on the Chest
When you choose an upper chest crest keep the scale large enough to survive sun exposure. For the sternum-adjacent placement wear a fitted sports bra or wide-neck top to the session so the artist can access the area without overexposure. The main mistake is asking for extremely thin details in a high-friction zone from necklaces and clothing. Ask for bold contour lines and selective stipple shading to preserve texture. For evening wear, a thin chain pendant necklace sits above the crest without competing. Expect moderate pain and a possible touch-up at year two for crispness.
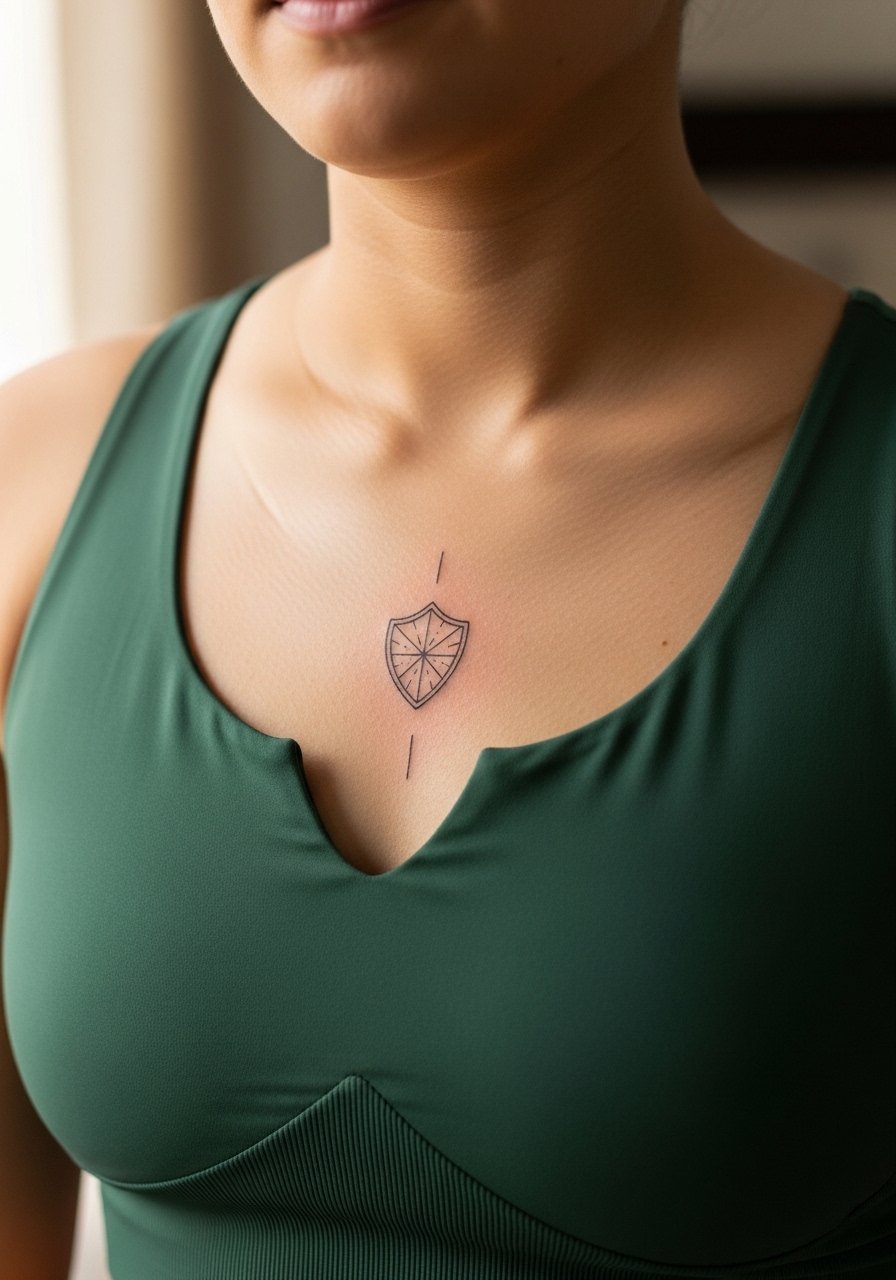
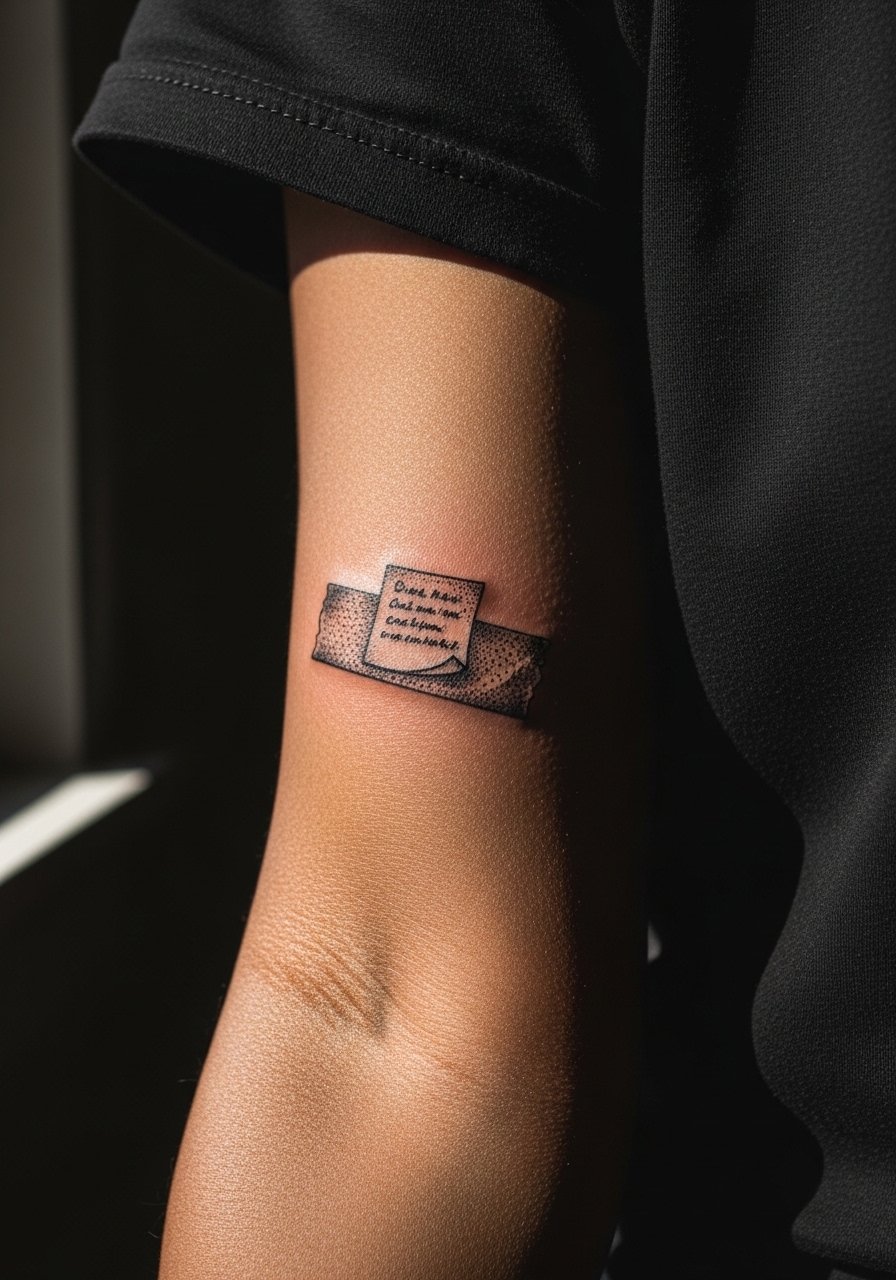
14. Joyce-Style Tape Spell Business Card Size on the Forearm
There is real documentary energy in an everyday object rendered on the forearm. Consultation tip, tell the artist you want the tape texture suggested rather than fully photo-realistic detail. Forearm work is forgiving and shows well with sleeves rolled. A mistake is over-detailing the tape adhesive which looks messy when the piece heals. Session discomfort is low and most pieces finish in a single appointment. Healed at two years the texture reads as soft grain if the artist uses stipple shading rather than tight photorealism.
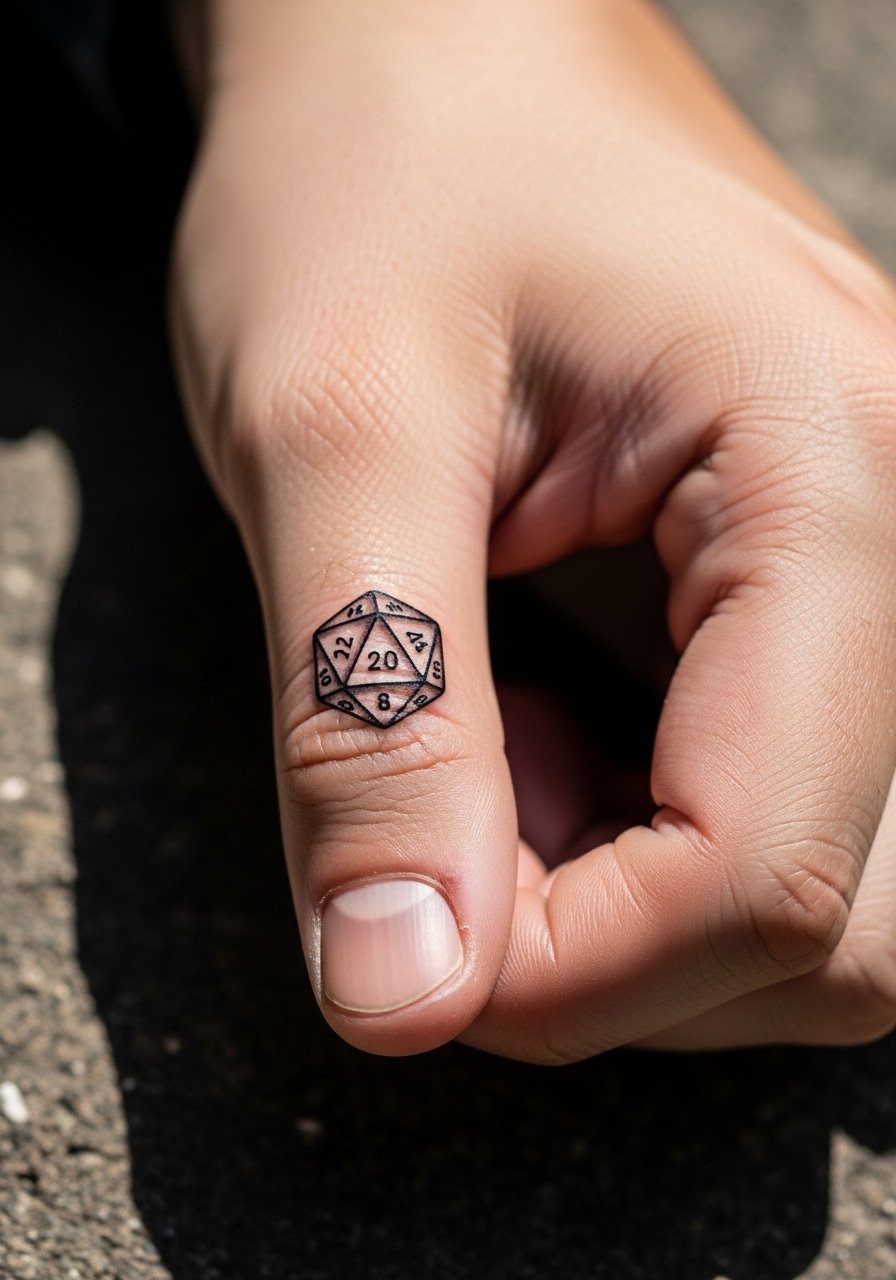
15. Dungeons Dice Micro-Realism on the Thumb
Thumb tattoos face constant hand use and tend to need maintenance. Pain is sharp and brief. Ask for a simple silhouette with a bold edge rather than intricate numbering that will blur. The common mistake is tiny numerals inside each face, which wash out within months. For showing it off, a minimalist ring set draws attention without rubbing the thumb pad. Expect a touch-up within the first year and plan for an occasional refresh every two to three years.
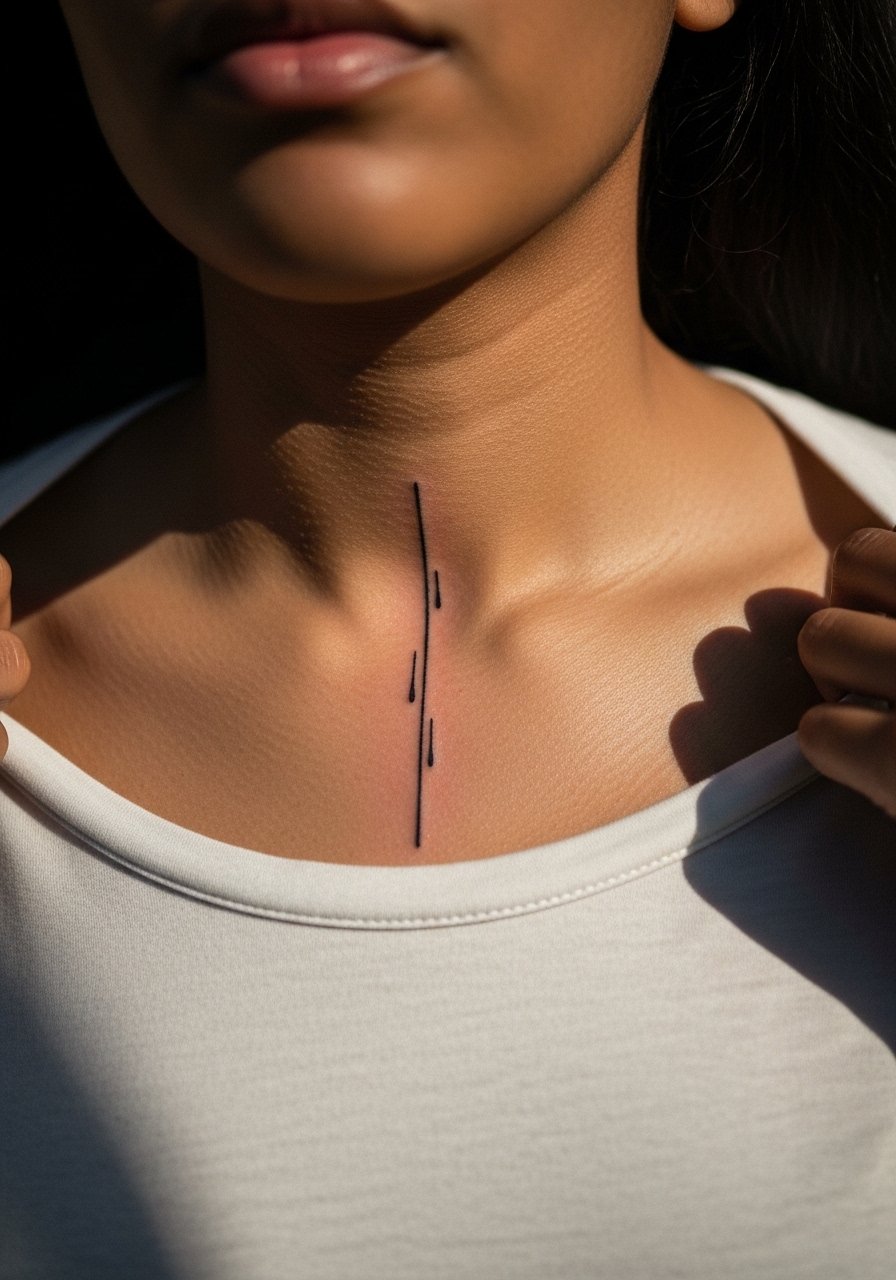
16. Eleven Nosebleed Drip Script Near the Collarbone
A short vertical drip or single word near the collarbone ages predictably if given breathing room. Visual balance matters here so request space above and below the drip to avoid crowding by necklaces. The session is moderately uncomfortable for some because the collarbone sits close to bone. Avoid asking for extremely thin drip tails. In two years the piece will soften but retain its silhouette if the artist used slightly bolder droplet edges. For the session bring a shirt with an open collar for easy access.
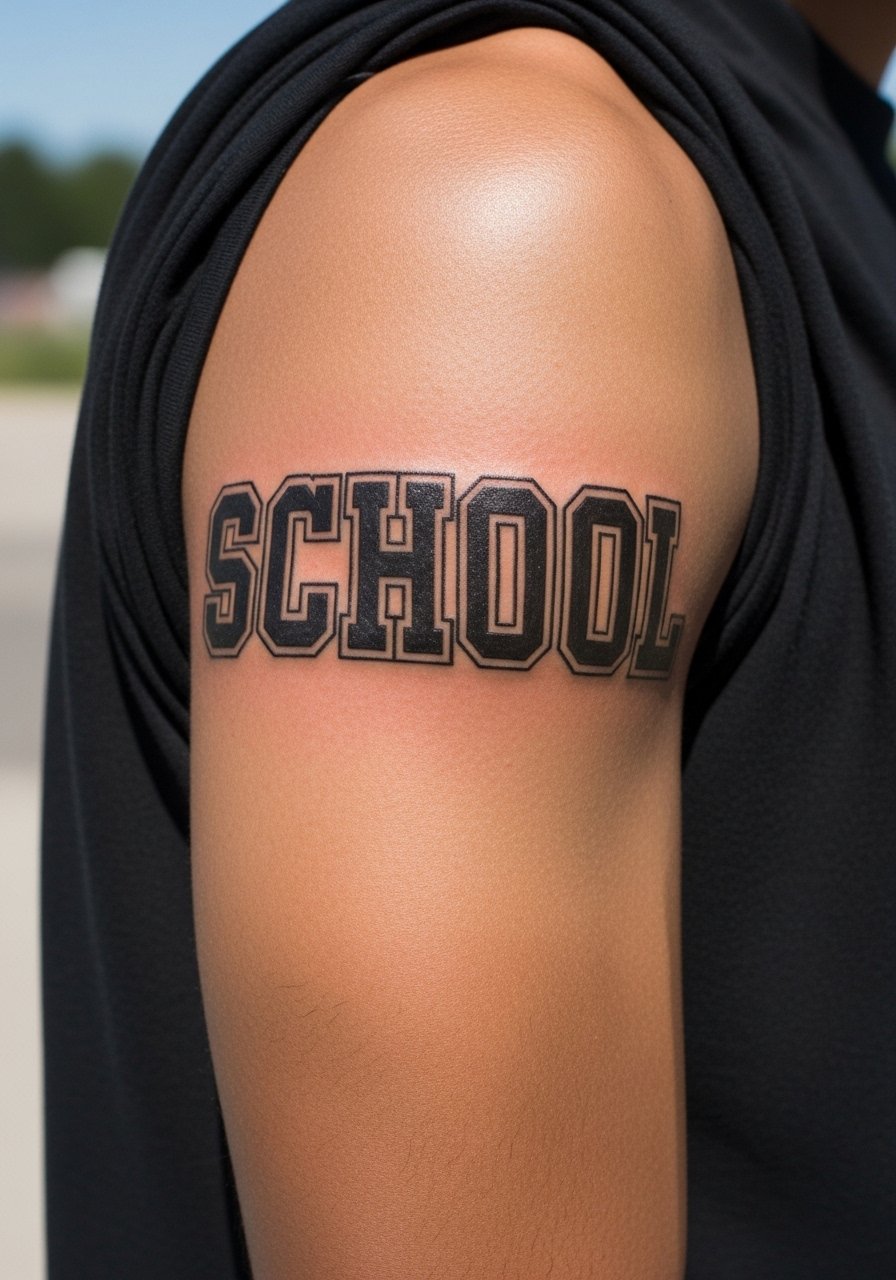
17. Hawkins High Lettering on the Upper Arm
Personal observation lead, I have seen block school lettering hold up best when spaced and bold. The outer upper arm is forgiving and a good canvas for type. Ask your artist to show you the lettering at full size on skin before work begins so you can approve proportion. A common mistake is shrunk lettering that looks cramped once wrapped by muscle. For session ease wear a short-sleeve tee you can remove without pulling on the shoulder. Touch-ups are uncommon unless you want higher saturation later.
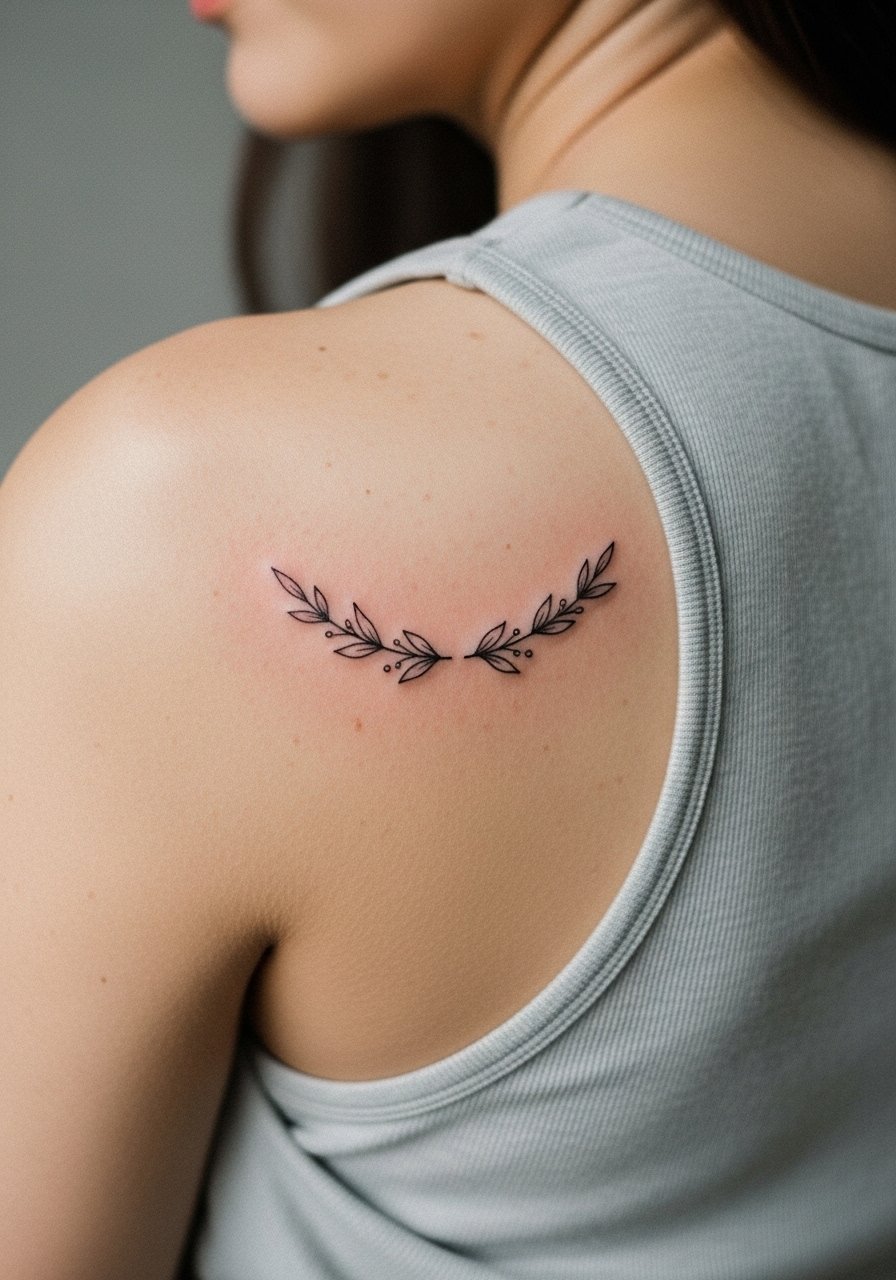
18. Christmas Light Garland Across the Shoulder Blade
A shoulder blade garland looks great with open-back clothing and benefits from larger spacing between bulbs. The placement moves with the shoulder blade so ask for gentle curvature rather than rigid angles. Pain is moderate and many people split this into a single longer session. The mistake is overly tight spacing, which causes bulbs to merge as the skin stretches. For showing it off choose tops with a lowered back line, and avoid heavy necklaces that tug the area. Healed at five years it reads as a soft graphic if protected from sun.
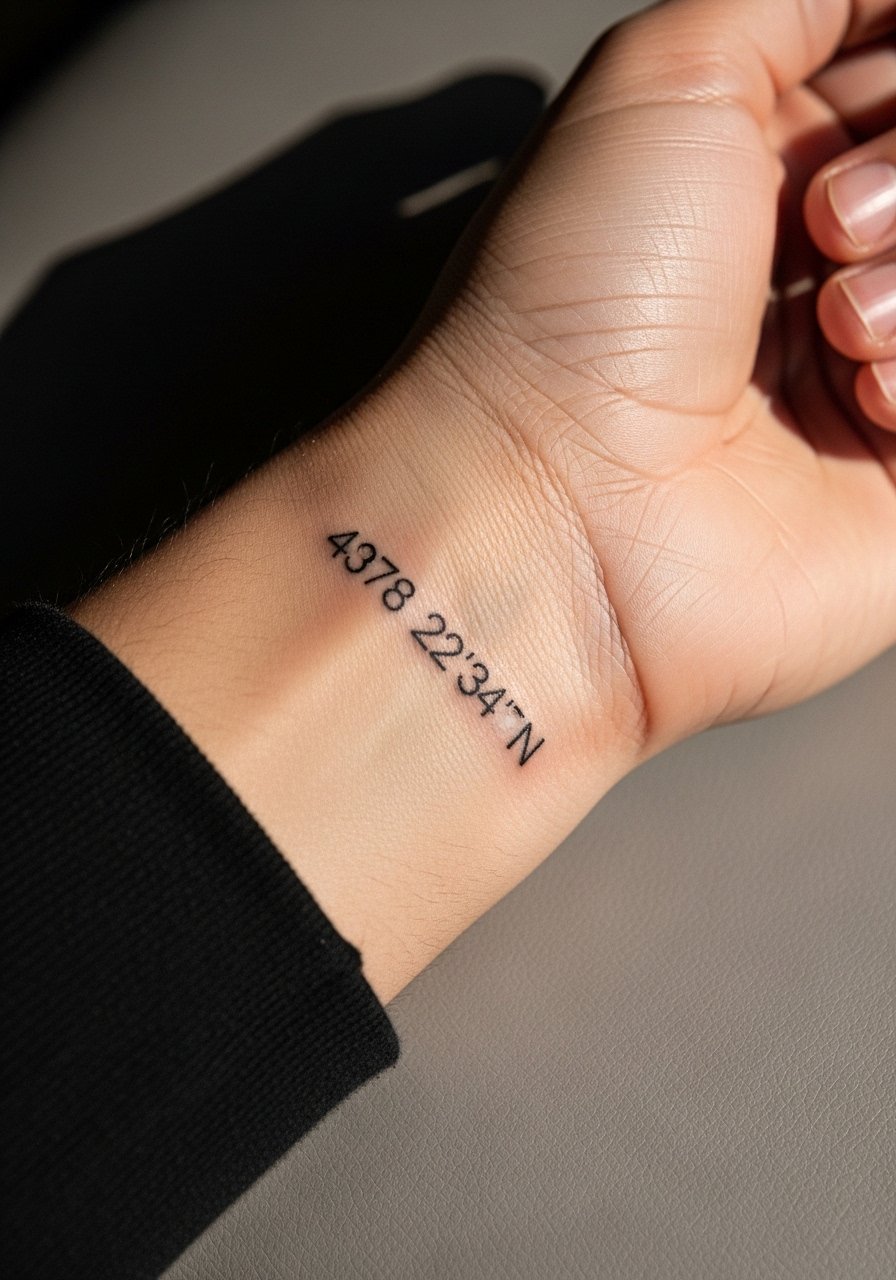
19. Hawkins Coordinates Script on the Inner Wrist
Consultation lead, when you pick coordinates ask the artist to show the exact numerals in the stencil so you avoid typographic surprises. Inner wrist pieces face a lot of wash and movement. The key is clean linework with room around the numbers. A common mistake is compact numerals that blur. For the session wear a loose long-sleeve shirt you can roll up without rubbing the area. Expect yearly touch-ups if you are heavy on hand washing.
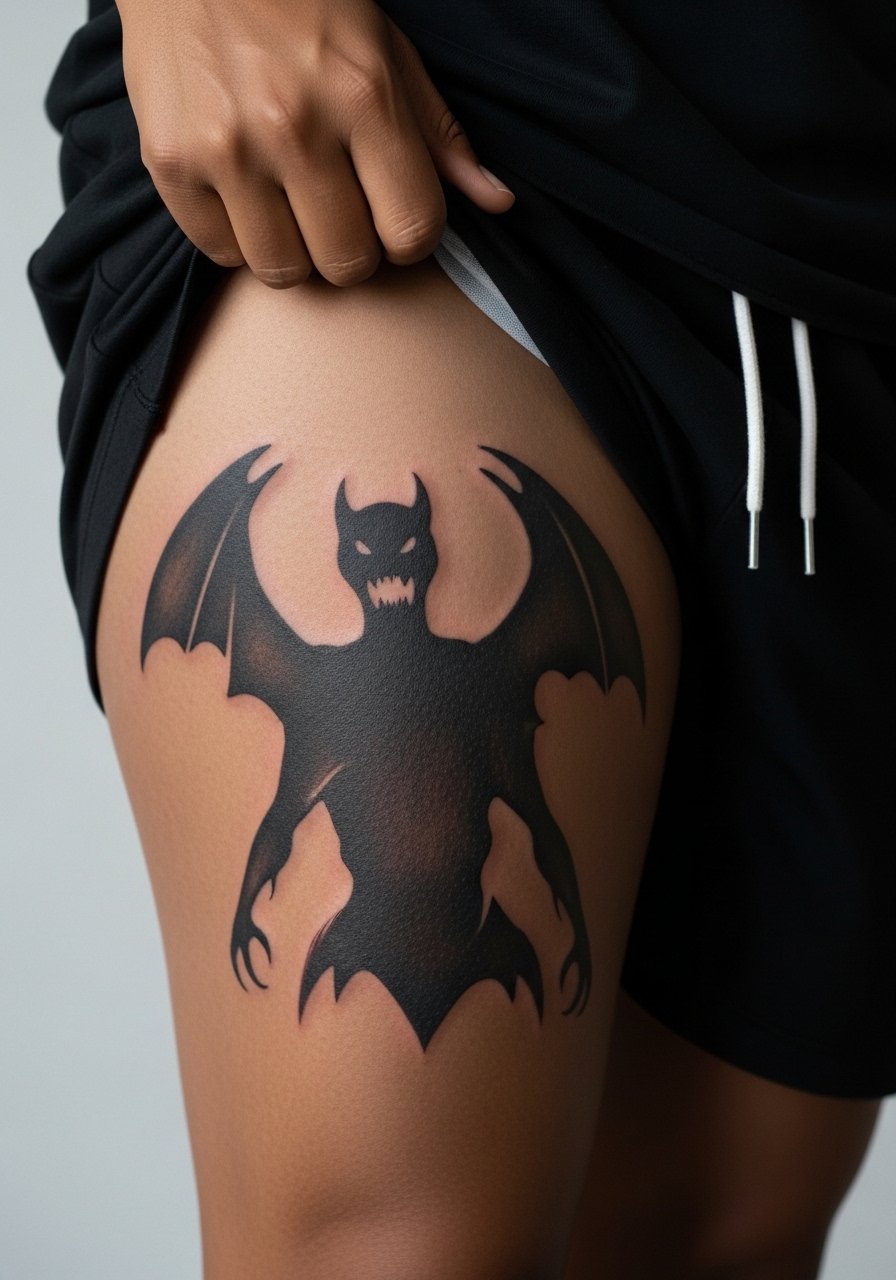
20. Shadow Monster Negative Space on the Thigh
Styling lead, the inner thigh piece benefits from the right session wear. Ask for high-contrast negative space edges so the silhouette reads well when clothed. The inner thigh is tender and usually booked as a longer appointment with breaks. A mistake is trying for hyper-detail in the shadow areas which becomes a smudge. For the session wear shorts you can shift without tugging, like loose drawstring linen pants that roll without pressure. Healed, this placement hides well and ages slowly with less sun exposure.
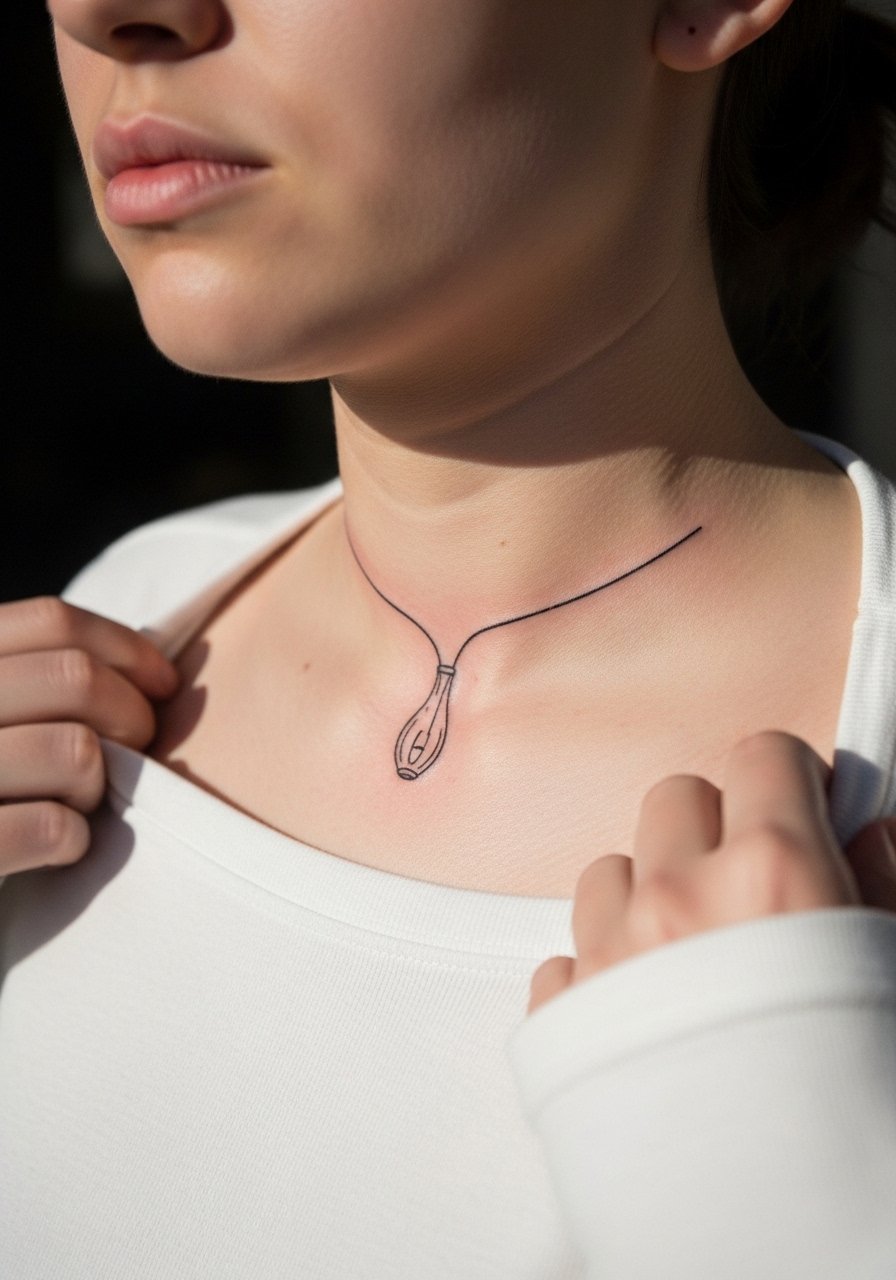
21. Alphabet Wall Bulb on the Collarbone Edge
Mistake lead, the biggest error here is placing dense bulbs too close to the clavicle ridge which causes distortion when you move. Request the stencil follow the bone contour and include breathing room. Pain is moderate and the session is usually short. For showing it off choose tops with a scooped or wide neck and pair with a thin chain pendant that sits above the bulbs. Expect light softening by year three if not protected from sun.
22. D&D Rune Row on the Inner Forearm
There is a consultation benefit to showing exact glyph references. Inner forearm skin holds ink well and shows detail, but the mistake is packing glyphs too tightly. Ask for spacing and consistent lineweight so each rune stays legible at a glance. The session is comfortable and most people finish in under two hours. For showing it off roll sleeves and pair with a minimalist watch that frames the forearm without covering the runes. Healed, rune rows make good long-term arm work.
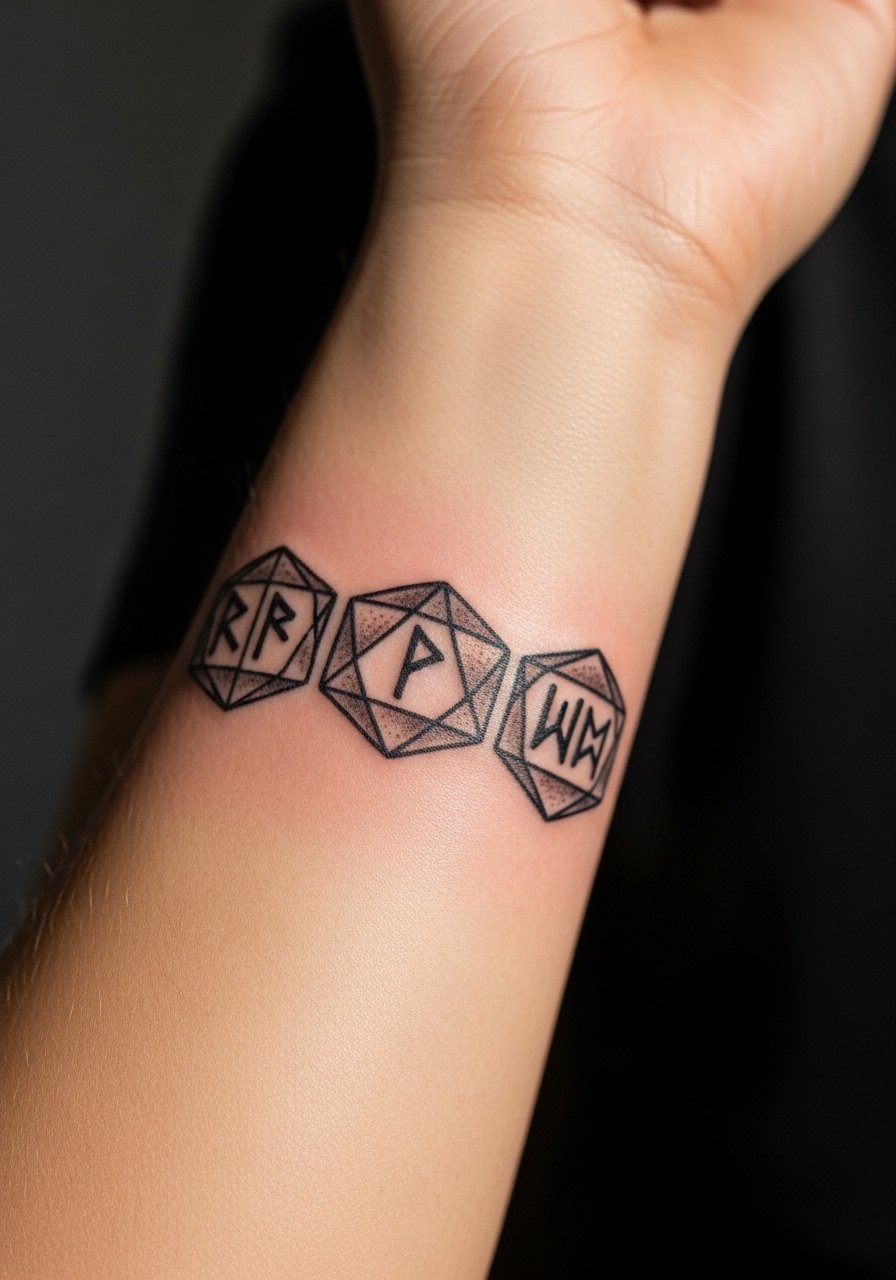
23. Eleven’s Silhouette in Negative Space on the Upper Thigh
Aging lead, upper thigh pieces generally keep their definition longer due to less sun exposure. The key is a clean negative space silhouette with selective stipple shading to suggest form. Sessions are longer but tolerable for most. A common mistake is tiny interior detail that a thicker canvas will obscure. For session comfort wear loose shorts or a skirt you can pull aside without tugging. Healed, the silhouette retains contrast and rarely needs frequent touch-ups.
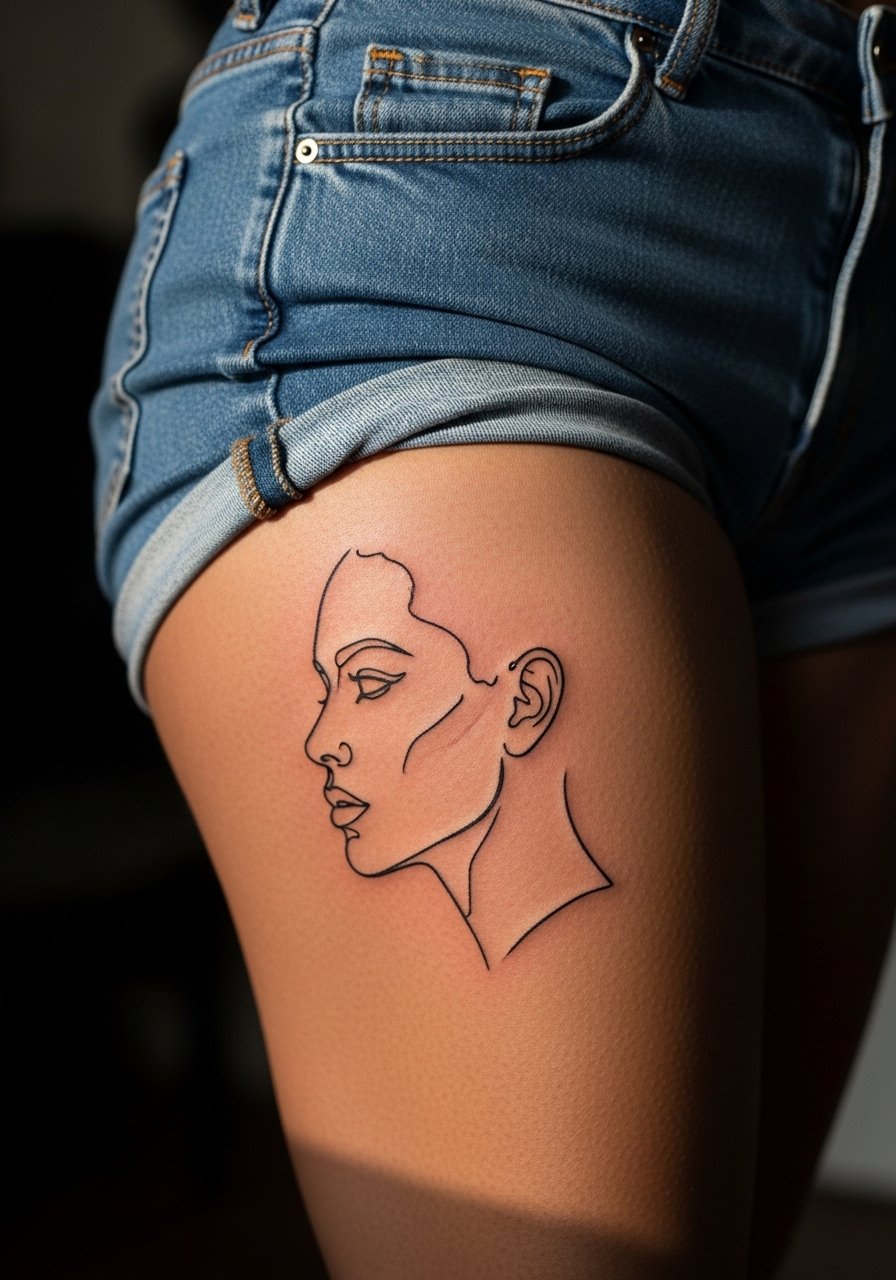
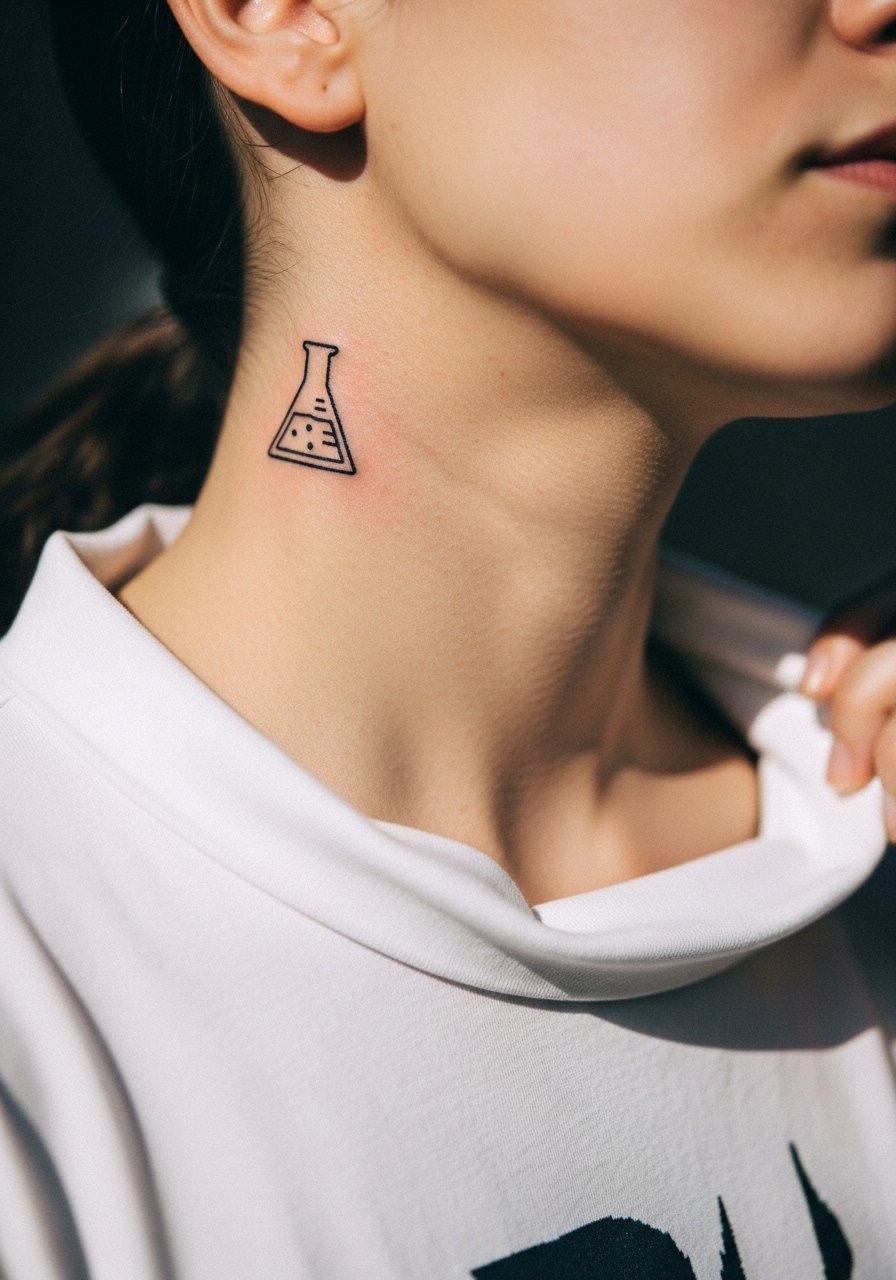
24. Hawkins Lab Symbol on the Nape of the Neck
Consultation lead, nape pieces need a precise stencil because hairlines and collars can hide or reveal the symbol. Ask for bold contour lines and minimal interior detail to prevent blurred edges. For the session wear a wide-neck shirt or collar you can pull aside without exposing more than the area. For showing it off choose a low ponytail with a thin silk scarf that keeps hair away while looking intentional. The nape heals cleanly if kept covered and out of sun.
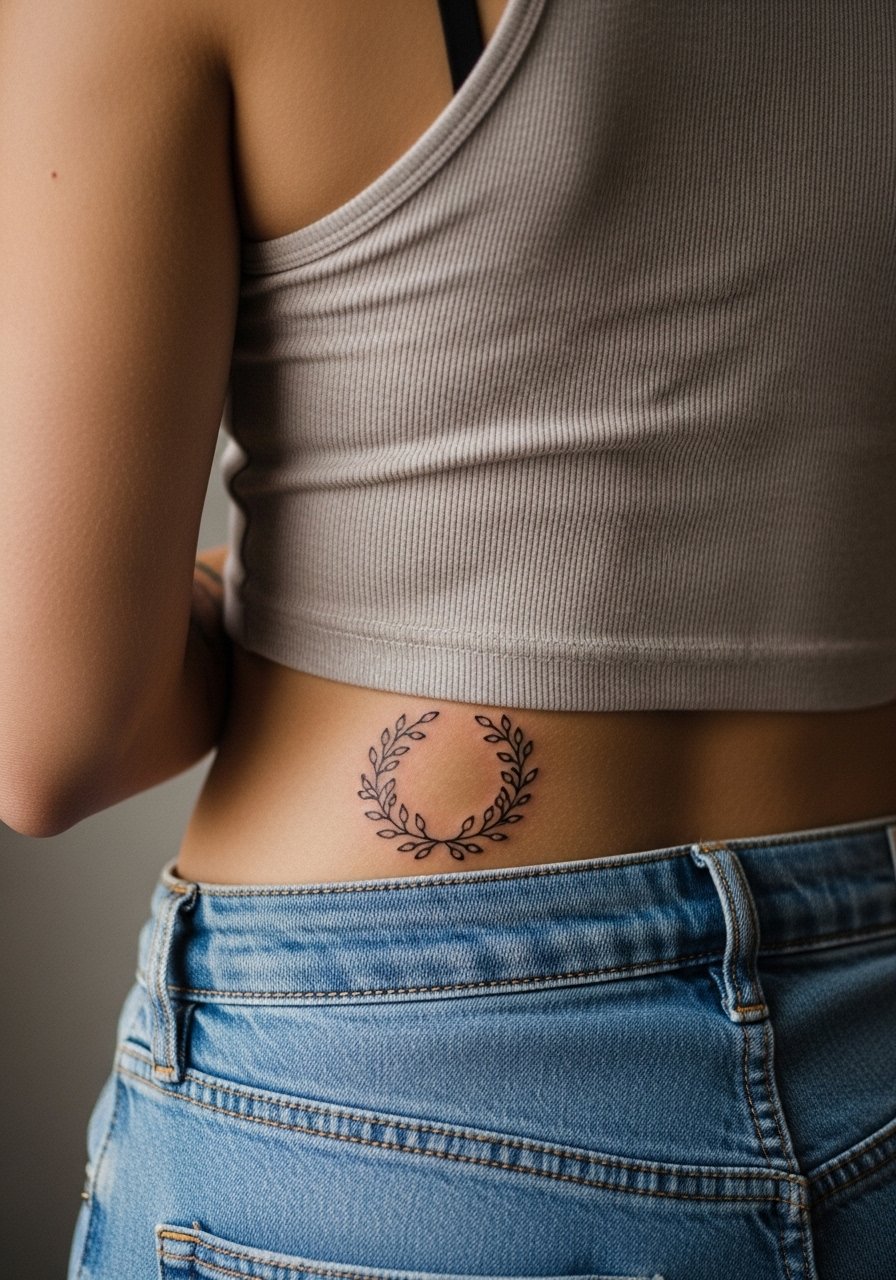
25. Christmas Light Wreath on the Lower Back
Lower back pieces need careful clothing planning for healing. Ask the artist to keep the wreath slightly higher than you think so waistband movement does not sit directly on the ink. The common mistake is placing the design too low where pant waistbands rub during the first weeks. For the session wear a tank top with high-waisted bottoms you can lower slightly without fully exposing the area. Healed, lower back pieces age well when covered and rarely need frequent touch-ups.
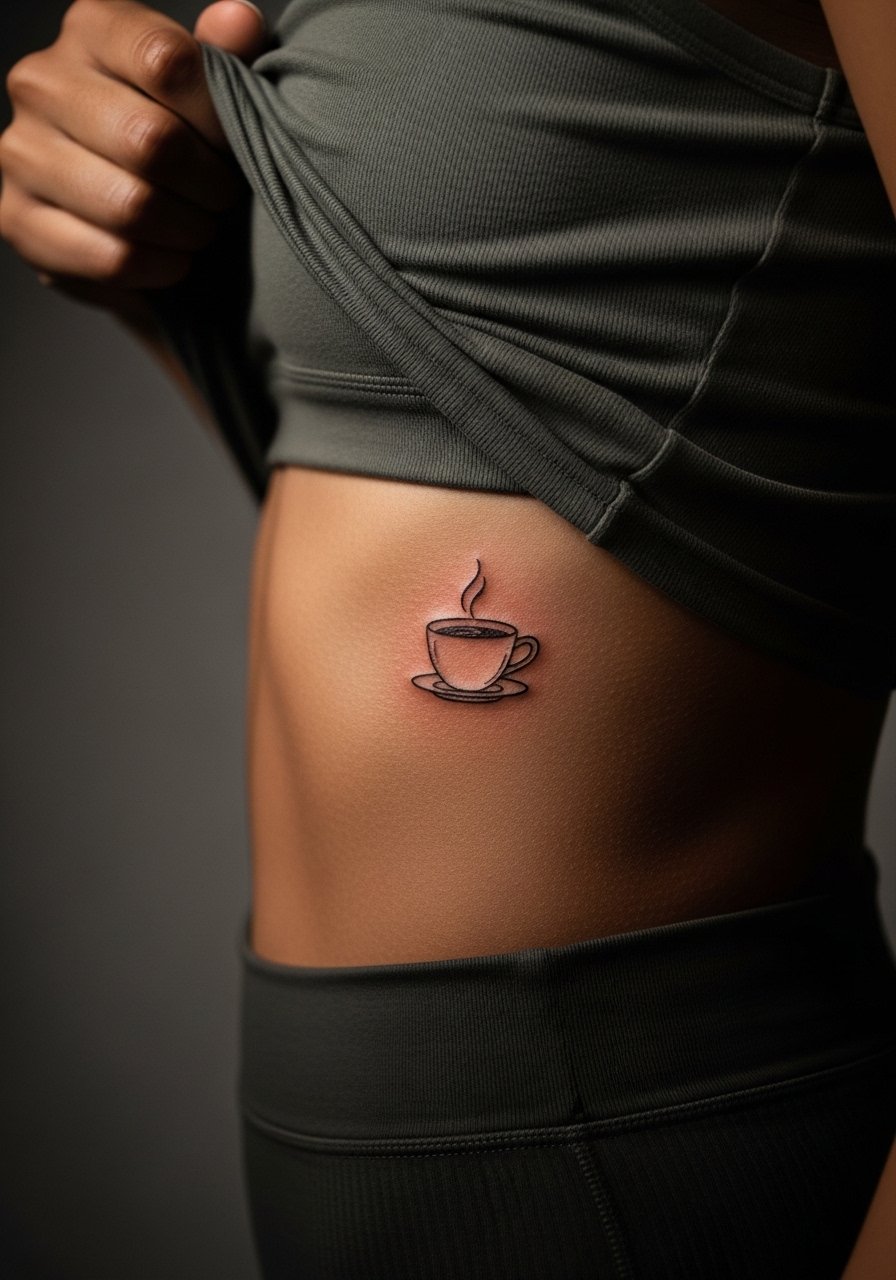
26. Mini Hopper’s Coffee Cup on the Ribcage Side
Mistake lead, the ribcage is unforgiving for tiny pictorials. If you want a small object like a cup, ask for a slightly larger scale and clear silhouette. The area is sensitive and sessions often require breaks. For the appointment wear a cropped top you can lift without tugging. A common outcome is needing a small touch-up after two years if the original was too fine. When done with confident contour and selective stipple it holds up better than overly delicate detail.
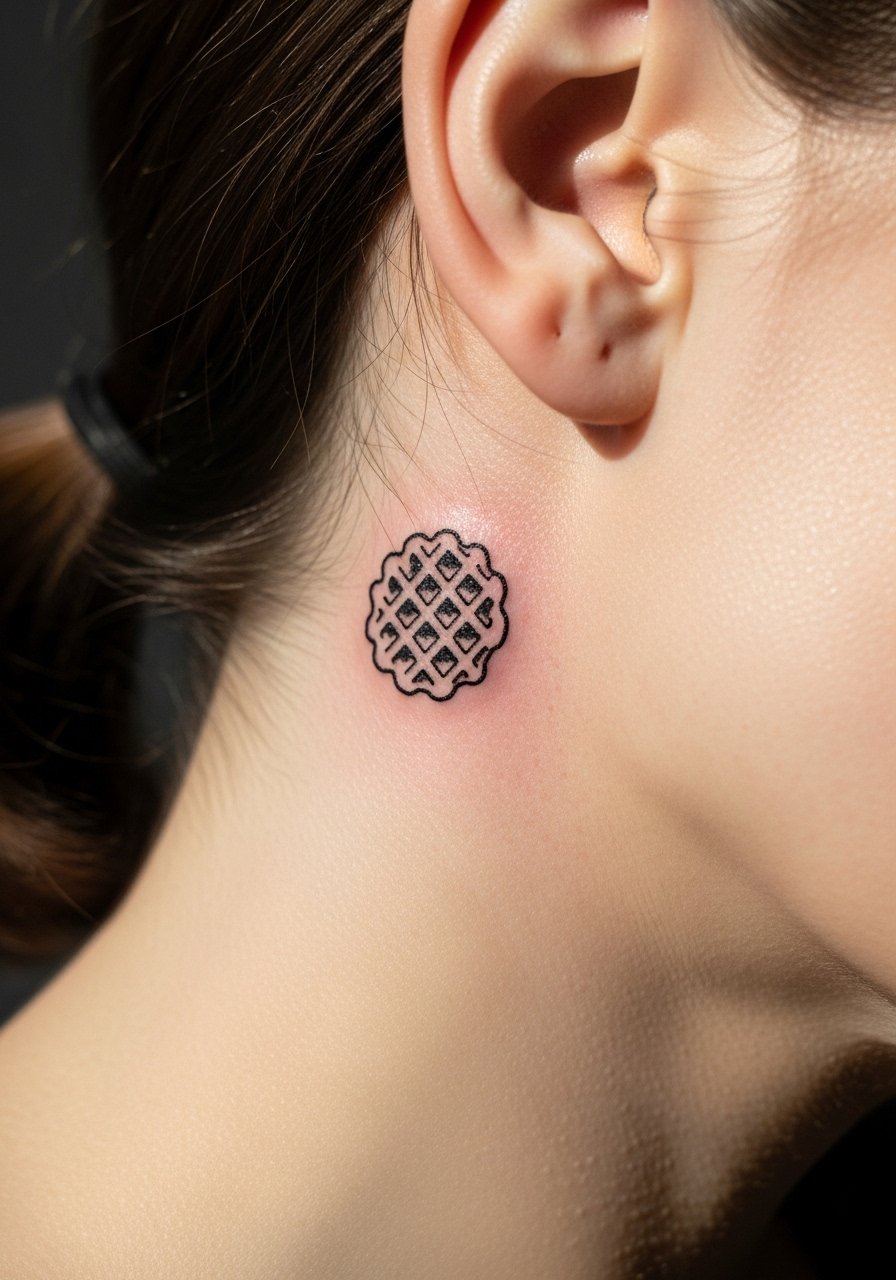
27. Tiny Waffle Silent Nod Behind the Ear Lobe Line
Styling lead, this tiny nod behind the ear works best when placed on the skin just behind the ear below the hairline for concealment options. The area is delicate but sessions are quick. Ask for a simple silhouette rather than interior texture so it reads after healing. For session comfort bring hair ties and plan to have your hair clipped up. For showing it off in warmer months let hair fall to reveal the small mark. Expect a touch-up if you frequently sleep on that side.
Frequently Asked Questions
Q: Will fine line Stranger Things script blur faster on my ribs than on my forearm?
A: It depends on spacing and the artist's depth. Ribs move more with breathing and that increases blur risk for very thin lines. If you want fine line on ribs ask for slightly larger letterforms and discuss touch-up timelines. Forearms generally hold detail longer because the skin is flatter and sees less stretch.
Q: How often should I expect touch-ups for small pop culture pieces like an Eggo waffle or tiny lights?
A: For high-friction areas like fingers and ankles plan for touch-ups every one to three years. Low-friction areas like the upper thigh, chest, or upper arm can go longer, often two to five years. The artist's saturation choice and your sun exposure are the biggest factors.
Q: Is it safe to get a spine or lower back silhouette if I plan to wear open-back dresses?
A: Yes, both placements work with open-back clothing and often look better when slightly larger than your reference. Discuss curvature and how the design follows the spine so movement does not distort negative space. Covering the area from sun will preserve contrast.
Q: Can I get a backstage-friendly version of a hand or neck tattoo that is easy to conceal for work?
A: Consider placement just behind the ear below the hairline or on the lower wrist where clothing and hair can hide the piece. Pick simple silhouettes and talk to your artist about strategic placement so the tattoo is easy to conceal when needed.
Q: What should I wear to a sternum or upper chest session to make access easy and keep the area modest?
A: Wear a fitted sports bra or a wide-neck top that you can pull down slightly without full exposure. This gives the artist access while keeping you comfortable and meets most studio guidelines.
