
Sitting in the chair with the stencil over your ribs is the moment you realize how much placement changes everything. The ribs read size differently on your body. They register pain more sharply than forearms. They stretch with breath. Pick the right style and consult with clarity and you get a piece that moves with you and still reads clearly at year five. The first idea below dives straight into what to ask your artist.
1. Scripted Birthdates Flowing Along the Ribcage
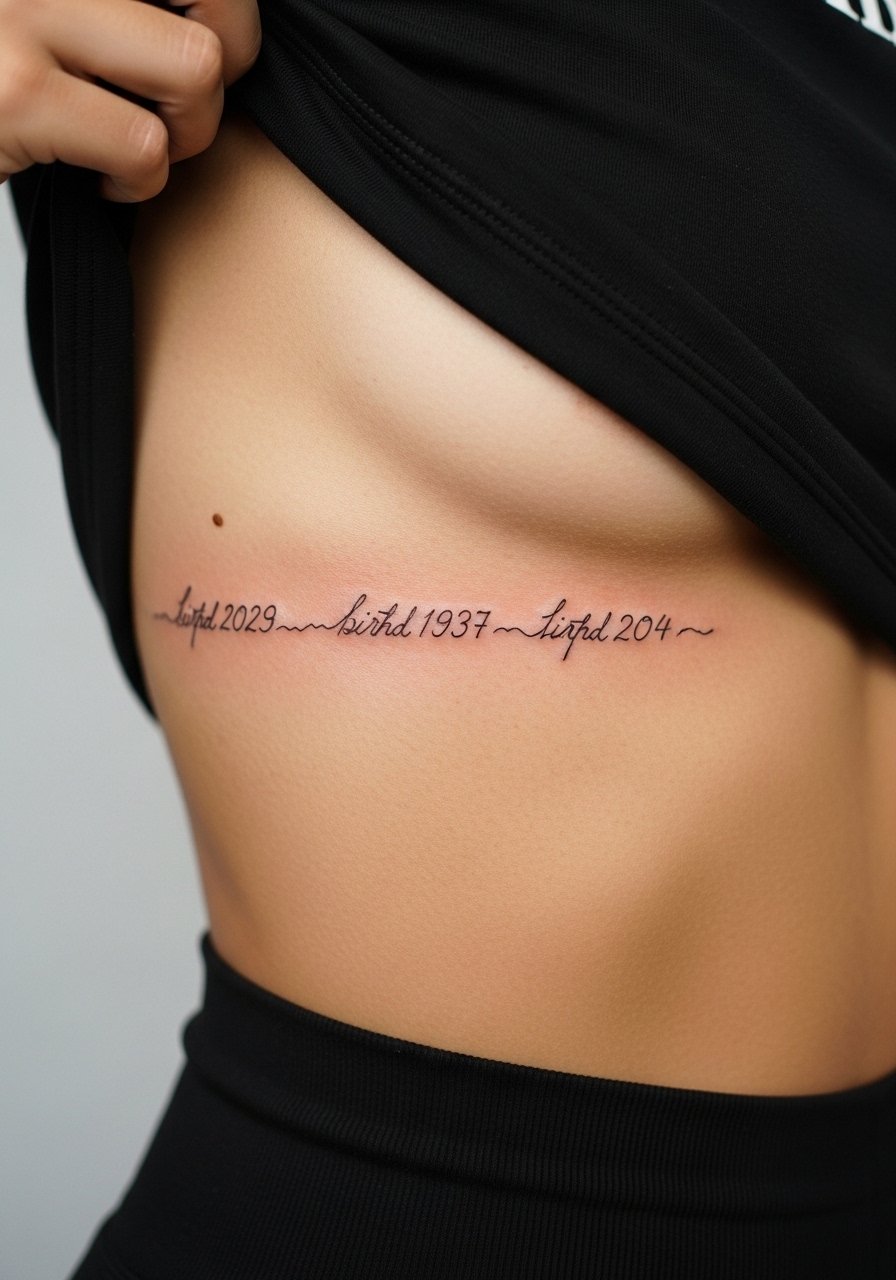
A row of family birthdates in clean, spaced script reads quietly on the ribs. Fair warning, ribs are a high pain zone but the session is usually short for a narrow script. Ask your artist for slightly increased letter spacing and consistent stroke weight during consultation to avoid letters merging as the skin ages. A common mistake is asking for ultra-tiny type. Tiny script on ribs tends to blur faster because the area moves with breathing. For showing this off, pair it with a cropped tank that lifts cleanly so the stencil sits flat when you try it on.
2. Birth Flower Band Wrapped Around a Rib
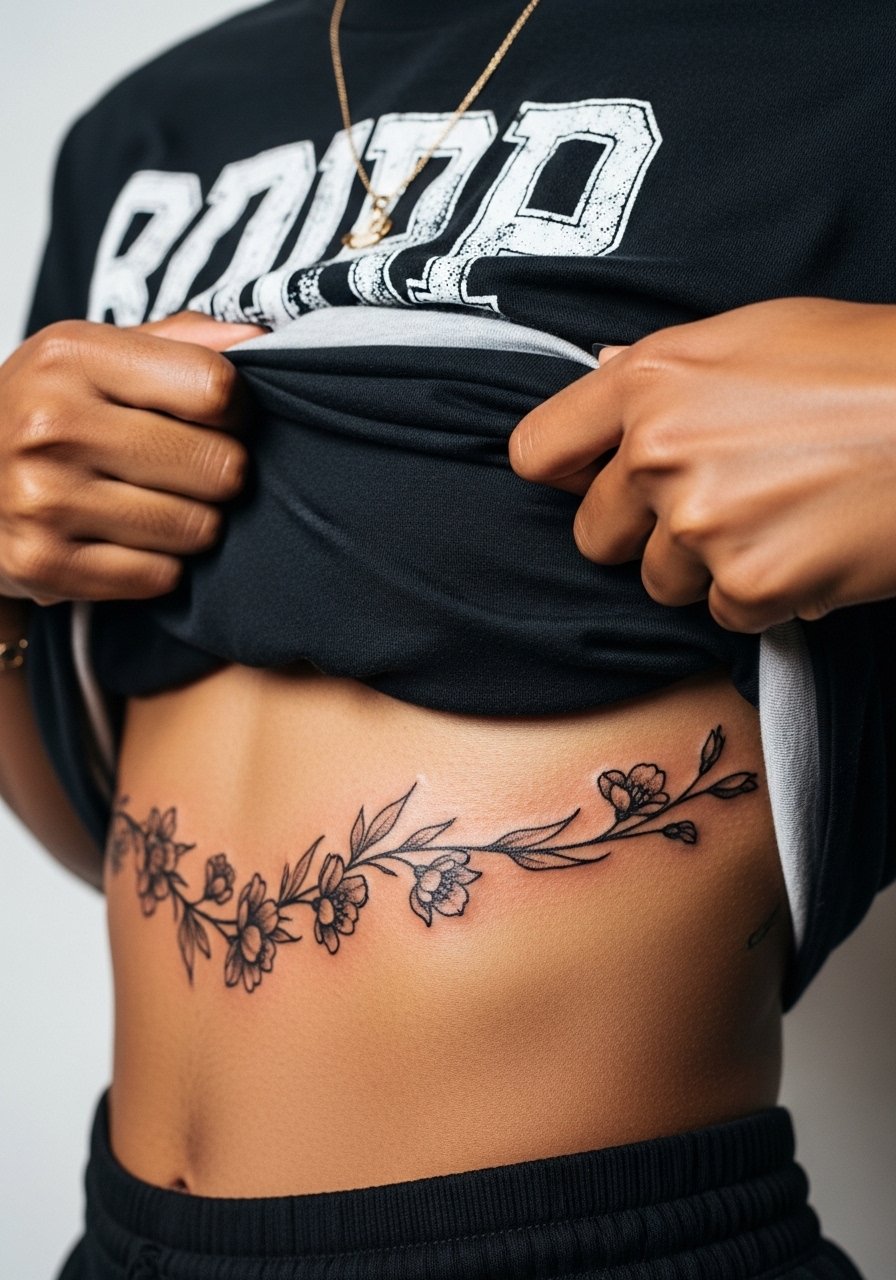
A band of birth flowers gives each family member a botanical shout-out without naming anyone. This design benefits from stipple shading and modest saturation to keep it soft as it heals. During the consult, bring clear reference images of each flower at the size you want. The mistake I see most is over-detailing petals at small scale. That detail clogs under the skin on the ribs. Expect the session to be moderate length and plan a touch-up at year two if you want the tiny dots to stay crisp. For evenings when you want to show the wrap, a high-waisted skirt with a cropped top frames the curve nicely.
3. Minimalist Heartbeat Line with Initials
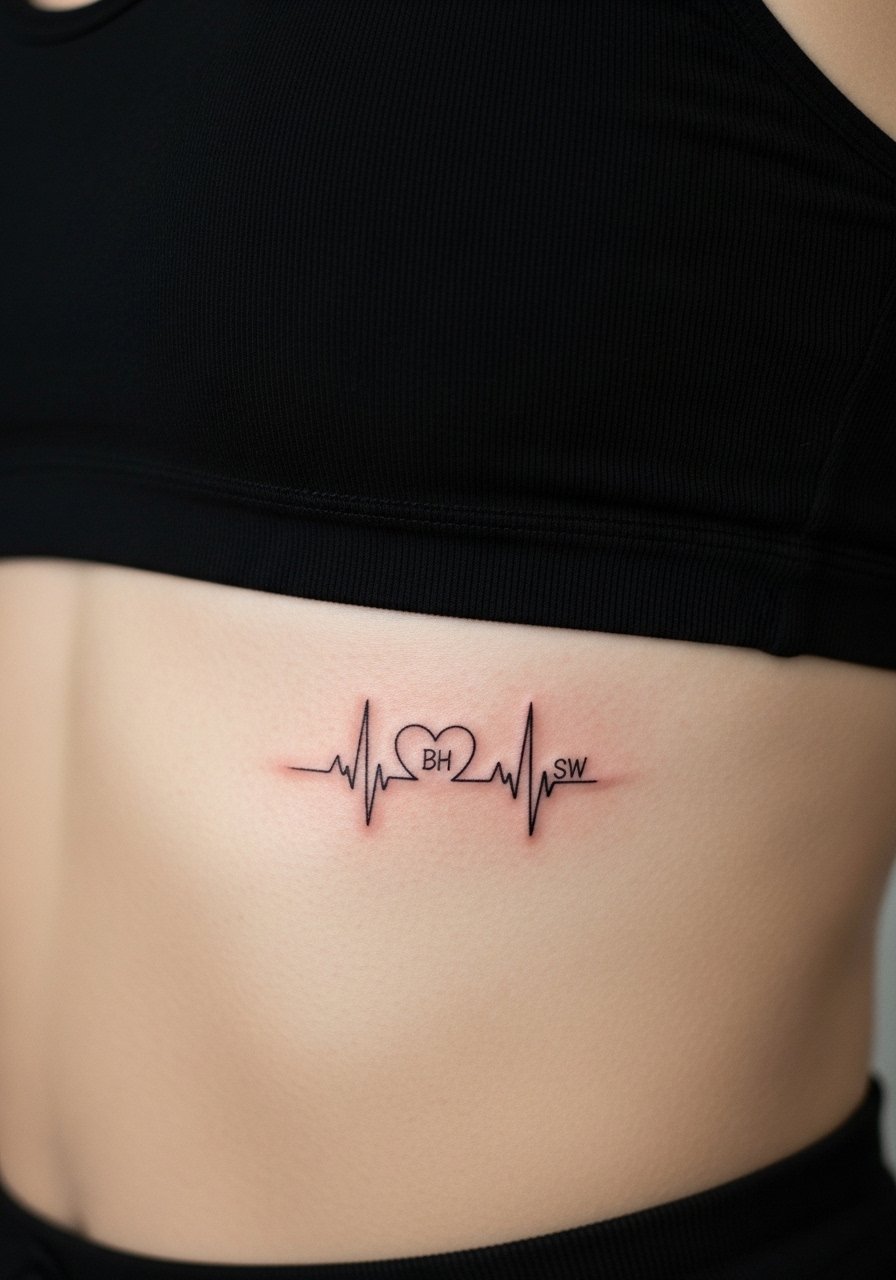
A heartbeat line with initials is subtle and personal. Artists split on whether ultra-fine linework holds on ribs. One camp says the skin stretch and constant motion blur delicate lines within two years. The other camp argues that proper needle depth and slight spacing let fine line settle fine on ribs. Ask your artist which side they favor and look for healed photos from year two or later in their portfolio. Pain spikes with each inhale during this placement so expect frequent pauses. For session comfort, wear a wireless sports bra that you can lift slightly without shifting the area.
4. Family Coordinates in Roman Numerals
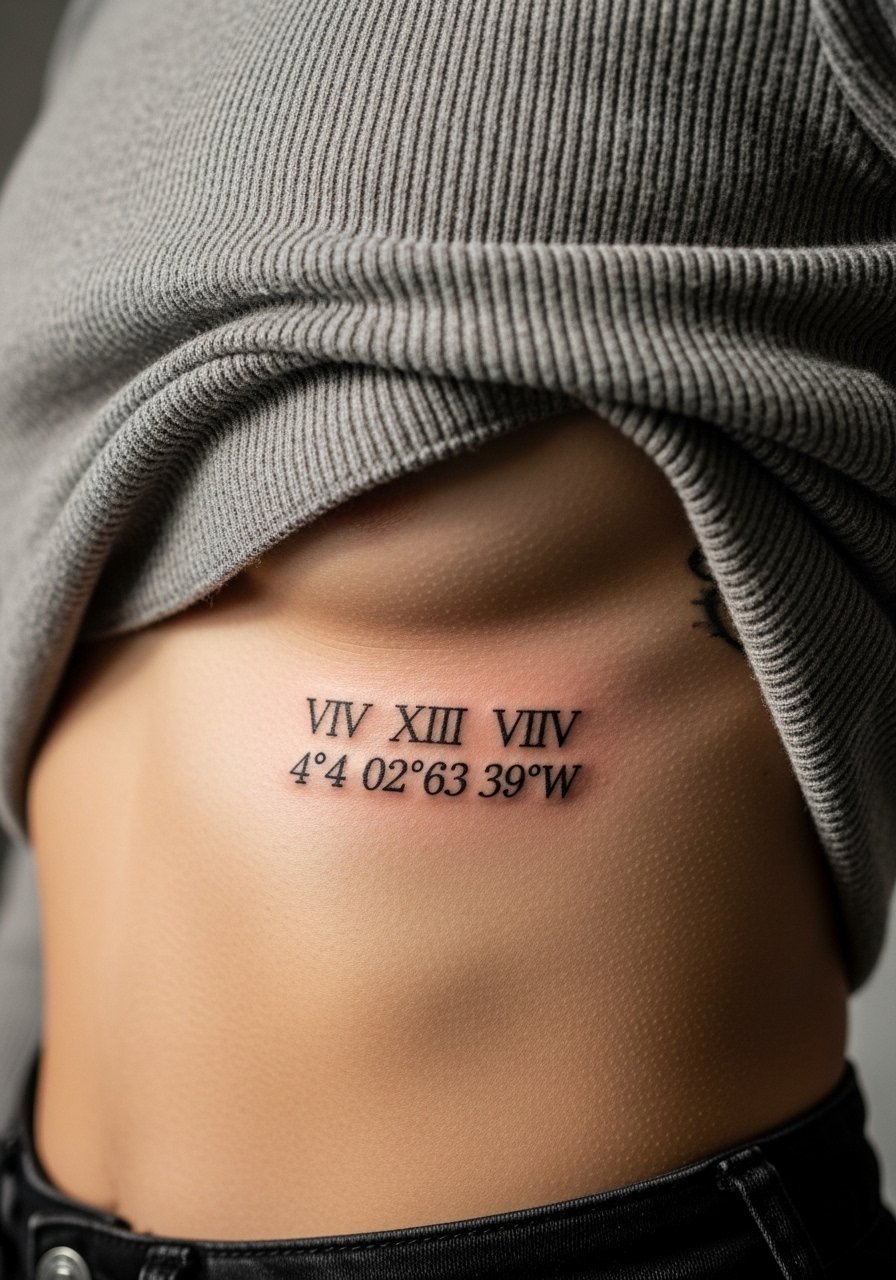
Coordinates make a private statement that still reads like jewelry on the body. Go for clean, slightly bold numerals rather than hairline serifs. The ribs cause numbers to distort when inked too thin. Tell your artist you want a confident stroke and to check the stencil while you breathe. A real mistake is letting the numerals sit too close together. That compresses with skin movement and creates blur. For wearability, an open-back blouse or a cropped wrap top is an easy way to let the ribs peek out without exposing much skin.
5. Tiny Silhouette Portraits of Loved Ones
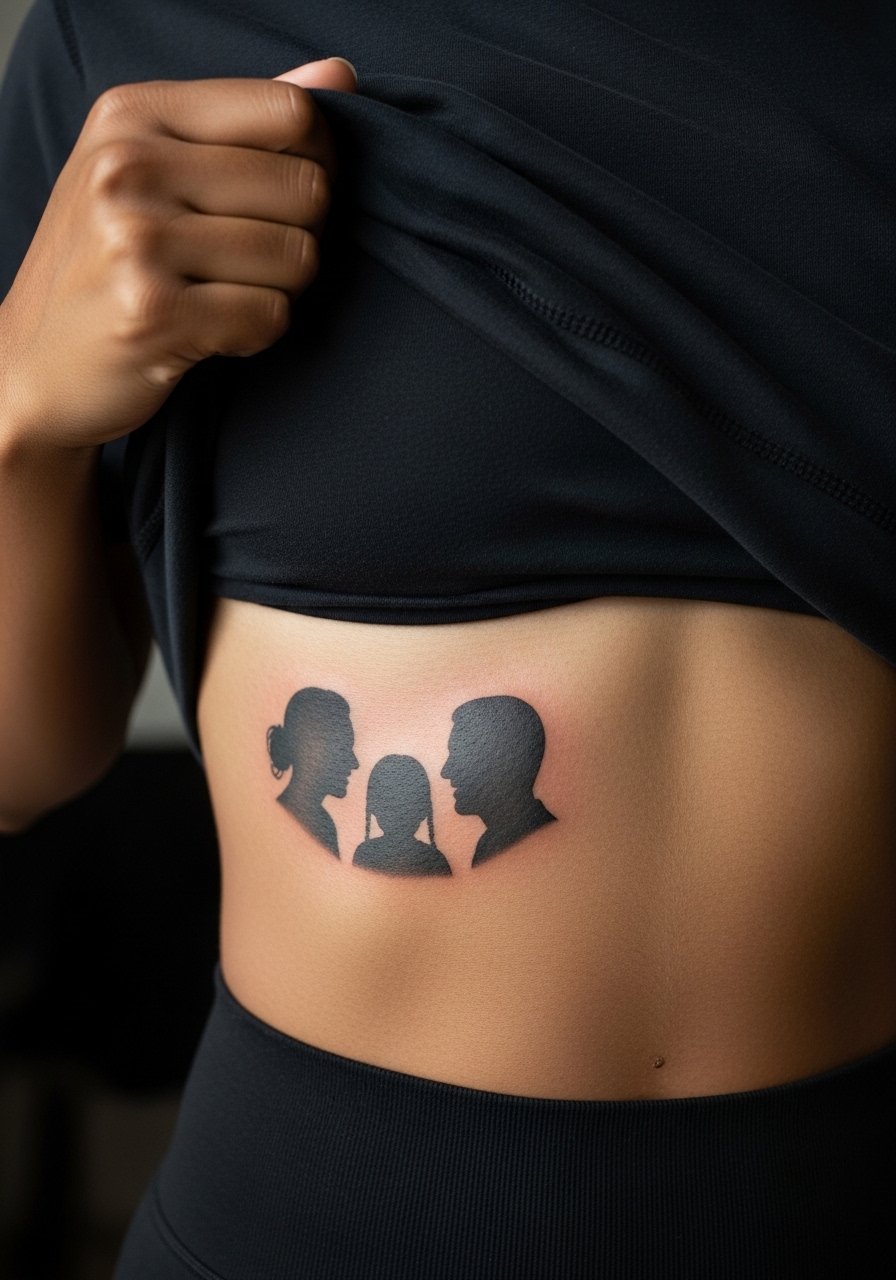
Micro portrait silhouettes are intimate and demand strong reference photos. These are session-heavy for precision and require an artist experienced in micro-realism. The biggest mistake is using low-resolution photos. Tell the artist you want high-contrast references and discuss how each face will scale. Portraits on ribs age differently because the skin can soften lines near the edges. Plan on a touch-up timeline at year two or three. For the session, wear a loose zip-up hoodie you can pull aside without jostling the area.
6. Family Tree Branch with Initial Leaves
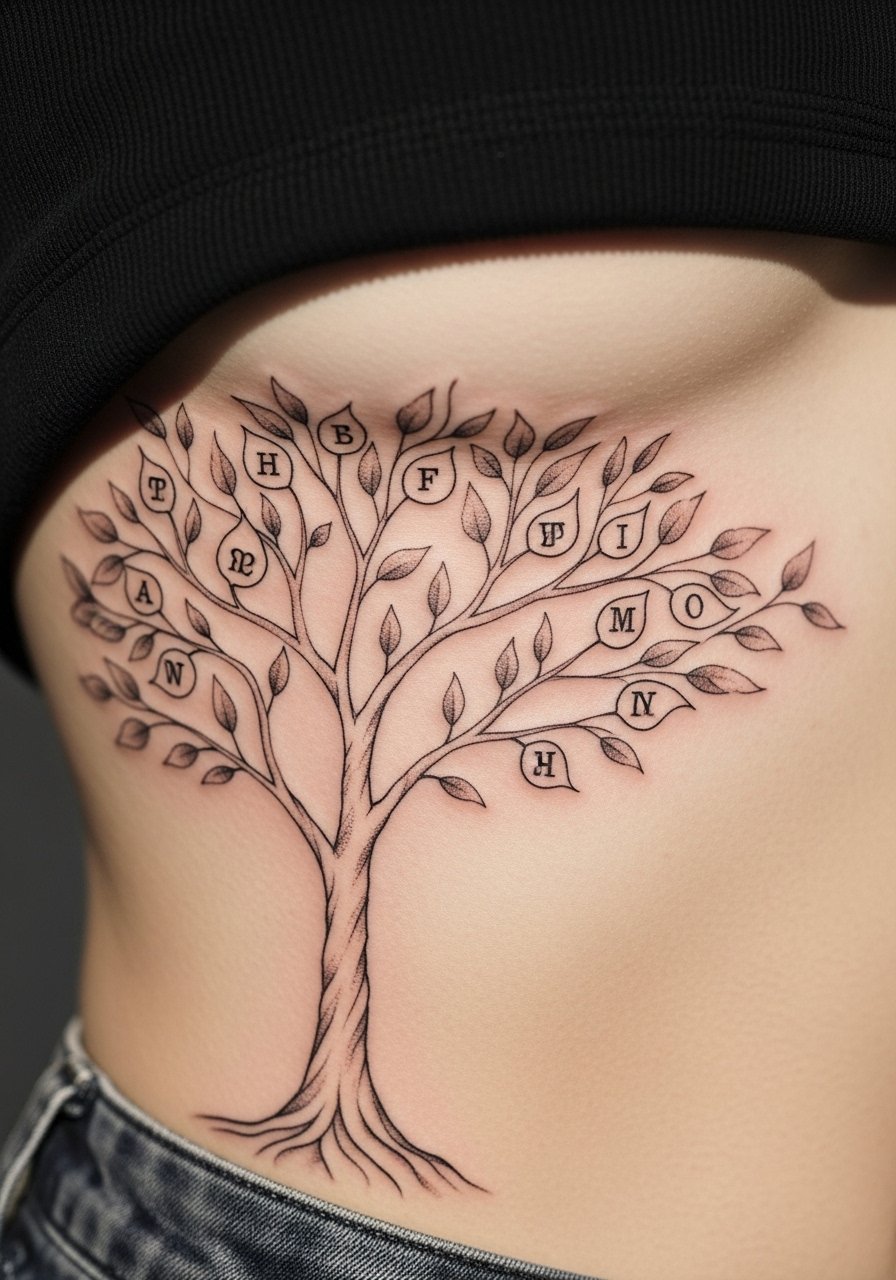
A single branch with tiny initialed leaves balances symbolism and negative space. I recommend moderate line weight and deliberate spacing between leaves. The ribs demand that tiny initials be slightly larger than you would pick for forearm work. A common version that ages poorly uses tight lettering and dense shading. Instead, ask for lighter stipple and more breathing room around each leaf. Expect the session to run moderate time because of precision. When you want to show the motif, a scoop-neck bodysuit lifts the hemline without revealing too much.
Studio Day Picks
The floral wraps, script pieces, and tiny portraits above share one demand. Ribs need flat, stable skin for the stencil and a calm first week of healing.
-
Stencil transfer paper kit. Lets you preview exact placement on your ribs and test how the design sits when you breathe.
-
Topical numbing cream. Applied as directed it can take the edge off the higher sensitivity of the ribcage during longer sessions.
-
Thin protective film roll. Useful for the first 24 hours when clothing rub can irritate fresh ribwork.
-
Fragrance-free gentle body wash. Cleans the healing surface without stripping ink or irritating fine lines.
-
Aquaphor Healing Ointment. A thin layer for the initial days locks in moisture and eases tightness across the ribs.
7. Interlocking Rings or Infinity Band Along the Rib
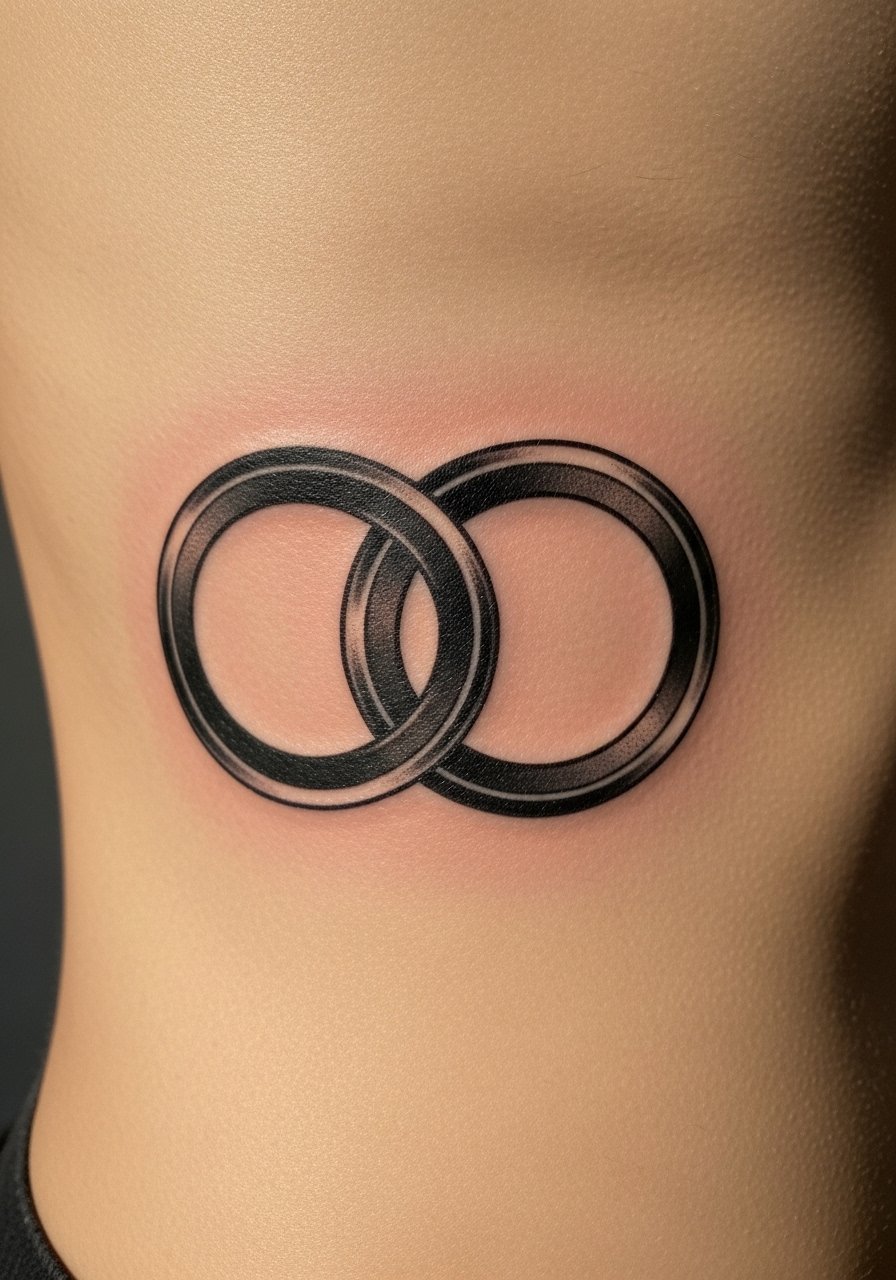
Interlocking rings read as relationship markers that can include multiple family members. Bold blackwork works better than hairline detail here because saturation holds on the ribcage. The ribs can be unforgiving to tiny negative-space work so pick thicker bands. Tell your artist during consult that you want clean edges and deep saturation to avoid early fading. Sessions are short for simple bands but demand steady breathing control. For showing this type of graphic, a wrap crop top keeps the shape readable without competing with patterns.
8. Puzzle Pieces That Fit Together
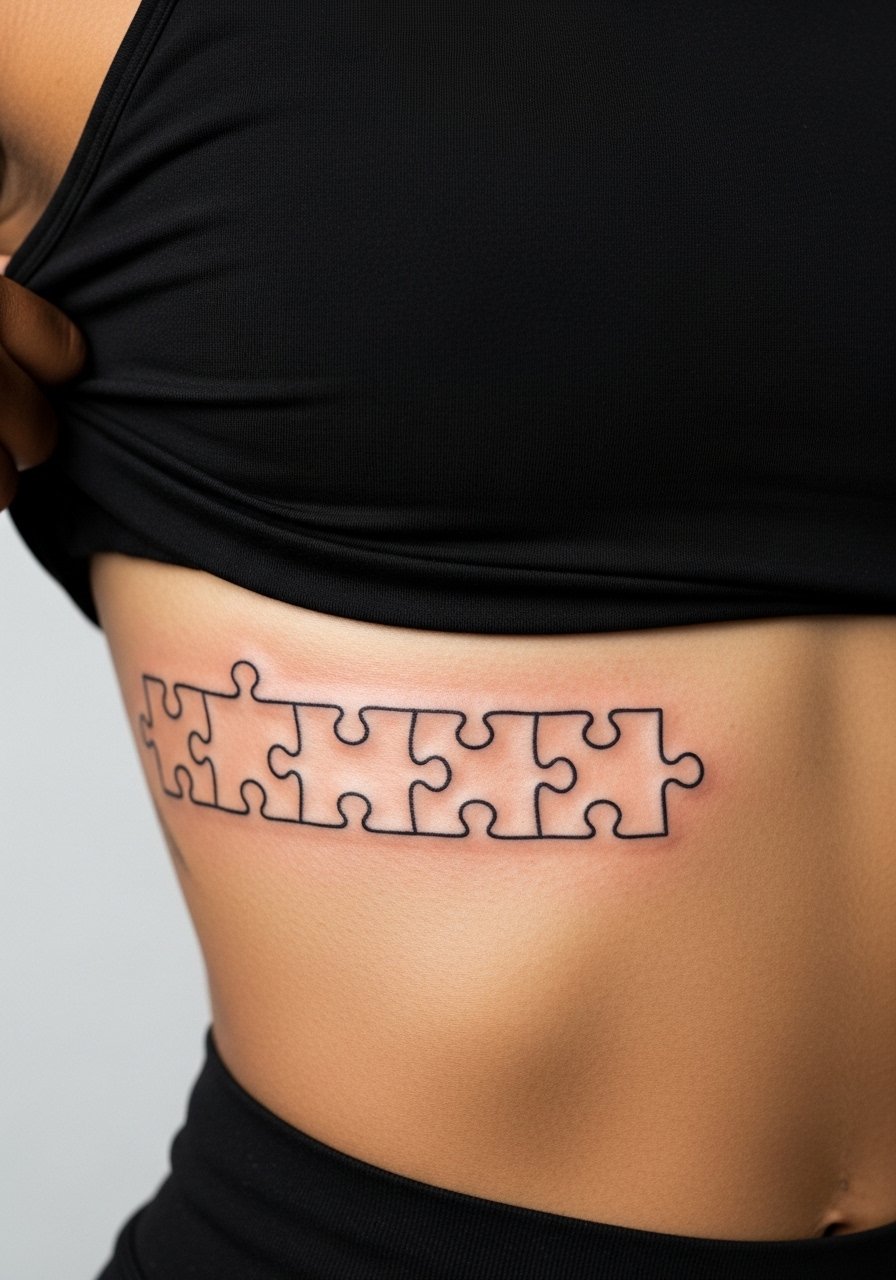
Puzzle pieces can symbolize how family members fit into a whole. There is a debate about ultra-clean micro-angles on ribs. One camp says tight geometric joins on the ribs tend to soften and lose the intended fit as the skin moves. The other camp believes careful spacing and slightly thicker borders keep the joins readable. In practice, ask for a mock-up that shows the pieces at your exact size so you can see how breathing affects the joins. A common mistake is forcing too many pieces into a small band. For session ease, wear a loose button-down shirt you can pull aside without tugging the skin.
9. Fingerprint Heart Made from Two Prints
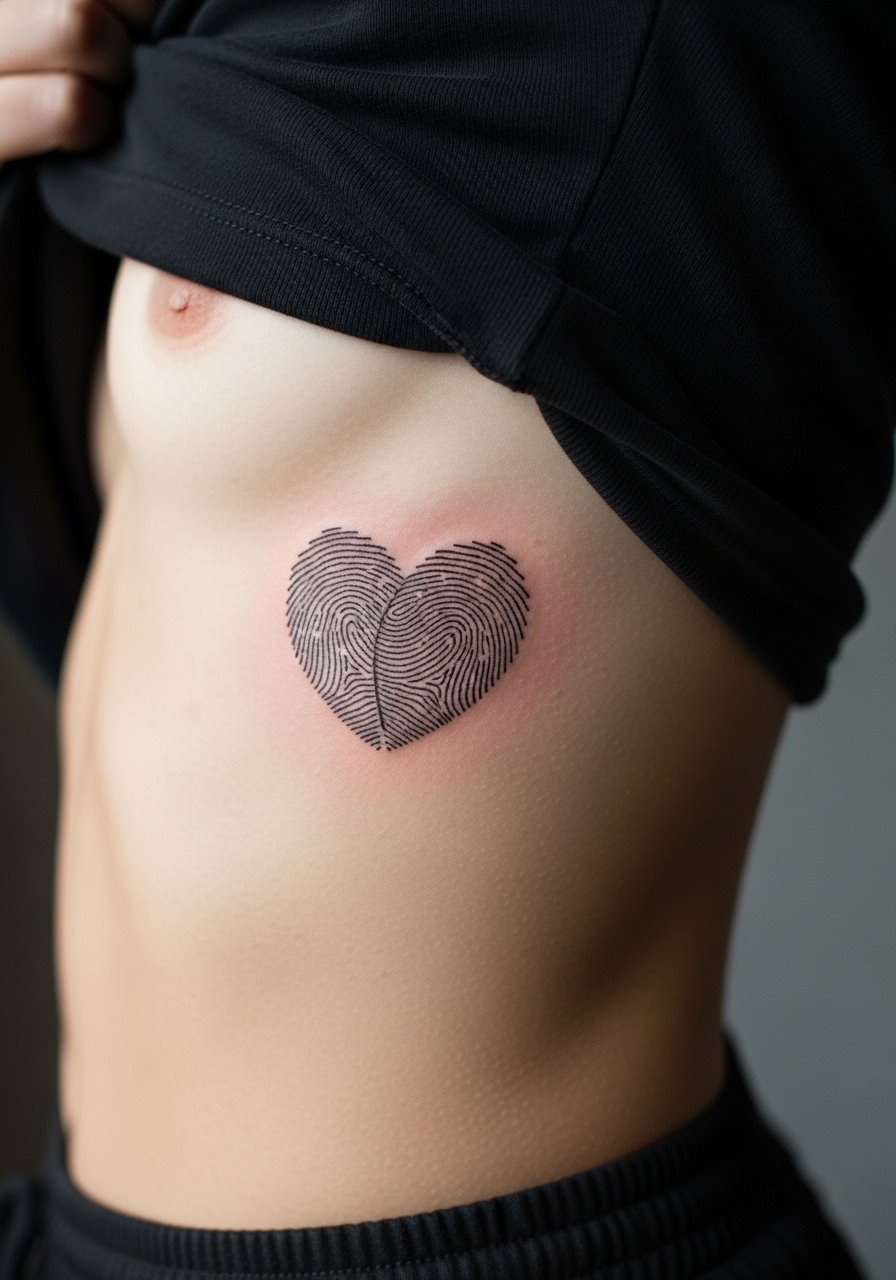
Using actual fingerprints welded into a heart is intimate and unique. The trick is simplifying the whorls so they read at the size the ribs allow. Tell your artist to trace the prints and then stylize the lines so they remain distinct at a larger scale. The ribs demand slightly bolder linework than the hands. A mistake is insisting on exact miniaturized whorls. Expect a longer session if you want high fidelity. For after-session photos, a soft rib-knit camisole frames the heart without distracting.
10. Tiny House Silhouette for the Family Home
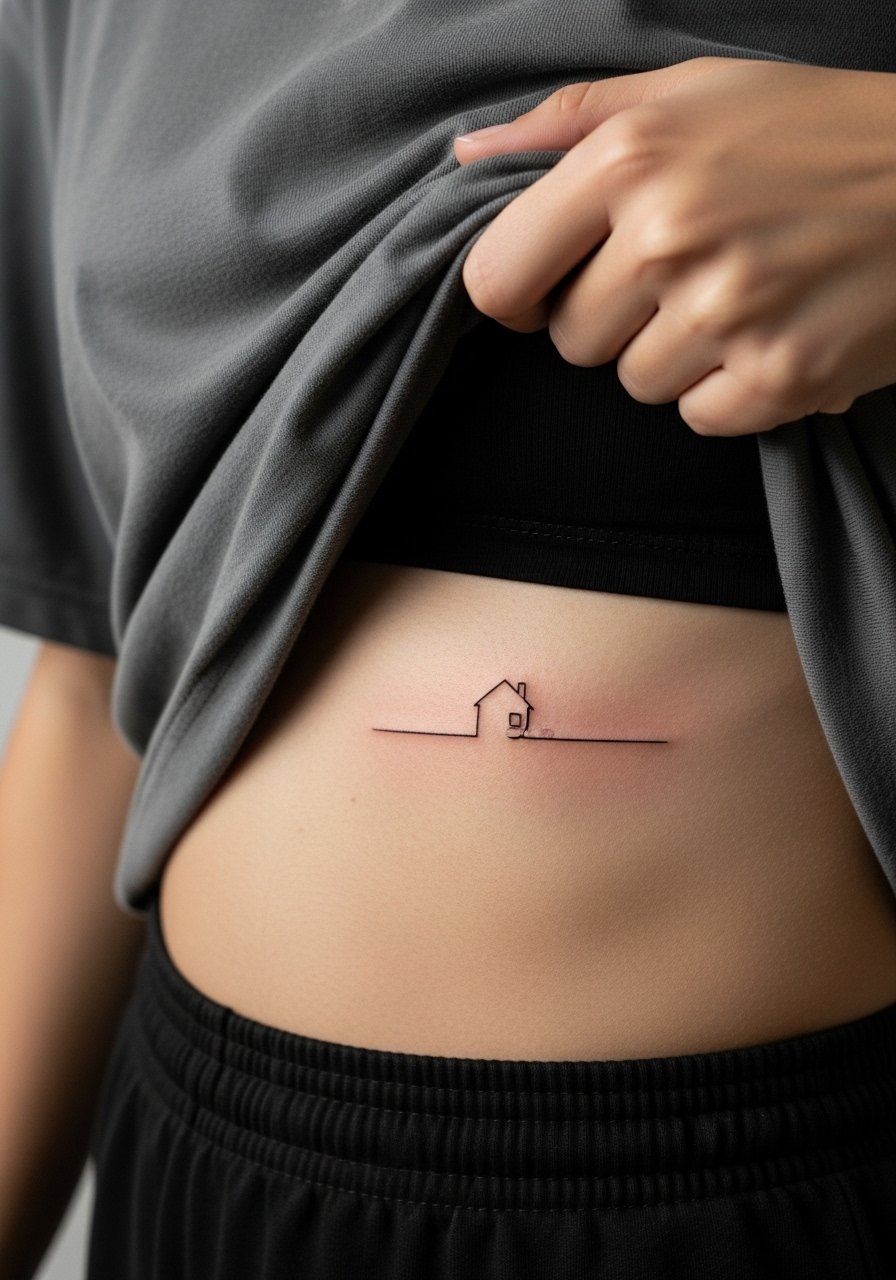
A house outline taps into the idea of home as family. Simple single-line silhouettes age well on ribs when the stroke is confident. When you sit with the artist, specify line weight and roof angle to prevent the skinny roofline from softening. Small fills can help edges stay visible. A session for a single-line house is usually brief. For showing it off casually, try a button-down tied at the waist so the hem lifts without exposing the whole torso.
11. Paw Prints for a Family Pet
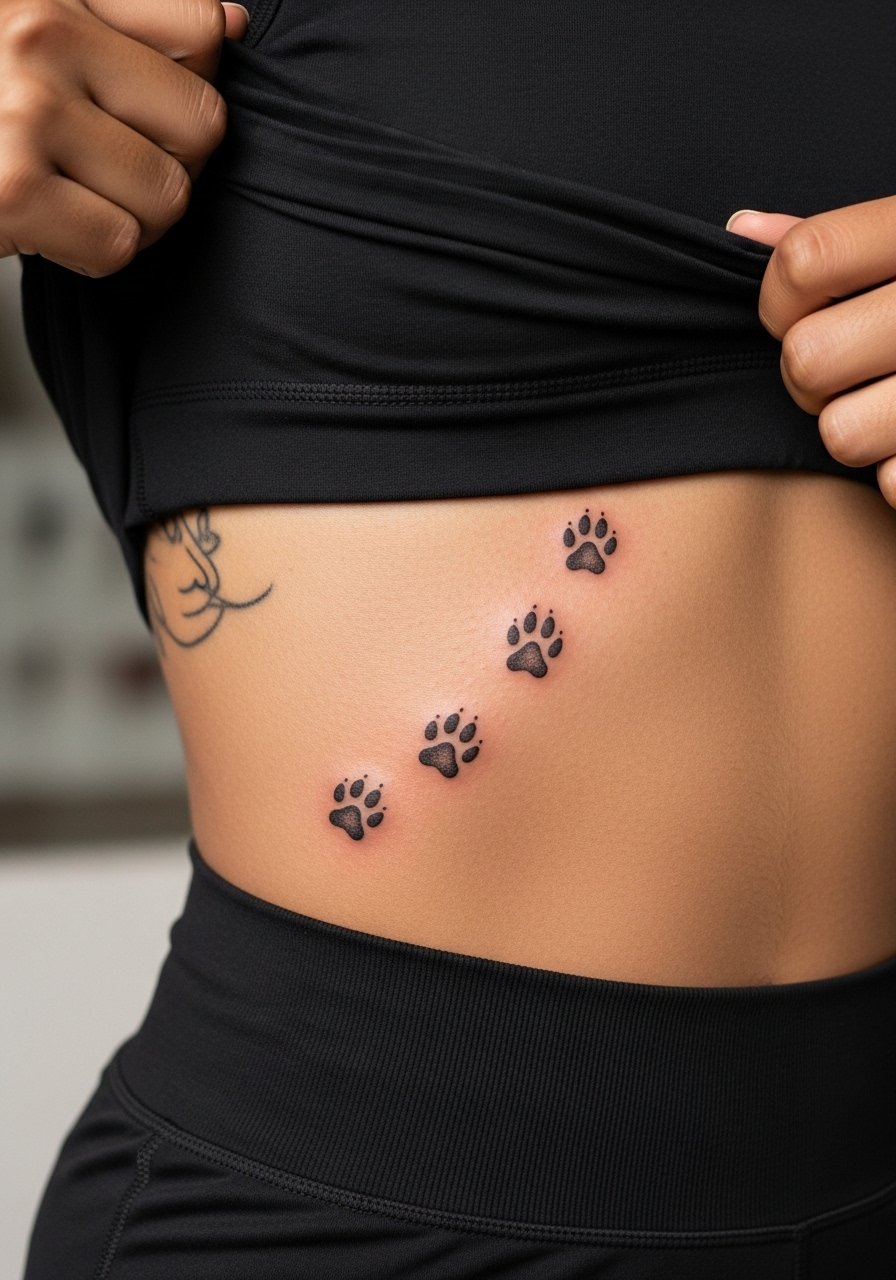
Pet paw prints are a quiet way to include a non-human family member. The ribs are forgiving for spaced shapes like prints. Ask for slightly heavier pads and soft stipple around edges rather than extreme micro-detail. Many people over-detail the claws at small scale which becomes blotchy. Pain is higher but sessions are short. For showing pet tribute pieces, a soft wrap top keeps the focus on the prints while staying modest.
12. Matching Morse Code Line for Each Family Name
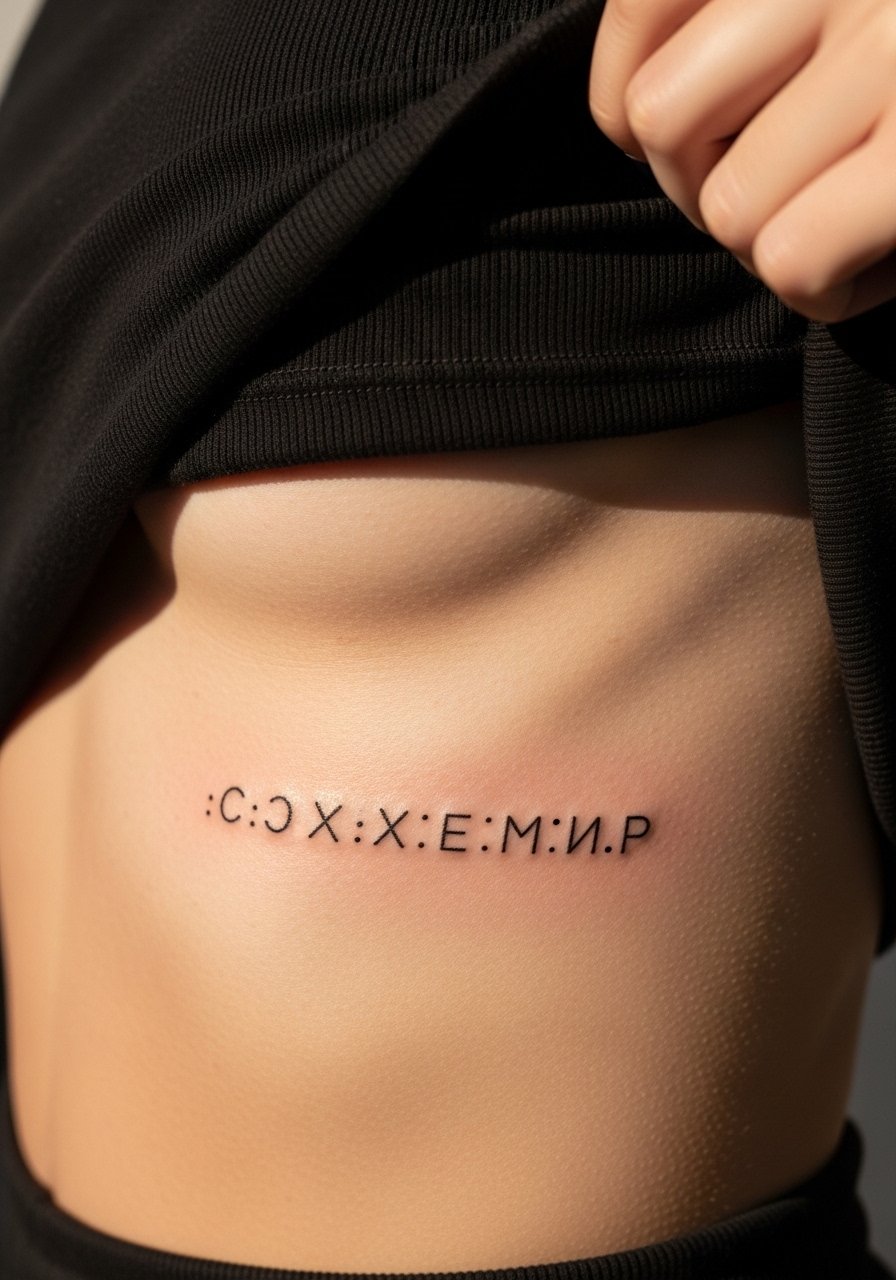
Morse code offers a discreet textual option that looks like a minimalist pattern. Dots and dashes need consistent spacing and a test stencil to ensure legibility when you breathe. The ribs can stretch those tiny marks if packed too close. Ask your artist for at least 2 mm of separation between marks at the size you chose. A common mistake is copying proof images without accounting for chest curvature. For styling, a low scoop tank lets a narrow Morse line peek out subtly.
13. Constellation Map with Family Birthstars
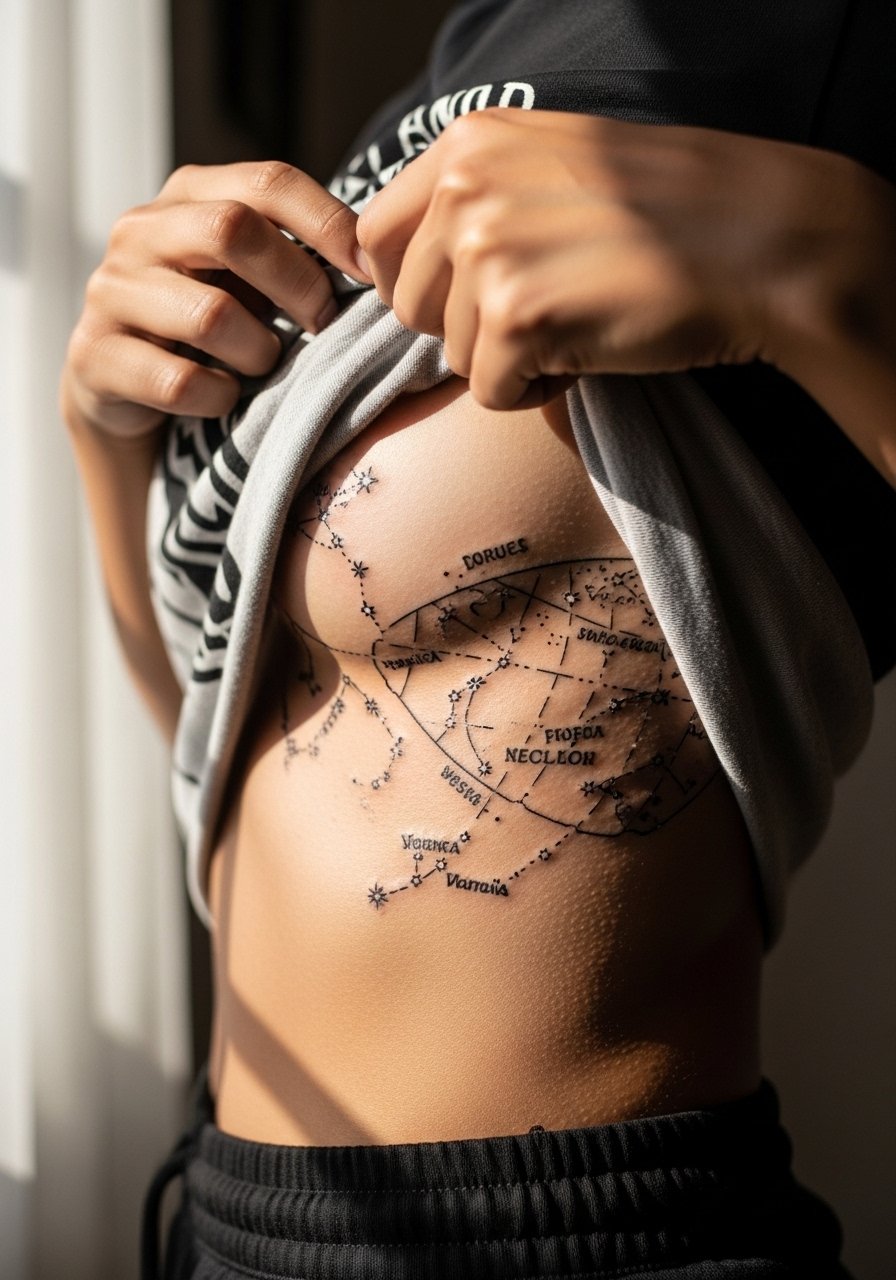
A constellation design plots each family member as a star. Tight clusters with dense dot work can merge over time on the ribs. I recommend slightly larger star dots and a simple connector line so the pattern reads at a distance. Tell your artist you want spaced nodes and ask to see a breathing test with the stencil on. Expect the session to vary from short to moderate depending on star count. For evening wear, an open-back dress lets the map show elegantly without exposing too much.
14. Handprint Overlap in Subtle Linework
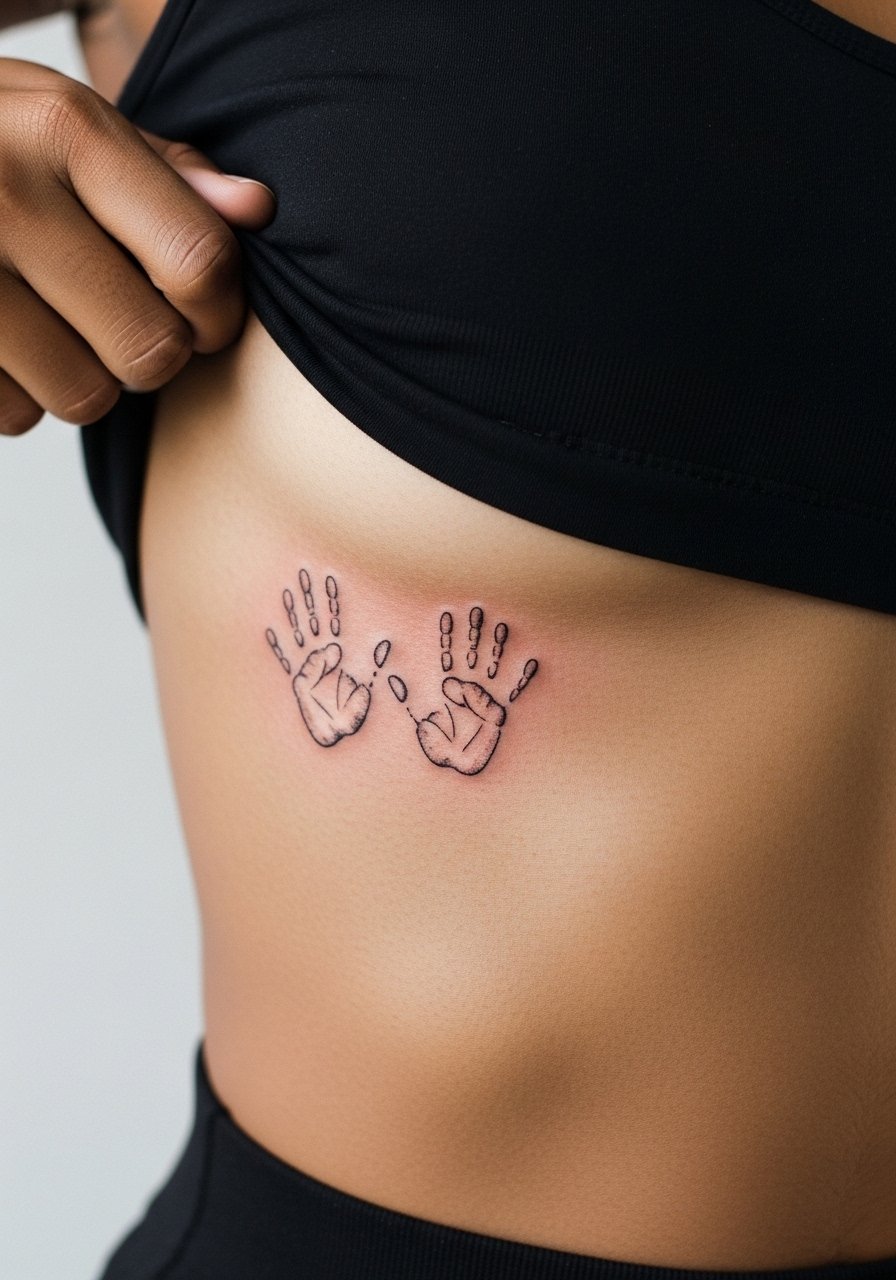
Handprints are tactile and immediate. The artist will likely recommend simplifying finger creases and focusing on outer contours for longevity on ribs. The common mistake is trying to tattoo every tiny crease which muddies as the area heals. The session is precise and may take longer than expected for alignment. For photographable reveal, wear a tie-front crop top that frames one side of the ribs.
15. Family Motto or Short Quote in Curved Script
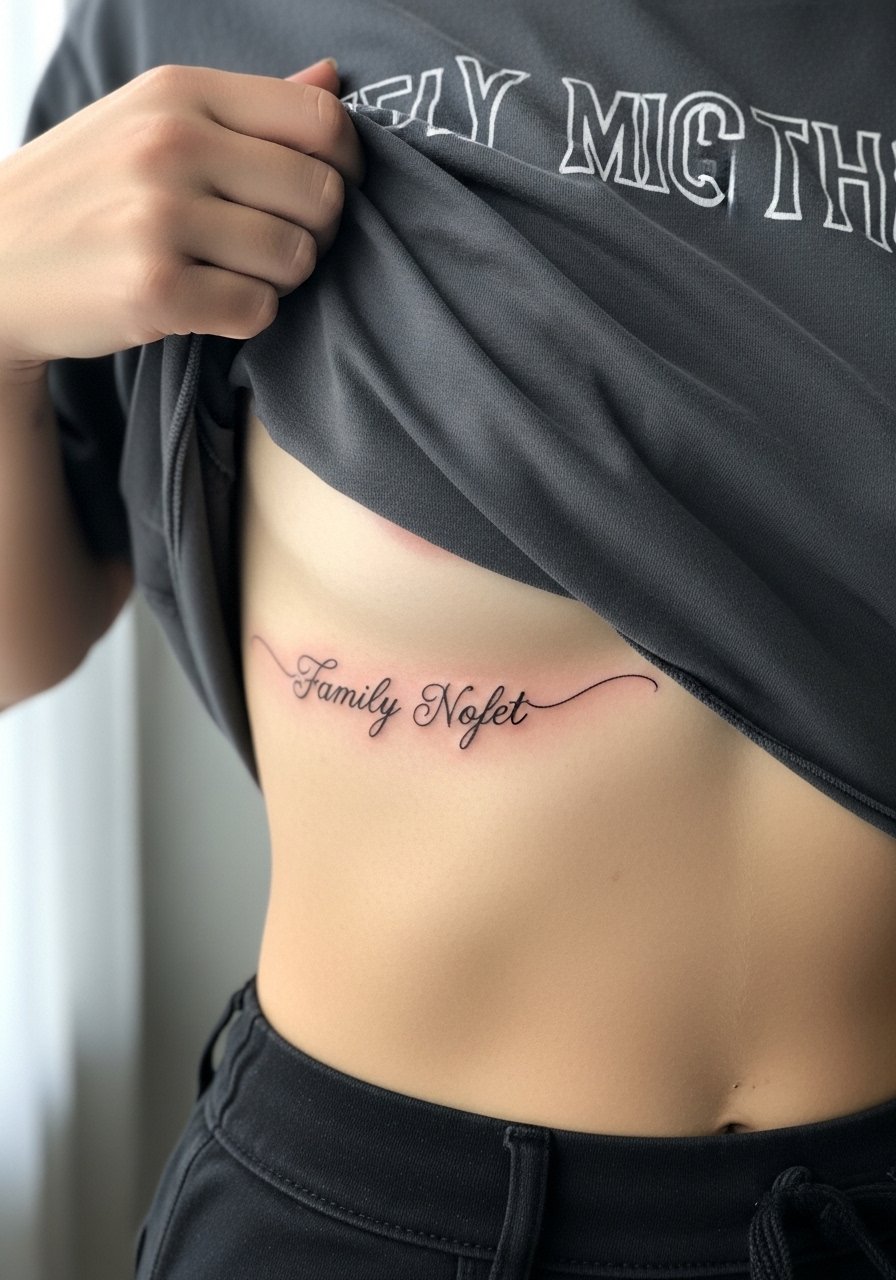
A short motto that follows the rib curve uses body shape to emphasize meaning. Curved script needs consistent baseline flow so ask the artist to stencil the phrase while you breathe to check placement. The ribs make tight flourishes fade, so favor simpler letterforms with slightly increased spacing. A frequent mistake is choosing ornate flourishes that clog under skin movement. Sessions can be medium length for calligraphy. Style it with a delicate chain necklace that sits above the text and keeps attention toward the rib curve.
16. Roots and Home Silhouette Merged Design
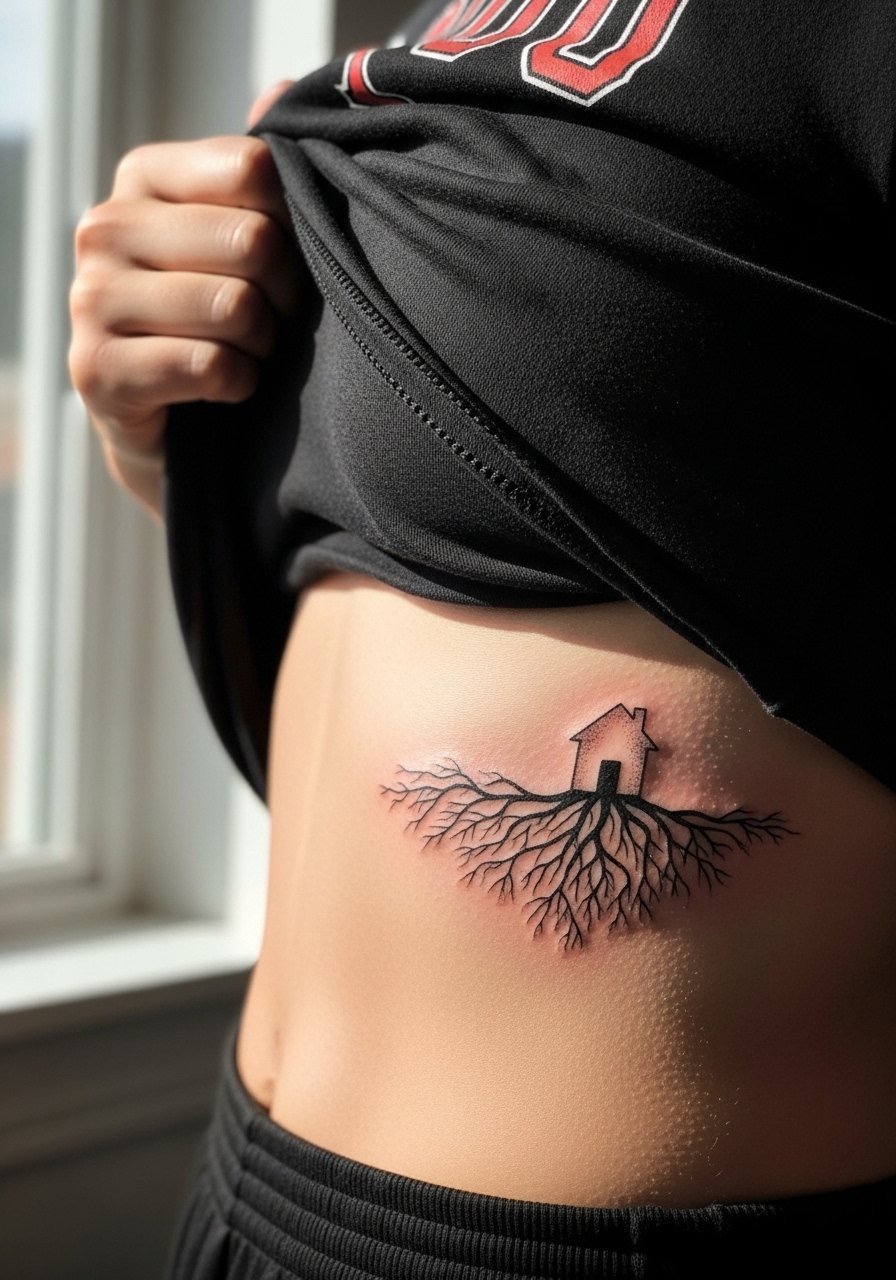
A roots-to-house concept ties ancestry and home into one image. The ribs take to gradual stipple shading better than heavy dense black in this case. Ask for the roots to be suggested with dots rather than heavy fills. The common error is over-saturating the roots which ages into a muddy block. Expect a longer session if you want subtle shading transitions. For comfortable fitting, pick a high-waisted pant with a cropped top that shows only the strip you want photographed.
17. Coordinates and Small Map Pin Cluster
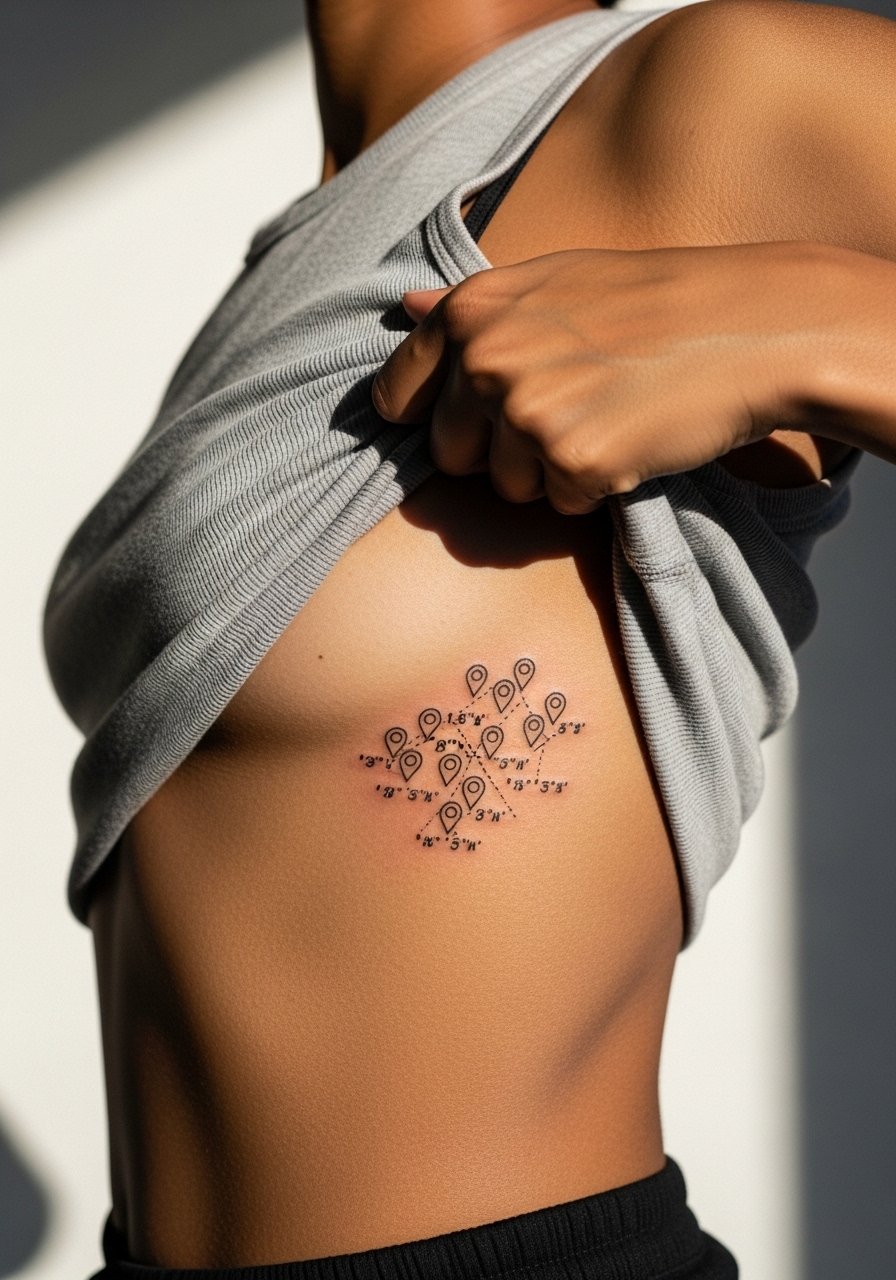
A cluster of map pins lets you mark places that matter to your family. Pins should be simplified icons rather than detailed pictograms. On ribs, tiny icons need breathing room or they read as blotches. Ask the artist to space pins and to preview the stencil while you inhale and exhale. A typical mistake is packing too many pins into a narrow strip. For casual reveals, a cropped linen shirt that lifts easily provides the right frame.
Frequently Asked Questions
Q: Will fine line scripts on the ribs blur faster than on the forearm?
A: From what I've seen, fine line on ribs tends to soften sooner because the skin moves more and stretches with breath. Choosing slightly thicker strokes and more spacing helps. Ask your artist for healed photos taken at least two years post-session to see their real results.
Q: How long should I plan for a touch-up on a ribcage portrait or micro-realism piece?
A: Micro-realism on ribs often benefits from a touch-up between year one and year three. It depends on skin type and sun exposure. Discuss a realistic touch-up window during consultation and check the artist's policy on touch-ups.
Q: Are rib tattoos harder to heal because clothing rubs the area?
A: Yes, friction from waistbands and soft fabrics can irritate new ribwork. Loose, breathable fabrics reduce rubbing. For the first week, consider a soft rib-knit camisole or loose cotton that keeps pressure low and lets air circulate.
Q: Should I avoid highly detailed geometric joins on ribs?
A: Many artists caution against very tight geometric joins on ribs because the movement can blur crisp intersections. One camp says spacing and slightly thicker borders fix that. The safer route is to scale joins up a touch and request test stencils before the needle hits skin.
Q: What should I wear to the appointment for a ribcage piece so the artist has good access?
A: Wear something easy to lift or pull aside without shifting your torso. A zip-up hoodie, a loose button-down, or a cropped tank are common choices. Comfortable clothing helps you stay relaxed through longer breathing-dependent lines.
