
Fine line tattoos dominate saved boards right now, but what looks delicate fresh is not always what lasts. Artists split into two camps. One camp favors bold blackwork because it tends to age into a readable silhouette. The other camp pushes careful fine line with controlled depth and spacing and says it can settle well. From conversations at five shops across Brooklyn, the choice comes down to placement and spacing more than trend. Below are 17 ways to wear a web-and-feather motif, starting with a forearm option that scales well and photographs cleanly.
1. Detailed Web on Forearm
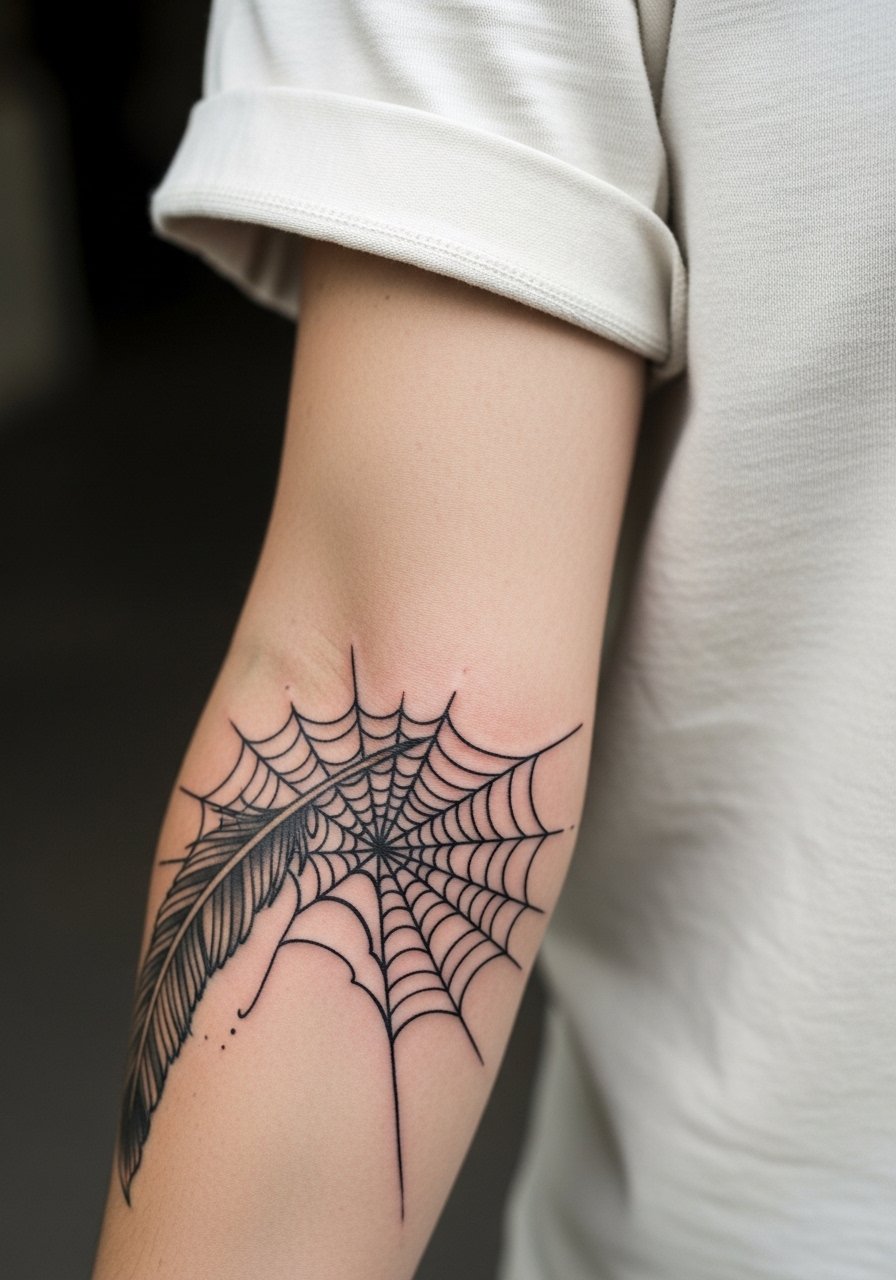
I recommend this for anyone who wants an intricate motif that still reads across different arm positions. Tell your artist you want slightly thicker outer linework around the hoop and single-needle detail inside the web so the negative space holds up. Common mistakes include packing too many tiny inner loops which merge after a few years. The session feels steady rather than sharp because the forearm tolerates longer runs of linework. For showing it off, roll up a rolled sleeve cotton tee and add a thin leather cuff bracelet on the opposite arm.
2. Sunflower Hybrid at the Collarbone
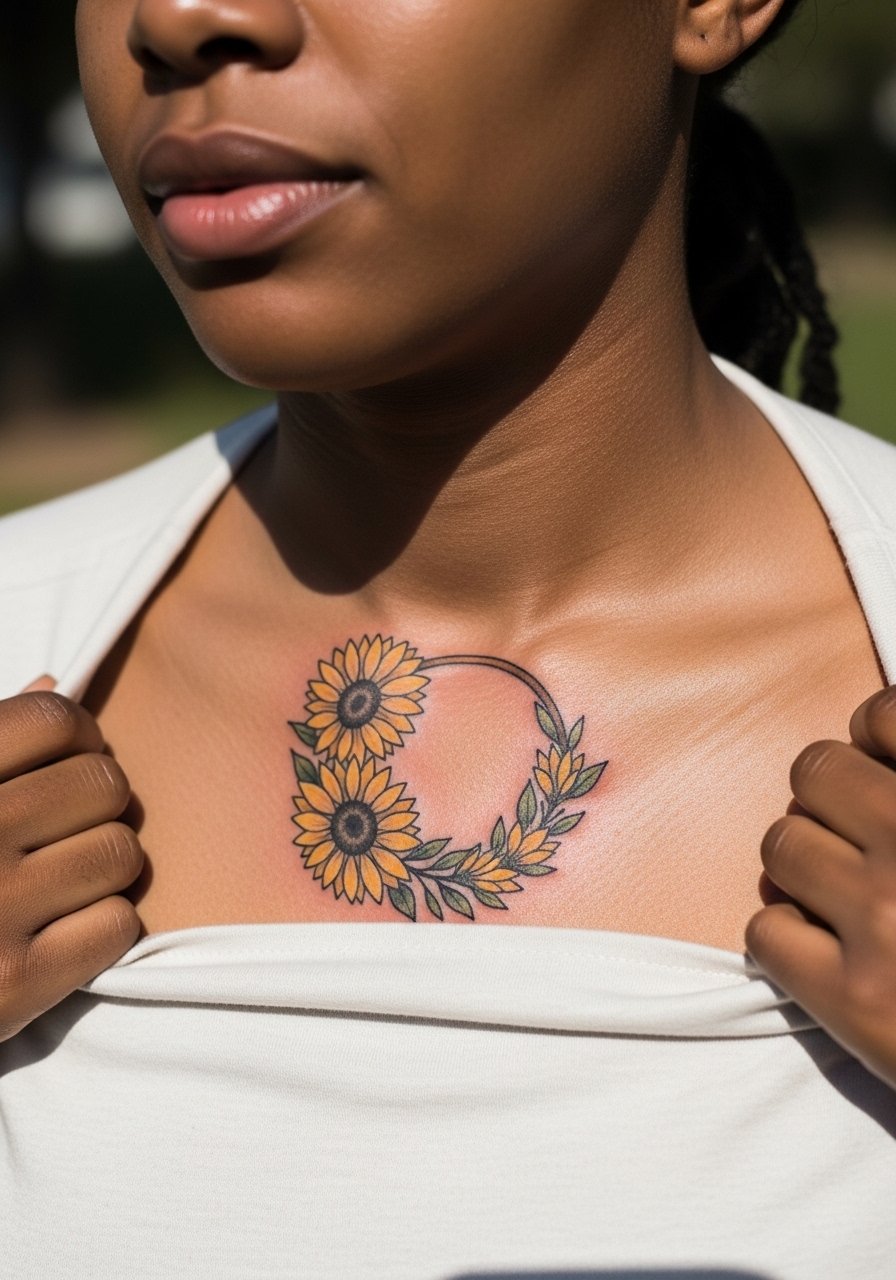
The sunflower hybrid softens the web motif with bold petal shapes that read well at small scale. Ask your artist to keep the petals broad and the hoop slightly raised so the sunflower centers do not turn into indistinct dots over time. Mistakes I see are too many tiny color gradations in the petals, which can muddy with daily sun exposure. Pain is moderate near the collarbone. For session wear, a wide-neck top you can pull aside is easiest. A delicate chain pendant sits naturally above the design for nights out.
3. Watercolor Shoulder Blend
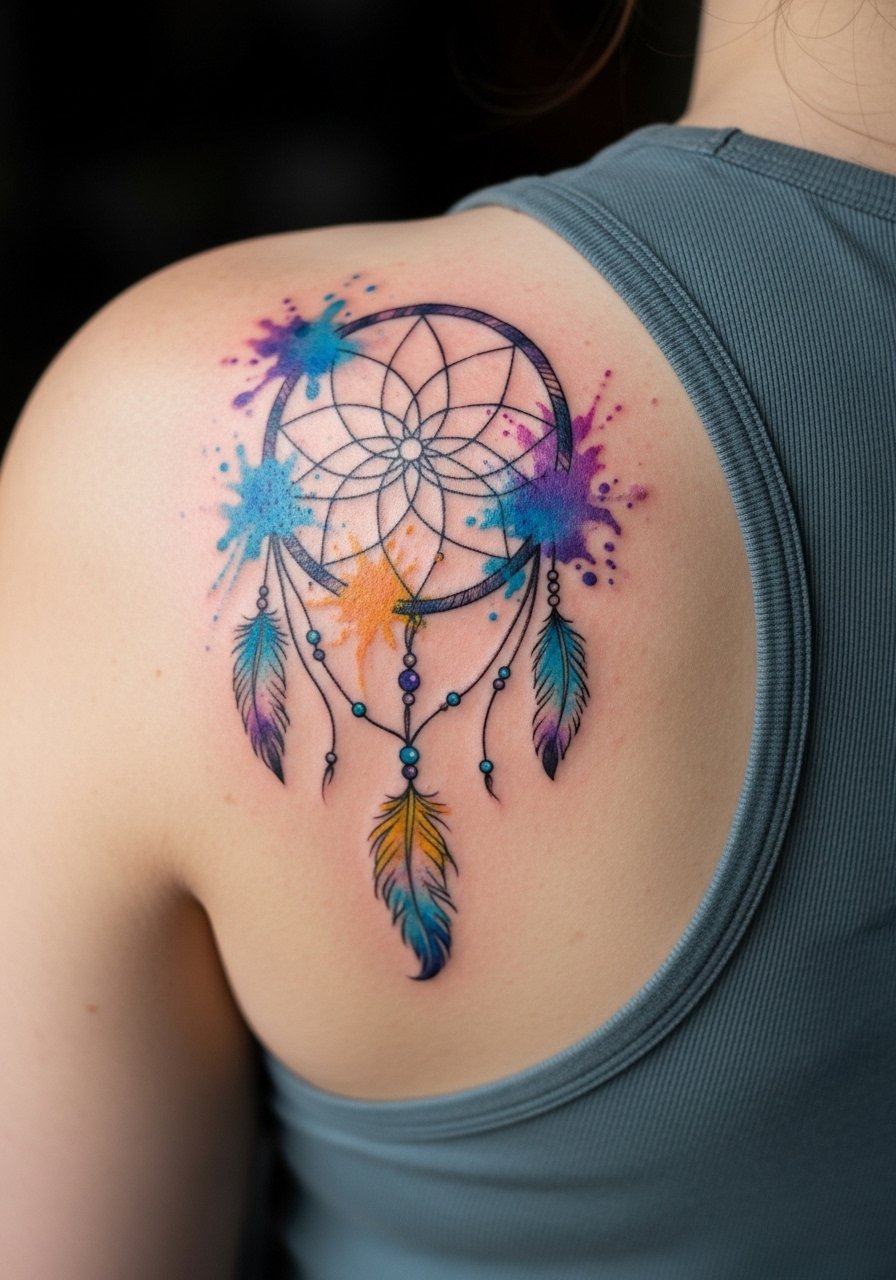
Watercolor fills give the motif an ethereal motion but they need breathing space in the composition. When you consult, bring reference images that show the exact color bleed you like and ask for intentional white space around the web. The common error is concentrating watercolor right into the web, which causes loss of contrast as colors fade. Expect two short sessions for layering. For showing the shoulder, an off shoulder blouse pastel frames the piece without covering the color.
4. Feather Flow on the Thigh
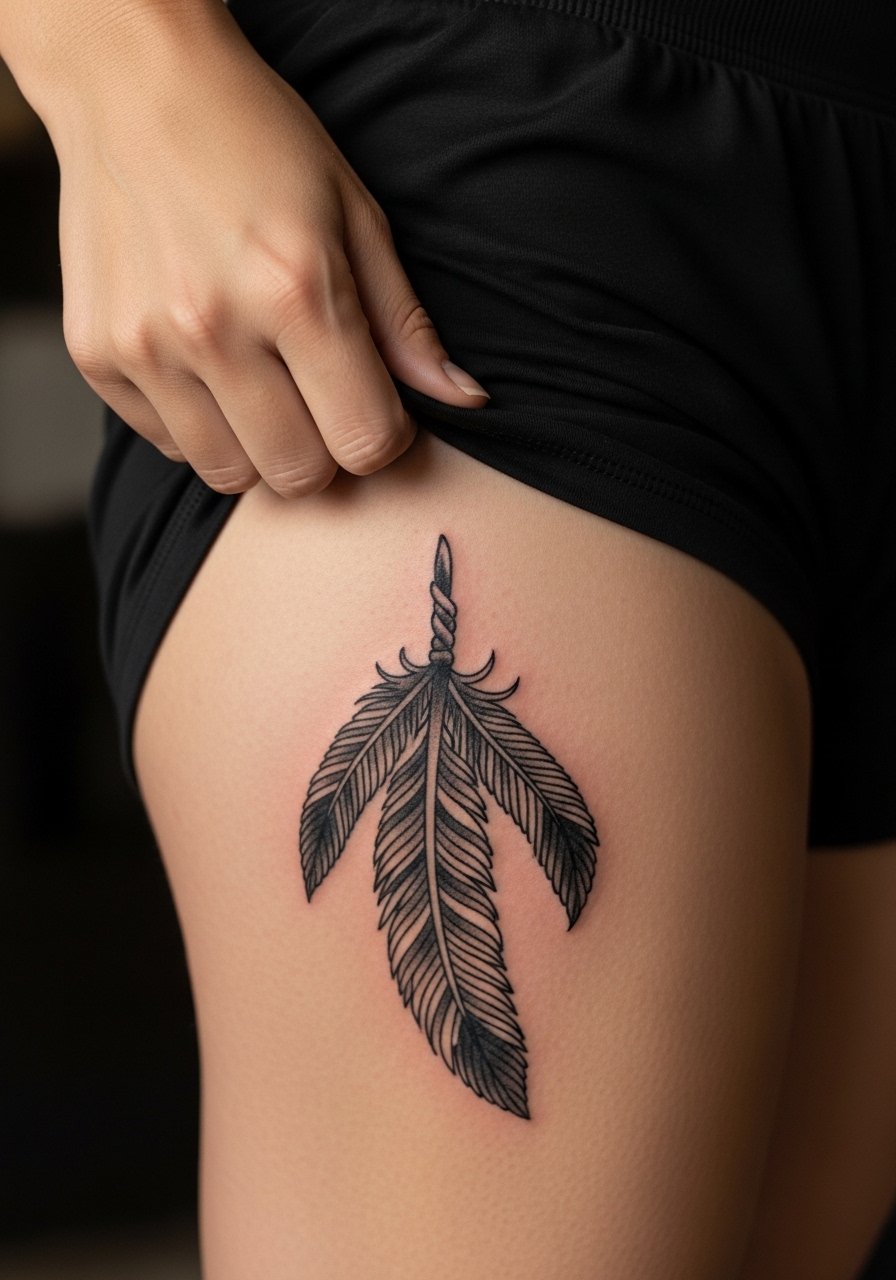
Thigh placement lets artists scale feathers into bold sweeping shapes that last well. Expect a more intense session due to needle time, but the area tolerates saturation so touch-ups tend to be less frequent. A frequent mistake is placing overly fine feather tips too close together. That squeezes the negative space and increases blowout risk. For appointment comfort wear loose shorts you can shift easily. For summer wear, high-cut shorts or asymmetrical skirts read well with thigh blackwork.
5. Color Accent on the Wrist
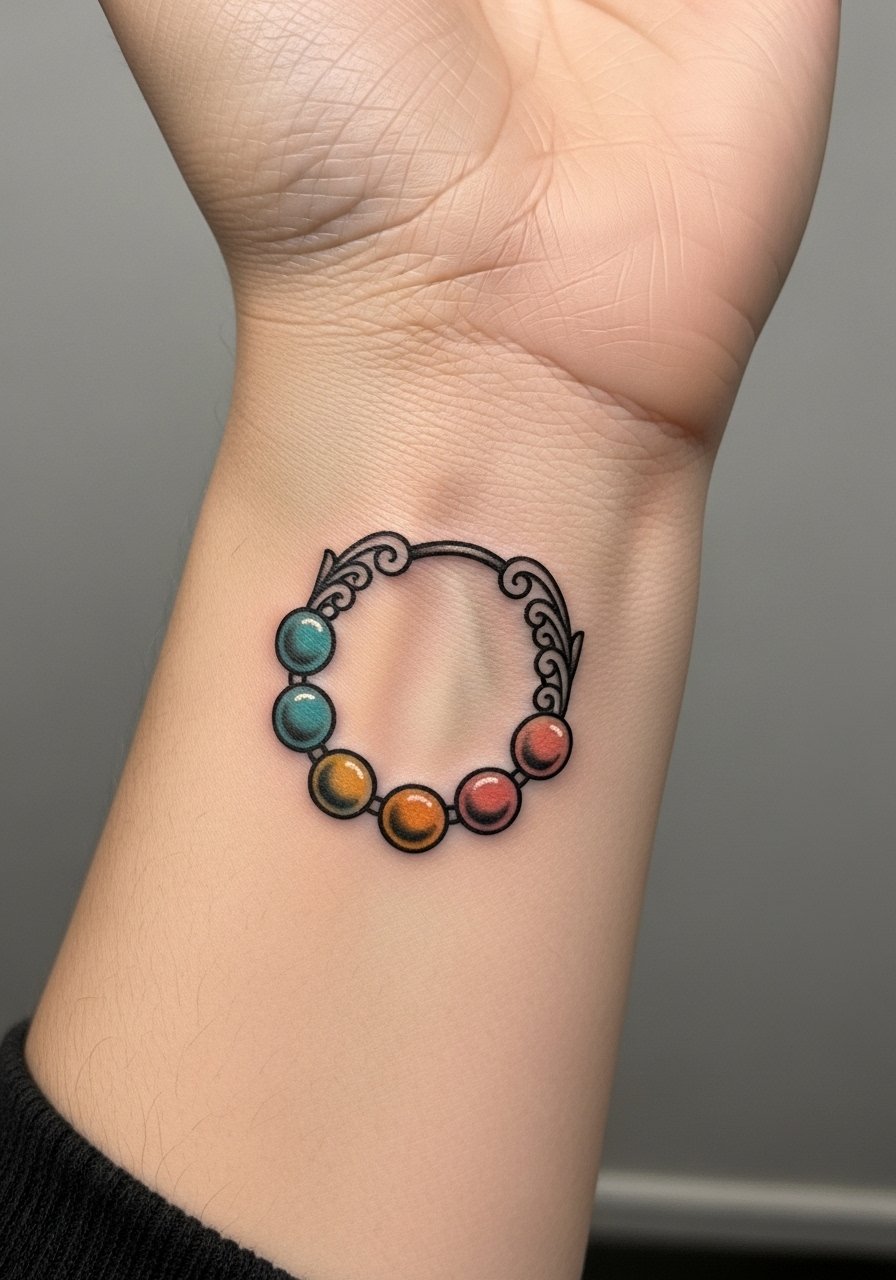
Wrist pieces look intimate but they face constant friction from clothing and watches. Ask for a slightly stronger outer hoop and avoid micro-fill inside the web to keep linework readable after washing and wear. The biggest mistake is going too small and expecting the same detail you see on larger pieces. Session time is short, but healing needs careful handling. For styling, stack opposite-wrist bangles or a thin beaded bangle set so the tattoo side stays visually uncluttered.
6. Ornamental Back Panel
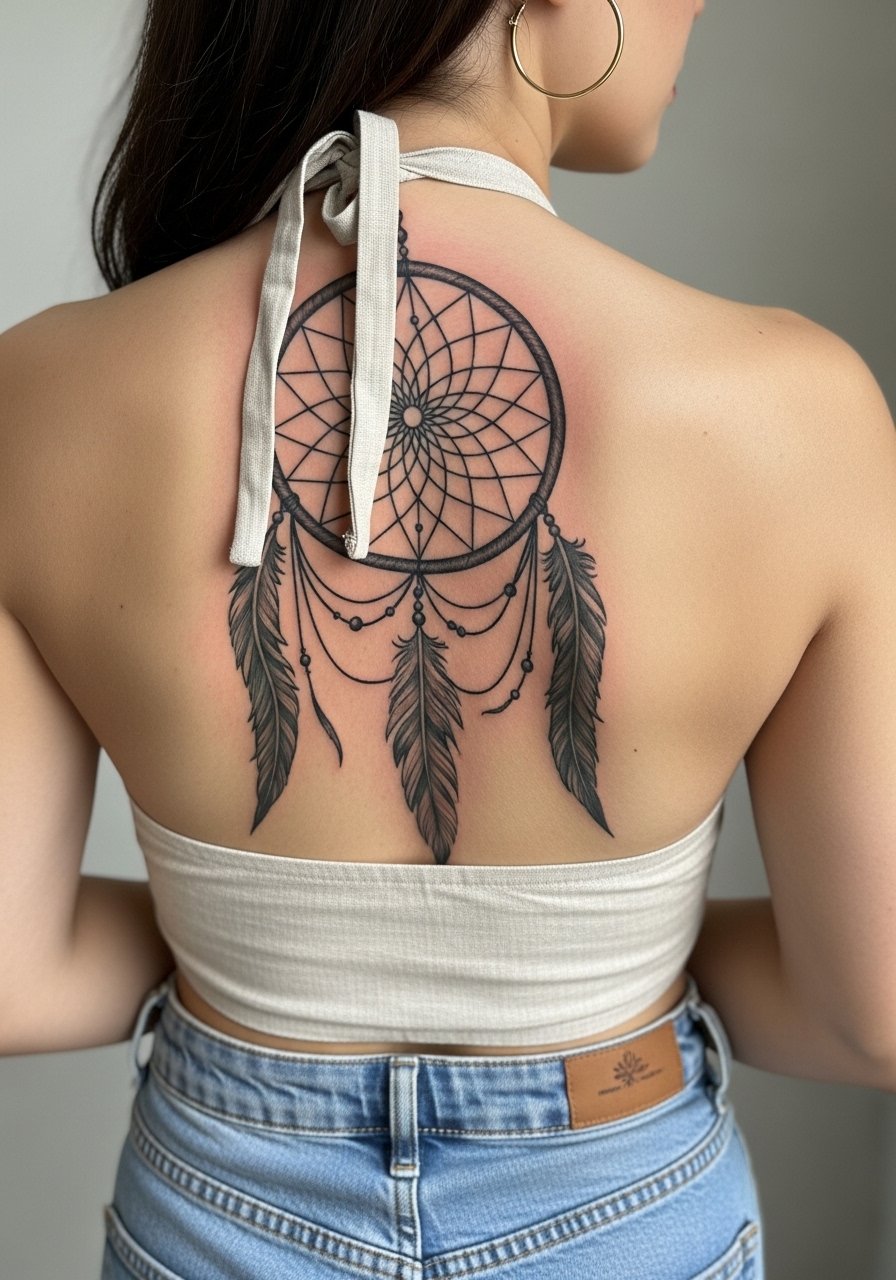
A back panel gives breathing room to extend feathers and filigree into a layered composition. Because full back sessions can span multiple visits, plan for two to three sessions and discuss how the design will flow with spinal lines. A common longevity mistake is cramming too many tiny elements into the lower edges where clothing rubs. For showing this piece, low-back crop tops or halter styles highlight the design perfectly. For sessions, a loose button-down or robe-style top is easiest to work in.
Studio Day Picks
The forearm, collarbone, wrist, and shoulder pieces above each need different prep. Small wrist and collarbone sessions ask for fewer layers than back work, and the right kit smooths the appointment and first week.
- Stencil transfer paper kit. Lets you preview exact placement on skin before the needle starts, which is handy for symmetrical webs and collarbone pieces.
- Topical numbing cream. Applied per instructions 30 to 45 minutes before a sensitive wrist or rib session can ease the initial sting without altering linework.
- Thin protective film roll. Useful for top-of-foot and wrist designs that face constant friction during the early healing window.
- Fragrance-free gentle body wash. Cleanses healing skin without stripping the freshest fine line work.
- Aquaphor healing ointment. A thin layer on the first two to three days can protect fine line areas that need moisture without clogging.
7. Elephant Hybrid Centered on the Back
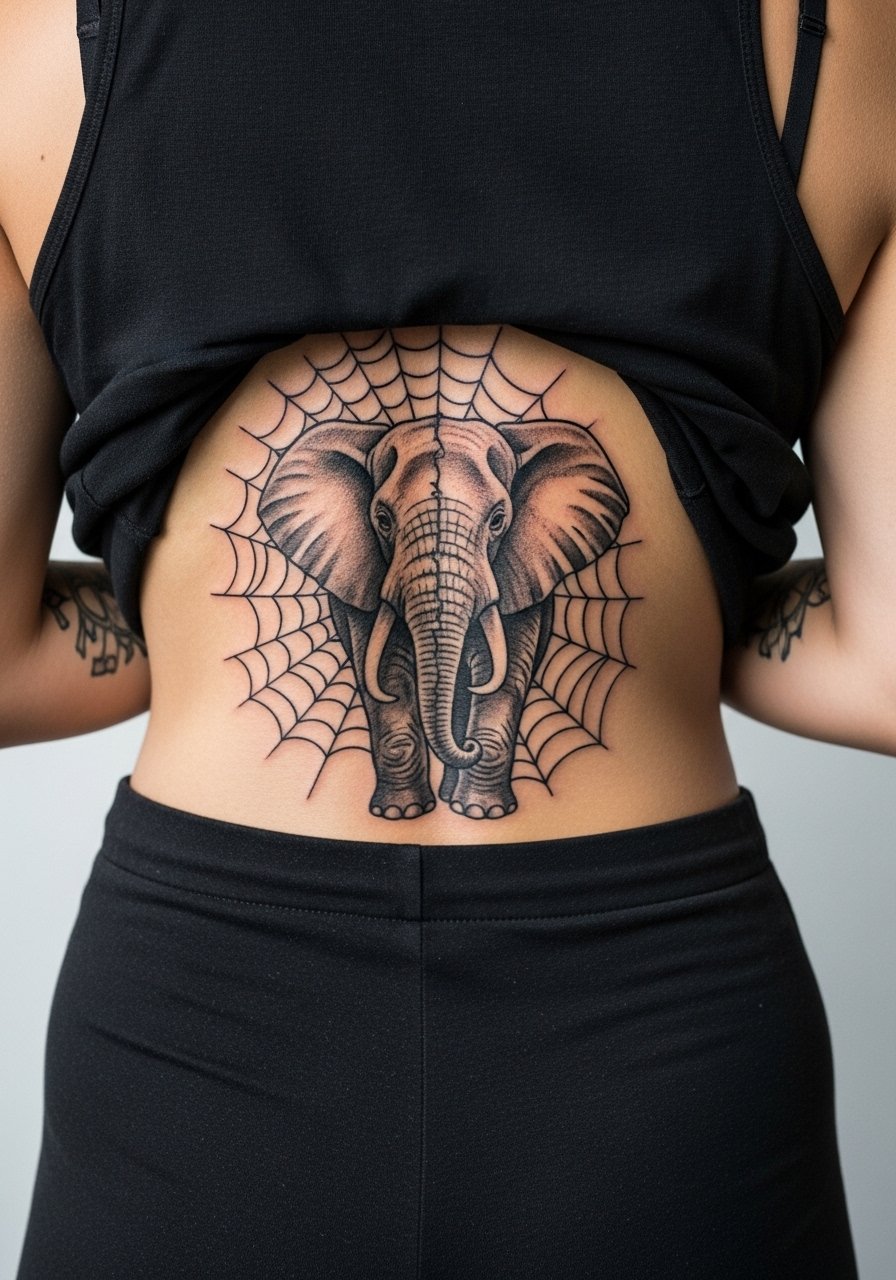
Combining an animal silhouette with a web adds layered symbolism and gives the design strong anchors for larger compositions. When you consult, decide whether the elephant should be the focal point or the hoop. If the hoop dominates, the animal may feel secondary in photos. A common mistake is placing too much micro-detail inside the animal at a size that will blur later. Expect two sessions for this scale. For aftercare planning remember the back moves a lot while sleeping, so position the hoop where bedding friction is minimal.
8. Micro-Realism on the Side Torso
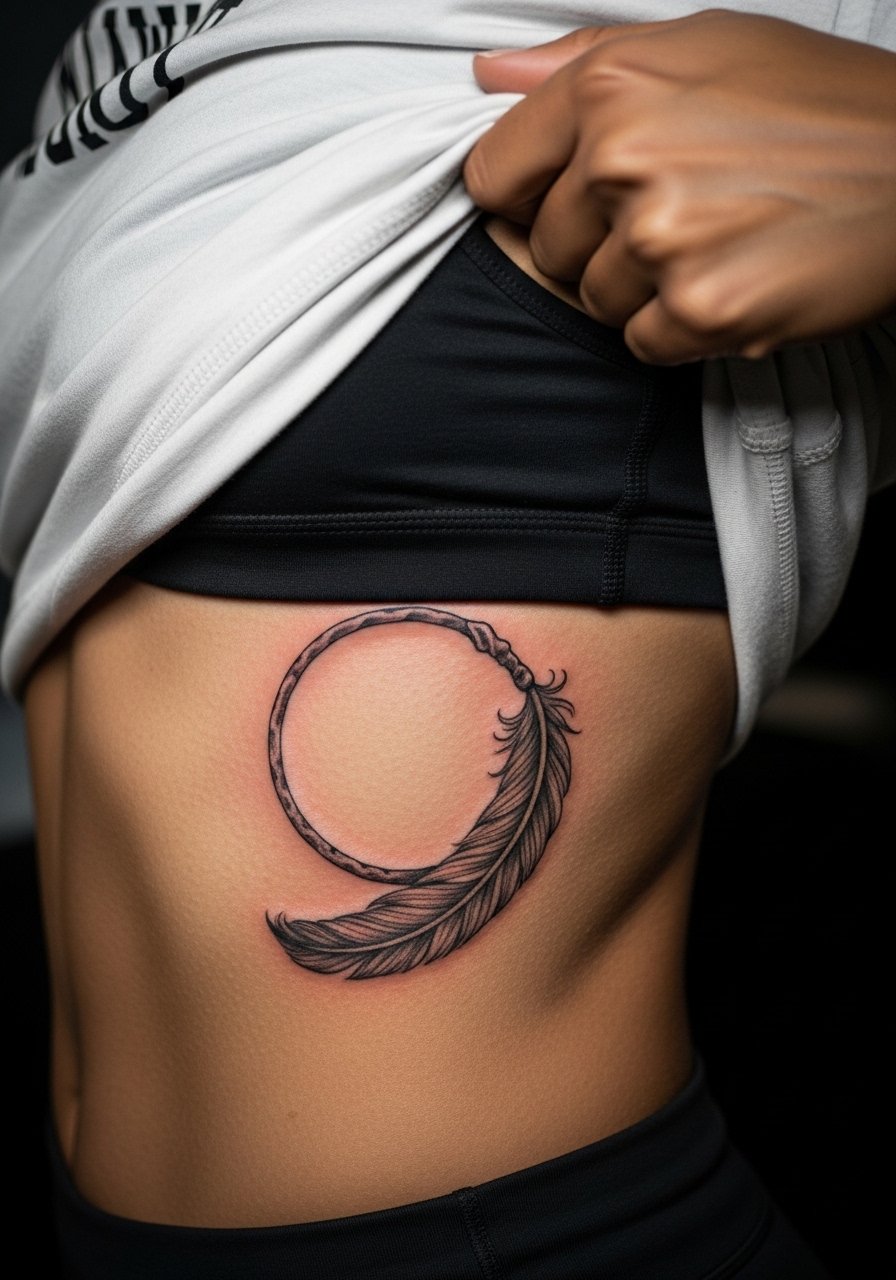
Rib and side-torso work can render exceptionally realistic textures but they are a challenging place to get fine detail to age. Artists split on fine line on ribs. One camp says the skin stretch and breathing blur thin lines within two years. The other camp argues that controlled spacing and proper needle depth make it settle well. If you choose micro-realism here, ask for deliberate spacing in the web and expect a possible touch-up at year two. The session will be longer and more uncomfortable than forearm work, so plan your day accordingly.
9. Vertical Abstract on the Rib
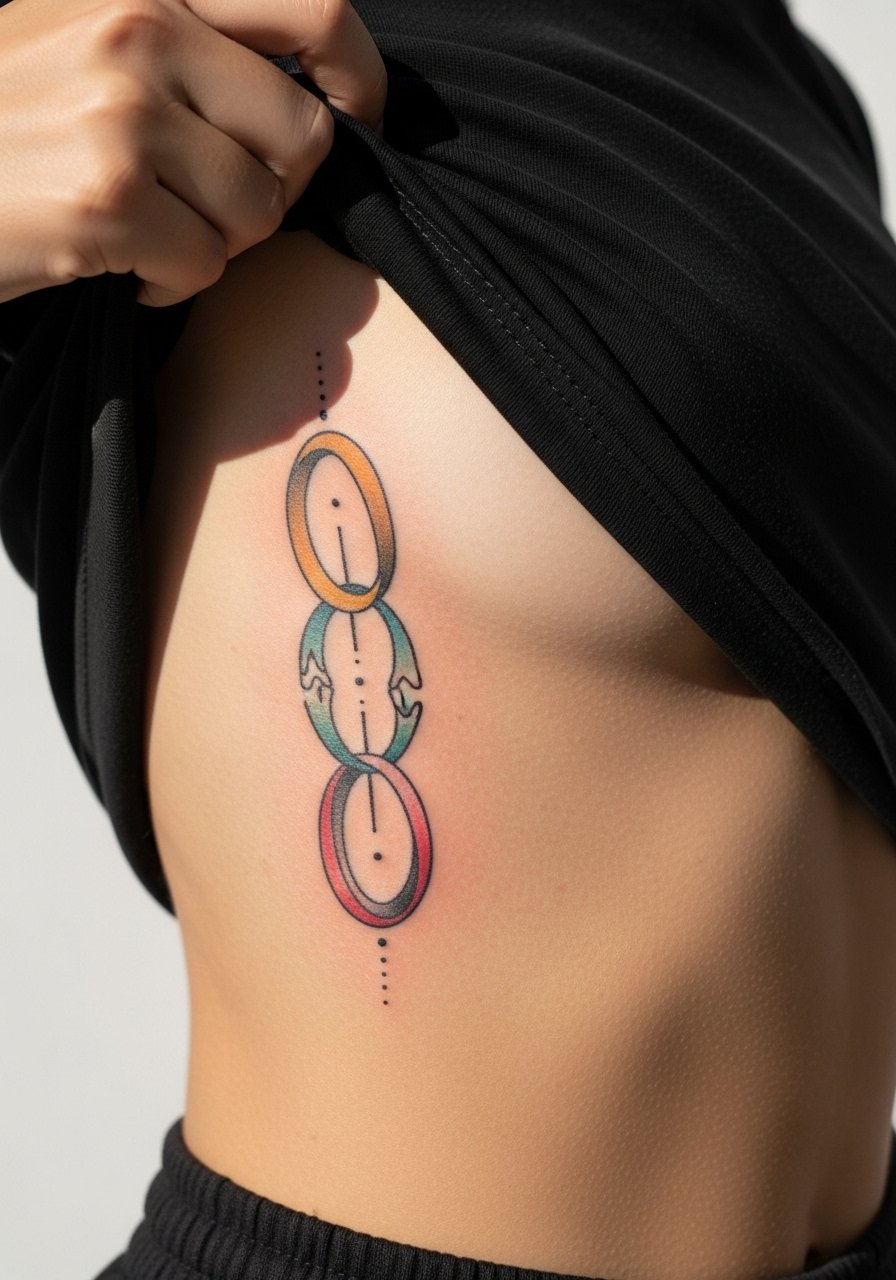
Abstract interpretations trade literal web detail for negative-space shapes that read at a distance. This approach reduces blowout risk because lines are fewer and bolder. The mistake is trying to cram literal web detail into a vertical rib piece and expecting it to keep clarity. For comfort, schedule a session with breaks and wear a top you can lift easily. For career-sensitive areas remember that ribs are easy to hide under normal clothing.
10. Minimal Top-of-Foot Motif
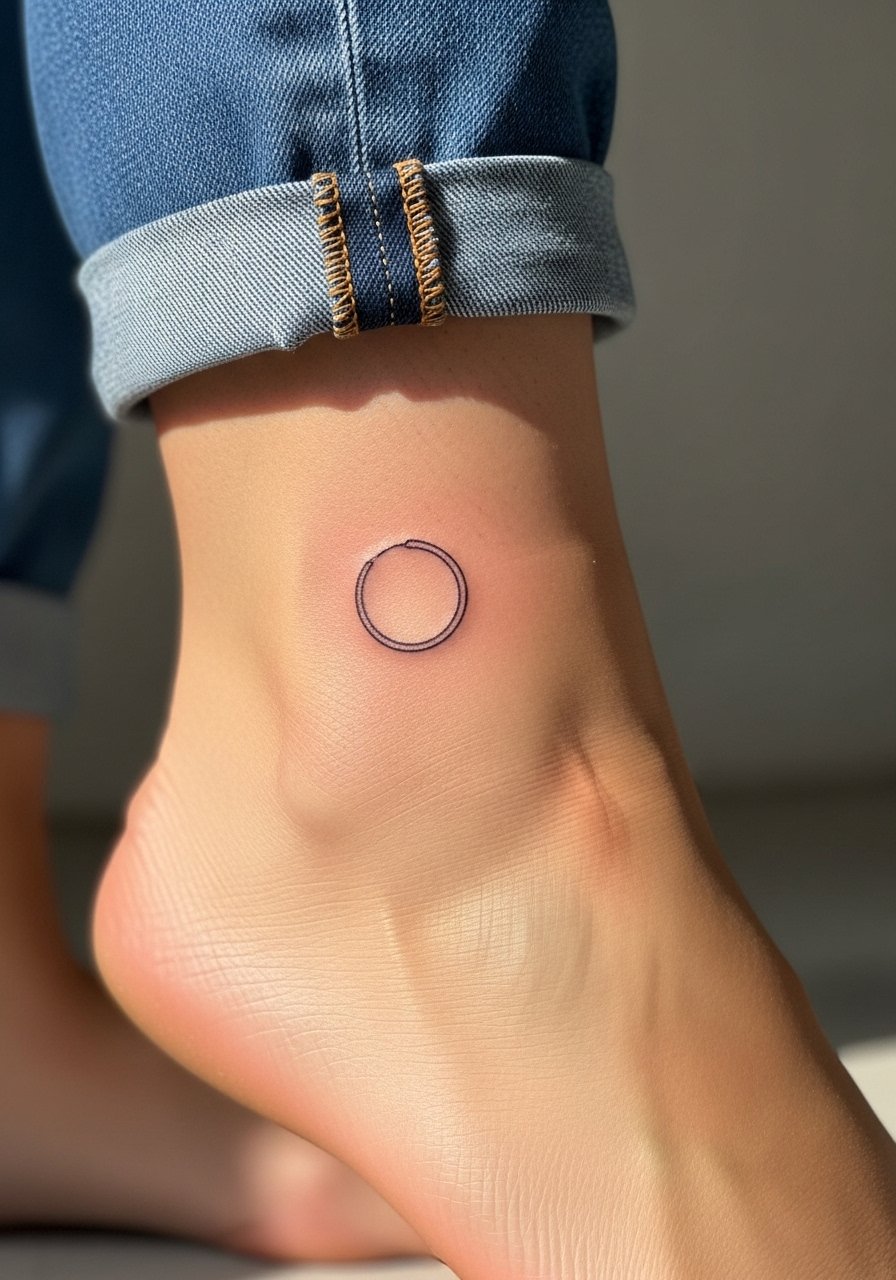
Top-of-foot tattoos are discreet and personal, but they face lots of friction from shoes and socks. Recommend a slightly simplified hoop and avoid micro-dot fills that grind away in day-to-day movement. The session is quick but the first week is fussy because of swelling and walking. For showing it off, try strappy sandals or pedal pushers that leave the area exposed. A pair of strappy flat sandals keeps the attention where you want it.
11. Floral Hoop at the Ankle
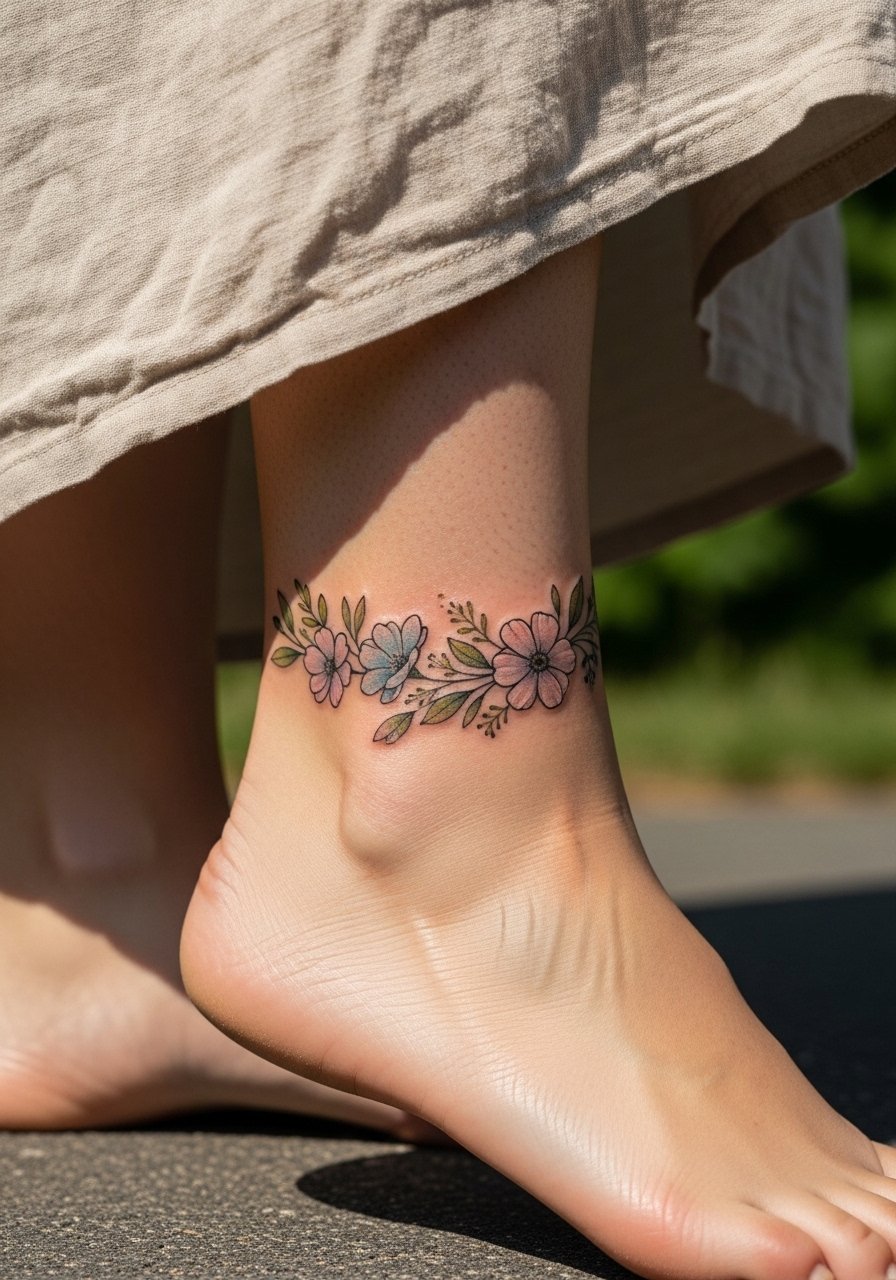
Ankle placements photograph well and pair naturally with anklets, but they are exposure-prone and can fade faster. Ask for slightly darker outer lines near the base of the hoop so the silhouette survives daily wear. A common mistake is asking for ultra-fine petal veins that vanish after a year. Session discomfort is moderate because of shallow bone. For sessions wear pants you can roll up easily and shoes that slip on without rubbing.
12. Simple Micro Wrist Circle
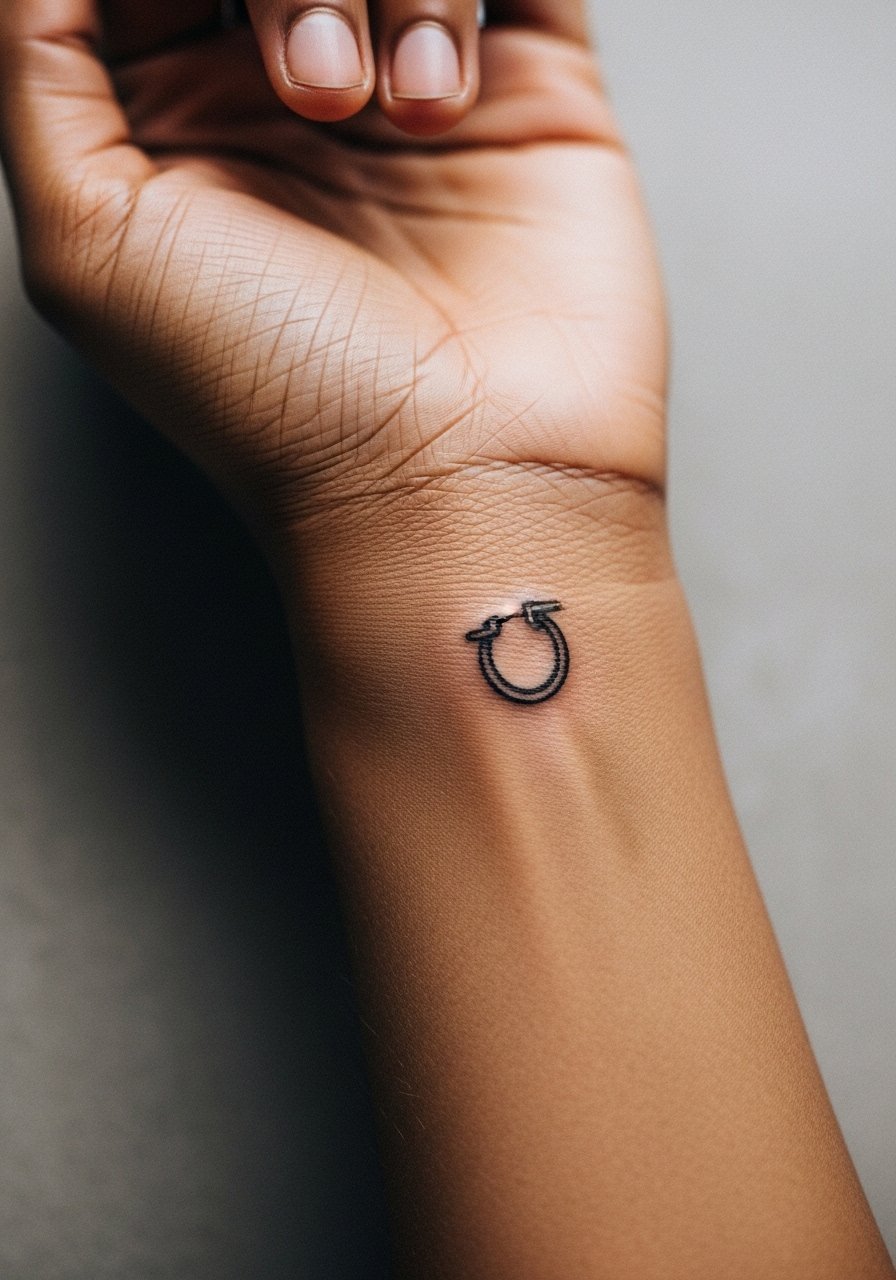
Micro wrist motifs are a classic first tattoo choice, but longevity is the trade-off. I tell people to size up slightly and keep inner-web detail to a minimum to prevent early blur. The biggest mistake is demanding the same microscopic detail you see on larger pieces. Healing feels manageable but be mindful of wrist flex and watch bands that can scrape the area. For showing it off pair with a dainty bracelet stack on the opposite wrist so the tattoo side stays visually clear.
13. Realistic Textures on the Side Torso
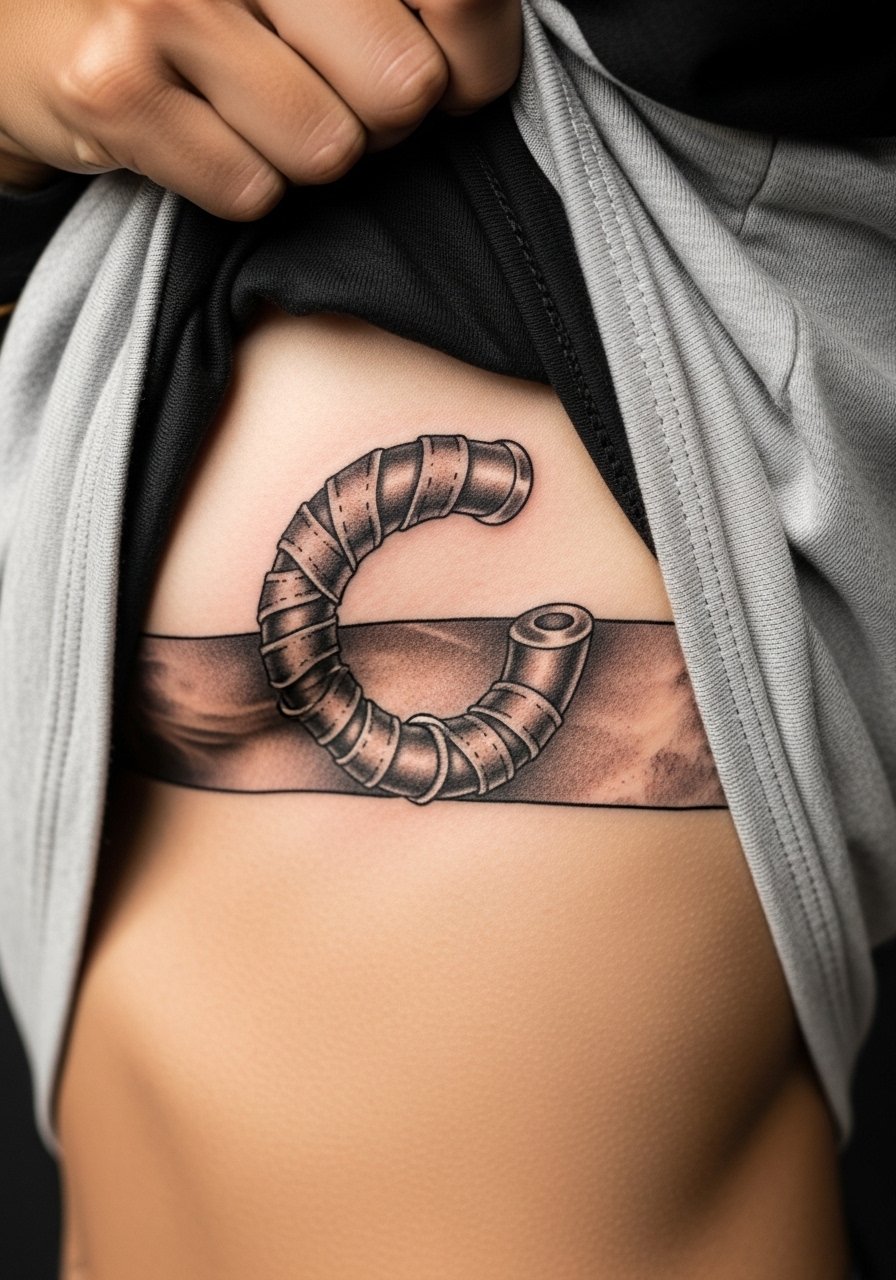
Realistic textures look incredible on the torso but need balanced contrast to survive years of movement. Tell your artist you want deeper contrast between the hoop and the feather tips so the silhouette stays readable. A frequent error is layering too much stipple in narrow areas. The session will require steady breathing and breaks. For career or comfort reasons, this area is easy to conceal under regular clothing.
14. Blackwork Thigh Statement
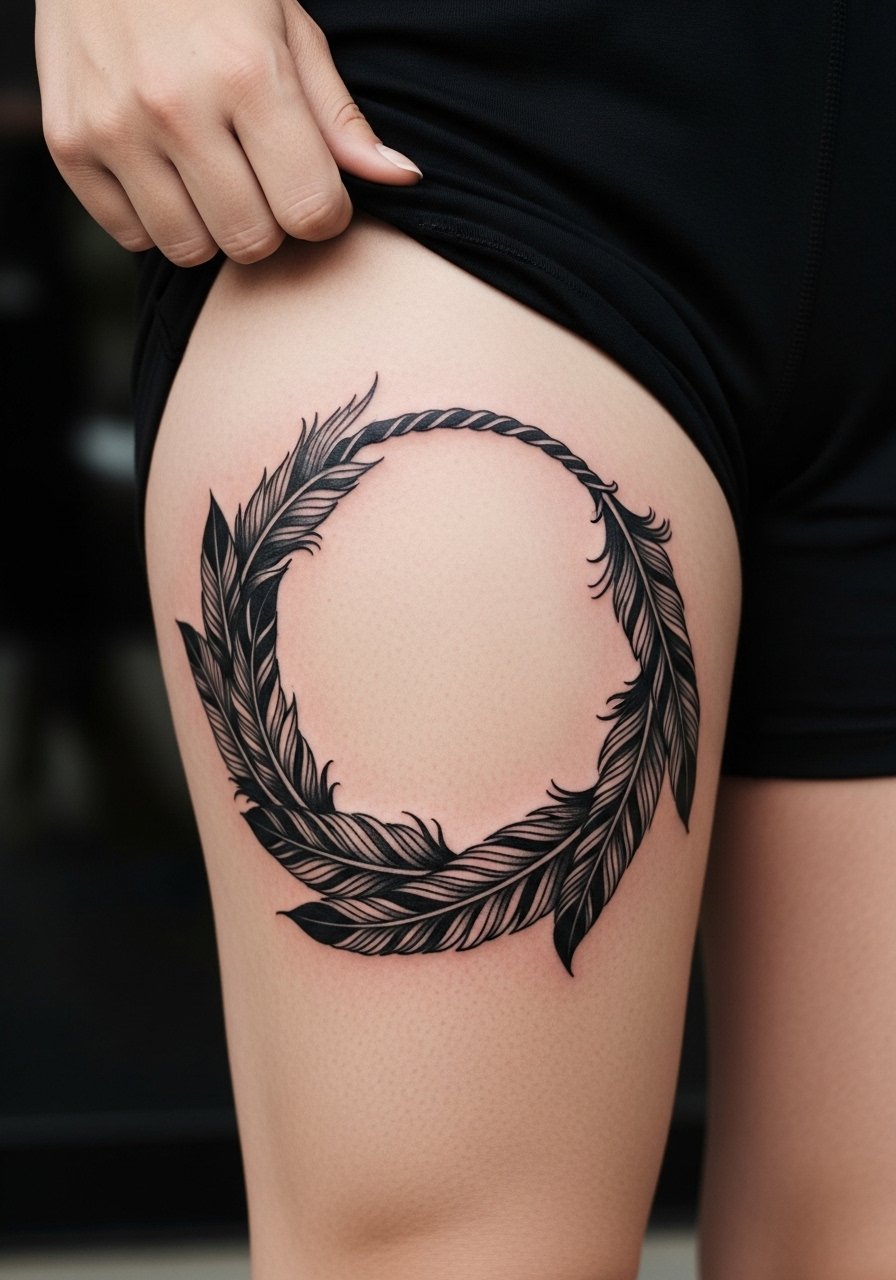
For people wanting a masculine, high-contrast look, large blackwork on the thigh offers longevity because saturation holds. The mistake is trying to translate tiny ornamental web details into a mass of black. Discuss which areas should be solid and which should retain negative space. Expect two sessions for full saturation. When showing it off pair with high-cut shorts or an asymmetrical skirt black for strong seasonal contrast.
15. Tiny Foot Constellation Hoop
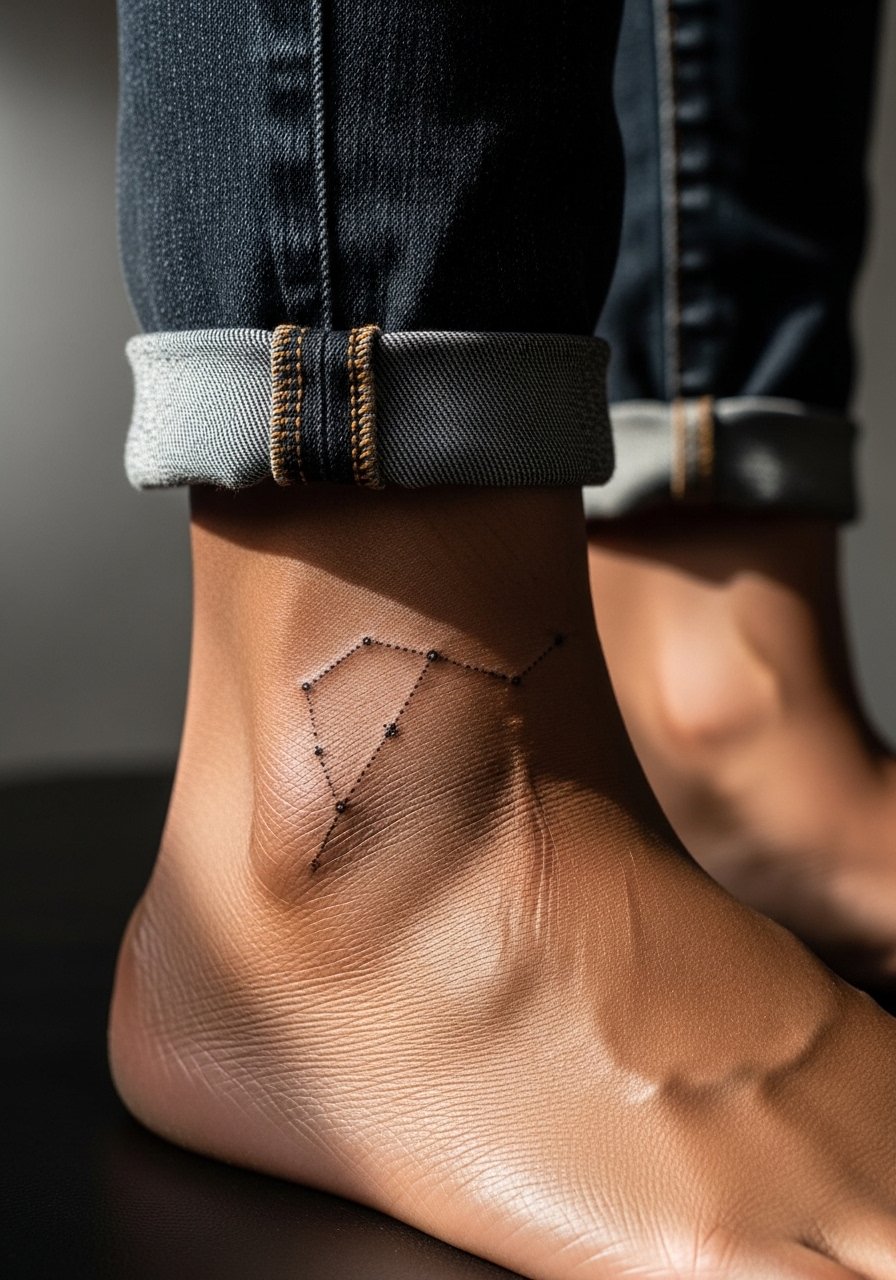
Small foot placements are wonderfully private but they take a beating from footwear. Plan for simplified linework and larger negative spaces. A common mistake is packing stars and tiny loops into a space that will blur quickly. The session is brief and people often underestimate aftercare because of shoe friction. For recovery, choose open footwear for the first two weeks when possible.
16. Floral Hoop on the Hand Edge
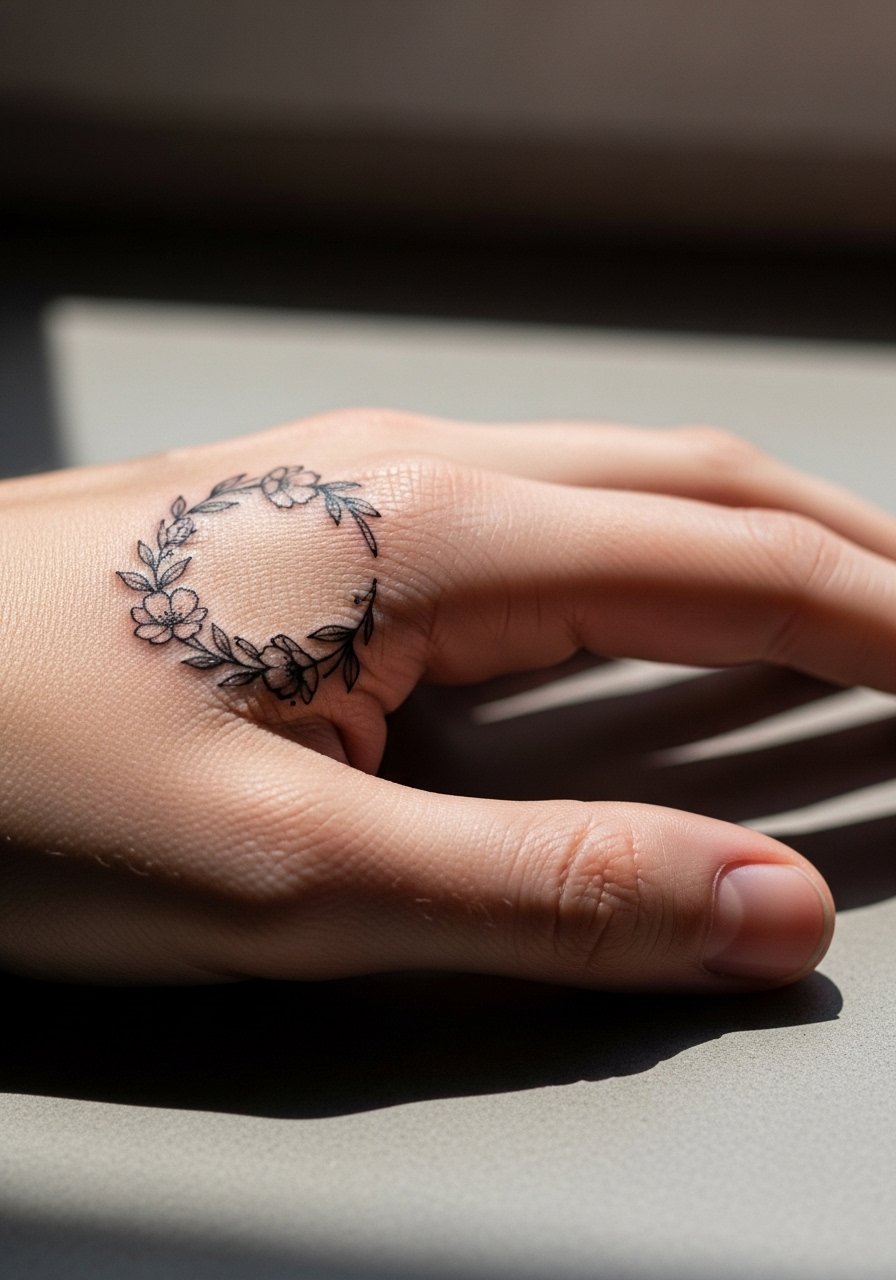
Hand-edge tattoos are visible and age differently than body work. Ask for bolder outlines where the skin creases and simplify interior detail to reduce early fading. The common mistake is asking for dense shading on the palm side that fades under constant use. Sessions on hands are sharp and quick. Consider career implications before committing because hands remain visible in most workplaces.
17. Symmetric Nape Hoop
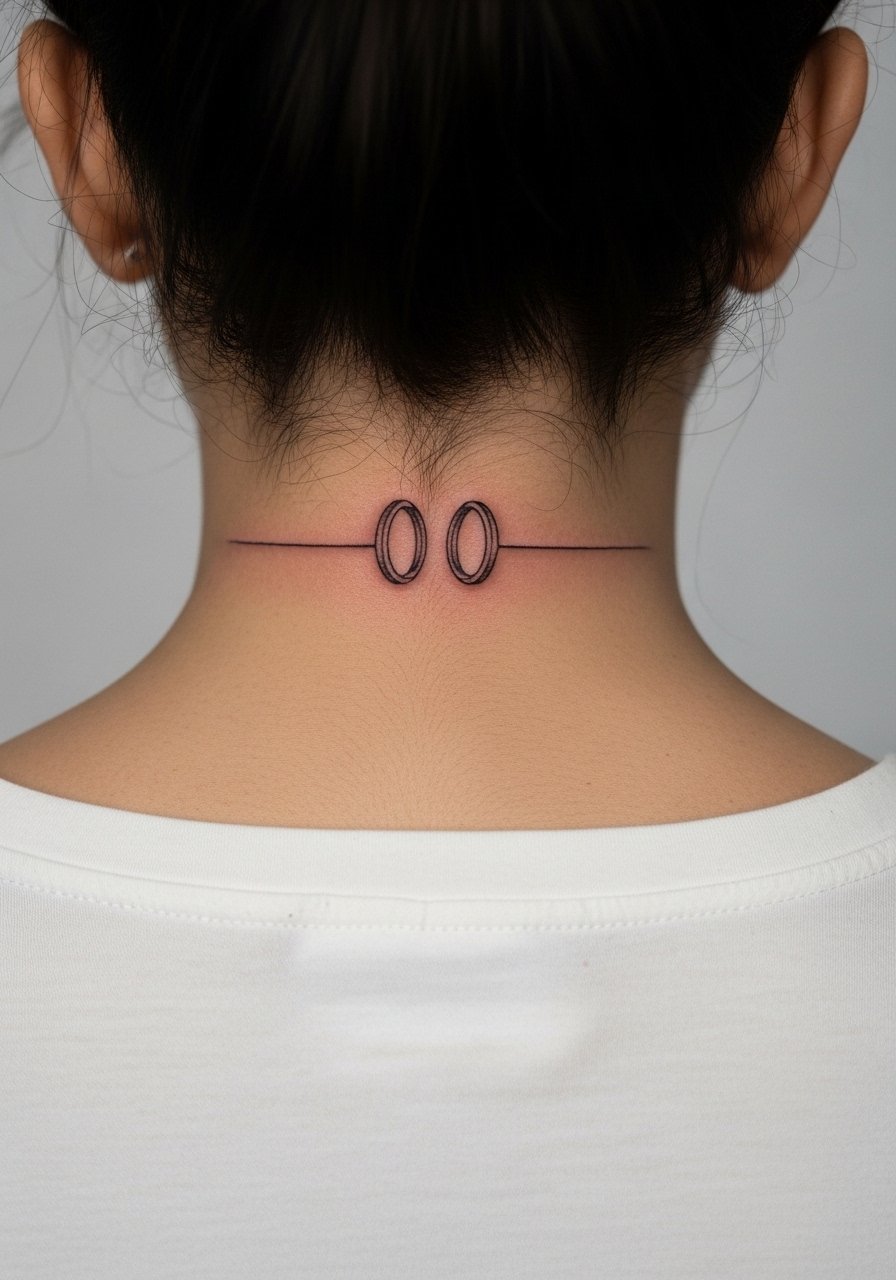
A nape placement photographs elegantly when hair is up and it is easy to hide when needed. For this area bring up symmetry during consultation and ask the artist to place a small guideline to verify centering. A common mistake is tiny, overly delicate spokes that blur with normal neck movement. For the session, tie your hair up and wear a loose collared shirt. For showing it off, a high neck silk blouse or open collar frames the piece cleanly.
Frequently Asked Questions
Q: Will fine line web details blur faster than bold hoops on forearms?
A: From what I've seen fine line details can soften earlier than strong hoops on active areas like forearms. The fix is to ask for slightly bolder outer linework and more spacing inside the web. Expect a possible touch-up at year two to keep micro detail crisp.
Q: Are watercolor fills a poor choice for shoulder pieces because they fade?
A: Watercolor fades differently than saturated color. On shoulders it holds decently because the area gets mixed sun exposure. Ask for a subtle outline or a small color refresh plan if you want long-term vibrancy. Session layering in two short visits helps the pigment settle.
Q: How should I prepare clothing-wise for a back or rib session?
A: Wear a loose button-down or a robe-style shirt for back sessions so the artist can work with minimal fabric tugging. For ribs choose a cropped athletic top you can lift slightly. These choices reduce fabric irritation during the appointment and in the first 48 hours.
Q: Do feet and ankle tattoos need special aftercare compared with wrists?
A: Feet and ankles face more friction from shoes and socks so they usually need extra protection during the first week. That means open footwear when possible and careful cleaning. The specifics depend on your activity level and shoe choices.
Q: How often do designs like micro-realism on the ribs need touch-ups?
A: Micro-realism on moving areas like ribs often benefits from a touch-up around year two to three. It depends on your skin type, sun exposure, and how well the initial layers settled. Plan on a follow-up consult six to twelve months after the last session.
Q: What discovery paths help me find the right artist for a hybrid design?
A: Search style-specific hashtags and Pinterest boards for composition ideas and then use location tags or tattoo directories to find shops that specialize in that genre. Bring clear reference images and ask the artist about healed photos in similar placements during your consultation.
