
Fine line trends dominate saved boards, but hand work lives in its own reality. Skin on the hand moves, rubs, and catches sun in ways forearms do not, so a design that looks flawless fresh can blur or fade faster than you expect. These 17 cybersigilism hand tattoo takes balance tech aesthetics with spacing, placement, and sensible consultation notes that help the ink last.
1. Minimal Circuit Sigil on the Side of the Hand
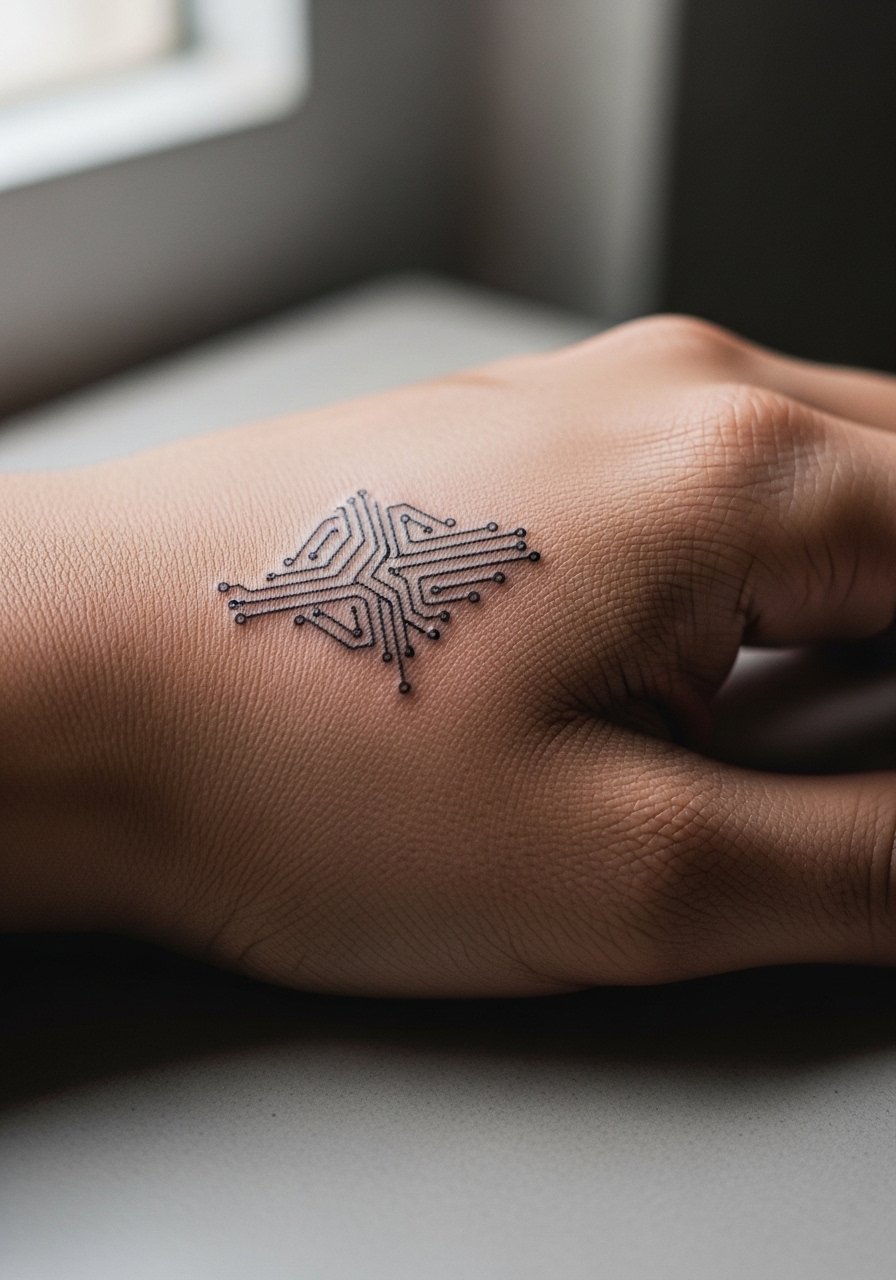
Start with narrow linework spaced for the hand's constant motion. I recommend asking your artist to increase negative space between parallel segments so the lines do not merge after a year. Pain is moderate for the side of the hand, and a 30 to 45 minute session usually covers this scale. Common mistakes are asking for micro-detail in too small an area, which invites blowout. Expect touch-ups around year two to keep crisp geometry. Hand tattoos still affect hiring in some industries, so consider placement toward the outer hand if discretion matters.
2. Neon Glyph Band Across the Knuckles
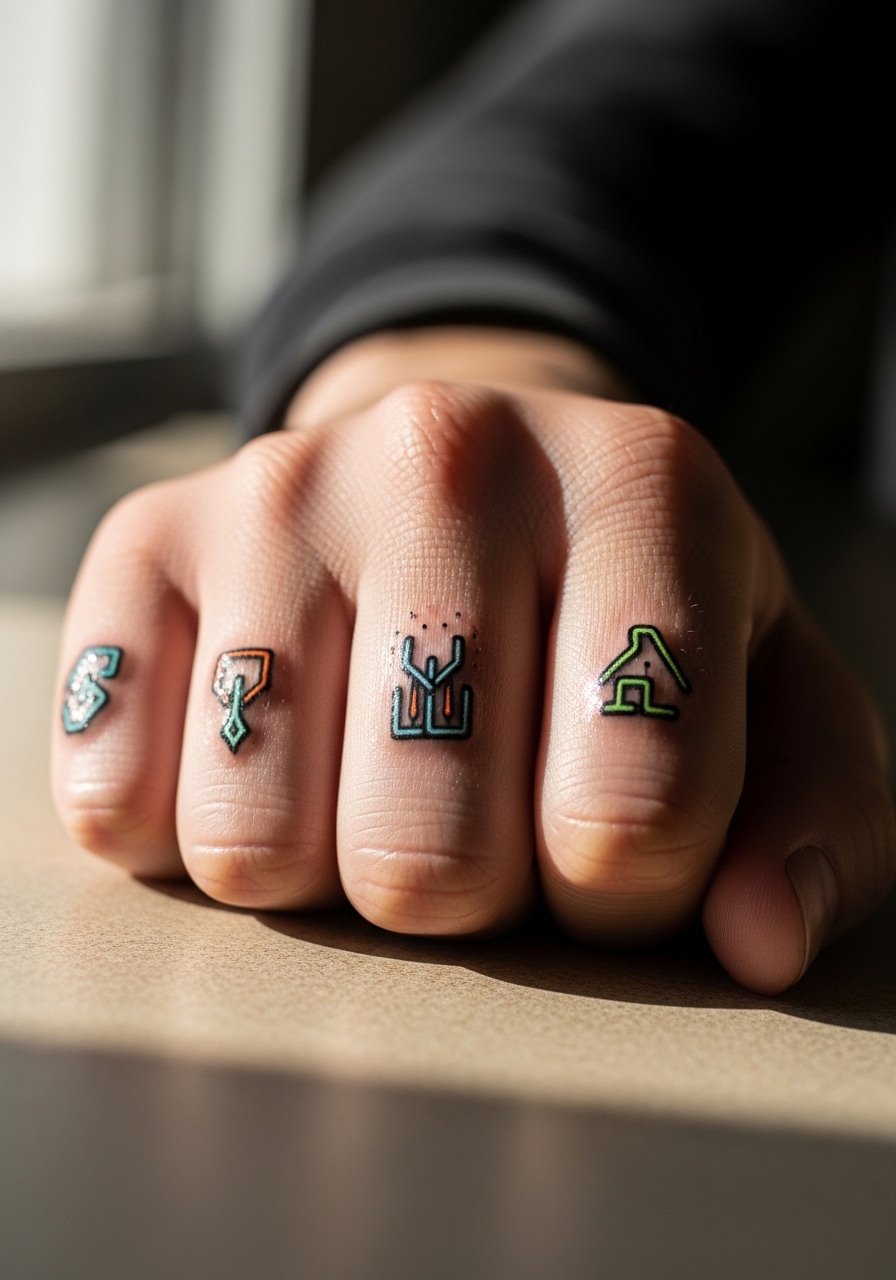
Knuckle work reads loud and ages fast because skin over knuckles flexes and endures friction. For a cybersigil glyph band, pick slightly thicker linework and simplified glyphs so they hold. During consultation say you want bolder line weight and a staggered layout so each symbol has breathing room. Sessions are short but intense. Expect touch-ups at year one or two. A common mistake is crowding letters or tiny symbols which often blur. Pair this with short sleeves or stacked rings to frame the hand, and wear a slim signet ring to complement the band.
3. Micro-Grid Palm Accent Under the Thumb
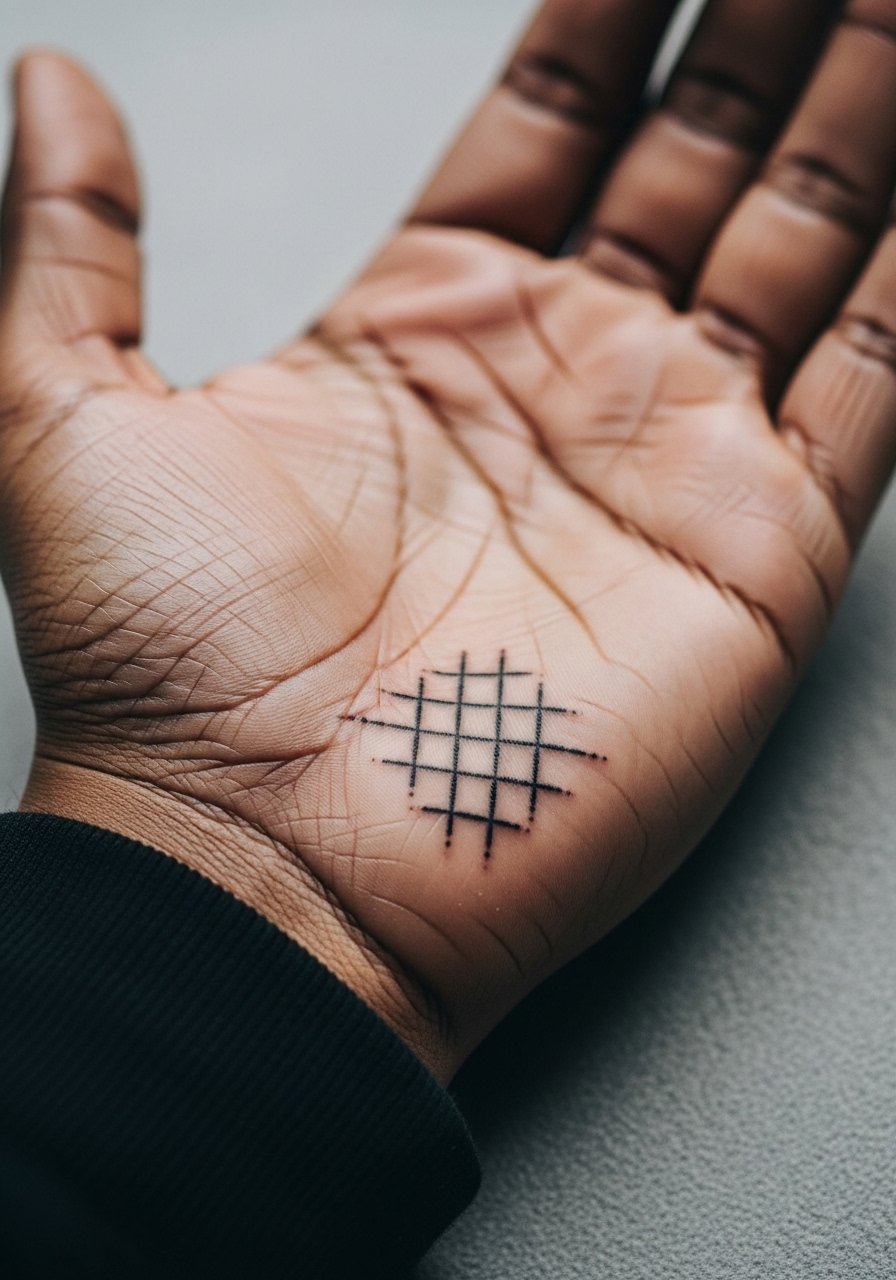
Palms sit in a high-wear zone and ink there often fades quickly. Most artists avoid heavy detail in the palm because the skin regenerates faster. If you still want a palm accent, ask for thicker stipple shading and accept the probability of more frequent touch-ups. The session feels gritty because of the density of nerve endings. One mistake is expecting palm lines to last like the outer hand. If you want a visible edge without rework, consider moving the grid slightly onto the thenar eminence, where the skin holds better.
4. Binary Sigil on the Side of the Finger
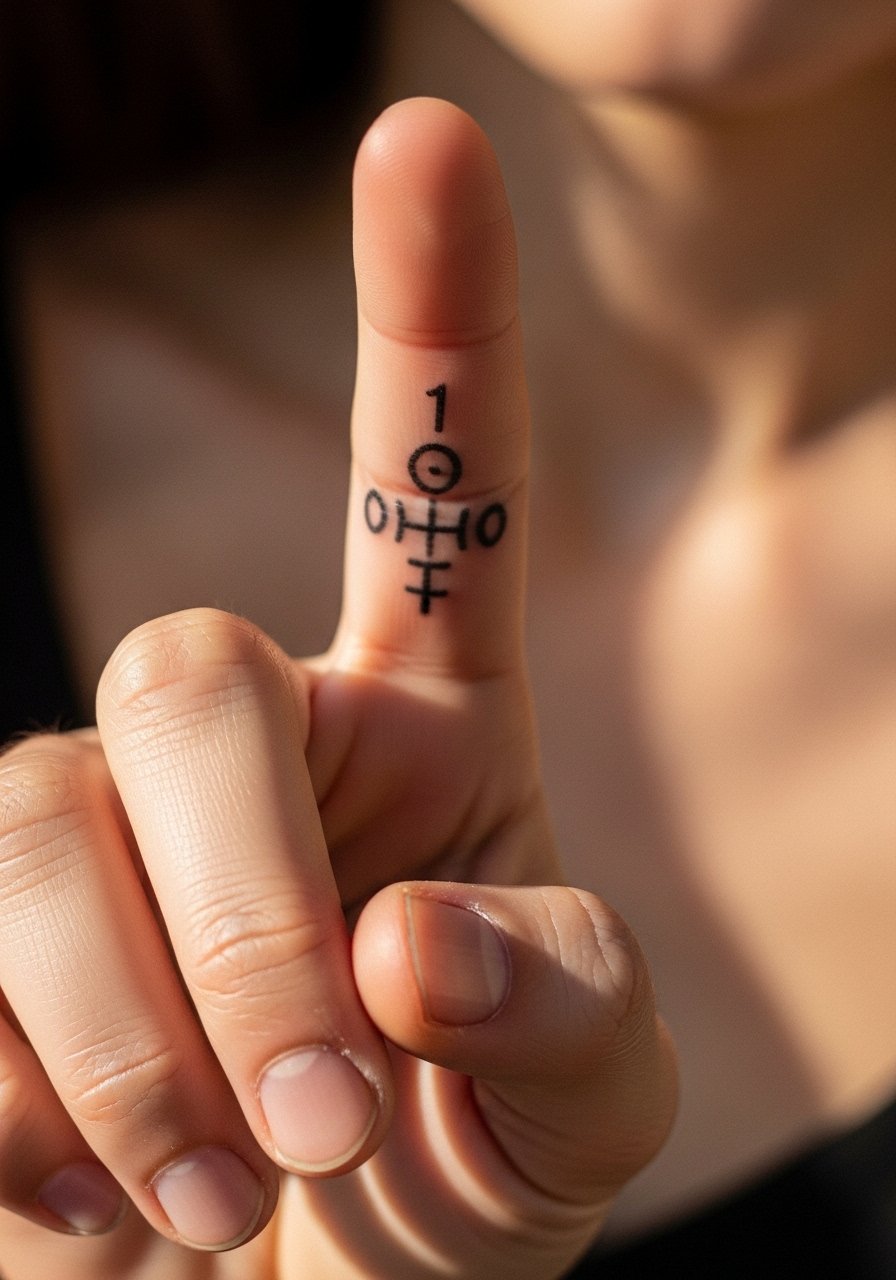
Finger sides are a discreet spot that still shows when gesturing. They suffer from washing and friction, so request deeper, slightly bolder dots and short runs rather than long continuous lines. Pain is sharp for 15 to 30 minutes depending on size. Expect the pattern to soften by year one and plan for a touch-up if you want it to remain precise. Common error is requesting ultra-fine chains of dots without allowance for spreading. For showing it off, a minimalist ring set complements the linear motif without crowding the tattoo.
5. Micro-Mandala Cybersigil on the Back of the Hand
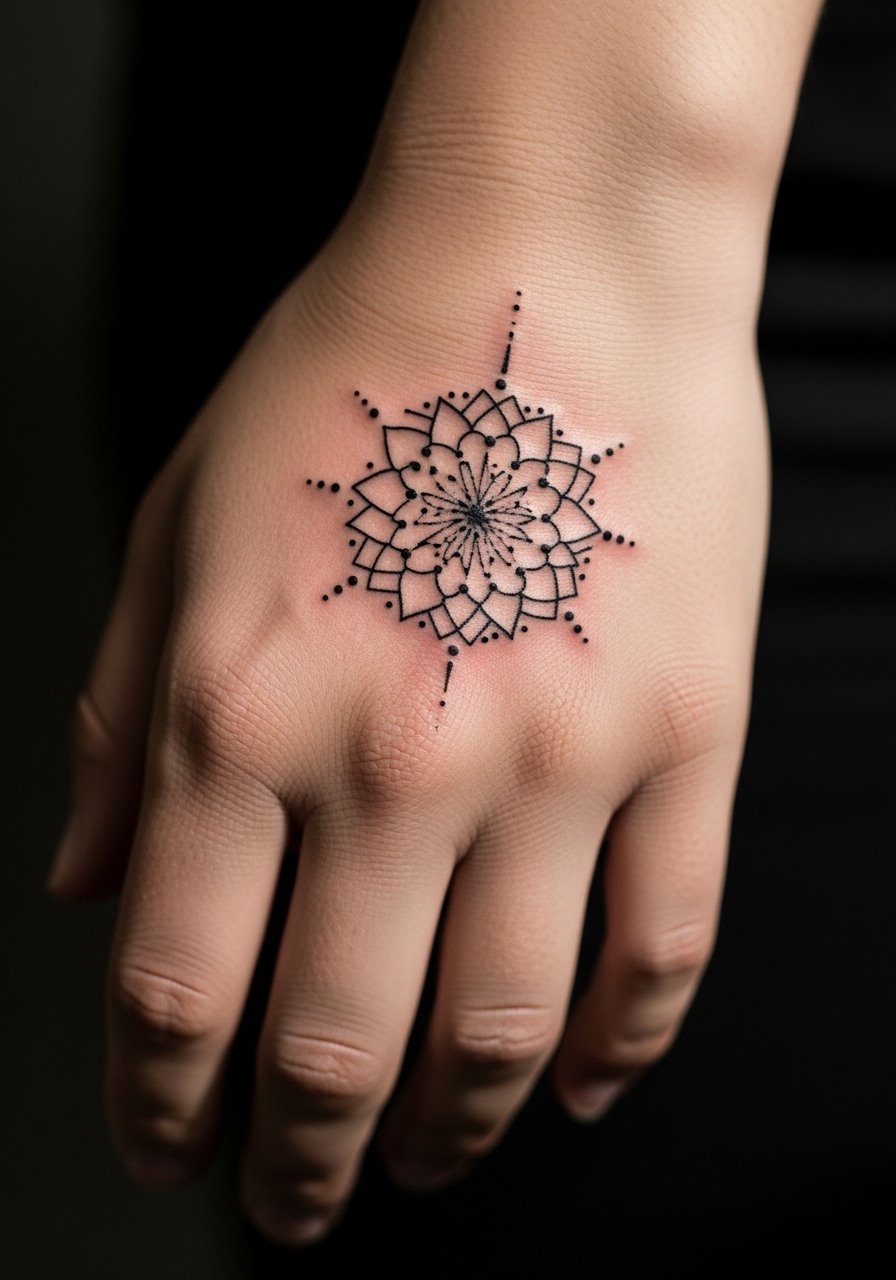
A small mandala with digital glyph accents reads well from a distance when the outer lines are solid. Tell your artist you want stipple shading rather than heavy solid fills to avoid early saturation in textured hand skin. This style often needs refinement at year two because peripheral dots can merge. The session is medium intensity and about 45 to 75 minutes. A real mistake is packing too many concentric rings into a tiny circle. For outfits, rolled sleeves and a thin bracelet keep attention centered on the hand without competing.
6. Circuitry Wrist Wrap That Flows Into the Hand
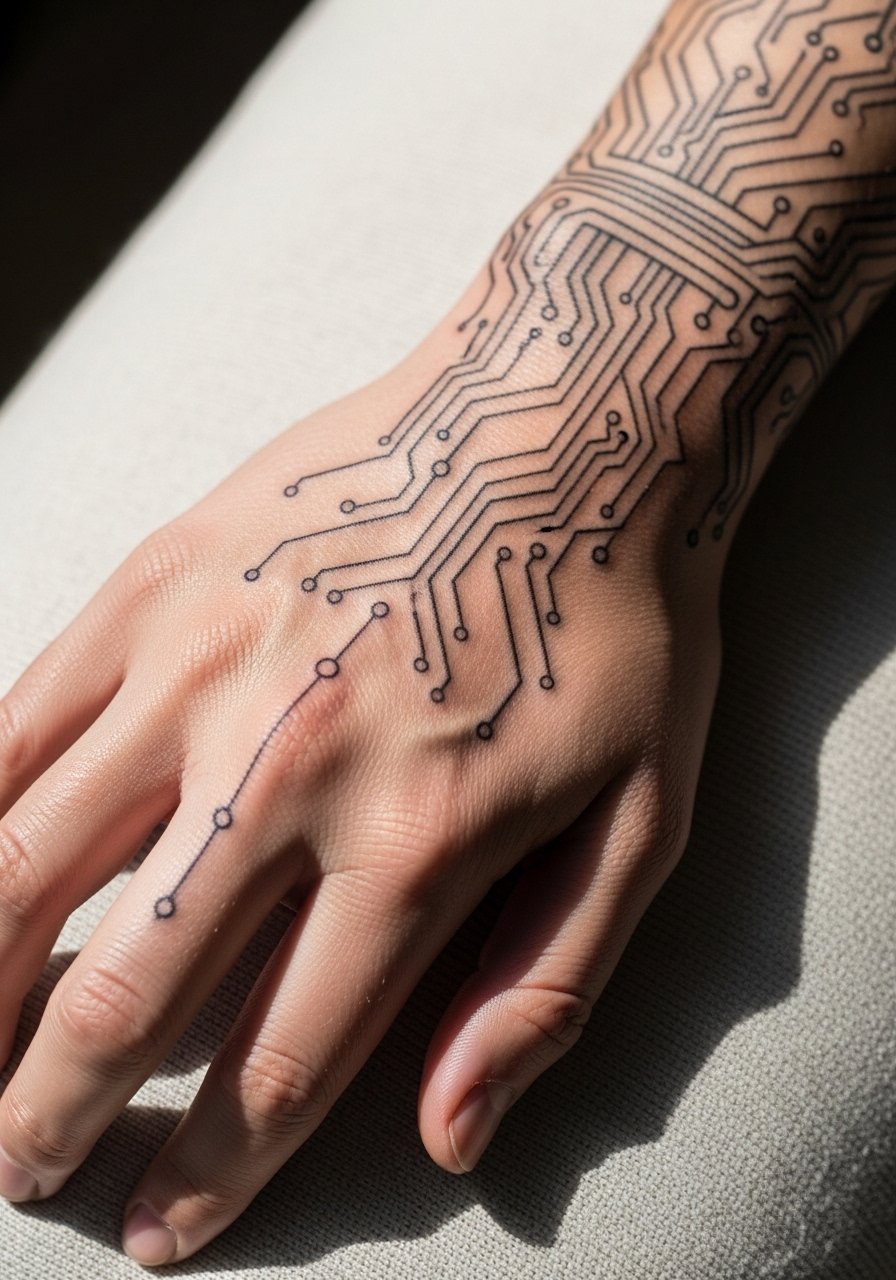
This wrap reads like a band and spreads stress over wrist and hand skin, which helps longevity compared with isolated hand dots. Say in consultation you want the wrap to stop short of knuckles so the busiest areas avoid dense detail. Expect a one to two hour session depending on complexity. One controversy to flag is fine line across the wrist and onto the hand. One camp argues the hand's motion causes blurring within a few years. The other camp says proper depth and spacing solve most issues. Ask your artist how they handle transitions before booking. For show-off outfits, a rolled cuff linen shirt frames the wrap without hiding it.
Studio Day Picks
The wrist and back-of-hand pieces above behave differently than knuckle and palm work, so a few targeted items smooth the session and first week.
-
Stencil transfer paper kit. Lets you preview how the circuitry and glyph layouts sit on the hand before the needle goes down.
-
Topical numbing cream. Applied about 45 minutes before the session eases the sharp sensitivity on knuckles and palm work without changing the artist's line.
-
Thin protective film roll. Keeps finger and side-of-hand tattoos cleaner during the first week of constant washing and typing.
-
Fragrance-free gentle body wash. Cleans healing hand tattoos without irritating the linework.
-
Aquaphor healing ointment. Thin applications for the first few days lock in moisture and support fine line work without clogging.
7. Barcode Sigil Along the Thumb Webbing
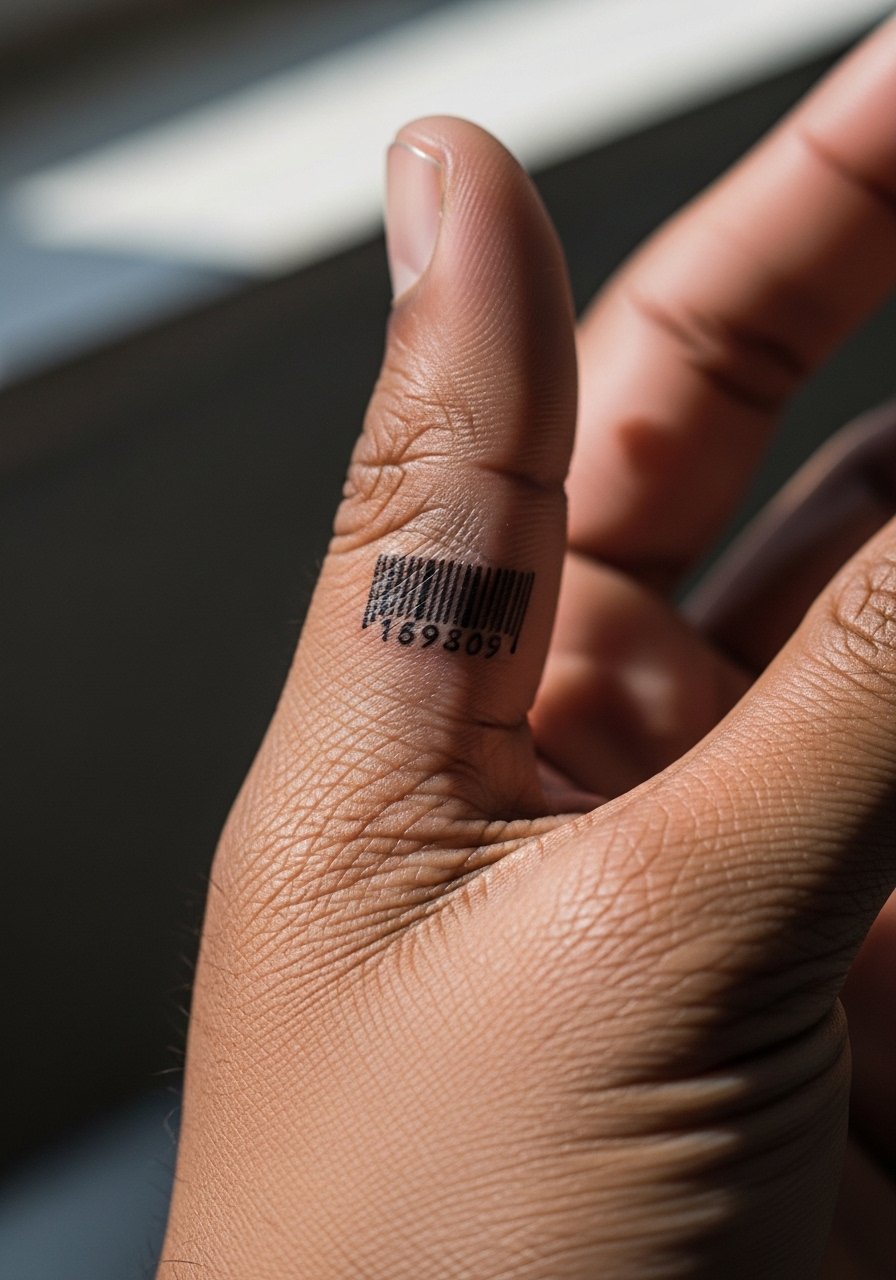
The thumb web is mobile and endures repeated movement with gripping. For longevity choose bolder bars and keep the barcode short so the print reads at a glance. In consultation indicate you want the pattern to avoid the deepest flex crease. Sessions are brief but uncomfortable. A common mistake is placing long stacked bars that cross creases and blur. Expect a touch-up at year one. For session comfort, wear a short-sleeve tee so the artist can access the thumb area easily.
8. Sigil Cluster Near the Wrist Crease
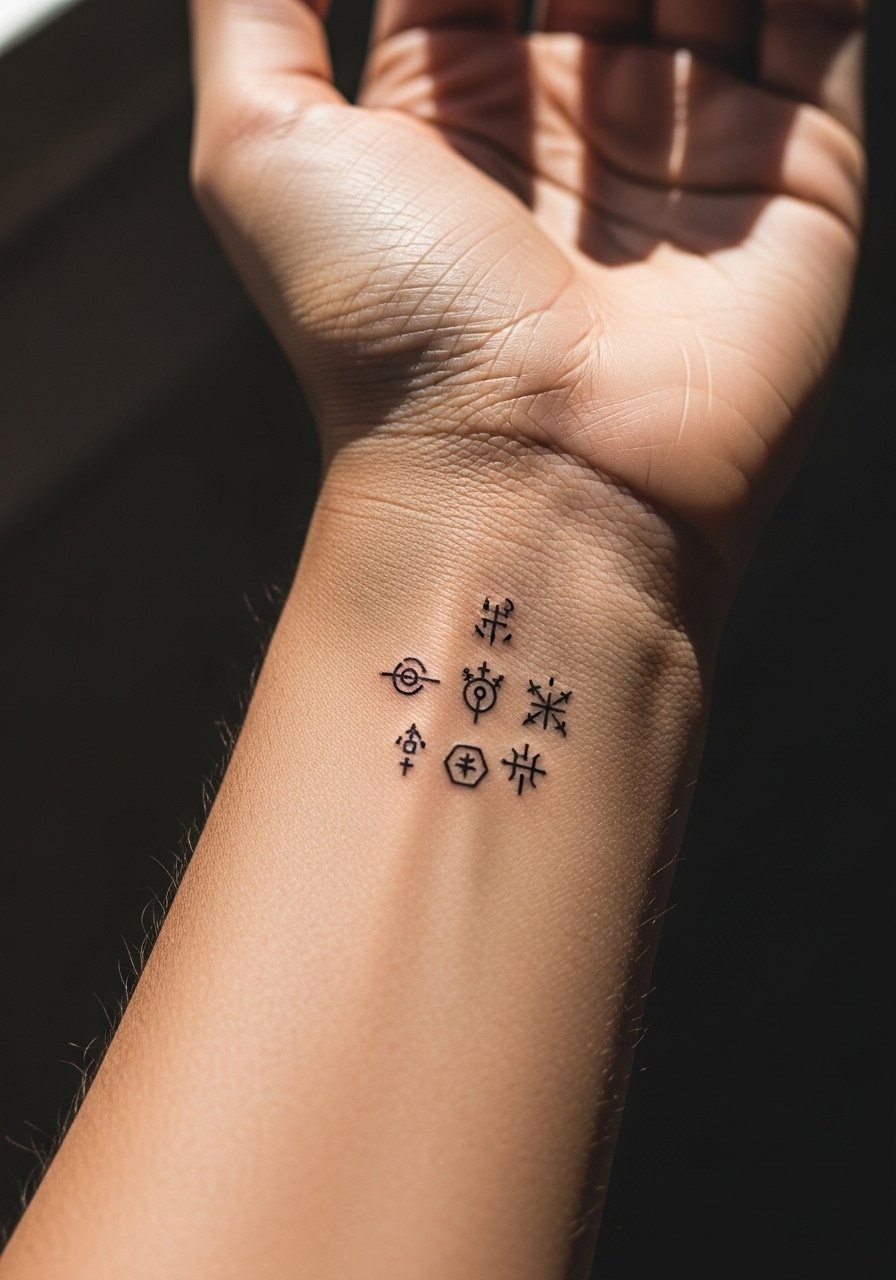
Inner wrist skin is thin and shows detail nicely but also receives sun exposure. I tell clients to plan for sun protection and to ask for slightly thicker outer lines on clustered symbols so the grouping holds. Feel for this placement is mild to moderate and sessions are usually under an hour. A mistake is packing too many tiny elements into the narrow wrist band. Over time the inner wrist cluster will soften, so a touch-up at two years is realistic. Pair this area with a thin chain bracelet that sits above the glyphs so the tattoo remains visible.
9. Negative-Space Sigil Over the Metacarpal
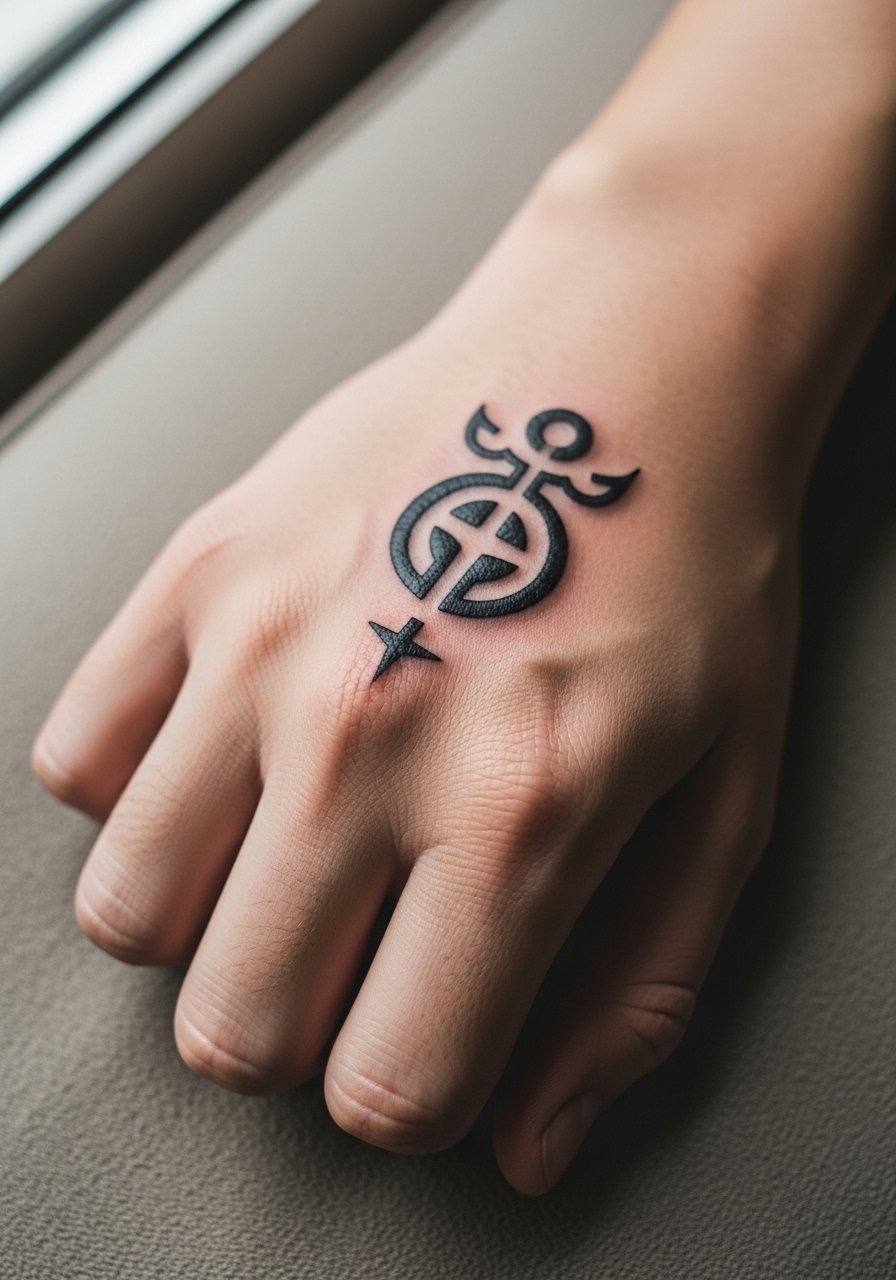
Negative-space work uses surrounding linework to define a sigil, which can hold better than tiny interior details on the hand. Tell your artist you prefer sharp outer contours and shallower interior marks to reduce saturation. Sessions vary with complexity and may run an hour. The typical mistake is making the uninked area too small, which shrinks visually as skin settles. Expect the design to remain legible longer if the surrounding linework is robust. For evening looks, rolled sleeves or a tailored blazer with cropped sleeves keeps the hand visible while polished.
10. Micro-Sigil Rows Along the Finger Sides
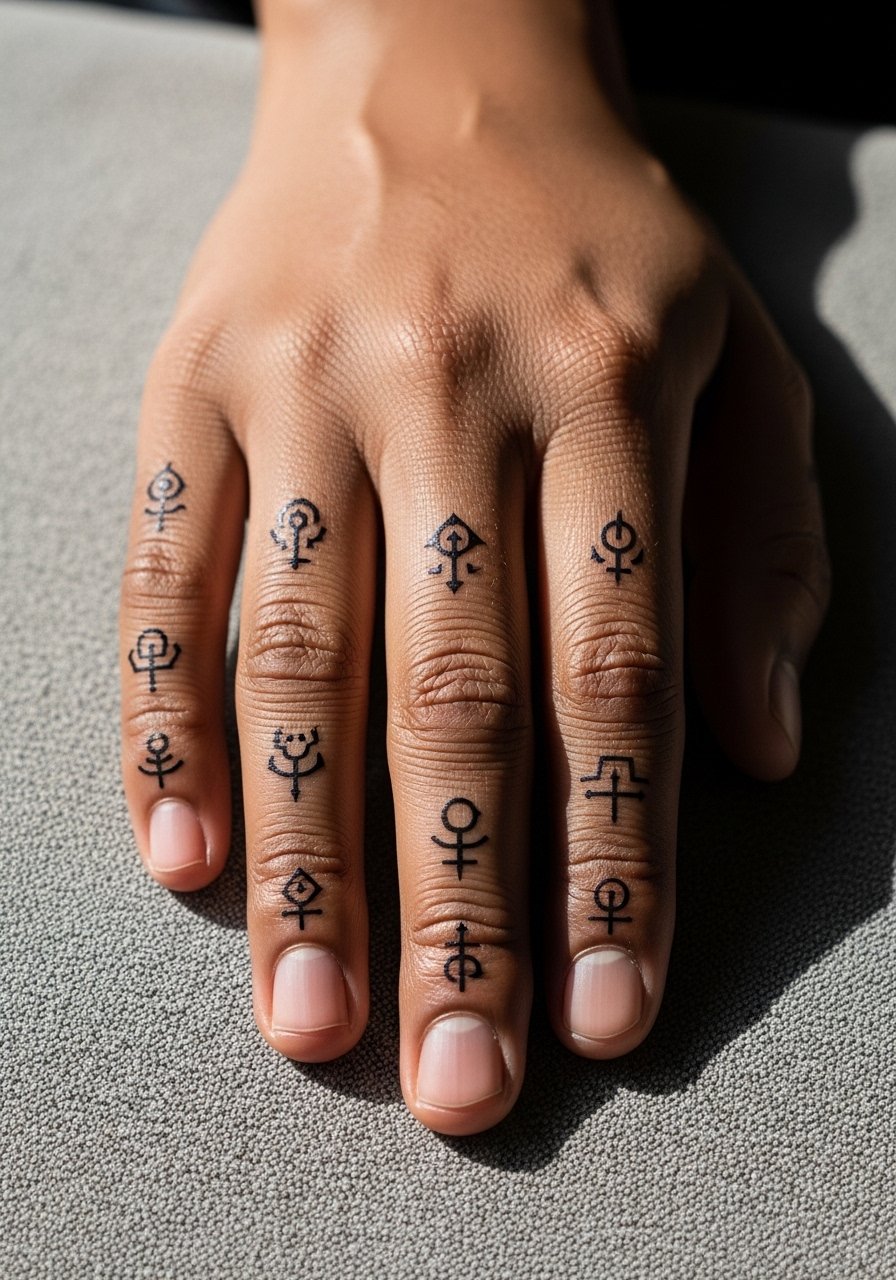
Rows of micro-sigils along finger sides are discreet when you want subtlety. Because fingers are high-friction zones, request short runs with gaps and thicker apex points so symbols survive daily wear. Pain is sharp but sessions are split across fingers in short bursts. A common error is requesting continuous micro-lines along full finger length. Expect these marks to need touch-ups frequently. For a cohesive accessory approach, stack a thin midi ring set that lets the tattoo peek between jewelry.
11. Webbed Sigil Lace Between Fingers
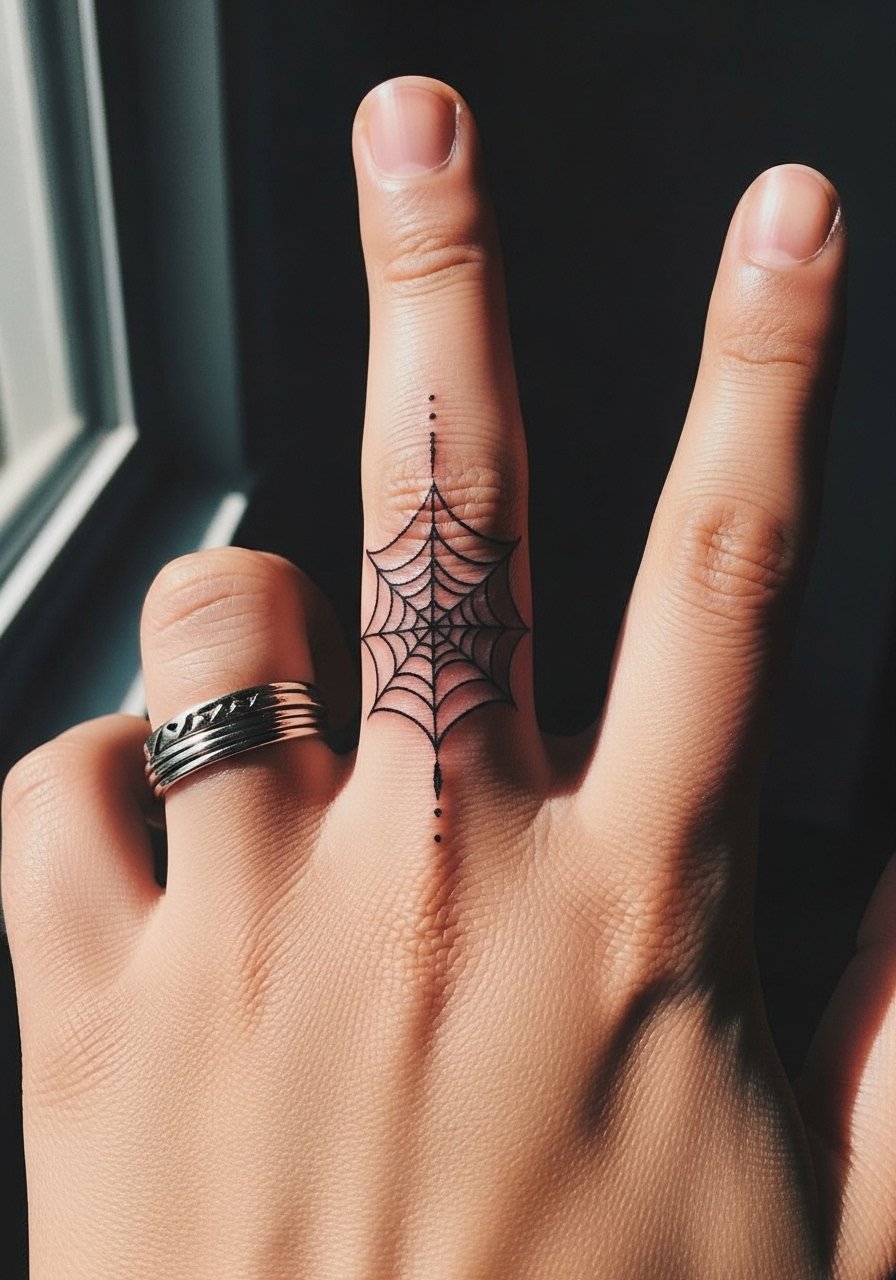
Linework that crosses between fingers needs more maintenance because joint movement stretches the design. I advise clients to accept a simplified web with bolder anchor nodes so the pattern survives. Sessions are focused and can be more painful than single-finger pieces. The common mistake is insisting on filigree detail that cannot stay crisp across seams. Expect touch-ups as early as year one. During the session wear short sleeves and bring a loose button-down shirt so the artist can work without fabric pulling.
12. Bioluminescent Sigil Accent Near the Wrist Bone
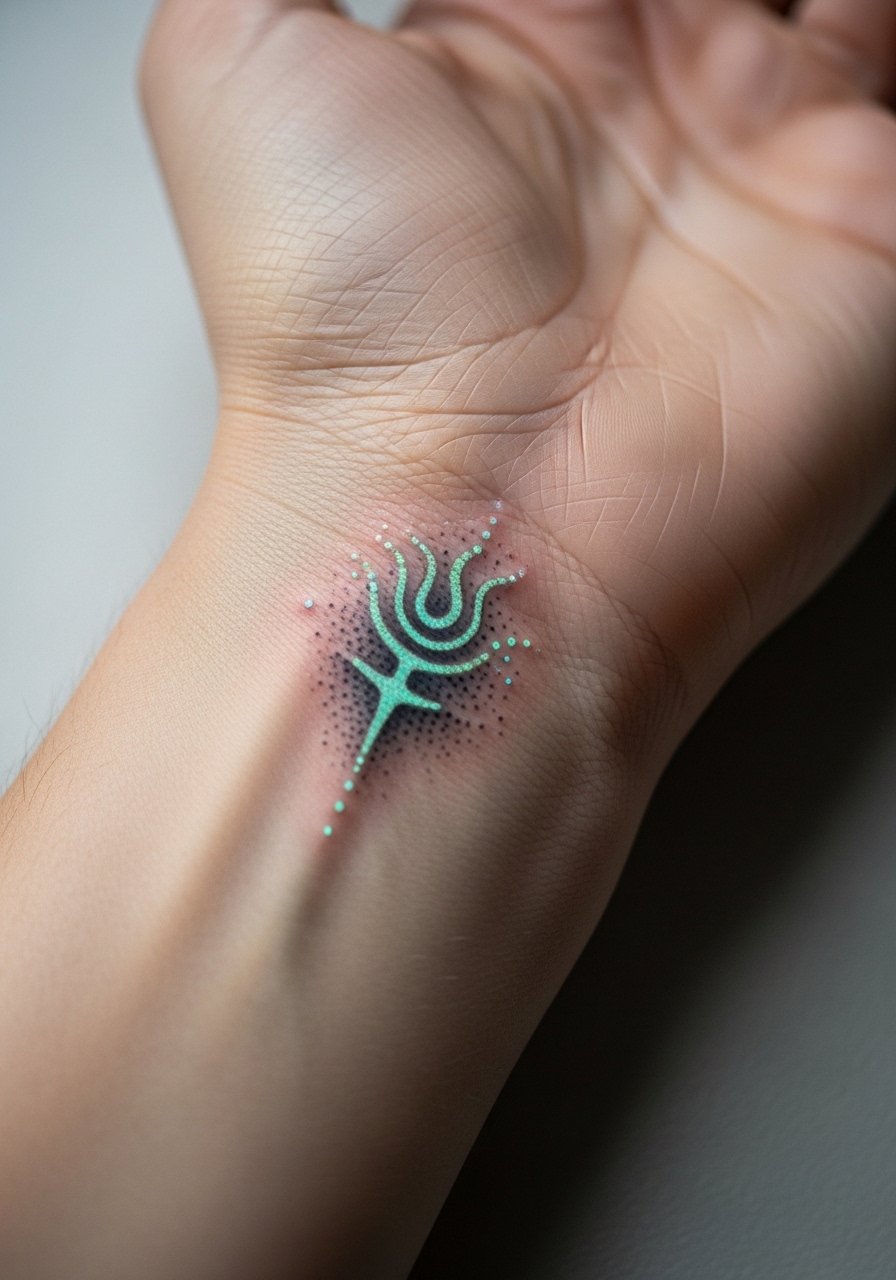
Color accents on the wrist can pop but they also fade faster than black. For a long-lasting bioluminescent feel, keep color to tiny nodes surrounded by black stipple. Tell your artist you want a mostly black base with selective pigment. Sessions for this scale run about 45 minutes. A mistake is asking for large saturated color fields on the wrist that will need dramatic touch-ups. Expect color to fade more than the black and plan a color refresh at year two or three. Pair with rolled sleeves and a slim leather cuff to play up the glow without hiding the piece.
13. Micro-Text Sigil Script Along the Side of the Hand
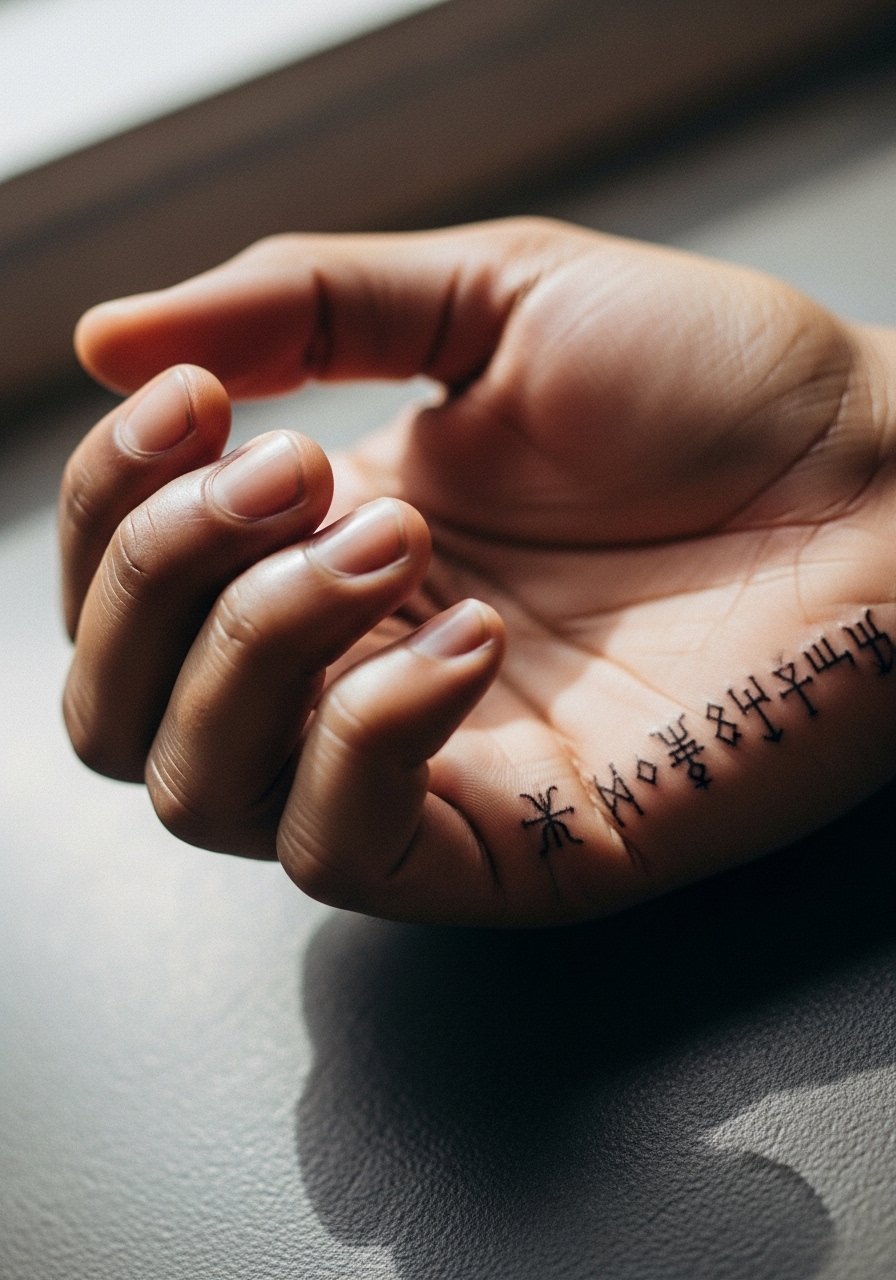
Script on the hand must have generous letter spacing for readability as skin settles. Ask for slightly larger letterforms and a low-contrast ink fill so letters do not pool in the creases. The session is usually under an hour. A common mistake is asking for ultra-condensed script to fit many characters. Expect softening within one to three years and plan for a touch-up if you need sharp legibility. For showing it off, a minimalist cuff bracelet draws the eye without covering the script.
14. Halftone Sigil Patch on the Back of the Hand
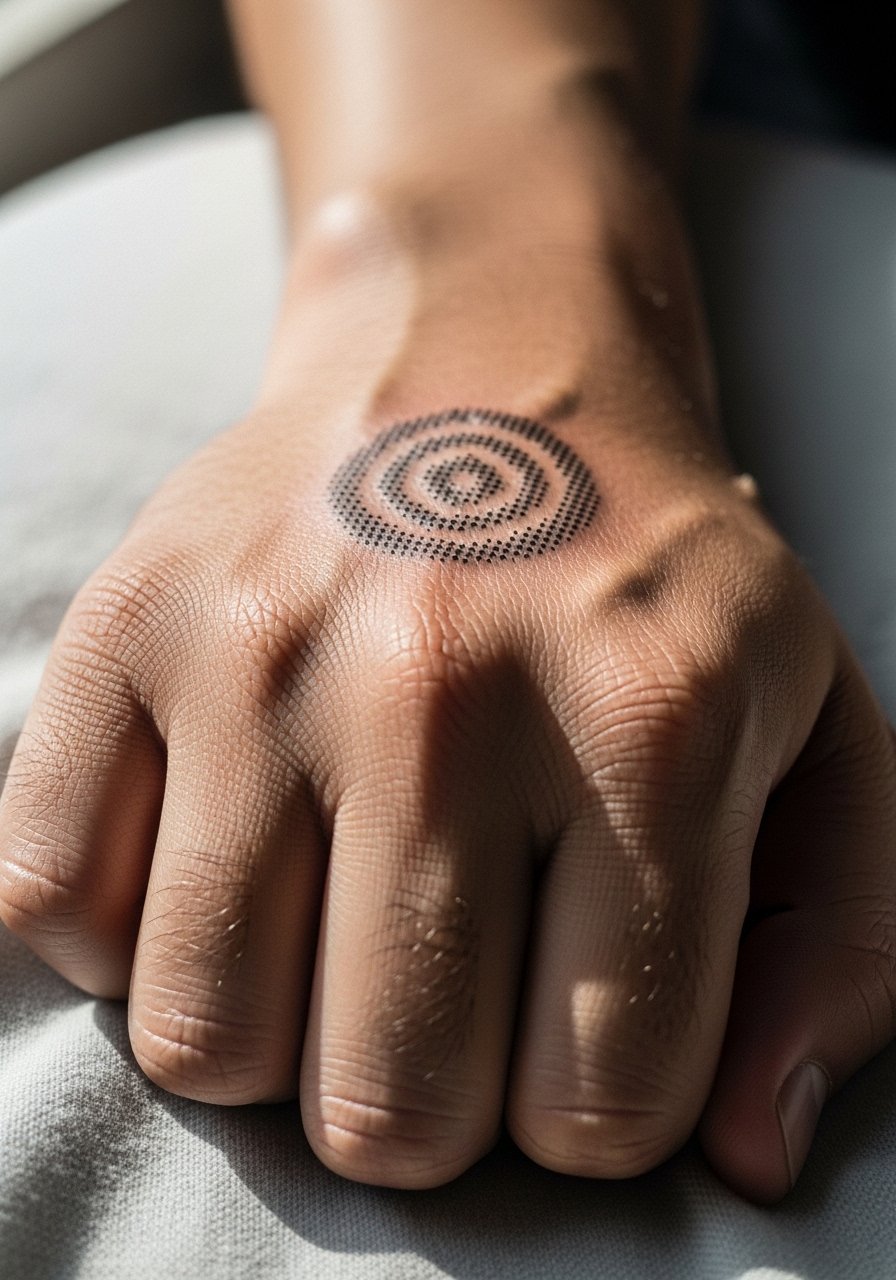
Halftone and stipple shading can age better than dense gradients on hands because the pattern leaves room for skin movement. In consultation ask for larger dot spacing in outer zones so the halftone does not become a gray blob. Expect the session to be moderate in time and tolerance. A typical mistake is compacting the dotwork too tightly for a tiny patch. Touch-ups at two to three years may be needed to refresh mid-tones. For casual looks, pair with a rolled-up denim jacket sleeve to show the patch naturally.
15. Constellation Sigil Trail From Wrist to Middle Finger
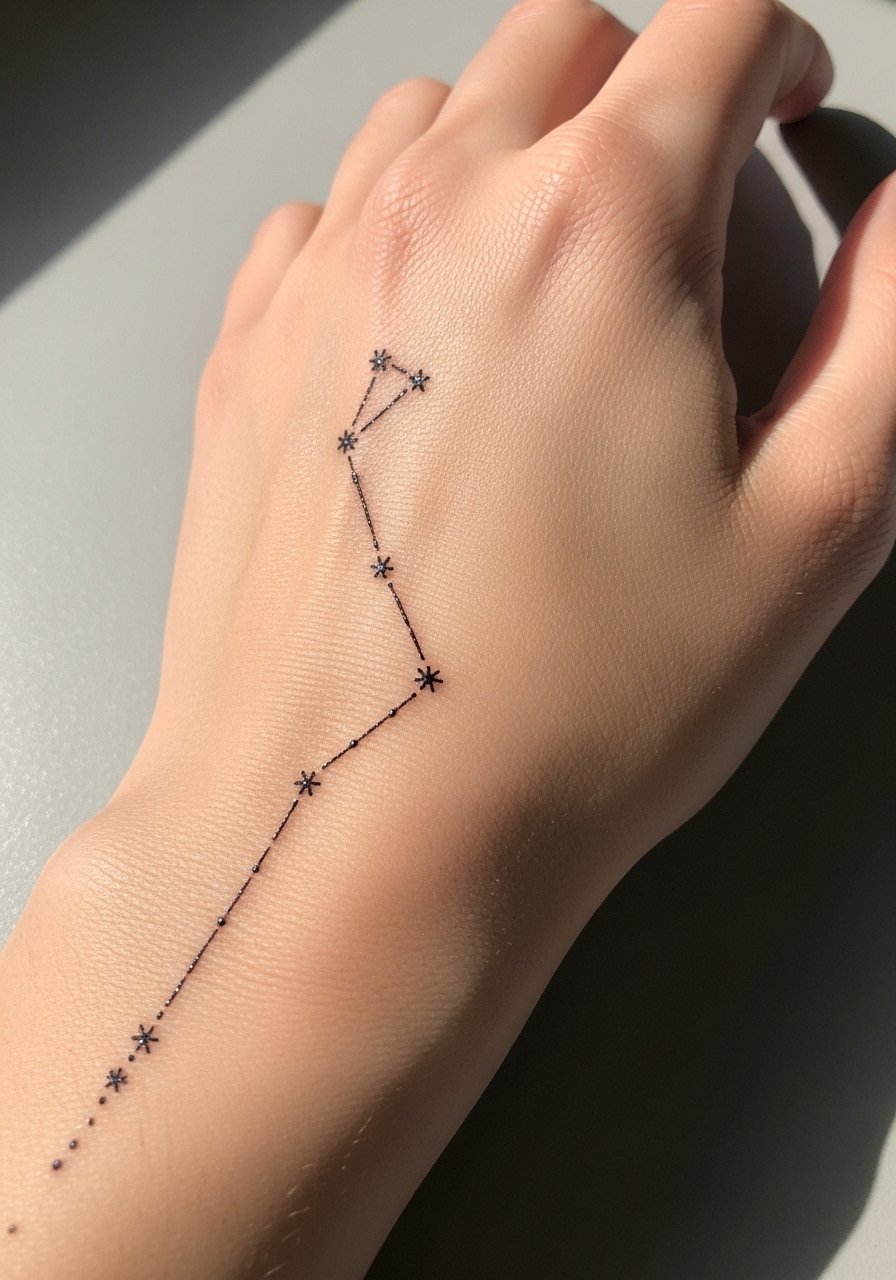
A trail that bridges wrist to finger distributes wear and looks intentional in motion. Ask your artist to anchor the trail with a few thicker nodes and leave spacing between stars to reduce merging. The session is longer because it spans two zones and can be split across sittings. The main mistake is running the trail too close to creases where motion will distort the tiny stars. Expect touch-ups at year two for sharp points. For evening wear, an open cuff or short sleeve helps the trail catch light; consider a thin chain bracelet that sits above the wrist anchors.
16. QR-Like Sigil Block on the Outer Hand
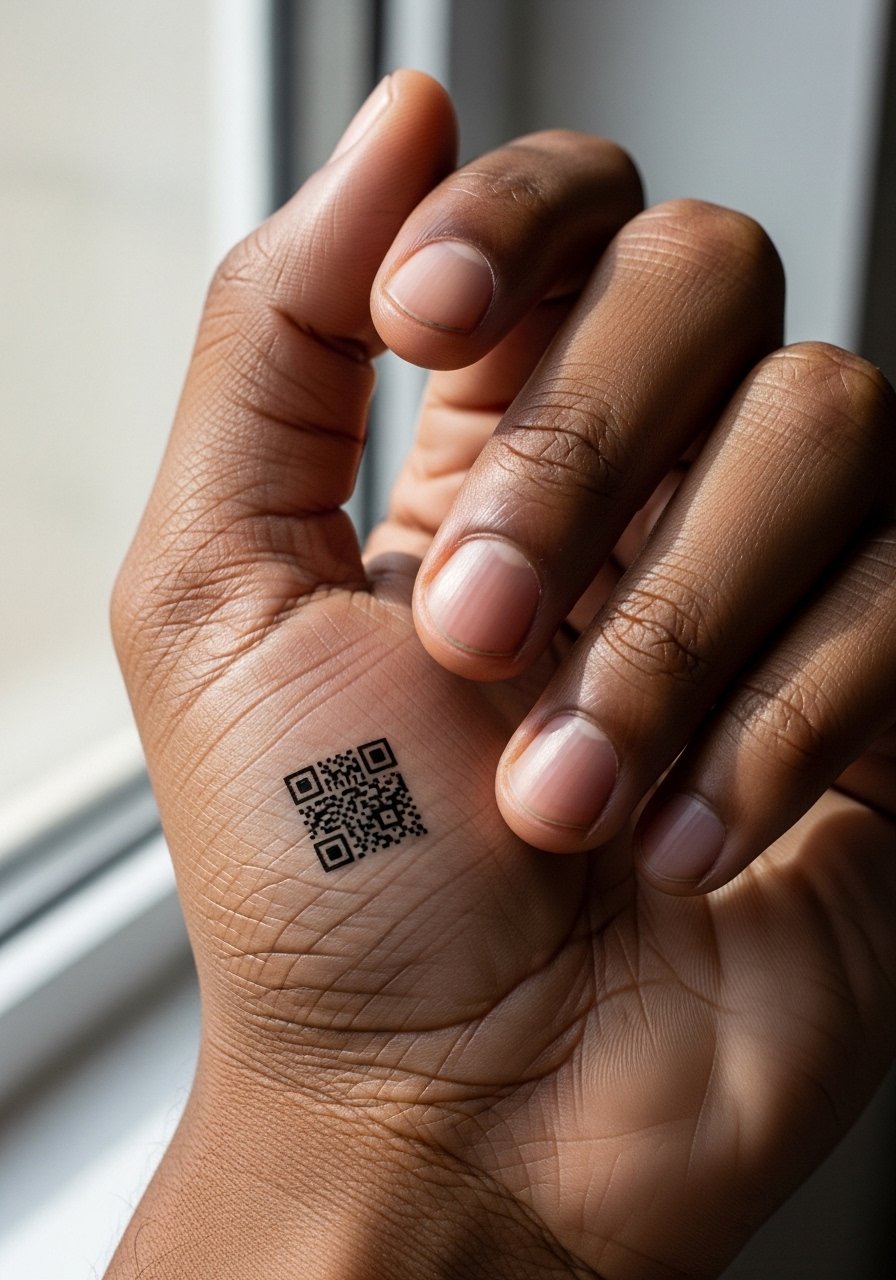
QR-like blocks make a bold statement but need bold pixels. I advise simplifying the pattern into larger squares so it does not dissolve into noise as skin ages. Sessions are short but can feel sharp on this thin-skinned area. A common mistake is demanding a high-density block with tiny squares that lose definition. Expect a touch-up at year one or two. For casual framing, wear a short-sleeve shirt so the block sits visible during everyday gestures.
17. Tiny Sigil at the Base of the Thumb With Radiating Lines
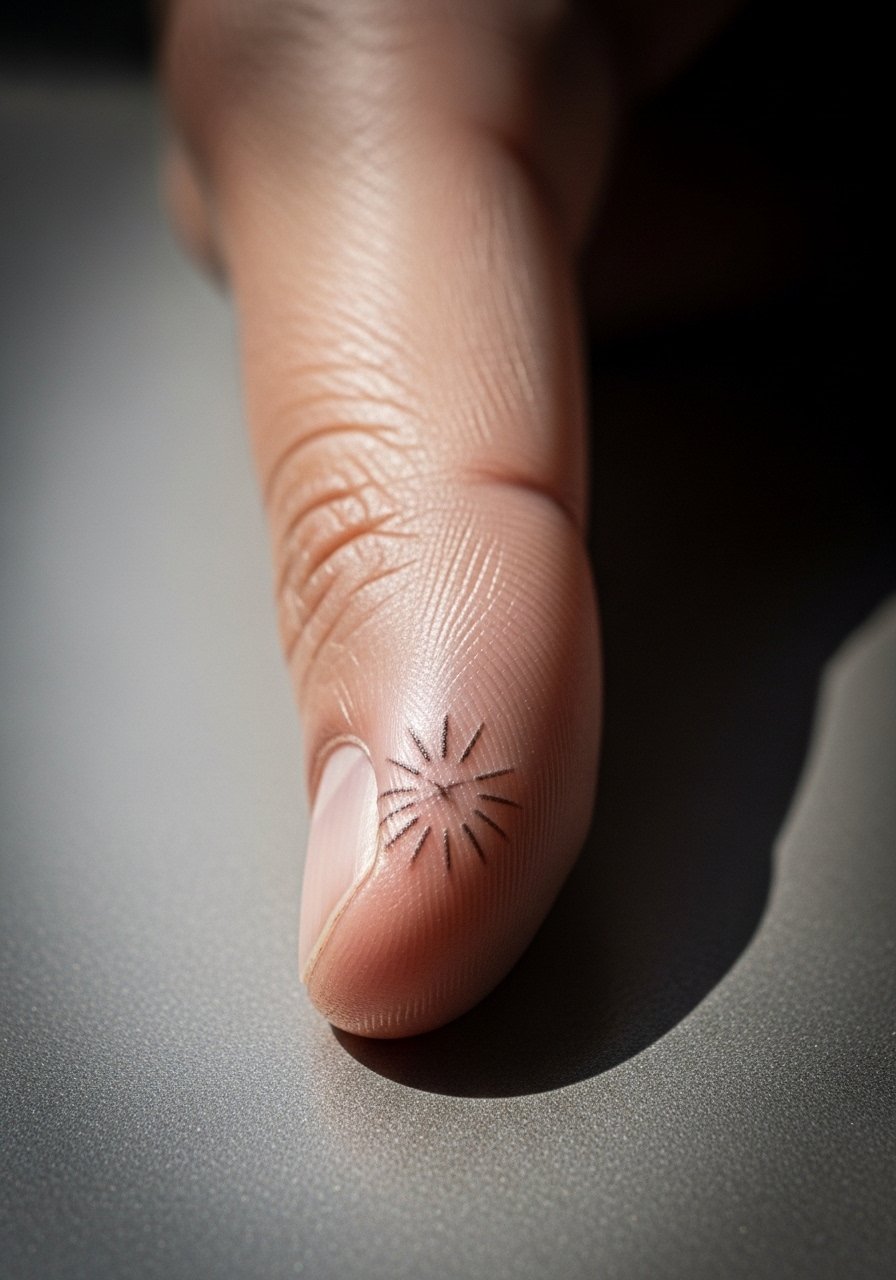
A compact anchor sigil with radiating lines reads well and resists over-saturation when the rays are short and spaced. Tell your artist you want the rays capped so they do not run into blowout zones. Sessions are brief and the pain is sharp but fleeting. The usual mistake is long thin rays that disappear as the skin settles. Expect to revisit the piece at year two for any lost crispness. Hand tattoos still affect hiring in some industries, so place this slightly lower on the thumb base if concealment is a concern.
Frequently Asked Questions
Q: How long should I plan between sessions if I want a hand piece that extends from wrist to fingers?
A: Plan for either one long session or two shorter sittings split by a few weeks. Extending from wrist to fingers can be done at once if you tolerate longer sessions, but splitting lets the skin settle and gives your artist a clearer second pass.
Q: Do cybersigilism styles need different touch-up schedules than traditional blackwork on hands?
A: From what I've seen, delicate cybersigil details often need earlier touch-ups than bold blackwork because they rely on fine negative space. Expect to budget for a refresh around year two for most micro-detail hand pieces.
Q: Will watercolor or colored accents on the hand fade faster than black?
A: Yes, color tends to fade faster on hands because pigment particles break down and the area gets more sun and washing. Keep color to small nodes and plan on color refreshes at a later date.
Q: How do I find an artist who understands cybersigilism without naming specific shops?
A: Search niche hashtags, shop directories, and community threads. Look for portfolios under tags like #cybersigil, #digitallinework, and #microgeometry. Attend local conventions and ask for portfolios showing healed hand work before booking.
Q: Are hand tattoos risky for people with darker skin tones because of contrast issues?
A: Hand tattoos can read differently across skin tones, but good line spacing and dot work translate well if the artist adjusts contrast. Ask to see healed examples on similar skin tones in the artist's portfolio.
Q: What should I wear to the session for knuckle or thumb webbing work?
A: Wear a short-sleeve tee that leaves wrists and hands exposed so the artist has unobstructed access and you stay comfortable during the session.
