
Fine line Scooby Doo pieces look irresistible on boards, but what looks flawless in a reel can blur faster than you expect. The TikTok-friendly, ultra-detailed scooby portrait might get the most saves the day you post, yet placement, skin type, and spacing decide whether it still reads at year three. Below are 21 Scooby Doo ideas that balance show-off energy with real-world aging, consultation notes, and what to wear to the session.
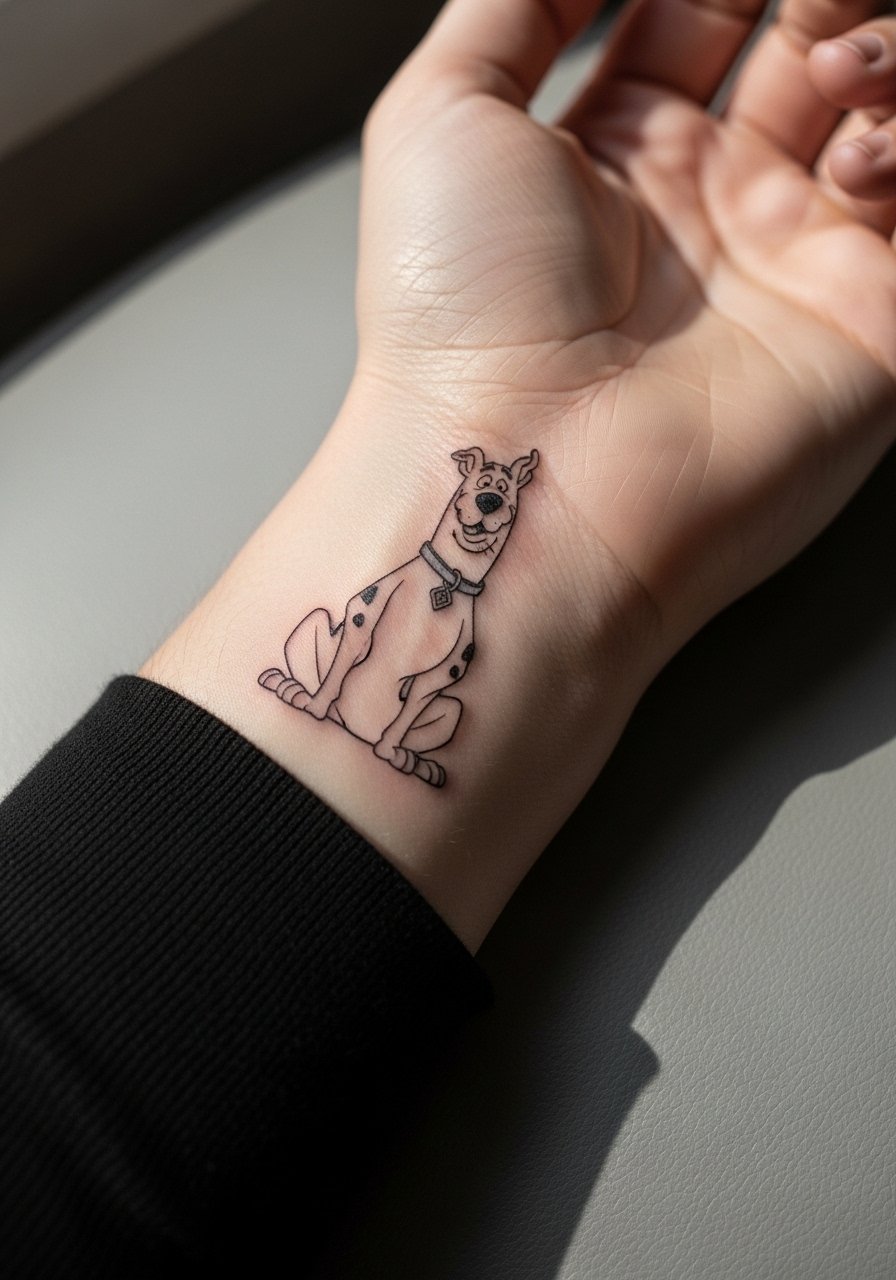
1. Fine Line Scooby Silhouette on the Inner Wrist
I've seen tiny silhouettes hold up well on wrists when artists leave breathing room in the design and keep linework slightly bolder than a true micro line. Ask your artist for steady linework with minimal whip shading and for the silhouette to be scaled so it can be read at arm's length. Fair warning, the wrist faces constant washing and friction, so expect a touch-up at year two or three for fine details. For the session wear a racerback tank so the artist can access the arm without tugging at sleeves. A common mistake is insisting on hair-thin lines that vanish once healed. Opt for clean, slightly heavier linework and steady spacing to reduce blowout risk.
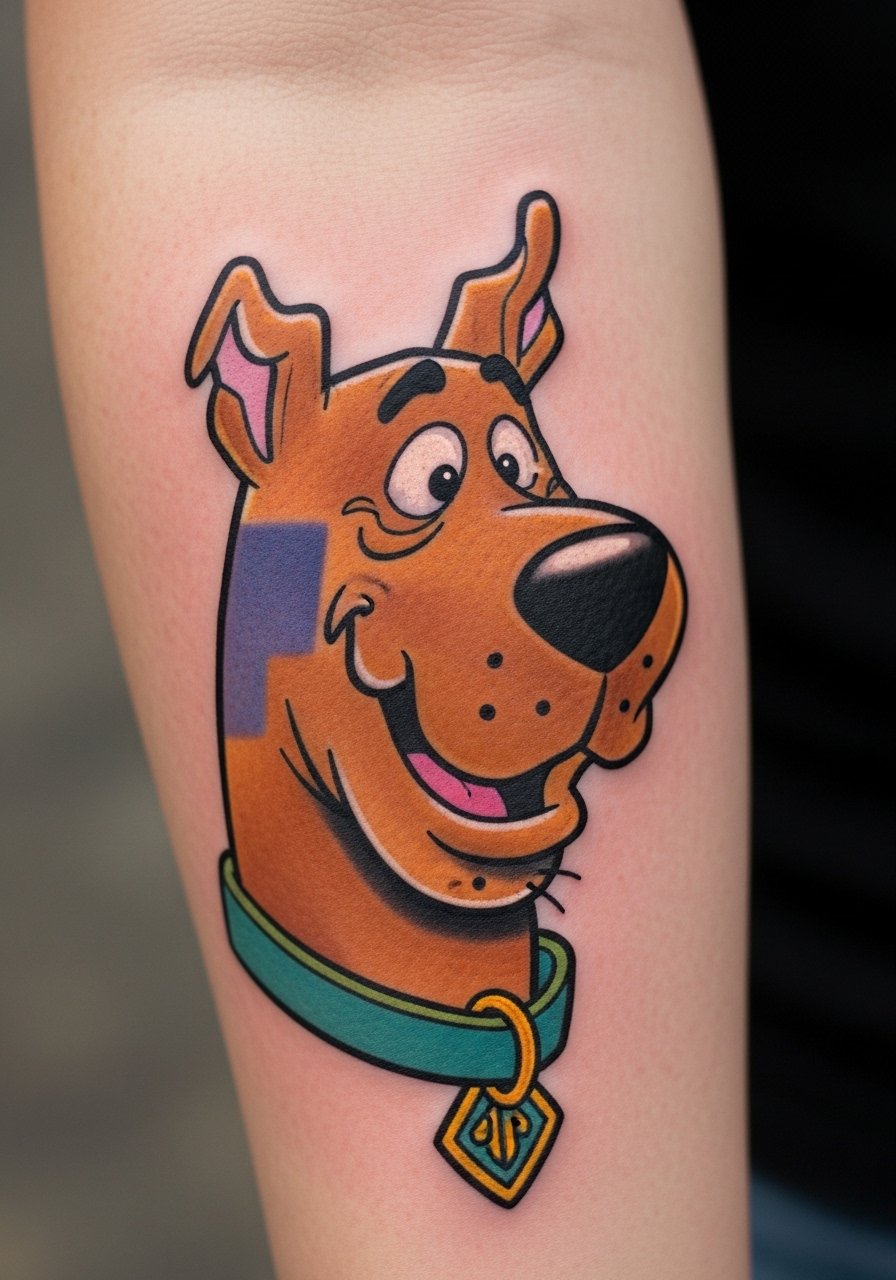
2. Color-Blocked Scooby Head on Outer Forearm
Visual impact lead: a saturated, color-blocked Scooby head reads from across a room when the outlines are bold and the fill is well saturated. This style uses classic cartoon saturation but with careful color packing so the browns and blues keep density without patching. Tell your artist to plan for multiple short passes if you want even color rather than one heavy hit. Expect the session to be comfortable compared with chest work, roughly one to two hours depending on size. Pair it with rolled-up sleeves and a loose button-down shirt when showing it off. The common aging mistake is under-packing the color, which looks fine fresh and then shows patchy gaps at six months.
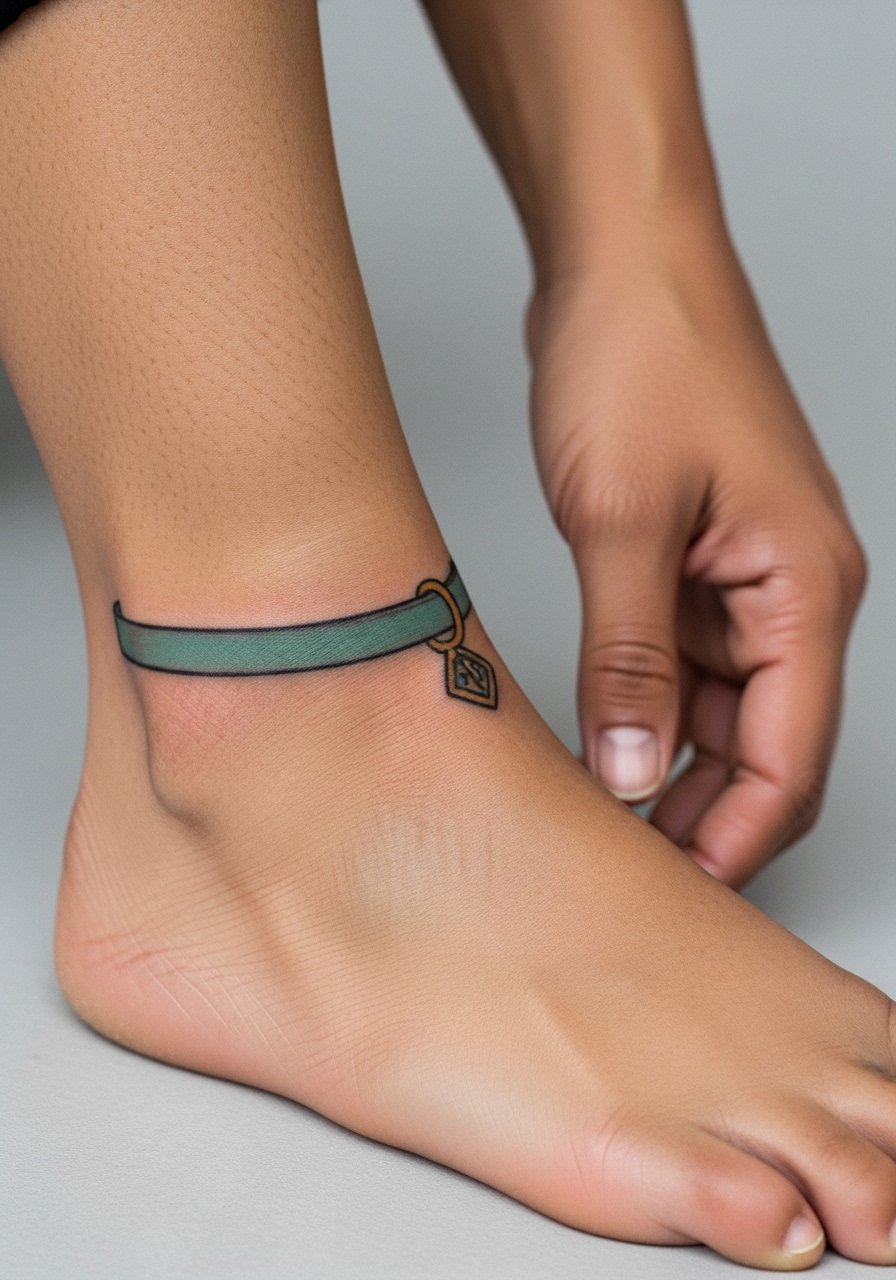
3. Minimalist Blue Collar Scooby Collar on the Ankle
Pain warning lead: ankles are bony and tingle during sessions, but a small minimalist collar around the ankle wears well with minimal touch-up if the linework is kept slightly thicker than a micro line. Ask for steady single-pass lines and to avoid dense stipple close to the ankle bone where blowout risk is higher. For the session wear jeans rolled up or a pair of sandals so the artist can access the area without rubbing fabric on the fresh piece. The biggest mistake is crowding the design into too small a space. Leave a margin so the collar can breathe as the skin moves around the joint.
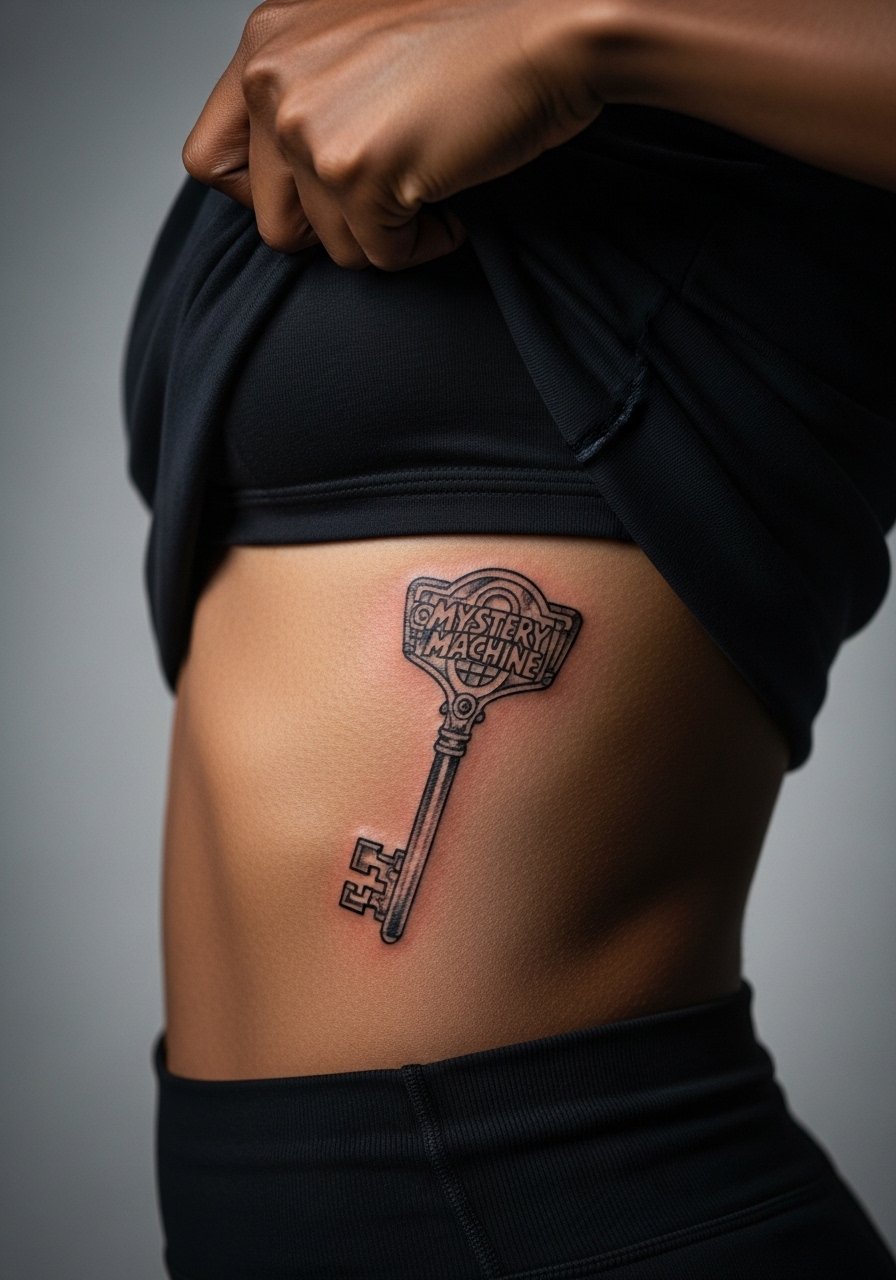
4. Retro Mystery Machine Key on the Side Ribcage
Aging/healing lead: the ribcage is notorious for how linework shifts as skin stretches and heals. One camp argues that fine line on ribs blurs quickly. The other camp says spacing and correct needle depth make it hold. Name both camps in consultation and ask where your artist stands. For this retro key motif go slightly larger than you might on forearm work and request bold outer lines with airy interior detail. Sessions on ribs are longer and more painful, so plan breaks. Wear a cropped top or lift a shirt so only the rib area is exposed. This placement looks great with a cropped tee when healed, but expect potential touch-ups by year three if lines are too tight.
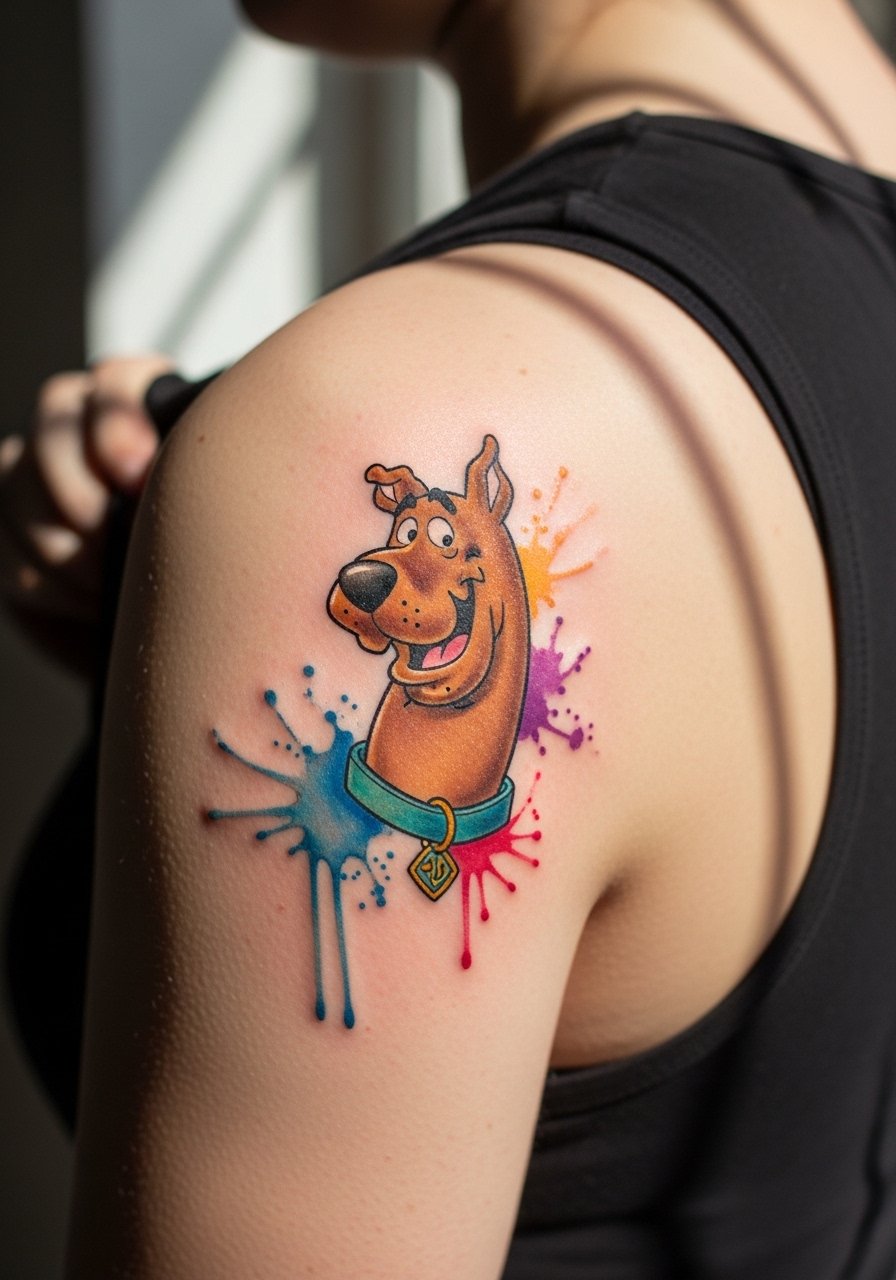
5. Watercolor Scooby Splash on the Shoulder Blade
Visual impact lead: watercolor treatments can produce an expressive Scooby silhouette with splashes of teal and purple behind the character. The mistake is over-detailing the color washes. Watercolor prints that are dense with tiny gradients tend to patch or fade into a muddy tone. Ask for the color washes to be kept soft and for the outlines to be a deliberate choice, either absent or subtle. For session comfort bring a loose tank top you can pull aside. Pair the healed shoulder blade piece with an open-back midi dress for evenings out. Realistic expectations include more frequent color touch-ups than blackwork.
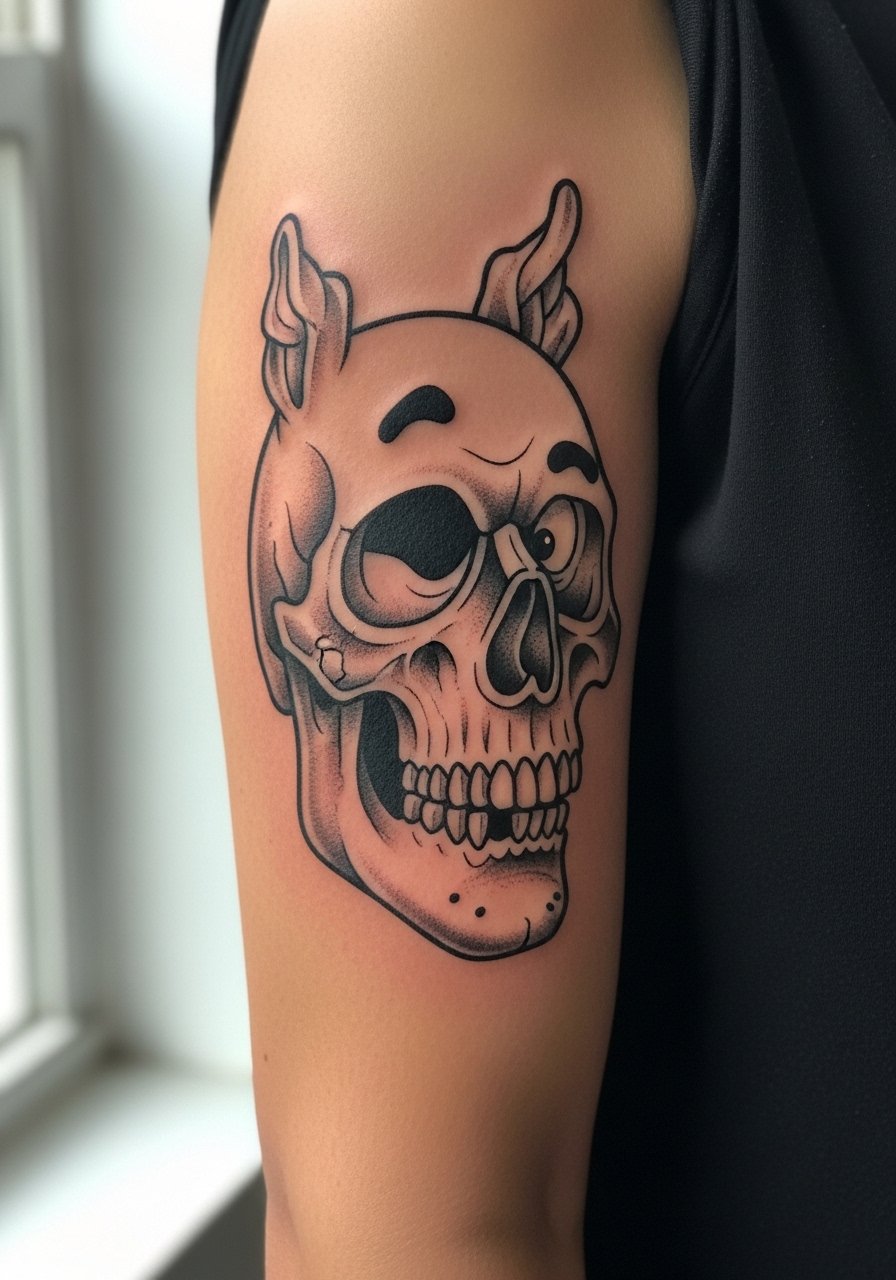
6. Blackwork Scooby Skull Mashup on the Upper Arm
Consultation lead: when you bring a skull-variant mashup, ask the artist how they plan to separate the two images so contrast survives over years. Blackwork relies on saturation and negative space to stay readable, so order a bold outline and heavy fill with isolated dot work for texture. Upper arm sessions are generally lower pain and session times moderate. For showing it off roll sleeves or wear a loose button-down to frame the piece. The common mistake is tiny internal details inside dense black areas, which vanish as the ink settles. Bold separation and clean negative space prevent that.
Studio Day Picks
The upper arm and shoulder pieces above ask for different prep than wrist and ankle work, and a few targeted items smooth the session and the first week.
-
Stencil transfer paper kit. Lets you preview the placement and scale on skin before the needle touches, which matters for the rib and shoulder layouts above.
-
Topical numbing cream. Applied per directions about 45 minutes before can ease ribcage sensitivity without altering linework when used properly.
-
Thin protective film roll. Useful for ankle and wrist pieces that face constant friction from shoes and cuffs during the first week.
-
Fragrance-free body wash. A gentle cleanser that removes sweat and oils without stripping pigment in the early healing days, especially for forearm color work.
-
Aquaphor healing ointment. Thin layers in the first few days help lock in moisture for detailed linework without clogging the needle channels.
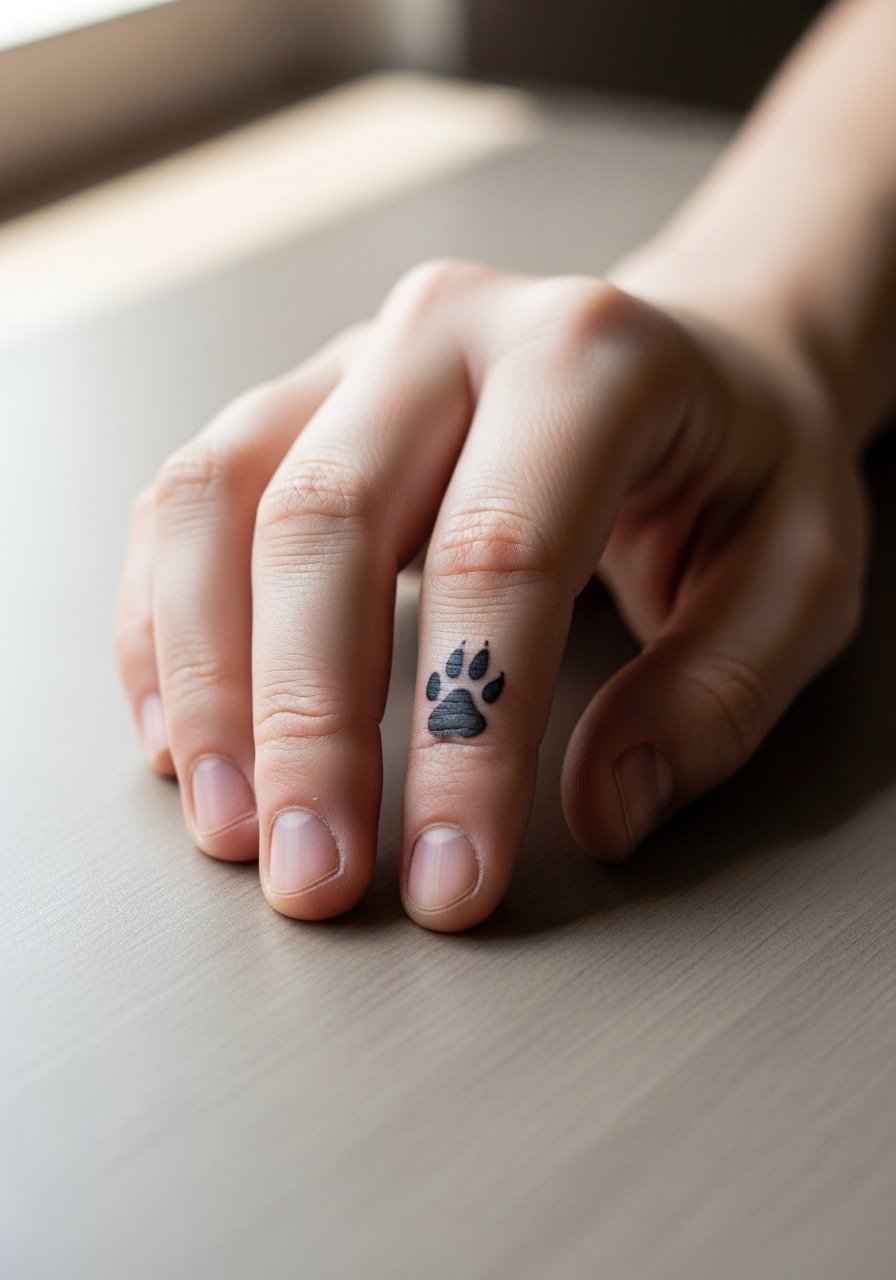
7. Tiny Scooby Paw on the Finger
Mistake lead: the biggest mistake with finger tattoos is wanting dense detail in a tiny area. Fingers lose pigment faster because skin regenerates quickly and the area is washed constantly. For a paw mark scale it up just enough so the pad and toes read at a glance and ask for slightly thicker linework to counter the fast fade. Sessions are short but stingy. Wear a thin ring or none at all for the first month to avoid rubbing. Finger ink may need touch-ups as often as every year. If your work environment is conservative, consider placement impact, because hand tattoos still affect hiring in some fields.
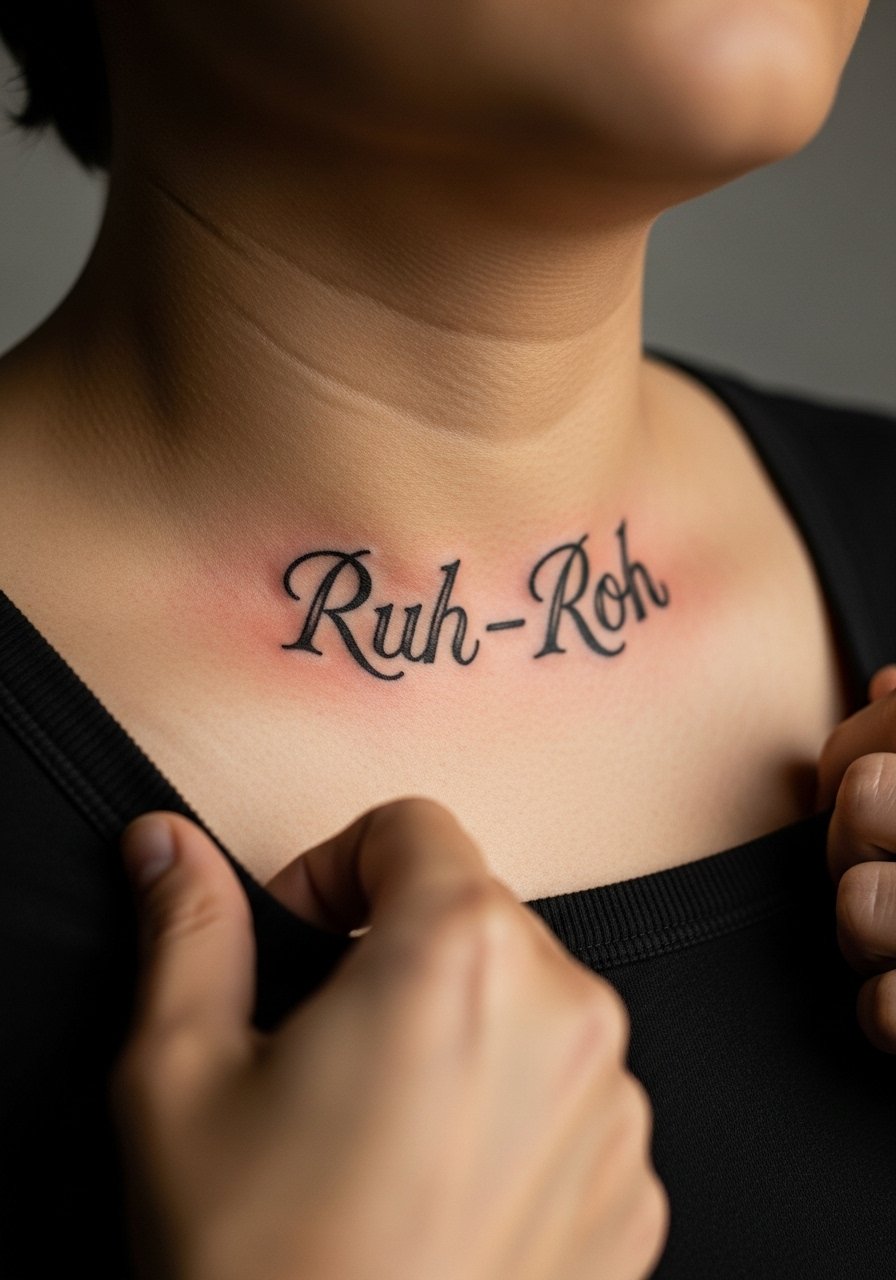
8. Scripted "Ruh-Roh" in Vintage Script on the Collarbone
Personal observation lead: I have seen collarbone script age gracefully when spacing and font weight get attention during the consult. Ask for slightly wider letter spacing and avoid ultra-fine hairlines. The collarbone is visible and flat, which helps lettering sit evenly. For the session wear a wide-neck shirt you can pull slightly aside so only the collarbone area is exposed. Pair the healed line with a thin chain pendant necklace that sits above the script and frames it without crowding. Expect touch-ups later if letters are compressed or if sun exposure is high.
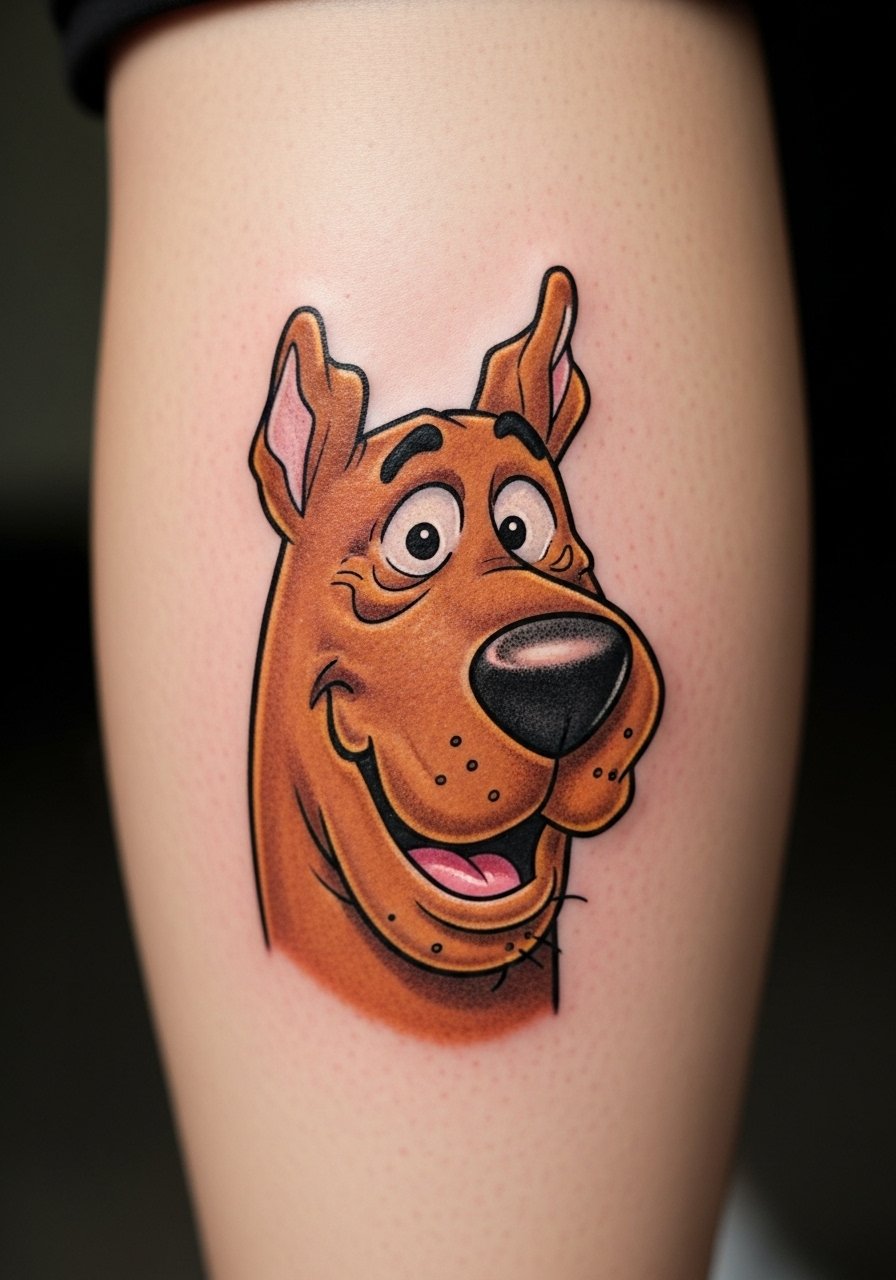
9. Small Scooby Portrait in Micro-Realism on the Calf
Visual impact lead: the calf is a forgiving canvas for micro-realism because it tolerates dense detail and shading while showing less blowout than thin areas. Request a high-contrast approach with crisp linework and controlled stipple shading in shadowed areas. The session can be longer depending on shading, but pain is moderate compared with ribs. For showing it off, rolled pants or a midi skirt work well. Wear breathable shorts to the appointment so the artist can reach the area without skin stretching. A common misstep is pushing too much gradient into small areas, creating muddy patches once healed.
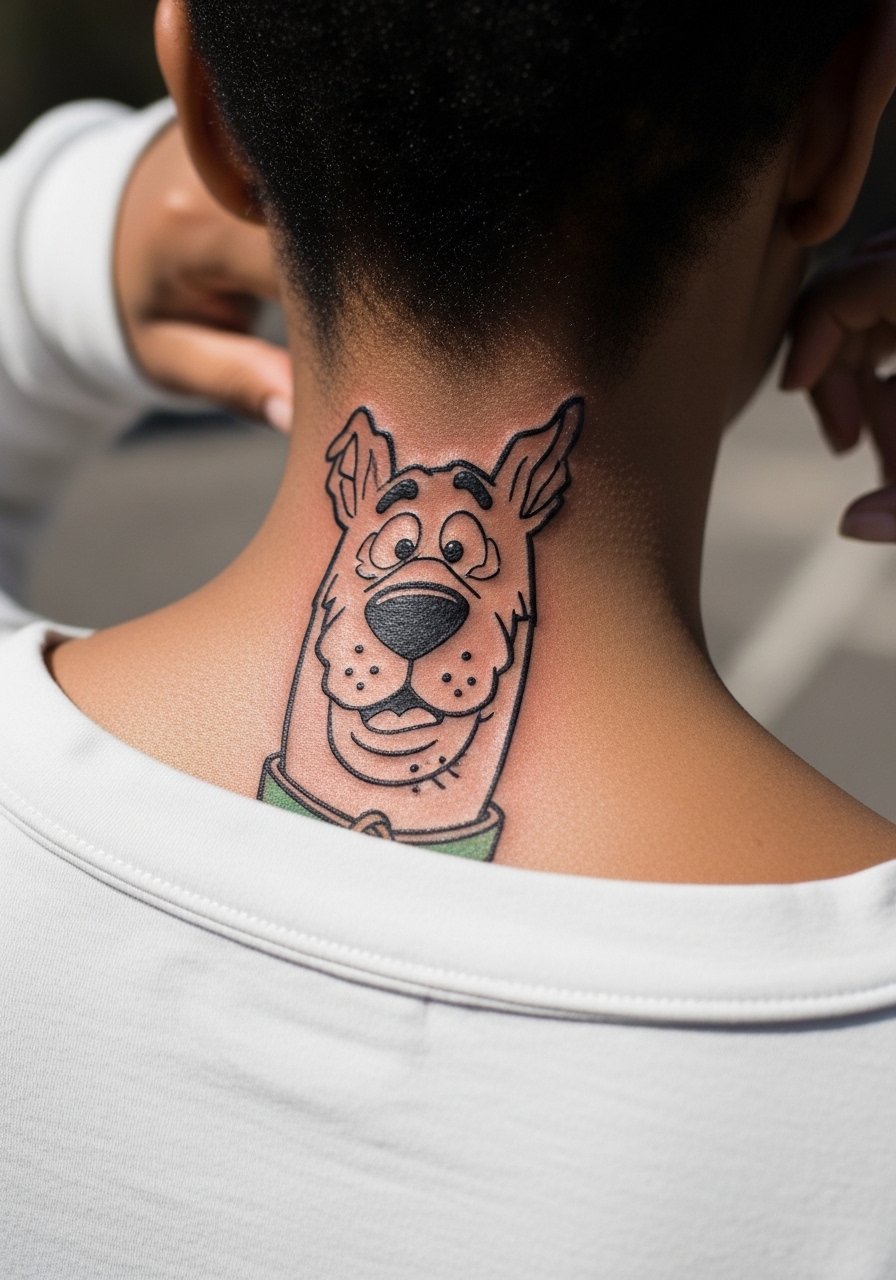
10. Stylized Linework Scooby Face on the Back of the Neck
Decision-pressure lead: neck work changes how you dress and sometimes how you feel in professional settings. Keep the design compact and request medium-weight lines that settle without heavy saturation. The back of neck is sensitive but heals predictably when the client follows aftercare closely. Wear a wide-neck shirt you can tilt to one side so only the neck area is exposed during the session. Pair the final tattoo with crewneck sweaters in cooler months to hide it when needed. The real mistake is insisting on ultra-fine script or hairline lines in such a high-movement zone; those details often blur first.
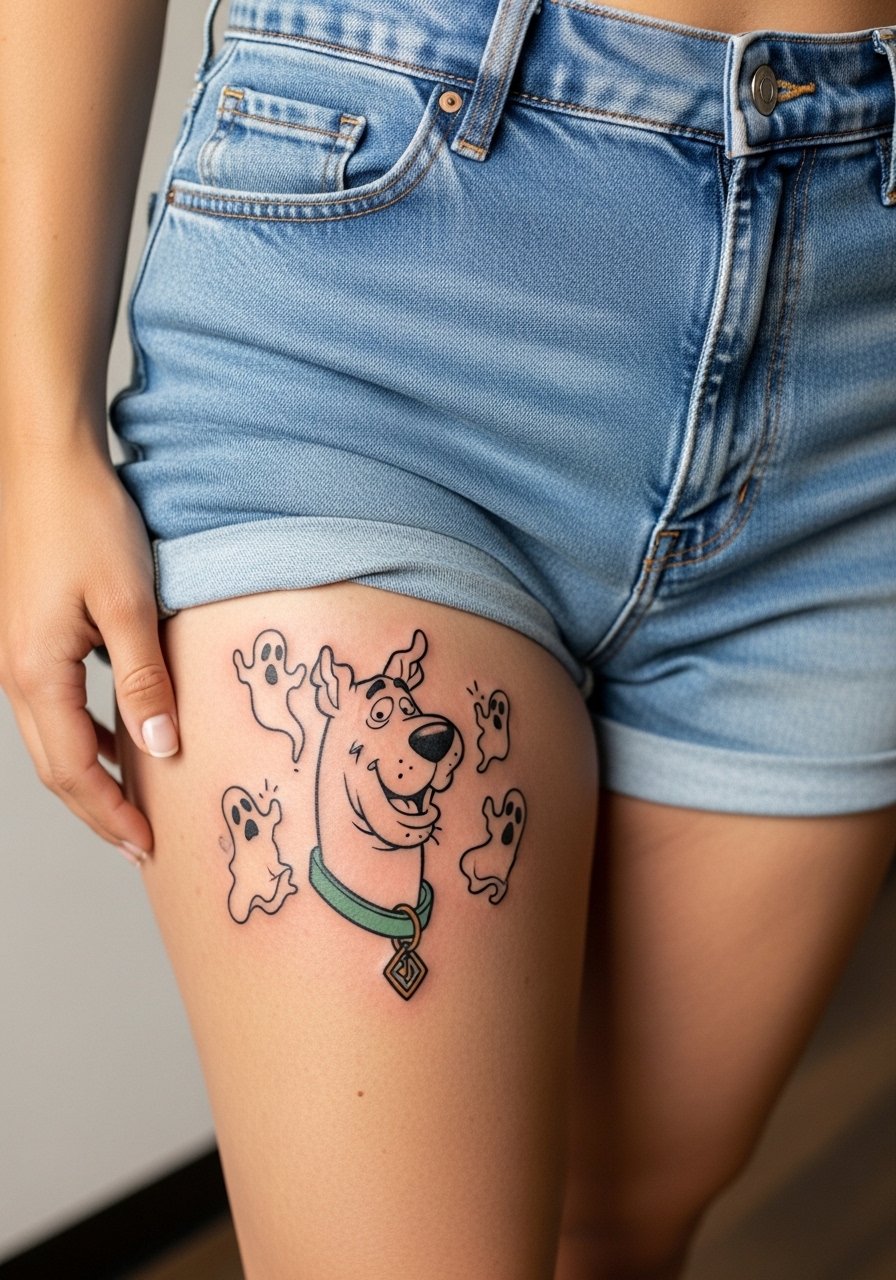
11. Scooby with Ghost Motif on the Upper Thigh
Pain warning lead: the inner thigh can be tender, but it gives a generous canvas for larger Scooby scenes with negative-space ghosts. Ask for an arrangement that avoids heavy, solid fills near the groin where swelling and friction increase risk during healing. For the session wear high-cut shorts or a swimsuit bottom that lets the artist work without exposing more than the tattoo zone. Once healed, the design pairs well with high-waisted skirts or shorts. A frequent error is asking for dense color near seams. Keep the composition shifted away from tight waistbands to prevent irritation.
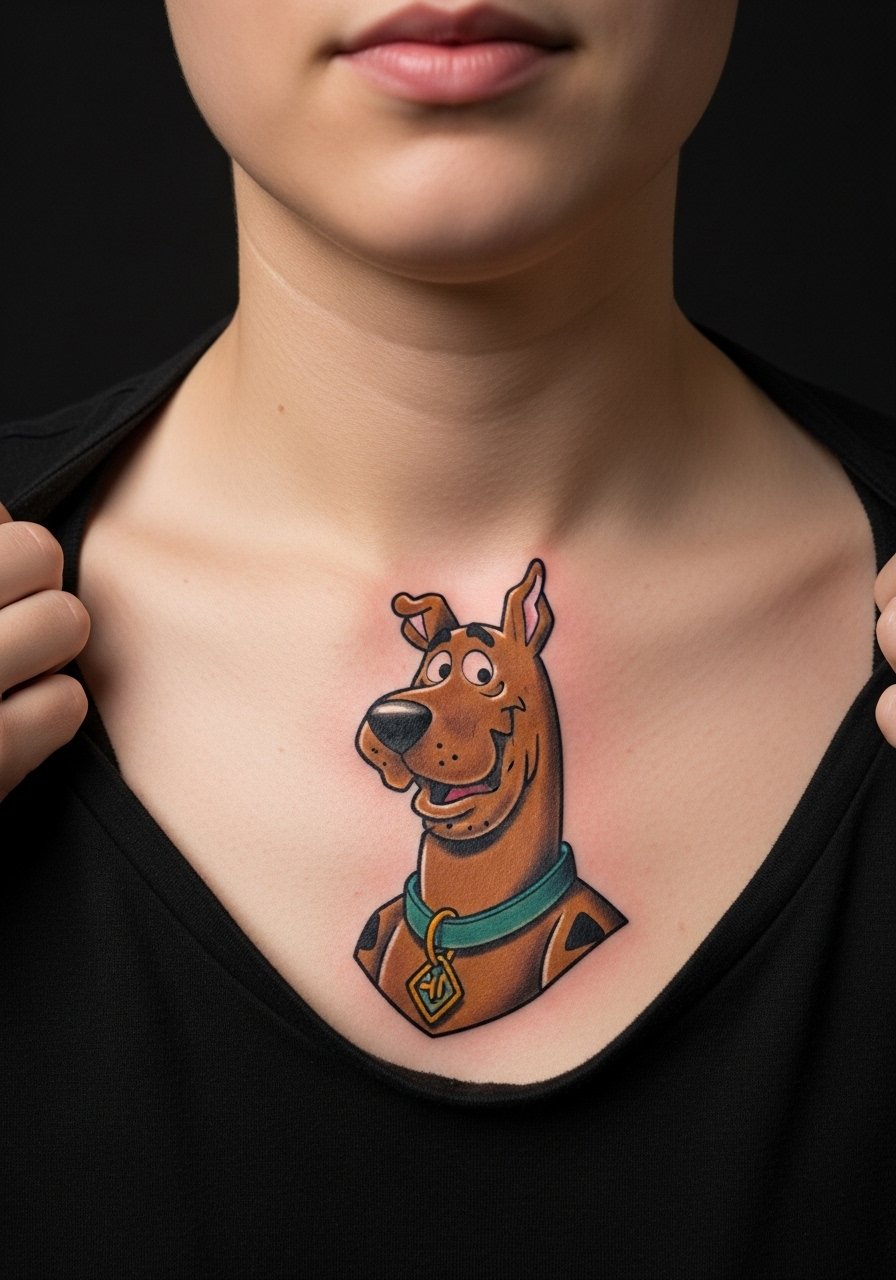
12. Neo-Traditional Scooby Bust on the Chest
Aging/healing lead: chest tattoos can keep color well when artists apply saturation in layers and leave breathing room around bold outlines. The controversy here is whether symmetrical chest pieces look better with heavy black frames or with softer edges. Name both camps and decide with your artist. For visibility and session access wear a wide-neck or open-collar shirt that you can pull aside. Pair the healed bust with a v-neck sweater or a button shirt for framing in photos. Chest work can need touch-ups if sun exposure is frequent.
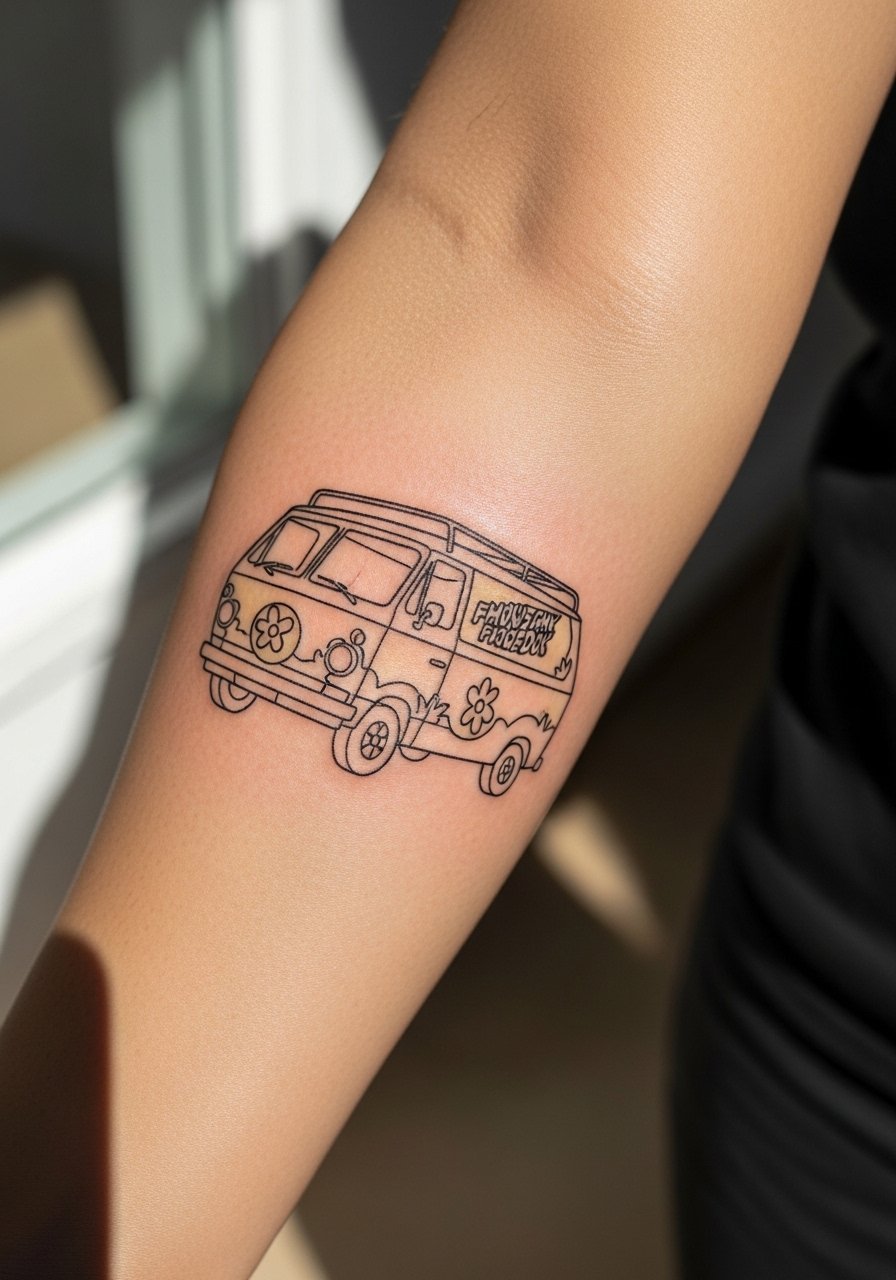
13. Minimal Line Mystery Machine Map on the Forearm
Personal observation lead: forearm maps and small scene tattoos maintain clarity when the artist plans negative space for roads and landmarks. For a Mystery Machine map render keep lines tidy and avoid ultra-tiny type for place names. Forearm sessions are forgiving and heal well if the client avoids heavy sun in the first months. For the appointment roll up a sleeve or wear a loose drawstring linen pant if you're doing lower forearm to knee work, so the artist can shift clothing without pressure. The common mistake is cramming too much micro text into the scene, causing illegibility after healing.
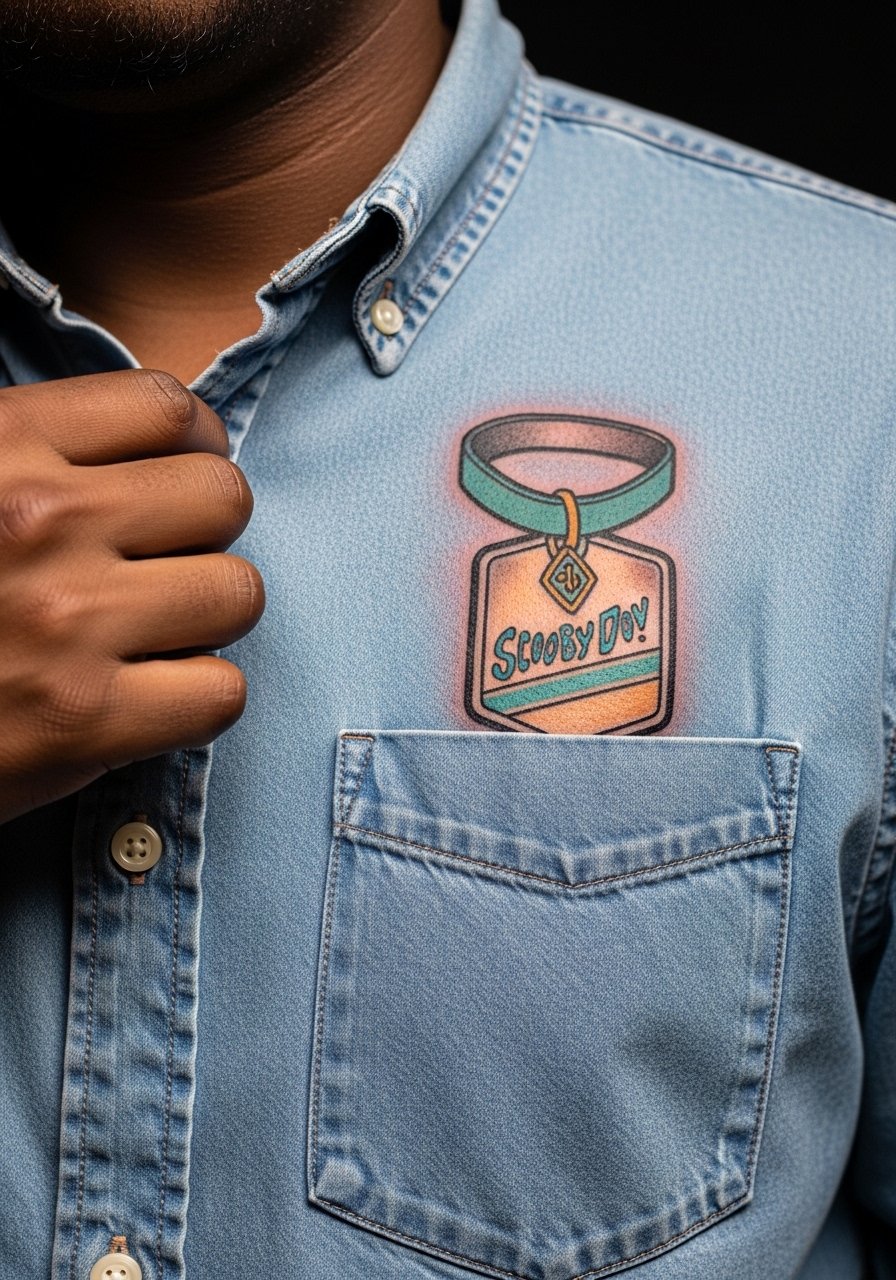
14. Retro Badge-Style Collar Tag on the Chest Pocket Area
Mistake lead: people often place badge-style designs too close to the pocket seam where fabric rubs during movement. Move the placement slightly inward and request bold outlines with shallow shading for longevity. Chest pocket area is accessible with a button-down pulled aside for the session. For showing it off keep shirts in neutral tones so the tag pops. Link a button-down shirt you can wear to sessions. Expect touch-ups in high-friction zones if the design sits against seat belts or backpack straps.
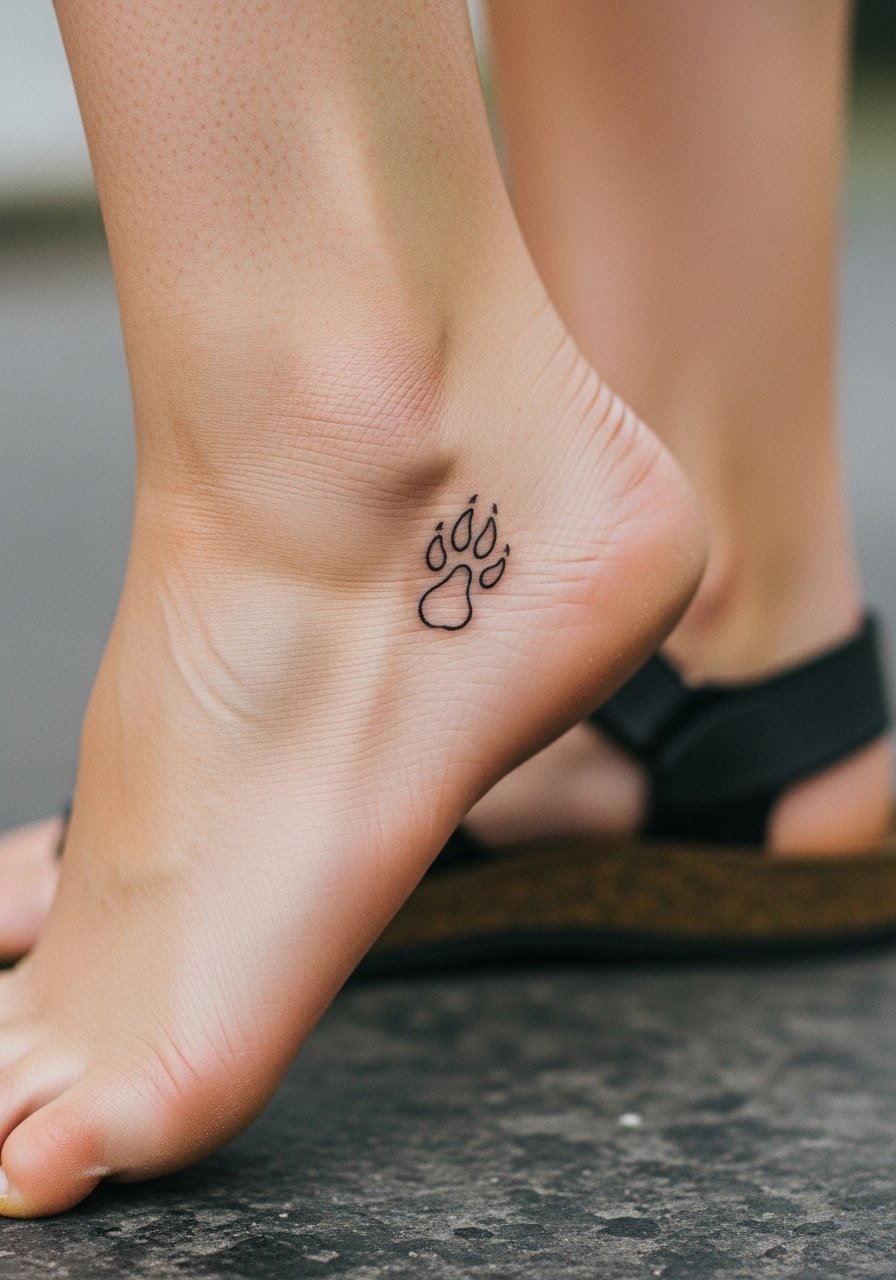
15. Tiny Scooby Paw Trail Along the Foot Arch
Visual impact lead: foot tattoos are subtle when healed but present early with scabbing and sensitivity. The arch tolerates linear hints like a trail of tiny paws spaced deliberately so the shape reads as a path instead of a dotted blur. For the session wear sandals so the artist can access the area without shoe pressure. Aftercare is crucial because shoes and socks cause friction. The common oversight is wanting hairline dots too close together. Ask for slight spacing and for the artist to map the path on your skin standing up so natural foot curvature is considered.
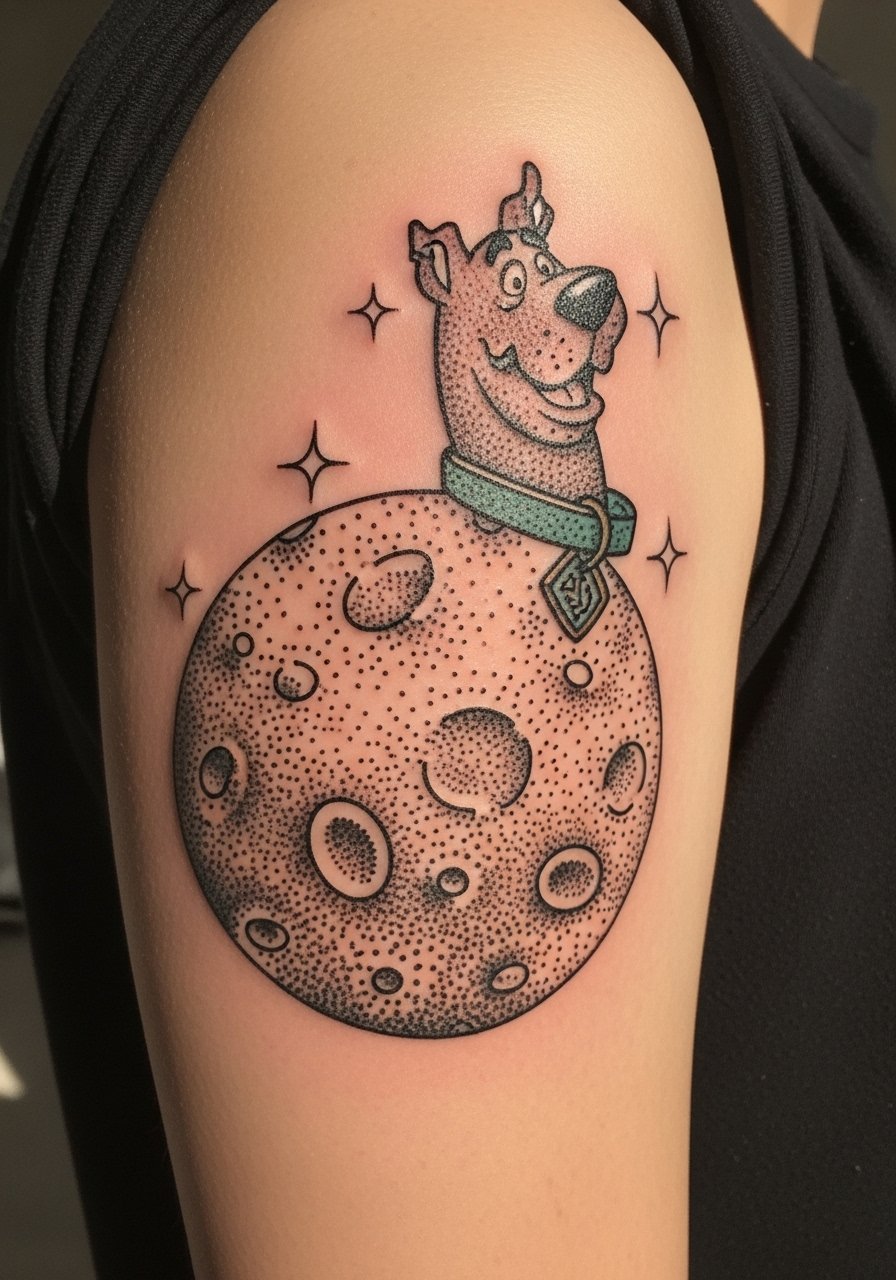
16. Dot-Work Scooby Moon Scene on the Upper Arm
Consultation lead: dot-work or stipple shading gives a lunar Scooby scene a textured look that ages predictably when the dots are spaced properly. Ask your artist to show healed dot density samples since healed stipple that is too tight can merge over time. Upper arm placement has moderate pain and holds detail reasonably well. For showing the piece, rolled sleeves and a casual tee let it peek out. A short sleeve linen shirt frames the upper arm without hiding it. Dot-work may need lighter touch-ups instead of heavy re-inking.
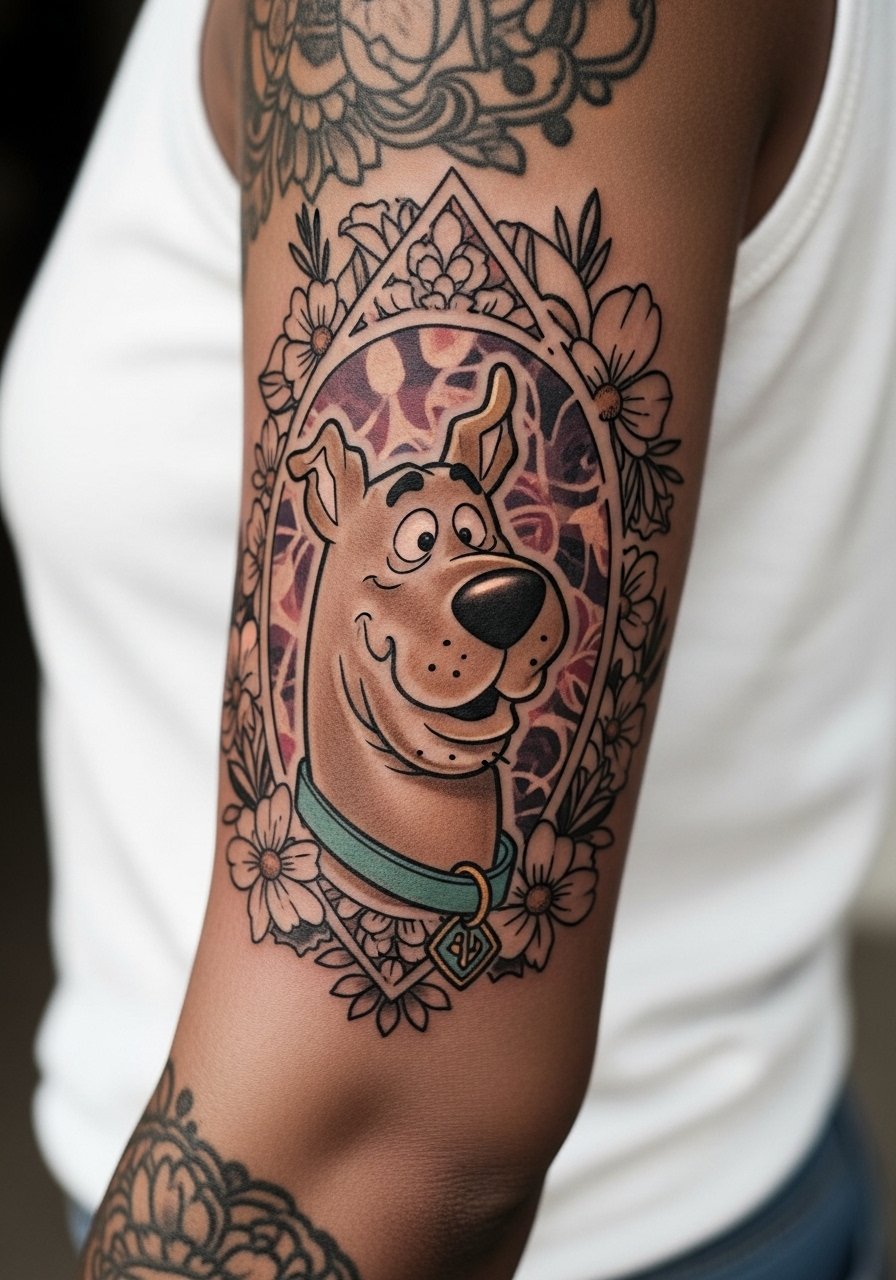
17. Collage Sleeve Element: Scooby with Floral Border
Personal observation lead: integrating Scooby into a sleeve demands a clear focal point and supportive motifs like florals to balance negative space. Tell your artist which element should read from a distance and which details are only for close inspection. Sleeve work is multi-session, so plan for touch-ups between sessions for saturation continuity. For session convenience wear a loose button-down shirt you can roll or pull aside. A common error is combining too many unrelated styles without a unifying palette, which leaves the sleeve visually scattered once healed.
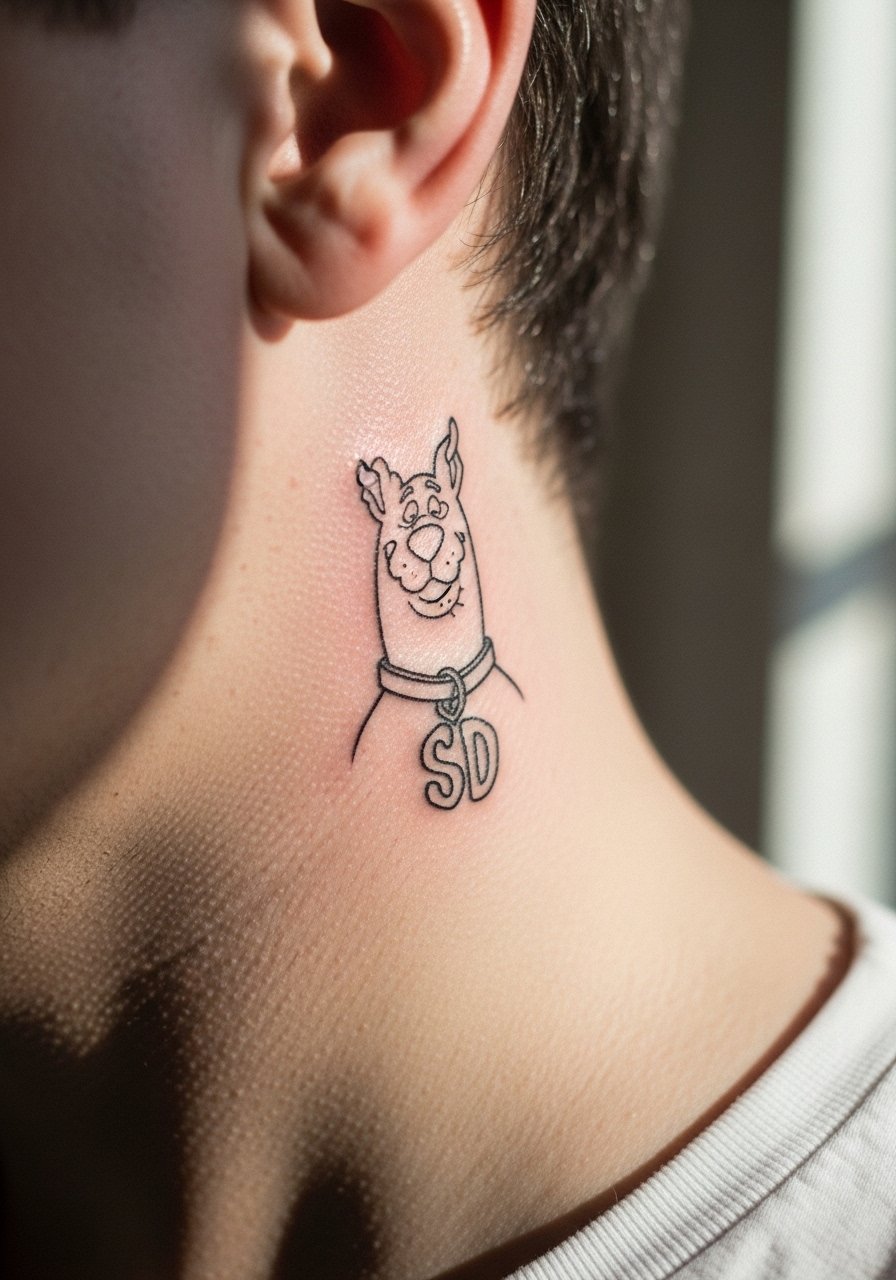
18. Tiny Scooby Ear Tattoo Behind the Hairline
Decision-pressure lead: a tiny ear-area piece is subtle and can be hidden by hair for work reasons. Make sure the placement is described as on the skin behind the ear and below the hairline on the neck, not on the ear itself. That avoids misplacement and follows safe image prompt rules. Choose a minimal mark and ask for medium-weight lines that survive hair oils and collars. For the appointment keep hair tied back and wear a shirt with an easy neckline. The main mistake is asking for micro-hairline detail in a constantly oily zone; slightly bolder marks fare better.
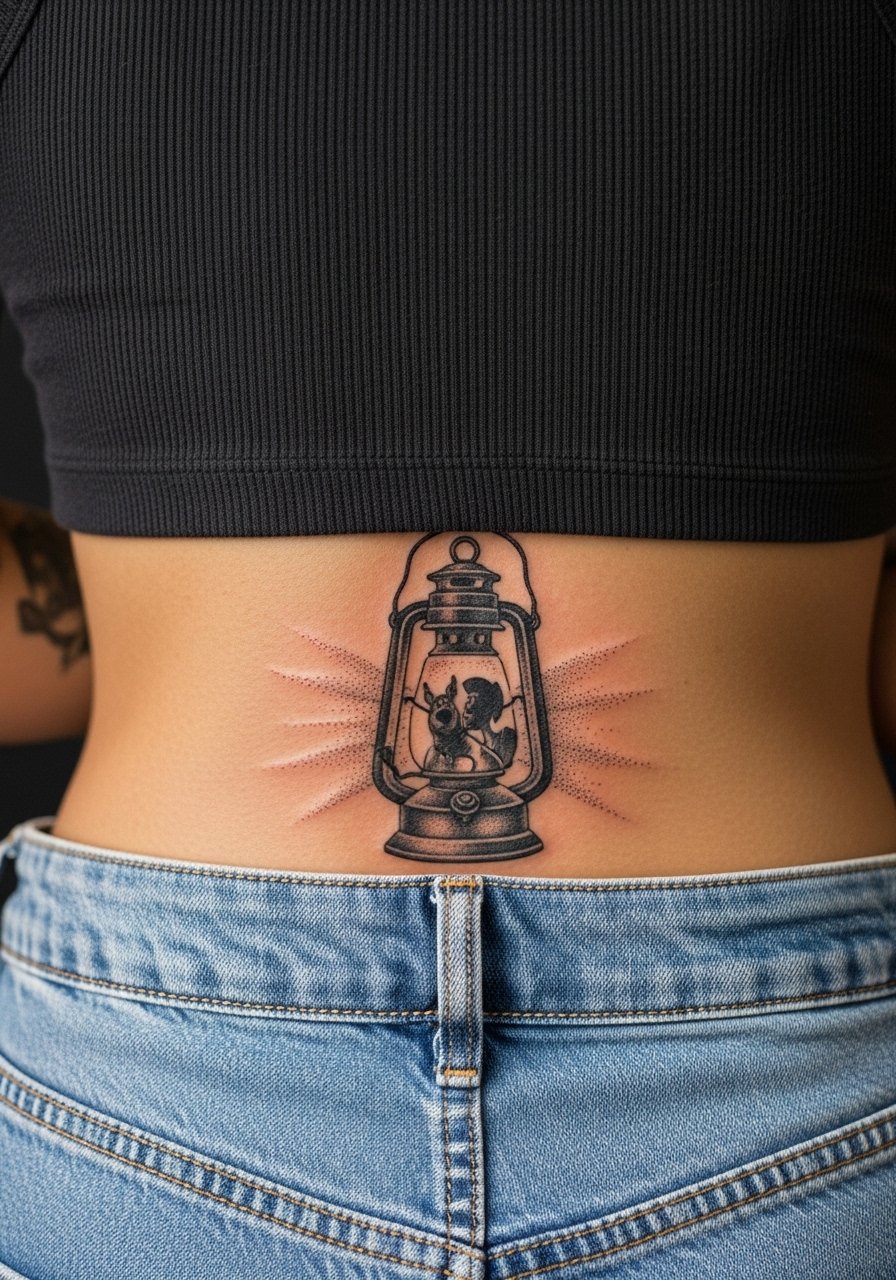
19. Stipple-Shaded Scooby Lantern on the Lower Back
Visual impact lead: lower back pieces can be discreet or shown off depending on clothing choices. A stipple-shaded lantern with Scooby elements holds texture best when shading gradients are planned to avoid full black fills. For session comfort wear a tank top with high-waisted bottoms pulled slightly low so only the lower back area is visible. For dressing pair the tattoo with low-rise jeans or an open-back top so it reads in photos. The lower back can be prone to friction from belts, so keep the design centered away from tight waistbands.
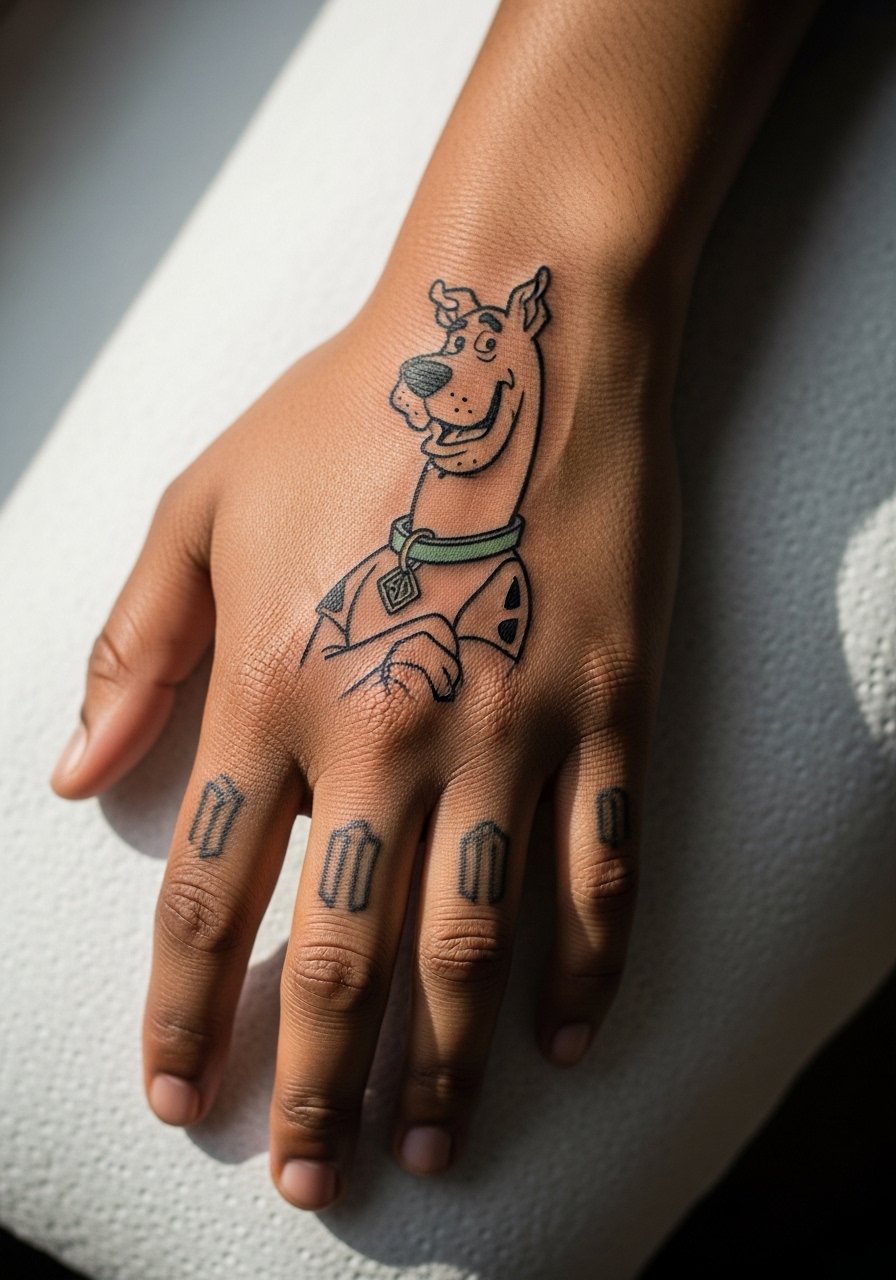
20. Playful Scooby Skeleton Line Art on the Hand
Aging/healing lead: hand tattoos experience the most daily abrasion and UV exposure, which accelerates fading. The debate among artists is how bold hand linework should be. One camp pushes thick lines to withstand daily wear. The other camp prefers finer, more detailed work and accepts earlier touch-ups. Name both camps when you book and ask for their healed photos at the one-year mark. For the session expect sensitivity and work with a concise composition that avoids tiny interior detail. Hand tattoos often need touch-ups every one to two years depending on lifestyle.
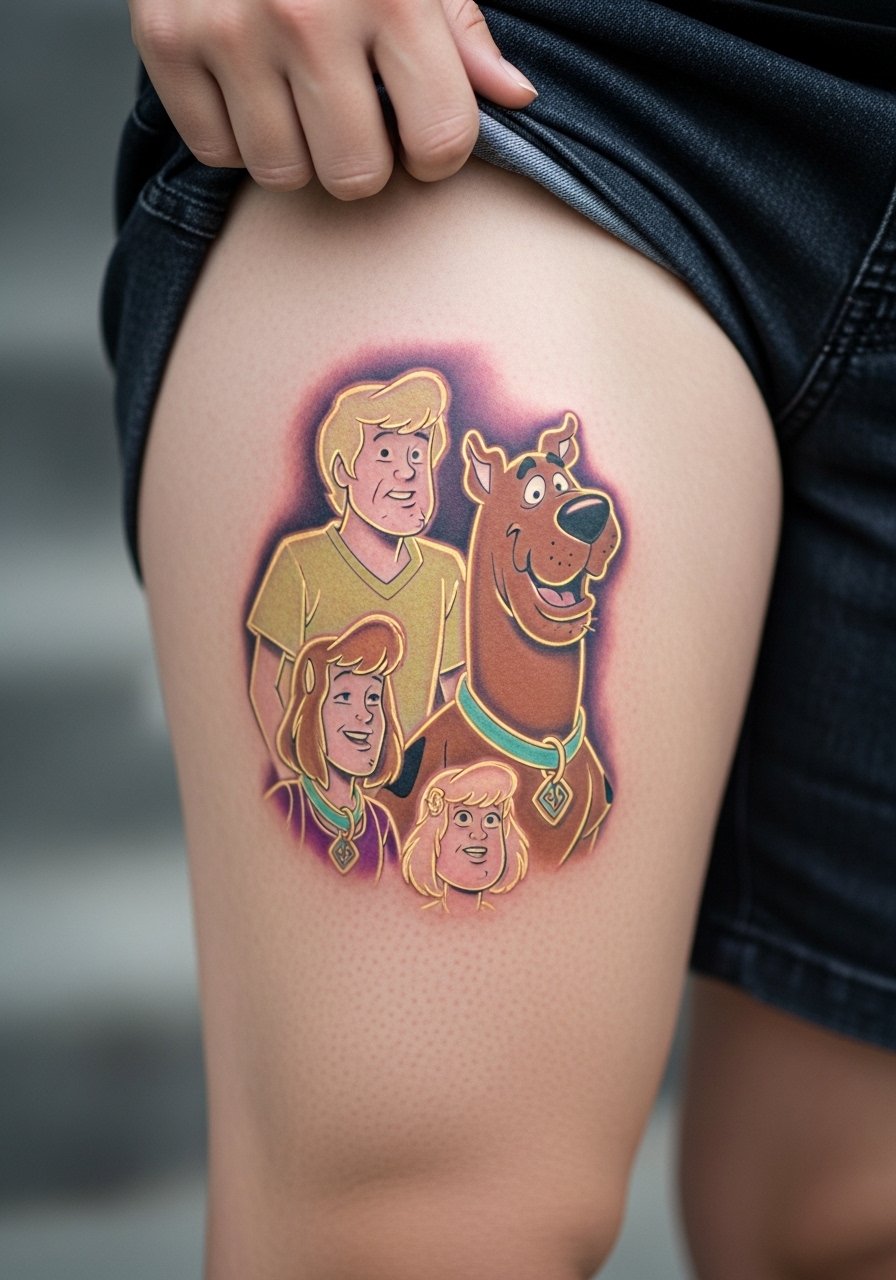
21. Glow-Effect Scooby Scene for the Outer Thigh
Consultation lead: outer thigh is forgiving for glow effects and soft gradients because it tolerates layered color. Ask the artist to plan black anchors so the glow reads even as colors soften. The session is comfortable and often spread across two appointments if shading is dense. For the studio wear loose shorts or a wrap skirt so the artist can access the area without exposing more than the tattoo zone. For nights out the thigh scene pairs well with high-waisted skirts. The common mistake is under-planning contrast, which makes glow effects disappear once skin heals.
Frequently Asked Questions
Q: How do I decide between fine line and neo-traditional Scooby designs for longevity?
A: It depends on placement and how much contrast you want. Fine line looks delicate but tends to soften faster, so choose it for lower-friction zones like the inner forearm or upper thigh. Neo-traditional with bolder outlines and saturated fills resists fading longer on wrists and shoulders. In consultation ask to see healed photos from a similar placement and skin tone.
Q: Will color in Scooby designs require more touch-ups than blackwork?
A: Yes, color tends to need more maintenance because pigments fade and can patch. Bright blues and greens in cartoon-style fills usually require a touch-up sooner than saturated black. Expect color refreshes perhaps at year three depending on sun exposure and how much you wash and exfoliate the area.
Q: Are there placement choices to avoid if I want the design to age well?
A: High-friction areas like hands, fingers, and the ankle often need earlier touch-ups. Areas with lots of movement such as the ribs and inner thigh can blur finer details faster. Choose a slightly larger scale and heavier linework for these spots, or pick placements with smoother skin and less daily abrasion.
Q: How should I prepare clothing-wise for a chest or sternum Scooby piece session?
A: Wear a fitted sports bra or a wide-neck top you can adjust so only the treatment area shows during the session. That keeps the rest of your clothing clean and gives the artist easy access. Bring a loose button-down to layer afterward for warmth without rubbing the fresh ink.
Q: Can I get a matching Scooby piece with a friend and have them heal the same?
A: You can, but expect slight differences. Skin tone, skin texture, and aftercare habits influence healing. Plan the same placement and agree on similar touch-up timing. Book consultations together so the artist can map both pieces for comparable scale and saturation.
