
Fine line behind-the-ear pieces can look stunning the first week and confused six months later if placement, line weight, and aftercare get ignored. Hair rubbing, shampoo foaming into the crease, and tiny needle widths are the usual culprits people complain about. I wrote this list to give compact options that read honestly on real skin, plus what to ask your artist before the needle touches the skin behind the ear.
1. Fine Line Intertwined Initials Behind Ear

Small, paired initials read clean when the line weight is bumped up slightly from the thinnest needle. Ask your artist for a 0.3mm equivalent line so the letters hold under the curve of the neck. Expect a 20 to 30 minute session with mild bone buzz pain when the needle nears the mastoid. A common mistake is asking for micro script that is too tight for the ear contour. For showing this off, pull hair into a loose bun for two weeks while it heals, and bring a reference of the exact letter spacing to your consultation so the artist can stencil it to follow the skin fold.
2. Micro Sun and Moon Pair Behind Ear

A small sun and moon set behind each ear works as a complementary pair without being overt. Tell the artist to keep each motif under 1.2cm so they sit neatly in the hollow and do not wrap onto cartilage. Pain sits in the low to medium range because the skin is thin there. Watercolor fans and black-and-gray fans argue about longevity, and both camps make valid points. If you want the look to last, choose black-and-gray micro shading instead of bright washes. Style note for showing off: a side-part bob or a clipped-updo and a layered thin gold necklace create a casual, asymmetrical look.
3. Minimalist Heartbeat Line with Initials
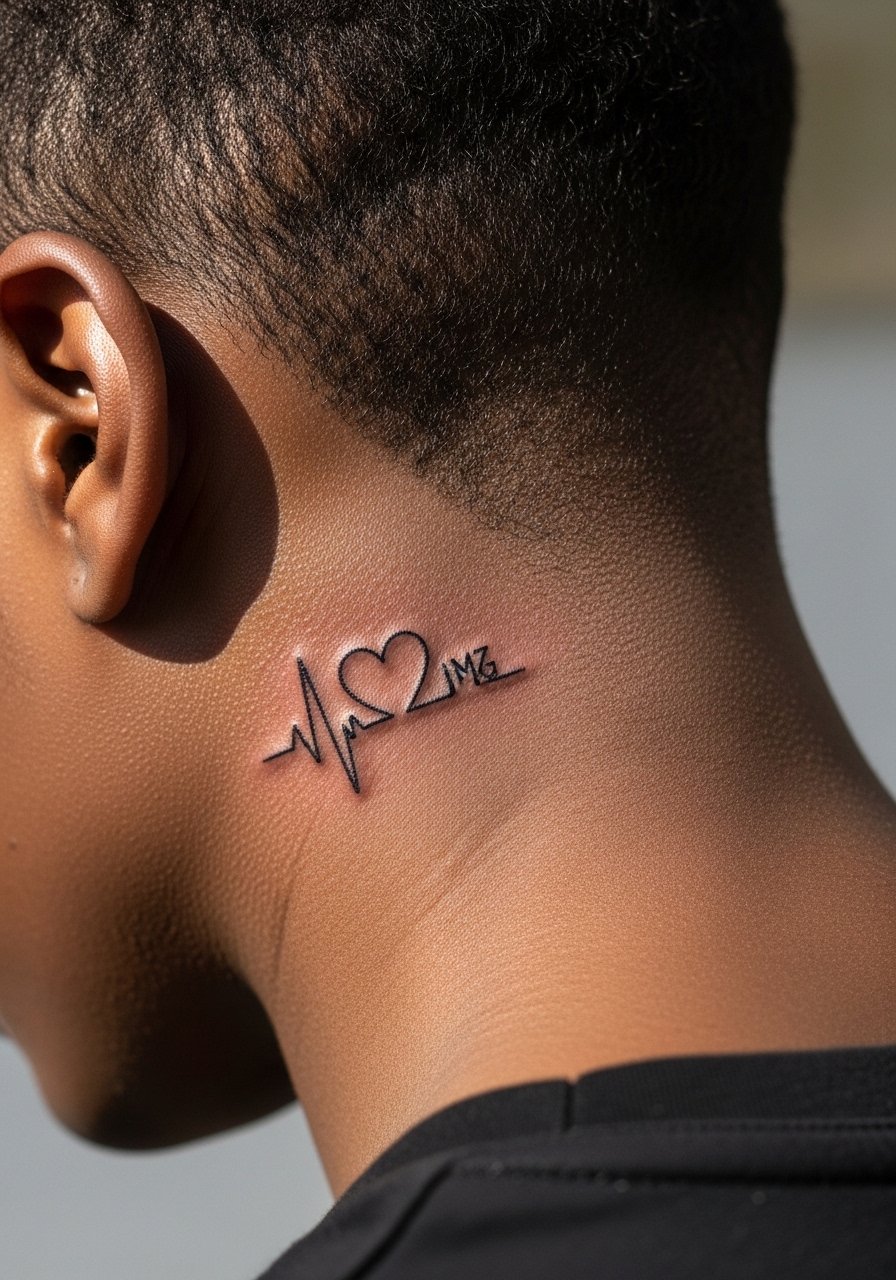
A single-line heartbeat that curves with the neck makes a discreet personal mark. Ask for the line to sit along the natural fold so it does not stretch outward when you move. The risk here is fine-line blur, especially on curved surfaces, so request slightly heavier single-pass linework and plan for a touch-up at the six to twelve month mark. For the session, wear a V-neck cotton tee so the artist can tilt your head without fabric tugging. Expect a quick session and mild tenderness during healing.
4. Tiny Animal Duo: Mother Lion and Cub
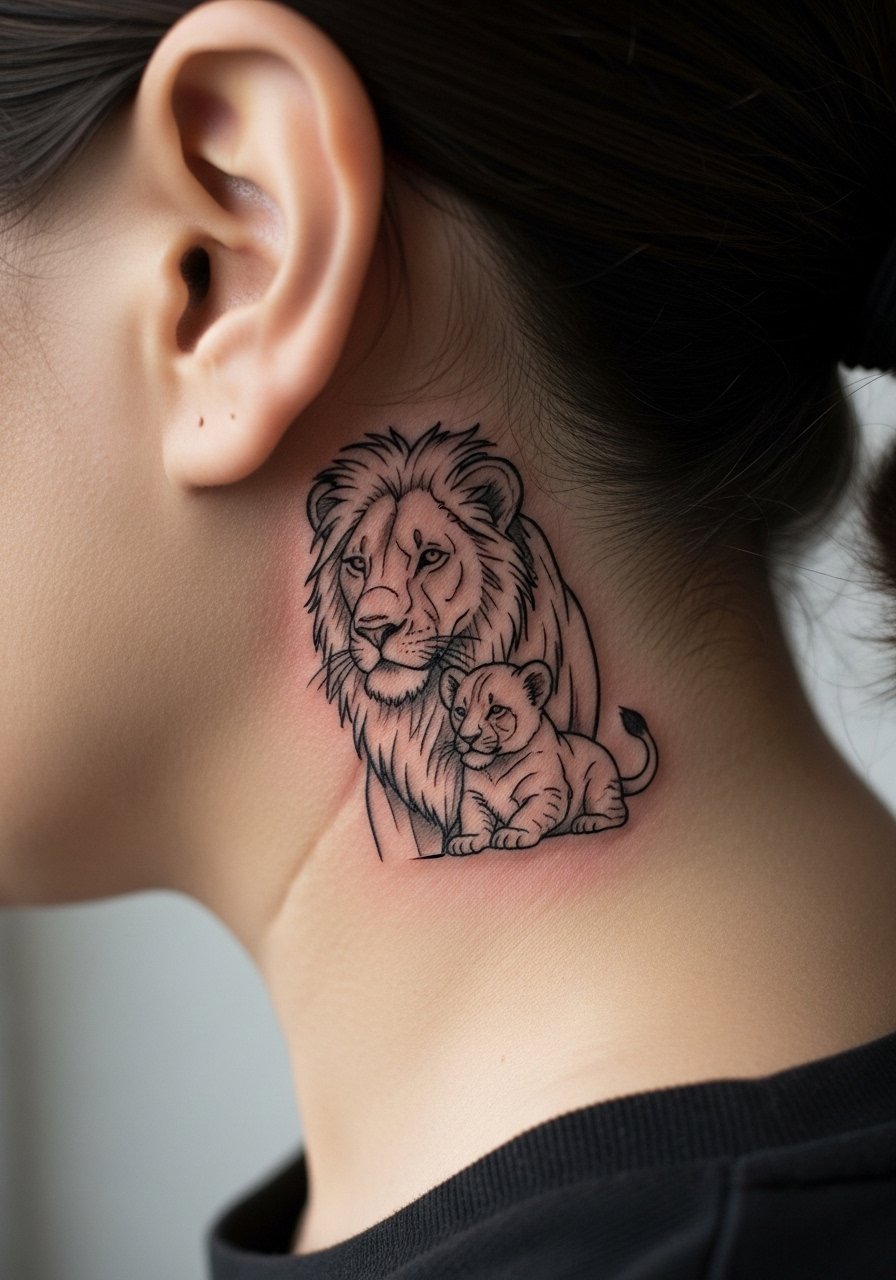
A small illustrated mother and cub captures a protective dynamic without being literal. Because this style has tiny shapes, tell your artist to avoid closed tiny detail that will merge over time. The common mistake is packing fur texture too tight; instead, request suggestion marks and negative space. Pain is low to moderate. For session comfort, keep hair clipped up and wear a button-up shirt so the collar clears the neck. Expect this to read charming at six months and still recognizable at two years with the right line spacing.
5. Watercolor Abstract Waves Behind Ear
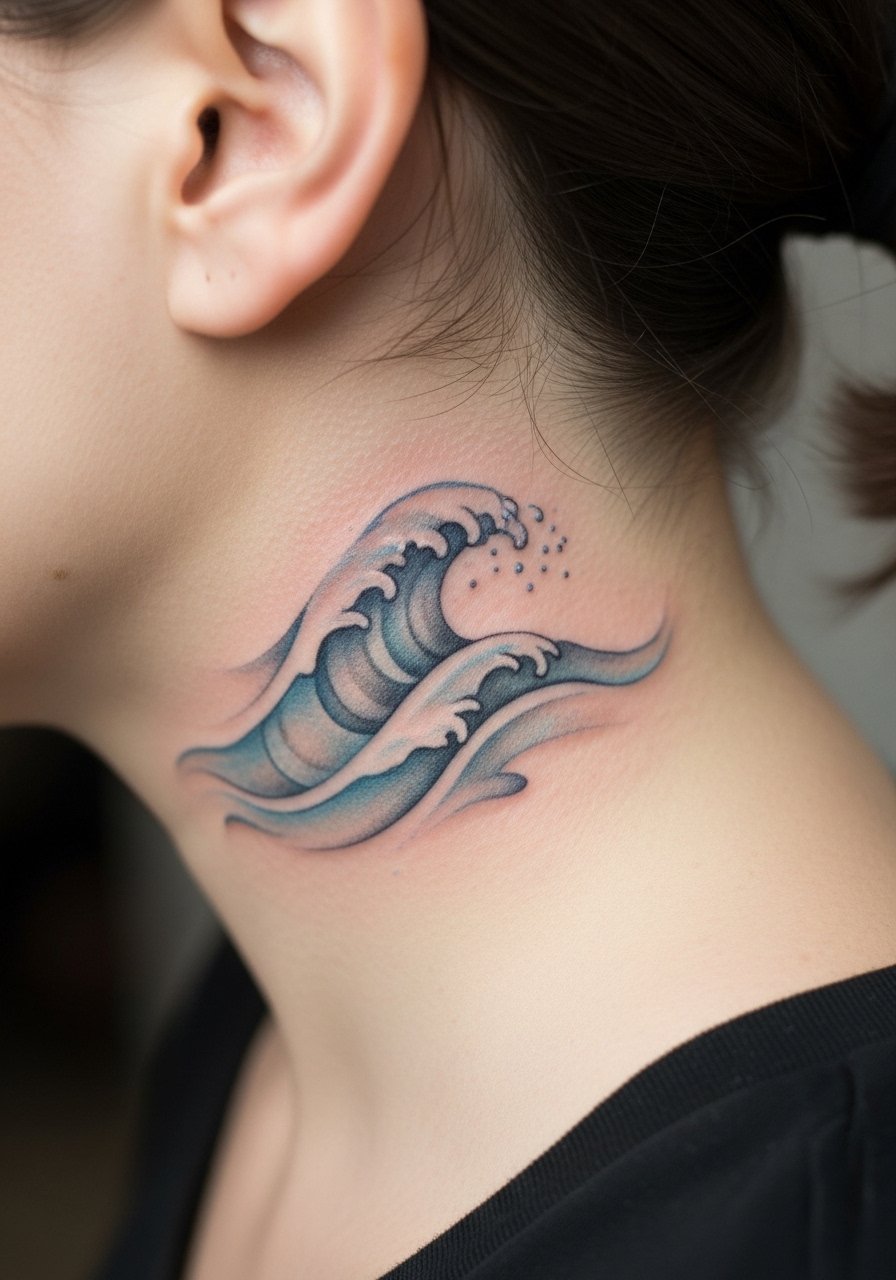
Watercolor behind the ear looks painterly but needs special talk about longevity because washes fade faster in humid climates. Artists have been shifting toward black-and-gray for ear placements for that reason. If you love the color, ask for a black-and-gray anchor line with subtle cool-toned accents that can be refreshed without heavy reworking. Session time will be longer than a simple line piece. For showing off, a wrap scarf or pulled-aside collar is useful, and a soft silk wrap scarf pastel complements the soft palette.
6. Neo-Traditional Arrow and Feather Pair
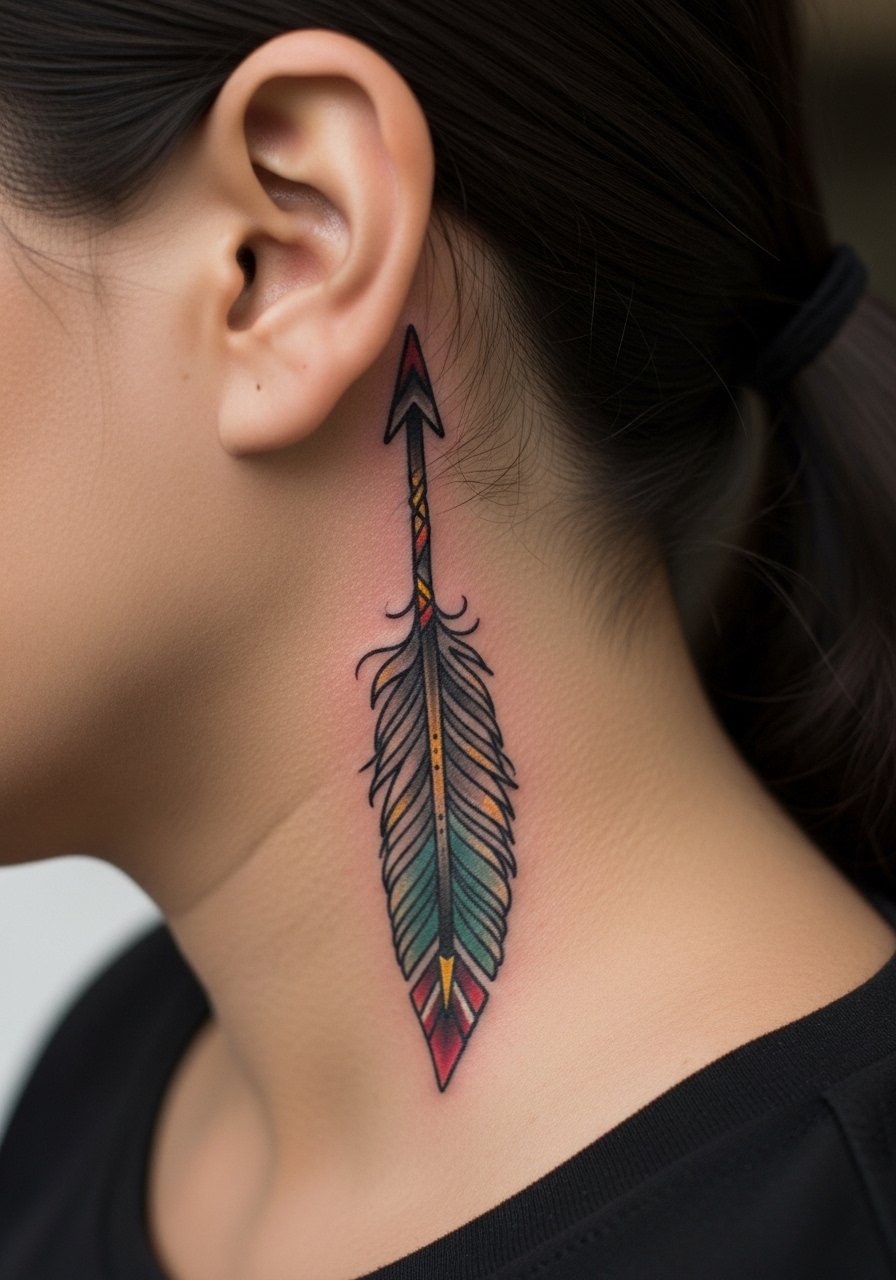
An arrow for guidance and a feather for lightness read well when scaled to the ear curve. Ask for color accents limited to small areas so the saturation can sit properly without bleeding into the nearby thin skin. This is where the numbing-cream debate shows up. One camp embraces topical numbing for bone-adjacent places to reduce flinch. The other warns it can alter the artist's feel. If you choose numbing, tell your artist beforehand so they can adjust technique. For showing off, a side-swept hairstyle helps, and the session is usually under an hour with moderate sensation.
Pre-Session Essentials
The first six designs above share tight lines and placement near hairlines, so a few session-day and healing items make those hours and the first week easier.
- OzHeal aftercare spray. A no-touch spray many people use for humid-area healing to reduce greasy residues that trap moisture on the neck fold.
- Green Sheep balm small tin. A thinner balm option that absorbs quickly on delicate behind-ear skin without leaving heavy shine.
- Australian tea tree salve. Used by some for antibacterial properties during the first week when the area may feel sweaty.
- Japanese rice bran oil bottle. A lightweight moisturizer reported by a few healers to calm dry flaking on small placements.
- Fragrance-free baby shampoo. Gentle rinsing without stinging the bone area makes showers easier in the first five days.
7. Blackwork Geometric Knot Behind Ear

A compact blackwork knot ages well because solid areas hold against blur when done with the right saturation. The key is scale. Too small and the solids soften into a blob in a year. When consulting, request a slightly larger footprint and bold outlines to preserve the interlock. Pain is low, session under 45 minutes. For showing off, a chunky hoop on the opposite ear and a pulled-down turtleneck cotton fitted in contrast color make the knot pop. On darker skin tones, ask the artist about bolder outlines so photos pick up the pattern.
8. Script Birthdate Fragments

Breaking birthdates into mirrored fragments feels private yet precise. Specify font size carefully and show the artist the exact numerals you want. Text must be spaced to avoid merging. The usual mistake is asking for tiny cursive that becomes unreadable. Expect a short session and a slightly sharper sting when the needle crosses tiny loops. For the appointment, wear a loose button-down shirt you can pull aside for easy access. Keep in mind that at six months the script may soften and a planned touch-up is common.
9. Ornamental Vine Halves That Interlock

Ornamental vines that mirror when you tilt your head create movement with minimal ink. Ask for the vine to follow the ear contour and avoid tight curls near the fold. The common aging issue is overcrowding with tiny leaves that disappear. Suggest simpler leaves and spacing so the vine reads at a glance. Pain is low. For showing off, high-neck blouses pulled slightly aside in silk tones frame the vine, and a small simple stud earring gold on the opposite ear keeps attention balanced.
10. Minimal Dotwork Tree: Roots and Branches

Dotwork reads meditative in a tight behind-ear placement. The trick is dot scale and density. Too dense and the dots merge; too sparse and the design looks unfinished. Tell the artist you want stipple shading with deliberate spacing and a vertical flow to match the neck. Expect a mildly longer session than a simple line for dot stippling. For session wear, clip hair up and bring a hair clip set strong so the area stays exposed while you move through appointments.
11. Small Floral Lock and Key Pair
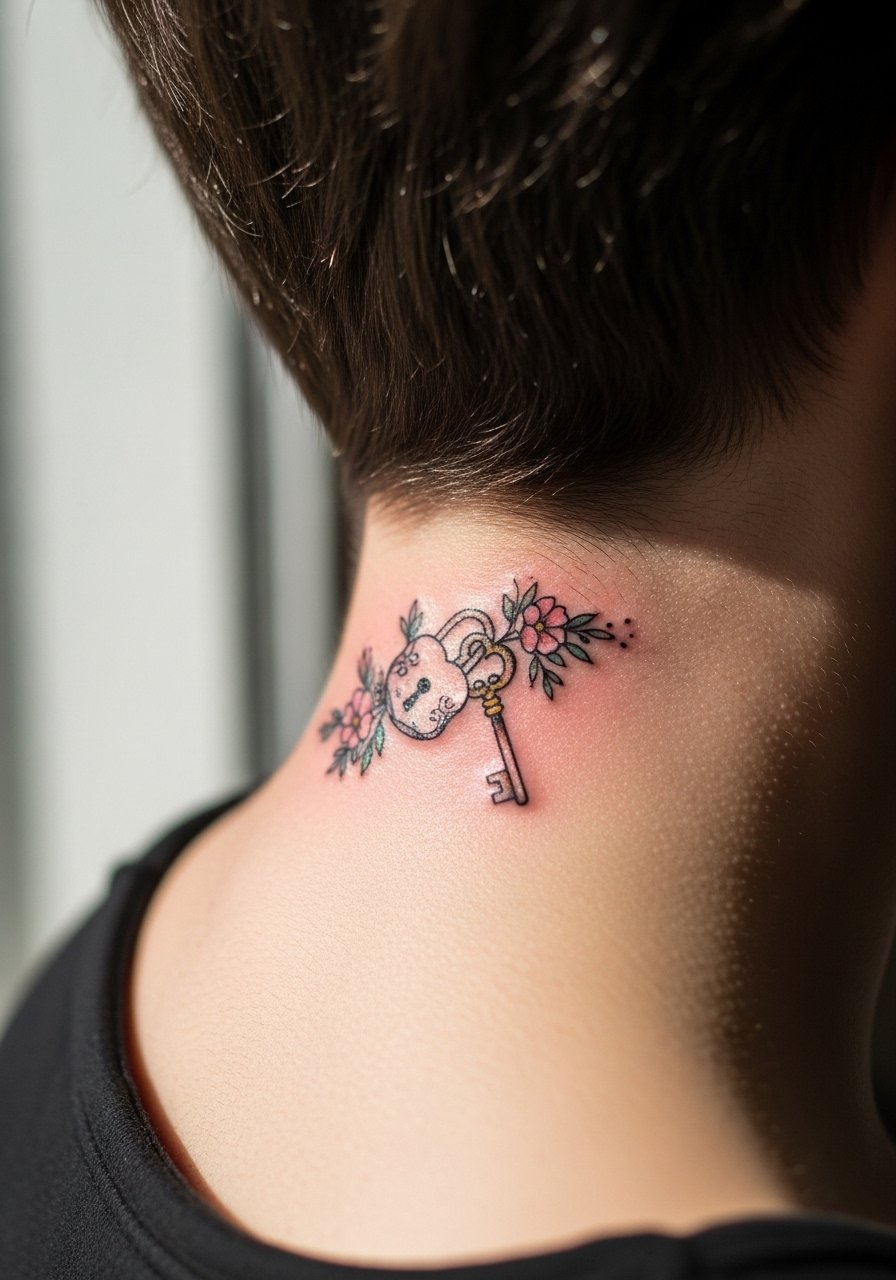
A key and lock in floral wrapping is classic without being sappy. Keep the key and lock under 1.2cm and ask for open negative space around the teeth of the key so they do not fill in. The usual error is trying to stuff too many petals into a tiny area. Pain is low. For showing off, an off-center hair tuck and a thin chain pendant necklace sit nicely and will not crowd the neck area.
12. Black and Gray Infinity Loop with Tiny Hearts

An infinity loop with small hearts is scalable if you avoid tiny interior detail. Ask for a single continuous pass and soft gray fills rather than dense shading. One controversy here mirrors the wider fine-line debate. One group says the curved ear skin blurs fine details in two to three years. The other group points to careful depth and line spacing as a solution. The honest path is to ask about touch-up policy and plan for a refresh if needed. For showing off, a pulled-back hairstyle highlights the curve of the loop without interference.
13. Ignorant Style Puzzle Pieces

Ignorant style embraces wobbly, raw lines that read like a sketch. The charm is the imperfection, but make sure the artist keeps line weight consistent enough that the pieces do not merge on the curve. Bold single-pass lines help preserve the hand-drawn look. Pain is low and sessions are short. For appointment wear, a loose top and a loose ponytail holder keep hair away from the spot while still letting you show off the playful aesthetic afterward.
14. UV-Reactive Hidden Accent

UV-reactive ink creates a private reveal under blacklight and stays subtle in daylight. This is an under-covered option and it needs explicit discussion with your studio because not all pigments behave the same under the skin. Ask about safety and long-term visibility on your skin tone. Sensation is similar to small linework. For showing off in daily life, nothing changes. For event wear, short hair or an updo will keep the reveal in the right spot when you want it.
15. Birthstone Dot Accent Embedded in Linework

Embedding a tiny birthstone dot into fine line work personalizes without large color fields. The color should be a single micro-dot and set away from the thinnest hairline so it does not spread. The common mistake is requesting multiple micro colors too close together. Ask for a single accent and plan for a touch-up if the pigment shifts. For session ease, wear a loose tank top so the artist can tilt your head without collar interference.
16. Cartilage-Contoured Illusion Line
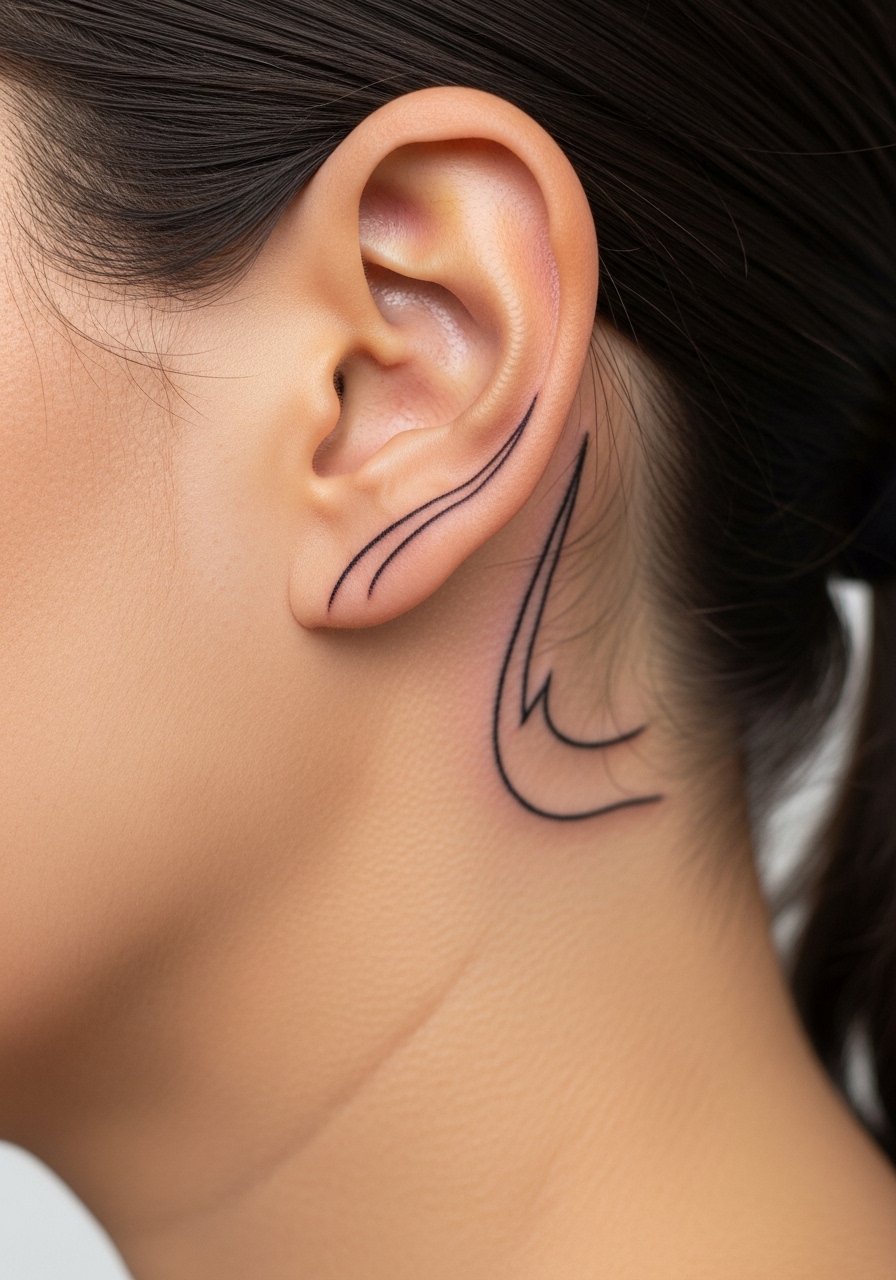
Contouring a line to the cartilage gives a three-dimensional illusion that plays well as sons grow and ears subtly change. The consultation should include stenciling on both upright and tilted head positions so the artist can check how the line settles with movement. The common error is trusting a flat photo reference. This technique risks blowout if the needle is pushed too deep on curved tissue. Ask specifically about depth control and touch-up policy. For the appointment bring a strong hair bun donut so the area is fully exposed.
17. Puzzle-Complete Pair That Connects in a Hug
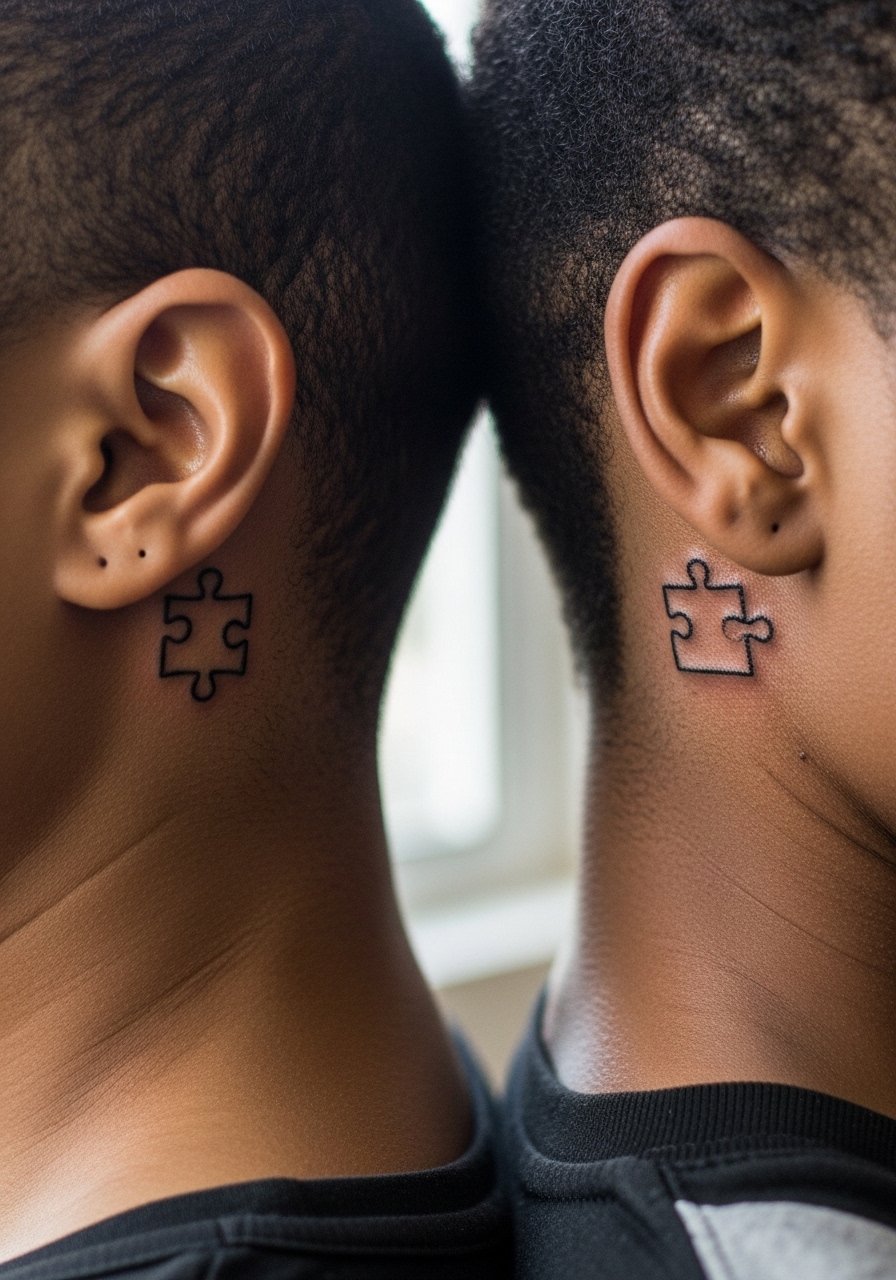
A clever twist is designing pieces that visually "complete" when mother and son bring heads together. Plan the size so alignment works with small head position differences. The design must be simple and bold to remain readably connected after healing. Pain is low. A pragmatic mistake is presuming exact alignment without test stencils on both people. For the session day wear comfortable shirts and bring a loose drawstring linen pant for the companion if they are getting work elsewhere in the same appointment block.
Frequently Asked Questions
Q: How much does a small behind-ear tattoo usually cost and should I expect to tip differently?
A: Prices vary widely by city and artist, and small ear pieces often run higher than they used to because artists factor in stencil time and precision. Tipping practices are personal. Many people tip around twenty percent when the price reflects skilled linework. If you find an apprentice rate at a flash event, factor in the education trade-off and ask about touch-up policies before deciding.
Q: Will a fine-line behind-ear design blur faster than a bold blackwork piece?
A: Fine line tends to soften earlier on curved, thin skin because the needle depth and spacing are less forgiving. Blackwork and solid fills hold up better over time. Both camps have points. The practical move is to ask the artist about line weight, touch-up timelines, and to view healed photos in portfolios rather than only fresh work.
Q: What should I wear to the appointment for a behind-ear piece so the artist has clear access?
A: Choose clothing you can move without tugging the neck area. A loose button-down, a tank, or a wide-neck shirt pulled to one side works best. Bring strong hair clips or a bun tool so hair stays away from the area. Those small decisions make the session smoother for both the client and the artist.
Q: How do I manage itching and hair friction while healing behind the ear?
A: Tie hair up or shave the small section while healing for the first two weeks if you are comfortable doing so. Sleep on a silk pillowcase to reduce scab rubbing at night. Rinse gently with a fragrance-free baby shampoo substitute for the first few days and pat dry. If you notice excess swelling or heat, contact your studio for guidance.
Q: Are there visibility differences for medium and dark skin tones I should plan for?
A: On darker tones, bolder outlines and slightly more contrast help designs read in photos. Discuss line weight and possible color choices with the artist and inspect healed examples on similar skin tones. Photographic visibility is an honest concern, not a flaw, and planning avoids disappointment.
Q: Is Saniderm recommended for behind-ear healing or is dry healing better?
A: Artists and healers split on this. The Saniderm camp likes the protection it provides against friction and dirt. The dry-healing camp worries it traps moisture in a crease. Your decision can depend on your climate and how much sweat you produce. If you choose Saniderm, follow your studio's exact timing instructions.
Q: How long before I should plan a touch-up for these small ear designs?
A: Expect some fine-line pieces to benefit from a touch-up around six to twelve months. Bolder blackwork often needs less frequent refresh. Ask about a studio touch-up policy before you book so you know whether a revisit is expected and whether it is included or priced separately.
