
Fine line ankle tattoos look razor sharp in photos, but ankles are unforgiving. Thin skin over bone, shoe and sock friction, and a busy runner routine will test any small piece. Expect questions about pain on the bone, hiding ink when socks slip, and which styles last through training. Read on for 21 ankle ideas that balance how they look now with how they wear over time.
1. Wrap-Around Ankle Line with Dots and Stems
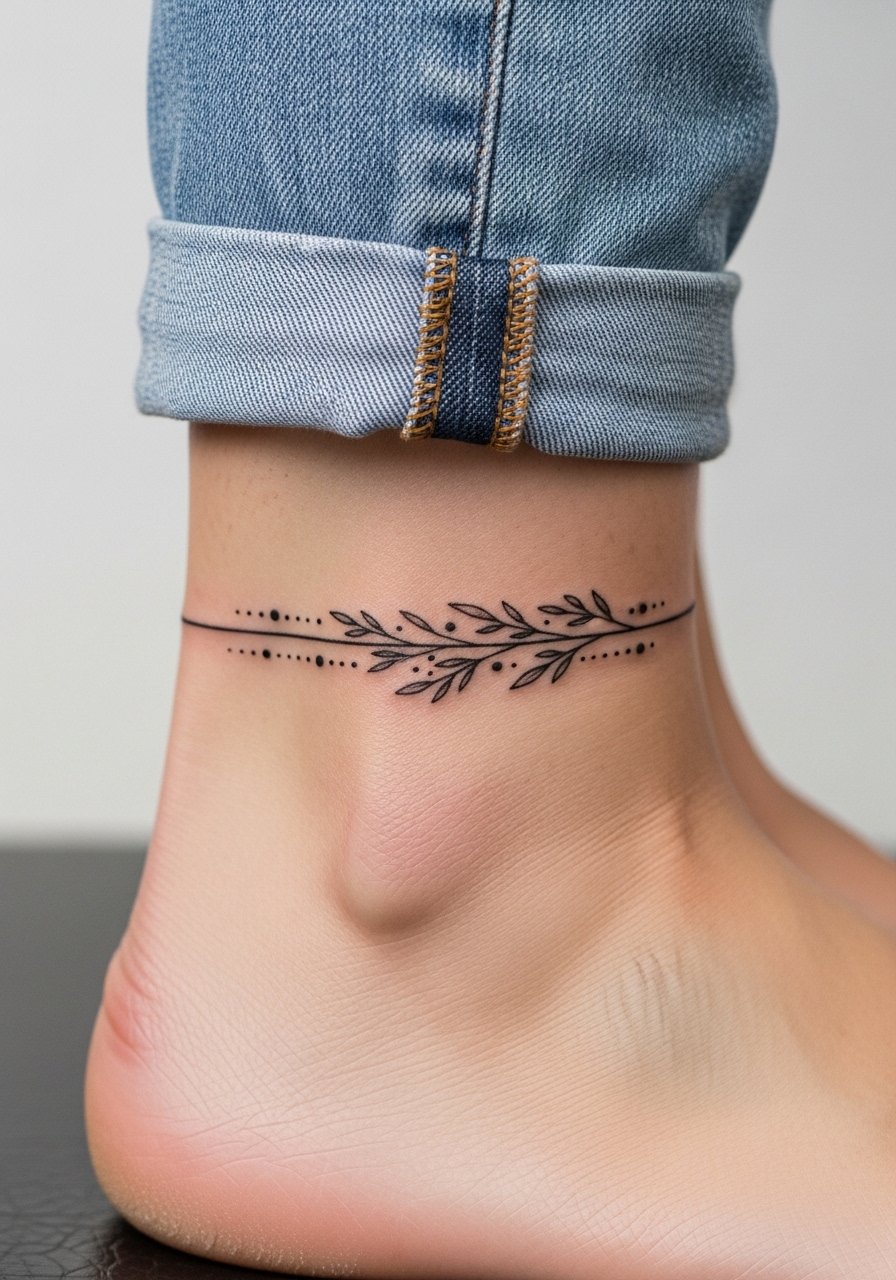
This minimalist wrap lives where a cuff would sit and reads clean with just a few well spaced stems and dots. Fair warning, micro spacing here is the biggest mistake people make. If the dots sit too close the lines can bleed together after two to three years, especially where socks rub. Tell your artist you want 2.5 to 3 millimeter spacing between dots and slightly heavier linework near the bone so the pattern keeps shape. Expect a 30 to 45 minute session and a sharp tingle along the ankle bone. When you want to show it, cuffed slim chinos or low top canvas sneakers keep attention on the cuff without covering the design.
2. Beaded Necklace with Cross Motif

A beaded ankle that mimics a rosary sits like jewelry and reads as faith-driven adornment without being loud. The common mistake is going too thin on the beads, which makes the whole strand look patchy after a year on active feet. Ask for beads at least 3 millimeters across and soft gray shading beneath the cross to keep contrast. This design takes about 1 to 2 sessions and feels like a steady vibration when the needle crosses the beads. For show-off days try rolled crew socks with boat shoes and neutral linen shorts that let the wrap peek through.
3. Barbed Wire Band
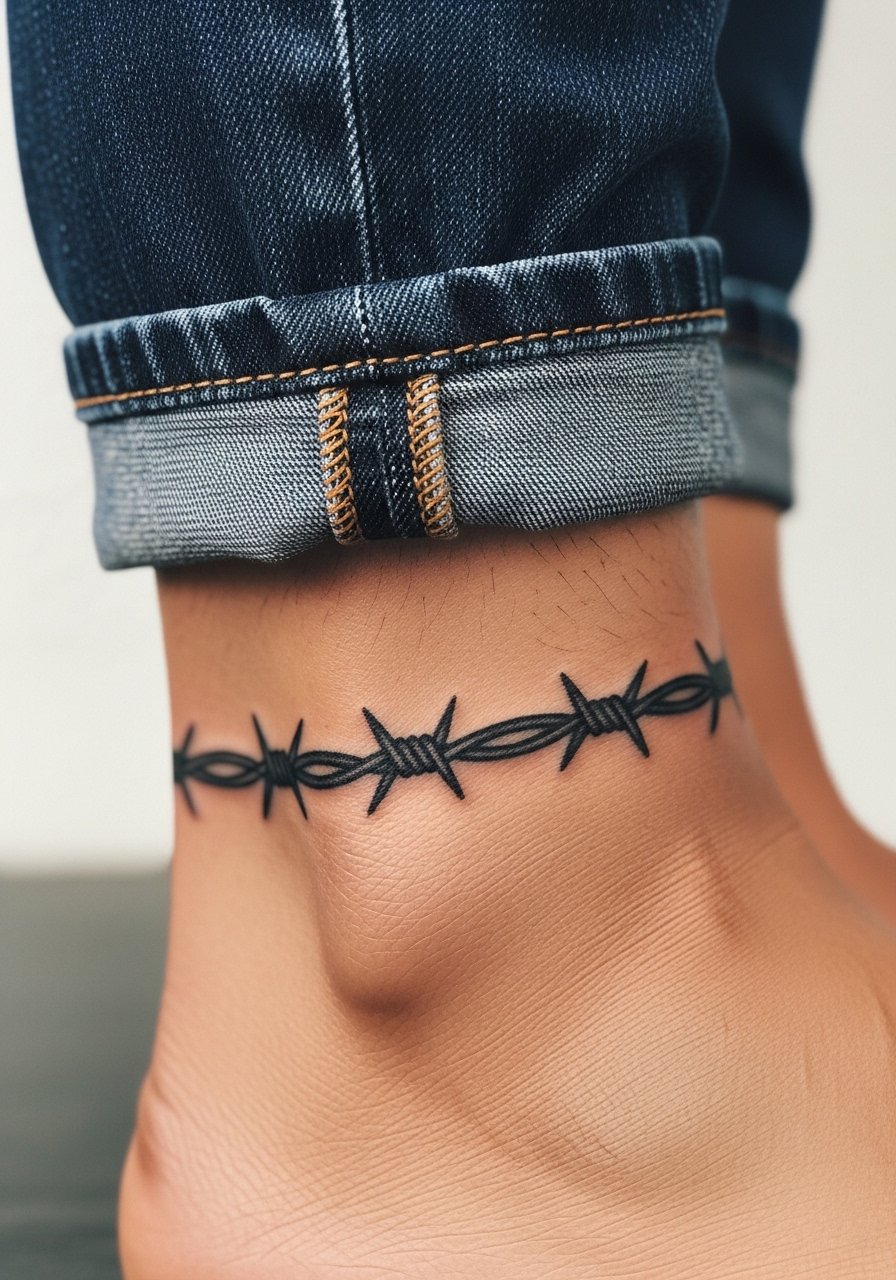
Barbed wire around the ankle reads resilient and is built to last because of its heavy linework. The pitfall is copying a thin, delicate version meant for a wrist. On the ankle choose thicker barb tips and a continuous bold line so the motif keeps readability through shoe friction. Session time is usually under an hour and expect sharp bites when the needle crosses the nubs near the bone. For a casual yet masculine look, roll slim cuffed chinos above the wire and pair with khaki chino pants or low-cut sneakers to show the wrap.
4. Side-Ankle Anchor

An anchor on the side ankle is compact and tough, and it usually ages well when kept to solid black. The usual mistake is adding tiny interior detail that blurs when the skin stretches against shoes. Ask for bold silhouette work and minimal inner shading for durability. This is a quick single-session piece with sharp sensation as needles cross the bone edge. For showing it off, leather loafers worn sockless or a simple sandal highlight the anchor without distraction and pair nicely with slim rolled jeans.
5. Wrap-Around Chain or Jewelry Mimic
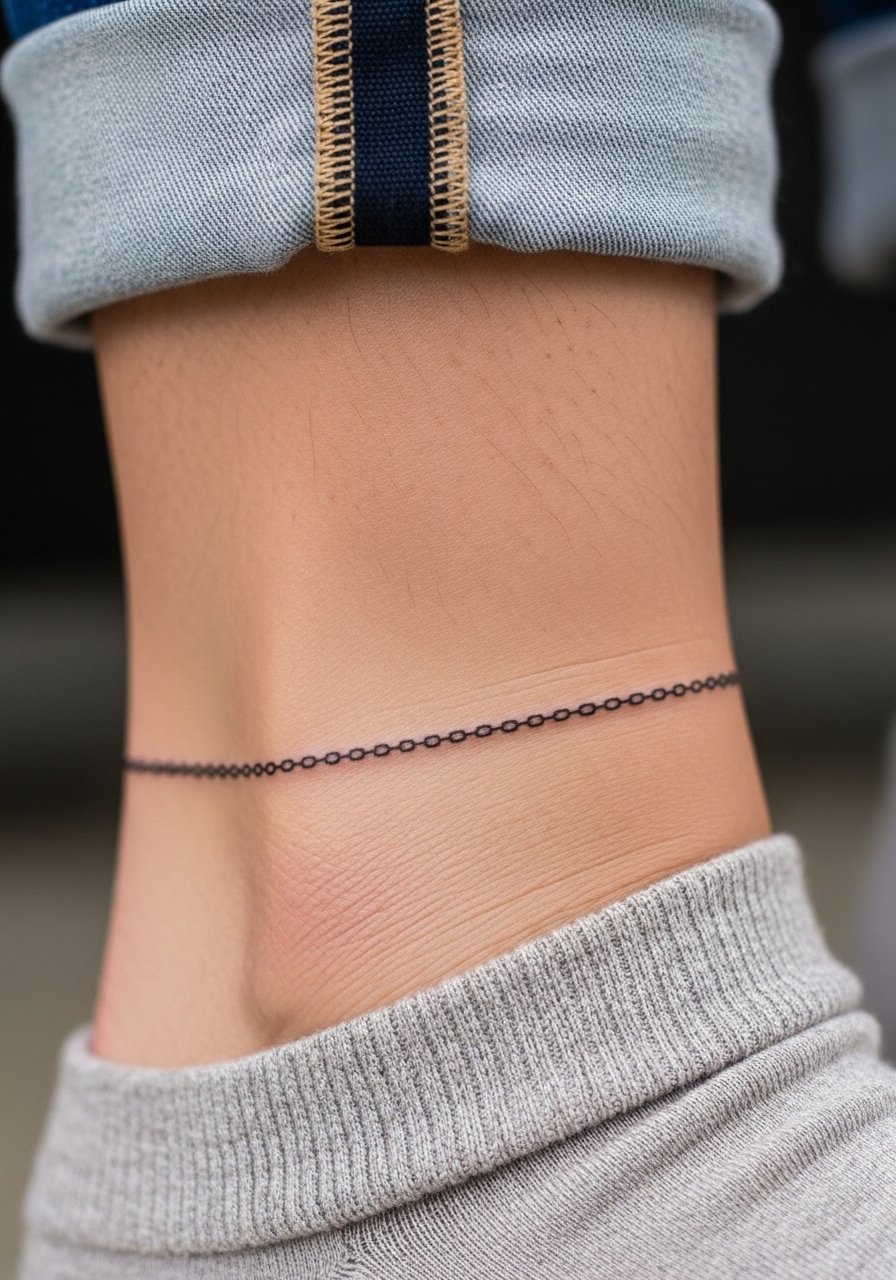
A chain-style anklet looks like jewelry minus the scratches, but fine line chains can fade fast if placed where socks sit. Avoid ultra-fine links and ask the artist for slightly heavier connecting lines and occasional negative-space gaps so the pattern reads even after friction. Plan on 1 to 2 short sessions and expect sharper pain around the bone. For casual wear, neutral linen shorts and rolled crew socks with boat shoes let the chain peek out just like a real anklet.
6. Baby Elephant Outline
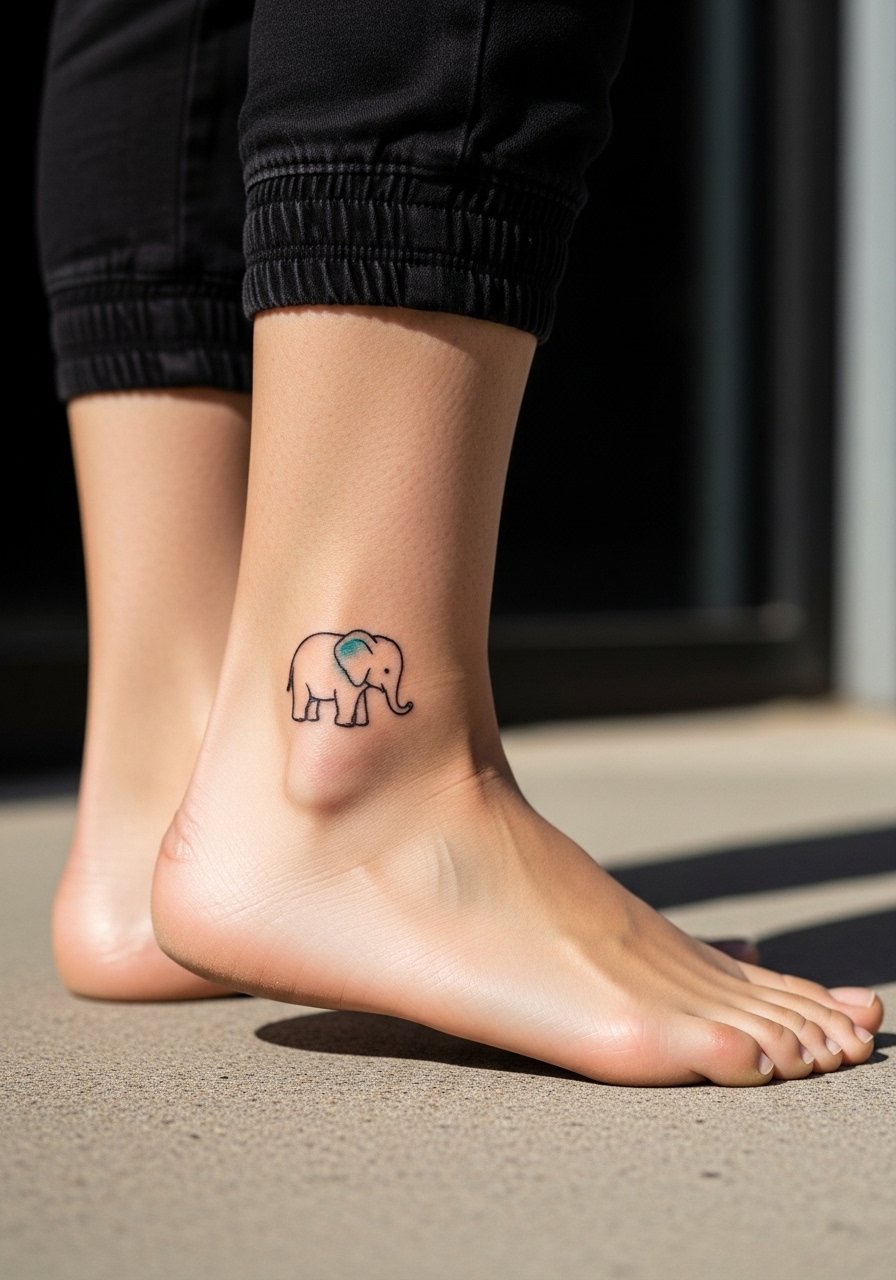
A baby elephant on the top of the ankle is playful and scales well at about three inches across. Many people pick pastel fills that lose saturation quickly under constant sock contact. For better longevity ask for a black outline with restrained blue-green accents instead of full color fill. This design usually needs two short sessions and feels stinging but manageable over the flatter top-of-foot area. Show it with rolled joggers or neutral shorts for balance, and consider a lightweight sneaker so the accent color can breathe visually.
Pre-Session Essentials
The ankle pieces above respond differently to prep and early healing, so a few select items smooth out the session and the first week.
-
Stencil transfer paper kit. Lets you preview placement on the ankle so the wrap and side pieces sit above or below your sock line before the needle starts.
-
Topical numbing cream. Applied about 45 minutes before can soften the sting on the bone, which is useful for first-time ankle sessions.
-
Thin protective film roll. Keeps ankle tattoos clean during the first days when shoes and socks add friction.
-
Fragrance-free body wash. Gentle cleansing helps prevent irritation on small fine line work that sits near sock lines.
-
Aquaphor healing ointment. A thin layer during the first few days locks in moisture and supports early healing without over-saturating the skin.
7. Thin-Lined Bee on the Inner Ankle
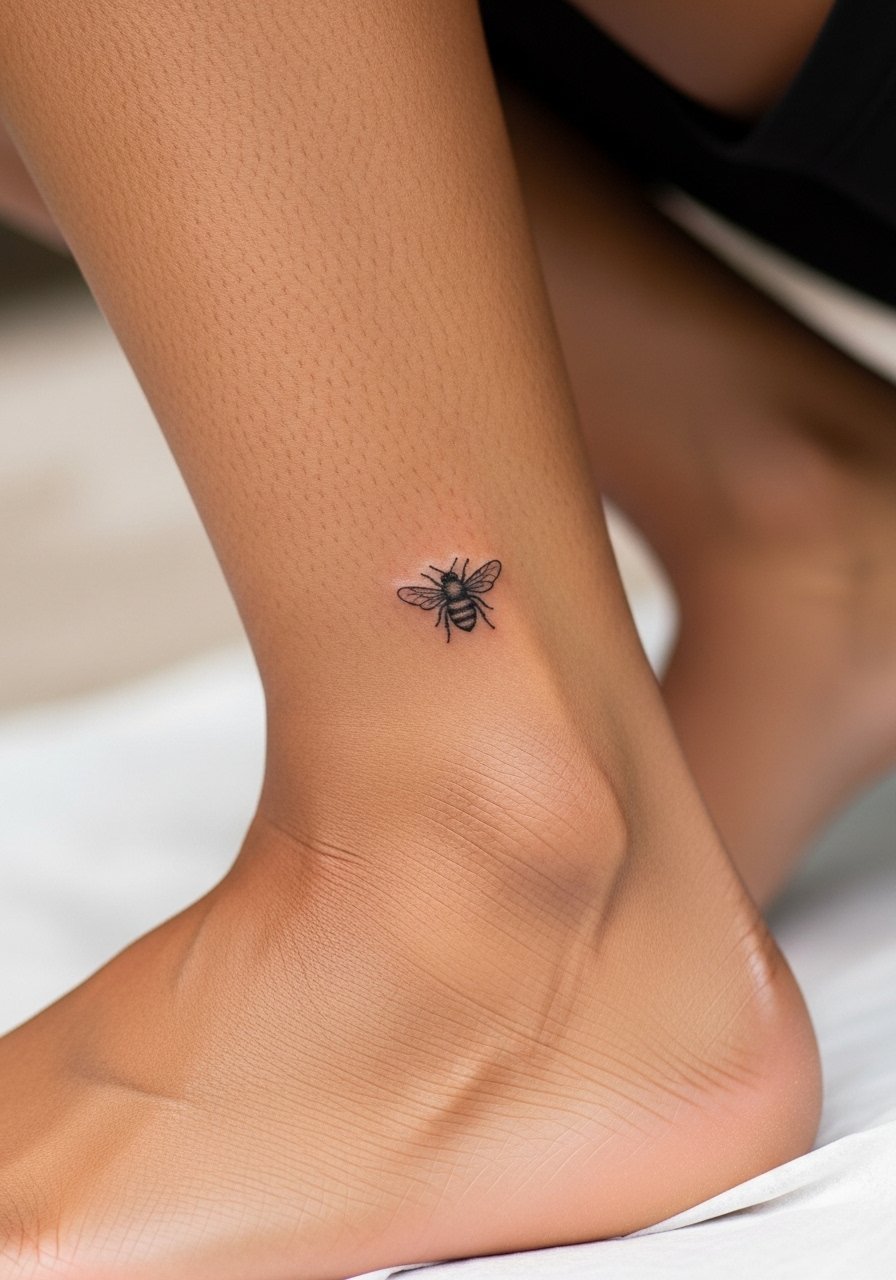
A thin-lined bee at the inner ankle is delicate and symbolic, but this placement exposes fine line to constant rubbing and moisture from socks. Artists are split on whether fine line holds on inner ankle skin. One camp argues the thin skin and movement blur lines within a year. The other camp believes correct needle depth and micro-spacing keep the design intact. If you like this, ask for a slightly stronger line weight and expect a short session. For gym days cuffed joggers and athletic crew socks let you protect the area while still showing the piece.
8. Tribal Pattern Band
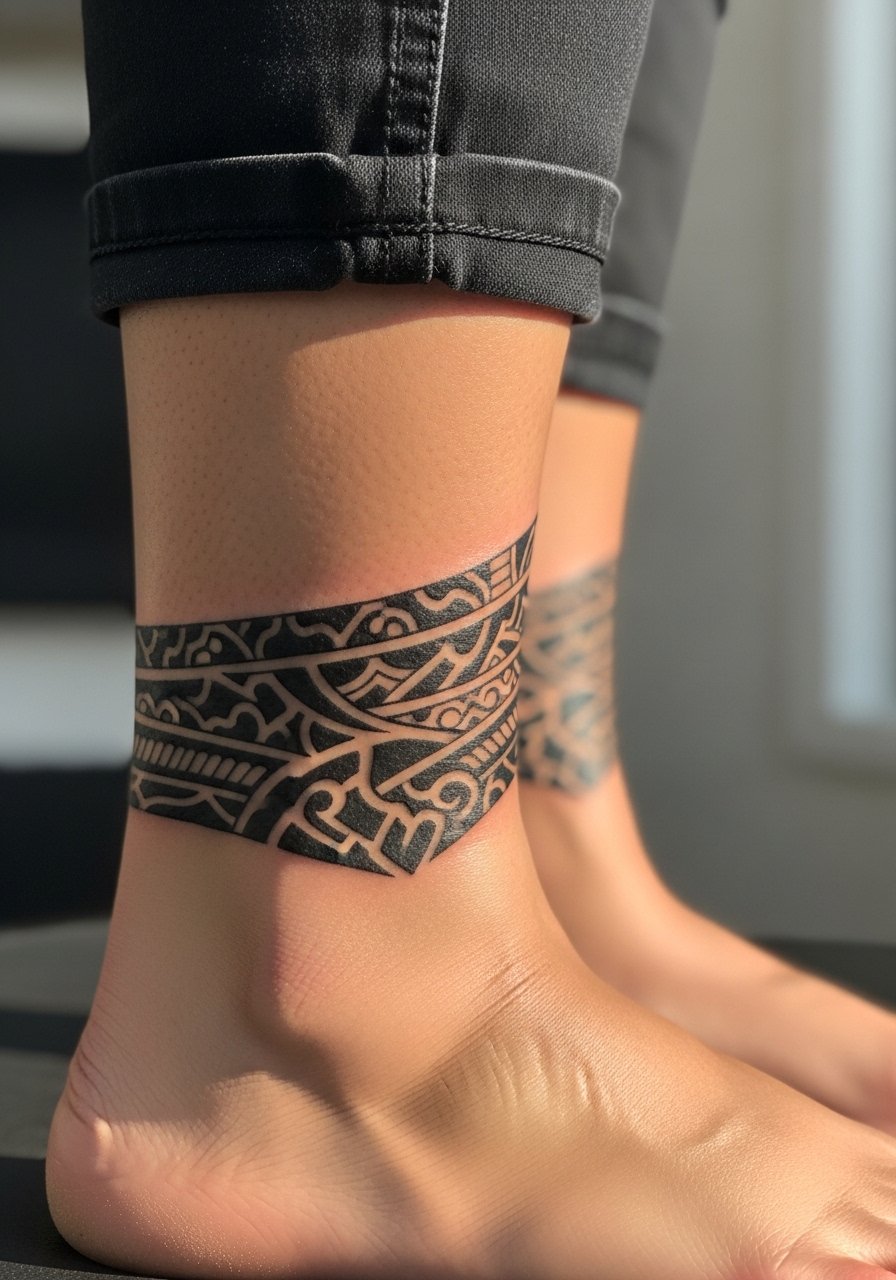
Tribal bands are engineered to hold up on active bodies because of their saturated black fills and thick linework. The common error is copying a wrist-sized band and shrinking it, which makes spacing tight and prone to bleed. Request chunkier shapes and clear negative-space breaks so the pattern reads at a glance. Expect two sessions for a full wrap and a stronger pain near the rear ankle where tissue gets thin. For an outdoorsy look, pair with cargo shorts and low-cut hiking socks like mid calf hiking socks when you want the pattern to peek without rubbing.
9. Lion Head Silhouette
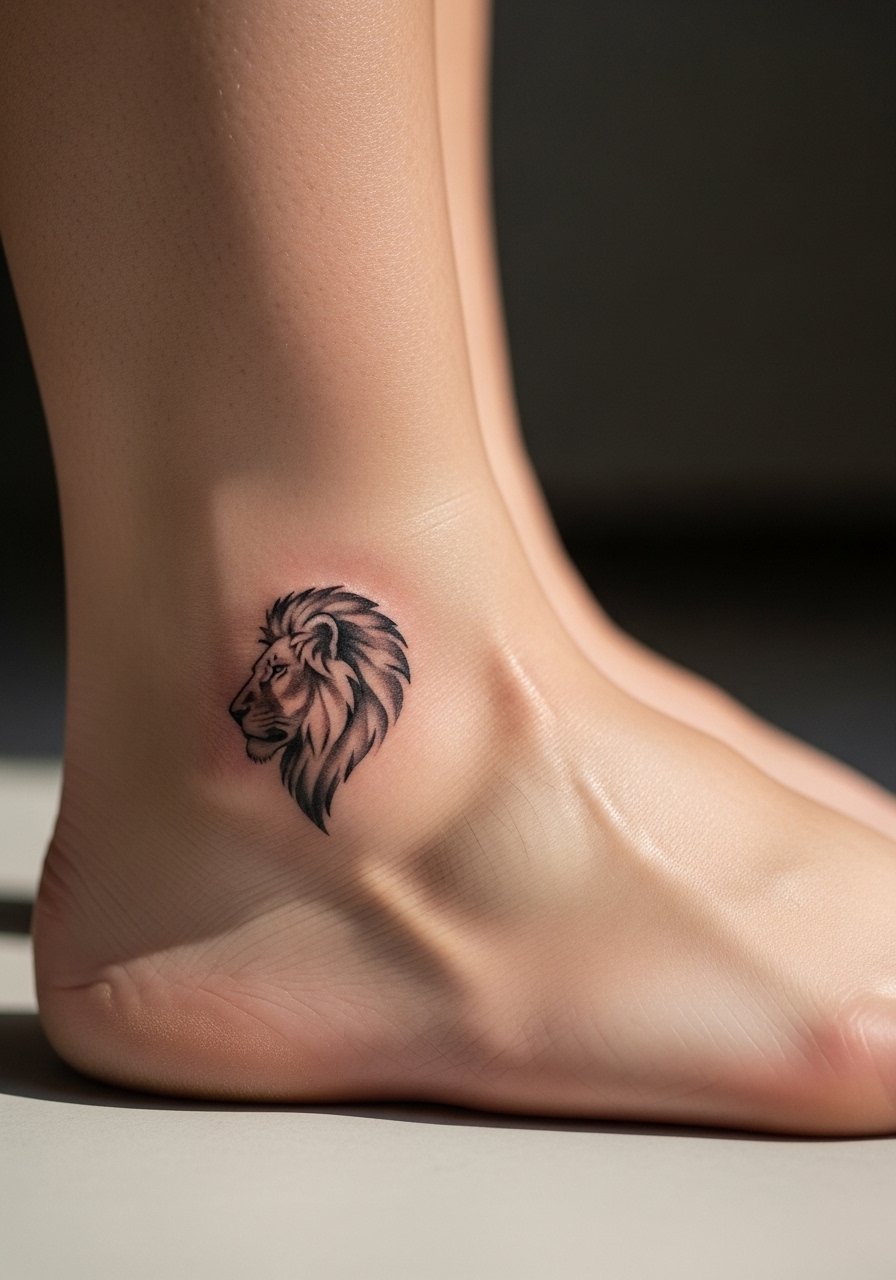
A lion silhouette on the outer ankle reads bold because of high contrast and simple planes. Micro-realism gets sloppy when artists cram too much interior detail into a small area, so insist on clear, simplified planes rather than tiny fur marks. Two to three sessions may be required for subtle shading around the mane. Pain sits moderate because the outer ankle has a bit of cushion. For footwear, minimalist sandals or sockless loafers complement the motif and keep the silhouette visible.
10. Compass Rose on the Side Ankle
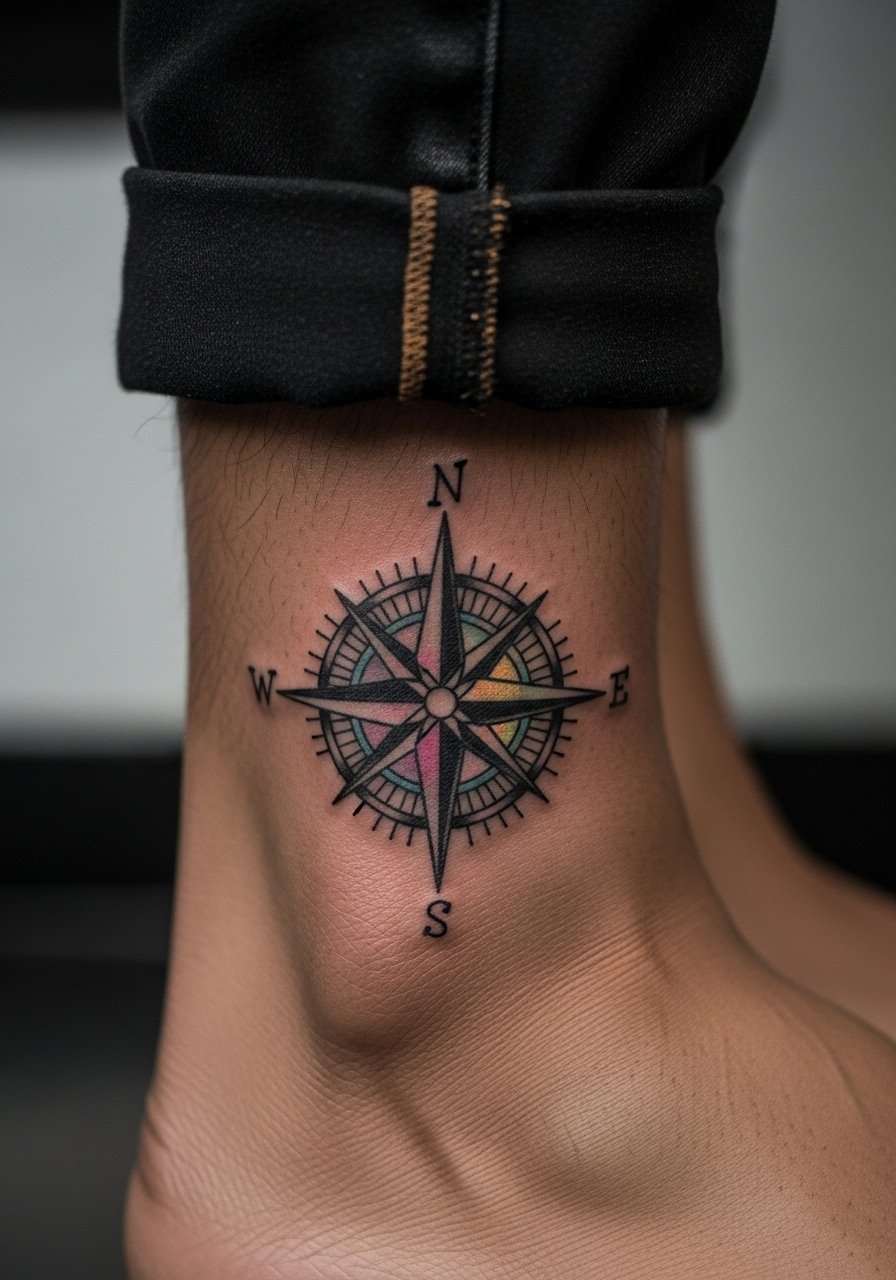
Compass roses are classic choices for travel-minded folks and they scale well at side ankle placement. The aging question is color saturation versus long-term contrast. If you want color, request darkened outlines and limited color washes so the lines anchor the design as pigments soften. This usually takes two sessions and stinging is localized where the outline meets bone. Pair with cuffed slim chinos and a clean leather loafer sockless style so the compass sits just above the shoe line.
11. Geometric Triangle Stack Above the Bone

Geometric stacks need breathing room, and the ankle bone is unforgiving when triangles are too small. The most common mistake is shrinking motifs to micro size. Ask for at least 2-inch base triangles and slightly thicker linework on the lower triangle to resist shoe scuffing. Single session timing is usually under an hour and expect a sharp sensation over the bone. For evening wear, go sockless with leather loafers or roll your slim jeans once so the stack sits where it will age cleanly.
12. Eagle Wing Wrap
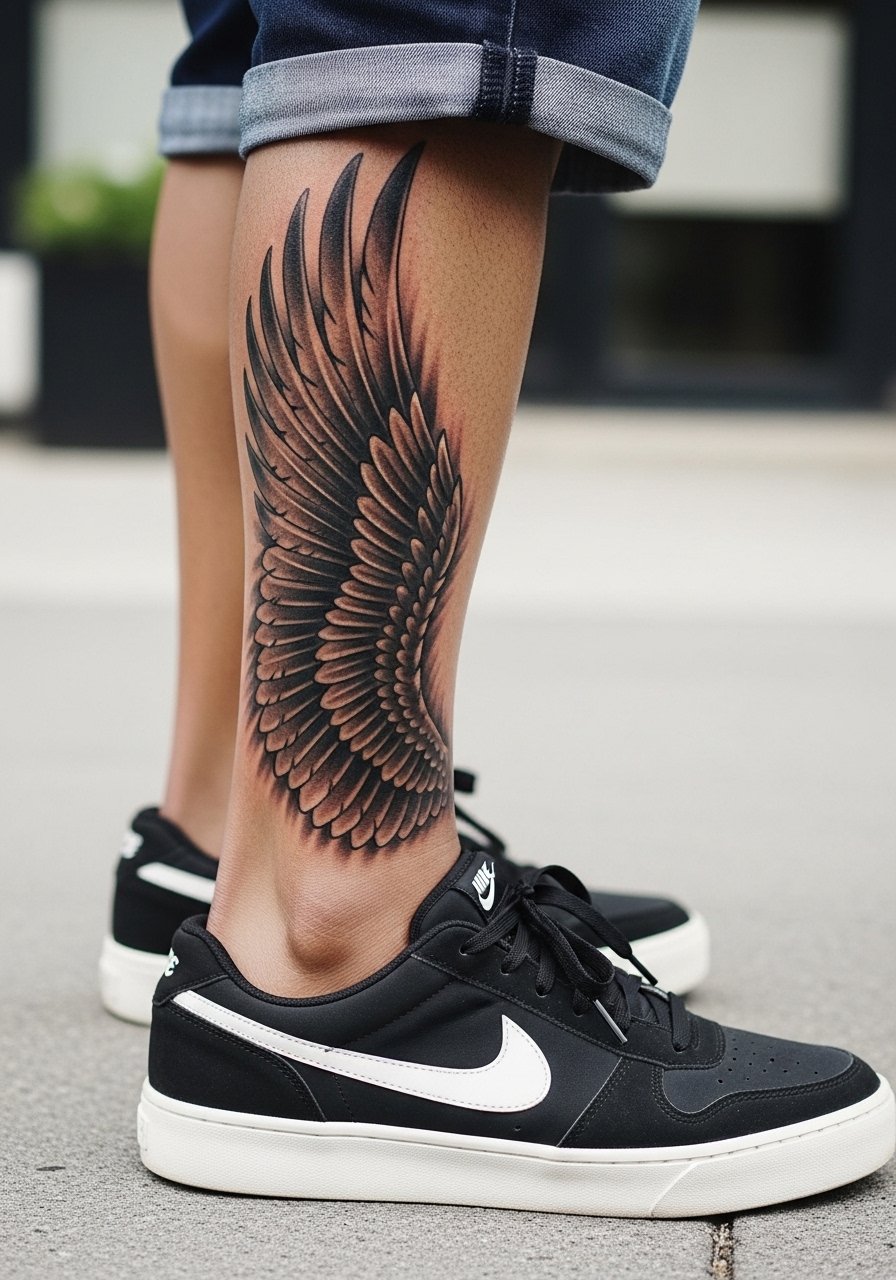
An eagle wing that wraps the ankle uses strong lines and bold fills, which helps it survive runners and hikers. The usual error is trying to cram feather detail into a small wrap. Ask for broader feather blocks and contrast edges so the wing reads even after abrasion. Expect two to three sessions and deeper discomfort where the wing curves over the heel. For trail days pair with cargo shorts and remove hiking boots briefly after the session to let the area breathe.
13. Small Anchor with Rope
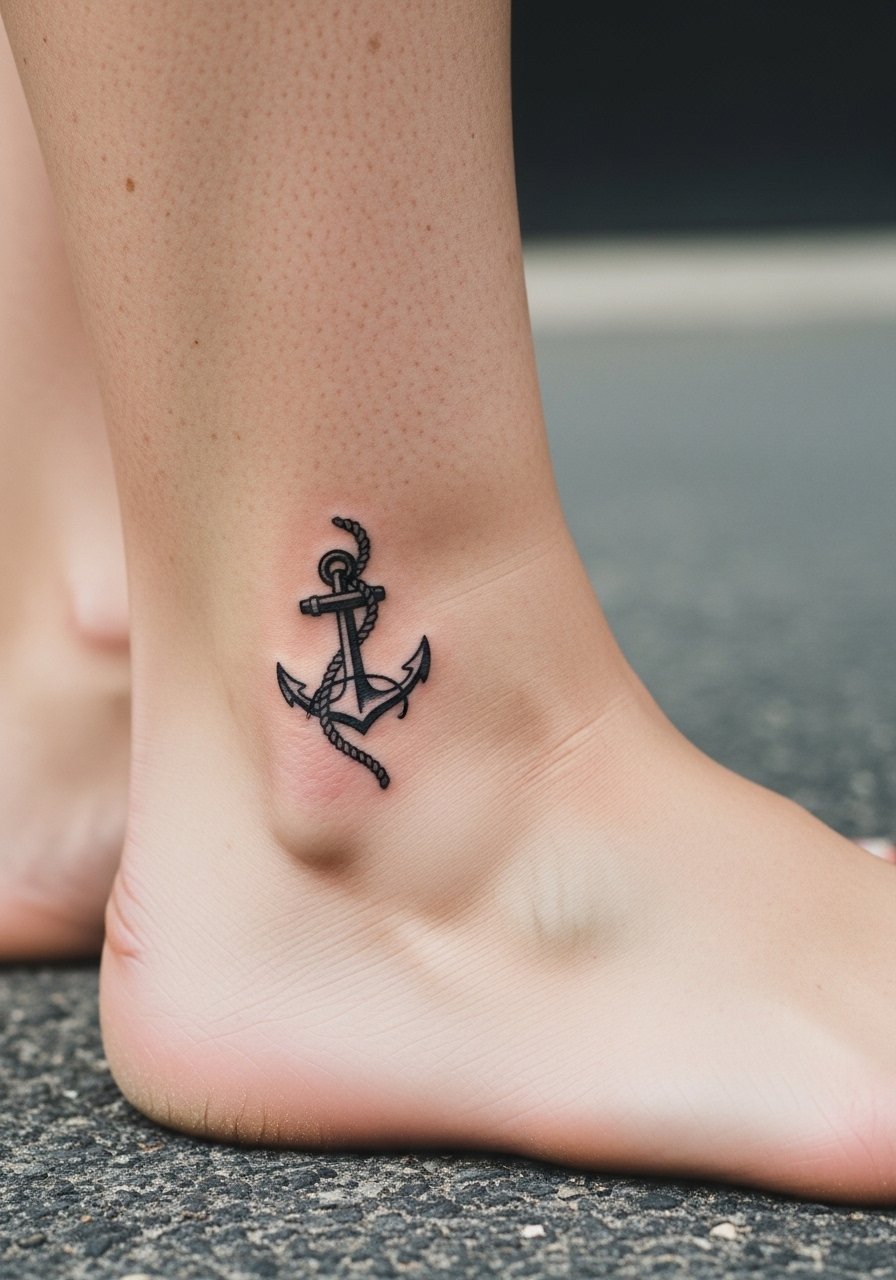
A small anchor plus rope adds motion to a classic symbol but rope detail can age into muddiness if too tiny. The fix is slightly thicker rope loops and negative space around knots. This is a one-session piece with a sharper sting near the inner ankle bone. When you dress to show it, sockless sandals or rolled shorts frame the rope cleanly and make the knot readable from a distance.
14. Mountain Range Minimalist Band
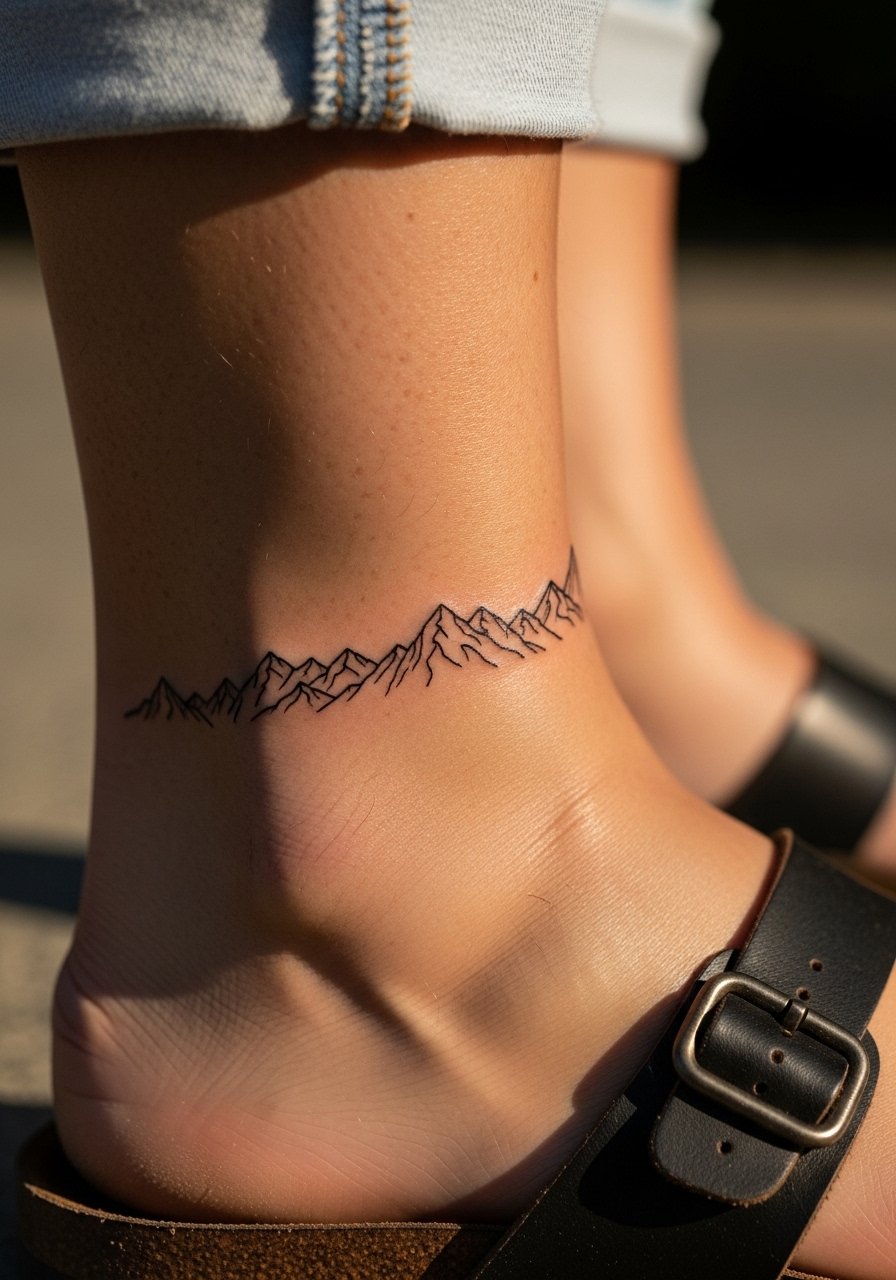
A thin mountain band reads modern and is a good fit for outdoors-oriented guys, but tiny peaks can blur with constant sock contact. Ask for simplified peaks with occasional thicker anchor points so the silhouette survives friction. Plan on one short session and expect a steady tingle across the ankle. For aesthetic pairing, try neutral linen shorts with boat shoes or sandals so the range sits naturally above the shoe line.
15. Small Dagger on the Side Ankle
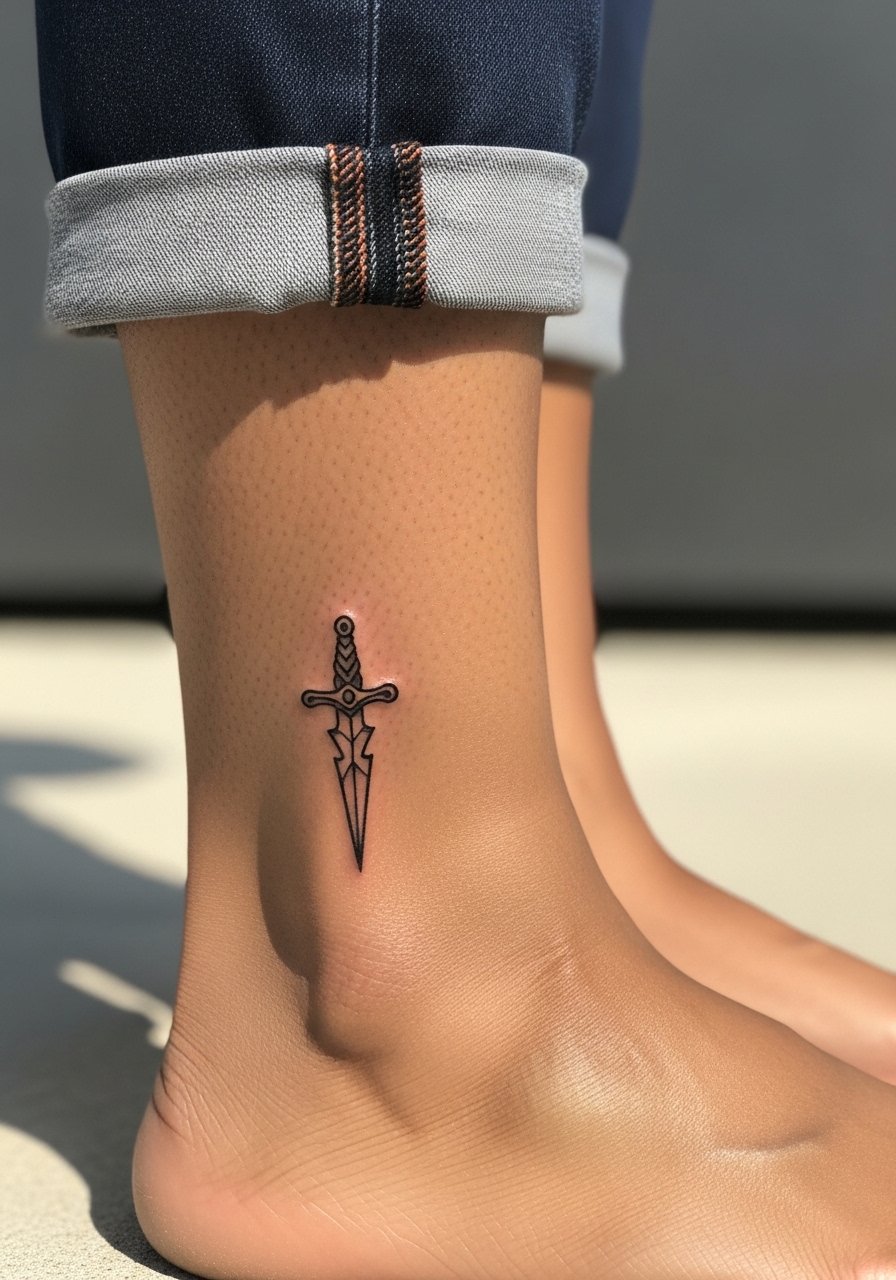
Daggers age well when executed as silhouette pieces, but delicate inner ornamentation is a common regret. If you want detail, place it on a slightly larger scale and keep the edge line thicker. Single-session timing and a sharp sting along the side bone are normal. This piece pairs well with slim cuffed chinos and sockless loafers for nights out.
16. Roman Numerals Around the Ankle Bone
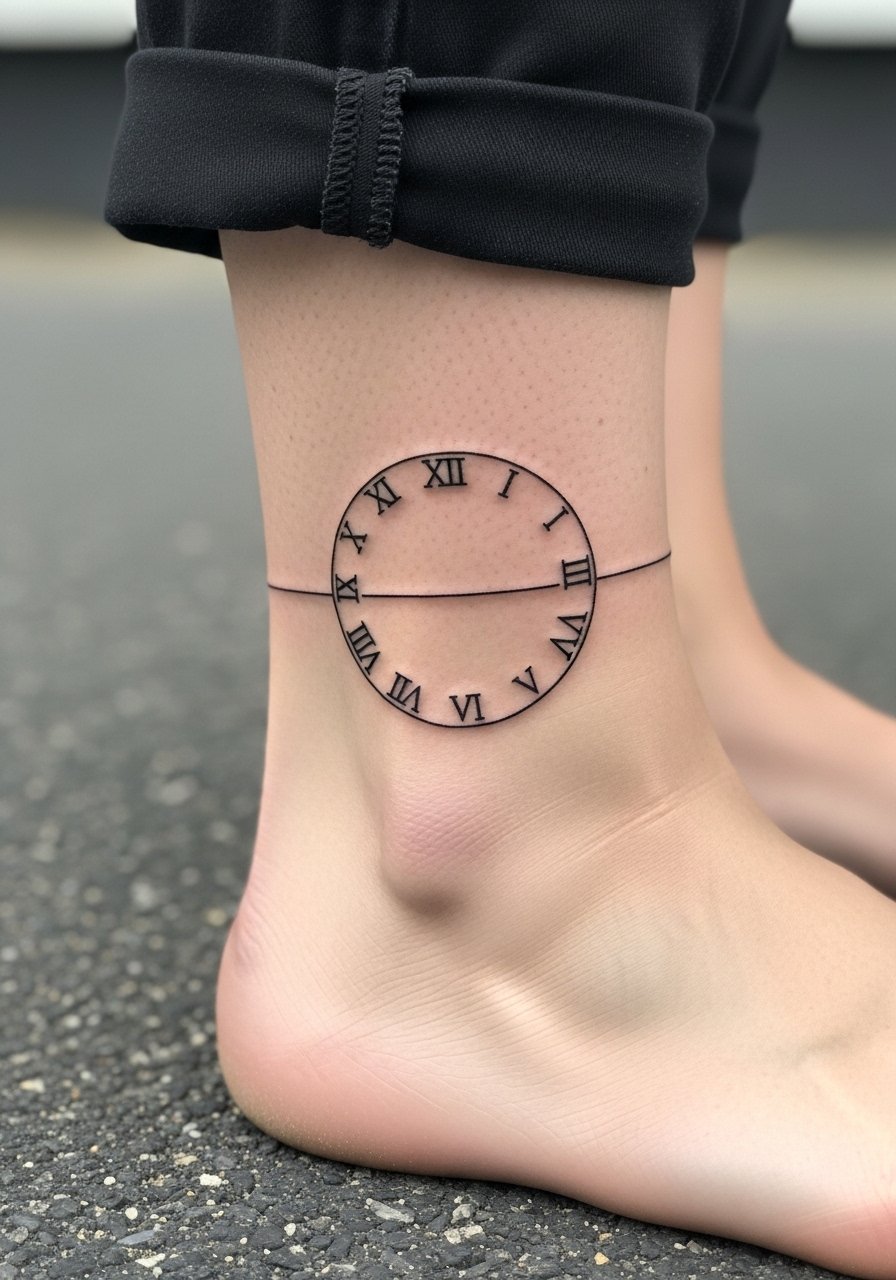
Encircling numerals are neat and readable if sized correctly. The main mistake is tiny numerals with cramped spacing that blur after a year. Ask for wider kerning and stronger line weight for longevity. This is a quick session but expect sensitivity as the needle crosses bony prominences. For clean presentation, pair with slim rolled jeans or sockless sandals.
17. Tiny Script Word Near the Ankle
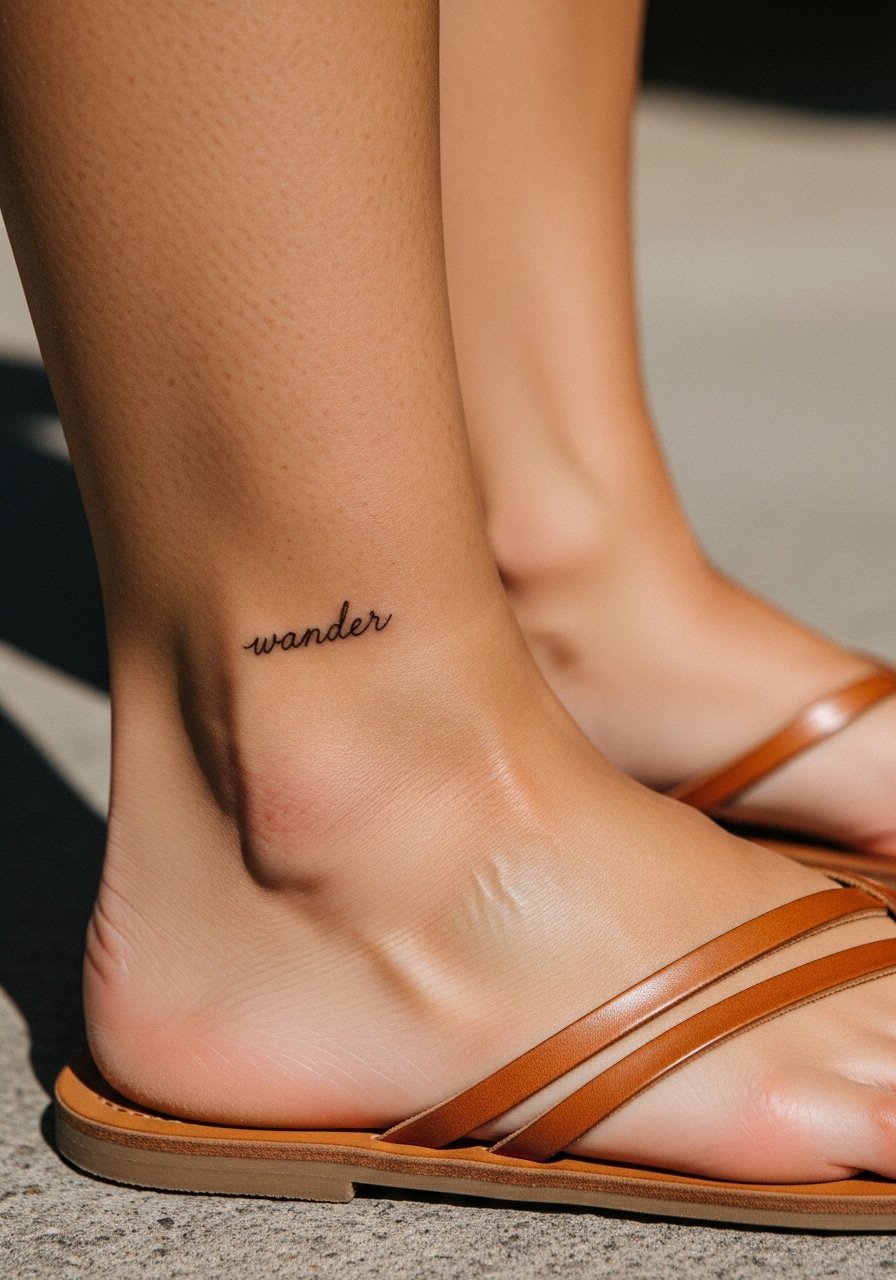
Script works on ankles when letter spacing and baseline are respected. Small fonts tend to merge if letters sit too close. Request the exact font and ask the artist to write the full word on transfer paper so you can inspect spacing before the needle. One session and a needle vibration near the ankle bone is common. For a subtle reveal, pair with rolled linen shorts and simple sandals.
18. Wave Symbol Along the Ankle Bone
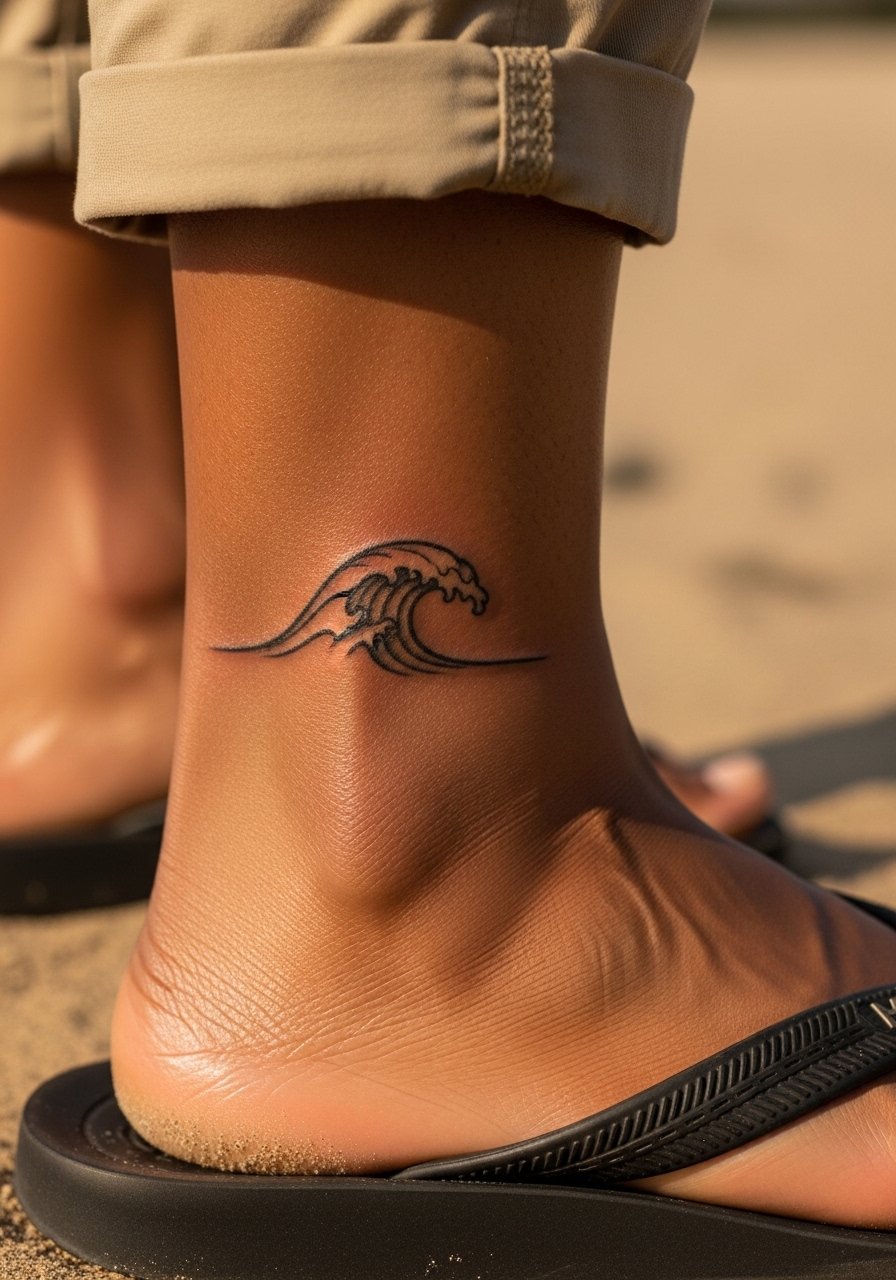
Wave lines are forgiving and forgiving by design, but too-fine curves get lost under sock abrasion. Choose a clean black stroke with slight thickening at the crest and ask for an arc that sits just above the sock line. This is a short single-session piece and will feel sharper where it crosses bone. For summer visibility, wear neutral linen shorts and low-top canvas shoes so the arc reads from a distance.
19. Snake Coiling Around the Ankle
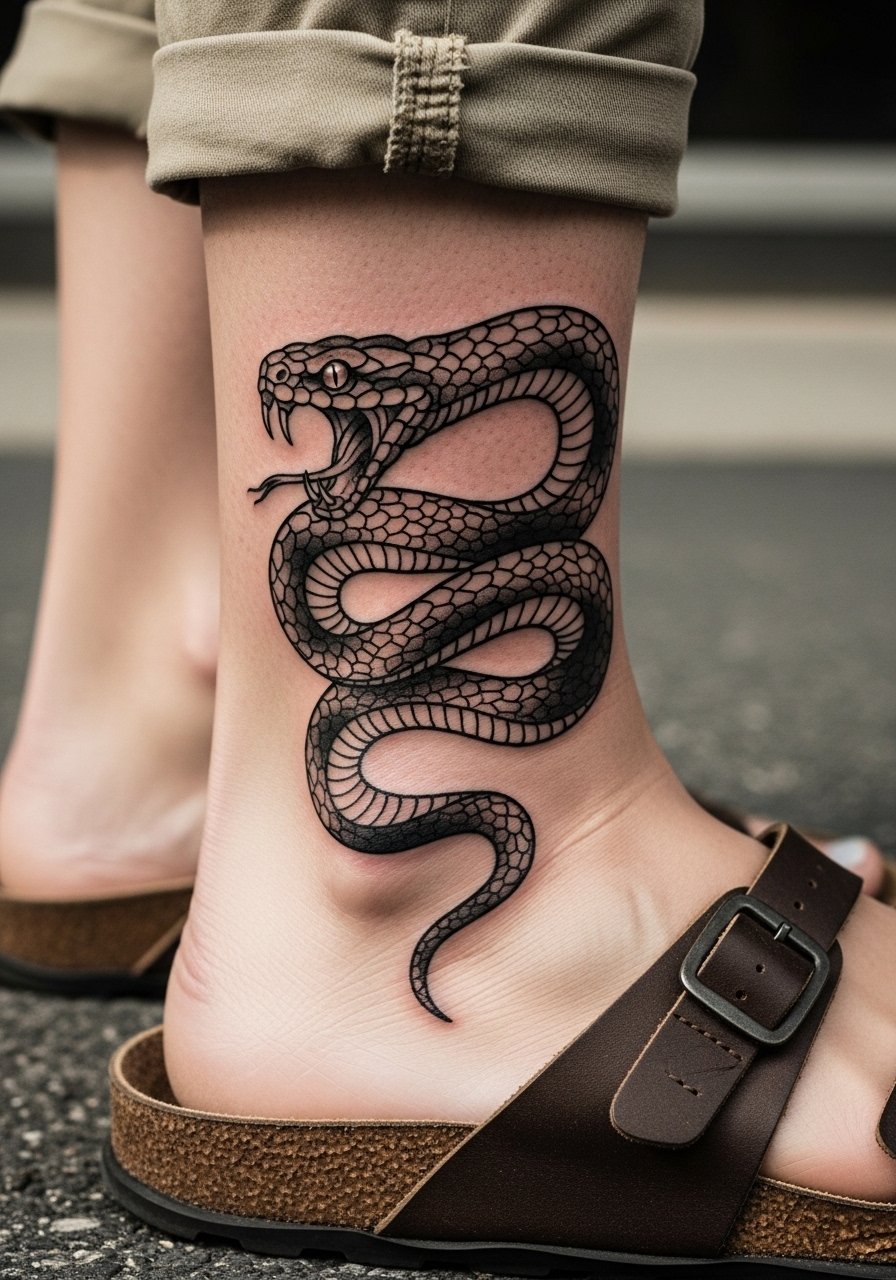
A coiling snake benefits from bold scales and separated loops so the coils do not merge over time. The classic error is squeezing too many coils into a small circumference. Ask for two clear turns with scale blocks rather than tiny etched scales. Two sessions may be needed for full shading. For looks, pair with cuffed trousers and low-top sneakers that let the coils peek beneath the cuff.
20. Tiny Koi Outline on the Top of the Foot
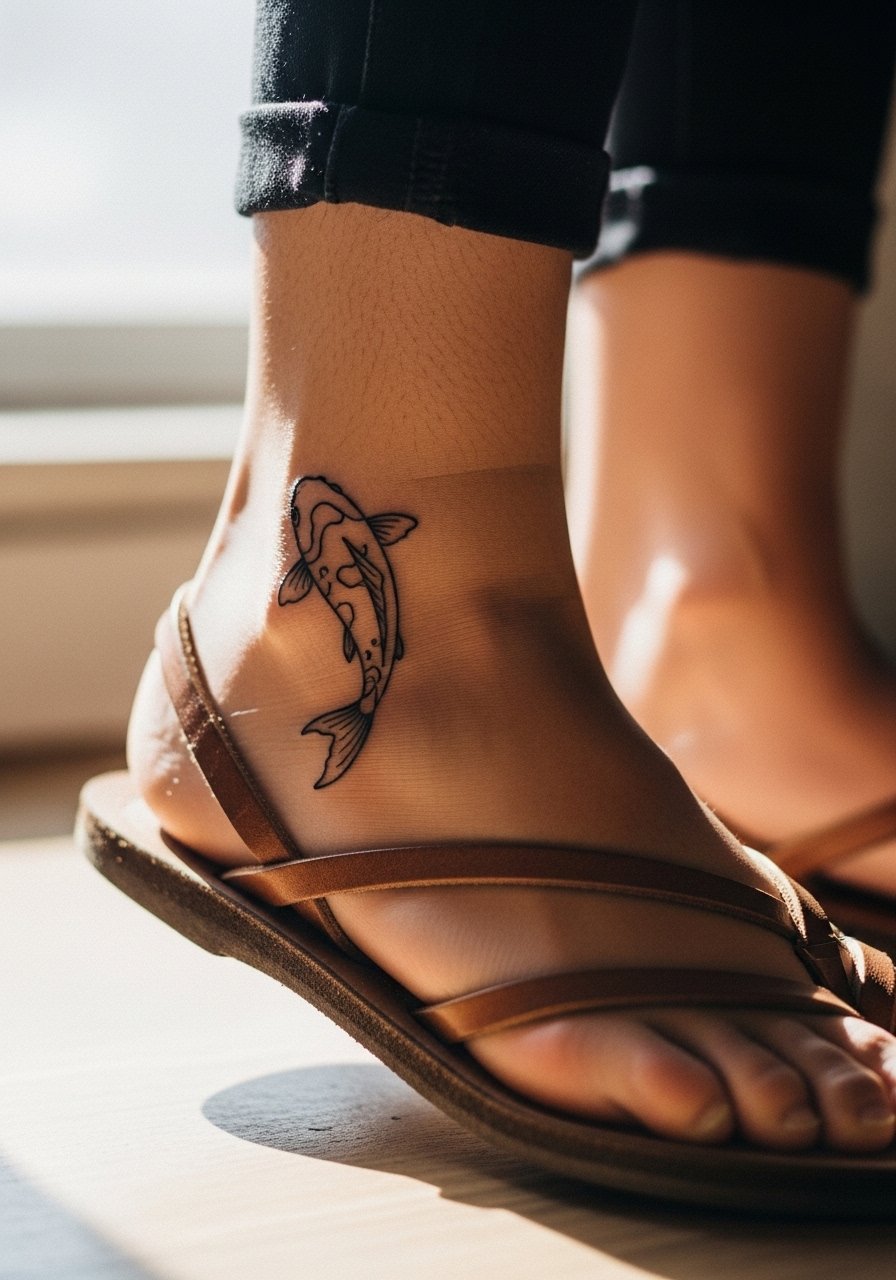
Koi on the foot can be charming but foot placement is high-friction and color will fade faster. The common fix is choosing a black outline with limited color blocks rather than a fully painted koi. This needs a short session and a sharper sensation over bony areas. For display, wear sandals or slip-ons to avoid rubbing during the critical first weeks of healing.
21. Compass Coordinates in Small Type

Coordinates are precise and personal, but text clarity depends on letter sizing and kerning. The mistake is choosing tiny type that blurs. Ask for a monospace font and set it at a scale that remains legible after a touch-up window. This is a quick session and stinging is concentrated near the bone. Pair with rolled jeans and sockless loafers to keep the coordinates visible without constant sock rubbing.
Frequently Asked Questions
Q: How much does an ankle tattoo usually cost and are small pieces overpriced?
A: Prices vary by shop and region, but many studios have minimums that make small ankle pieces feel pricey. Expect to pay a studio minimum for the visit even if the tattoo is compact, and consider bundling a touch-up in the quote so you do not pay again later.
Q: Will a fine line ankle tattoo blur faster than a bold one?
A: Yes, fine line is more vulnerable on the ankle because of thin skin and shoe friction. One camp of artists favors bold outlines for durability, while another camp says properly spaced and correctly inked fine line can hold. Ask your artist which approach they have seen last longer on ankles.
Q: Does numbing cream change the quality of the work?
A: Artists disagree. Some say topical numbing helps first-timers tolerate bone pain without compromising linework. Others argue it can mask subtle feedback that helps when shading. If you plan to use it, tell the shop in advance so they can advise on timing and application.
Q: What should I wear to a session for an ankle tattoo?
A: Wear loose shorts or pants you can roll up without pressure on the area. A pair of linen shorts or cuffed trousers work well so the artist has full access and you avoid tight waistbands or socks that bunch under the stencil.
Q: How long before the ankle tattoo looks healed versus how it will look in two years?
A: Surface healing takes about two weeks and looks settled at six months. Over two years fine detail can soften and color may dull where shoes and socks rub. Choosing stronger outlines and spacing reduces early blurring and usually delays visible softening.
Q: Can I still run and hike after getting an ankle tattoo?
A: Activity is fine once the scab phase is done but expect increased friction while healing. For the first two weeks keep intense runs light and choose footwear that avoids rubbing the fresh ink. After fully healed, bold black designs usually tolerate activity better than ultra-fine line work.
