
Fine line one-line tattoos are everywhere on feeds right now, but the reality is messy. They look incredible fresh and they can age into a soft blur on certain skin types, shops cancel sessions, and tiny wrist pieces stretch weird after life changes. If you want one line tattoo ideas that actually hold up, this list mixes animals, botanicals, and abstract strokes with the placement advice and wardrobe notes that matter on session day.
1. One-Line Giraffe with Initial on Upper Arm
I've seen this one on upper arms for years, and the integration of a single initial into the neck curve reads like a secret signature. Tell your artist you want consistent linework with a slightly bolder anchor at the base so the neck does not disappear as it heals. Common mistakes include making the stroke too thin near the monogram, which fades unevenly by year two. Pain on the bicep is low and the session is usually under an hour. For the appointment, wear a loose button-down shirt so the artist can roll the sleeve up without tugging the stencil.

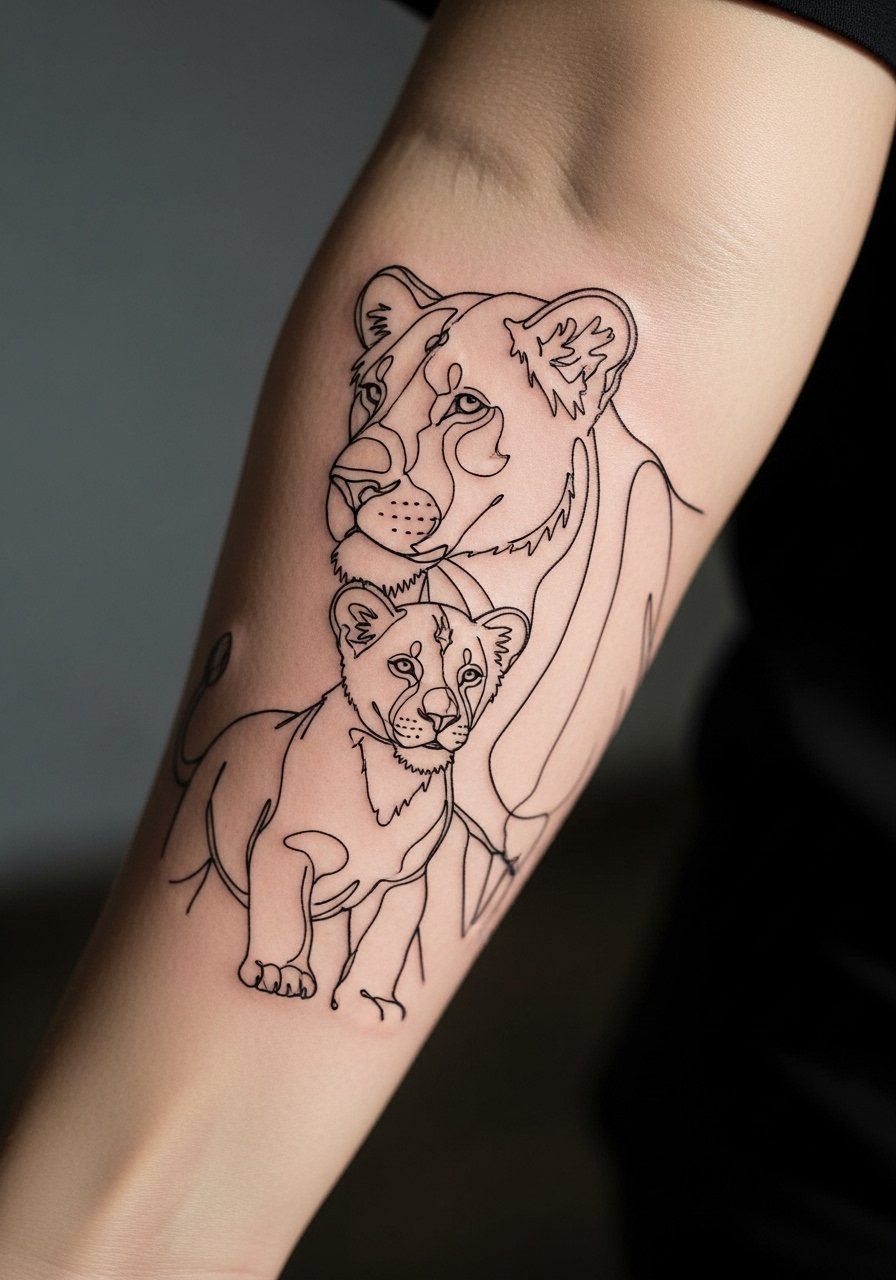
2. Mother-Baby Lion Pair on the Forearm
A continuous mother-and-cub lion works well on the inner forearm because the shape follows the arm's natural line. When you consult, ask for a three-point flow that keeps the cub's curve separate from the parent's mane so the two figures do not merge as the ink settles. Artists warn against cramming details into the mane. Expect low to medium pain and a single short session. Show it off with a rolled cuff chambray shirt for casual framing that keeps attention on the forearm.
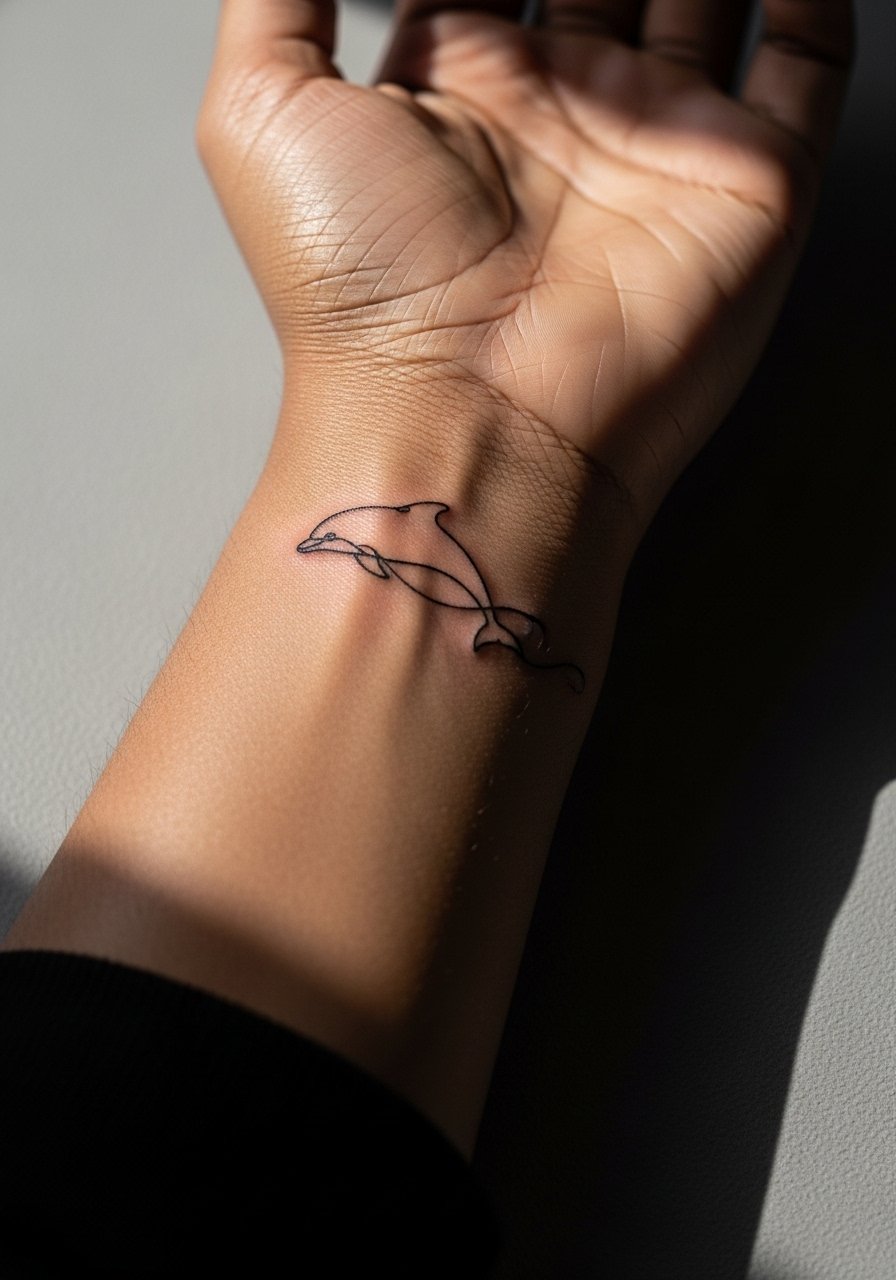
3. Fluid Dolphin Silhouette on the Wrist
The wrist is perfect for a tiny dolphin that reads as motion with three graceful curves. Fair warning, wrist skin sees a lot of washing and friction. Ask for a slightly heavier final pass around junctions so the curve stays visible at six months. Artists split on numbing cream for the wrist. One camp recommends topical numbing to ease first-timer anxiety. The other camp says numbing can dull the subtle feedback that helps the artist modulate depth. Expect a quick fifteen to thirty minute session. For showing it off, pair with a thin leather bracelet on the opposite wrist.
4. Cat Silhouette Framed by Flowers on Inner Arm
This design turns a familiar pet outline into a micro botanical frame that sits nicely on the inner arm. Common mistakes are too many tiny petals that blur together. Ask for open negative space between petals and a single continuous stroke for the cat to preserve readability. Expect mild pain and a session under an hour. At six months the floral gaps keep the silhouette distinct, but if the lines are too fine you may want a touch-up at year one. The inner arm hides well if you need discretion.

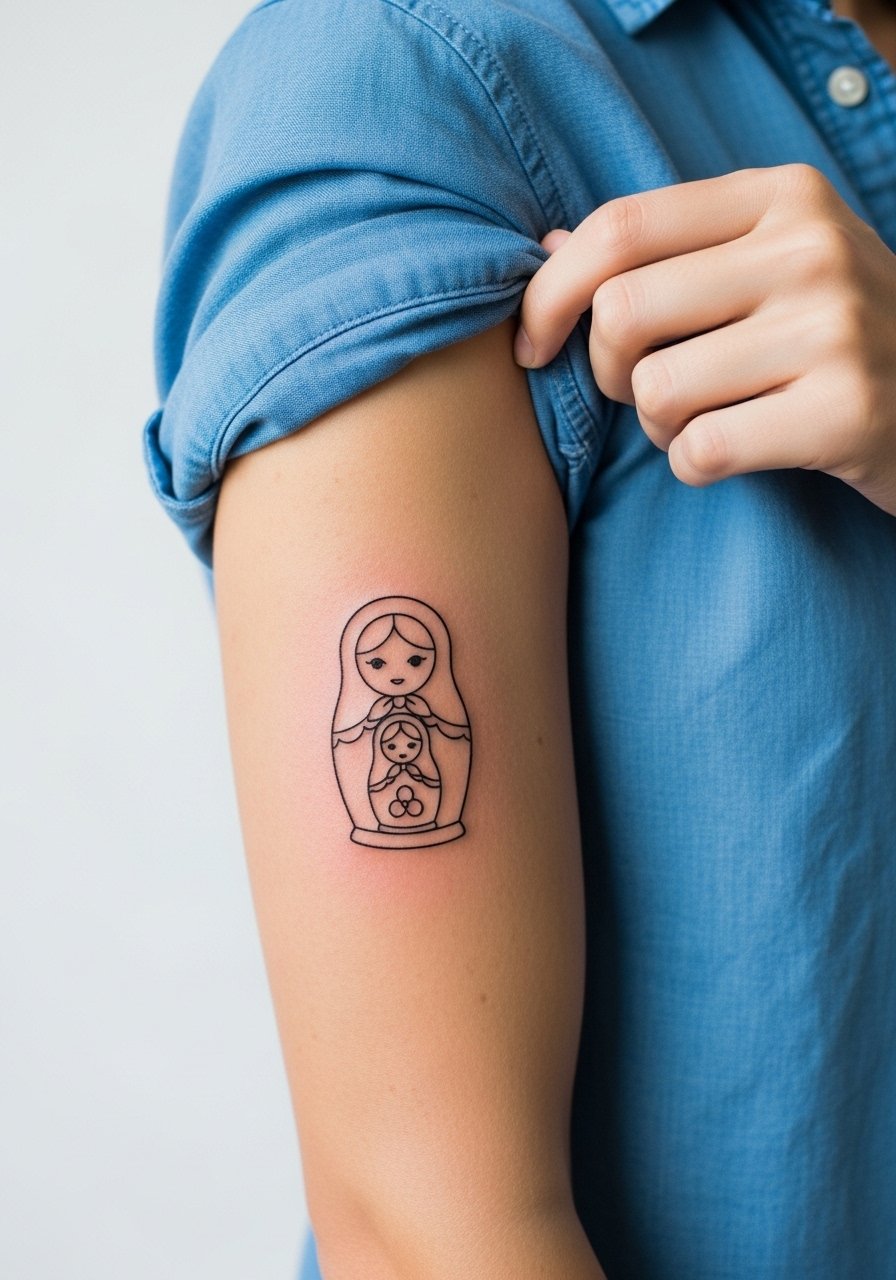
5. Matryoshka Doll Nested Outline on the Bicep
The nesting motif reads clearly at two inches on the outer bicep because the curved surface gives the lines room. When you book, bring reference showing the exact nesting proportions you want and tell the artist to avoid tiny facial details that age poorly. The biggest mistake is shrinking the inner dolls so closely that they merge after a year. Pain is low and touch-ups are usually only cosmetic at six to twelve months. For the session, a loose button-up shirt is useful because the bicep needs access without stretch.
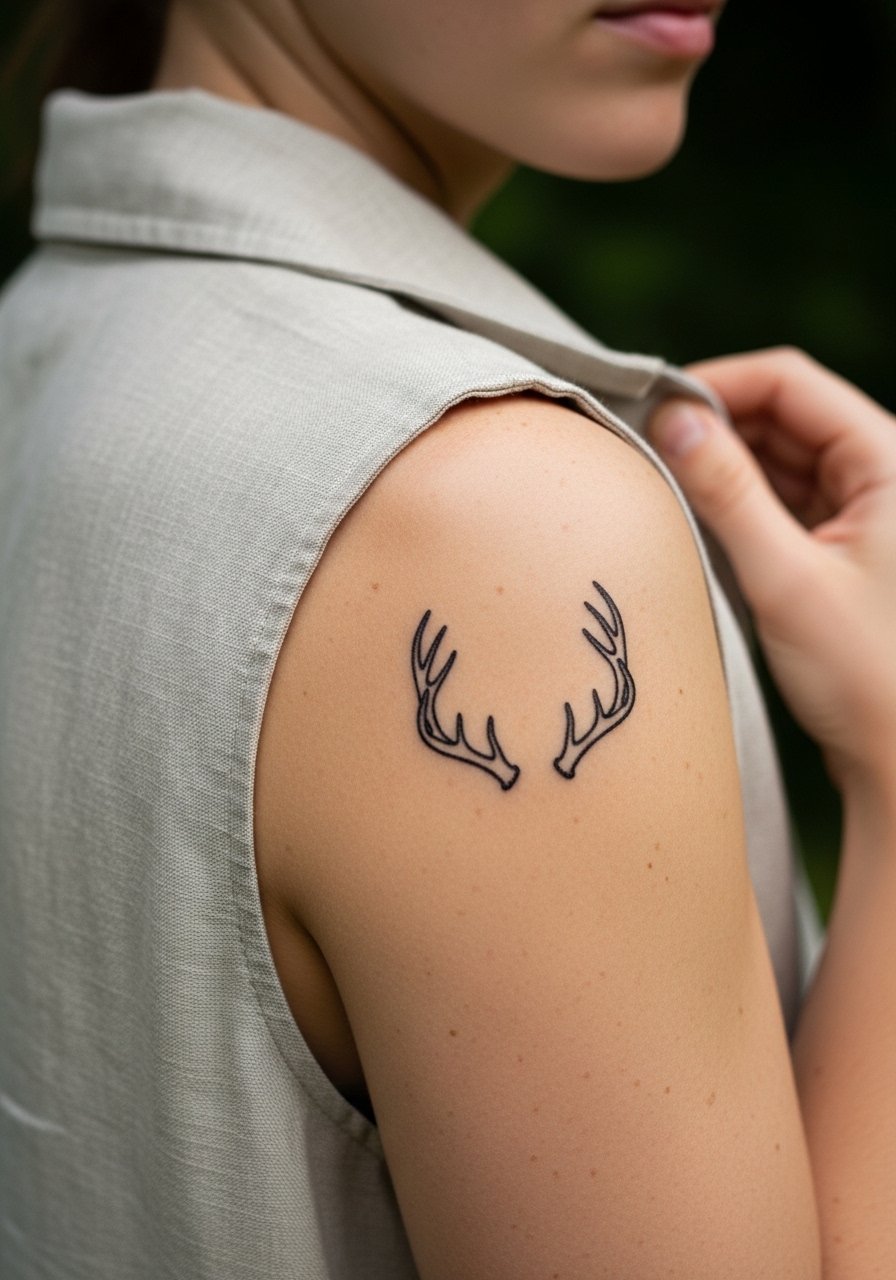
6. Deer Antler Silhouette on Shoulder or Calf
Deer antlers look powerful when kept airy, with negative space between tines. On the shoulder blade the flow follows the bone and hides well under shirts. On the calf the design reads from across a room. A common aging issue is turning too many thin tines into a soft cluster, so ask for slightly thicker terminal strokes. Shoulder sessions are short and the pain is moderate on the scapula edge. For the appointment wear a sleeveless linen tunic so the artist can access the shoulder without stretching the skin.
Studio Day Picks
The first six ideas above include a mix of wrist, arm, and calf pieces, so a few studio-ready items smooth the session and the first week.
- Tattoo Goo aftercare ointment. A thinner balm many people find absorbs faster than heavier ointments, which helps delicate one-line work avoid buildup during the first few days.
- Frida Matte Paste. Gives a less shiny heal appearance for tight linework when you want the area to look settled sooner.
- Green tea balm soothing salve. Gentle anti-inflammatory properties can calm irritated fine lines, especially on sensitive forearm skin.
- Australian tea tree salve. Natural antibacterial option for wrist and ankle pieces that face a lot of friction, but test a patch first if you have sensitive skin.
- Hustle Butter. A widely used healing balm that many prefer for its lighter texture during the first week on fine line pieces.
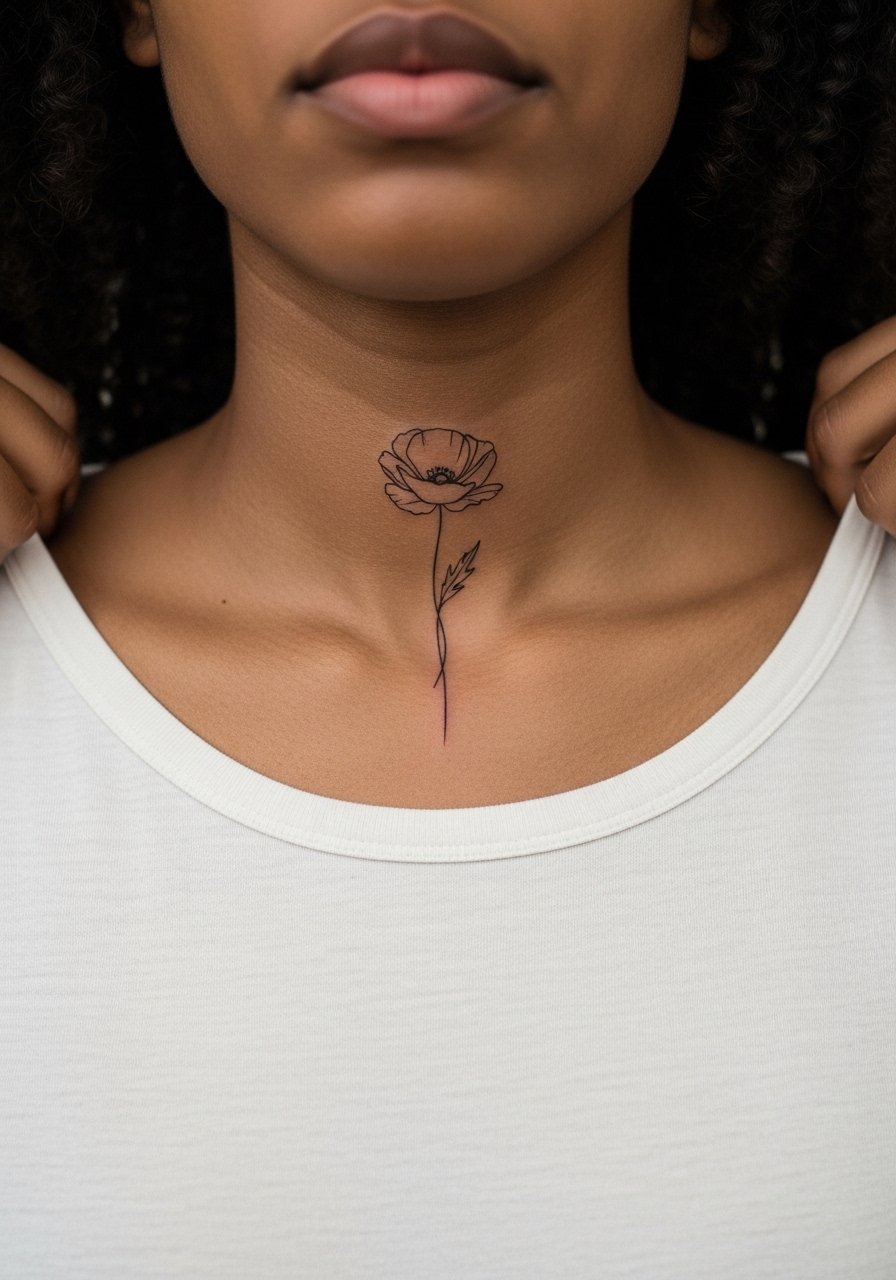
7. Poppy Single Stroke on the Collarbone
The collarbone is a flattering spot for a one-line poppy, but it moves with shoulder motion and sun exposure. Ask for a single continuous stem with a rounded bloom and leave the petals open instead of filling them. Tiny filled dots in the center are a common mistake because they tend to grey out. Pain around the collarbone ranges from moderate to high for some people. For photos and evenings out, off-shoulder tops show the line without competing. Sensitive placement note: have a strapless or wide-neck top on hand for the session for easy access.
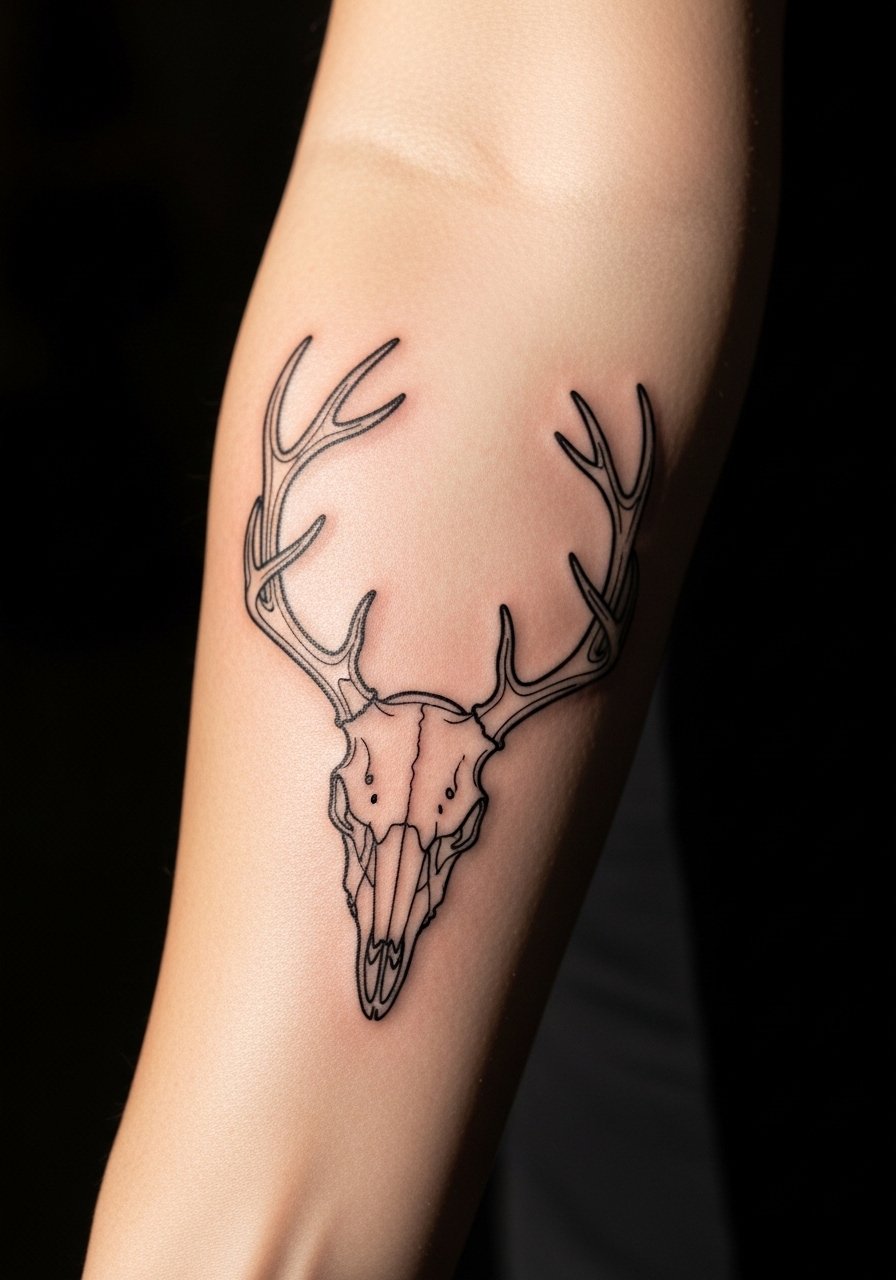
8. Antler and Skull Continuous Outline on Outer Forearm
This hybrid leans gothic but stays minimalist as a single stroke that loops into antlers. The forearm holds onto contrast well, but the mistake is overcomplicating the skull details. Ask the artist for clear negative space and a single continuous contour that suggests form rather than fills it. Expect medium discomfort on the outer forearm and a short single session. For longevity, avoid placing dense intersections near wrist creases where blowout risk rises.
9. Abstract Geometric Wave on the Ribcage
Fair warning, the ribcage is one of the higher pain placements, but the surface lets a flowing geometric wave breathe. Artists split into two camps about fine line on ribs. One group says the skin stretch and movement blurs delicate lines within two years. The other group argues that with proper spacing and slightly stronger line weight it settles fine. If you choose the ribcage, ask for spacing between intersections and expect to plan for a touch-up at six to twelve months. Session wear for this area should be a cropped top that the artist can lift just enough to tattoo the strip.

10. Continuous Line Bird in Flight on the Inner Wrist
Birds in flight read as freedom markers on the inner wrist and heal well if the line weight is consistent. The error I see most is starting too thin at wing tips, which vanish under daily friction. Ask for a slightly heavier anchor near the wing base and lighter tapering toward the wing tips. The session is fast and pain is mild. Pair it with a minimalist thin chain pendant necklace on the opposite side so the wrist line remains the focal point.

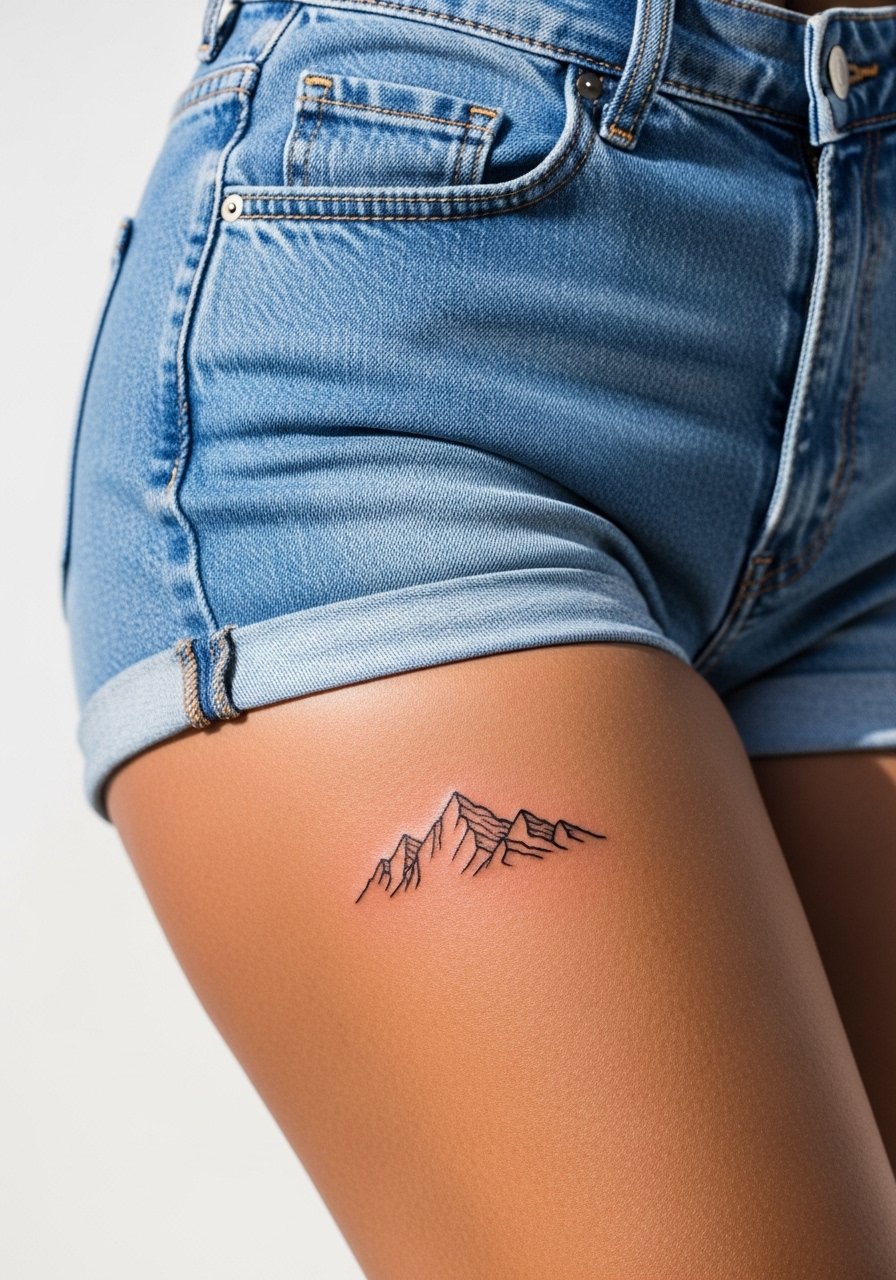
11. Minimalist Mountain Range on the Outer Thigh
Thigh placements let you go a bit larger so a single-line mountain range can include subtle peaks without crowding. Most people find the outer thigh is forgiving with weight fluctuation, but the inner thigh moves more and can warp lines. When you consult, say you want 1-2 inches of negative space between peaks so the composition remains readable at two and five years. Session wear that helps the artist is a pair of high waist shorts so the leg can be exposed without pressure on the area.
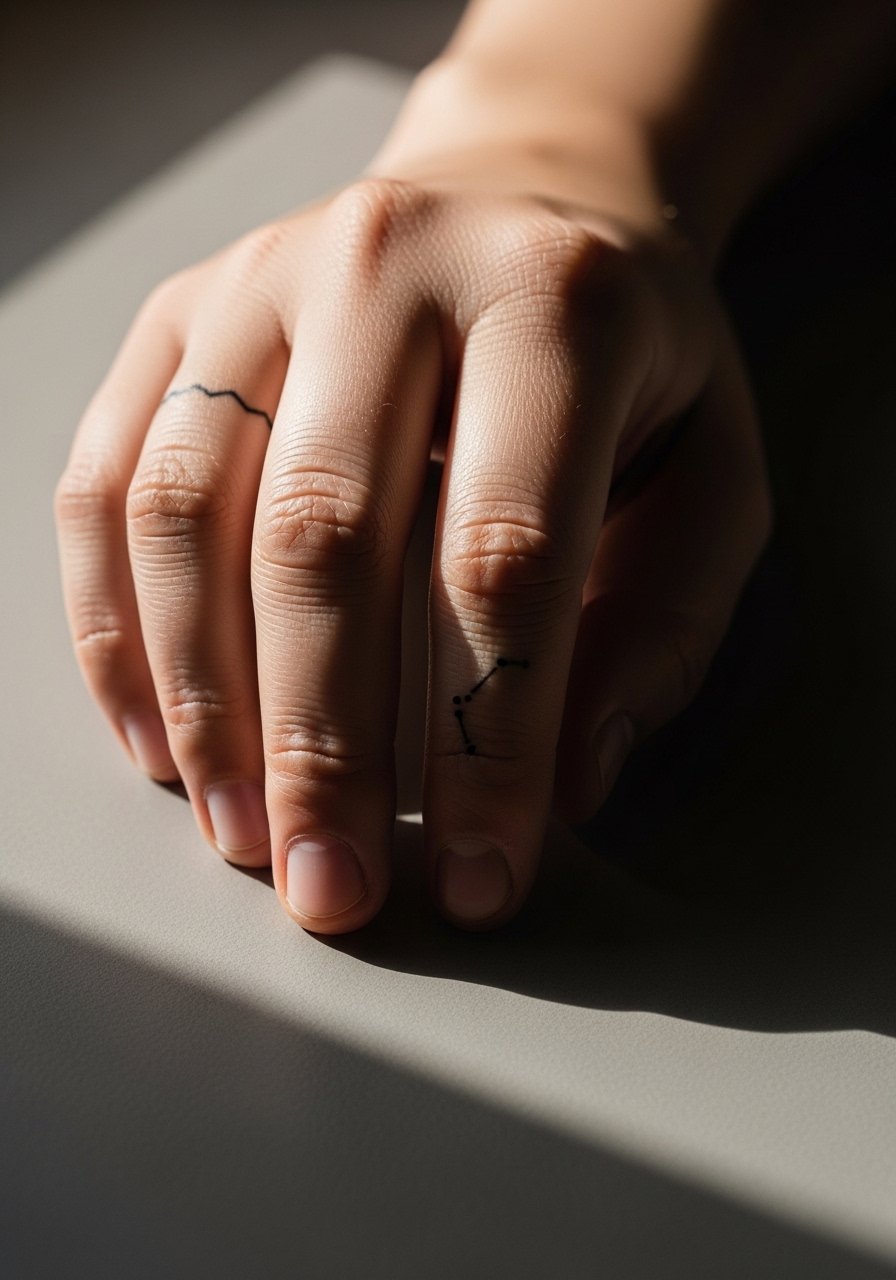
12. Tiny Constellation on the Finger
Finger constellations are intimate and delicate, but they sit in a high-wear zone. The mistake is asking for pinprick dots that do not anchor. Ask your artist to connect stars with a faint continuous line that keeps composition and reduces early fading. Expect faster fading on fingers and plan for a touch-up within a year. The session is quick and pain is sharp but brief. Keep in mind that finger work sometimes interacts with certain jobs and tools.
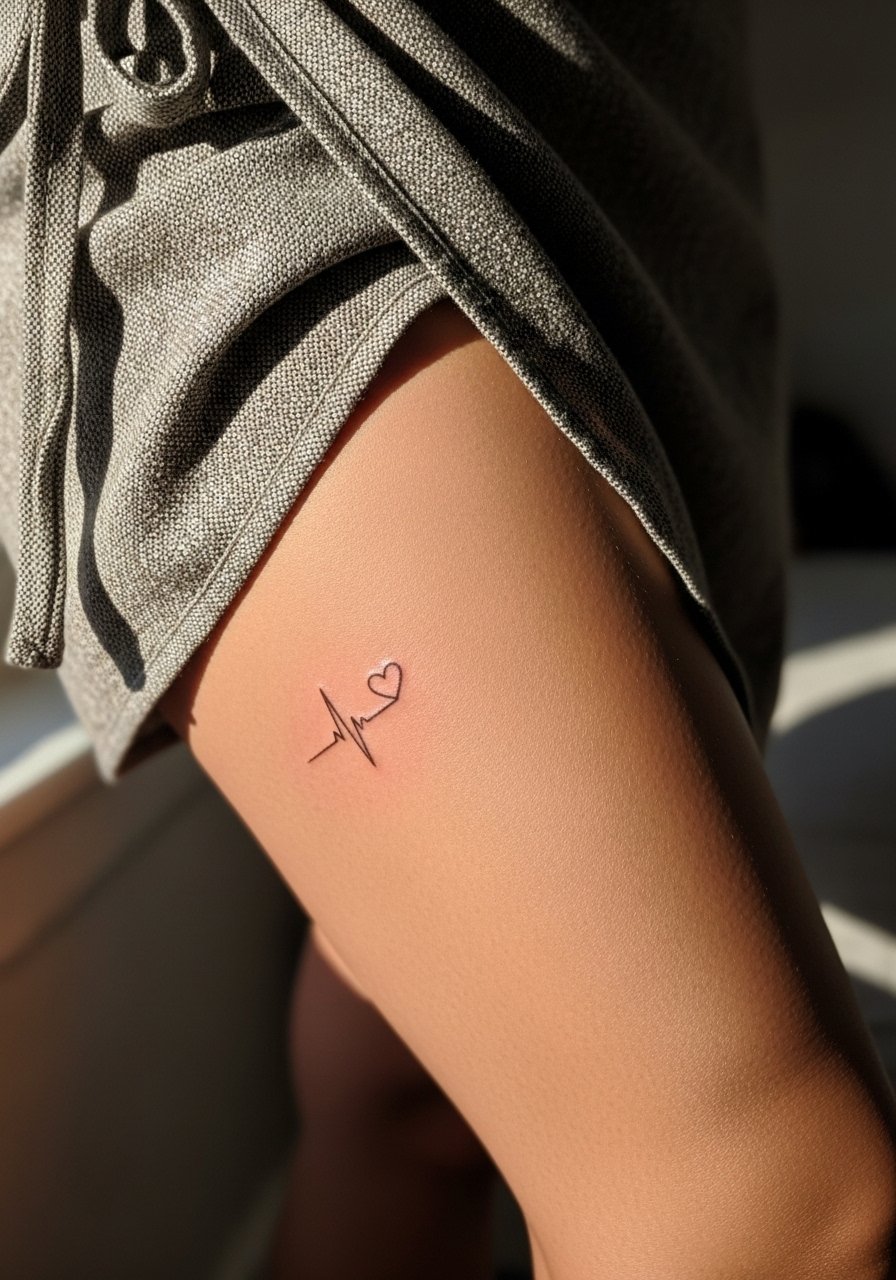
13. Abstract Continuous Line Heartbeat on the Thigh
This is a subtle personal symbol that sits nicely on the outer thigh with low visibility for work. The thigh handles touch-ups well because the skin is stable compared with wrists and ankles. To avoid a flattened look, ask for consistent spacing between peaks so the heartbeat remains legible at six months and longer. For session comfort, wear loose athletic shorts or bring a wrap skirt. Show-off pairing works with midi skirts with a slit for summer evenings.
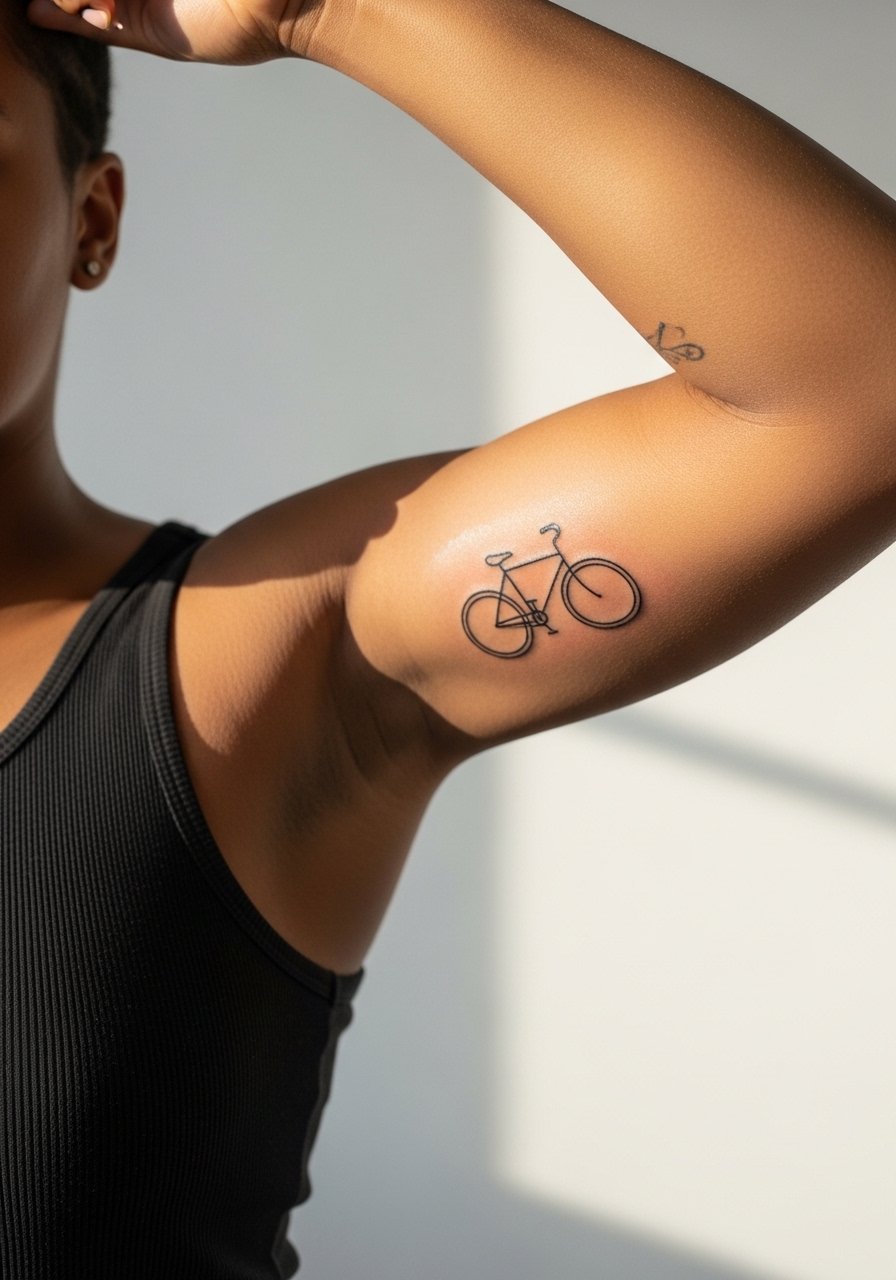
14. Continuous Bicycle on the Inner Bicep
A tiny bicycle drawn in one continuous line sits cleanly on the inner bicep if you keep the wheels open and avoid filled hubs. The inner bicep can be tender, so expect a moderate session that benefits from a relaxed arm position. Mistakes include compressing wheel spokes so they read like a solid mass after healing. For access, wear a tank top and be prepared to raise the arm slightly so the artist has a clean field. Sensitive placement note: inner bicep work needs an artist experienced with soft tissue movement.
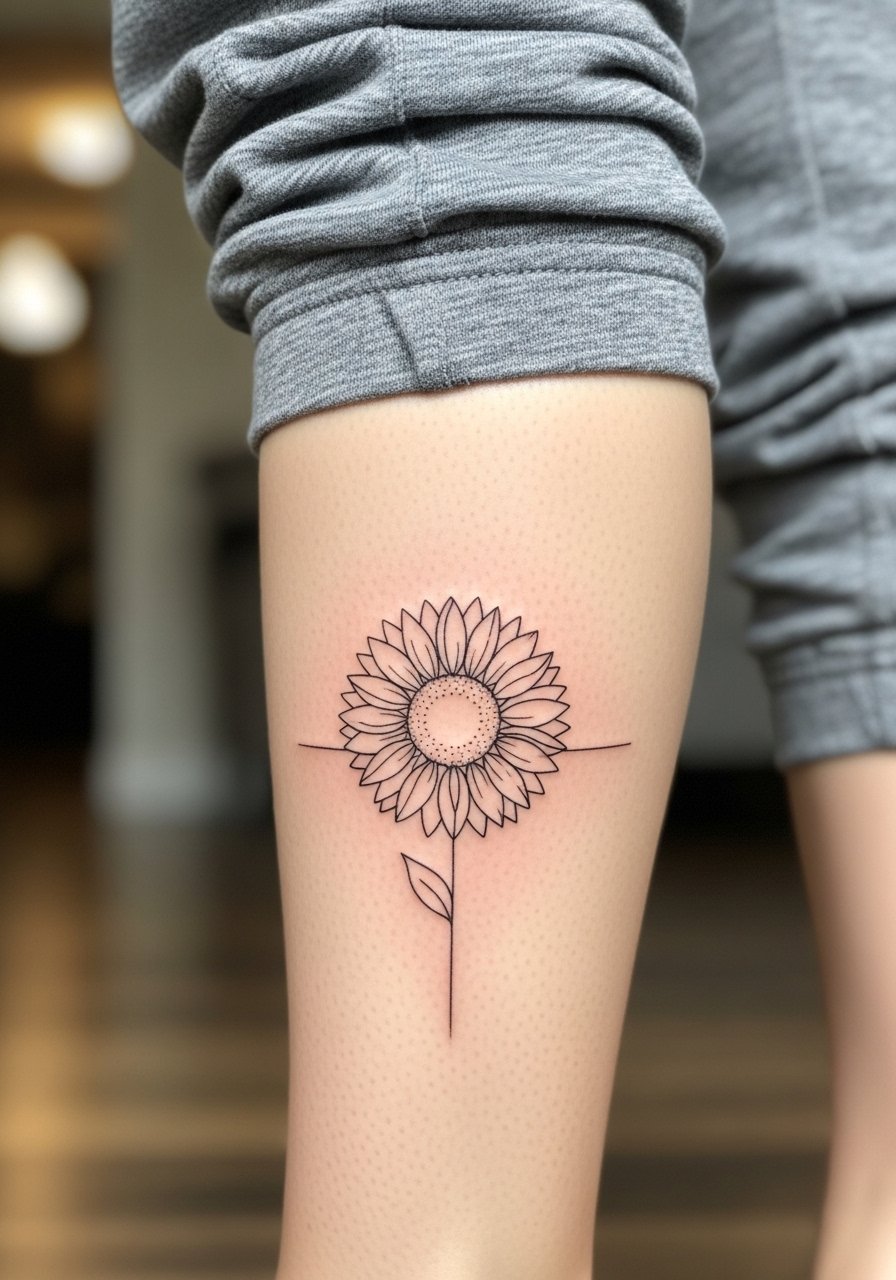
15. Sunflower Loop on the Calf
The calf gives vertical space for a sunflower rendered in a single flowing curve. People often ask for tiny seed dots that blur, so ask for an open center and defined petals connected by a continuous stem. Calf sessions are comfortable for most and the design ages well because the leg sees less sun and fewer washes. For casual shows, cropped joggers or rolled bootcut pants create a peek-a-boo moment. If you want that look, pull on cropped jogger pants after it heals.
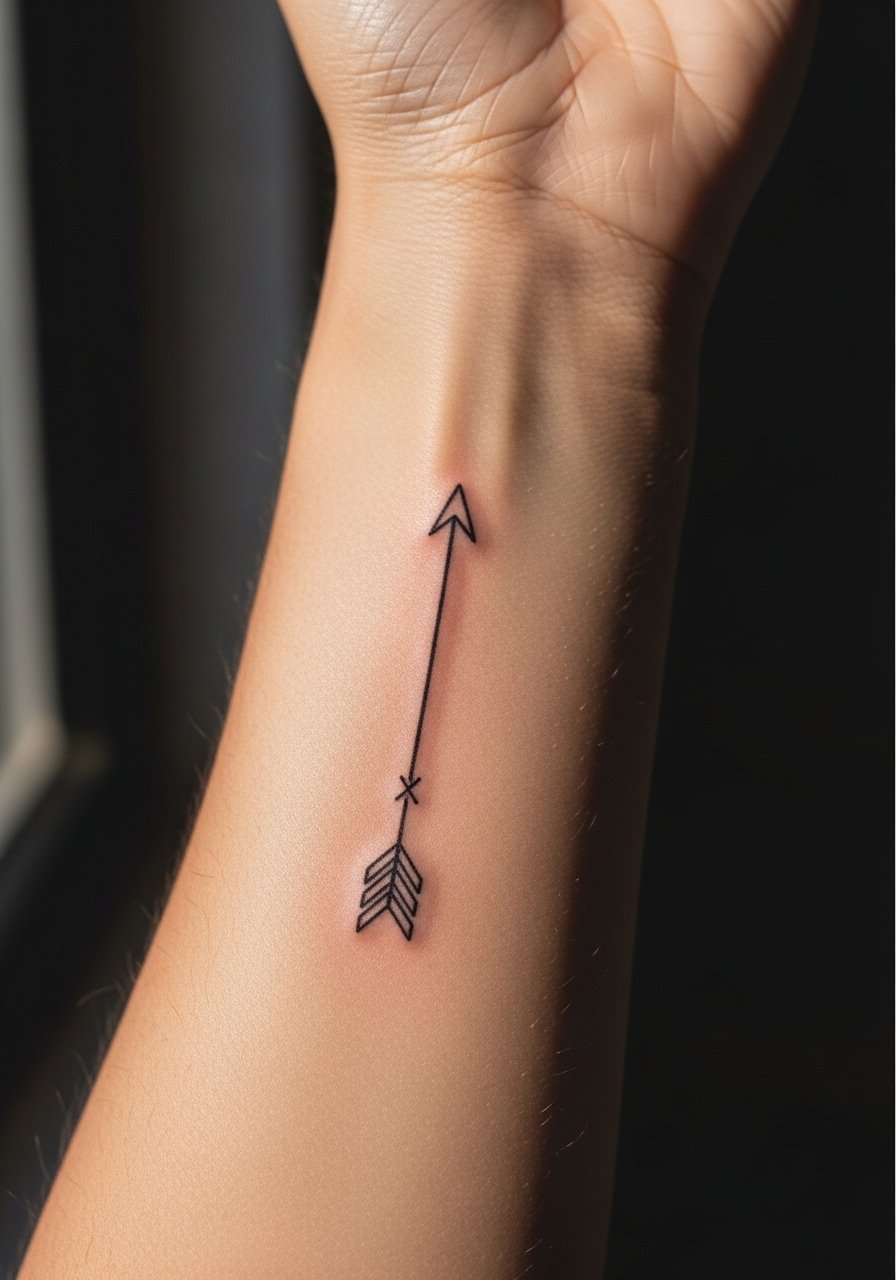
16. Single Arrow on the Inner Forearm
A tiny one-line arrow reads crisp on the inner forearm because the long, straight stroke benefits from the flat surface. The most common mistake is over-slimming the shaft so it fades into a whisper. Ask for a modestly stronger shaft and a refined tapered point so the geometry survives daily wear. Pain is mild and the session is quick. If you plan future pieces, leave space around the arrow for expansion.
17. Hip Curve Coordinates That Fit a Pocket
A thin continuous coordinate line that traces a curve at the hip reads small and private. The hip moves with clothing, so the artist should preview placement while you wear high-waisted bottoms. Small text or numbers in this zone must be spaced deliberately to avoid blurring. For session wear bring high-waisted denim or a swimsuit bottom so only the tattoo area shows. For evening looks a high-waisted silhouette keeps the line visible without being exposed.

Frequently Asked Questions
Q: Will fine line one-line tattoos blur faster on dark skin?
A: Fine line can blur faster on darker and oilier skin tones because the ink sits differently in denser dermal layers. One camp of artists recommends slightly bolder single-line strokes for melanated skin. The other camp says experienced fine-line specialists can place needles so the line remains crisp. Ask prospective artists about healed examples on skin tones similar to yours and plan a touch-up at six to twelve months.
Q: How do I avoid a tiny one-liner looking like a smudge after a year?
A: Space and line weight are the two practical levers. Avoid designs that cram multiple intersections into a one-inch square. Ask the artist for a single slightly stronger anchor point and for negative space in areas that would otherwise merge. Also follow a sensible sun routine after healing because UV is the number one long-term killer of tight linework.
Q: If an artist cancels my appointment twice what should I do before rebooking?
A: Get a clear rescheduling policy in writing and breadth in options. Look for guest-spot calendars or book via platforms that show multiple artists. A deposit and a confirmation text reduce last-minute drops. If you already had reschedules, ask the studio how they handle no-shows so you do not lose another slot.
Q: Are one-line wrist or ankle tattoos worth the upkeep?
A: They are rewarding for visibility, but count on faster fading at wrists and ankles because of washing and friction. Many people accept a light touch-up at year one. If you want lower maintenance, choose the same motif at a bicep, calf, or thigh instead.
Q: What should I wear to the session for a collarbone, ribcage, or inner thigh piece?
A: For collarbone bring a wide-neck or strapless top you can easily pull aside. For ribcage bring a cropped top the artist can lift slightly. For inner thigh choose shorts you can pull up a bit. These items keep access simple and avoid tugging on the stencil while the artist works.
