
Fine line tattoos are everywhere on saved boards, and the same trend that looks delicate fresh often needs a plan for how it ages, who can heal it well, and how to avoid regret from a rushed shop. I keep hearing three recurring worries in consults: fine line fading on darker skin, cheap logos that blur, and session cancellations that push healing into humid months. Read on for designs and practical notes that help you book smarter.
1. Fine line "1D" logo on the inner wrist
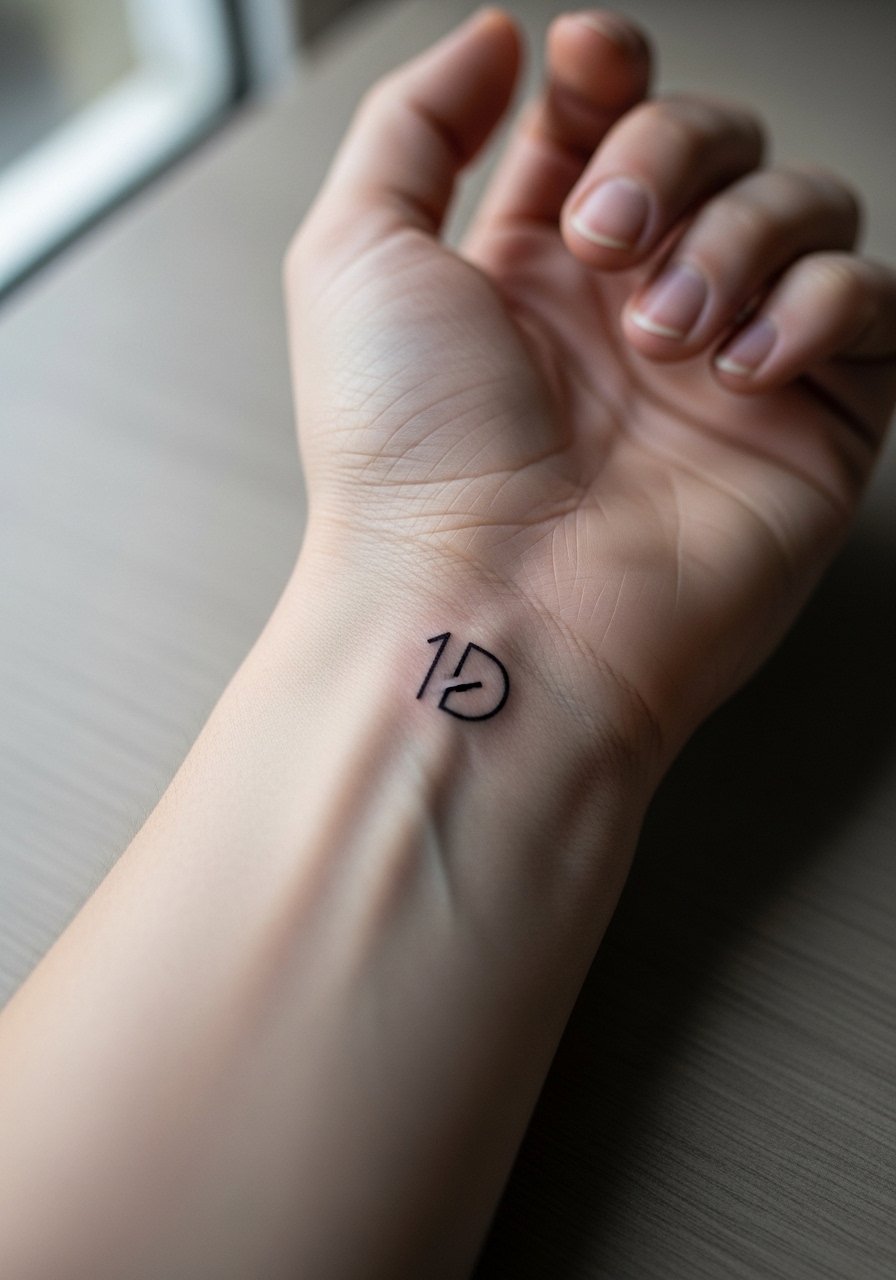
This is the classic discrete nod that started the recent revival. Fair warning, wrist skin is thin and sees constant movement, so the common mistake is asking for the tiniest single-needle weight without accounting for line loss. When you consult, say you want slightly bolder linework than the thumbnail sketch, and ask to see healed wrist photos and blowout-free portfolios. Expect a quick single session and mild soreness during the first 24 hours. For showing it off, pair the piece with a rolled cuff blouse and a thin chain on the opposite wrist so the logo has breathing room visually.
2. Micro "28/10" script at the collarbone
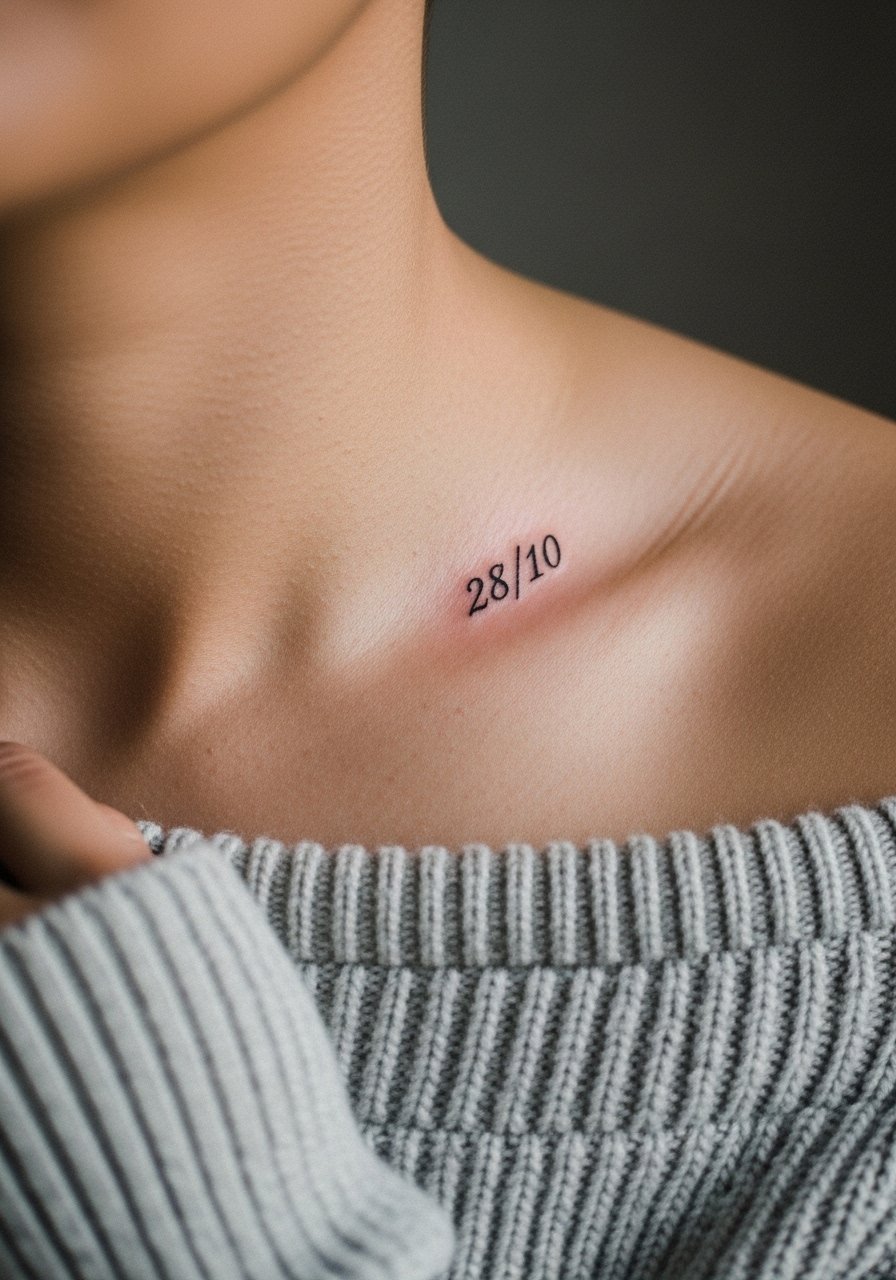
The tiny anniversary date reads like a secret when placed along the collarbone. The biggest mistake is compressing letters to fit a visual idea rather than letting each character breathe. Tell your artist the exact font size and ask them to stencil the full width so you can see how it sits with movement. Collarbone is lower on the pain scale than ribs but visible when you want it to be. For session day wear, slide into an off shoulder sweater so the area is easy to access while keeping you comfortable.
3. Watercolor microphone with "Night Changes" on the forearm
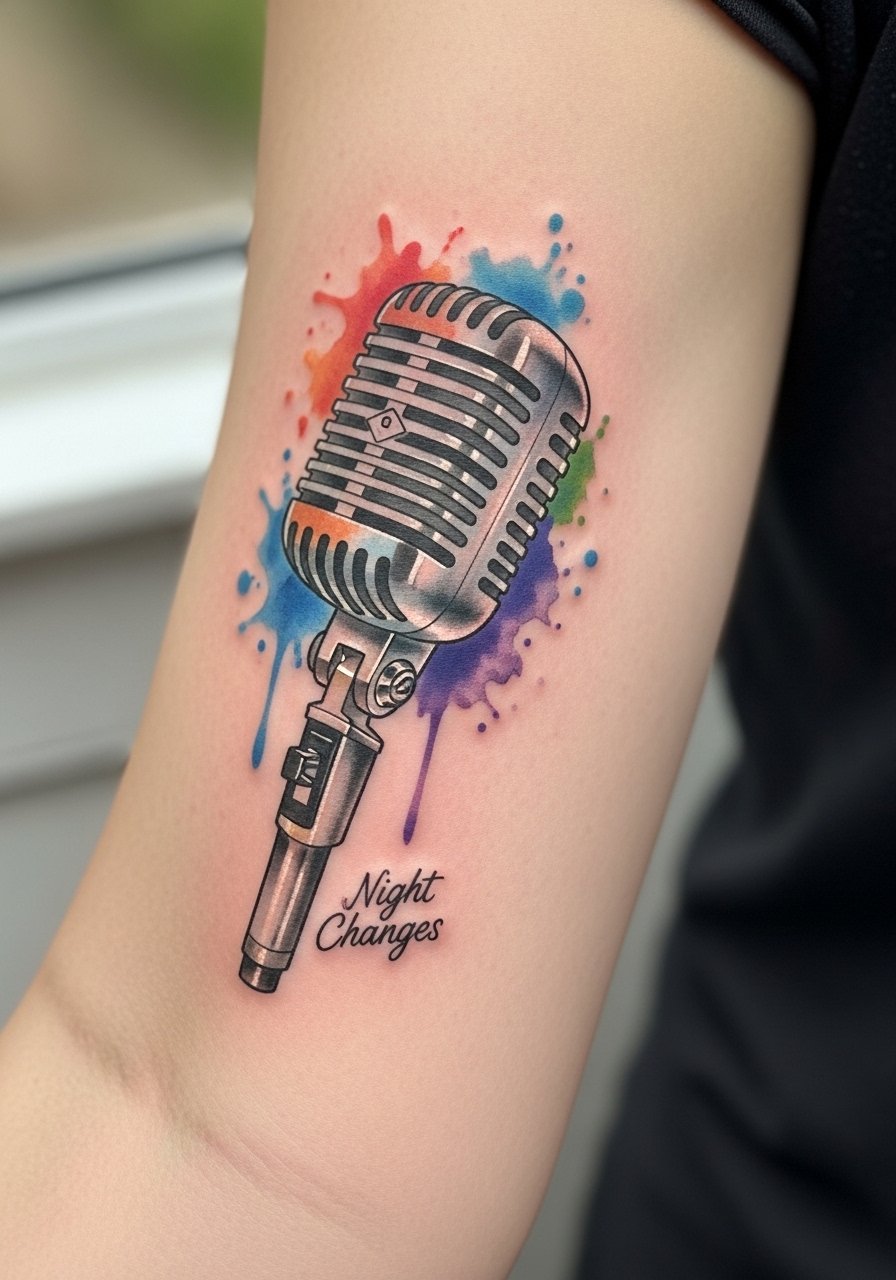
Most watercolor pieces look great fresh and can blur if the color lacks a strong black anchor. I recommend insisting on a fine black outline or light blackwork shadow under the color so saturation lasts. Bring lyric placement references and tell the artist whether you want the words to curve with the microphone or sit in a straight line. Forearm sessions are mid-pain and usually need two short sessions for crisp color. Show it with rolled sleeves and an linen button down shirt to frame the palette without distraction.
4. Minimalist arrow pointing to "Always" on the ribcage
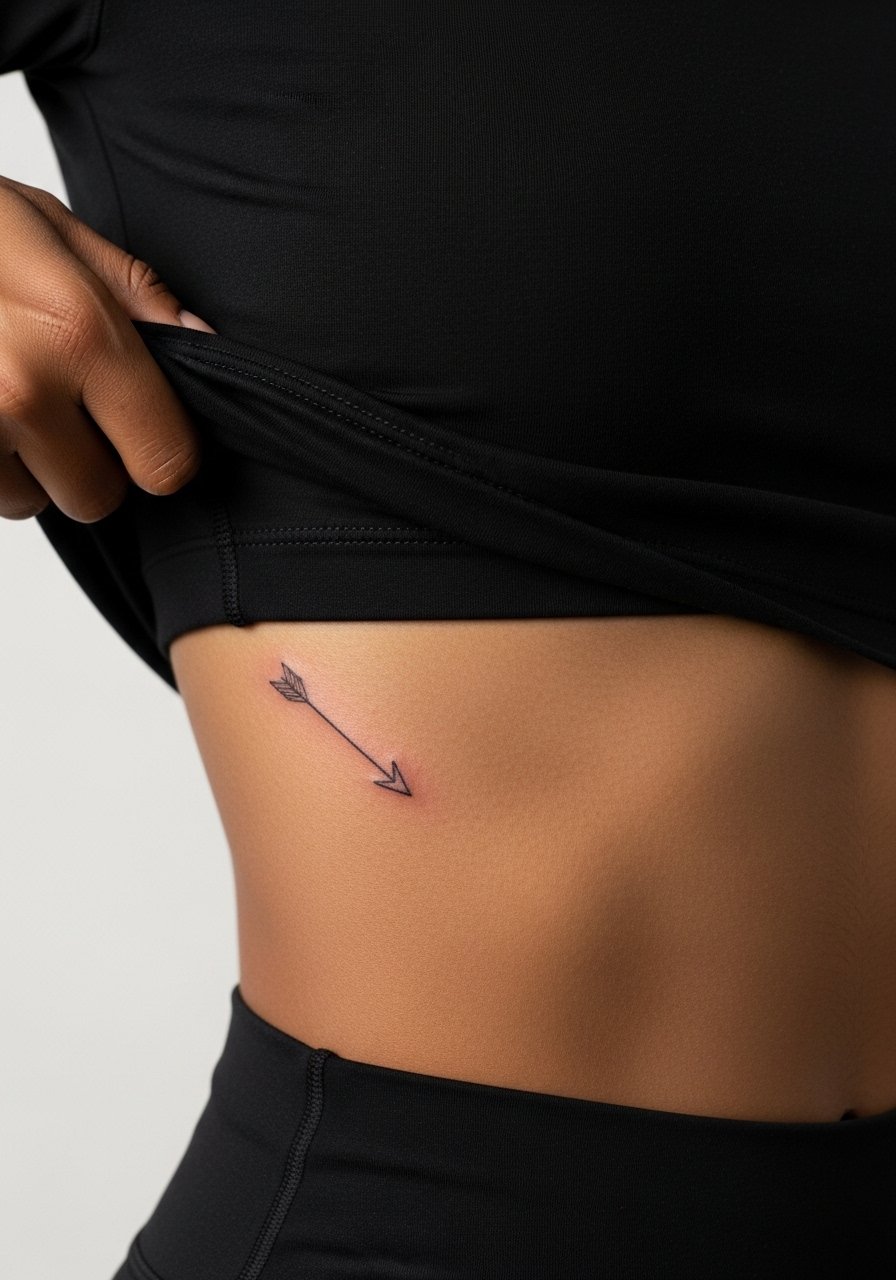
Rib pieces hurt more than most placements, so the trade-off is privacy and impact. The usual error is going too thin on ribs where skin moves and stretches, which accelerates blurring. Ask for shallow but consistent depth and slightly wider line spacing so the arrow stays distinct. Expect a session that feels sharp at times and needs a calm recovery window. Because ribs are intimate, session wear should be a strapless bralette you can adjust without fuss.
5. Blackwork four arrows forming a compact band logo on the ankle
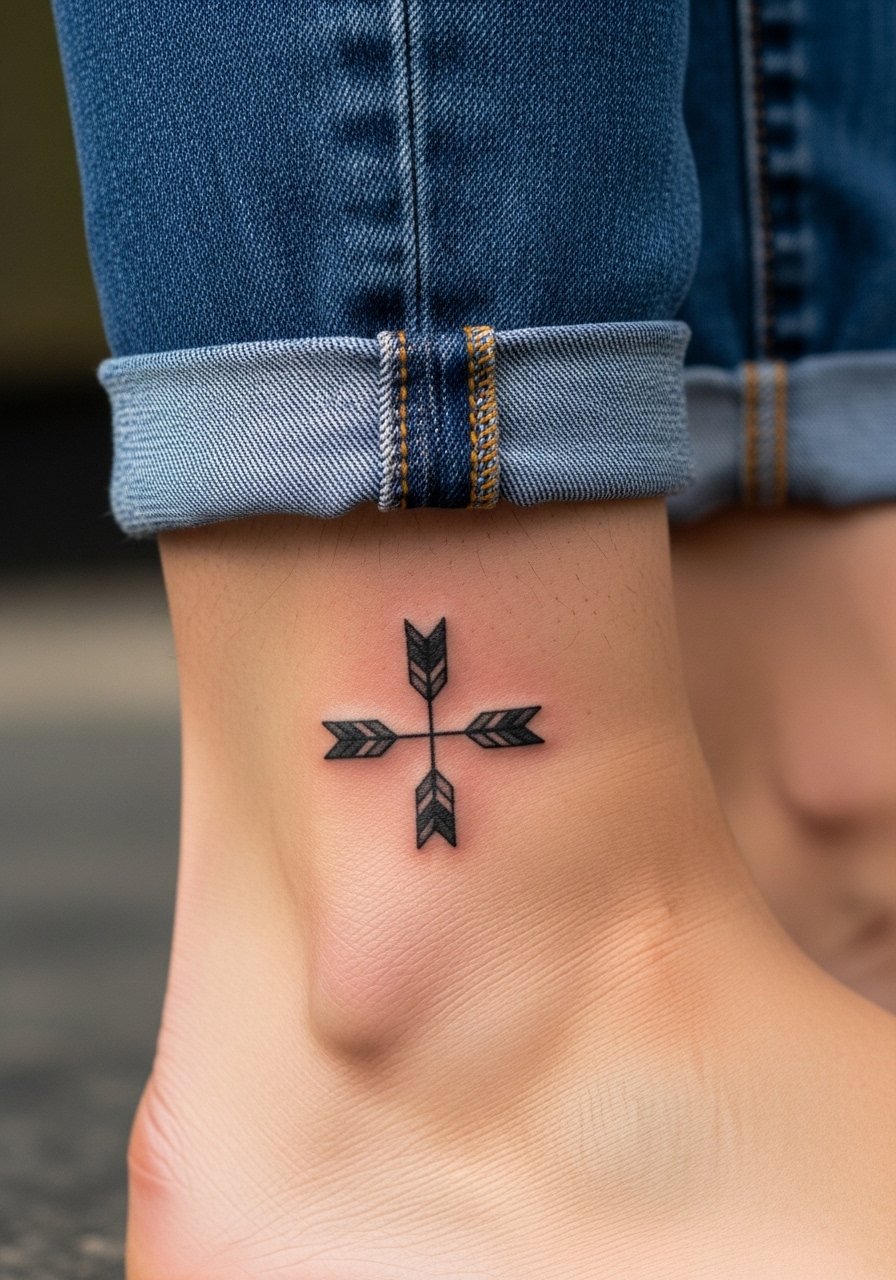
Ankle skin gets rubbed by shoes and socks so saturated blackwork is a smart call over fine line here. The frequent mistake is shrinking the design into a postage-stamp size and losing the shape after healing. During consultation, ask for bold fills and test the negative space around arrows so the motif reads from a distance. Ankle sessions are tolerable and usually one short visit. For summer show-off, cuff your jeans and step into tan espadrilles so the graphic stays visible.
6. Neo-traditional heart with "What Makes You Beautiful" on the inner thigh
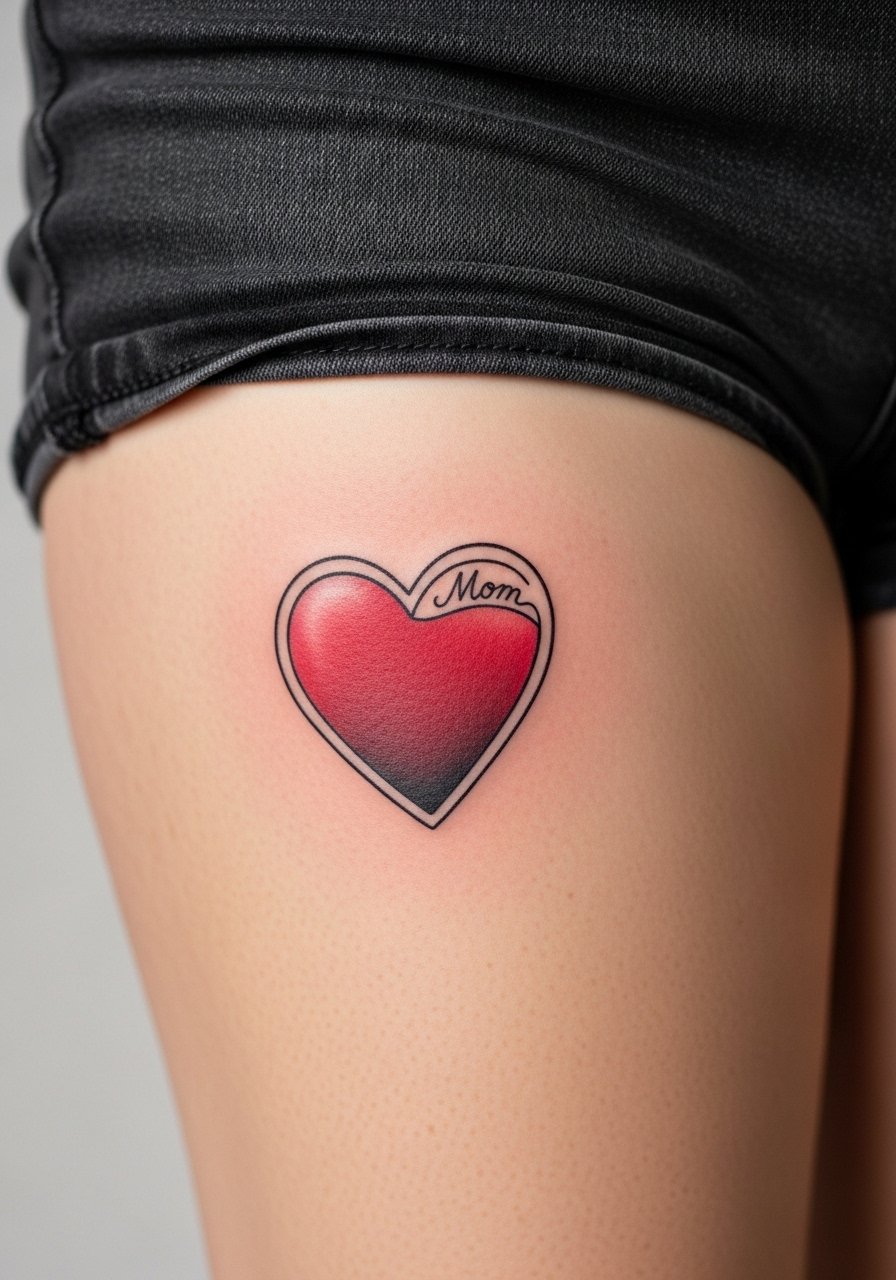
Inner-thigh work heals with varying friction depending on clothing, so plan session wear and aftercare accordingly. The common regret is making the lettering too small against heavy neo-trad shading. Tell your artist you want readable script that complements the heart outline. Expect two sessions for layered saturation and a tender first week while walking. For discreet reveal, style with high waist shorts when you want to show it off and loose shorts for sessions.
Studio Day Picks
The wrist, ankle, and thigh pieces above each demand different prep and first-week protection, so a few targeted items make the session smoother and the first week easier.
- Hustle Butter alternative indie balm. Thinner texture that fans report breathes better than heavy ointments on colorful forearm and thigh work.
- Second skin tattoo patches. Useful for wrist and finger scripts where edge lift from flexing is common.
- Tea tree salve for skin. A lightweight anti-itch option some people use on fresh color pieces, especially when humidity spikes.
- Breathable tattoo wrap roll. Helps protect ankle work from shoe friction during the first few days.
- Aquaphor healing ointment. Thin layer for the first couple of days can keep fine line pieces hydrated without heavy clogging.
7. Fine line stacked initials on the side of a finger
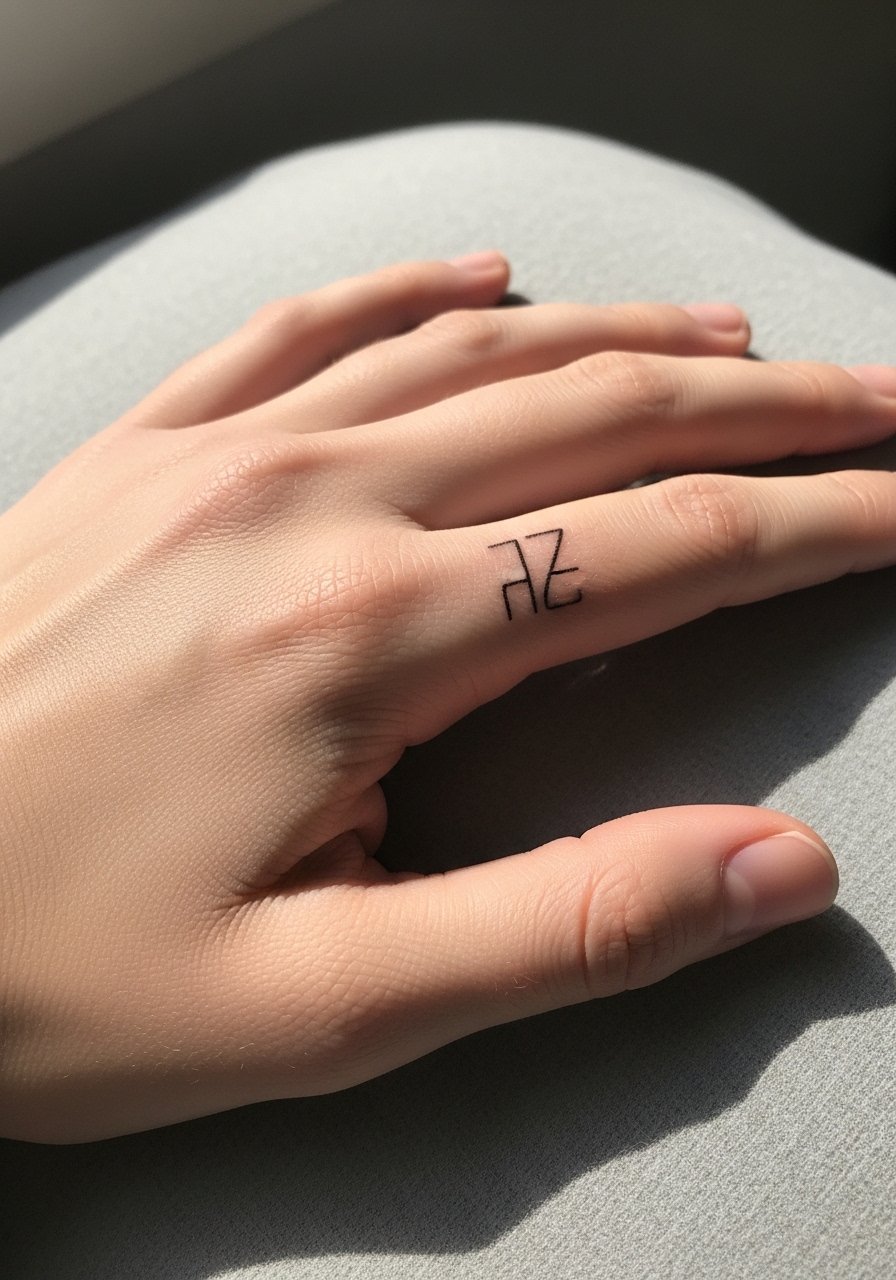
Finger skin is one of the most active canvases, so the trick is realistic expectations. A common success pattern is slightly bolder lines and a small anticipated touch-up at year one. Tell your artist you understand fingers need maintenance and ask to see healed finger portfolios, not just fresh shots. The session is quick and sharp. For styling, keep one hand bare and wear a dainty gold ring stack on the other hand to avoid rubbing the fresh ink.
8. Ornamental infinity loop with embedded "1D" on the shoulder blade
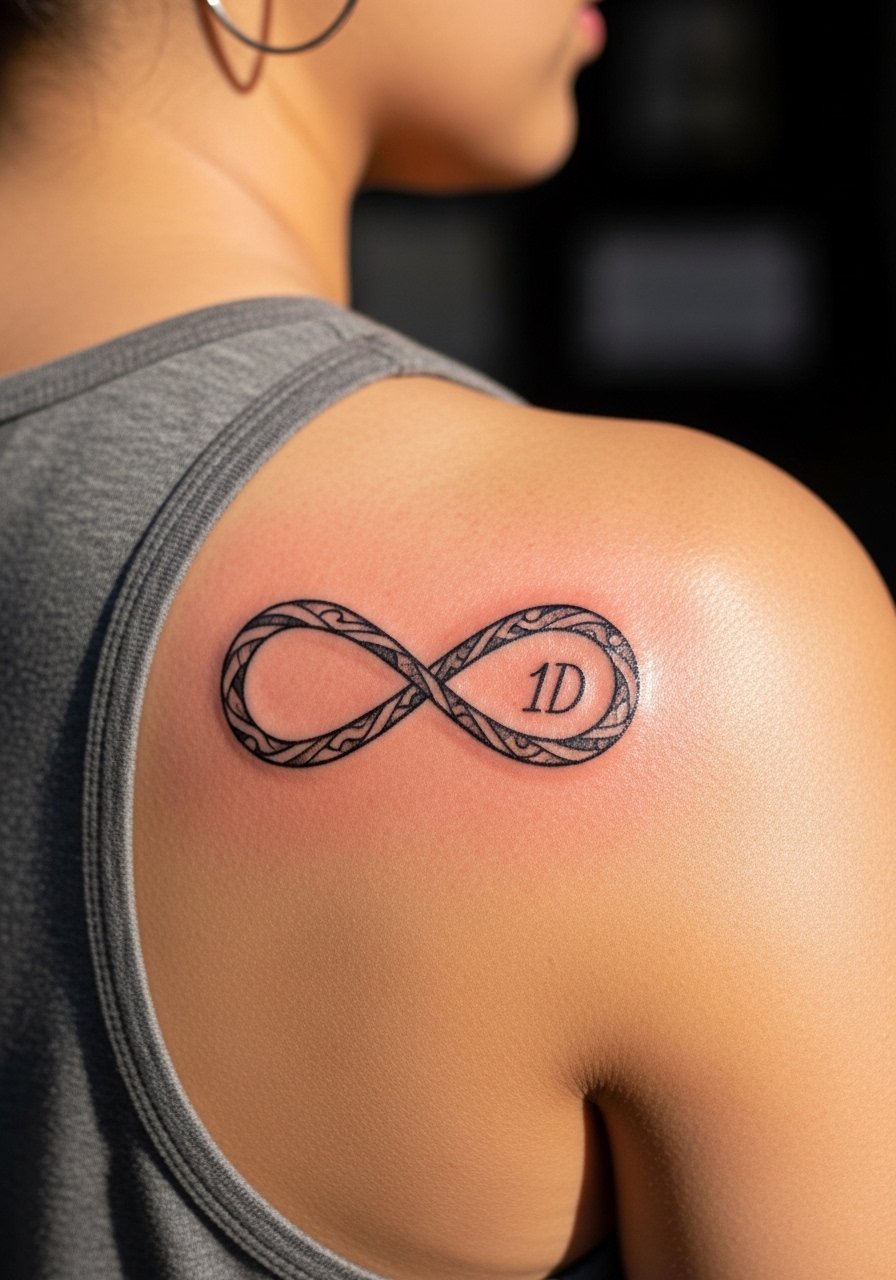
Shoulder blade is forgiving for small ornamental pieces and makes a great sleeve starter. The worst version is cramped loops with tiny flourishes that fuse over time. Ask your artist for spacing that allows the ornamental lines to settle without merging, and mention future sleeve plans so proportions work for expansion. Sessions are comfortable and often one to two sittings. Show this off with a strappy tank top that keeps the back silhouette visible.
9. Micro-realism cupcake from album art on the calf
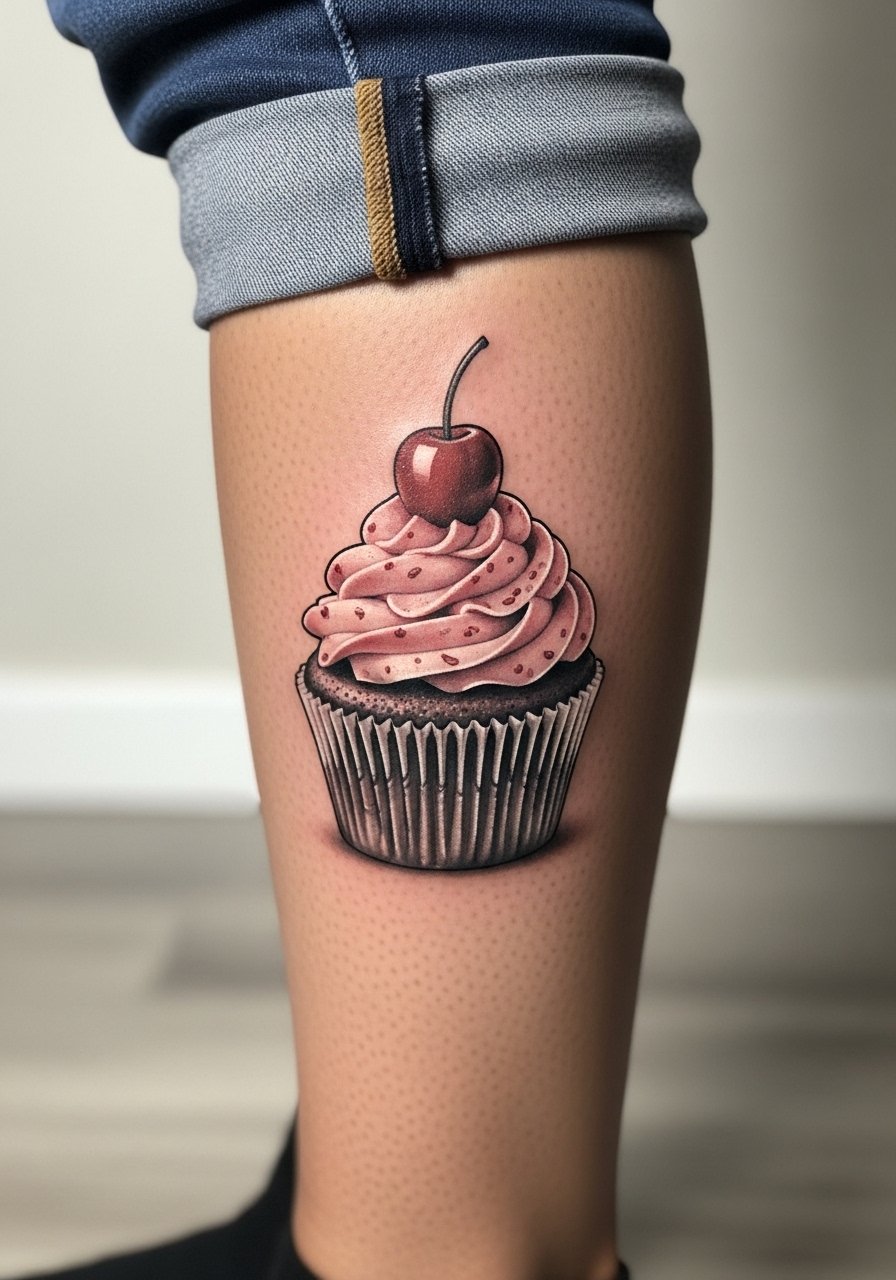
Cute album references translate well to micro-realism when your artist keeps contrast high. The common mistake is using soft gray only, which can disappear on medium to dark skin. Ask for crisp contrast and slightly heavier stipple shading to read after healing. Calf sessions tolerate longer times and often heal well because the area is less exposed to abrasion. For session wear, pull on loose drawstring linen pants so the artist can roll the leg up without pressure.
10. Ignorant-style "Up All Night" text arc on the bicep
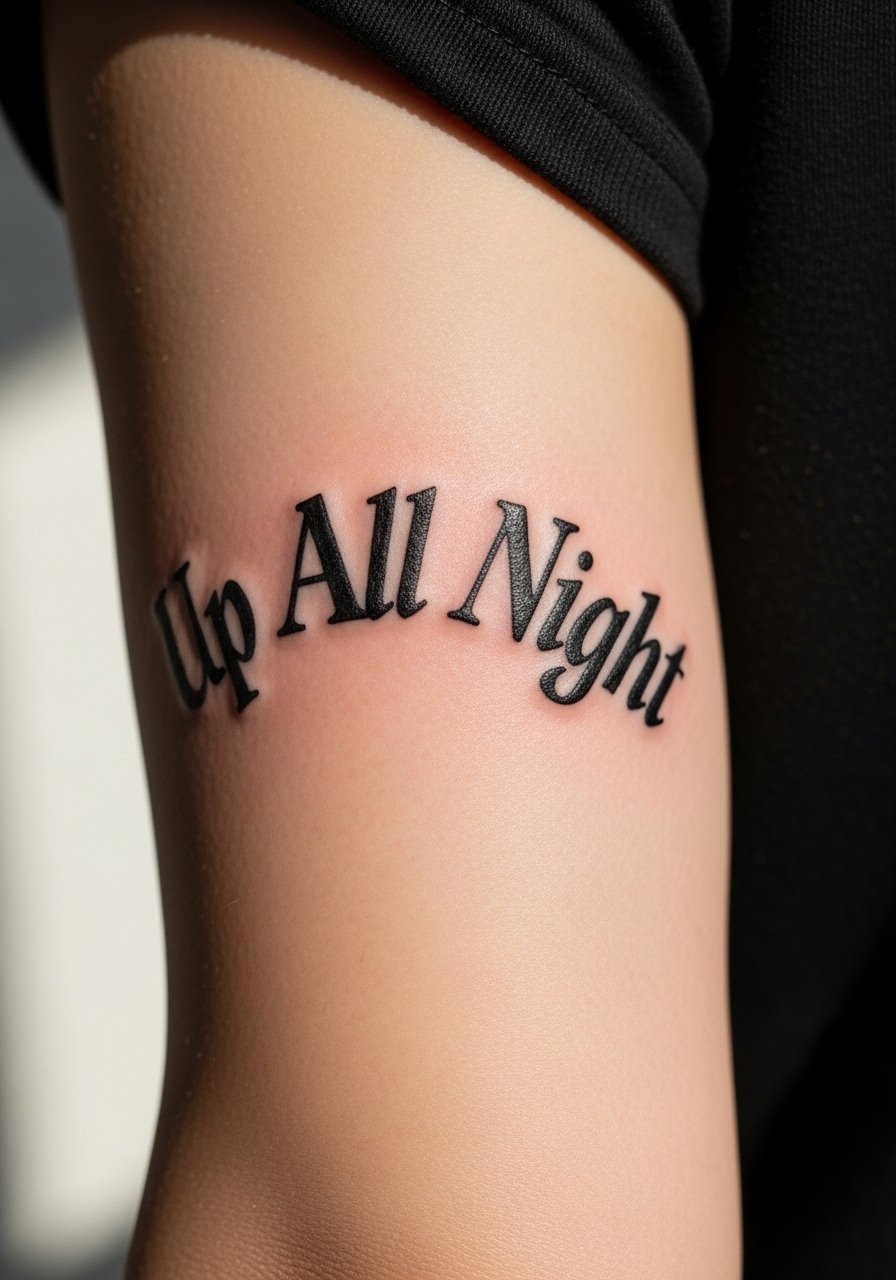
Ignorant lettering plays with raw, scribbled energy, which is why the main mistake is over-refining the concept until it loses its spirit. Bring a hand-drawn reference and ask the artist to preserve irregular stroke weight. Bicep work is low on the pain scale and great for bold lettering that ages with clear saturation. Sessions are quick and satisfying. For the consult, clarify whether you want aggressive fill or a looser sketch feel.
11. Traditional swallow with compass rose across the upper chest
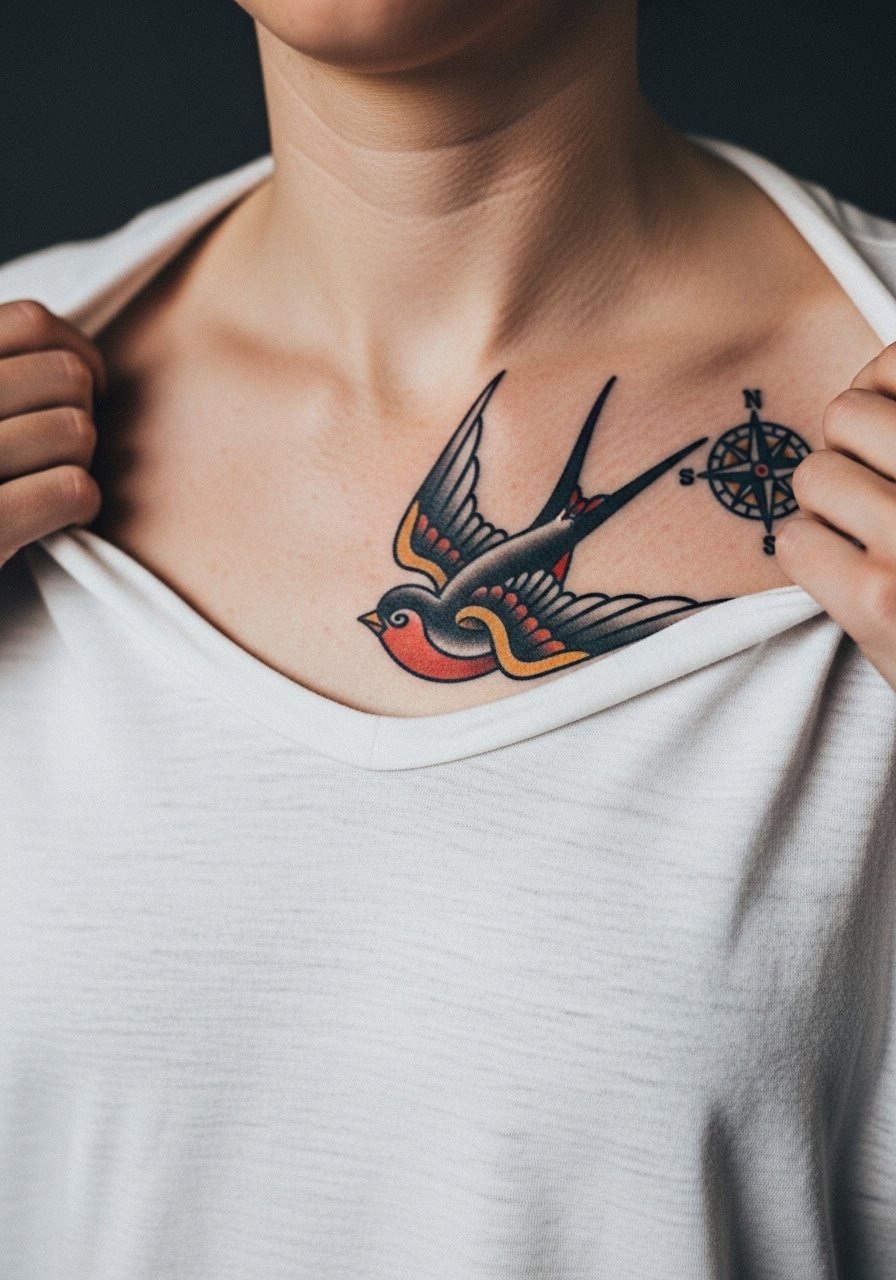
Traditional American saturation and bold outlines age predictably, which makes them a good match for chest placement. The mistake is shrinking a chest motif to a scale meant for wrist use, which robs the piece of its intended presence. Ask for solid outlines and color saturation that the artist can demo on healed photos. Chest sessions can be sensitive and may require multiple short passes. For session comfort, wear a wide-neck shirt you can pull aside easily.
12. Fine line lyric fragment "Live While We're Young" on the nape
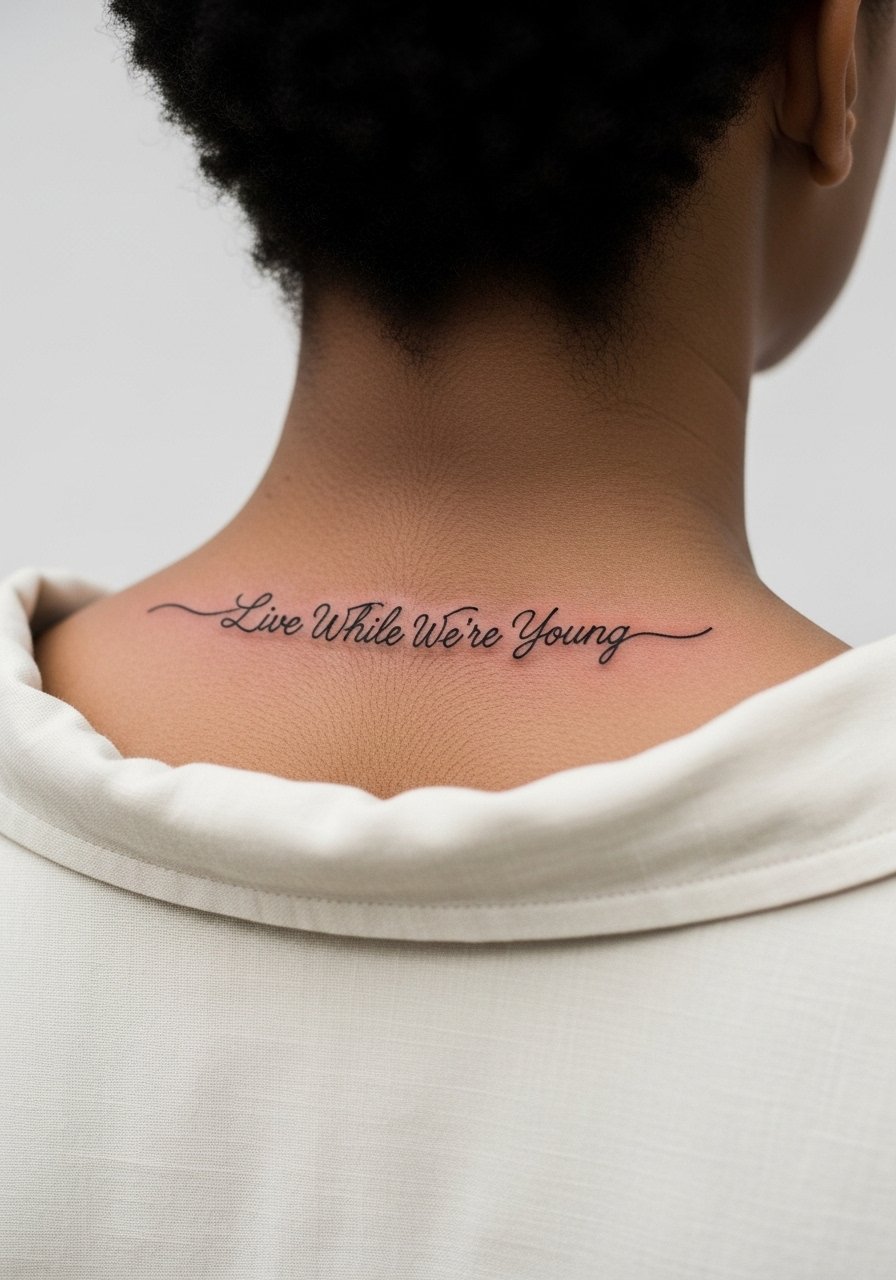
Nape placements are blunt in visibility when your hair is up, so placement precision matters. The fine line risk here is letters blurring if the script is too dense. Ask for clean spacing and a slightly larger x-height than the draft to compensate for natural skin settling. Healing is straightforward but watch friction from collars. Pair it with high-neck or open-collar tops and a high neck crop top when you want the script framed.
13. Blackwork "Steal My Girl" stage-silhouette across the mid-back
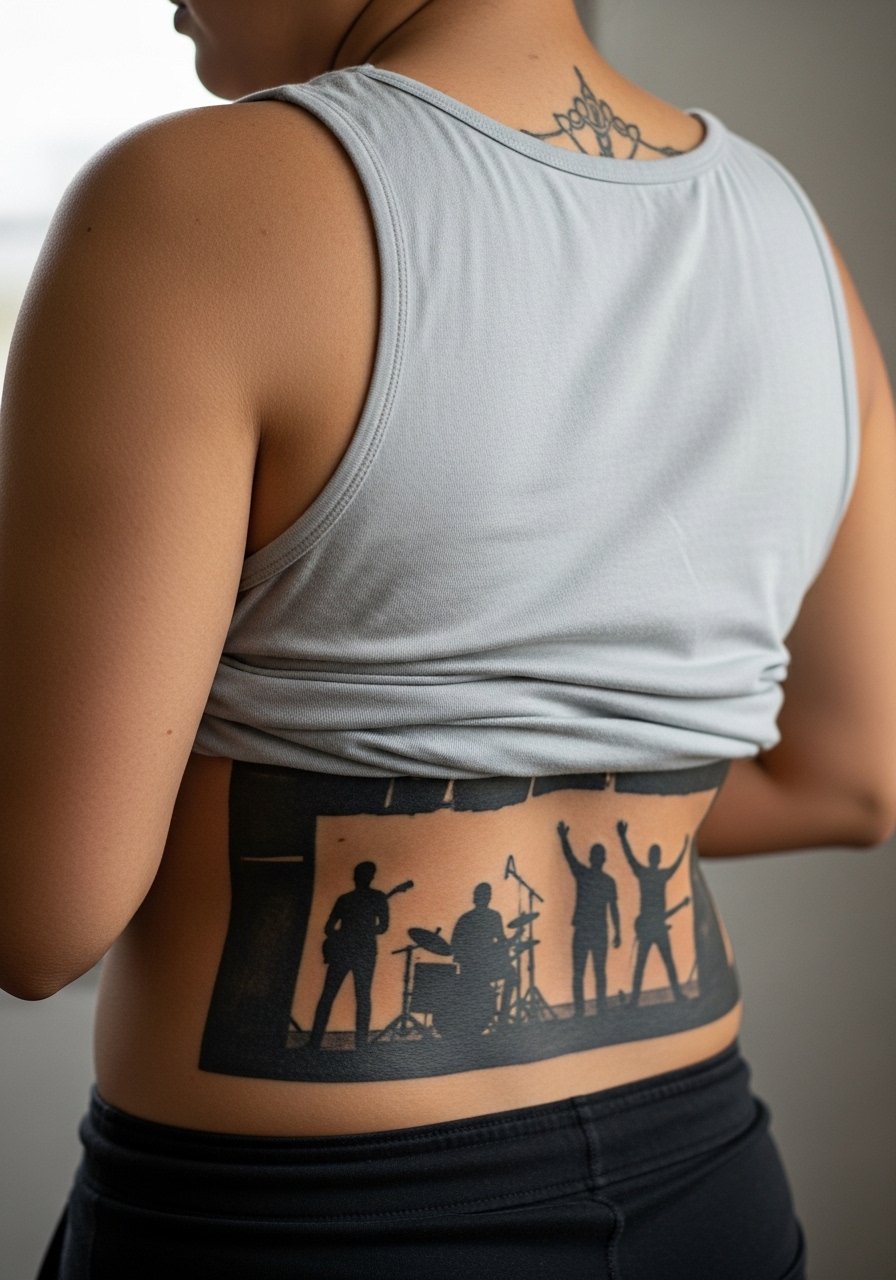
Large blackwork silhouettes age well because saturation resists fading more than fine line. People often regret adding tiny performance details that blur into a mass after a few years. Tell your artist you prefer clean silhouettes over micro-detail so the piece reads from a distance. Mid-back sessions require a few longer visits and a relaxed recovery routine. For session access, wear a loose tank top you can pull down slightly.
14. Tiny album icon stack behind the ear
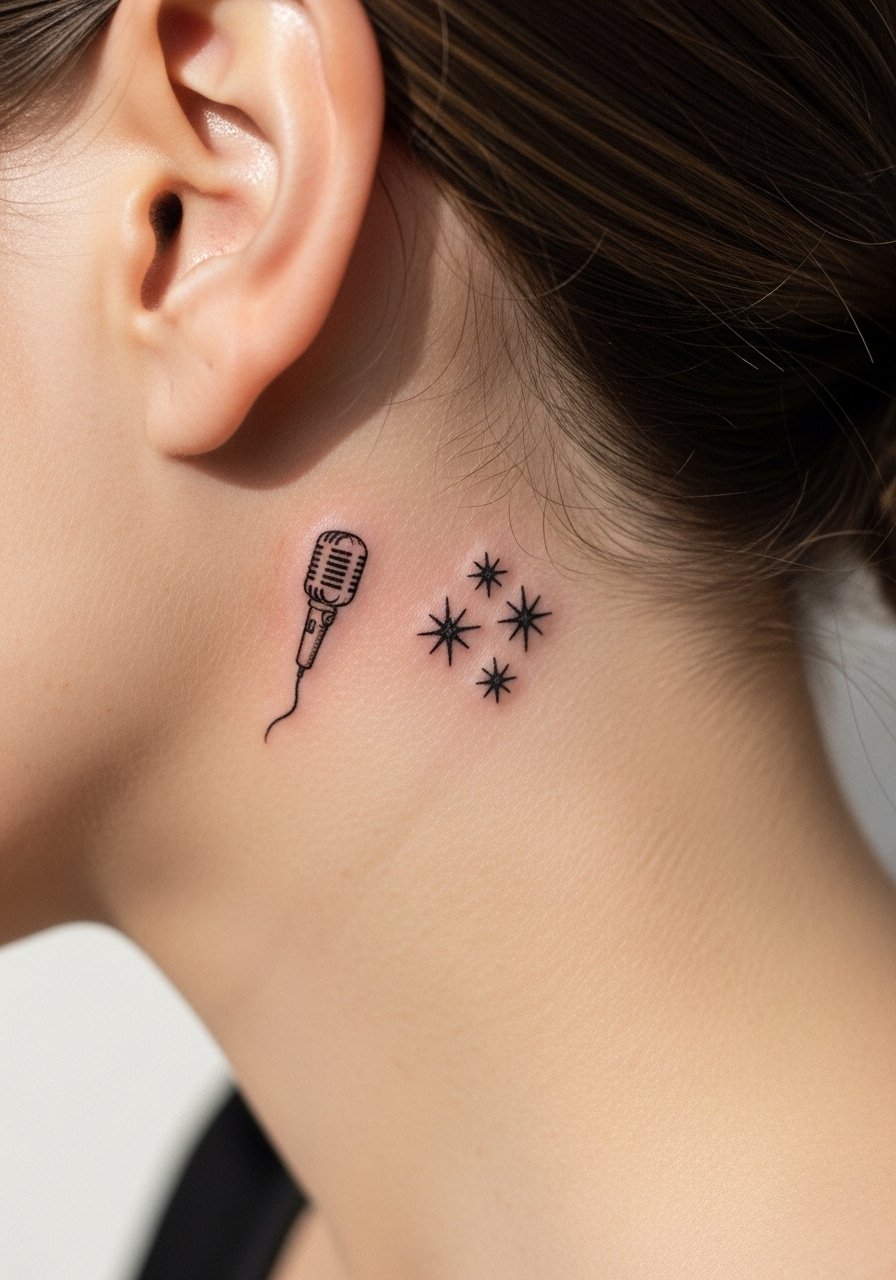
Behind-the-ear work is intimate and best suited to micro motifs. The service error is asking for super-dense detail in a space that will lose it. Ask for simplified icons and confirm the exact script or numbers you want, since image generators and reference photos can misread tiny text. Sessions are short but the area can swell. For sessions, pin hair up so the artist has clean access and expect touch-ups possible after a year.
15. Small portrait silhouette with a tiny "1D" tag on the forearm
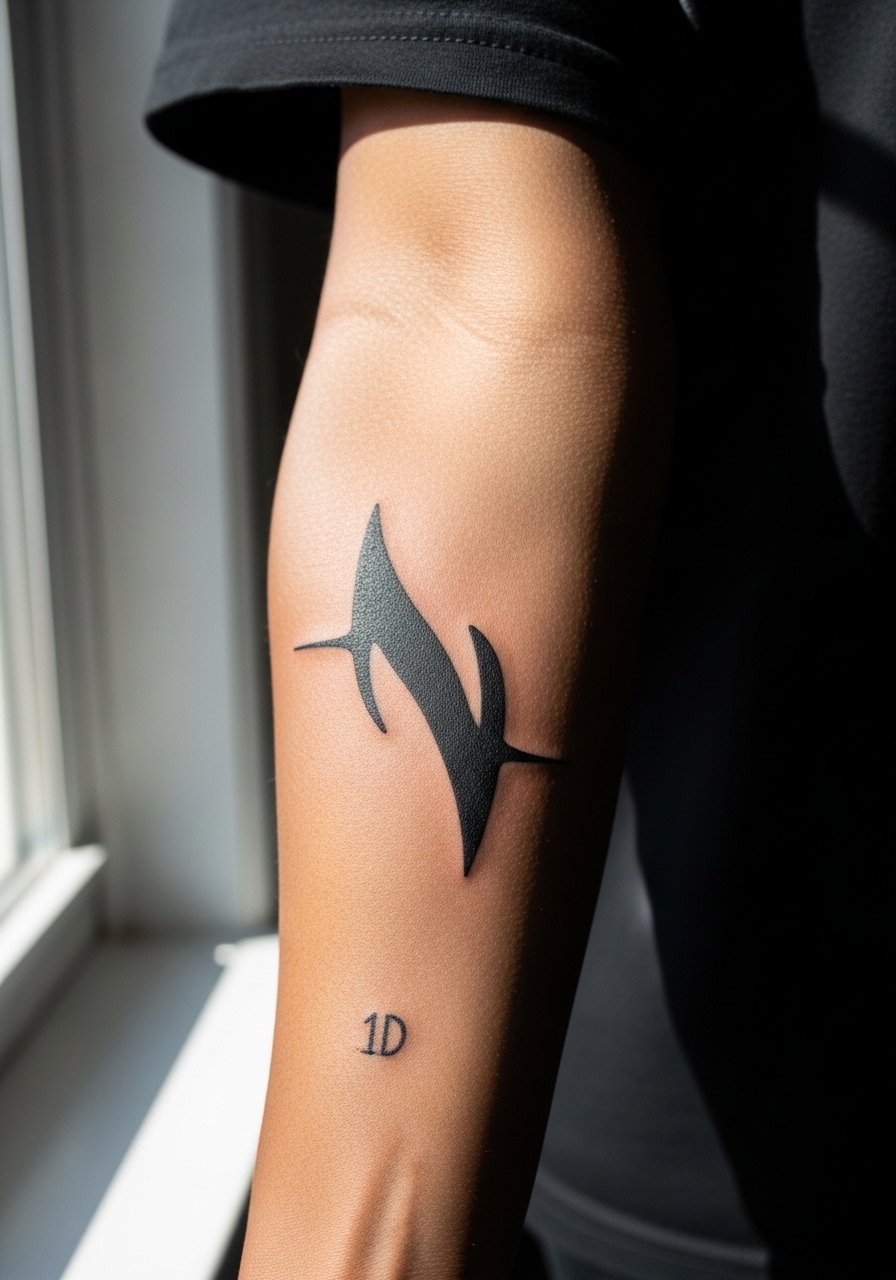
Portrait silhouettes work on forearms when you prioritize shape over facial detail. The usual mistake is asking for photorealism at a scale too small, which becomes muddy. Ask your artist for silhouette or simplified portraiture and decide whether the "1D" tag should sit inside negative space or beside the figure. Forearm sessions are moderate in pain and usually one to two visits depending on shading. For show-off wear, half-roll the sleeves of a linen button down so the piece reads without competing patterns.
16. Musical staff with tiny notes wrapping the wrist

Turning a lyric into a minimalist staff is a clever way to hint at a song without full text. The most common issue is crowding the staff so individual notes and bar lines merge after healing. Ask for slightly thicker bars and more negative space between notes. Wrist wrap work will need careful aftercare for water exposure. Wear a pastel cotton tank to keep the wrist framed and visible.
17. Micro cassette tape on the ankle bone
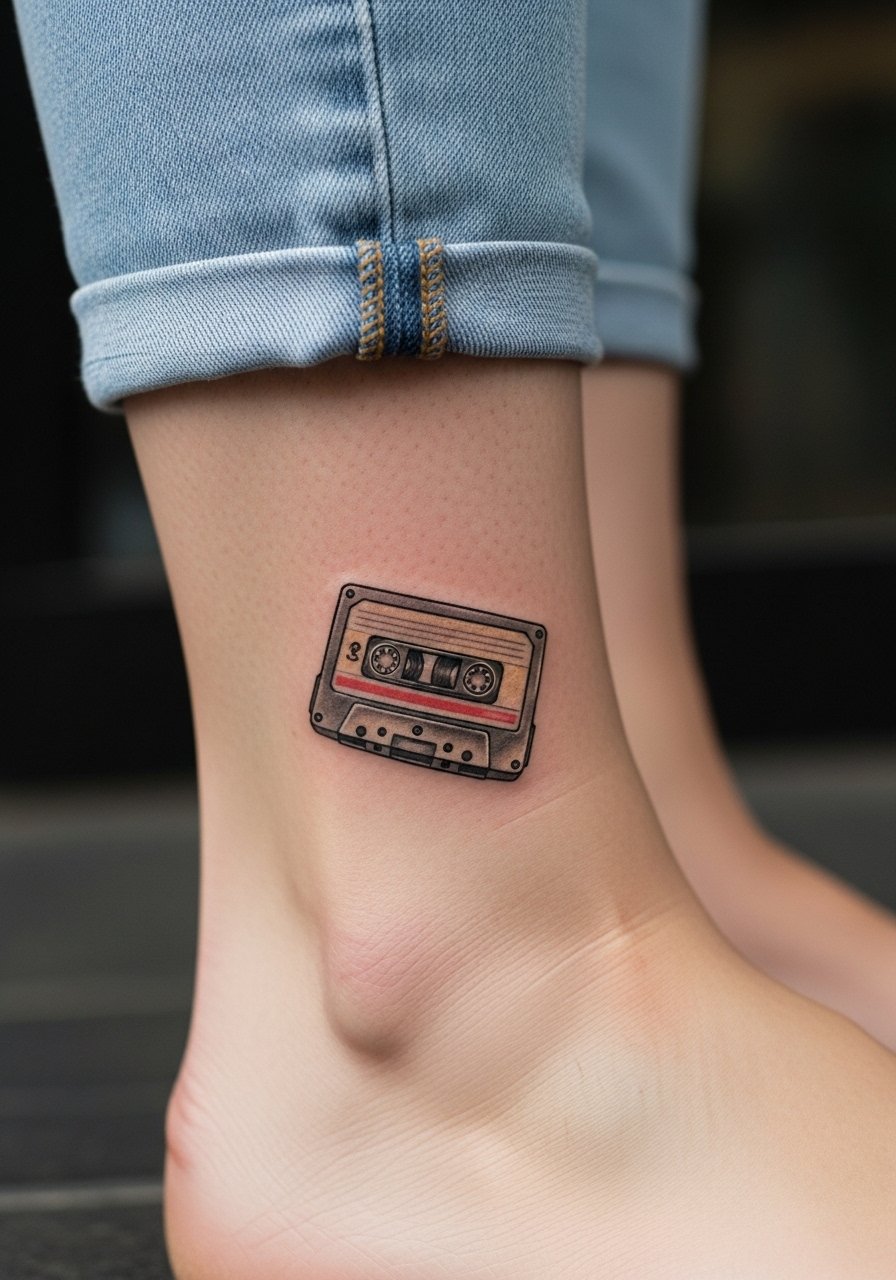
Small retro icons read well in high-contrast black and gray on the ankle. The mistake is adding tiny internal detail that disappears with shoe friction. Ask the artist to simplify interior lines and prioritize a clear outer shape. Expect a short session and a careful first week to avoid sock rubbing. Use ankle-friendly footwear and roll your pants when you want to show the piece.
18. Embedded "1D" inside an infinity loop sleeve starter on the upper arm
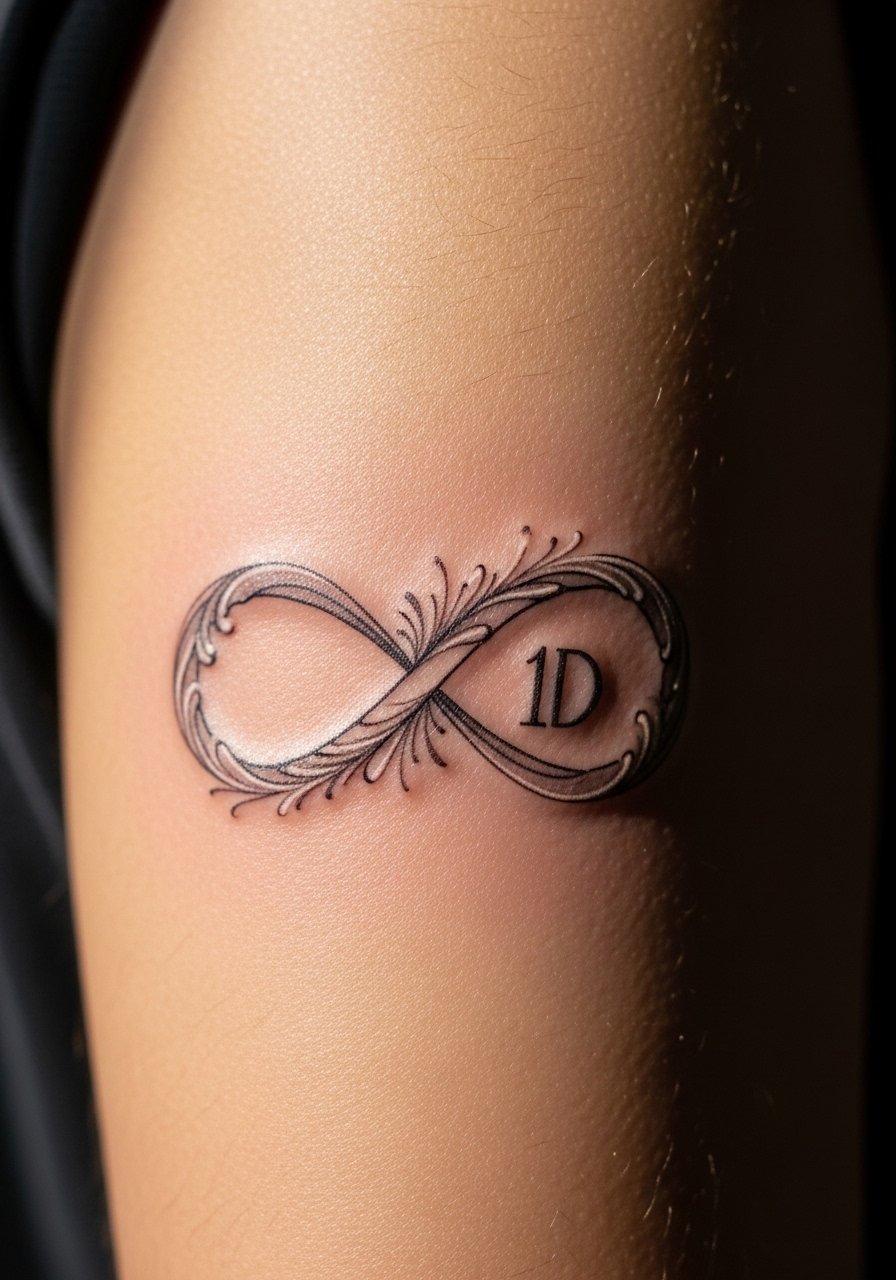
This is a clever sleeve seed because it gives expansion points without committing to a full sleeve aesthetic right away. A common error is making the infinity lines too tight, which crowds future additions. Ask your artist to leave anchor spaces around the loop and to map possible additions. Upper-arm sessions are comfortable and allow for careful shading. For session wear, pull on a loose button-down shirt you can slide the sleeve down for clear access.
19. Minimalist microphone tucked behind the collarbone
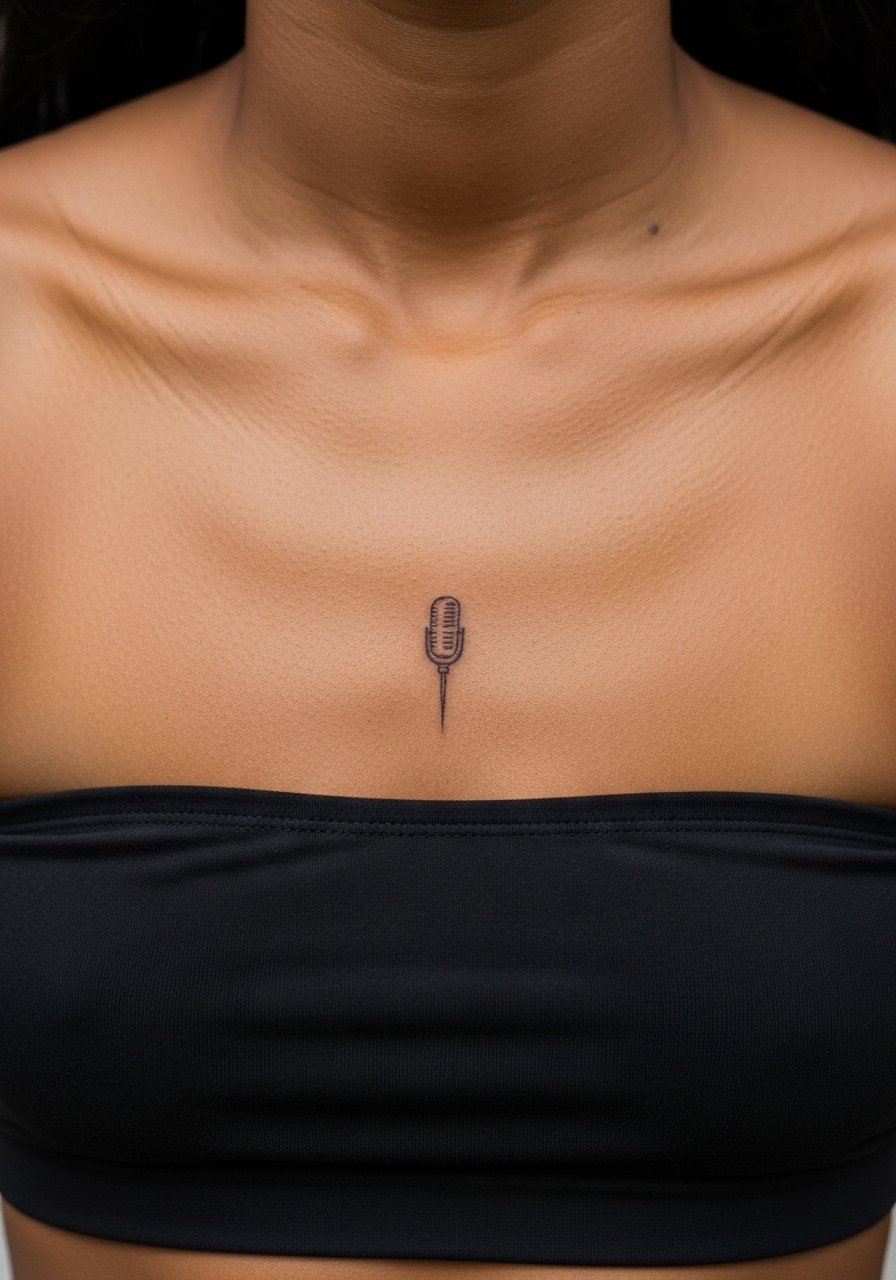
Placement right under the collarbone can be visible with low necklines and private with higher ones. The main error is using a single tiny needle that loses definition against the clavicle curve. Ask for a slightly bolder stem and a clear base so it reads over time. Sessions are quick but the area can be tender. Plan to wear a strapless bralette for session ease.
20. Neo-traditional swallow paired with band portrait on the upper arm
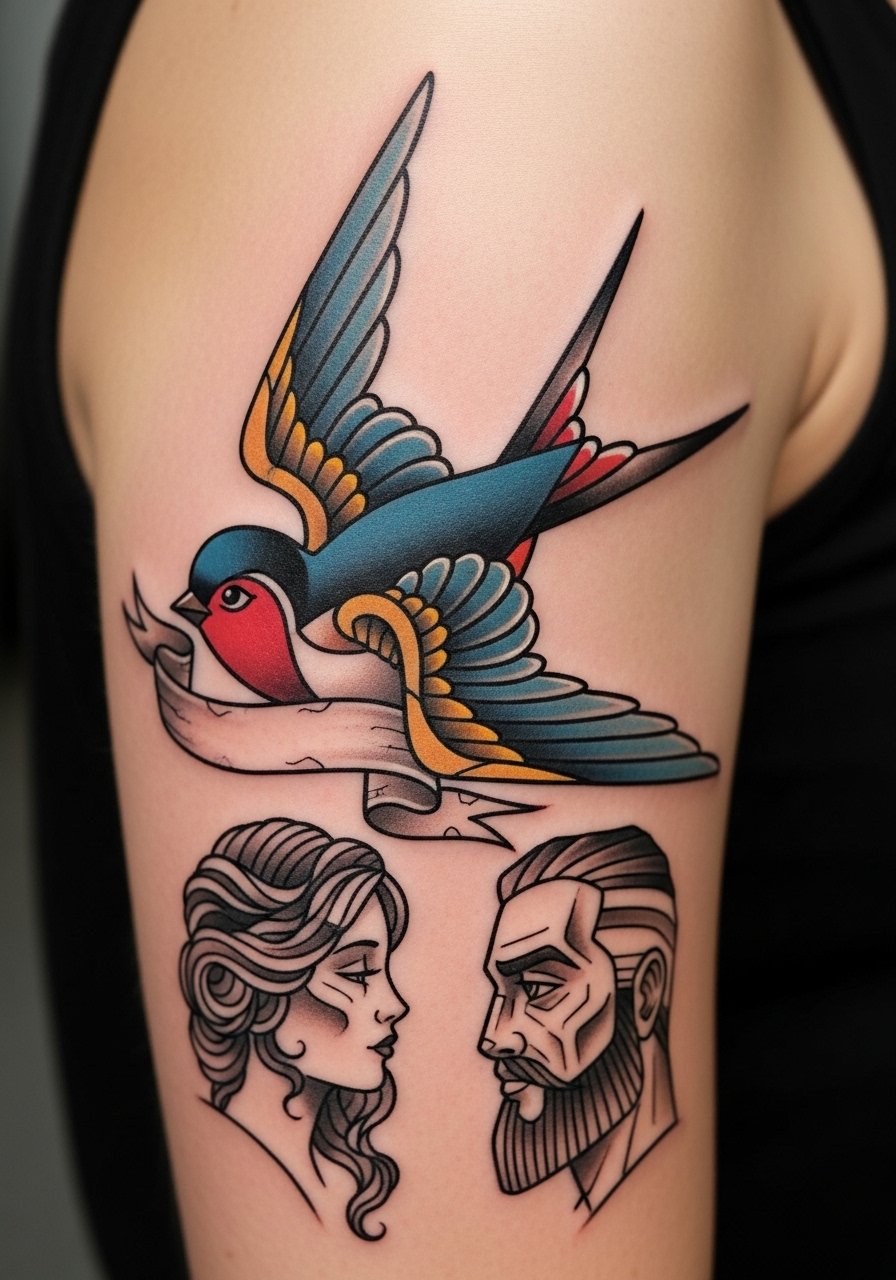
Combining classic swallow imagery with a stylized portrait nod creates a hybrid that references both direction and memory. Often people try to cram portrait detail into small neo-traditional frames and lose likeness, so agree on stylization first. Upper-arm saturation helps longevity and usually requires two sessions when color and portraiture combine. For consults, show both inspiration images and specify which element should read from a distance.
21. Tiny "28/10" Roman numerals behind the ear edge
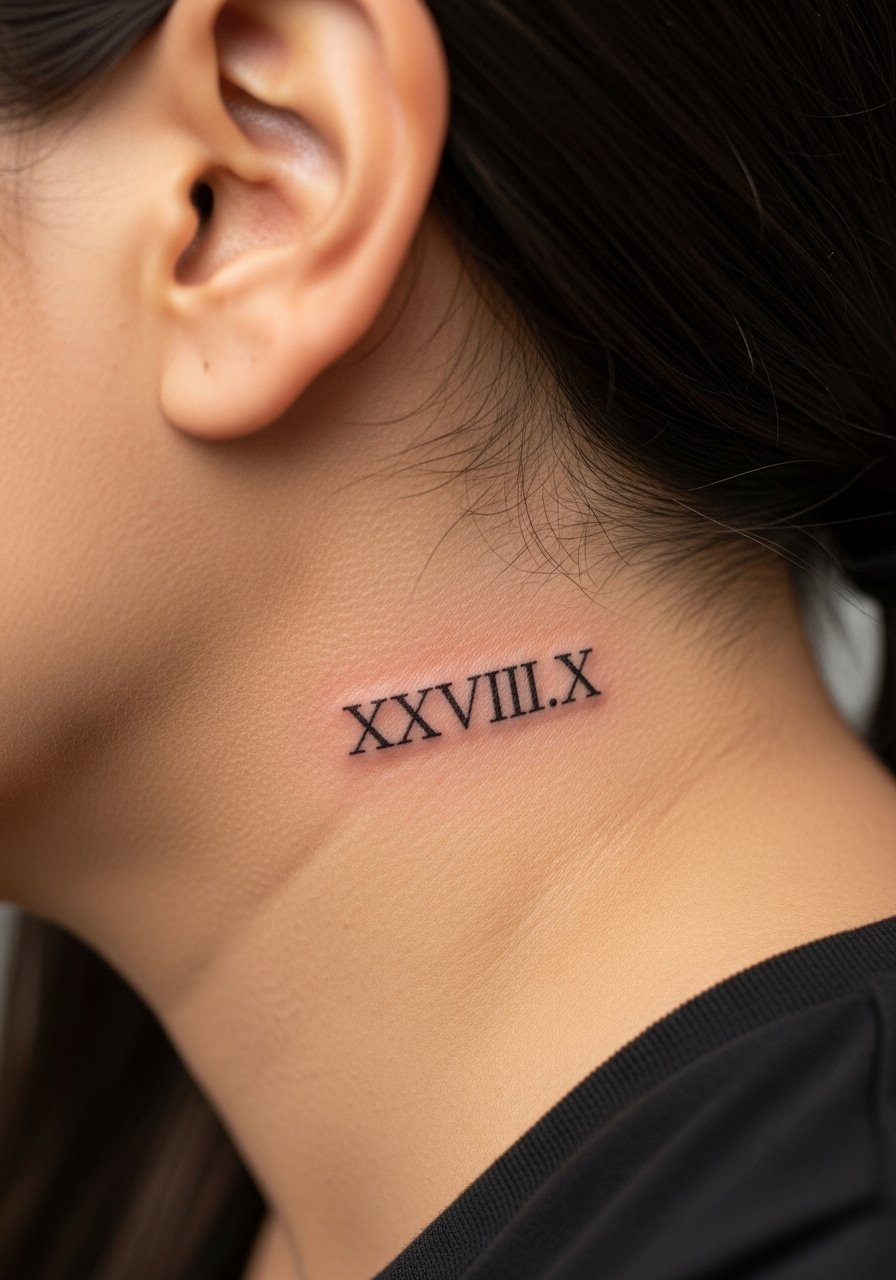
Using Roman numerals tightens the graphic look but increases the risk of tiny characters fading into one another. Ask your artist to space numerals and consider slightly larger numerals than the initial sketch. Behind-ear placements heal quickly though they can scab more visibly. Pin your hair up for the session and expect a touch-up option after the first year.
22. Tiny cupcake on the outer calf as a nostalgic album easter egg
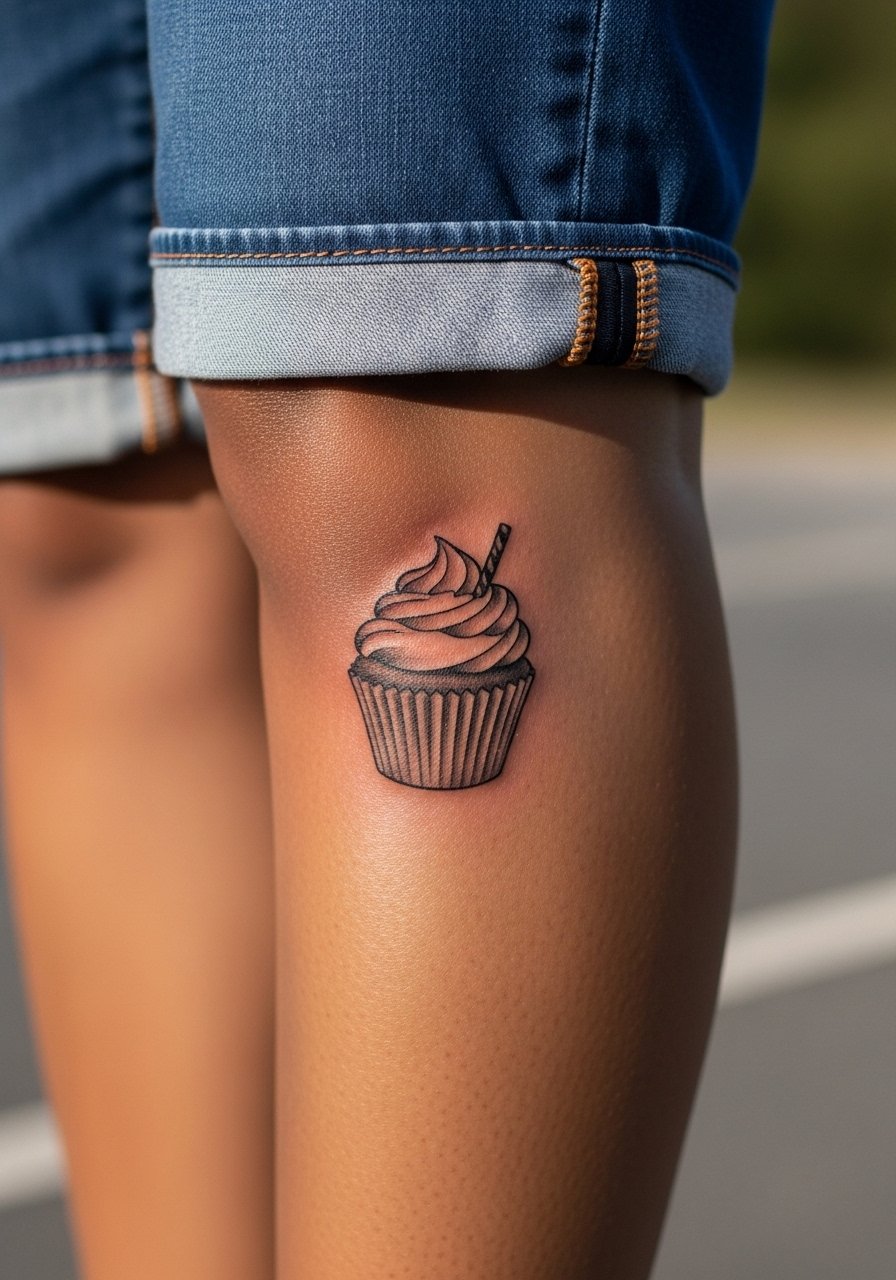
Playing with album-era icons is playful and safe at micro scale when contrast is prioritized. The error is using pale grays only, which can vanish on darker tones. Request stronger boundary shading and a bit of stipple texture to anchor the silhouette. Calf sessions are forgiving and usually heal cleanly.
23. Single arrow that wraps the ankle bone with micro dots
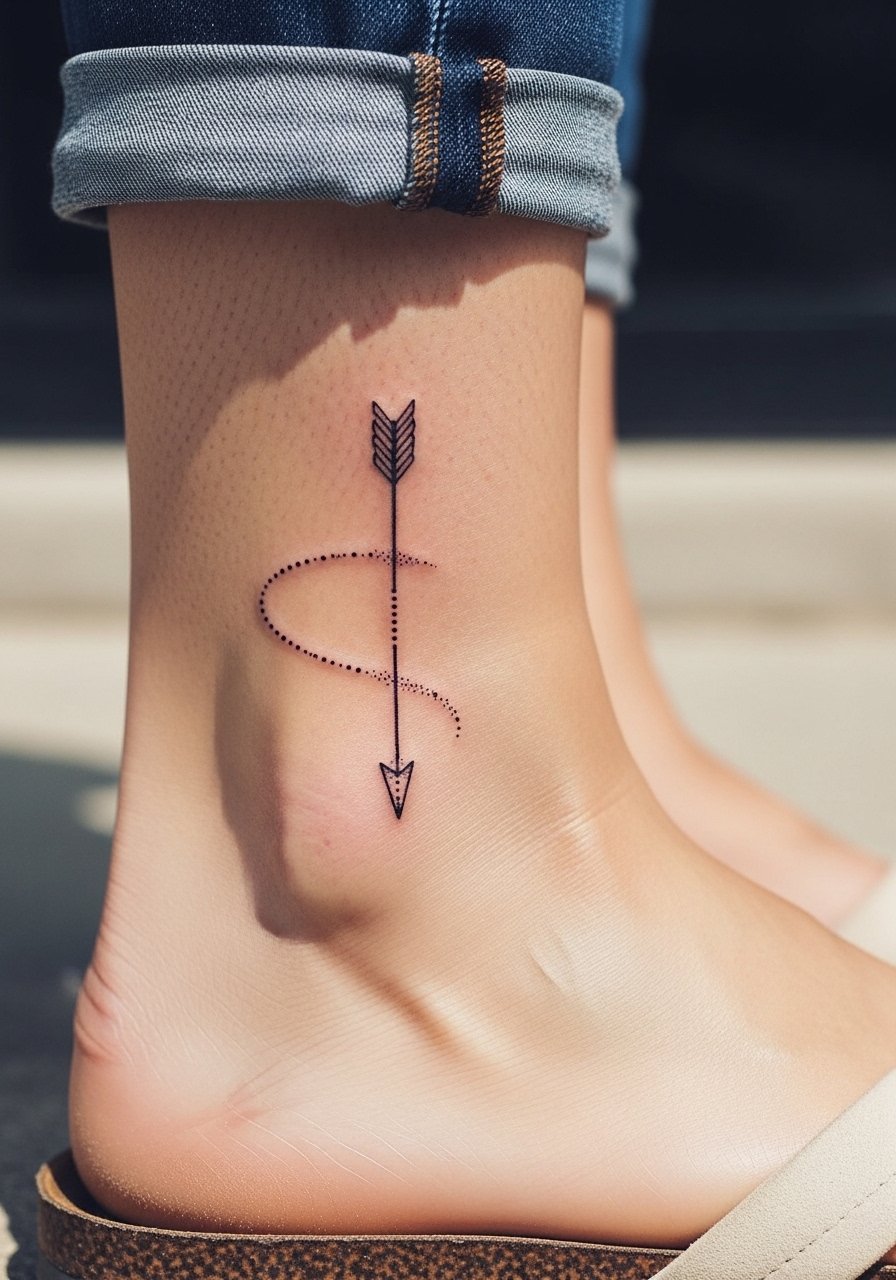
Dot work around the ankle looks delicate but the risk is uneven stippling that ages into patchiness. Ask your artist about consistent dot spacing and to test a small area to preview density. Ankle skin sees abrasion, so consider slightly denser dots and thicker arrow shaft to keep the motif readable. For show-off season, go with cropped pants or slim fit cropped pants.
24. Micro initials stacked on the rib side under the bra line
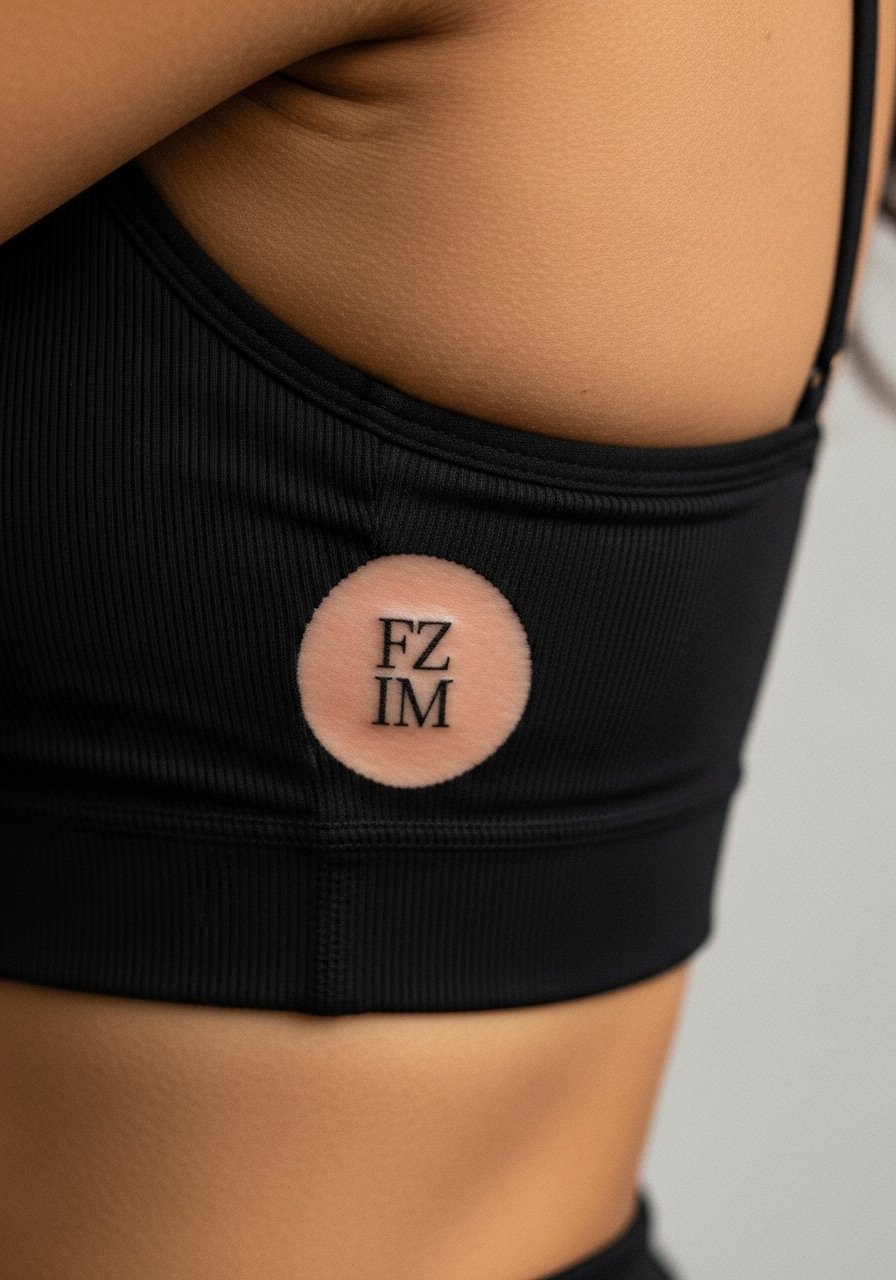
Rib-side micro stacks are intimate and best when spaced for breathing room. Common mistakes include wanting many initials crammed into one small row which leads to illegibility. Ask your artist for vertical stacking with clear gaps and a soft guide for future additions. Expect higher pain and a slower, careful healing. Wear a strapless bralette to the session so the area is easy to expose.
25. Welded arrow and infinity loop on the shoulder cap
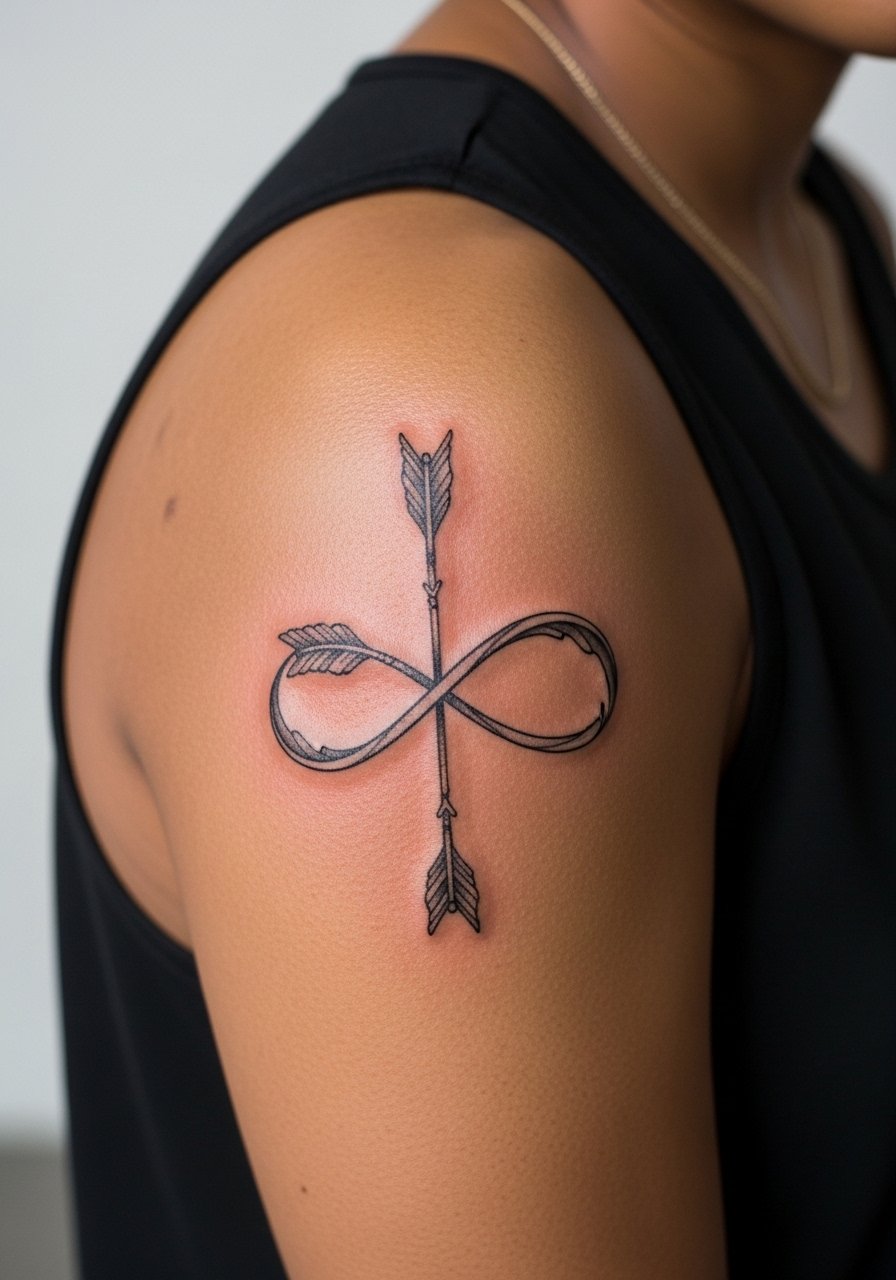
Shoulder-cap placements tolerate detail and provide a subtle flow into sleeve work. The mistake is squeezing too many flourishes into the cap which reduces the piece's mobility. Ask the artist to map a flow line toward potential sleeve work so future additions sit naturally. Sessions are comfortable and usually one sitting. For session access, a loose tank top works well.
26. Micro music note cluster trailing to the ankle
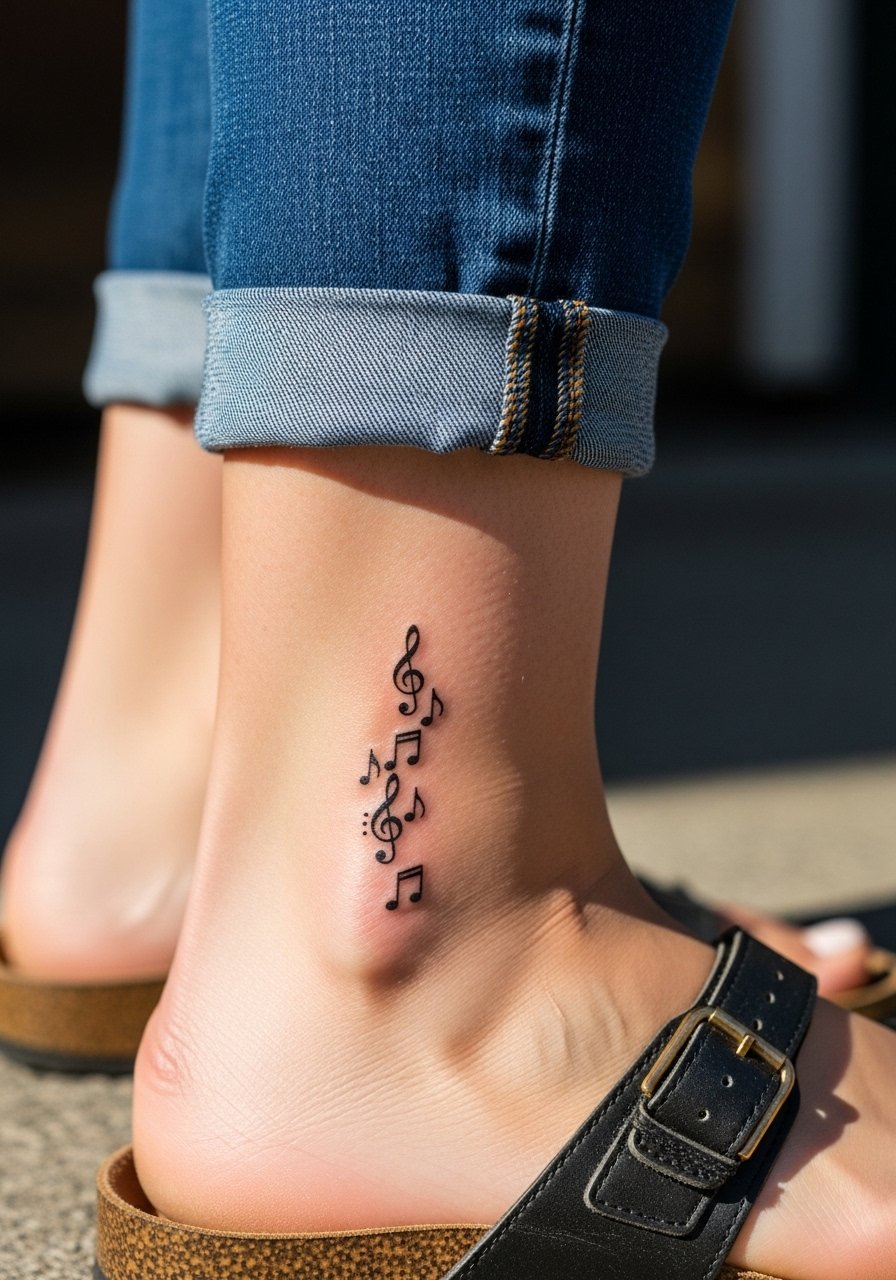
A trail of music notes is charming when you accept that micro detail may need reinforcement. The common misstep is expecting photo-fine notes to remain crisp without future touch-ups. Request slightly larger note heads and clear stems so the pattern holds. Ankle healing needs protection from shoes in the first week.
27. Stitched-line wrist band with tiny "1D" in the center
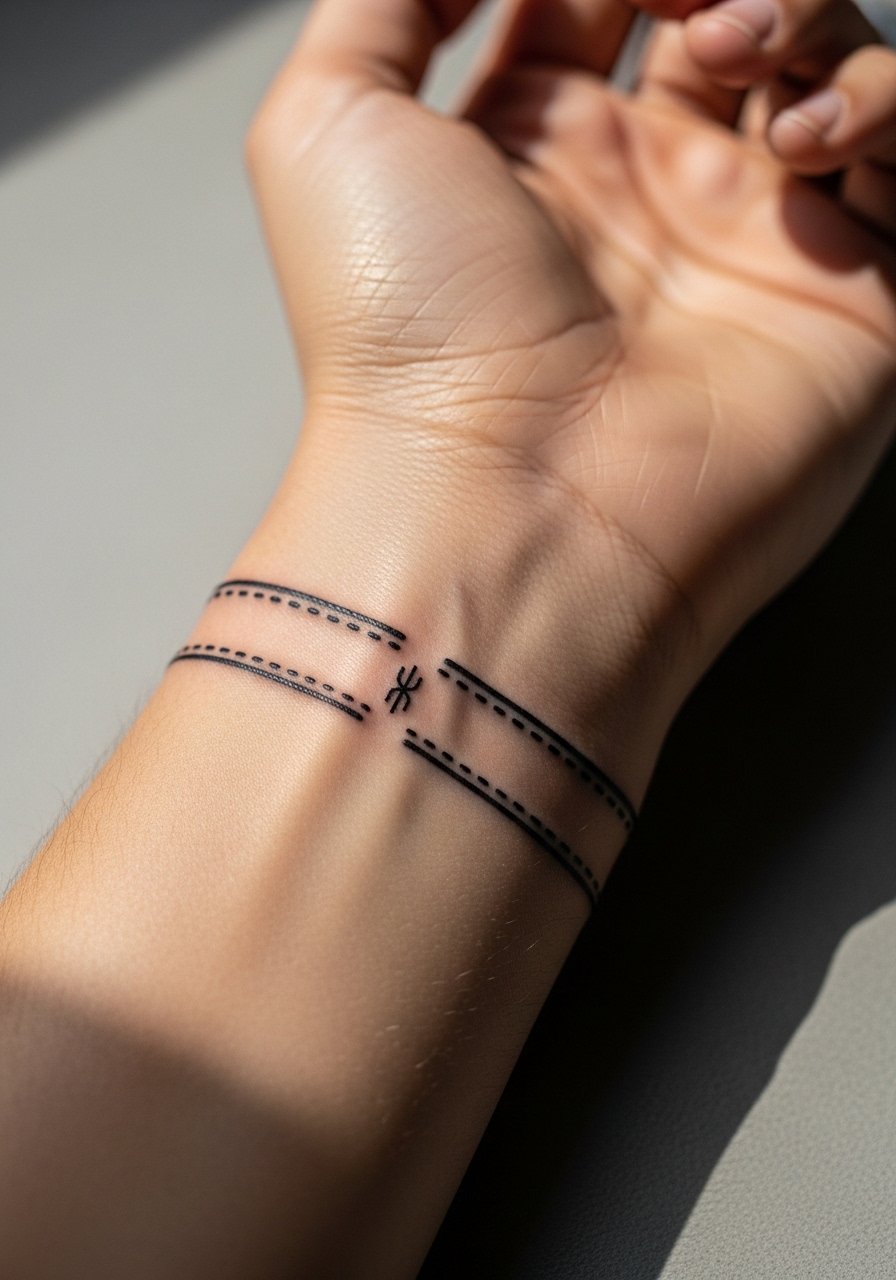
Wrist bands can be elegant but the worst versions are too thin and lose definition from constant movement. Tell your artist you want a visible stitch weight that reads after a year and discuss whether the center tag should be negative space or filled. Healing is straightforward but plan for light wear on the area until fully healed. For a casual finish, pair with a thin silver chain bracelet on the opposite wrist to balance attention.
Frequently Asked Questions
Q: I have darker skin. Will fine line One Direction pieces fade faster and what should I ask for in a consult?
A: From what I have seen, very fine single-needle work can lose visible contrast sooner on darker tones if it lacks supporting saturation. Ask for slightly heavier linework or a touch of black shadow to anchor delicate scripts. Request healed photos of similar skin tones and agree on a realistic touch-up plan so the result matches your expectations.
Q: What is a realistic cost range for a small fine line 1D wrist logo or micro script?
A: Typical local pricing for small fine line wrist or collarbone pieces often falls in the 100-400 range depending on your city and the artist's experience. Expect higher rates for shops with strong healed portfolios and for artists who include a touch-up in their pricing.
Q: Artists and fans debate Saniderm versus dry healing. Which camp should I follow for fine line and watercolor pieces?
A: Two camps disagree clearly. One group prefers protective film for an immobile, tidy first 48-72 hours, arguing it reduces contamination. The other favors dry healing to watch scab formation and prevent trapped moisture. For fine line work, many pros I know suggest whichever method your artist is experienced with and that you can follow without compromising cleanliness. Ask the artist which approach they recommend for that exact style.
Q: My first tattoo blurred because the shop rushed. How do I pick a studio that will avoid that?
A: Look for healed portfolios that show time-passed photos, not only fresh shots. In conversation, ask how often the artist does that specific style and whether they offer touch-ups. Book a consult or a short test piece if you can. If you feel pressure to rush, walk away and look for someone whose process matches your timeline.
Q: Do watercolor tattoos require different aftercare than blackwork pieces, and does that affect where I should place a mic or lyric piece?
A: Watercolor relies more on saturated color placement and tends to need careful sun avoidance and moisture management, especially in the first month. Blackwork is more forgiving on abrasion zones like ankles. For a watercolor mic, choose forearm or thigh where you can protect it and keep clothing from rubbing during healing.
Q: How soon should I expect a fine line tattoo to need a touch-up compared with blackwork?
A: Expect fine line scripts and single-needle logos to be candidates for touch-ups around year two to three, especially on active areas like wrists and fingers. Heavy blackwork often holds longer before a touch-up becomes necessary. Discuss touch-up timelines with your artist so you plan accordingly.
Q: Are there wardrobe tips for keeping a new clavicle or neck piece comfortable during healing?
A: Yes. For collarbone and nape work, choose wide-neck shirts or high-neck crop tops that do not rub the tattoo when you move. During the session, wear garments you can shift without stretching or tight straps across the ink.
