
Fine line forearm trends look incredible in photos, but they demand honest planning if you want them to age cleanly. The reality is that placement, line spacing, and how you show the piece matter as much as the drawing itself. Read these first ideas with the kind of questions you should bring to consultation, and then start with the inner forearm option below.
1. Minimalist Arrow on Inner Forearm
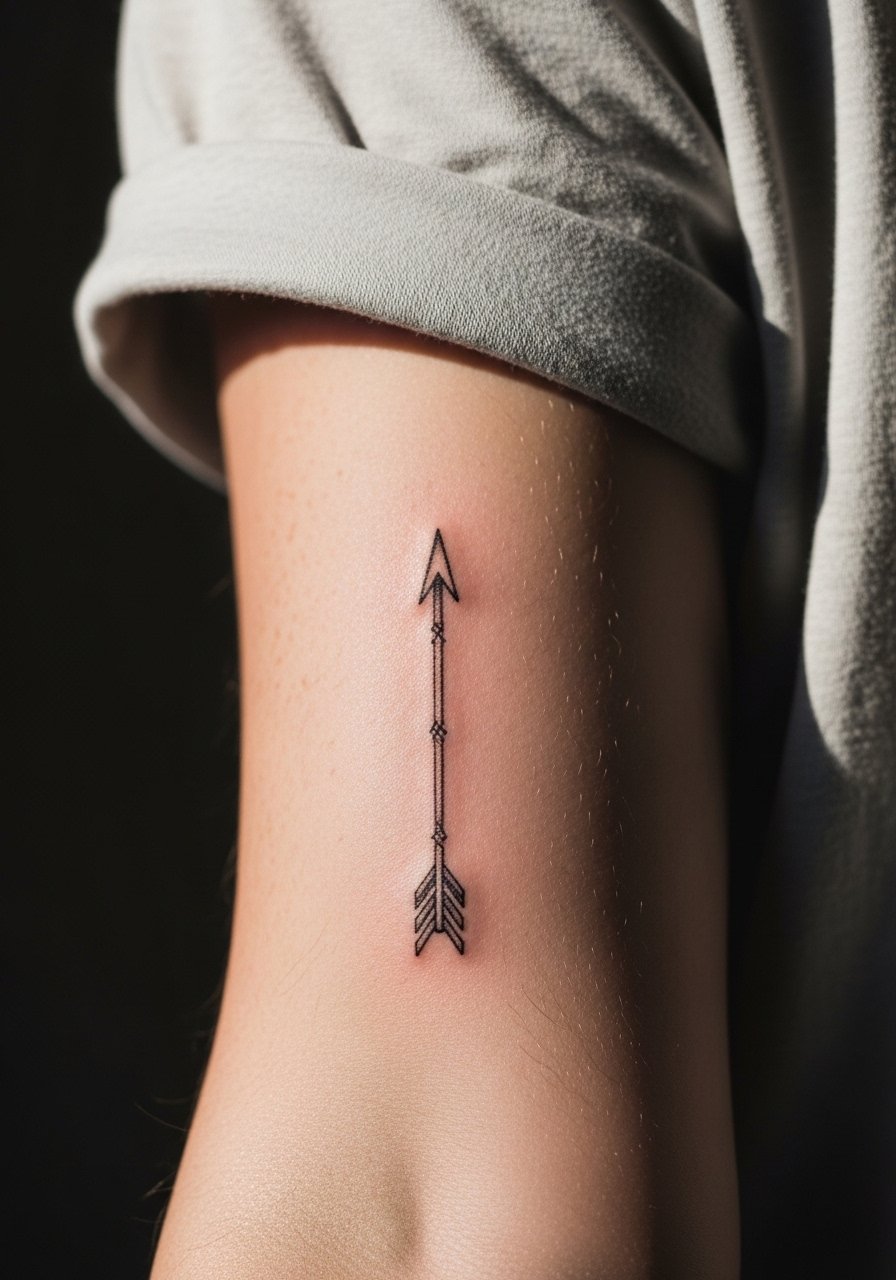
I've seen tiny arrows on inner forearms start crisp and then bleed together when artists go too light with needle depth. One camp argues that fine line anywhere on the arm blurs quickly, especially when the line weight is under 0.35 mm. The other camp says careful spacing and slightly stronger linework prevent early touch-ups. In consultation ask for a slightly heavier single-pass outline and extra spacing between parallel lines to avoid early merging. Expect moderate pain for the inner forearm and one short session. For showing off, roll sleeves or choose a short-sleeve linen shirt that frames the forearm without competing with the linework.
2. Narrow Botanical Band That Wraps
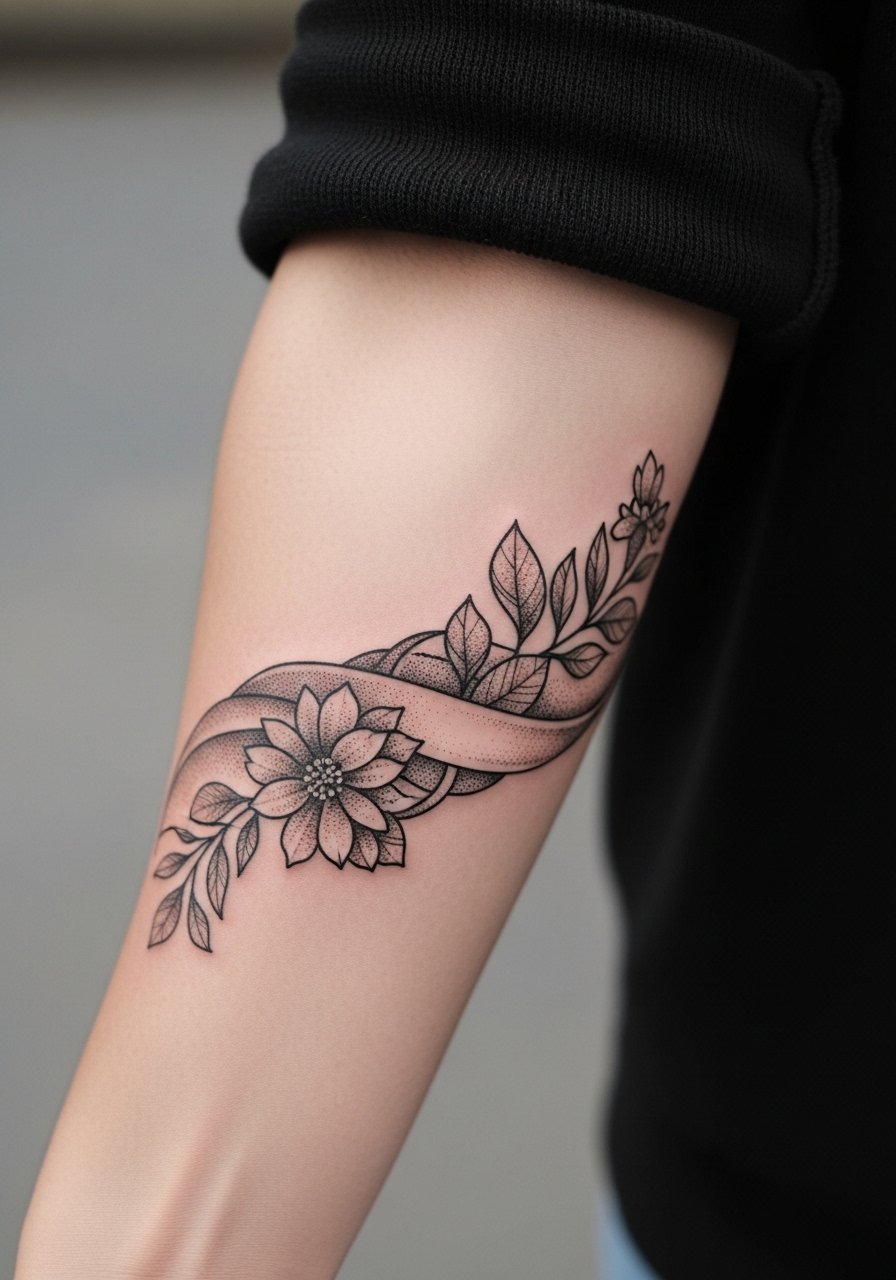
Personal observation: thin botanical bands hold up better when leaves use stipple shading instead of micro shading in a single dense area. Tell your artist to use stipple shading and to break up dark fills with negative space so the band keeps definition over time. Many people pick fully filled leaves that look great fresh but blend into a patch after a couple of years. This placement is low to moderate on the pain scale and usually fits into a single session. Pair the band with a leather wrap bracelet when you want an earthy, casual look.
3. Micro-Realism Eye on the Forearm
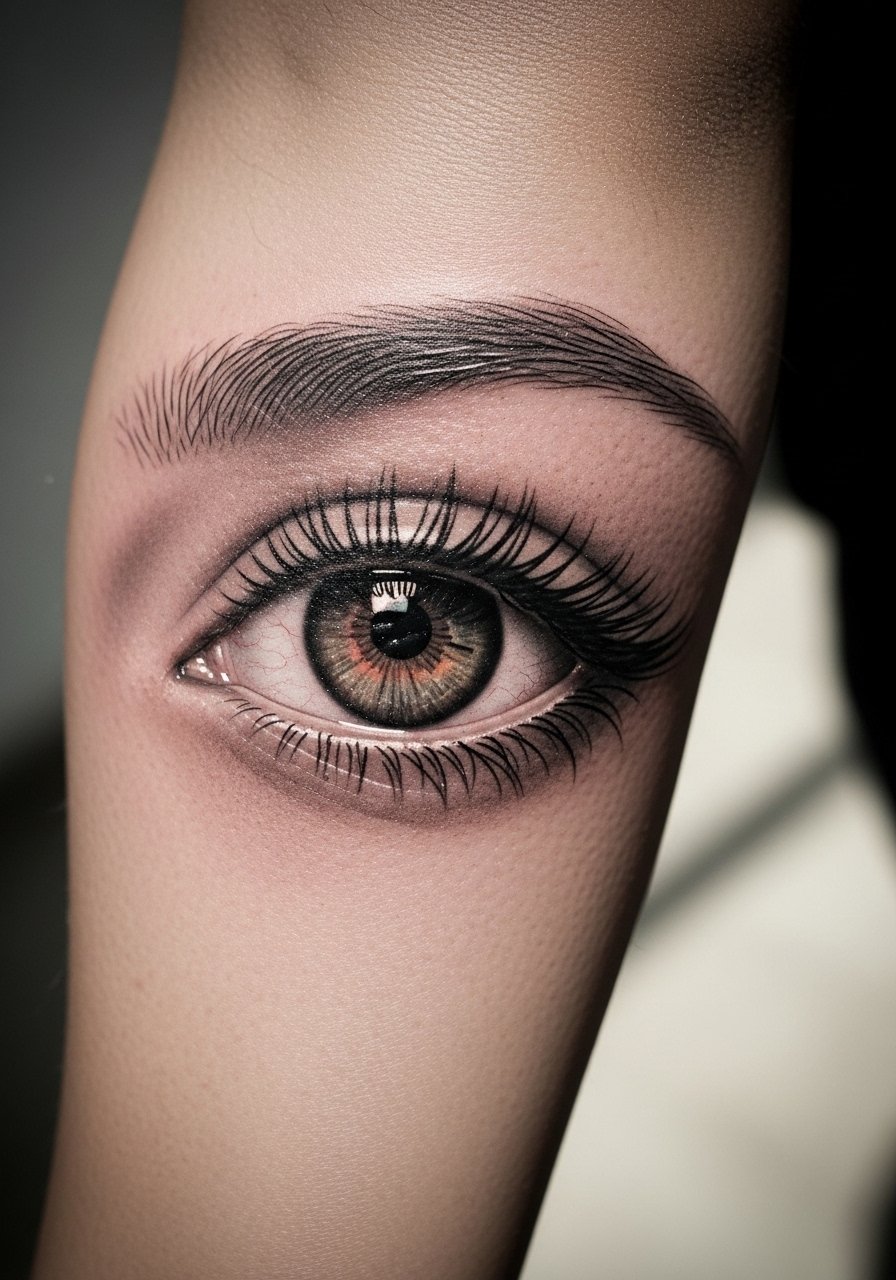
Visual impact lead: a small micro-realism eye reads like a secret on the arm until someone gets close. For this style, bring high-resolution references showing the exact pupil and catchlight you want. The common mistake is asking for extreme detail at too small a scale. Ask for 2-3 mm minimum for key features so the piece ages without muddying. Sessions tend to take longer because of layering and careful saturation. For showing off, a minimalist metal cuff highlights the area without covering it.
4. Geometric Mandala Strip Centered on the Front Arm
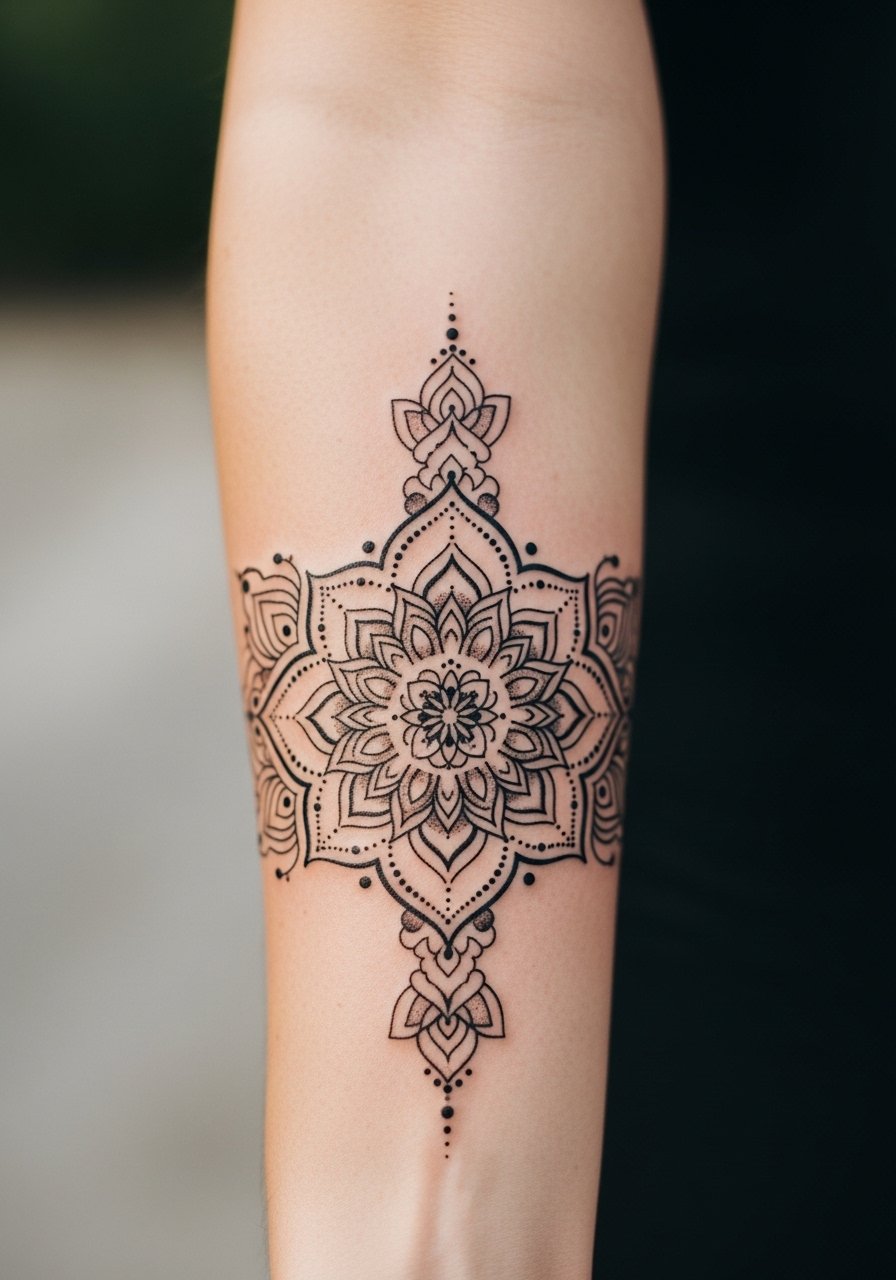
Mistake lead: people often request dense mandala centers that are too small for forearm skin movement. The fix is to scale the mandala wider and emphasize negative space between elements. Expect a medium pain level and multiple short passes for crisp linework and dot work. Tell your artist you want room between spokes so the pattern keeps its shape as the skin stretches. At six months it should look crisp; at two years lines can soften if placed too tightly. No styling link here since the pattern reads as a statement on its own.
5. Script Band with Coordinates
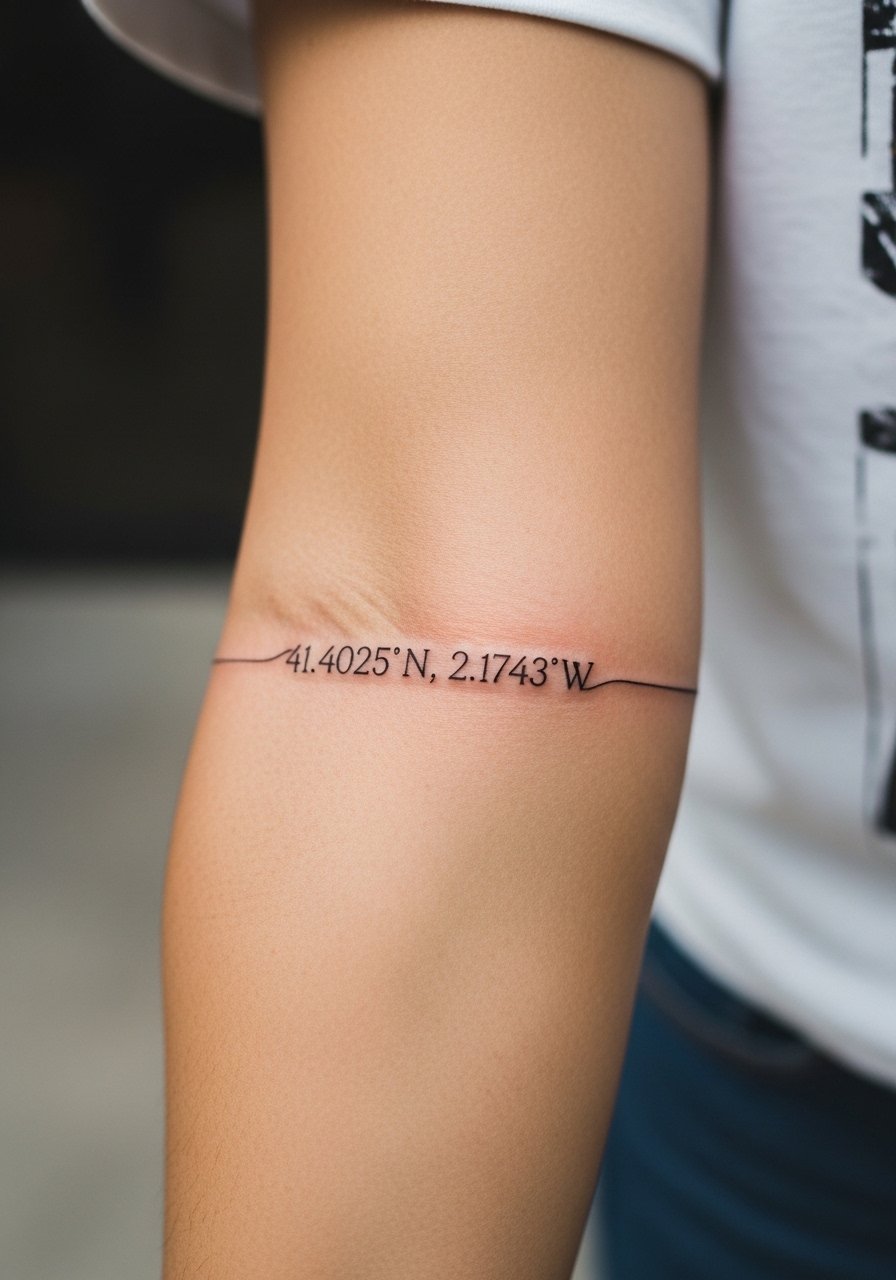
Consultation lead: bring the exact text for any coordinates or dates because generators make gibberish otherwise. Ask the artist to stencil the band and stand back to check placement under natural light. The biggest mistake is squeezing long strings of text into too small a band. That makes touch-ups inevitable by year three. For session comfort, wear a loose short sleeve shirt you can roll to give the artist full access without tugging at the fabric.
6. Bold Blackwork Bar That Frames the Wrist
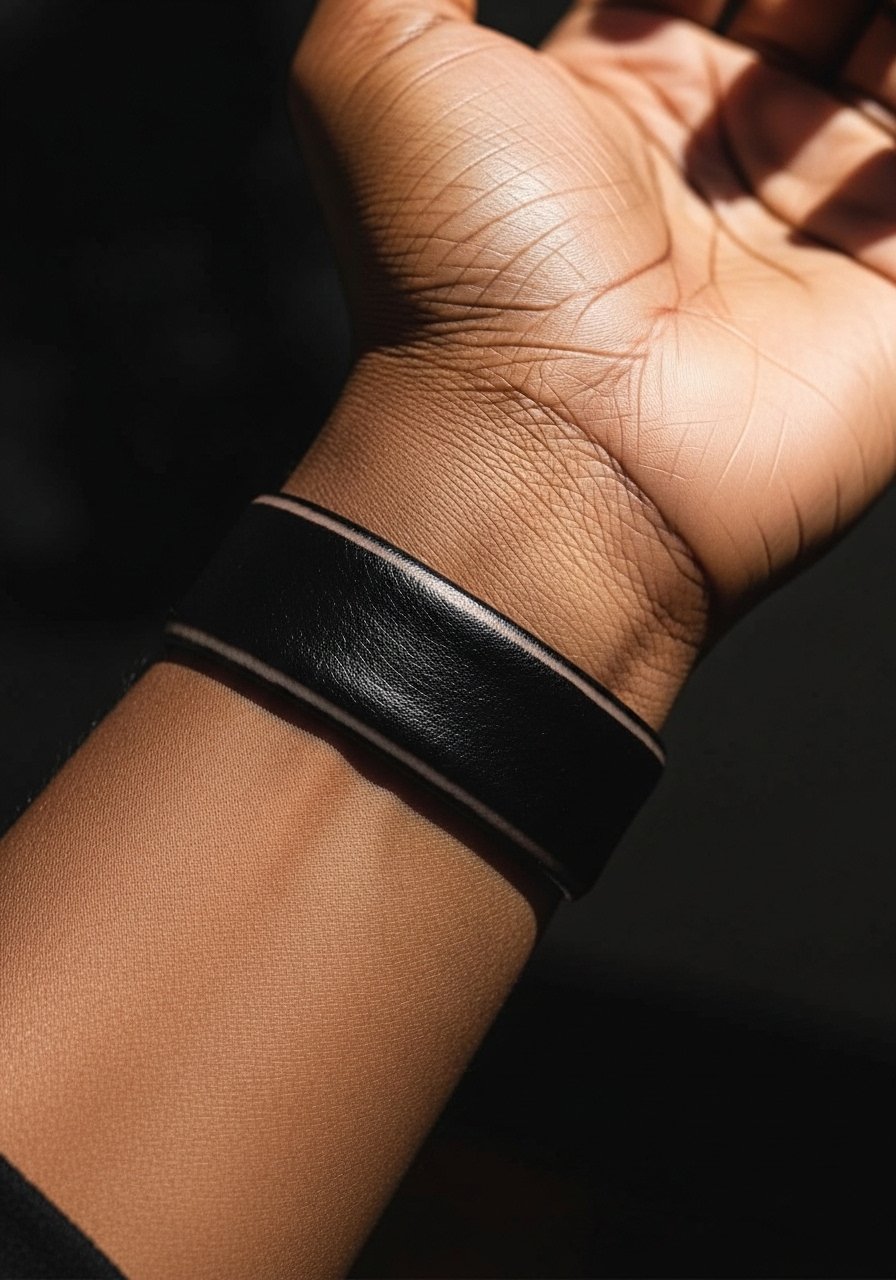
Aging/healing lead: heavy blackwork soaks in differently than fine line. The two camps here disagree. One camp thinks heavy blackwork always wins for longevity and contrast. The other camp warns that dense fills on the distal forearm can chatter and require touch-ups if the artist overworks the skin. If you choose high-saturation black, expect one longer session and a likely touch-up window at year two. Wrist placement sees friction from clothing and watches so protect the area during healing.
Studio Day Picks
The inner forearm scripts and wrist bar above ask for slightly different prep than large outer-arm pieces. These studio-day items smooth the appointment and the first few healing days.
-
Stencil transfer paper kit. Lets you preview placement and adjust the script band or arrow before the needle touches skin.
-
Topical numbing cream. Applied about forty-five minutes before can ease sensitivity for thin-lined inner forearm work without affecting line quality.
-
Thin protective film roll. Keeps wrist and forearm pieces clean through the first week of friction from sleeves and daily washing.
-
Fragrance-free gentle body wash. Cleans healing skin without irritating delicate linework that fine script and arrows rely on.
-
Aquaphor healing ointment. A thin layer for the first few days helps lock in moisture for crisp linework on small forearm pieces.
7. Neo-Traditional Peony on the Front Arm
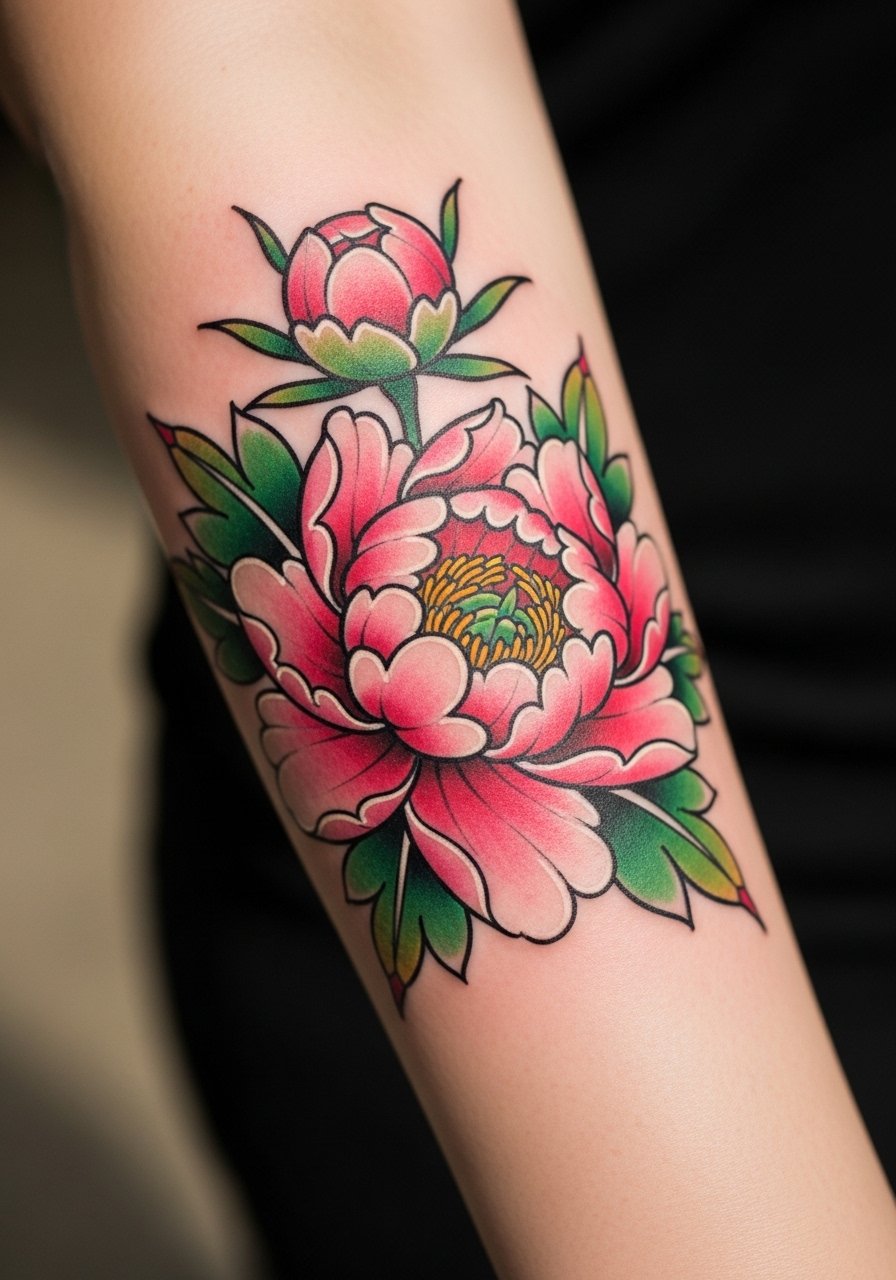
Styling lead: neo-traditional color holds well when artists use solid saturation and bold outlines. When you consult, ask for color blocks separated by clear black outlines so each petal keeps its edge over time. The common aging issue is too many blended gradients in small petals, which can blur. Sessions usually include color layering and a touch-up plan at year two. For easy showing off, pair this with a rolled-up denim shirt to frame the bloom.
8. Negative Space Bar Code Strip
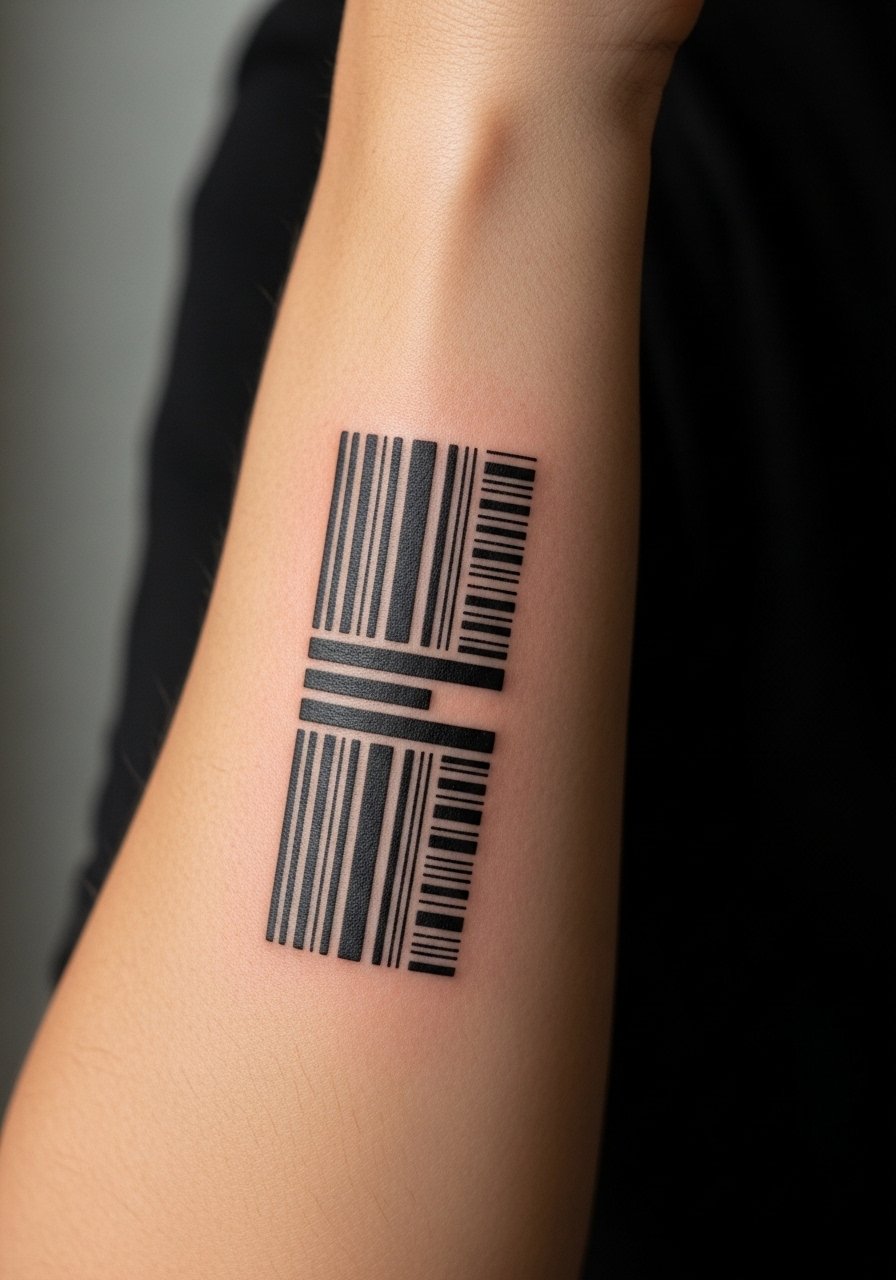
Personal observation: negative space designs rely on extreme contrast. The trick is to ensure blacks around the negative lines are truly saturated so the gaps remain visible as skin settles. A common mistake is making the bars too narrow, which causes the gaps to close with minor blowout. Expect moderate discomfort near the wrist and one focused session. No styling link here since the graphic reads well with bare forearm exposure.
9. Dotwork Mountain Range Across the Forearm
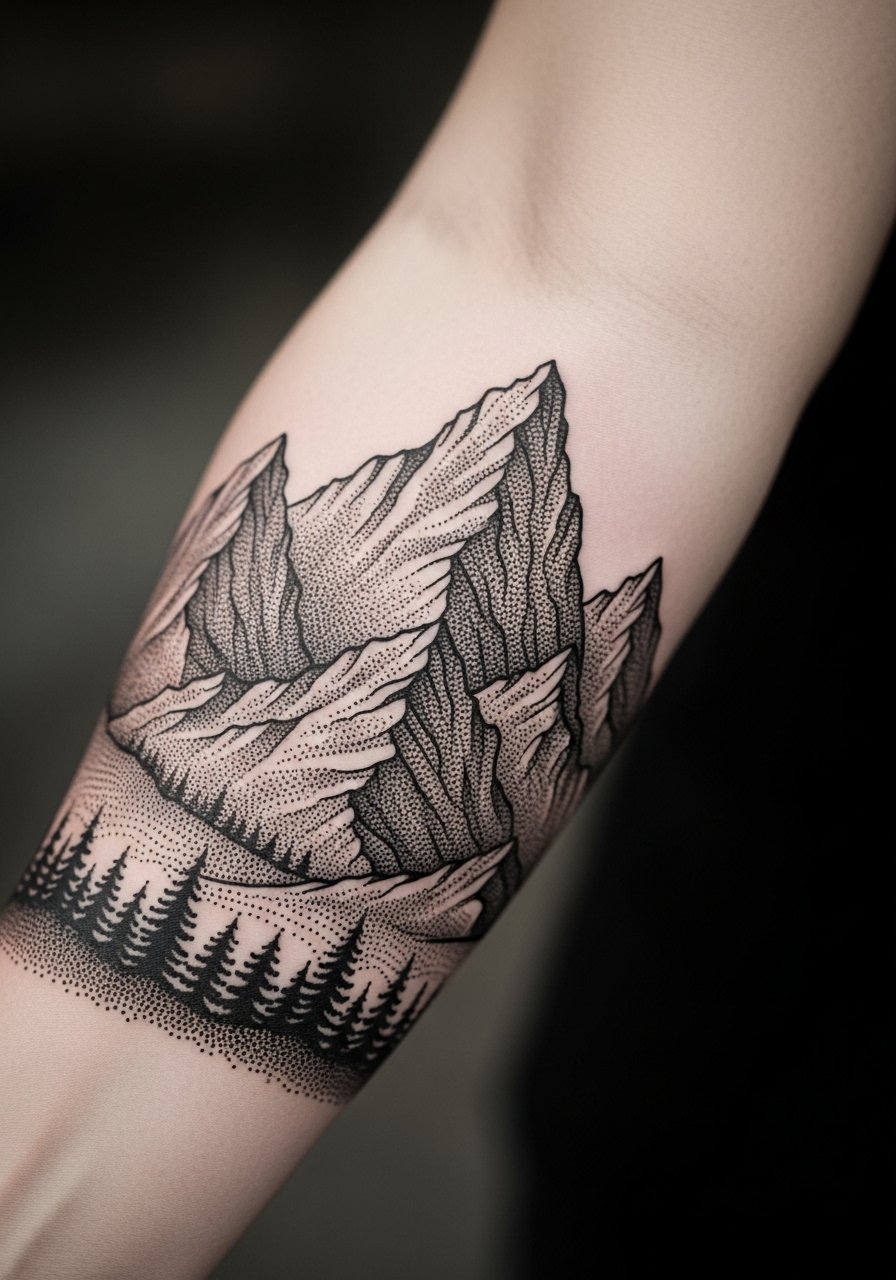
Consultation lead: dotwork depends heavily on spacing and stipple density. Tell your artist which part you want darkest so they can plan gradual density shifts rather than compressed dots. A typical error is packing dots too closely in small valleys, which looks muddy later. Healing is gentle but touch-ups at year three are common for high-contrast edges. Show it off with a rolled sleeve flannel that exposes the peaks when you move.
10. Minimalist Wave that Wraps the Forearm
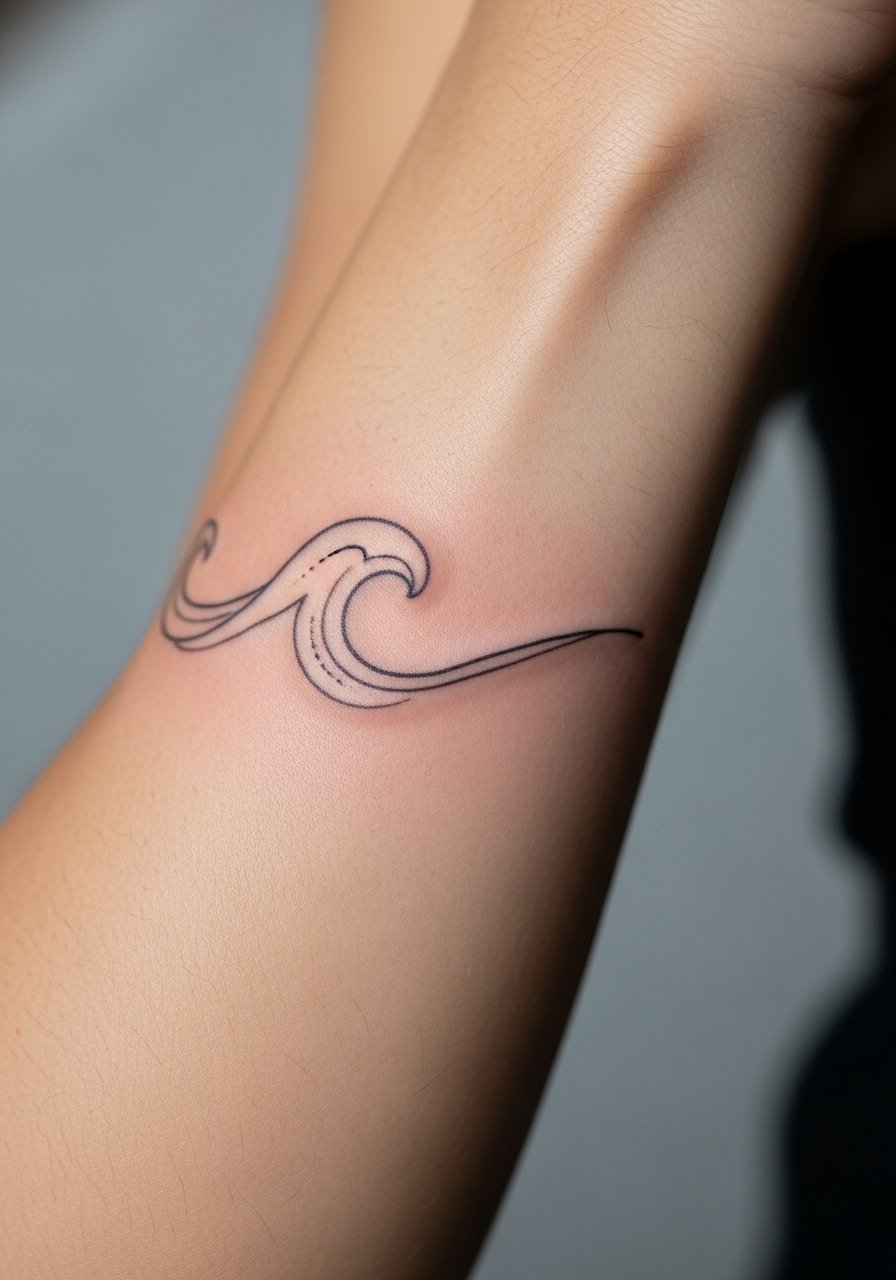
Aging/healing lead: single continuous line waves look elegant but demand consistent needle depth. Most failures come from uneven line weight where the artist lifted too often. For a durable wave, ask for one continuous pass where possible and slightly stronger line weight than you think you need. Pain is low to moderate and a single session often suffices. No styling link here since the minimal shape pairs subtly with many wardrobe choices.
11. Compass Rose with Tiny Coordinates
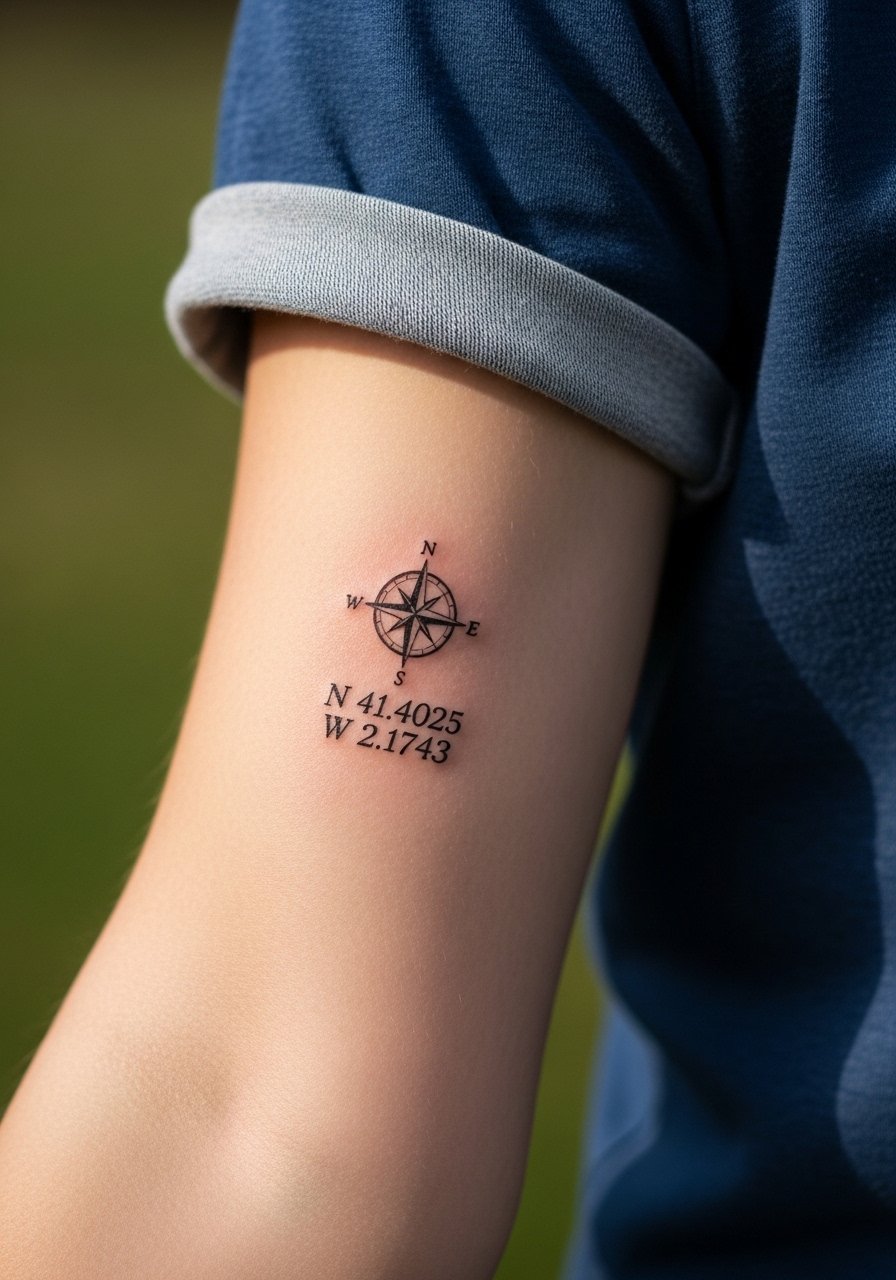
Mistake lead: people cram too many small elements into a compass that should breathe. Request a clear center point and larger cardinal points so the orientation reads at a glance. For longevity, have the artist use dot work rather than heavy shading toward the center. Sessions take an hour or two depending on size. For evenings, a thin chain pendant necklace keeps attention upward without distracting from the forearm piece.
12. Chain-Link Armband in Fine Line
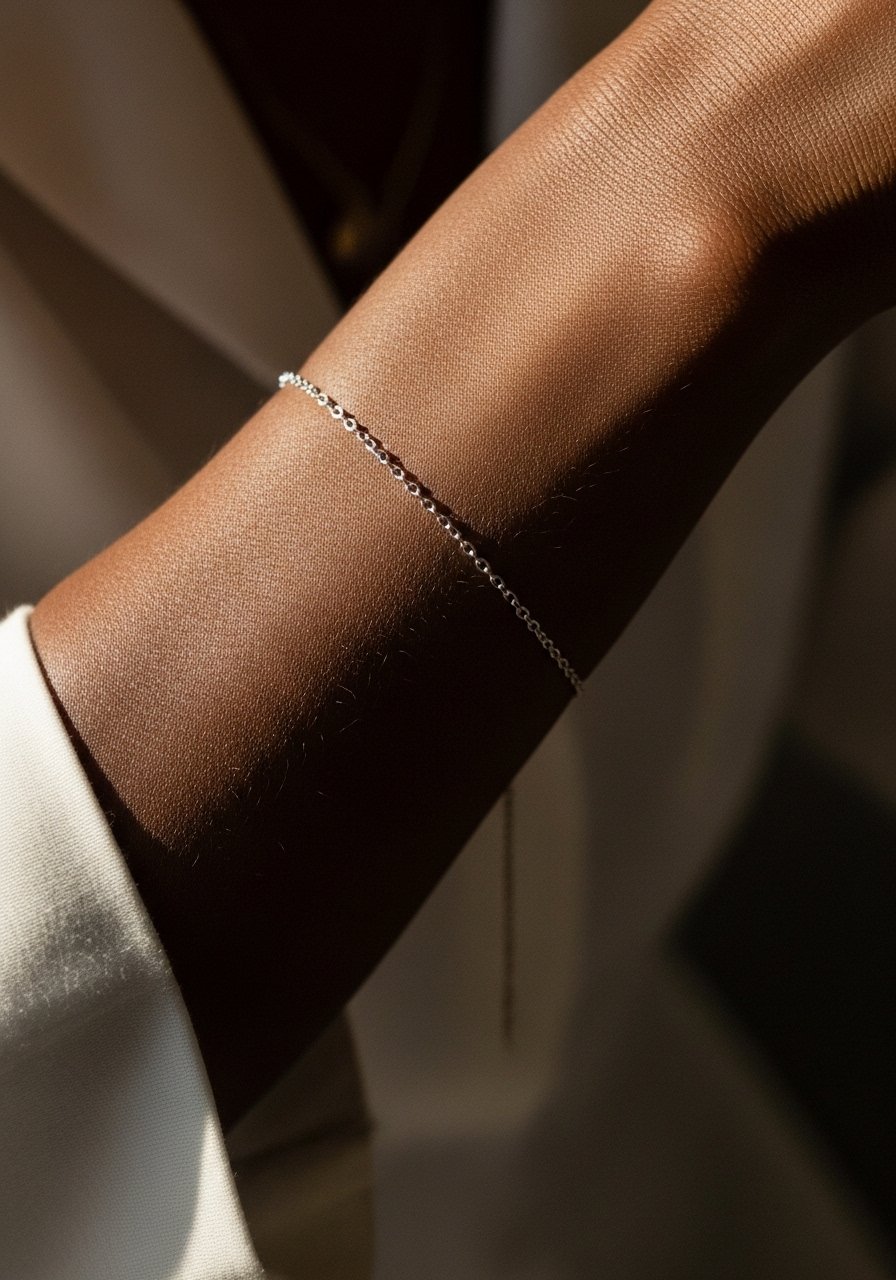
Pain warning lead: armband placement can feel more sensitive because it hugs areas that move a lot. The most common mistake is linking too many tiny rings which blurs over time. Ask for slightly larger ring gaps and clear negative space so the chain reads as linked rings even after a few years. Expect a short but precise session. No styling link here since simple cuff watches can sit next to the chain without crowding it.
13. Constellation Path Along the Inner Forearm

Styling lead: constellations look best when paired with dainty jewelry so the arm reads cohesive. During consultation, confirm exact star placement and whether you want white ink highlights for contrast. The mistake is plotting stars too close together, which loses the pattern after a year. Healing is gentle for the inner forearm. Pair with stacked dainty bracelets to echo the tiny points without obscuring the line.
14. Minimalist Mountain Range That Ages Well
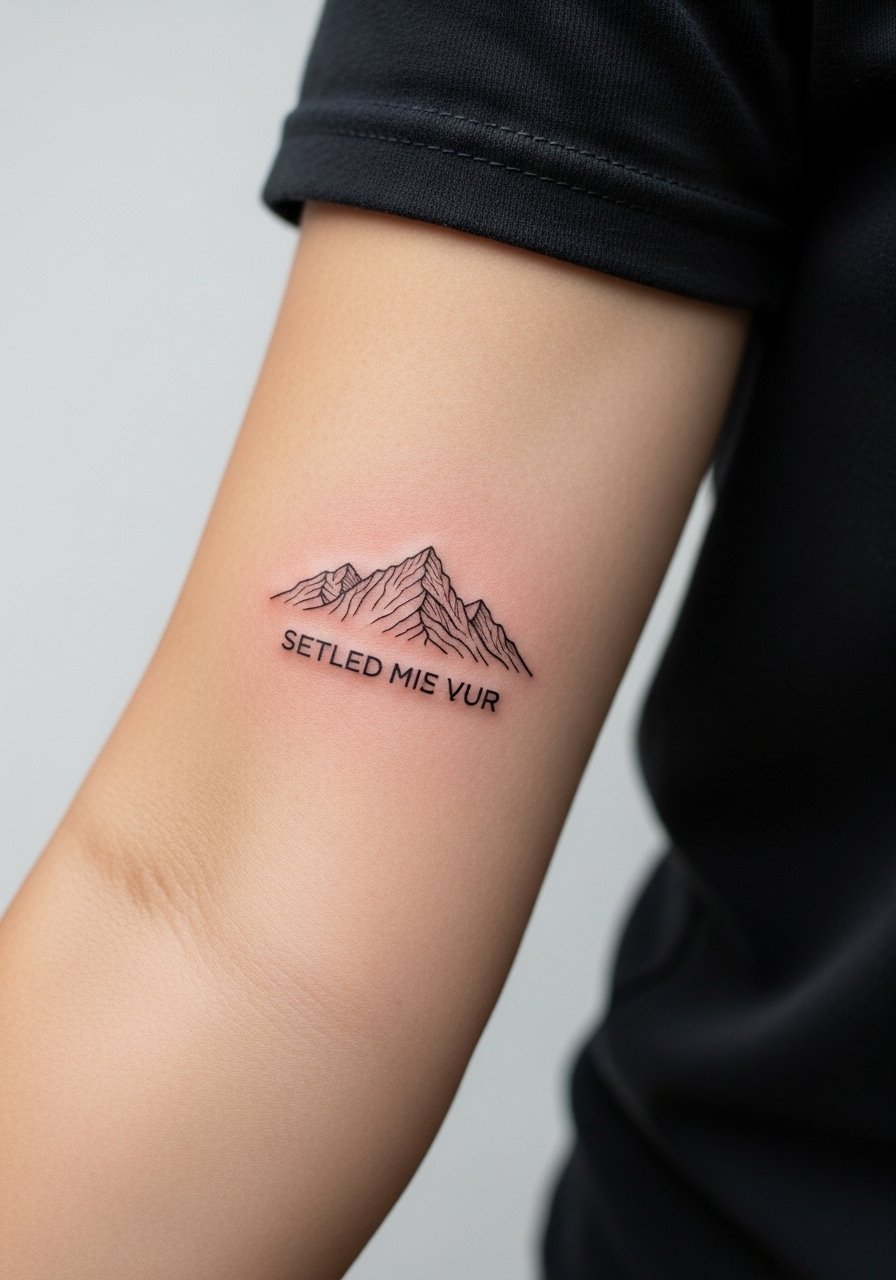
Aging/healing lead: minimalist landscapes age well if not overworked. The key is leaving thin gaps between intersecting lines so each peak keeps definition. The typical session is short and low discomfort. Tell your artist you want slightly bolder main lines with lighter secondary lines to keep form at two years and five years. No styling link here so the idea stands as a subtle everyday piece.
15. Abstract Brushstroke Sweep on the Forearm
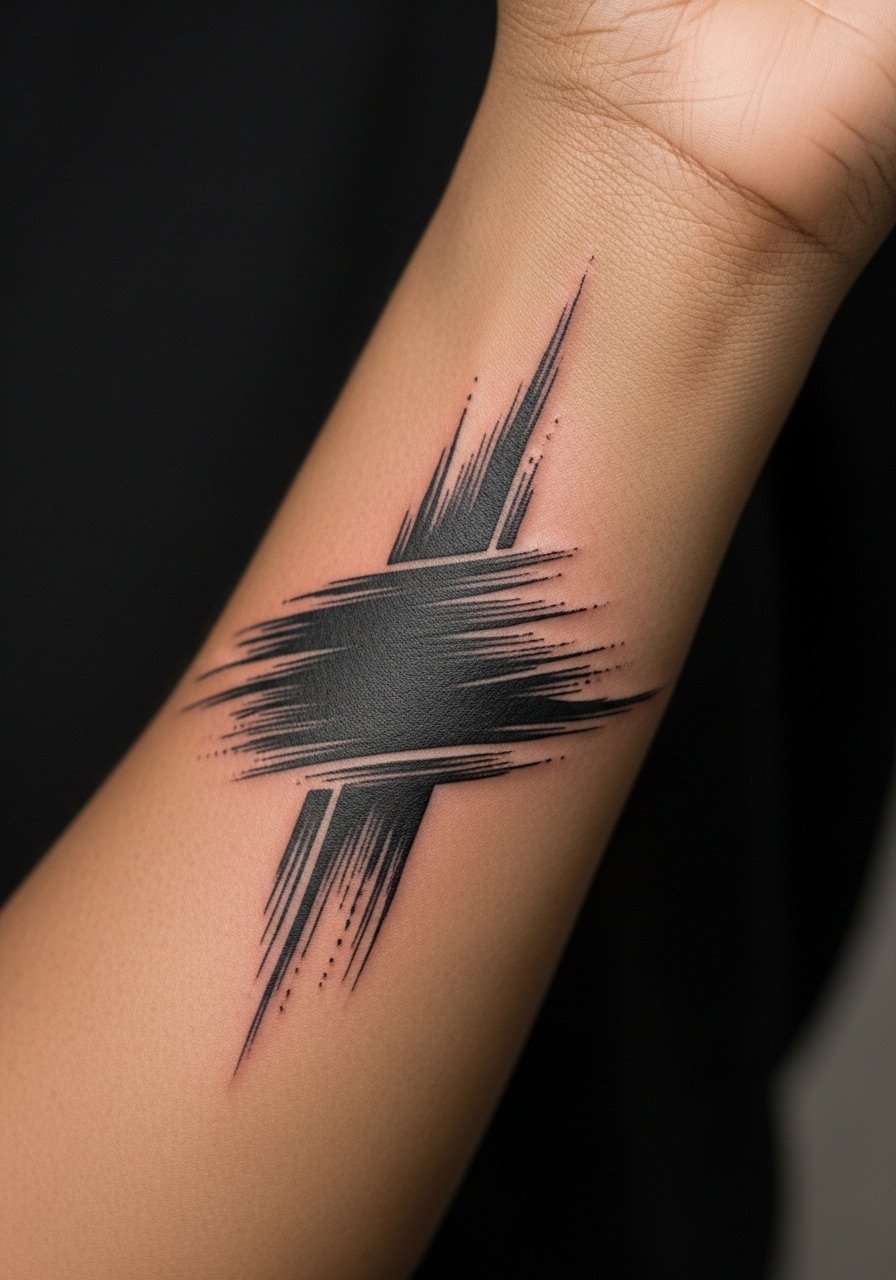
Styling lead: bold brushstroke pieces pair with sleeveless or rolled sleeves to show motion across the arm. Ask your artist how they will create textured edges so the brush effect reads naturally rather than as a block. People often request a single massive swipe that ends up looking like a smudge after healing. Sessions vary by size but expect at least one layering pass. For shows or casual wear, a sleeveless tank top frames the sweep effectively.
16. Anchor and Rope, Classic Forearm Placement
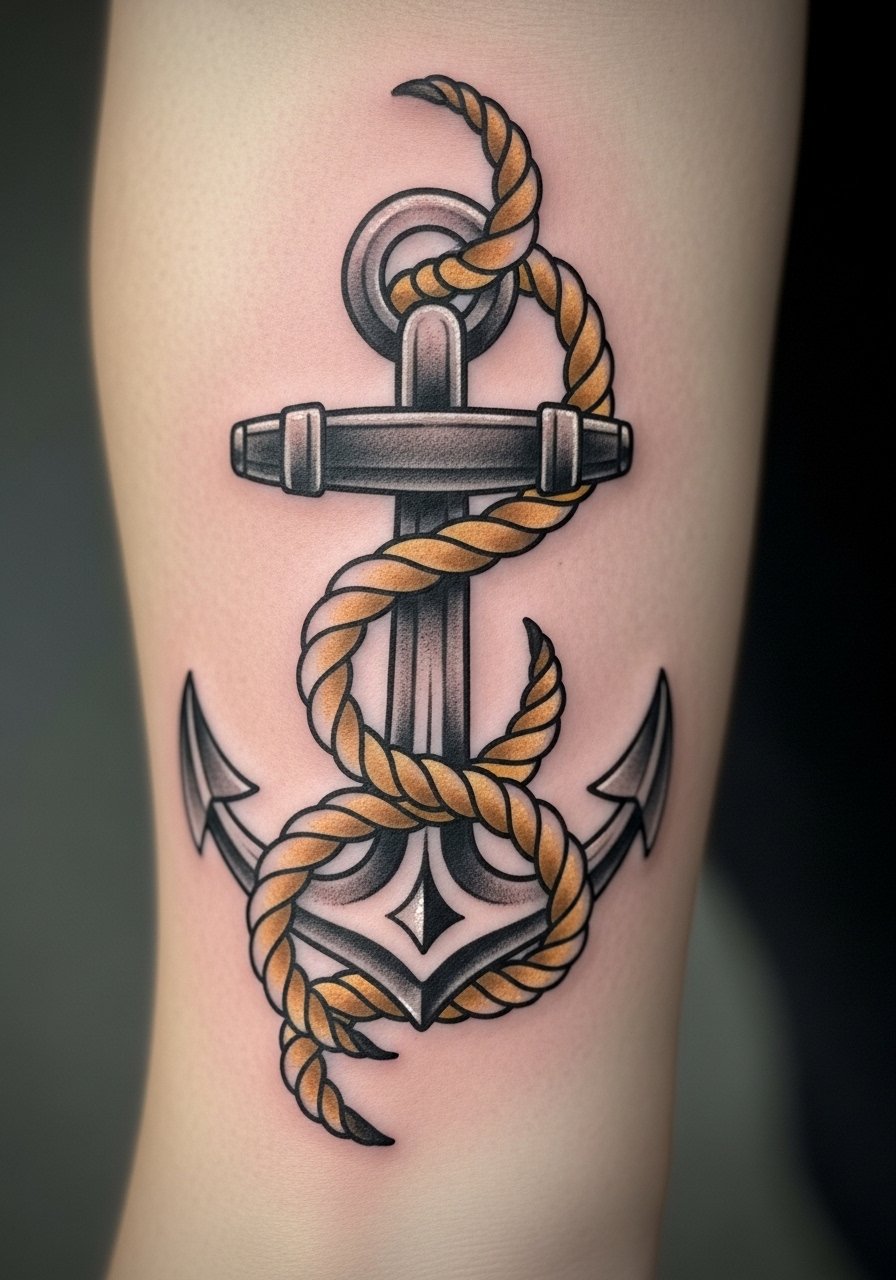
Consultation lead: classic motifs like anchors age well when outlines are bold and rope texture is clear. A real mistake is asking for extreme micro detail in the rope at a tiny scale. Instead request broader rope twists and clear shadow blocks to keep the knot readable at five years. Expect moderate pain near the wrist and one to two sessions. No styling link here because this motif is obvious with short sleeves and casual wear.
17. Small Abstract Geometry Cluster Near the Wrist
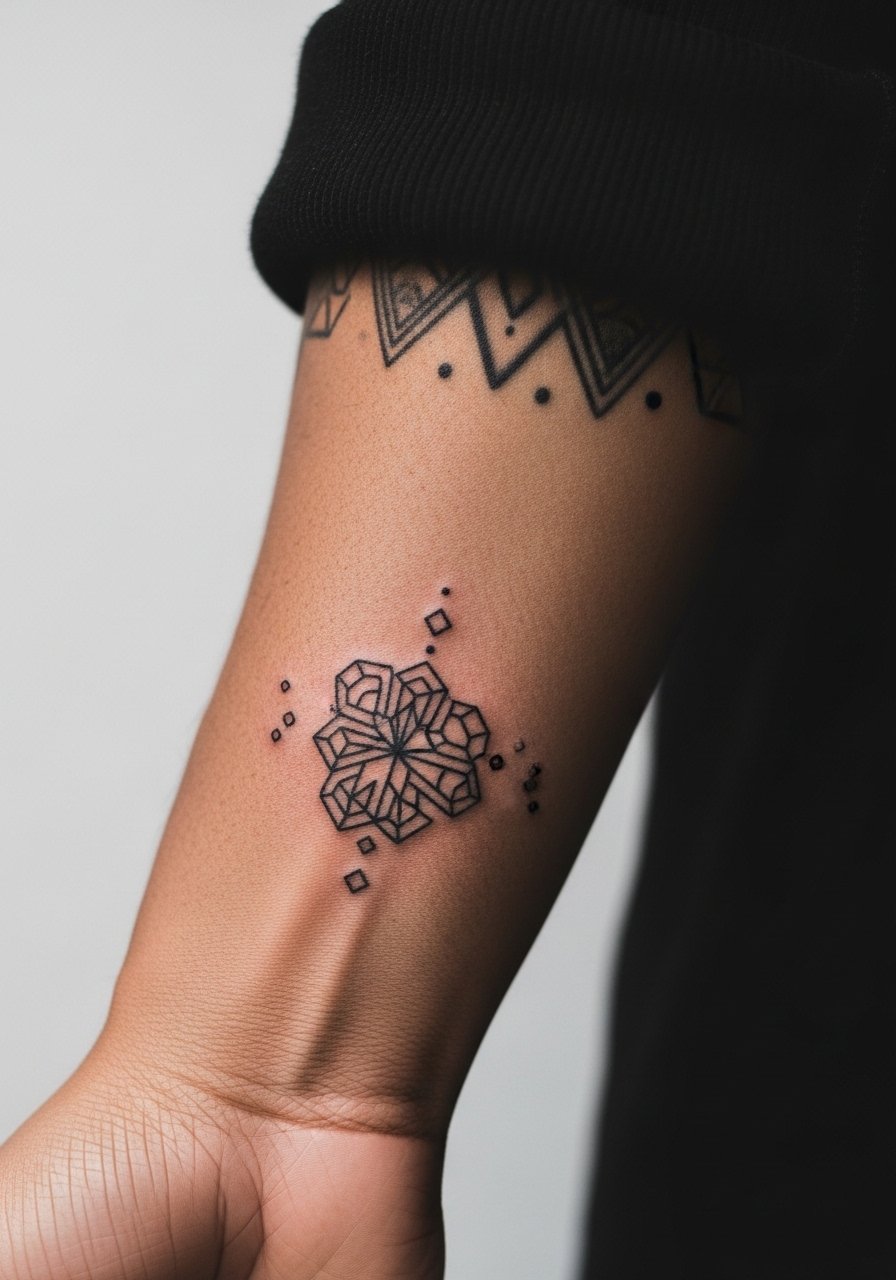
Mistake lead: geometric clusters that live too close to the wrist often meet friction from watches and cuffs and fade faster. Ask for slightly higher placement if you want longevity, or plan for a touch-up at year two. The session is quick and tolerable. For showing off during meetings, a minimalist watch band in leather frames the cluster without rubbing directly on the ink.
Frequently Asked Questions
Q: Will fine line forearm tattoos blur faster than bold work?
A: In my experience the fine line pieces can blur sooner if the lines are too close or the needle depth is inconsistent. One group of artists prefers heavier single-pass outlines for longevity. The other group favors ultra-fine lines for the fresh look and schedules touch-ups. Ask your artist how they test line retention on forearm skin.
Q: How visible do forearm tattoos stay after two years?
A: It depends on sun exposure and clothing. Forearms see a lot of UV and friction, so expect some softening at two years if you do not use sunscreen and protective measures. For darker saturation pieces the contrast holds longer, but for fine line work plan for touch-ups as a maintenance step.
Q: Can I wear a button-down for the session and still give the artist access to the inner forearm?
A: Yes. Bring a loose button-down shirt you can pull aside or roll the sleeve up. That makes it easy for the artist to work without you getting cold and without the fabric tugging on fresh ink.
Q: Do certain forearm placements take more sessions?
A: Yes. Outer forearm color work and half-sleeve fragments typically need longer sessions and occasional layering. Small script or single-line designs often fit in one shorter session. Plan your schedule around whether you want layering for saturation or one clean pass.
Q: Are there career implications for forearm tattoos?
A: Some workplaces remain strict about visible tattoos, while others are relaxed. If career fit matters, consider slightly higher placement on the forearm or a design that looks discrete under a long sleeve. Thinking about that before booking saves hassle later.
Q: How do I pick an artist for micro-realism or dotwork on the forearm?
A: Look for portfolios that show healed photos of the exact technique you want rather than fresh work only. Spend time on discovery pathways like shop directories, convention portfolios, and community forums to compare healed examples and ask about touch-up policies.
