
Fine line white ink looks like a whisper on skin when it is fresh, but the truth is many of those whispers fade faster than the threads in your favorite tee. I have seen wrist pieces vanish into faint scars and collarbone florals glow under certain light and nearly disappear in photos. This list lays out 21 white ink tattoo ideas, what to ask for in consults, how they age, and how to style them so the designs stay visible when it matters most.
1. Fine Line Heart Outline on Inner Wrist
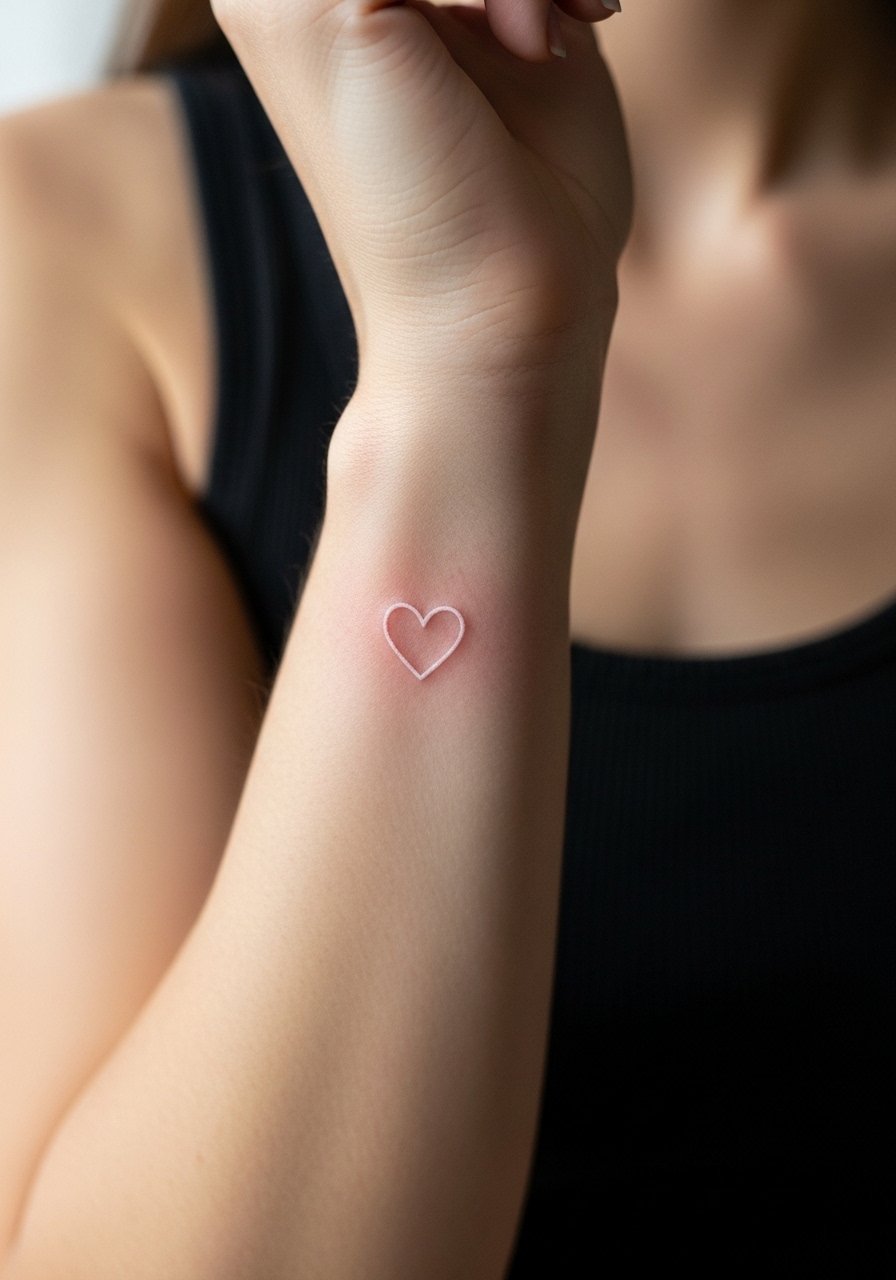
I've seen this one on people who want a private symbol that only shows at arm-length. Tell your artist you want a slightly bolder single-line weight rather than an ultra-fine stroke so the heart keeps shape after healing. The wrist is low on fat and high on motion, so expect a touch-up around six to twelve months. Common mistakes are asking for an inch-wide micro heart and getting it done too fine, which makes it blur or vanish. Pain is mild, session time is short. For showing it off, roll a sheer chiffon blouse sleeve to mid-forearm and stack a thin silver bangle on the other wrist to balance attention.
2. Micro Floral Branch on the Collarbone
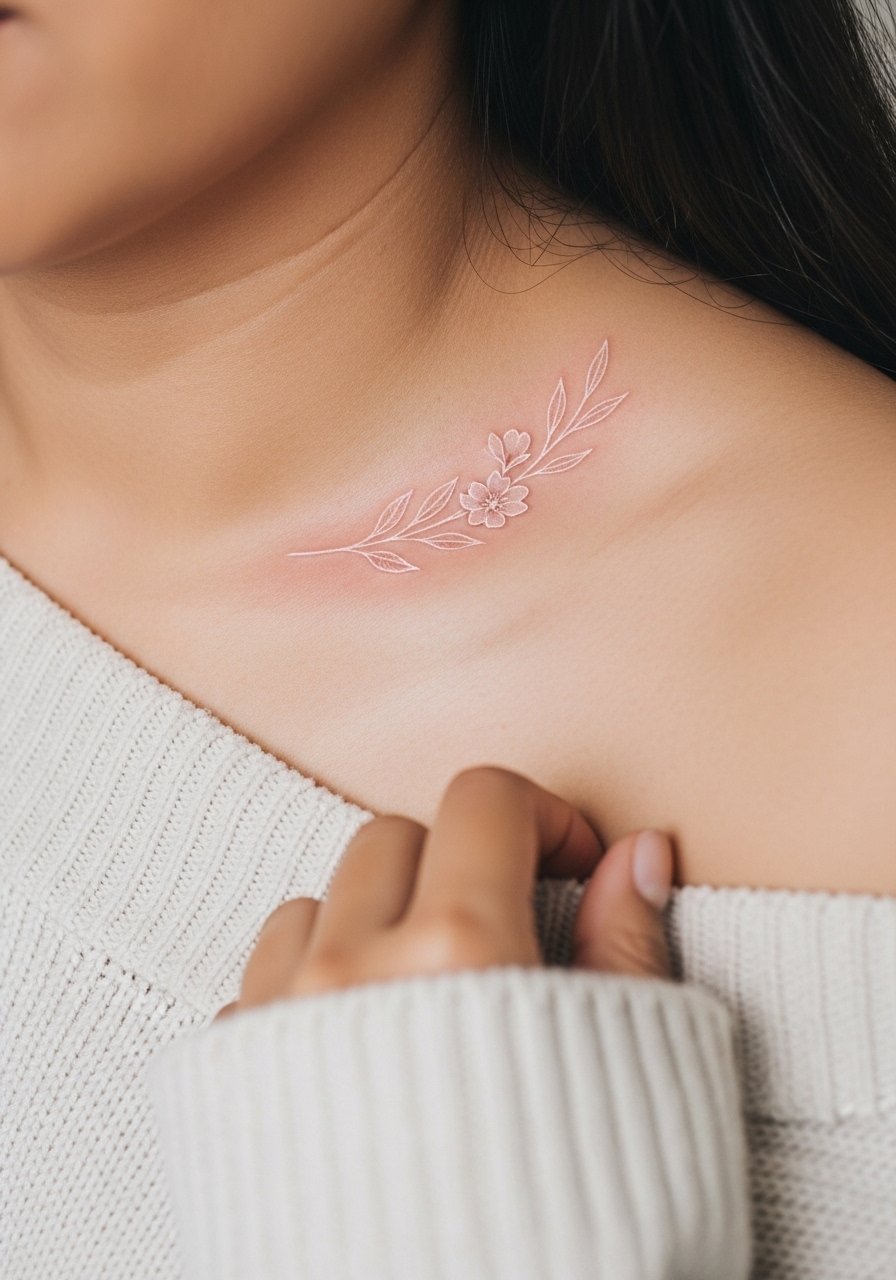
Fair warning: collarbone skin photos differently under flash than in ambient light. Ask for 3-4 inch linear spacing with small gaps between petals so the floral keeps definition as it settles. The rib-adjacent movement is lower here so the design holds better than on the sternum, but it still needs yearly checks if you spend a lot of time in the sun. Mistakes I see include requesting dense micro shading that merges into a wash over time. Session is short and pain is on the mild side. For evening reveals, pair the piece with an off shoulder sweater or a delicate chain necklace that sits above the branch.
3. Mandala Dotwork on Outer Forearm
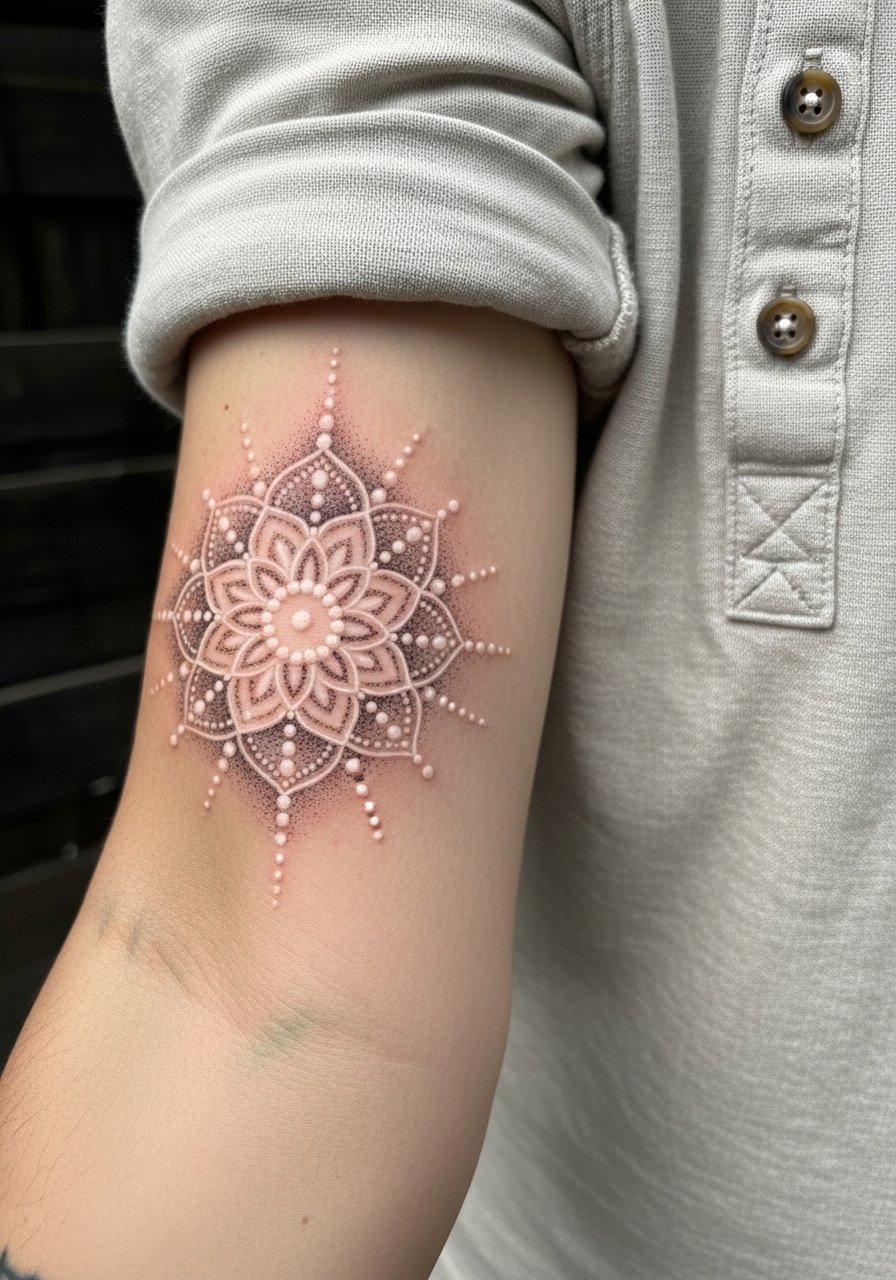
When you want meditative symmetry that reads under tan skin, ask for dotwork spacing that leaves negative skin pockets. Tell the artist you prefer stipple shading over continuous fill to reduce risk of pooling and to keep the mandala readable at year two. The forearm tolerates white ink better than hands, but UV exposure can still flatten contrast. A common misstep is cramming a highly detailed mandala into a tiny diameter which causes dot clusters to merge as they heal. Expect moderate session time and low to moderate discomfort. Show it off with a linen henley shirt with the sleeves rolled to the elbow.
4. Minimalist Arrow on the Ankle
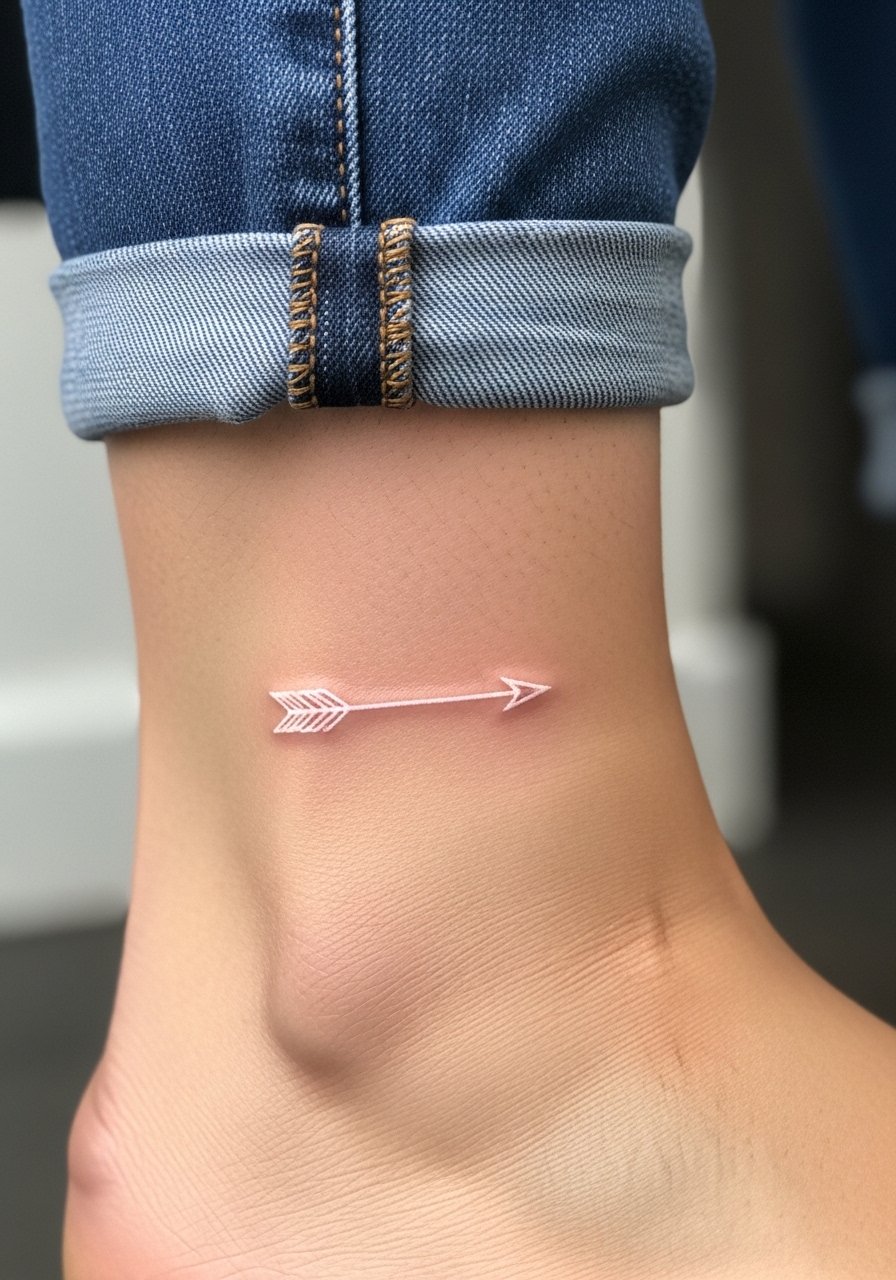
The ankle is a friendly spot for low-visibility pieces but it sees constant rubbing from socks and shoes. Ask for a 1-inch arrow with a slightly thicker shaft so the form stays crisp after the first month. The biggest mistake is going too tiny with fine single strands that disappear under daily friction. Expect a short session and sharp but brief pain. For summer styling, cuff cuffed cropped jeans or slip into strappy flat sandals to reveal the tattoo cleanly.
5. Script Quote on the Ribcage
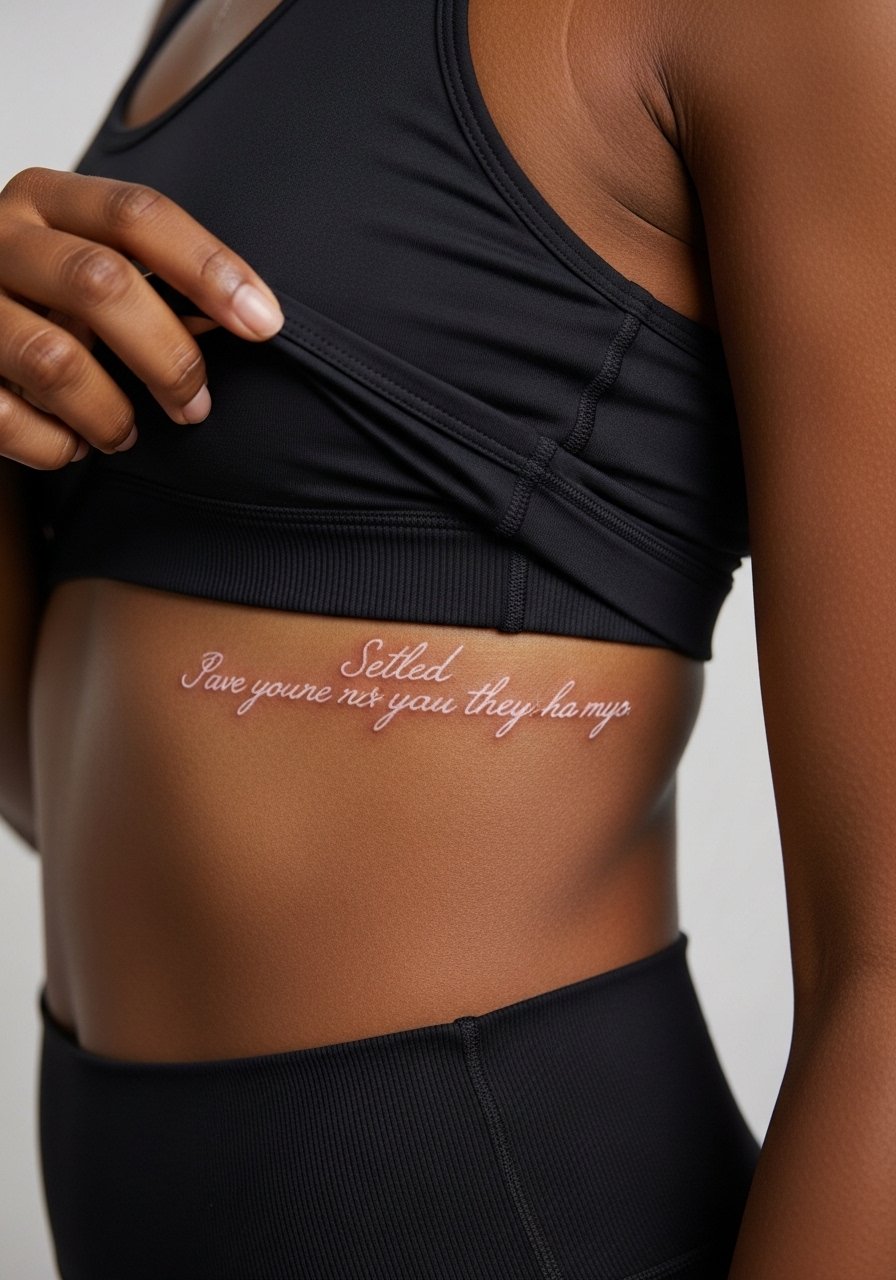
Fair warning: ribs register high on pain charts and white ink there is controversial. One camp says fine line on ribs blurs quickly because the skin stretches and rubs, and another camp insists that correct needle depth and spacing keeps script readable. Ask your artist where they stand and request slightly larger letter spacing plus a backup plan for a subtle black outline if visibility becomes an issue. Common mistakes are choosing tiny cursive that compresses during healing. Expect one session with notable discomfort and a touch-up timeline at six to twelve months.
6. Crescent Moon on the Shoulder Blade
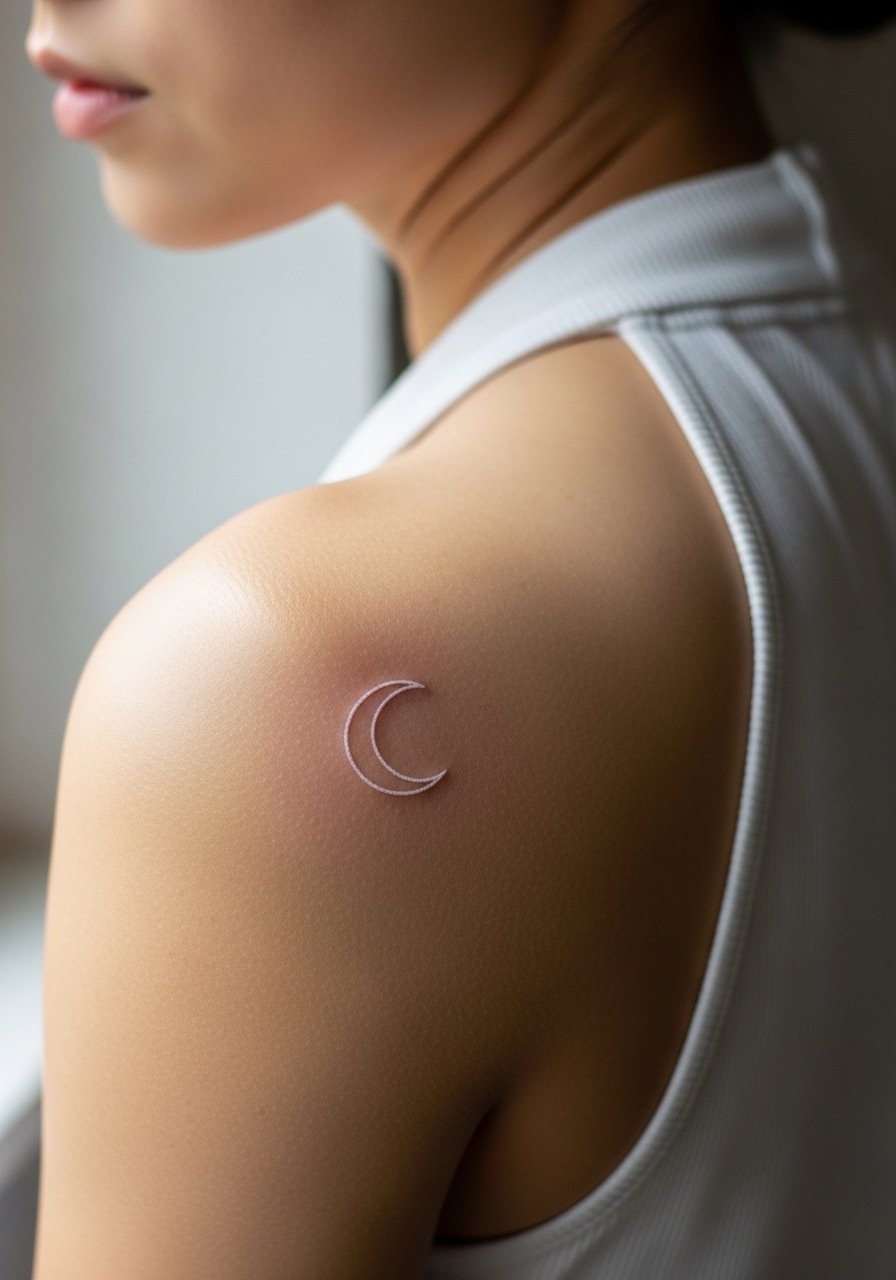
I've seen many people pick celestial motifs for shoulder blades because the area is low-friction and photographs nicely with hair up. Ask for a 2-inch crescent with clean outer contour and minimal inner stippling so the moon stays readable as it settles. The shoulder blade usually tolerates white ink well, but heavy sun exposure can sap brightness. Session time is brief and discomfort is low. Pair the reveal with a sleeveless halter top or an open back tank to keep straps off the area during healing and showing.
Studio Day Picks
The small wrist, ankle, and collarbone ideas above ask for different prep than larger thigh and back pieces, so a few items smooth the appointment and the first week.
-
CeraVe Healing Ointment. A lightweight, fragrance-free ointment many people prefer during the first 48 hours because it locks in moisture without heavy greasiness.
-
Tea tree tattoo balm. A breathable balm option that users say soothes inflammation while avoiding pore-clogging oils ideal for small white ink zones.
-
Fragrance-free jojoba oil. Useful after the scab phase to keep skin supple and to minimize ink migration in fine line work.
-
Japanese rice bran salve. Anti-inflammatory salve that some forum contributors pick for irritated areas without heavy residue.
-
UV-reactive white ink supplies. If you are interested in nightclub or blacklight visibility for darker skin tones, mention UV-reactive white ink during your consult and ask about its sun sensitivity.
7. Fine Line Butterfly on Inner Bicep

The inner bicep offers a sheltered canvas that keeps fine detail longer than outer, high-friction spots. When you book, show reference photos that indicate exact wing vein spacing and tell the artist you want a slightly heavier primary vein so the silhouette stays readable. The mistake is overloading small wing details that merge when the skin settles. Pain can be moderate because of nerve clusters and muscle movement, and session time is typically short. If privacy matters, this placement stays hidden under short sleeves.
8. Stacked Geometric Triangles on the Calf
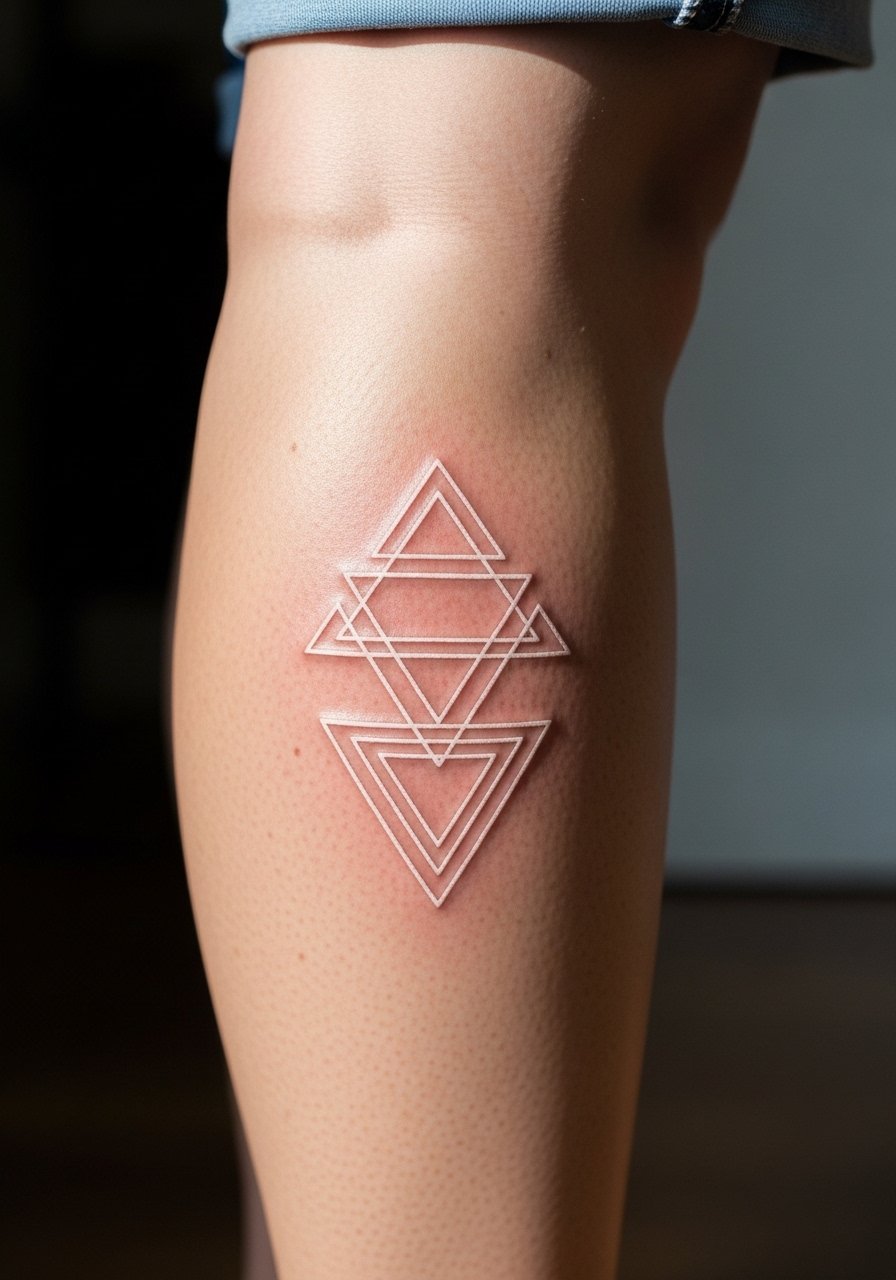
Geometric shapes on the calf age well if you give each line room to breathe. Tell the artist to space triangles by at least a few millimeters to prevent line merging over years. The calf is a lower-movement area so saturation tends to persist better than on hands. A common error is shrinking a complex stack into a diameter that causes visual collapse as it heals. Expect a moderate session time and low discomfort. Style this with cropped linen shorts or rolled-up joggers to put the design on display.
9. Wave Band on the Outer Thigh
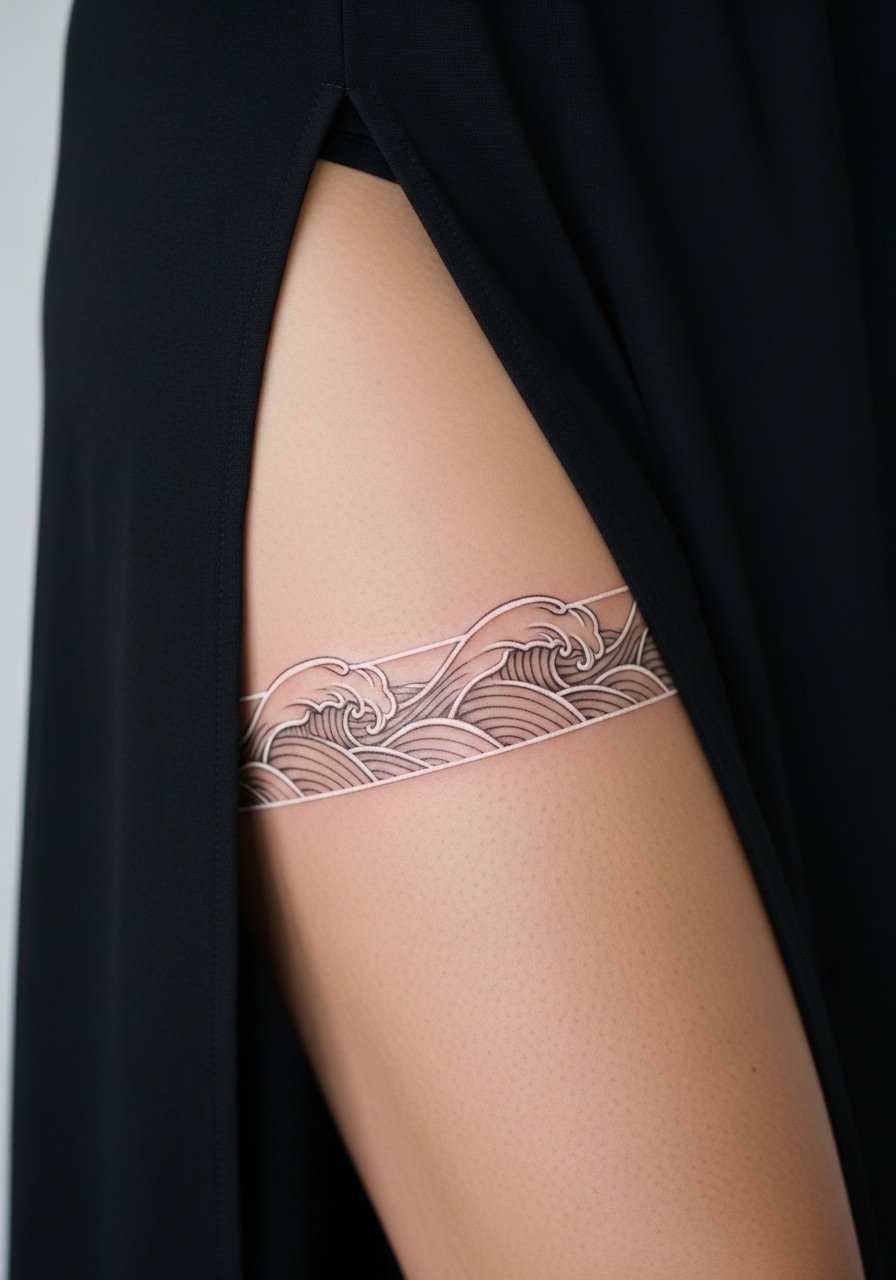
Thigh work is forgiving but clothing can rub the area during the first weeks. Ask for a five-inch band with open negative-space edges so the wave keeps motion without blending into a smear. The common mistake is tight-fitting pants right after the session which creates friction and delays healing. Sessions may take longer due to size and the area can be mildly uncomfortable when seated for long periods. For show-off moments, a high-slit skirt or rompers with short hems reveal the band cleanly.
10. Micro Constellation at the Nape
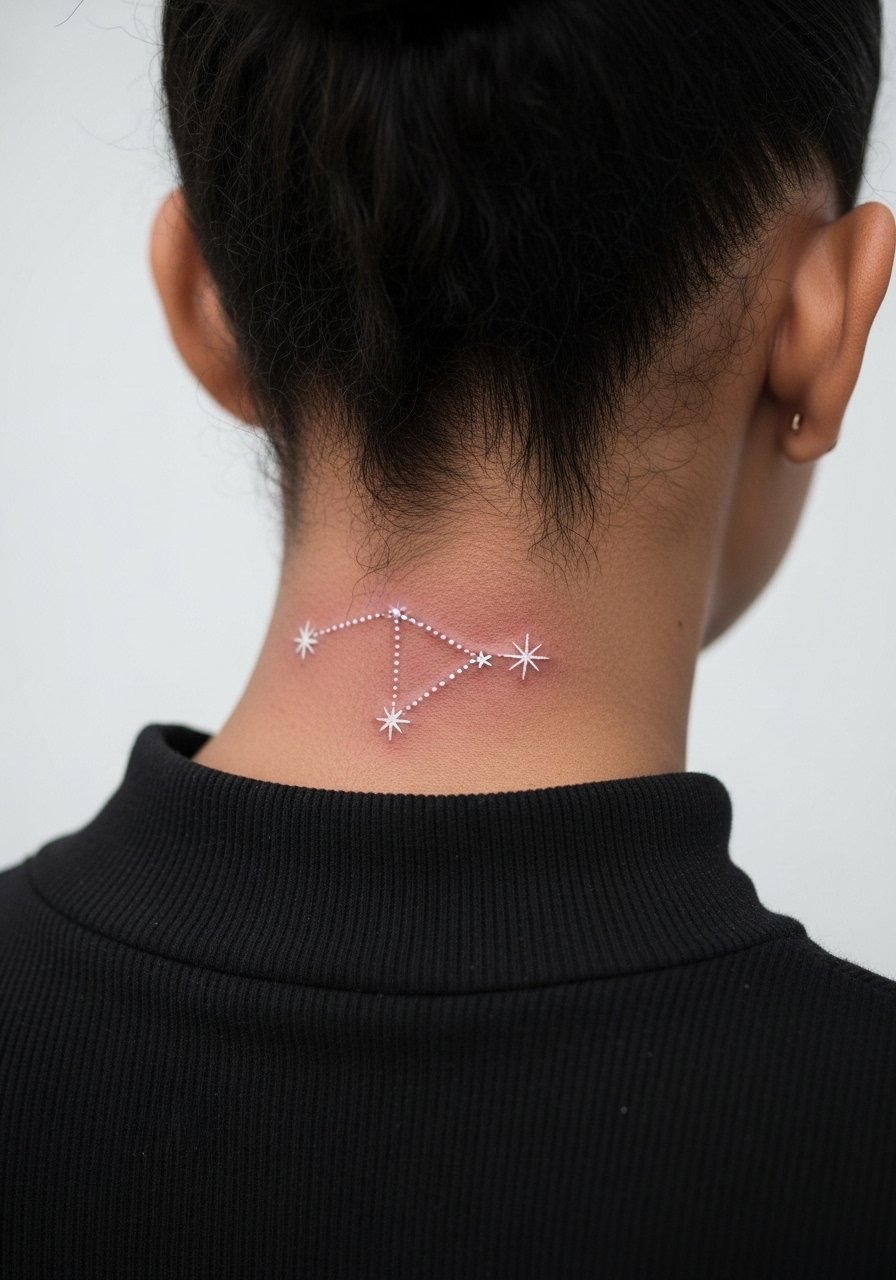
Nape constellations are discreet unless you put your hair up, which is exactly why people pick them. Bring reference photos showing exact star placement and inter-star spacing. The nape is low friction if covered by collars, but hair products can irritate the healing area so plan shampoo timing. A mistake is placing too many tiny dots that blur when close together. Session time is quick and pain is mild. Show it off with high-neck crop tops or pull your hair into a messy bun to spotlight the cluster.
11. Feather Outline Down the Spine

Vertical spine pieces read elegantly but you need to consider body movement and weight changes. Request a six-inch length with varied barb spacing so the feather keeps flow instead of merging into a single line. The spine sees less friction from clothing if you wear open-back styles during healing. Common mistakes include compressing too many thin barbs which leads to blurring within a year. Expect one to two sessions depending on size and moderate pain if the needle approaches the spinal muscles. Pair with open-back tops for evening looks.
12. Lotus Silhouette on the Back of Hand
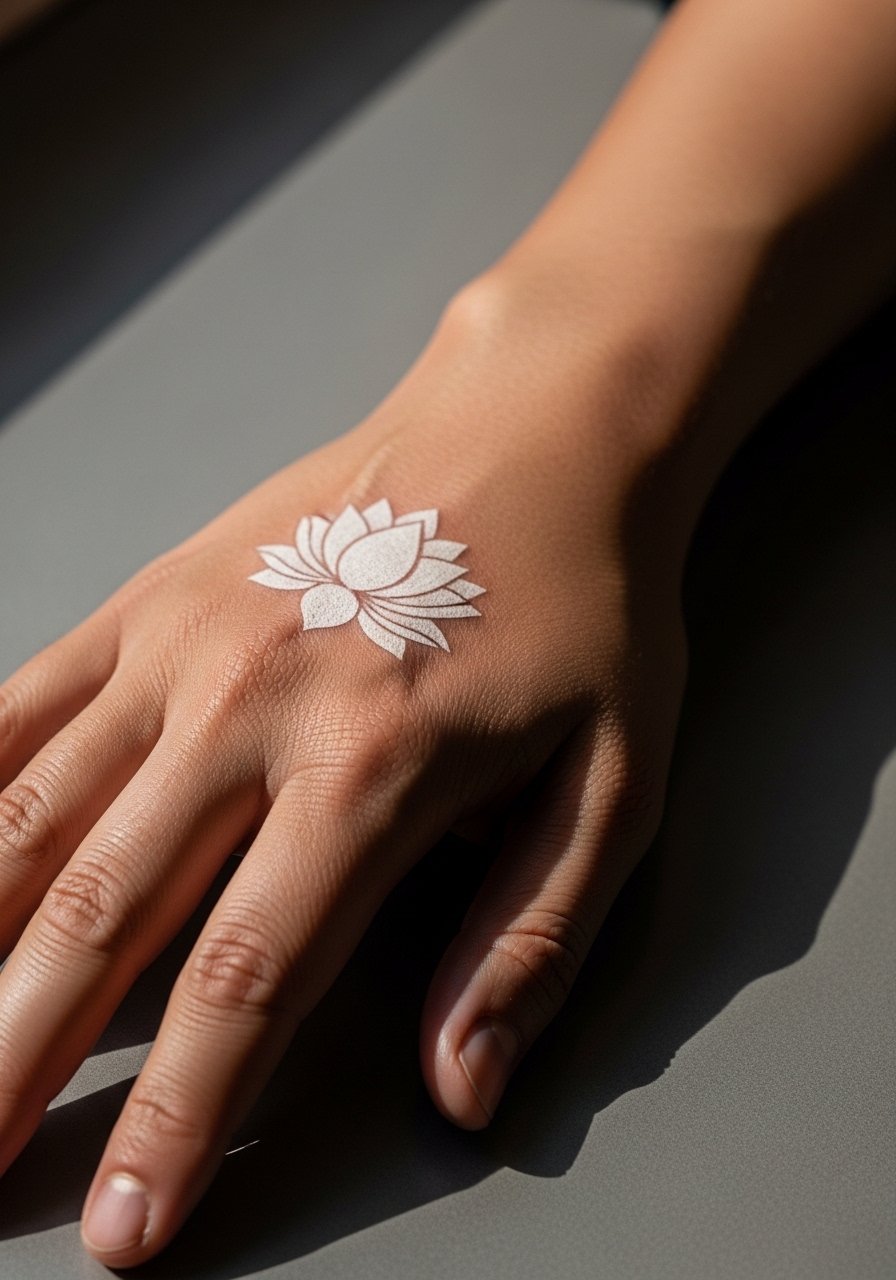
Hand pieces are high-maintenance and often need touch-ups. If you want a hand lotus, ask for bolder outer edges and reserve interior space rather than micro-filling the petals. The palm side movement and frequent washing accelerate fade, and the common mistake is treating hand white ink like a wrist tattoo. Touch-ups at year intervals are common. Sessions are short but painful. Consider styling with minimal rings so the back of the hand reads cleanly, and avoid heavy abrasive chores during the first month.
13. Vine Wrap on the Upper Arm
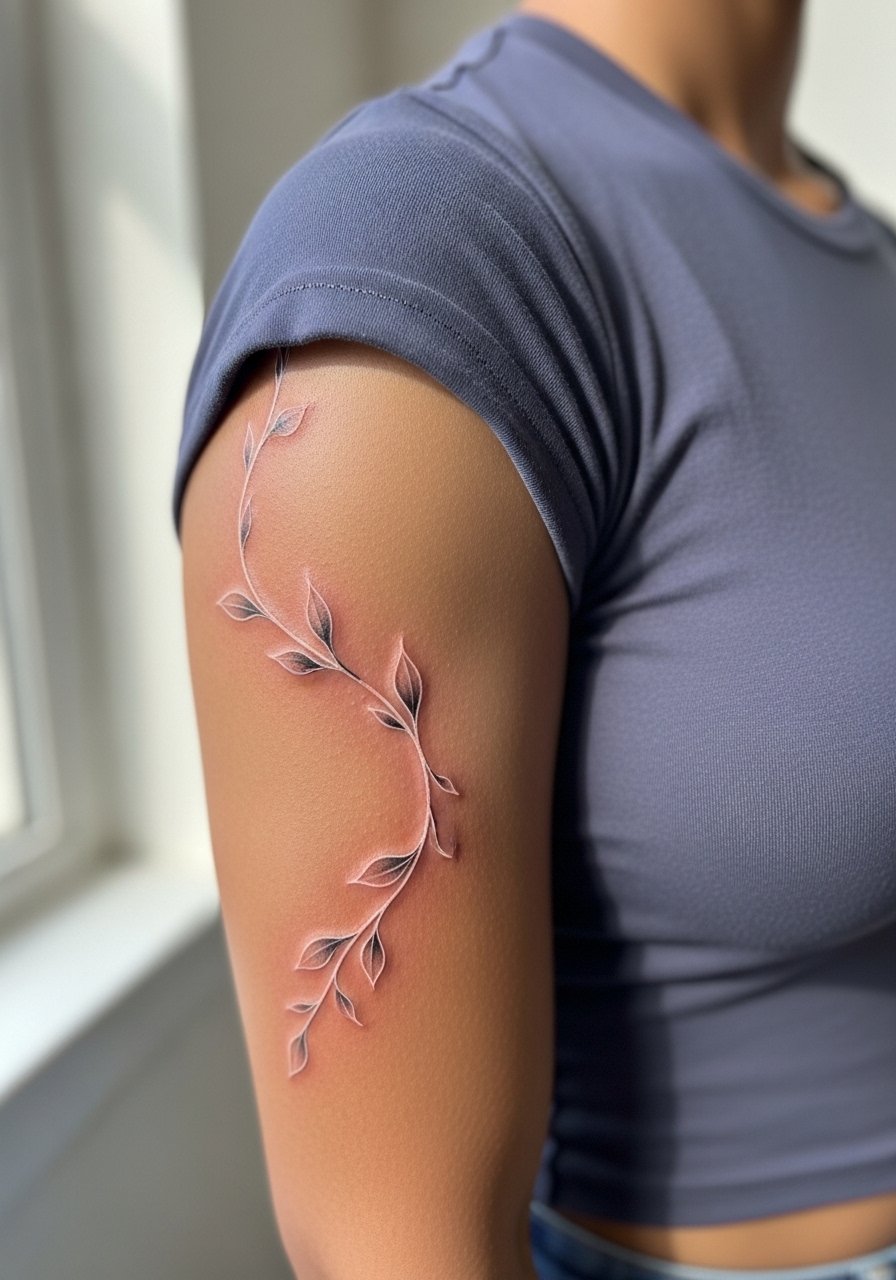
A vine wrap can mimic jewelry without permanent hardware, but it needs spacing to flow with arm curvature. Tell your artist you want a repeating leaf rhythm with slight gaps so shopping and sleeve rub do not flatten the pattern. The upper arm is forgiving and usually holds white ink well compared to hands. A mistake I see is continuous tight loops that create continuous scab lines under fabric. Expect one to two sessions depending on wrap length and low to moderate pain. Wear a fitted short sleeve tee during the appointment for easy access.
14. Single Star on the Finger Knuckle
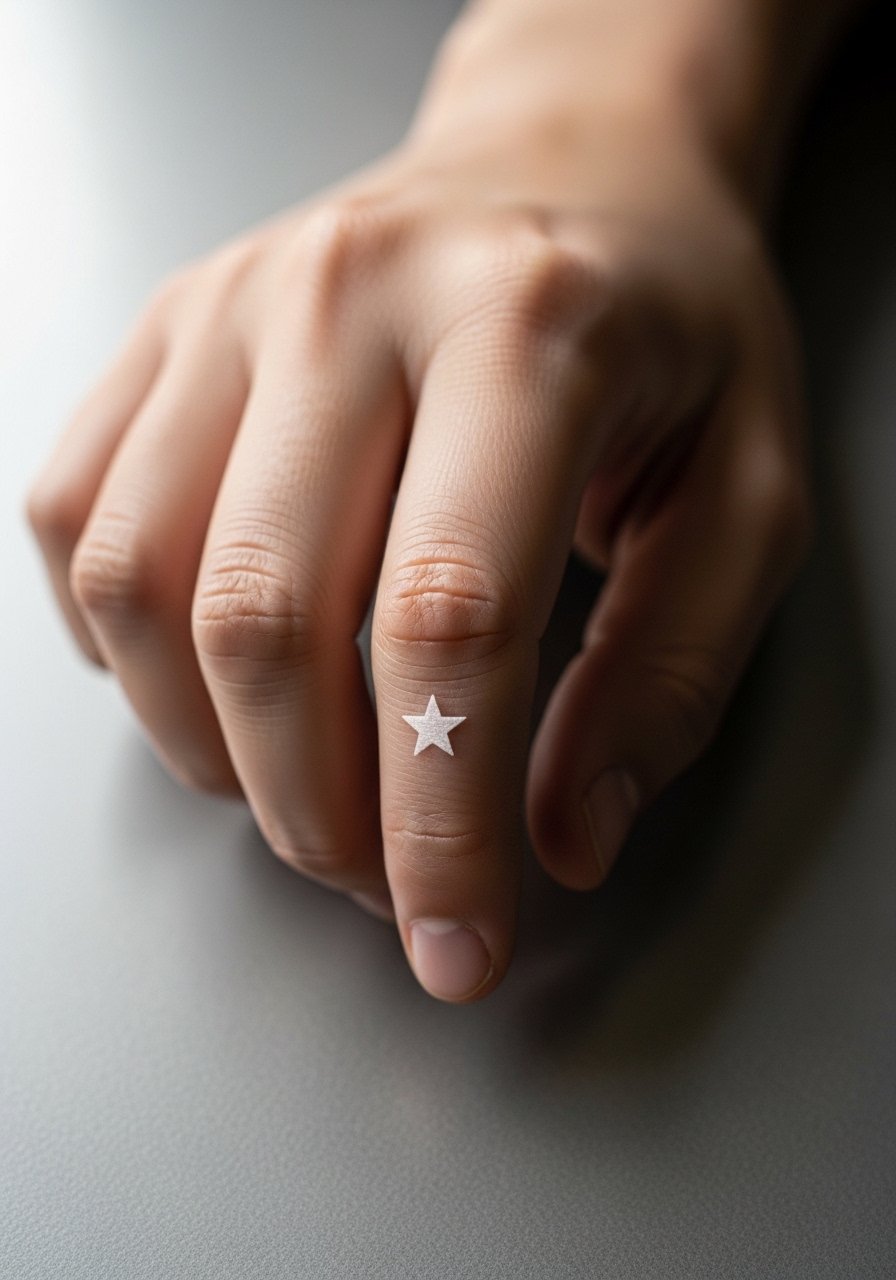
Knuckle placements are the definition of high-touch zones and they fade quickly. If you want a secret star visible only when you make a fist, ask for a slightly thicker outline and plan for yearly touch-ups. Common mistakes include selecting script or tiny detail on knuckles which becomes illegible. Sessions are very quick and the pain is sharp. Consider this a playful experiment rather than a forever solve unless you are ready for consistent upkeep.
15. UV-Reactive Lotus on the Forearm
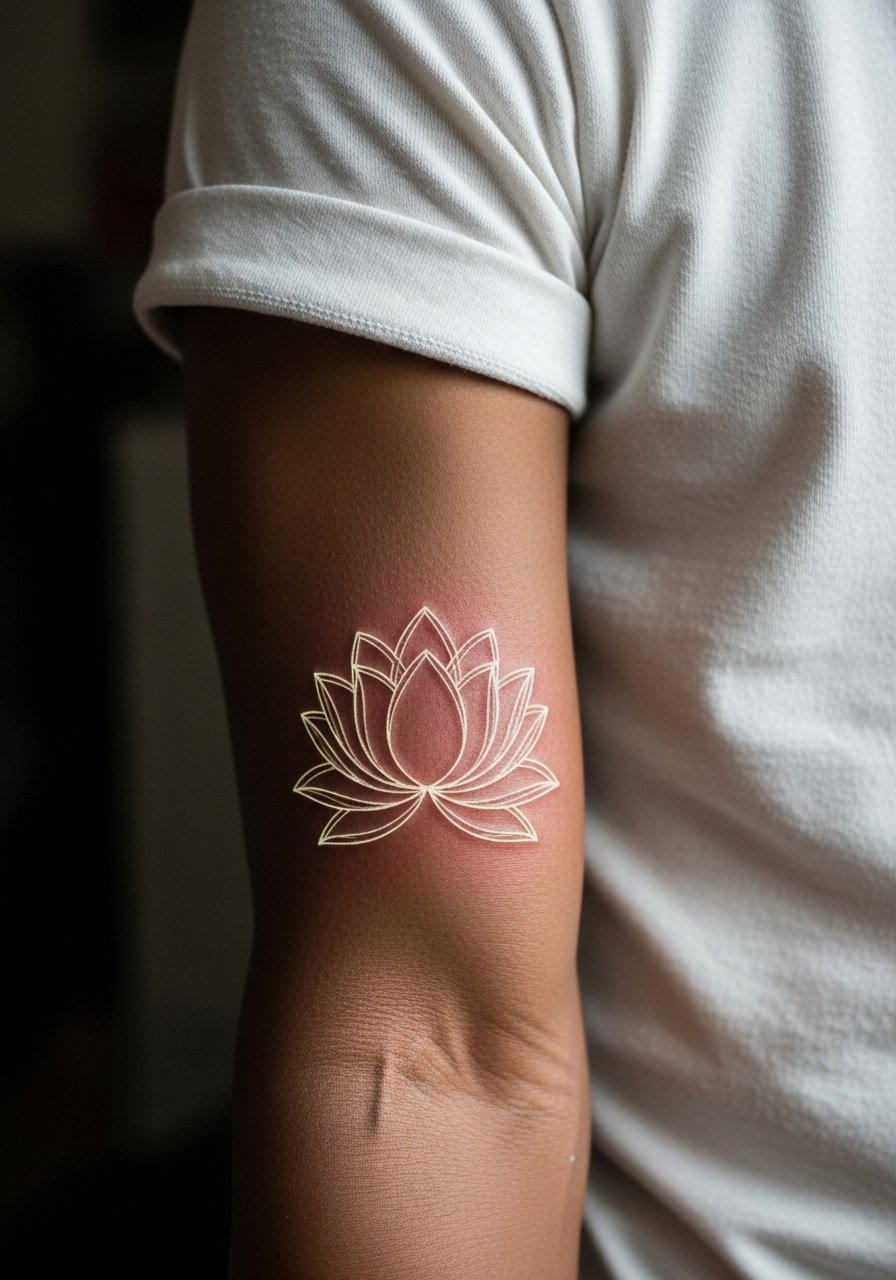
If you want visibility in nightlife or to get a strong foreground contrast on darker skin, ask your artist about UV-reactive white ink and how it behaves with regular white ink. The trending debate is that UV ink glows under blacklight but can be more sun-sensitive than standard white. Ask the artist about sun protection and expected longevity. The forearm tolerates this approach well and the session time is standard. Wear a fitted henley shirt that can roll cleanly for the session and to frame the tattoo when showing it off in daylight.
16. Tiny Feather on the Back Spine
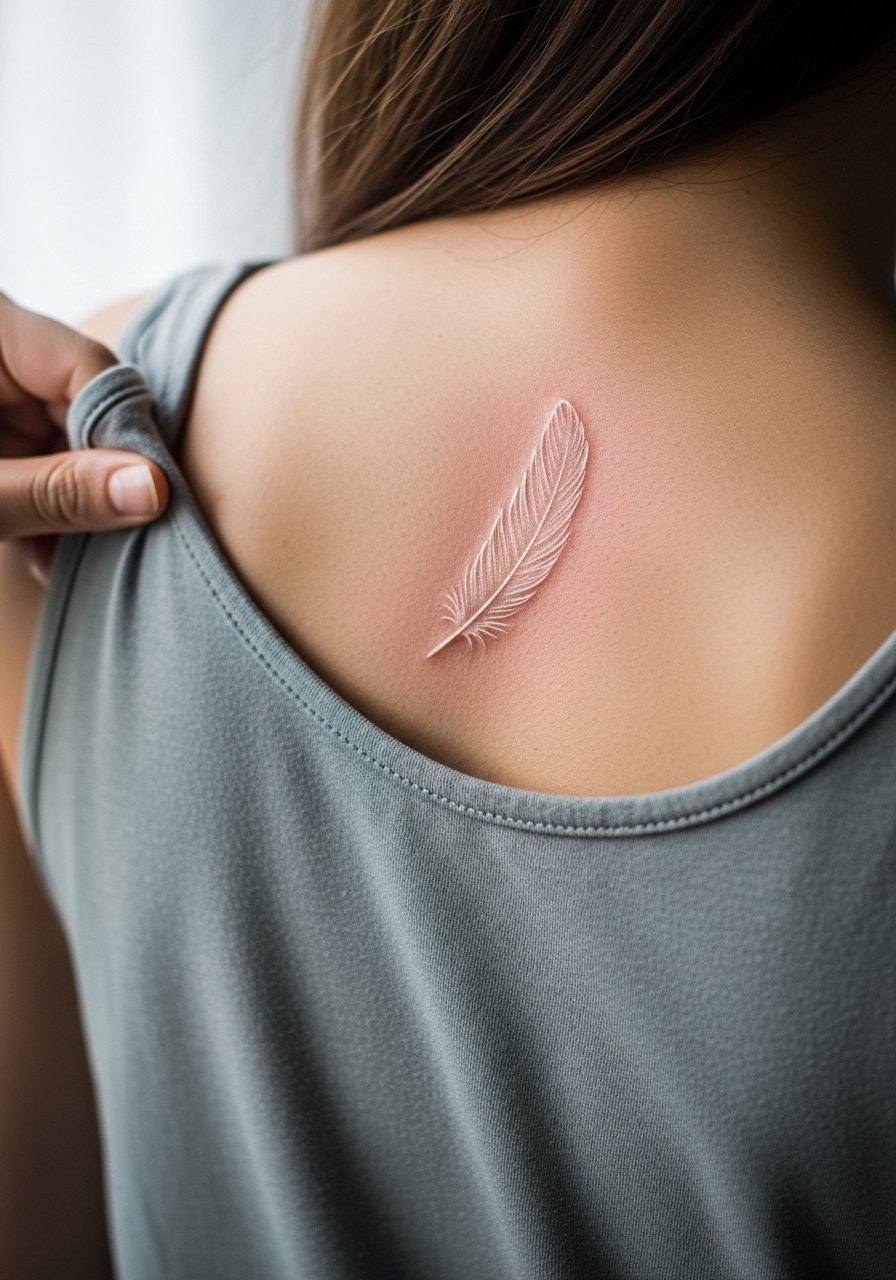
Personal observation: small spine-placed feathers age better when vertical spacing is generous. Request a simple single-stroke quill and open barbs so the feather remains legible as skin shifts. The upper spine is moderate on movement but low on friction, which helps retention. Mistakes include compressing barbs and adding micro-shading that fills in. Sessions are short and pain is moderate. Pair with an open back tank for healing access and for nightwear reveals.
17. White Ink Over Scar Tissue
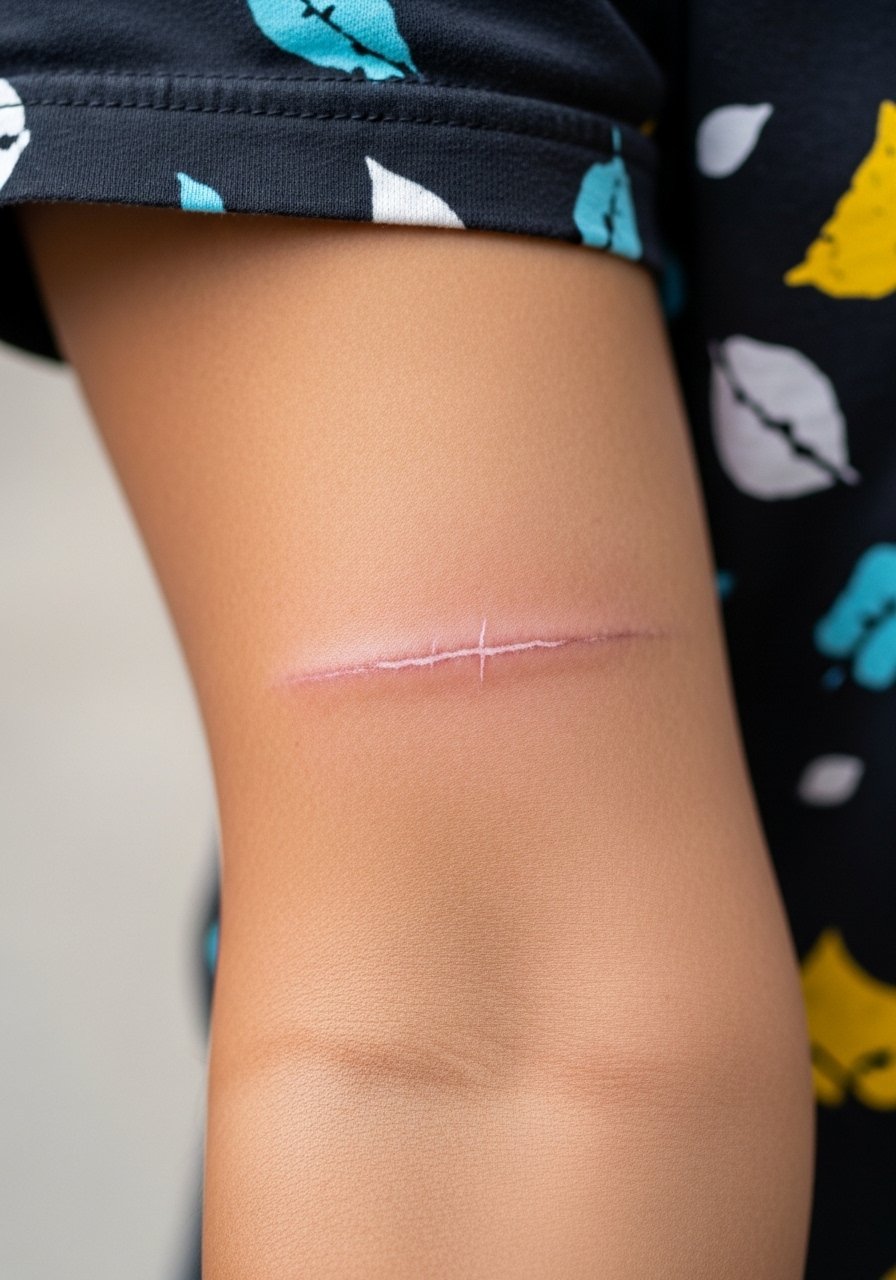
This is one of the less-covered approaches and it can work if you test a patch first. Ask for a small trial area and discuss expected integration with the artist, because scar tissue absorbs ink differently. One camp cautions that scar tissue can reject pigment and create uneven patches, and another camp has successful examples where white ink subtly dulled a scar. Do a patch test and plan a flexible touch-up timeline. The session is experimental and might be longer if layering is required. Avoid heavy shading over recent scars.
18. Knuckle-Secret Designs Visible When Fist Is Clenched
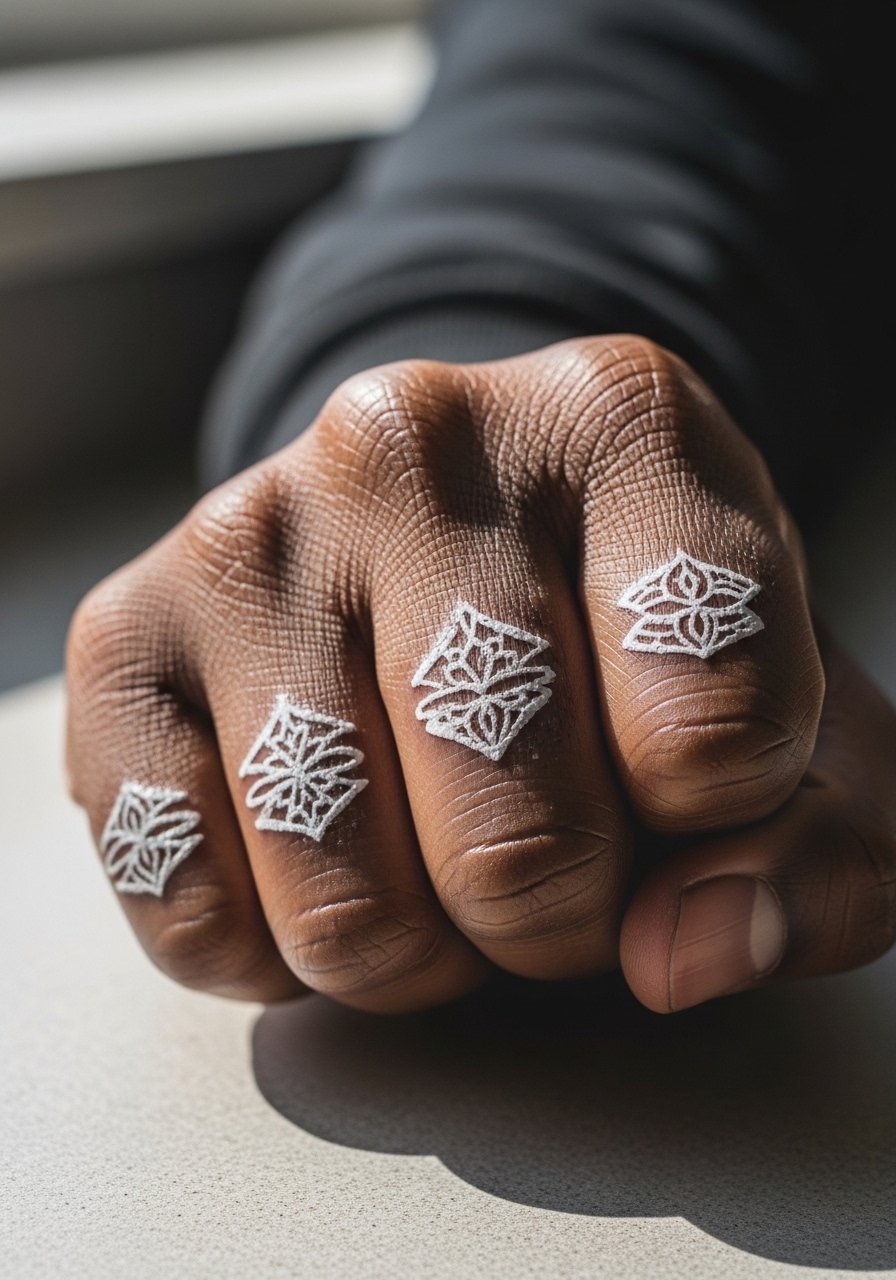
Two Reddit mentions point to this for people who want ultra-private markings. If you choose knuckle-secrets, ask for thicker outlines and leave interior negative space to reduce the need for constant touch-ups. The risk is high fade due to constant use and washing. Common mistakes include placing detailed imagery that loses shape when the skin flexes. Sessions are brief and painful. Treat this as a playful, high-maintenance choice rather than a low-effort statement.
19. Butterfly Thigh Panel That Hides Under Shorts

Thigh panels survive summer sweat if you avoid tight fabrics during the first week. For a three-inch butterfly, ask for open wing veins and reserved fill so pants do not rub pigment away during scab phase. The fault I see is choosing tight leggings immediately after the session which drags and softens lines. Sessions can be moderate in length and discomfort is mild. Pair with loose shorts or rompers for sessions and with thigh-high boots for styled looks.
20. Micro Script Behind the Ear for a Private Note

Behind-ear scripts are intimate and often chosen for private mantras. Use exact text in consults and in the image prompt so placement reads correctly. The area needs precise needle depth since the skin there is thin. One camp recommends avoiding sealed bandages on such zones, while another uses protective film; ask your artist about their aftercare. Mistakes include using too much script density which becomes illegible. Sessions are quick and the pain is low.
21. UV-Only Accent Lines for Darker Skin

This under-covered angle uses UV-reactive white ink to create patterns that are nearly invisible in daylight but light up under blacklight. If you have darker skin and want occasional visibility, ask your artist about placement and how often they recommend touch-ups. UV options can look different in photos versus in-person. Expect the same session time as standard fine line but plan for sun protection because UV-reactive pigments can be more light-sensitive. Treat this as a niche choice for nightlife visibility rather than daily contrast.
Frequently Asked Questions
Q: Will white ink tattoos fade faster than black ink on my skin tone?
A: From what I have seen, white ink generally needs more touch-ups than saturated black, especially in high-friction zones and on lighter exposures to sun. Darker skin can present trade-offs where standard white reads less in daylight but UV-reactive options may solve party visibility. Ask for a test patch and a clear touch-up plan in your consult.
Q: How do I prevent white ink from washing out in photos?
A: Lighting makes a big difference. Use indirect natural light, avoid harsh flash that flattens white, and try a UV filter or blacklight if your piece includes UV-reactive ink. If photo visibility is a priority, discuss slight black outlines or selective contrast in the consult so the design reads better on camera.
Q: Is Saniderm safe for white ink healing versus dry methods?
A: Artists split into two camps on this. One group says protective films speed healing and reduce scabbing, and another warns that sealed film can trap fluids and cause issues specifically with white pigment. My advice is to ask your artist for their experience with white ink, and consider a short-film application followed by breathable balm if either of you are cautious.
Q: What should I wear to my session for a collarbone or shoulder blade piece?
A: For collarbone work, wear a strapless crop top or loose button-down you can pull aside. For shoulder blade pieces, a sleeveless halter top with no straps crossing the area makes access easy and avoids fabric friction during healing.
Q: Can white ink be layered over scars to reduce visibility?
A: It can, but results vary. Scar tissue takes ink differently and a patch test is essential. One camp reports inconsistent uptake, and another shows subtle softening of scar contrast. Plan for an experimental session and keep expectations realistic, with touch-ups as part of the process.
