
Fine line tattoos are everywhere on social feeds, and the ankle and foot are where that look either sings or softens into a blur. Trends push micro detail, but these small placements ask for spacing and needle honesty so lines last. Below are 17 tiny ankle and foot ideas that balance what looks great fresh with what actually ages well, plus practical notes to make each one work for you.
1. Fine Line Daisy Chain on Outer Ankle

I’ve seen daisy chains become signature ankle pieces because the curve of the bone fits the flow. Tell your artist you want slightly open centers and varied petal spacing so the motif keeps definition as lines soften. The session is quick and mildly sharp near the bone, expect about 30 to 45 minutes. Common mistakes are packing petals too densely and going ultra-thin on linework, both speed the blur. For showing it off, pair with strappy sandals or cropped jeans that keep the tattoo visible without rubbing while it heals.
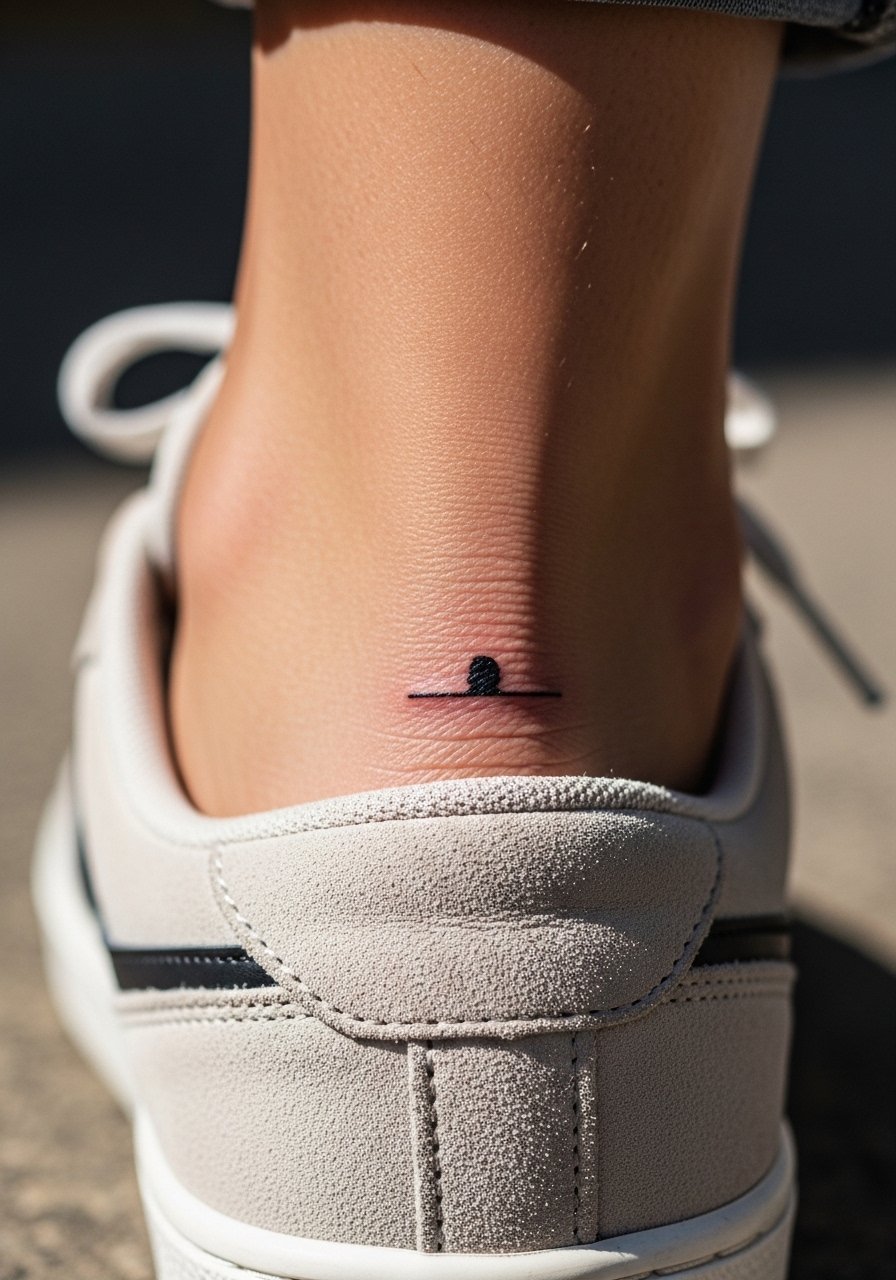
2. Tiny Crescent Moon on Top of Foot
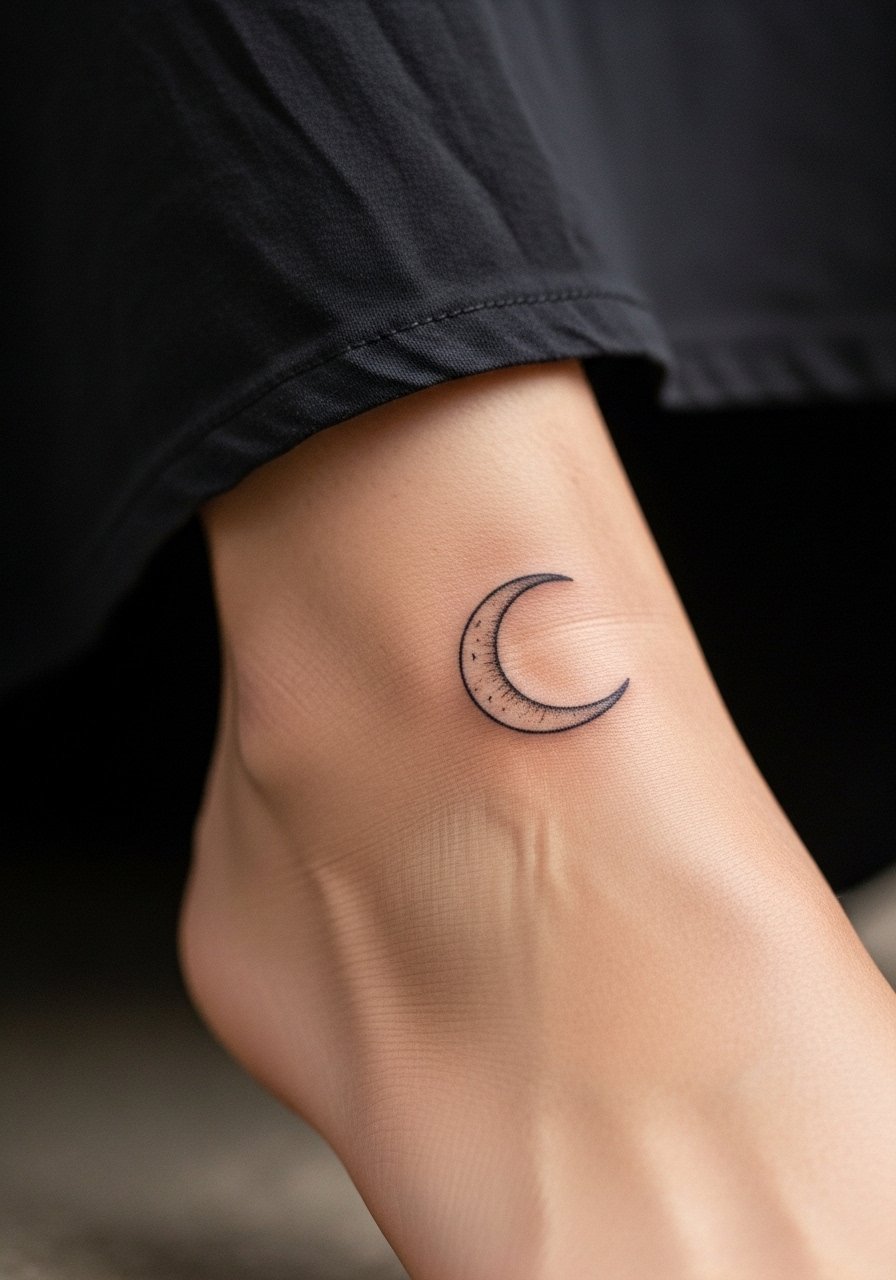
Most people expect this spot to be painless, but top-of-foot work can sting because the needle is close to bone. If you want a crisp crescent, ask for slightly bolder outer line and clean negative space so the moon reads at two years. A common aging issue is fading where shoes press the area when walking. During the session wear loose pants you can roll up and slip on sandals later. Pair this look with a slim anklet to frame the piece after it settles.
3. Anklet-Style Chain That Wraps

When a chain is meant to mimic jewelry, the scale matters more than complexity. Ask your artist to design slightly larger links and to leave breathing room between each link so they do not merge over time. This placement has higher blowout risk if the lines are too close to bone, so a steadier hand and spaced design reduce touch-up needs later. For showing it off, stack with a real thin chain anklet the way you would a bracelet to keep attention moving around the ankle.
4. Minimal Compass on Inner Ankle

Consultation tip, request the north point be subtly elongated and the rest of the lines slightly softened so it reads like a symbol not a map. Inner ankle skin is more forgiving than the bone, so fine line holds better here but still needs spacing. Sessions feel tingly rather than harsh, about 30 to 40 minutes. A mistake is asking for too many directional ticks in a tiny compass, which turns into visual noise at year two. For the appointment, wear socks you can pull down and slip-on sandals after the session to avoid pressure on the area.
5. Micro Butterfly Behind the Ankle
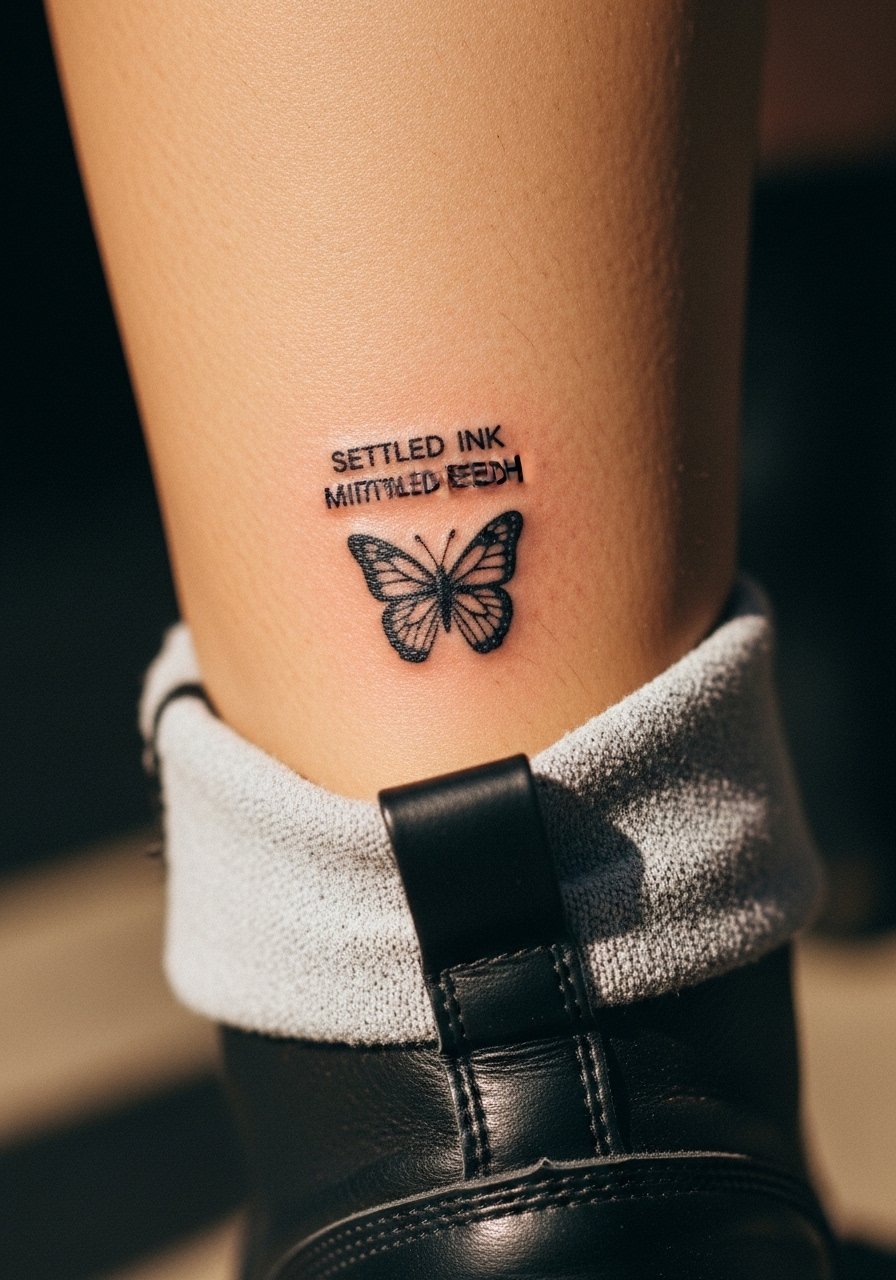
When I see this placement, it reads intimate and delicate. Ask for a slightly thicker body line and lighter wing detail so the silhouette stays clear as the tiny details fade. The behind-ankle area can swell and rub against socks and shoes, so expect extra sensitivity and a touch-up at year three if you keep wearing snug footwear. A typical session is brief but the healing window needs friction control. For showing it off, try ankle-revealing boots or cropped trousers so the butterfly peeks out without being constantly rubbed.
6. Tiny Wave Near the Side of the Foot
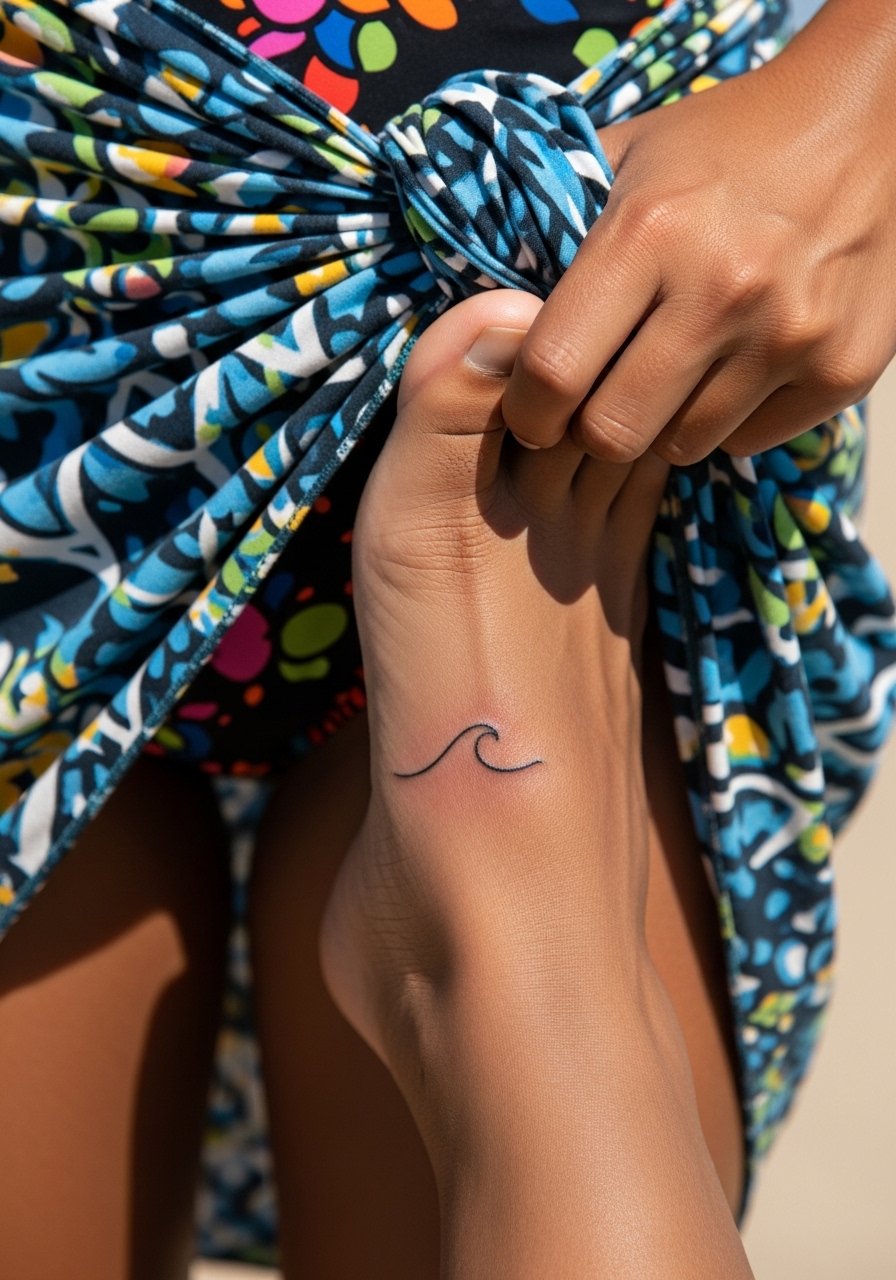
This is a great pick for someone who wants a small motif that follows the foot curve. Tell your artist you want the line to breathe and not be tightly looped. The arch area moves with walking, so lines can blur faster than on flat skin. Pain varies, arch is more comfortable than the top of the foot. Avoid overly intricate curls in such small scale, those details collapse into a single blur over time. For session wear, choose slip-on sandals and loose shorts so you can adjust easily and keep pressure off during the first week.
Pack Smart
Those tiny wraps, moons, and chains above heal differently from larger leg work, so a few targeted items smooth the session and the first week.
-
Stencil transfer paper kit. Lets you and the artist preview placement on the ankle curve before the needle hits, which matters for wrap and chain styles.
-
Topical numbing cream. Applied per instructions it eases edge discomfort near the bone without changing how the artist works.
-
Thin protective film roll. Useful for keeping footwear friction off fresh ankle pieces during the first day.
-
Fragrance free gentle body wash. Cleans the area without irritating delicate lines in the initial healing window.
-
Aquaphor healing ointment. Thin layers across the first few days lock moisture for fine work while still allowing the skin to breathe.
7. Tiny Paw Print Near the Toes
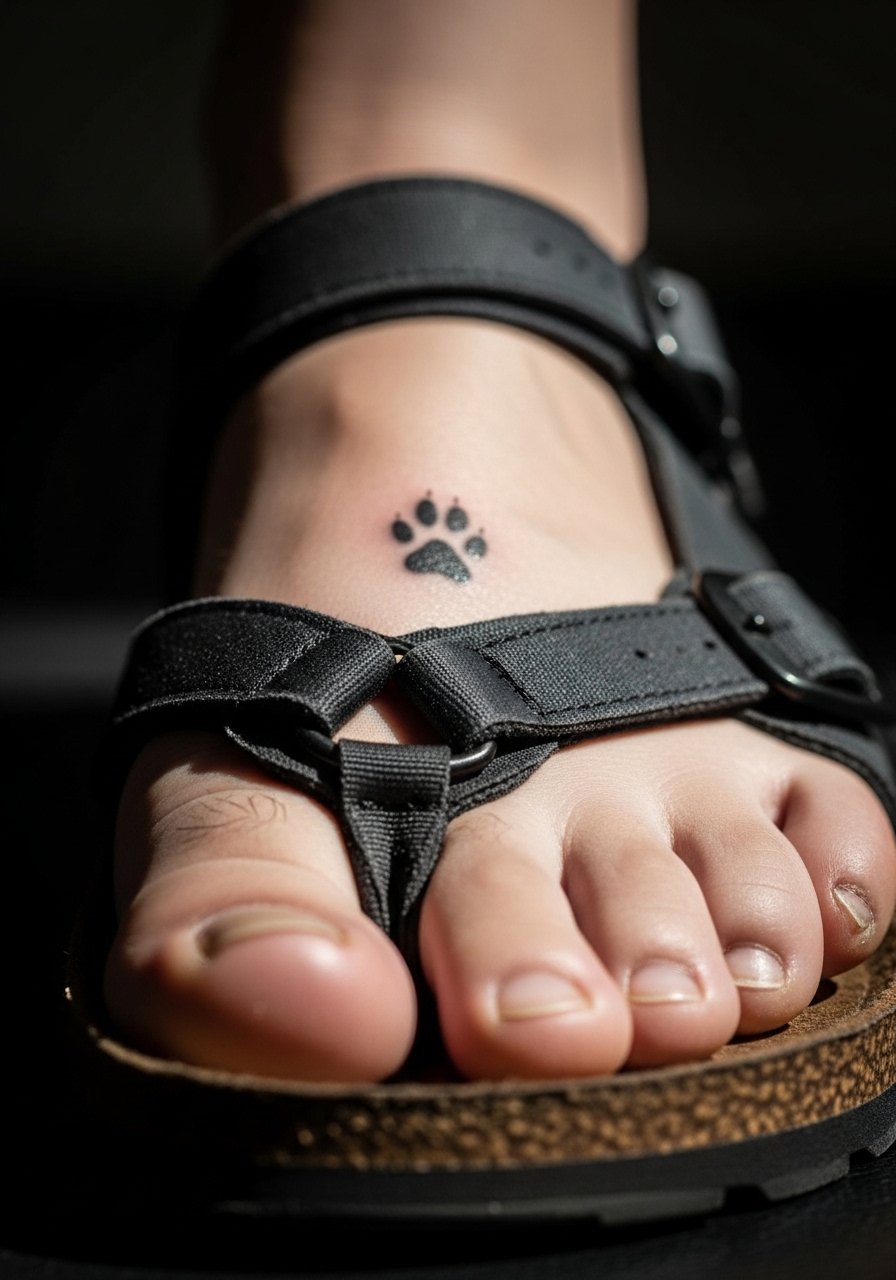
If the concept is sentimental, keep the print small and the pad spacing open so it stays legible. Toe-area tattoos face a lot of wash and wear, so they fade faster than ankle work. The session is short but expect touch-up sooner because of constant friction from shoes and washing. A common misstep is packing shading into the pads at tiny scale, which softens into a smudge. For styling, show it off in summer with open toe sandals and avoid tight socks while the area heals.
8. Small Script Along the Side of the Foot
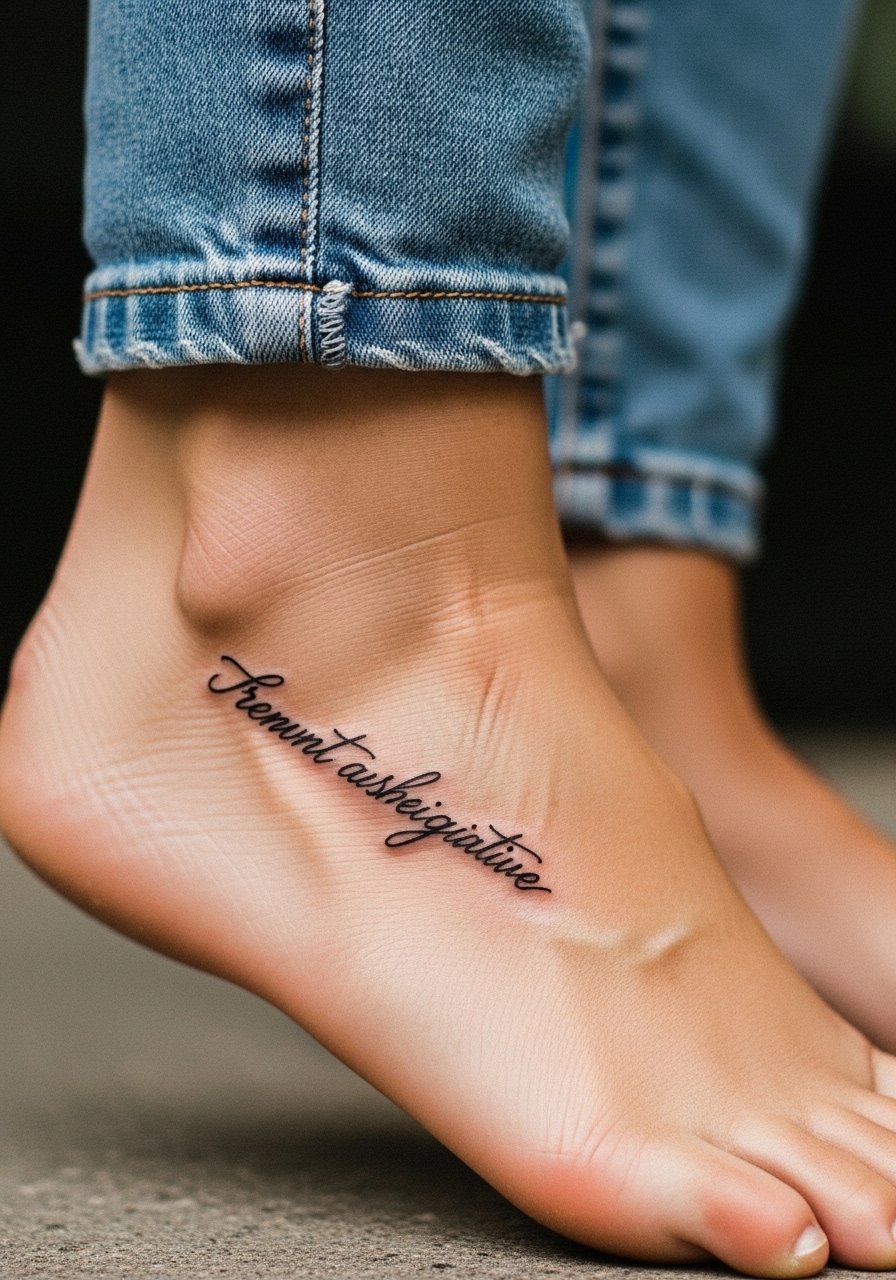
When getting text here, be explicit about font size and spacing. Text at tiny scale often blends into a blurred line if the letters touch. Ask for slightly more generous letter spacing and a modest weight so the script is still readable at year two. This area shows how fonts age differently; delicate cursive needs more space than a compact sans. The session feels sharp near bone, and aftercare is important to avoid early fading. If your script includes a name or a date, confirm spelling twice with the artist and on the stencil before the machine starts.
9. Tiny Star Cluster on Top of Foot

Star clusters look deliberate when they vary in size and spacing, not when they are identical dots bunched together. Tell your artist you want at least two different star sizes and small negative space between them so the composition endures. Top-of-foot pieces take more day-to-day abrasion from footwear, so plan touch-ups earlier than ankle-sitting designs. A frequent mistake is insisting on identical micro stars, which read flat after a year. For showing them off, try low-profile sneakers that leave the top of the foot visible when you walk.
10. Mini Mandala Above the Ankle

Artists split on dense mandalas at tiny scale. One camp says fine dot work holds if you allow spacing. The other camp argues the density needed for a true mandala makes the lines merge over time. If you want a mandala here, ask for simplified petals and negative space in the center to preserve the pattern. Sessions can be longer because of the detail, and the area tolerates the work but needs careful spacing. A common mistake is shrinking a large mandala into a micro size without redesigning its structure, which shortens longevity.
11. Micro Geometric Arrow Pointing Toward Toes

The visual impact of an arrow depends on crisp linework and intentional negative space. For the foot, ask your artist to use modest line weight and to avoid excessive thin cross-hatching. The session is fast but precise placement matters, because shoe pressure can distort the look during healing. A mistake is asking for multiple small chevrons in tight succession, which often smudges together. Pair this with slip-on sandals while it heals and later with cropped pants to draw the eye along the foot.
12. Tiny Anchor Near the Ankle Bone
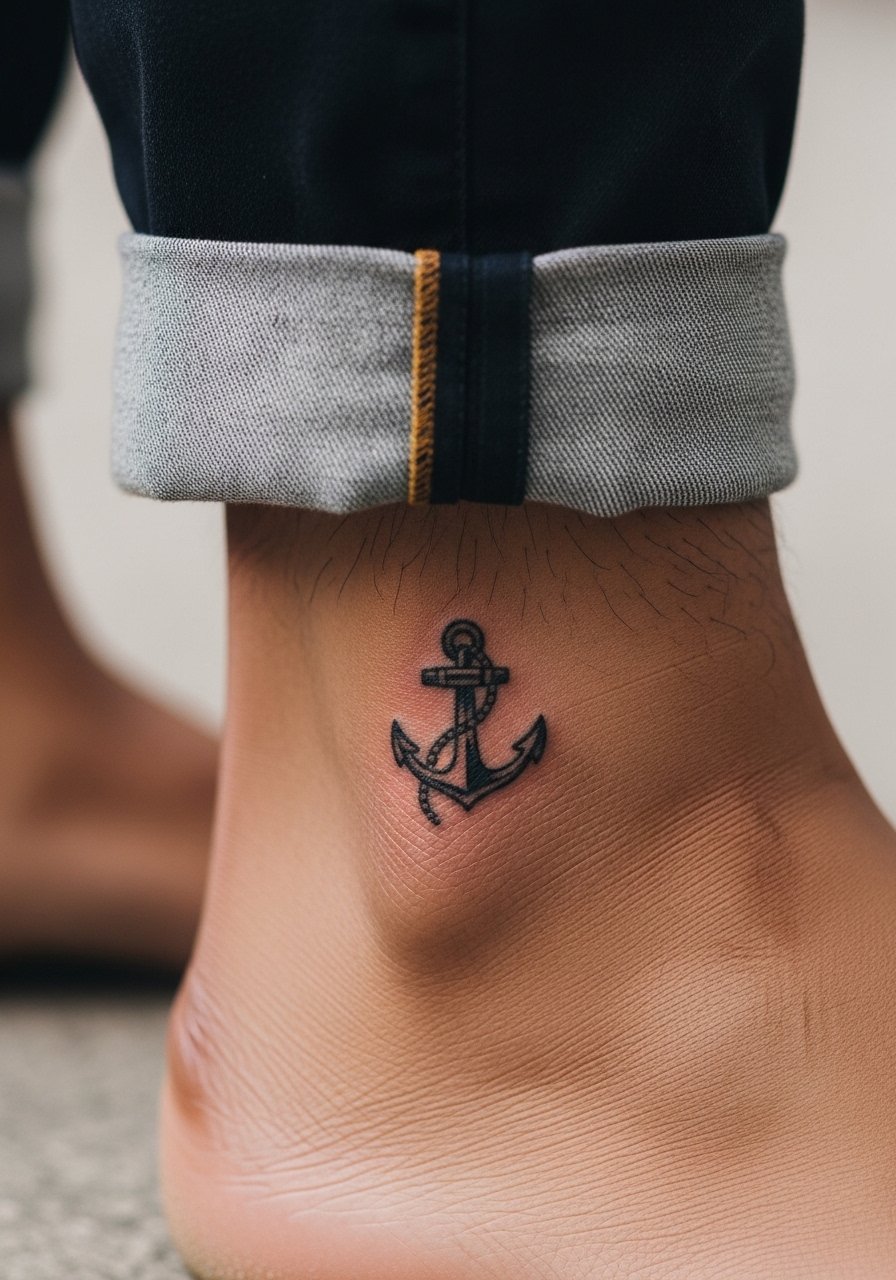
Anchors are classic but they need structural breathing room at this size. Tell your artist you want the shank slightly thicker than the flukes so the shape remains recognizable. The area by the ankle bone is prone to sensitivity and occasional blowout if lines are too close to bone. Expect around 30 to 50 minutes in the chair and plan a touch-up if you wear tight boots during healing. For styling, a cropped trouser or crew socks pulled low frames the area without covering the tattoo completely.
13. Minimal Palm Tree on Outer Foot
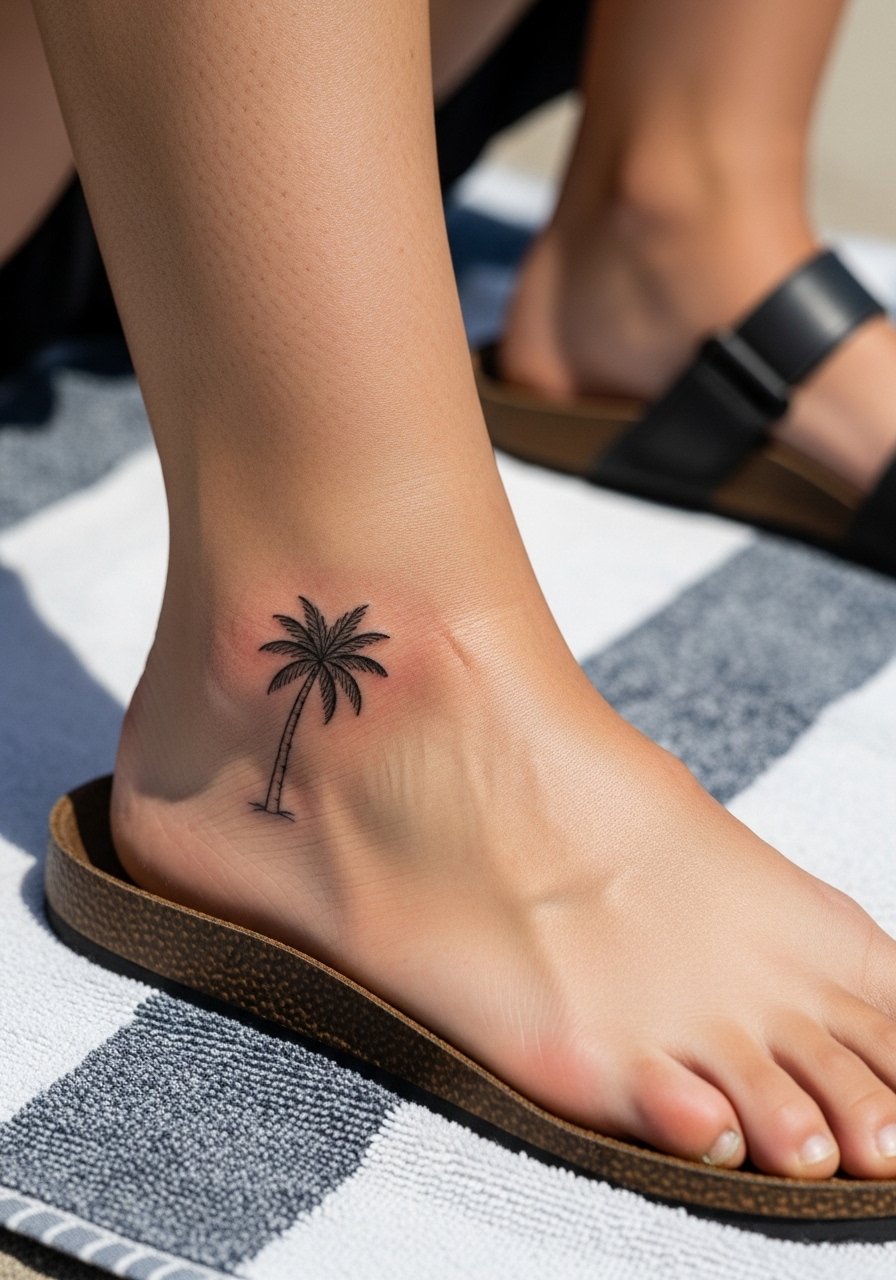
This design leans playful and reads well when the trunk is a single deliberate stroke with spaced fronds. Because the mid-foot flexes, tell your artist to avoid packing extra detail into the fronds. The mistake I see most is overworking the leaves at micro scale which then merge. Sessions are short, but you will want to avoid tight shoes for several days. For vacations or warm weather, pair it with strappy beach sandals so the palm shows without constant rubbing.
14. Tiny Constellation Along the Instep

Constellations depend on dot spacing and light connector lines that do not crowd the dots. Ask your artist to emphasize negative space between stars and to limit connector thickness so the pattern breathes over time. The instep can face frequent movement which means thin connectors fade faster than the dots. A real mistake is insisting on dense networks of lines at micro scale. For showing it off, try an open shoe and a midi skirt or ankle-length slip dress that lets the instep speak.
15. Small Sunflower on Outer Ankle Bone
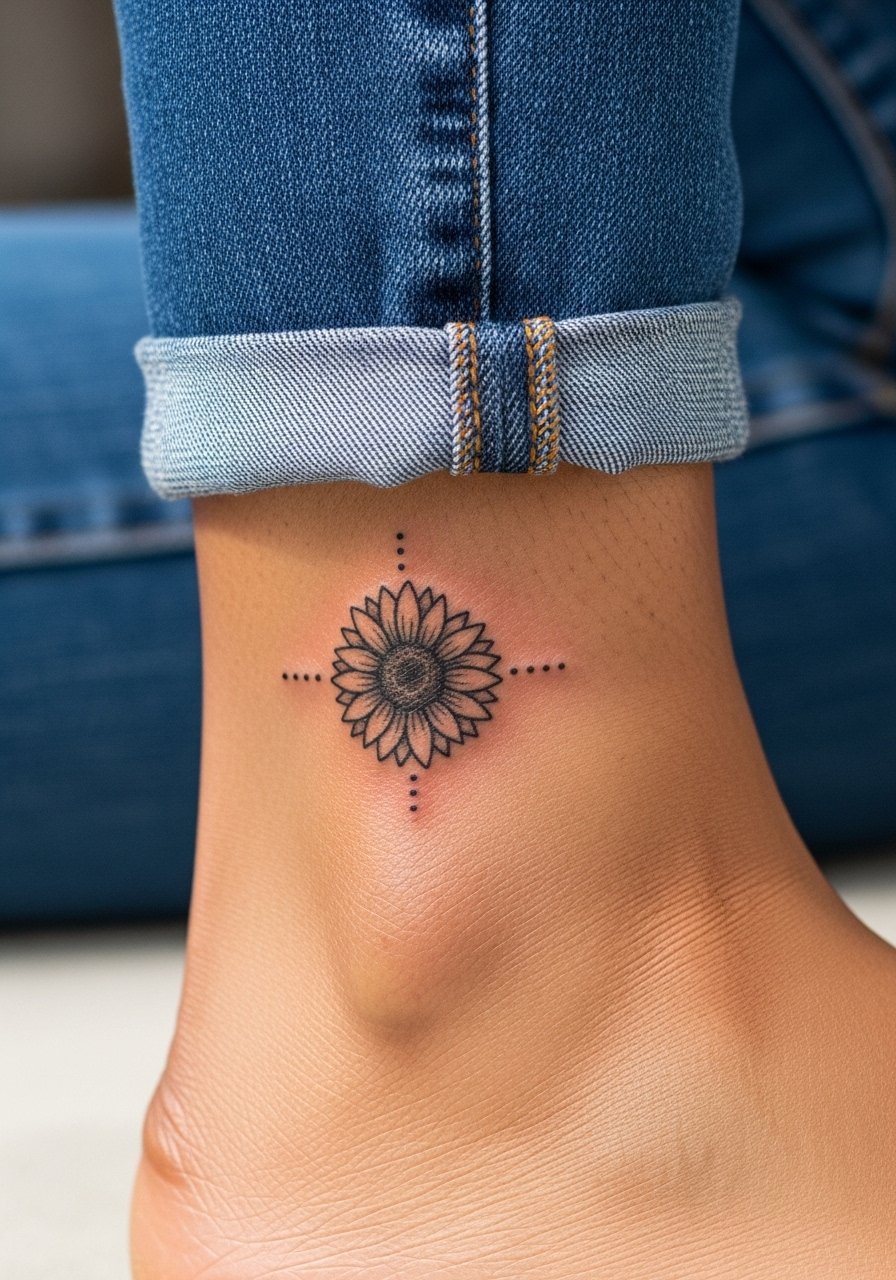
Sunflowers read best when the petals have subtle spacing and the seed area uses stipple shading rather than full black. If the center is too dense, it will look like a blot in a few years. The ankle bone placement is sharp to the touch, expect more bite in the session but a quick finish. Common mistakes are over-darkening the center and skimping on petal spacing. To show this piece, cropped jeans or a lightweight ankle boot that can be worn loosely after healing work well.
16. Micro Foot Silhouette Near the Heel
This tiny shape is graphic and reads well when rendered as a single continuous outline with clear negative space. The heel area is less exposed to sharp bone pain but it does get pressure from footwear, so avoid snug shoes for the first week. A common error is asking for internal detail inside such a small outline, which disappears quickly. Sessions are short and swelling can appear because of shoe pressure. For the session wear slides or shoes you can slip on and off to keep pressure off the tattoo.
17. Tiny Tribal Band Around the Ankle
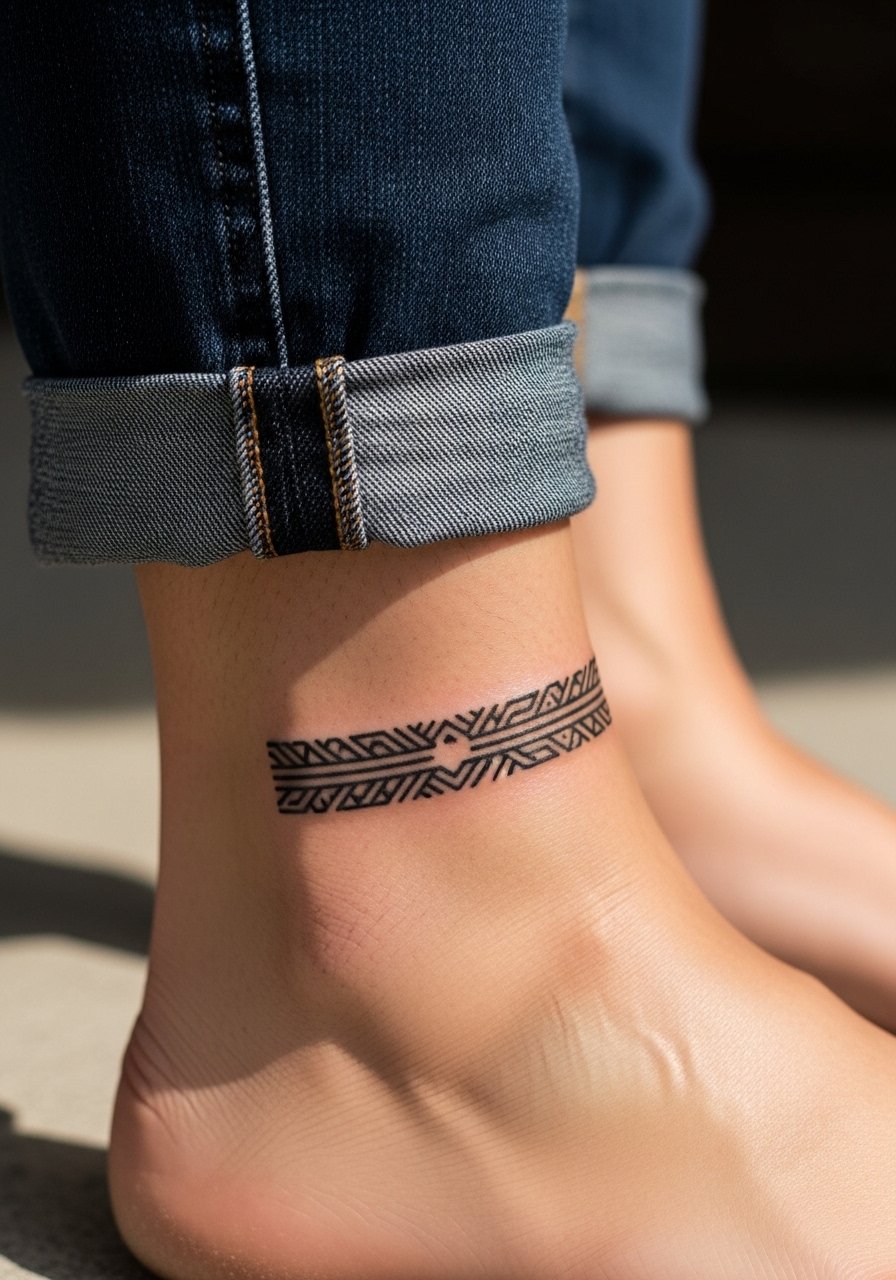
This design touches cultural motifs, so mention you want a contemporary, non-appropriative take and ask for the artist to explain the inspiration in plain terms. Respectful adaptations avoid direct replication of meaningful symbols. A solid band near the ankle needs careful spacing to prevent the wrap from looking like a single thick ring after a few years. The session can take longer if you want consistent saturation around the whole ankle. A common issue is asking for too tight a pattern which ends up merging, so give the pattern room to breathe and plan for a touch-up.
Frequently Asked Questions
Q: Will a fine line ankle tattoo blur faster than a bolder blackwork piece?
A: It depends on scale and placement. Fine line work on or near the bone tends to lose crispness sooner because the skin there is thin and moves with shoes and socks. If you want longevity, ask for slightly heavier line weight and more negative space, or opt for a bolder blackwork version of the same motif.
Q: How should I prepare on the day of an ankle or foot tattoo session?
A: Wear loose pants you can roll up and slip-on shoes you can remove easily. Hydrate the day before and rest. Bring a printed reference and be ready to confirm placement on a stencil. If you plan to numb the area, tell your artist ahead of time so they can advise on timing.
Q: Do ankle and foot tattoos need different aftercare than forearm pieces?
A: Yes, they do. Ankle and foot work face more friction and moisture from shoes, so you may need to keep footwear loose and protect the area during the first week. The right protective film and a thin healing ointment during the initial days help prevent scabbing from rubbing.
Q: Are there design types I should avoid for the ankle if I want minimal touch-ups?
A: Avoid overly dense detail, tiny text, and tight dot work packed into a micro scale near the bone. Designs that rely on thin parallel lines or very fine stippling are more likely to need earlier touch-ups. Ask your artist for simplified compositions adapted to a small canvas.
Q: How do I find an artist who knows how to design for ankle and foot placements?
A: Use local shop directories, tag searches for "ankle tattoo" or "foot tattoo" in feeds, and look for healed photos rather than fresh shots. Portfolio shots of healed work show how lines and saturation actually settled. If you attend conventions or tattoo markets you can see aftercare results in person.
Q: What clothing choices make these tattoos look best once healed?
A: Cropped trousers, sandals, and ankle-revealing boots frame ankle and foot tattoos well. For a delicate ankle wrap, try cropped linen pants or slip-on sandals that let the design show without constant rubbing.
