
Fine line spine tattoos are everywhere on saved boards, but what holds up over time is not the trend. Fine line work can look impossibly crisp at one session and then soften in years, and large saturated pieces age differently. Read these spine-centered references with placement, wardrobe, and consultation notes so you pick a spine design that still reads like you after the first touch-up and the third year.
1. Full-Height Tree of Life, Fine Line Down the Spine
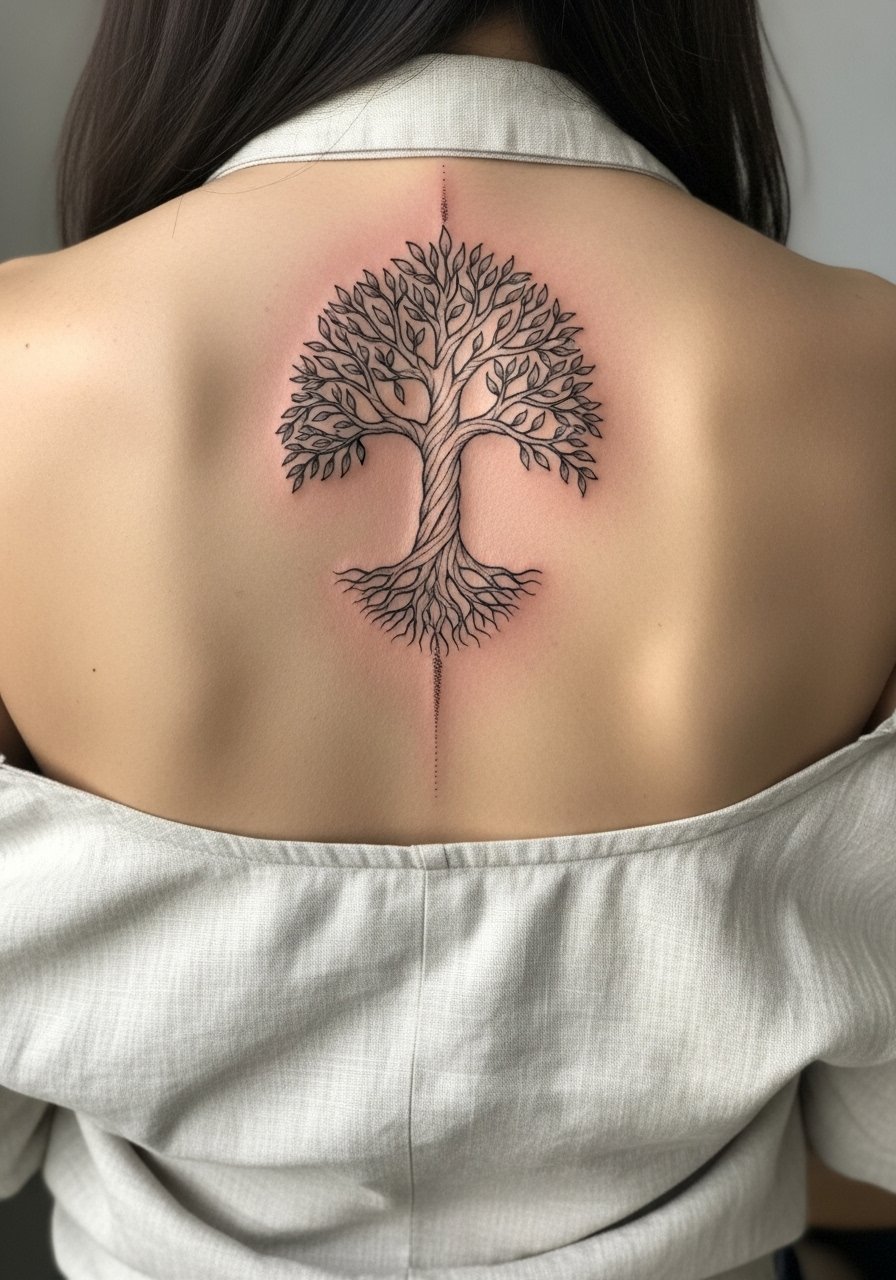
A vertical Tree of Life uses the spine as the trunk, so ask your artist to plan negative space around each branch. Tell them you want slightly increased spacing between root and branch lines, so stipple shading can breathe without merging. The usual mistake is compressing detail to fit the whole tree into a narrow column. That makes the lower branches blur faster and increases blowout risk. Pain sits around a 5 out of 10 along the spine, mostly as long, steady pressure rather than sharp stabs. For the session wear a loose button-down shirt you can pull aside afterward, and plan a touch-up window at year two to three for fine line pieces.
2. Minimal Mandala Penciled Along the Spine
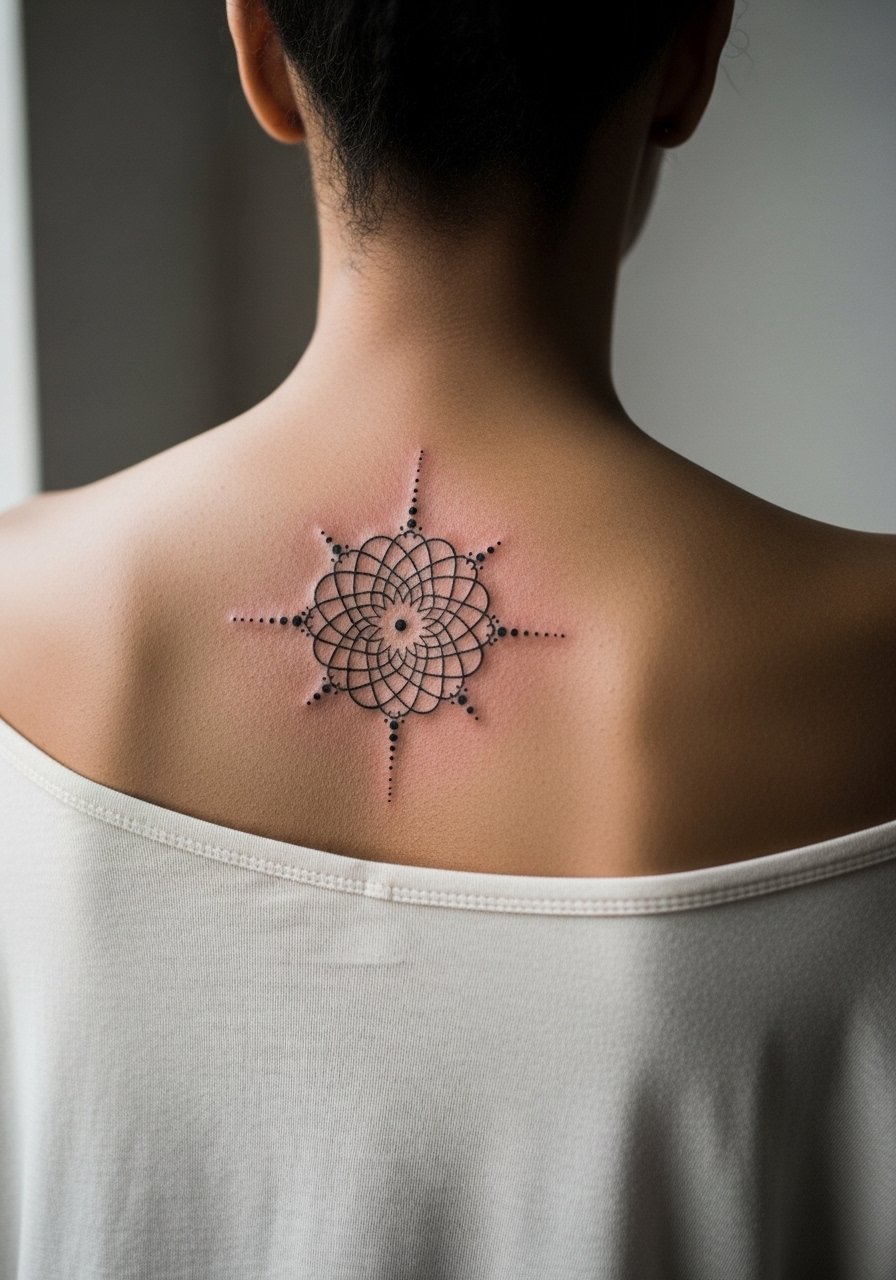
A small mandala aligned to the spine reads like a central axis. When you consult, show exact reference for line weight and tell your artist you want open spacing between concentric rings. There is a clear split in the community about fine geometric work on the spine. One camp says dense fine line mandalas on moving skin blur within two years and demand larger scale. The opposite camp argues that with proper depth and spacing, single-needle geometry can hold up. Ask the artist where they stand and ask to see healed photos of similar mandalas on actual spines. For evenings out, pair this with a backless midi dress that reveals the center back without tugging at the skin.
3. Curved Snake That Follows the Vertebrae
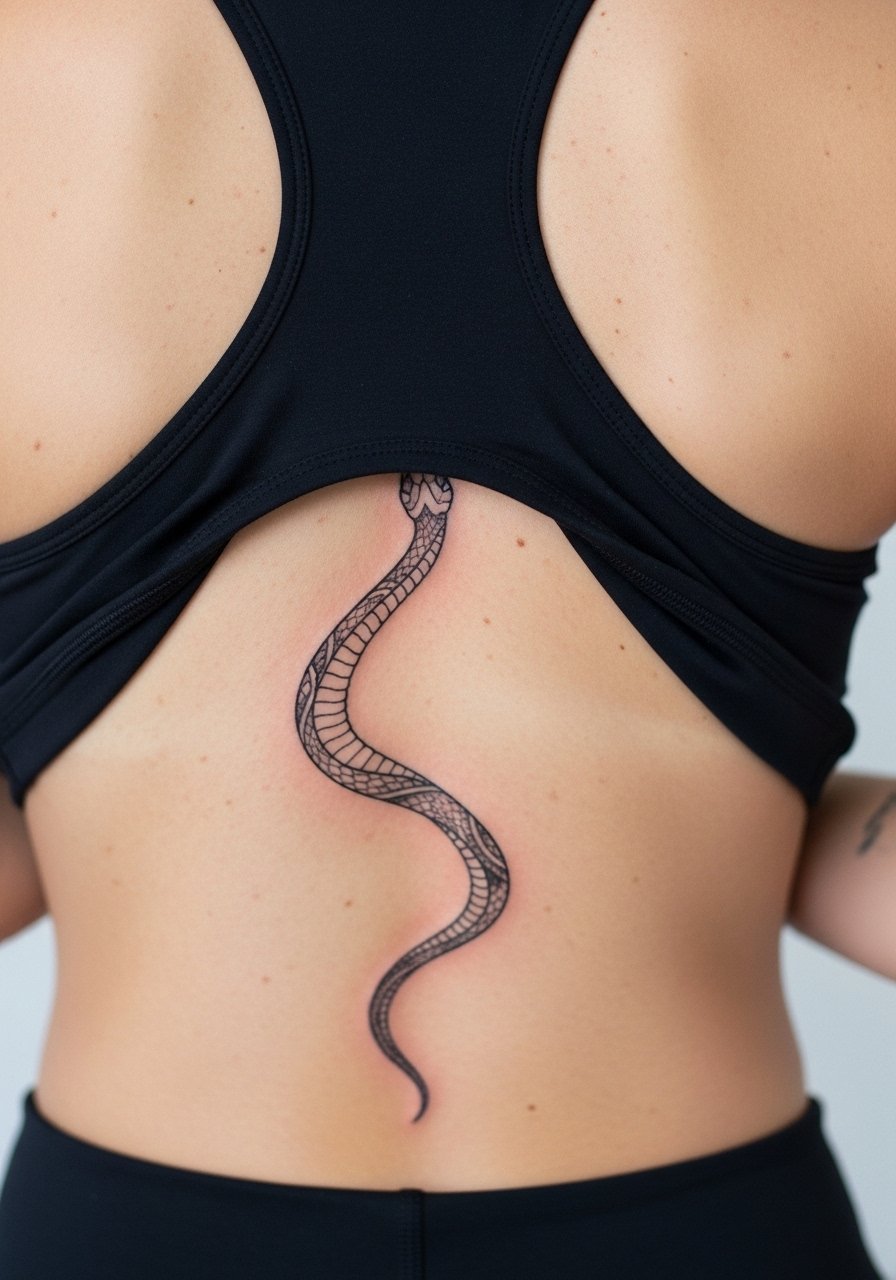
A snake that hugs the spine reads as movement and transformation. Ask the artist to map the vertebrae on you first so the snake’s curves sit where the back naturally narrows and widens. A common mistake is forcing symmetric coils that fight your body shape, which makes touch-up lines look off later. Expect a session time of two to three hours for mid-detail, and a moderate pain level where the needle crosses the actual spine. During healing avoid tight straps that rub, and wear a racerback sports top to the appointment so the artist has access and you leave with minimal friction.
4. Linear Orbit and Abstract Geometry Running the Spine

Geometric spine runs need room between lines. The mistake I see most often is shrinking the pattern to fit a narrow area, which causes dense line packs to merge as they heal. Tell your artist you prefer slightly thicker linework in the densest areas so the design reads long-term, and ask about stipple shading over solid fill for longevity. Pain is steady where the needle tracks the vertebrae, and session time is often split into two short sittings if you want crisp edges. For showing it off, pair this with an open-back crop top so the geometry sits in clear view.
5. Upper-Back Animal Portrait That Uses the Shoulder Blade Frame
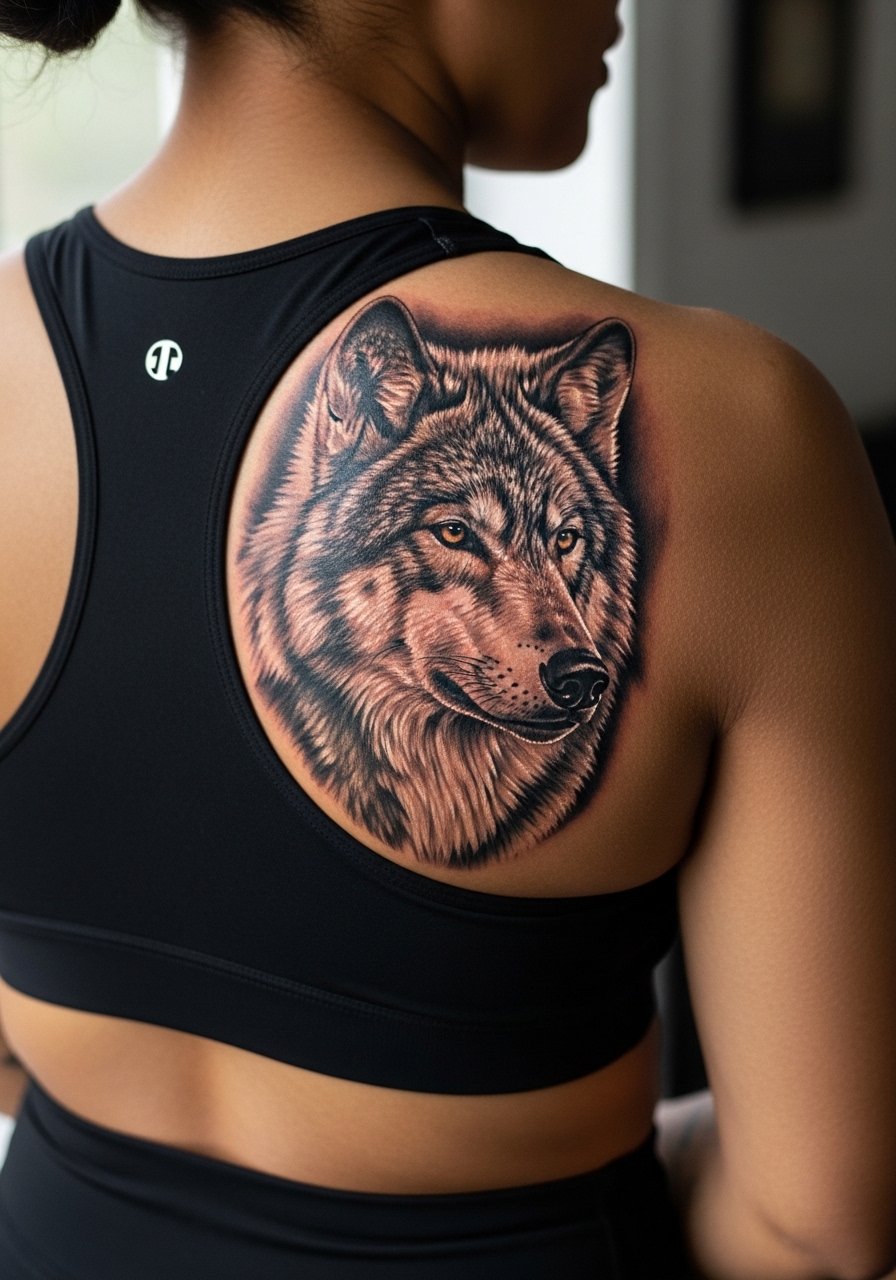
Hyperreal animal portraits on the upper back demand a specialist and multiple sessions. In consultation emphasize healed photos rather than fresh images so you see real saturation and edge behavior. There is also a minor controversy here about how much color to add. One camp pushes high saturation for visual impact. The other camp warns that color in shaded, textured portraits fades unevenly and needs earlier touch-ups. If you pick realism, expect longer sessions, careful saturation, and a touch-up at year one. Wear a sports bra with removable straps to the appointment so the artist can access the shoulder blade without you being uncomfortable afterward.
6. Minimal Pine or Sapling, Single-Needle Vertical Line
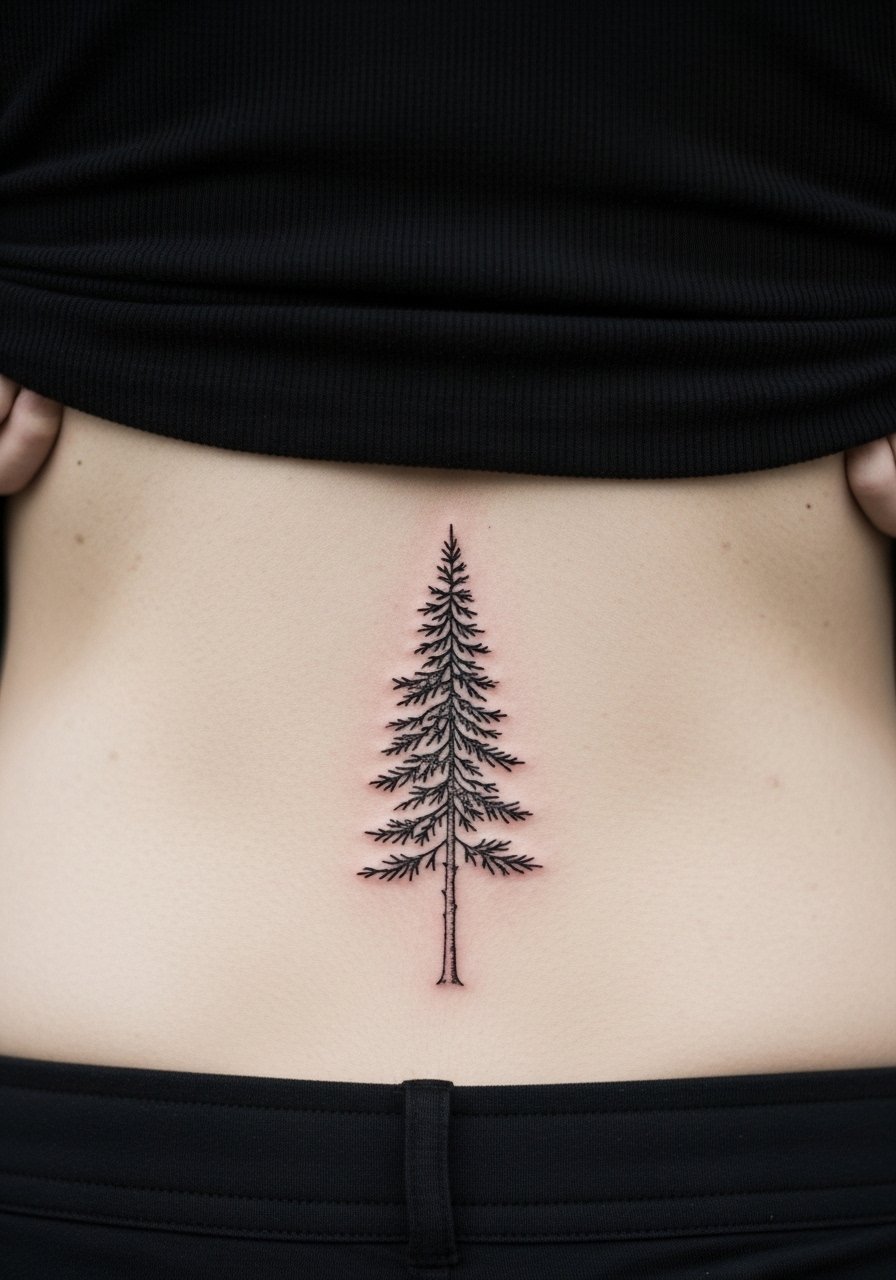
A minimalist pine of about three to six inches gives vertical presence without a multi-session commitment. Tell the artist you want single-needle work and ask for slightly deeper needle placement in the trunk so the vertical line settles. The most common error is asking for too many tiny branches, which turn into a gray wash after a couple of years. Session time is often under an hour and pain is mild to moderate. For the appointment wear a loose tank top so the artist can work uninterrupted and you can change without friction on the fresh line.
Pack Smart
The first six picks include fine line and upper-back saturation, so a few prep items make the sessions and first week easier.
-
Stencil transfer paper kit. Lets you test placement on the center back before the needle touches skin, which is key for full-length designs and mandalas.
-
Topical numbing cream. A short-acting option that eases spine sensitivity during longer upper-back sessions.
-
Thin protective film roll. Useful for lower-back or mid-spine pieces where clothing rub and showering create extra friction in the first few days.
-
Fragrance-free gentle body wash. Cleans the area without stripping pigment from fine line work during the initial healing window.
-
Aquaphor healing ointment. Thin layers help protect fine lines in the first 48 to 72 hours before switching to a lighter lotion.
7. Full-Back Tree with Extended Roots and Branches
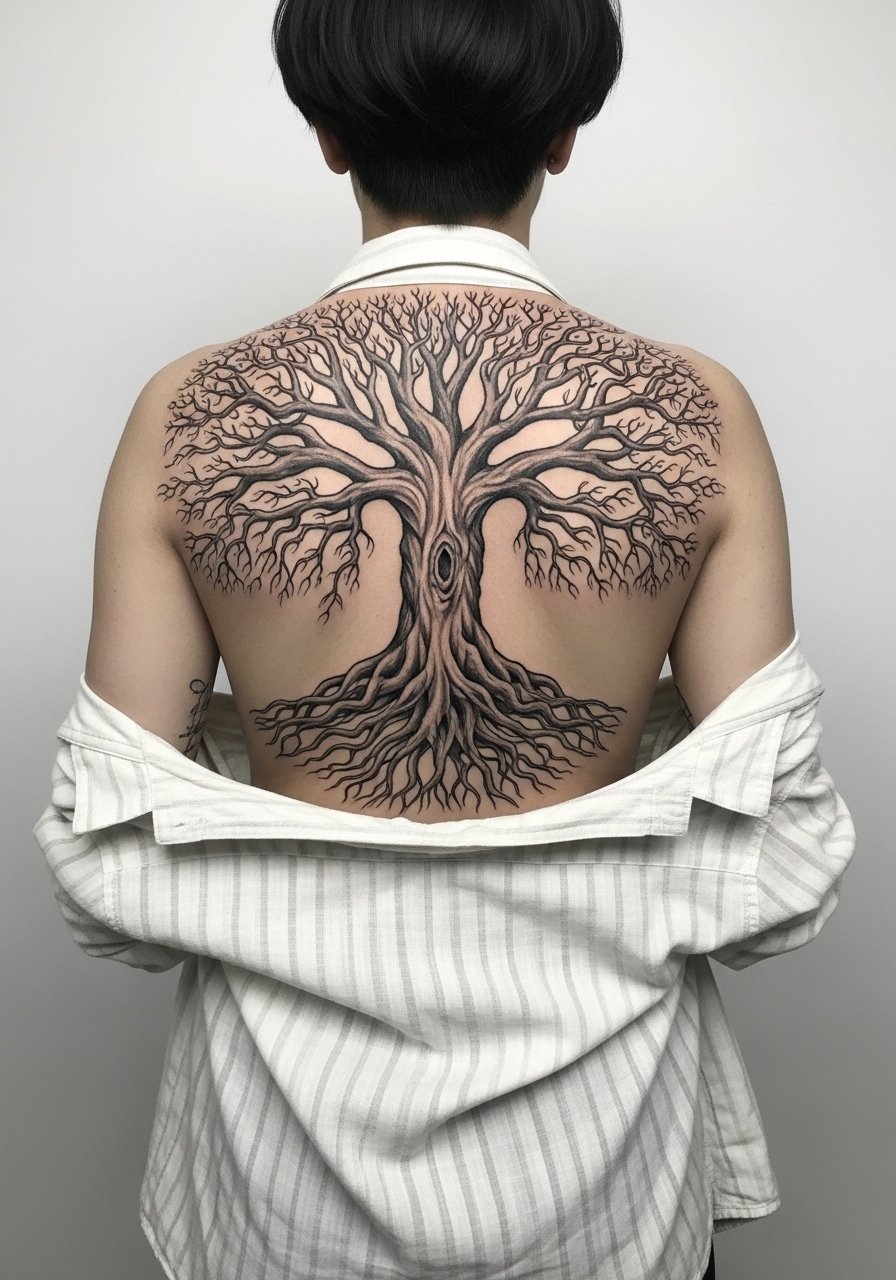
A sprawling tree demands planning across shoulder blades and lower back. When you book, ask the artist for a mapping session so branch intersections avoid natural movement creases. The common regret is starting too large without a session plan. Break the work into mapped phases so each session heals cleanly and the surrounding skin recovers. Pain varies across the back, with the lower spine often feeling more intense. For session comfort bring loose pants and a top that opens in the front so you can dress without rubbing the fresh work.
8. Polynesian-Inspired Spine Band with Cultural Motifs
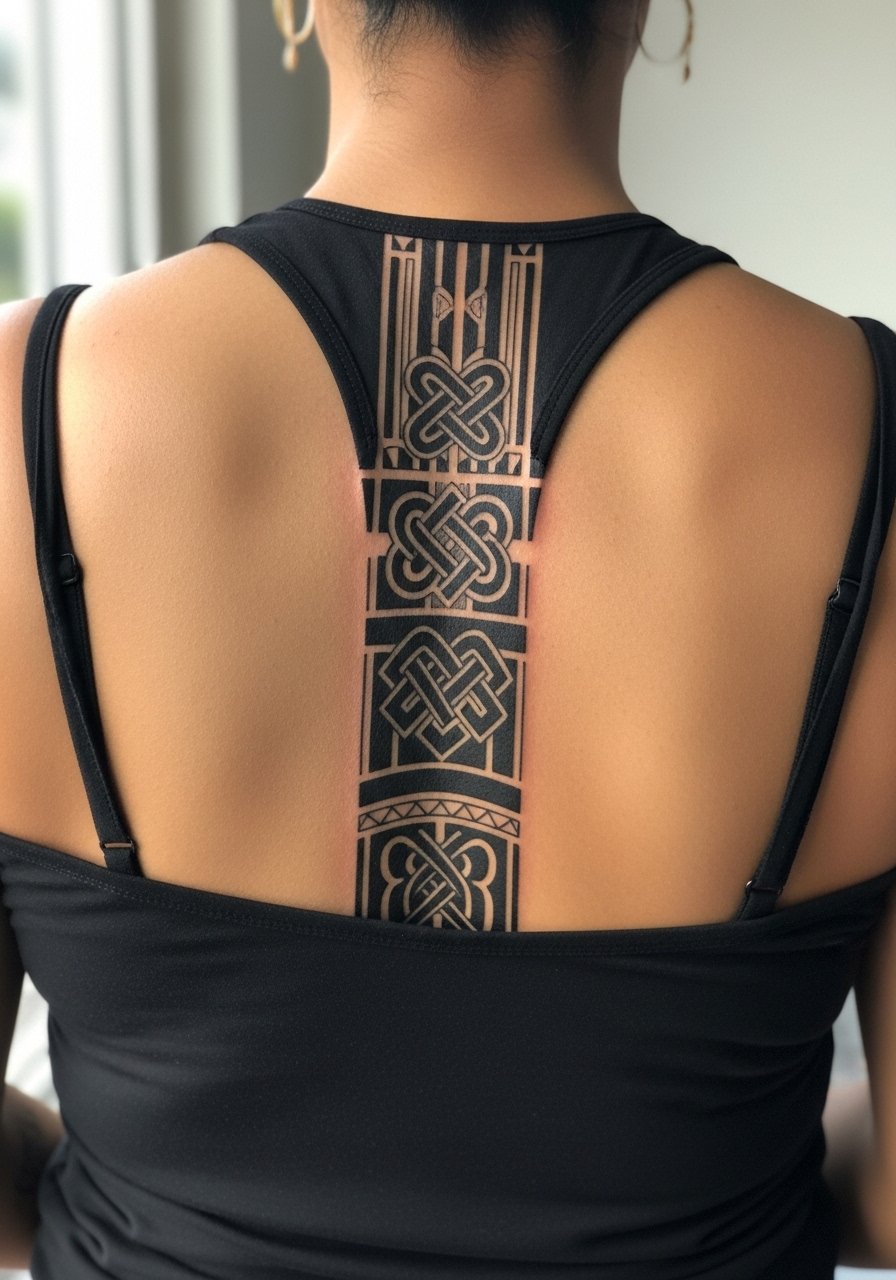
Polynesian patterns carry rich cultural meaning. If you draw on these motifs be explicit in consultation about which elements you are using and why. Many collectors opt for a respectful reinterpretation rather than a direct copy. The technical demand is high for consistent black saturation and crisp negative space, so expect multiple sittings for even fill. This style pairs well with an asymmetrical top like a one-shoulder tank when you want the upper band visible.
9. Travel Trio: Three Tiny Realistic Scenes Stacked on the Spine
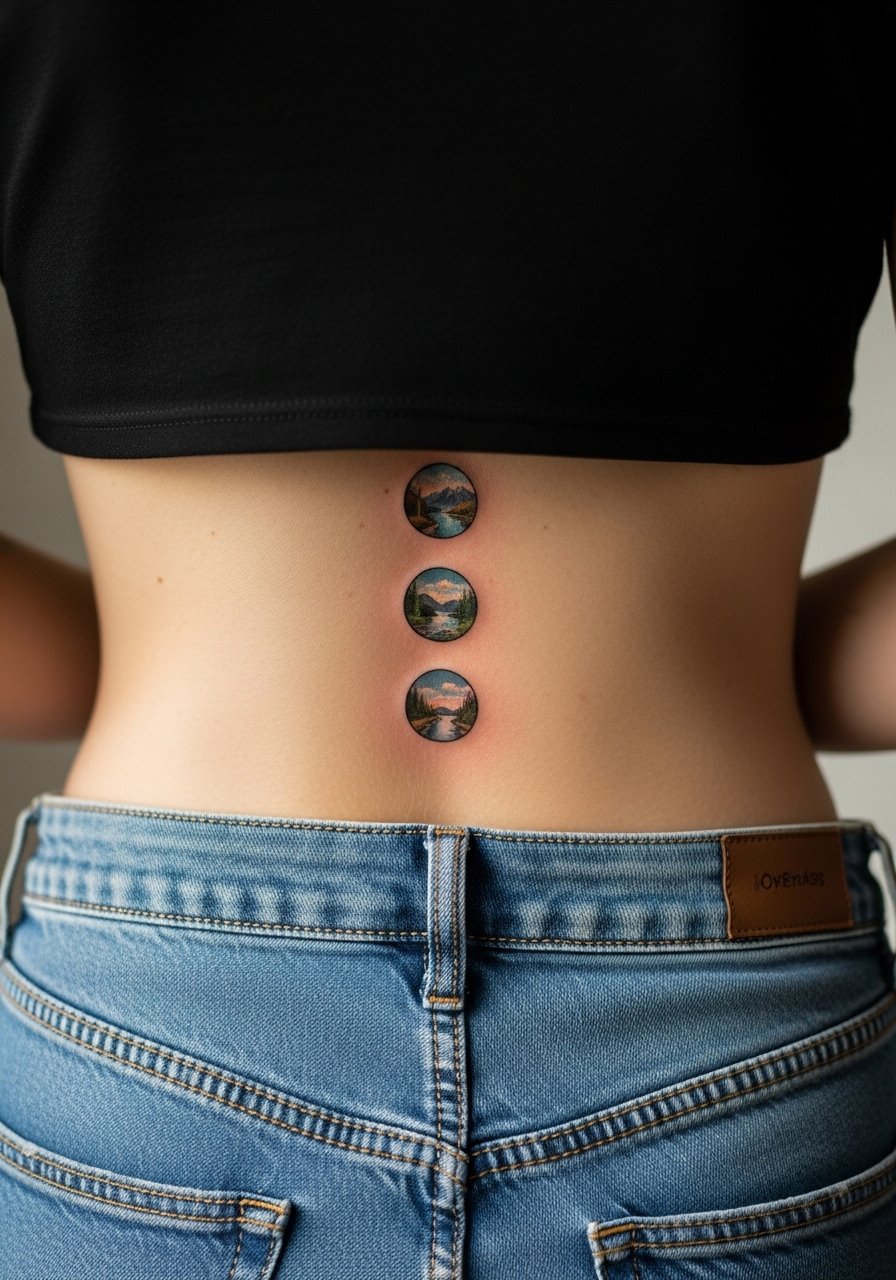
Three small scenes let you carry specific places down the spine without a continuous large piece. During consultation specify scale and color saturation for each circle, and ask the artist to test healed swatches if color is involved. A common mistake is packing too much detail into tiny circles, which looks muddy after healing. Expect two to three sessions depending on color. For showing them off with ease try high-waisted bottoms and a cropped tee so the mid-spine sits squarely in view.
10. Zipper Illusion That Splits the Mid-Back
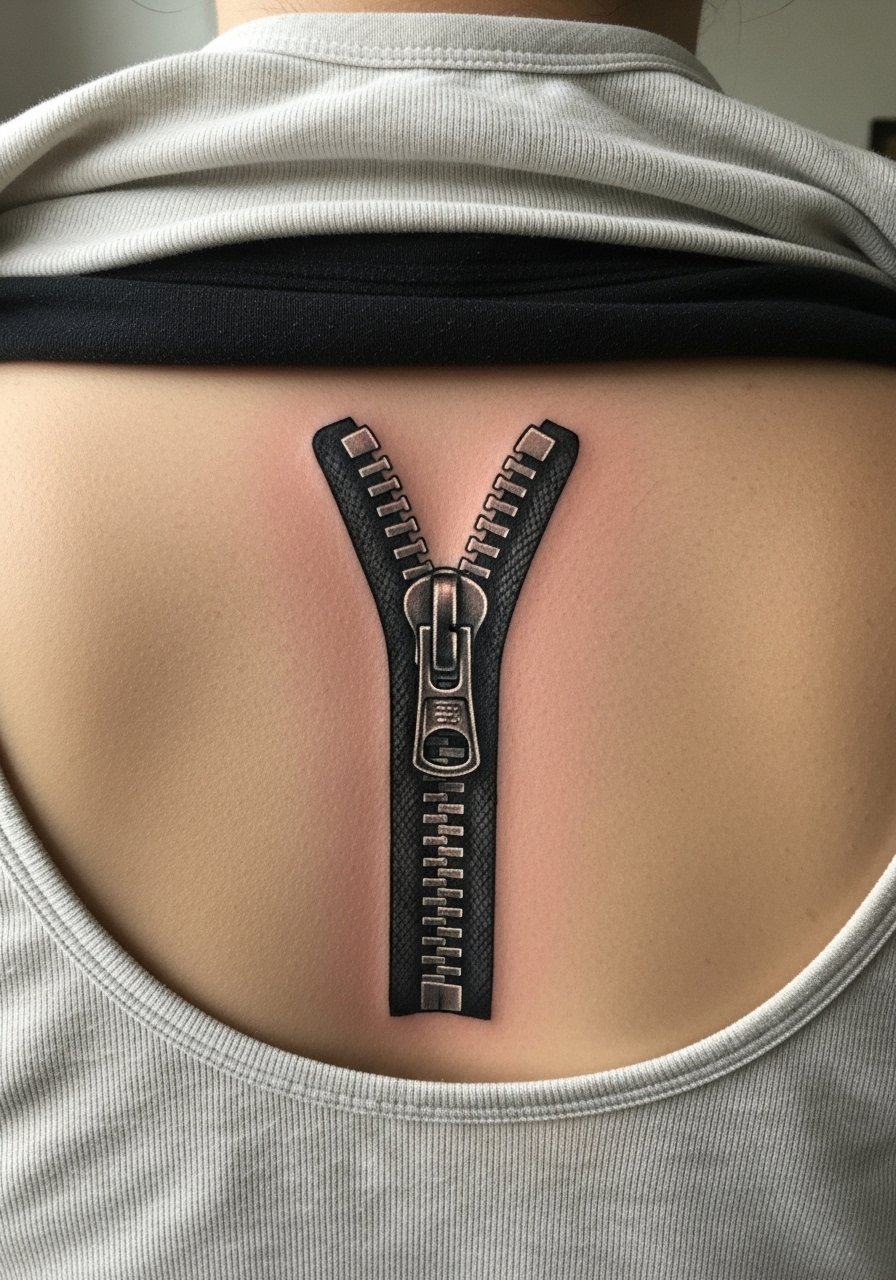
Zipper illusions are theatrical and require careful shading to read as skin being opened. The biggest issue is over-detailing the teeth at too-small a scale, which becomes a gray smudge as it heals. Tell your artist you want a readable scale from a short distance and ask to see healed zipper photos. This piece often runs longer because of shading layers. Prepare for heavier post-session tenderness where shading concentrates.
11. Acrobat Figure Suspended from Neck Down the Spine

A theatrical figure that starts at the nape and travels down the spine reads like a story. Specify whether you want solid silhouettes or detailed linework, because silhouettes can hold longer and require less touch-up. The neck-to-spine transition increases sensitivity, so expect more breaks and an incremental approach. If you work in a physical job consider placement slightly lower on the spine so daily strapping or collars do not constantly abrade the area.
12. Single-Stripe Spine Accent in Playful Color

A single-color stripe is an economical way to mark the spine with personality. Ask for a diluted pigment blend rather than opaque block color if you want gentler aging. The common mistake is asking for neon saturation at a scale where the pigment sits too shallow, which fades faster. One session usually achieves this look. Pair it with high-waisted swimwear or a low-back swimsuit for summer wear that exposes the lower spine.
13. Dragon That Winds Up and Over the Shoulders
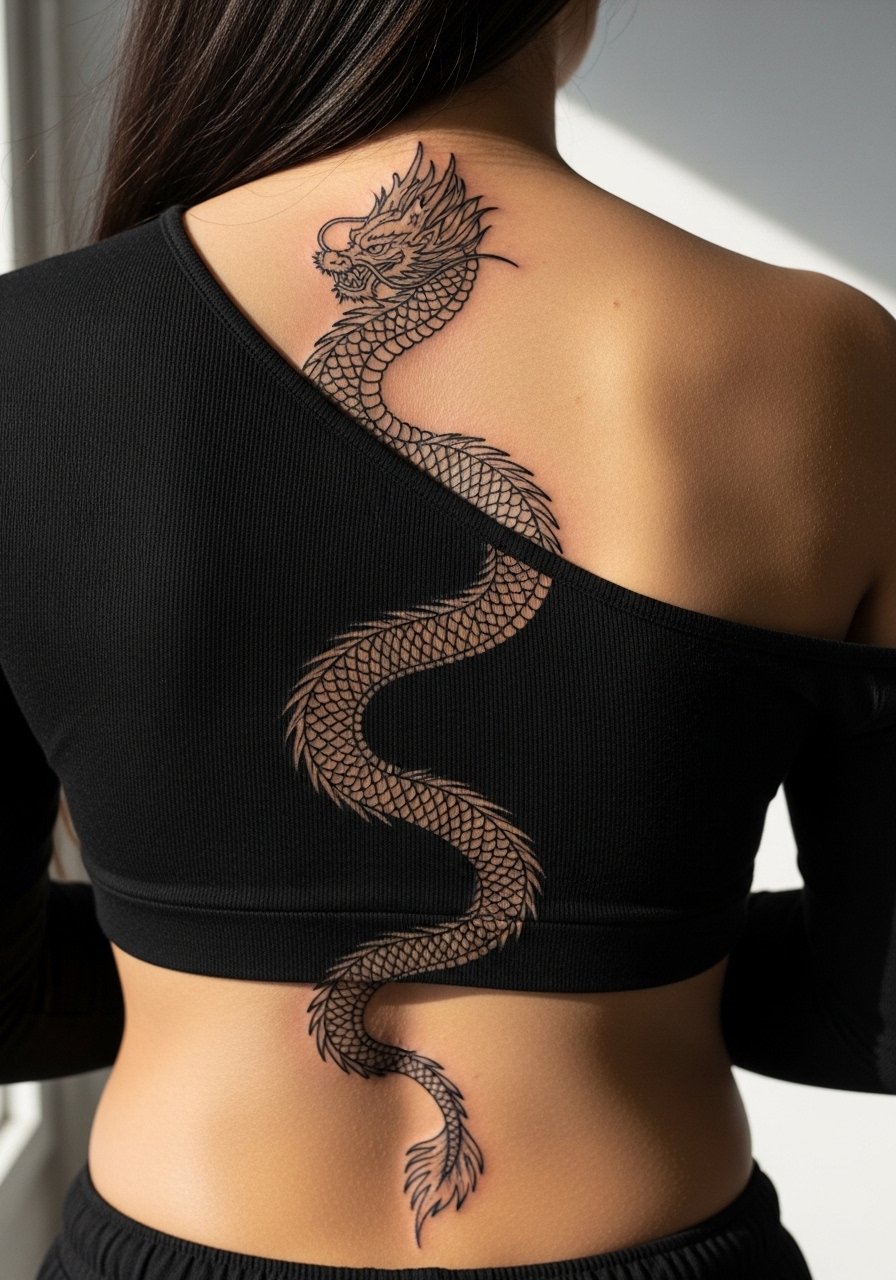
Dragons differ in meaning between styles, so decide early if you prefer an Eastern flowing dragon or a European, scaled form. The common error is combining both styles in one composition, which muddies cultural elements and visual grammar. Large dragons require multi-session mapping across curvature points so scales fall naturally. During consultation note where the body’s contours will break the image so the artist can design around ribs and shoulder blades.
14. Sunflower Stack Rising from Lower to Mid-Spine
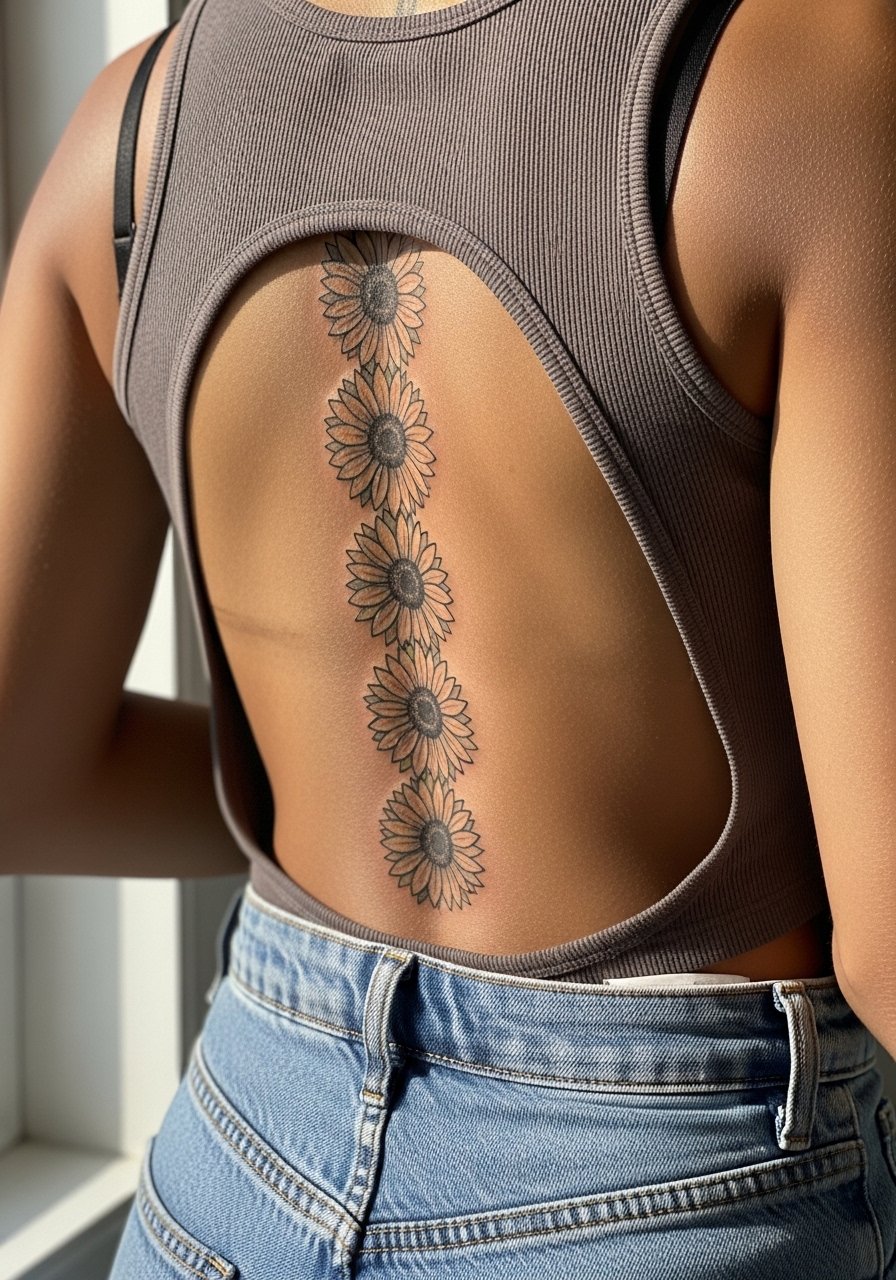
Sunflowers along the spine convey warmth and direction when arranged to subtly tilt toward the neck. Ask for light color washes inside petals rather than full saturation so the flowers age with subtlety. The mistake is over-packing tiny petals into a narrow column. Plan for a light touch-up later if you want the colors refreshed. For outings, an open-back linen shirt or a backless midi dress keeps attention on the vertical floral line.
15. Stacked Lunar Phases Centered on the Spine

Lunar stacks play well on the spine because the vertical rhythm matches the body’s center. Ask the artist for exact sizing so each moon retains definition after healing. A common mistake is making the moons too small, which causes ringed edges to blur and appear as a gray band. Dot work around each phase helps content stay readable longer. For a minimalist show-off pair this with a backless midi dress or a simple open-back top.
16. Single-Word Script Along the Mid-Spine
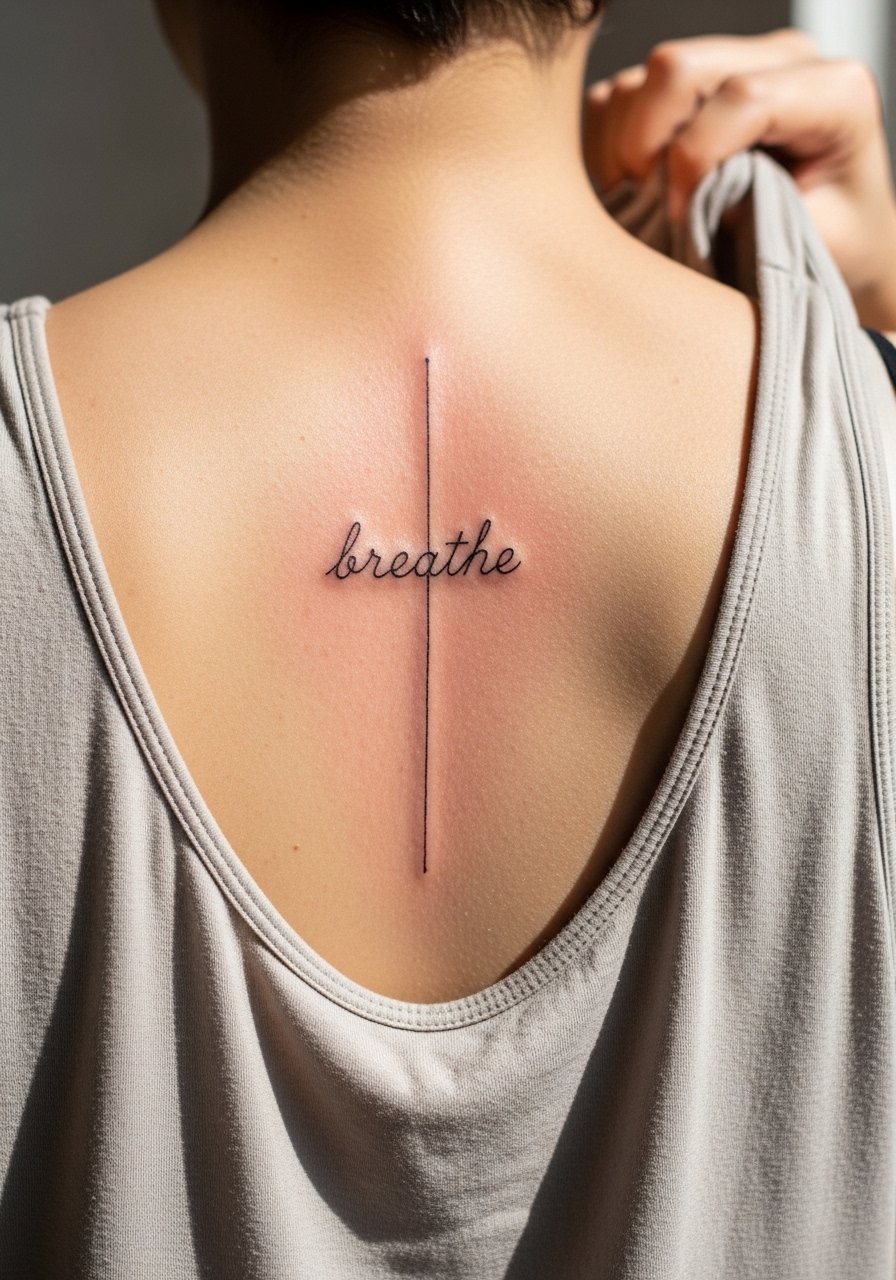
Script down the spine needs precise spacing. Provide exact text and font reference in your consultation and ask the artist to write the stencil on your skin so you can see scale and kerning. The most common error is choosing overly ornate flourish fonts at a narrow scale, which read as blurred lines once healed. Text must be chosen carefully because small letter counters close up over time. This one-session piece is lower pain than full-saturation work, but expect a touch-up if the letters sit too shallow.
17. Mandala-Top, Tree-Bottom Hybrid That Bridges the Spine

A hybrid gives the visual density of a mandala at the top and the narrative flow of a tree beneath. Tell your artist you want the mandala slightly larger than the trunk so the top avoids overcrowding. A common mistake is balancing both elements at the same scale, which flattens the composition over time. This design often needs staged sessions so the mandala heals before trunk detailing begins. For session planning, wear a button-up you can shift aside to keep the work clean and accessible.
Frequently Asked Questions
Q: Will fine line spine tattoos blur faster than bold blackwork on the back?
A: Fine line relies on spacing and needle depth, so if it is packed too tightly it can blur sooner. Bold blackwork tends to age into a solid graphic that still reads from a distance. When choosing, ask to see healed photos in similar placement so you know the likely timeline and touch-up needs.
Q: How should I dress for a full-spine session to keep the tattoo safe during healing?
A: Bring a loose button-up or a loose tank top that you can easily pull aside without rubbing the fresh tattoo. High-waisted bottoms and a front-opening top let you change without dragging fabric across the spine.
Q: Do back spine tattoos hurt more than shoulder-blade or lower-back placements?
A: Pain varies by exact spot. The midline over vertebrae feels like deep pressure, while areas over muscle feel more stinging. Most people rate full-spine work as a steady moderate pain rather than sharp spikes.
Q: How long should I plan between sessions for a multi-part back piece?
A: Plan at least four to six weeks between sessions so the skin fully heals, and expect longer gaps if you need color saturation. Artists sometimes suggest three months before heavy shading to ensure optimal saturation and reduce scarring risk.
Q: Are there cultural concerns I should consider for tribal or religious spine designs?
A: Yes. If a motif is rooted in a living culture, call it out in consultation and ask the artist to adapt respectfully rather than copy sacred elements directly. Many collectors choose inspired variations that acknowledge origin and avoid direct replication.
