
Fine line work is everywhere on saved boards, and the trend sometimes outpaces how it actually holds up. The pieces that look effortless in a photo are often the ones that ask for careful placement and realistic expectations. Read these 17 stencil ideas that balance fresh visuals with how they age, what to say in consultation, and small wardrobe moves that show them off without compromising the ink.
1. Fine Line Arrow on Inner Forearm
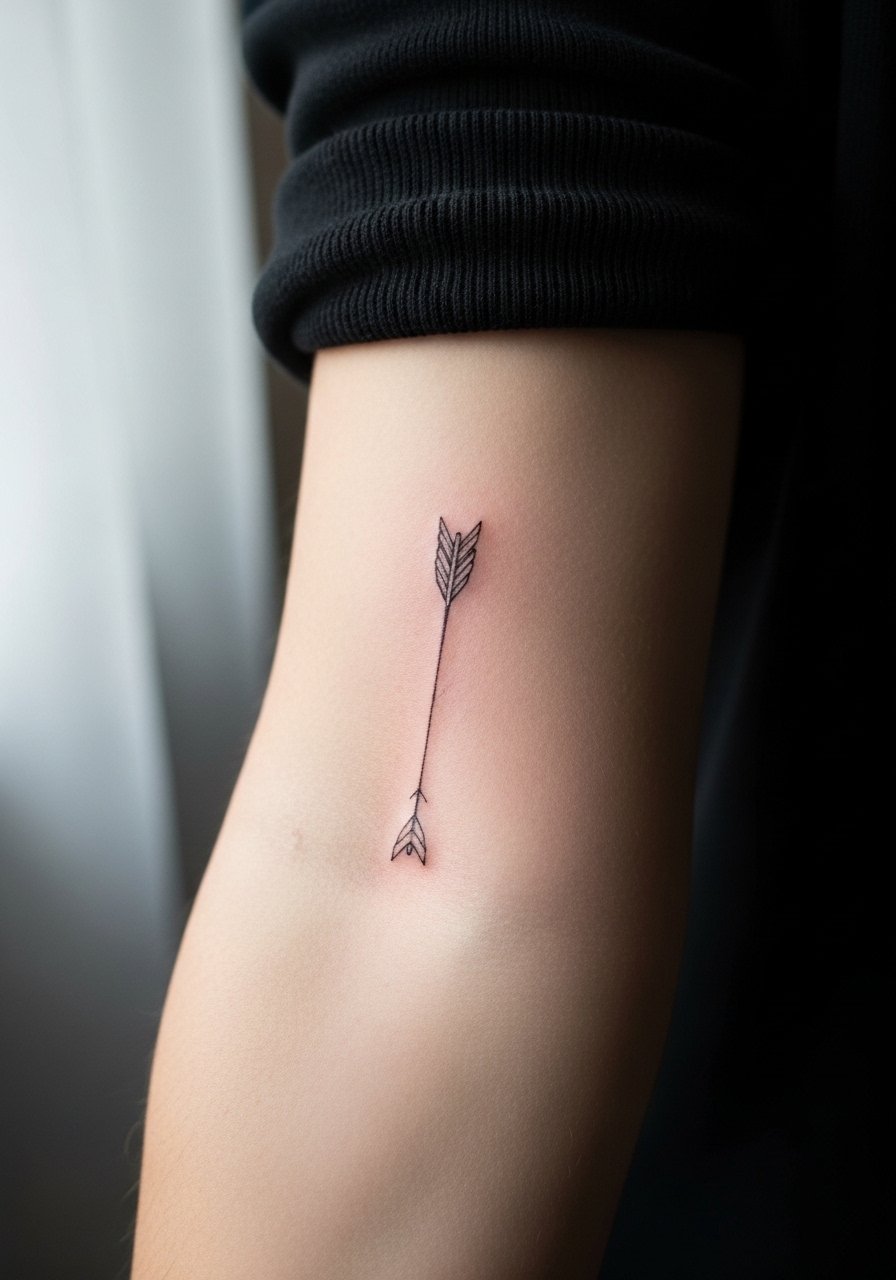
This is a low-key stencil that reads crisp at small scale and is forgiving on day-to-day wear. I tell people to ask for a slightly heavier outer line and feathered interior strokes during consultation so the arrow keeps shape at two years. Expect a one-hour session and a 3 out of 10 pain rating on the forearm. Common mistake is making the shaft too thin, which leads to early softening. For showing it off, roll your sleeve and wear a loose button-down shirt that frames the forearm without hiding the work.
2. Micro-Realism Wolf Head on the Bicep
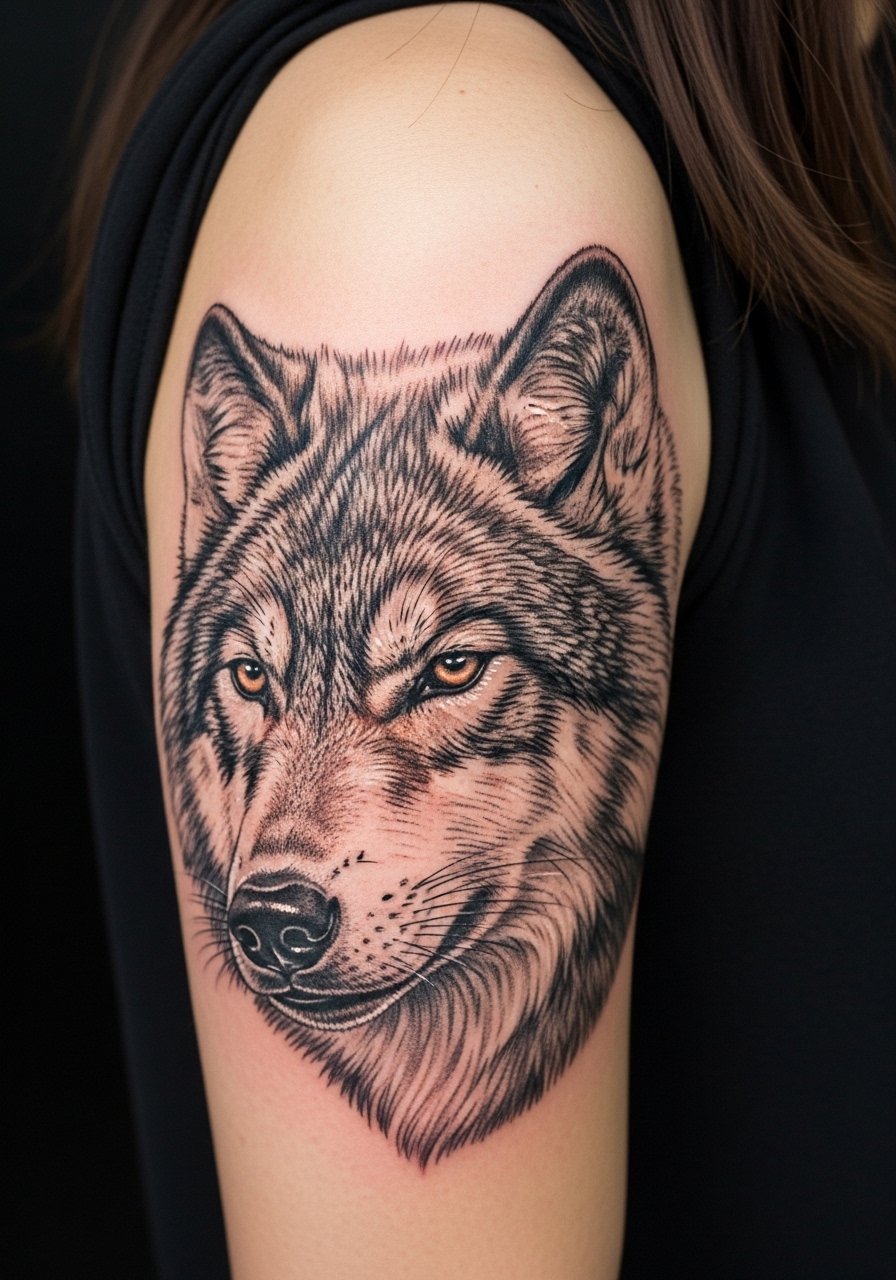
Go custom with a stencil that maps the facial planes for shading. I recommend telling your artist you want clear focal points, not texture everywhere, so the highlights and darks age into a readable image. Biceps are a 4 out of 10 on pain and take two to three hours for a detailed micro-real piece. The mistake is compressing too much detail into a small diameter. Wear a sleeveless tank the session day so the artist has full access and you stay comfortable.
3. Minimalist Constellation on the Wrist
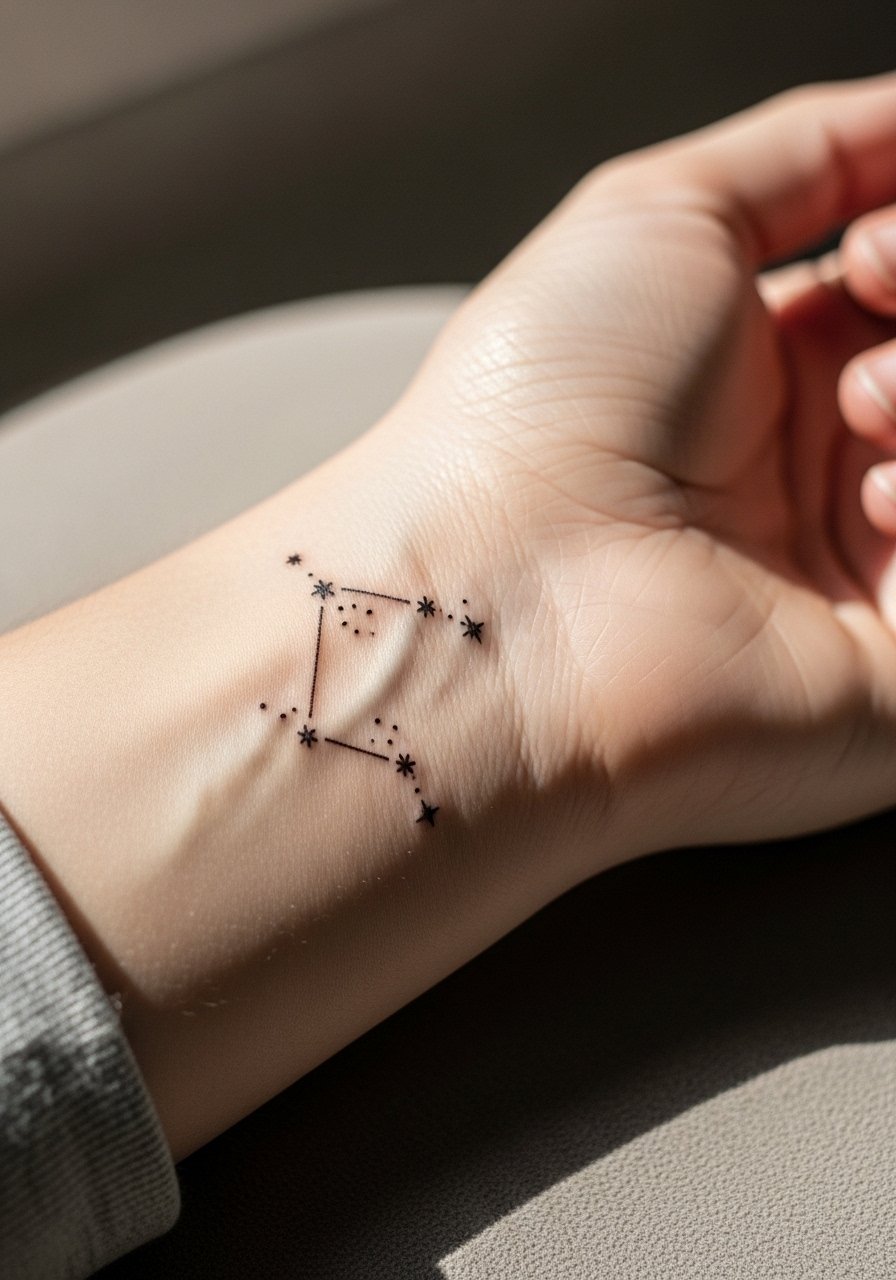
Tiny stencils like this need breathing room. When you sit with the artist, point to exactly which star should be the focal dot so they map negative space. Wrist work is a 6 out of 10 for most people and often finishes in under an hour. Watch out for too many micro-dots close together, those blur first. For daily wear, pair it with a thin chain bracelet to frame the piece without rubbing the ink.
4. Geometric Mandala Near the Sternum
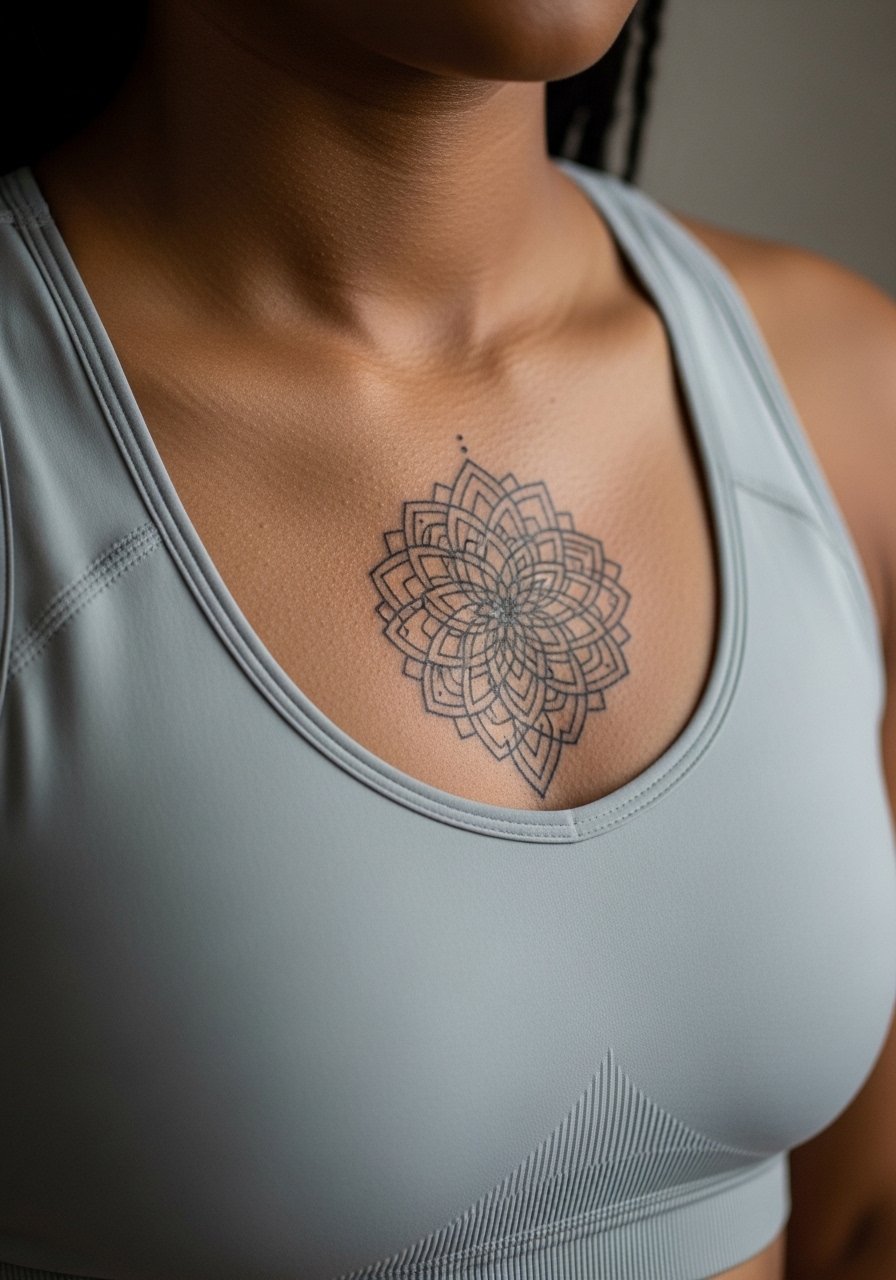
Sternum placements split artists into two camps. One camp warns that the skin there moves and compresses, which can make dense mandalas lose crispness within a few years. The other camp says that with correct spacing and slightly heavier linework, mandalas can hold their structure. If you like this option, ask for more spacing between concentric rings and expect a 3 to 4 hour session. Wear a fitted sports bra the appointment day so the artist can place the stencil cleanly and you remain covered.
5. Botanical Ankle Wrap
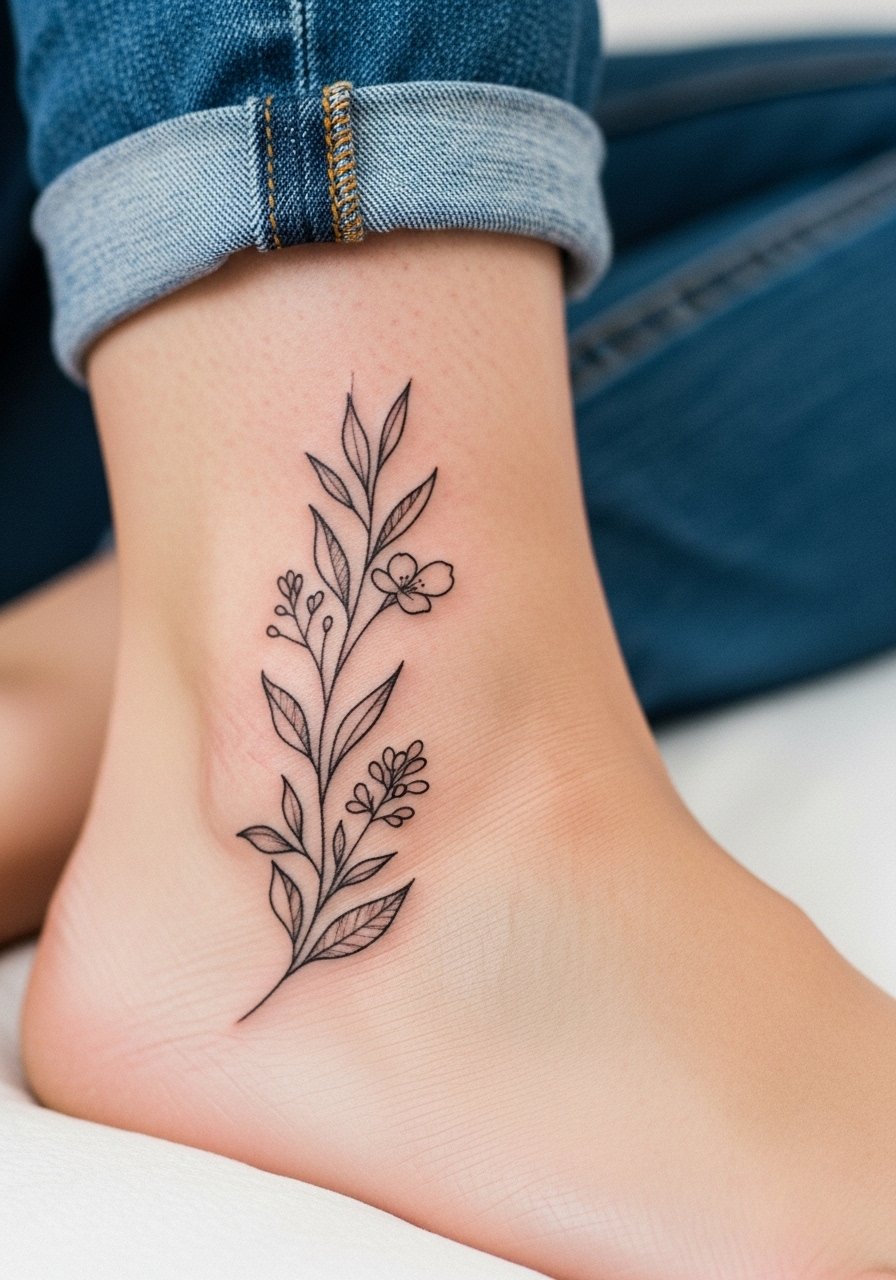
An ankle wrap is visually delicate but faces friction from socks and shoes during healing. Tell your artist to space leaves slightly and avoid ultra-fine stems that blur under constant rubbing. Sessions often run 45 to 90 minutes and rate a 5 out of 10 for discomfort. A common mistake is compressing too many leaves into a small circumference. For evenings out, pair the piece with strappy sandals that leave the ankle visible and reduce rubbing from closed shoes.
6. Tiny Script Behind the Ear
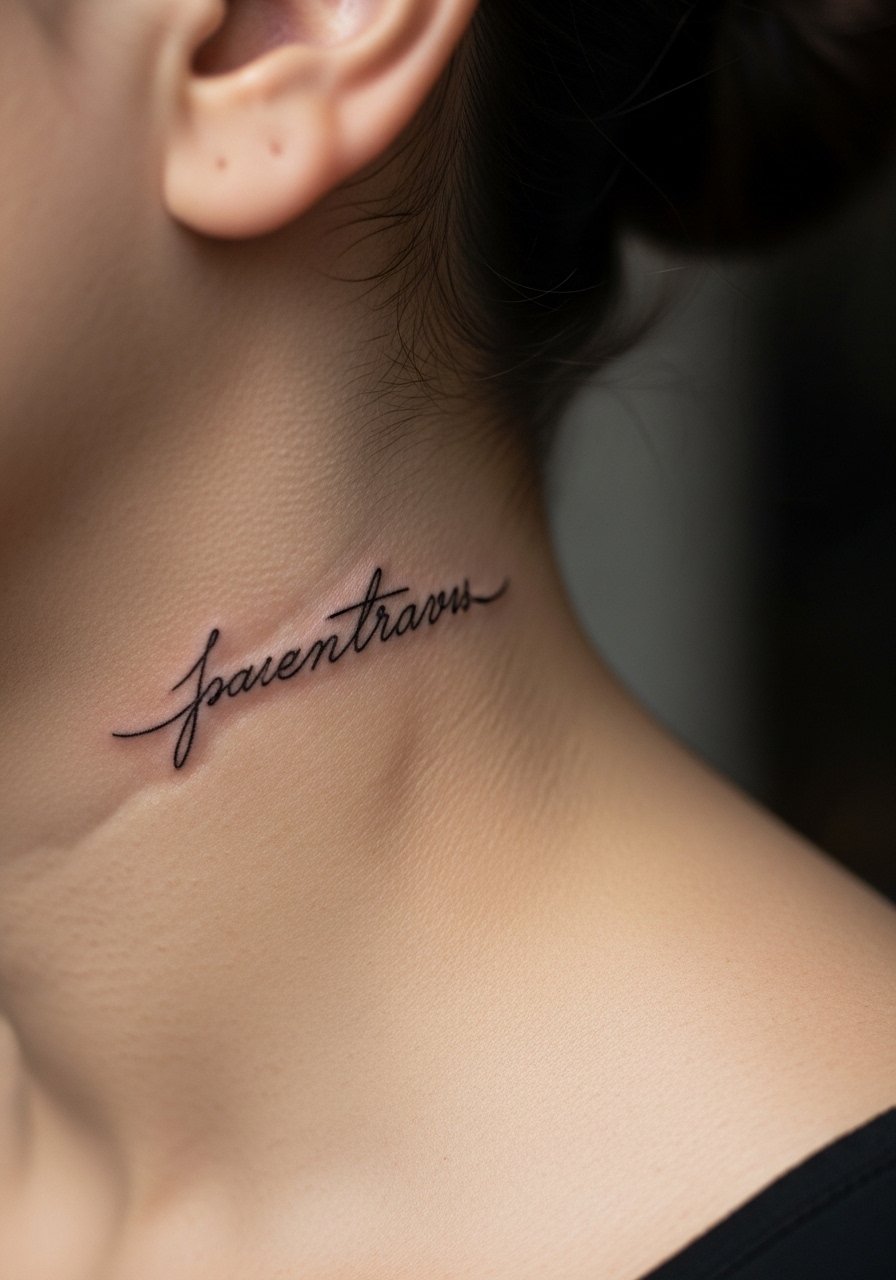
Behind-the-ear script is intimate and demands exact stencil placement because even a millimeter off reads crooked. Ask for the stencil to be photographed in position before the needle touches skin. The area is a 6 out of 10 on most pain scales and usually takes under 45 minutes. People often pick fonts that are too ornate, which becomes unreadable as lines soften. If you plan to hide or reveal it often, style hair to fall differently or use short earrings and pick a thin chain pendant that sits above the line.
Studio Day Picks
Those small placements above can behave differently from larger pieces, so a few specific items make the session and first week smoother.
- Stencil transfer paper kit. Lets you preview exact placement and line weight on skin before the artist inks, which is vital for tiny scripts and wrist work.
- Topical numbing cream. Applied under guidance about timing it eases the edge on sensitive areas like the sternum or behind the ear.
- Thin protective film roll. Helps shield ankle and finger tattoos from friction during the first days.
- Fragrance-free gentle body wash. Cleans without irritating delicate lines on forearms and wrists during early healing.
- Aquaphor healing ointment. Thin application in the first 48 hours keeps fine line work hydrated without clogging needle channels.
7. Traditional Matchstick with Flame on the Wrist
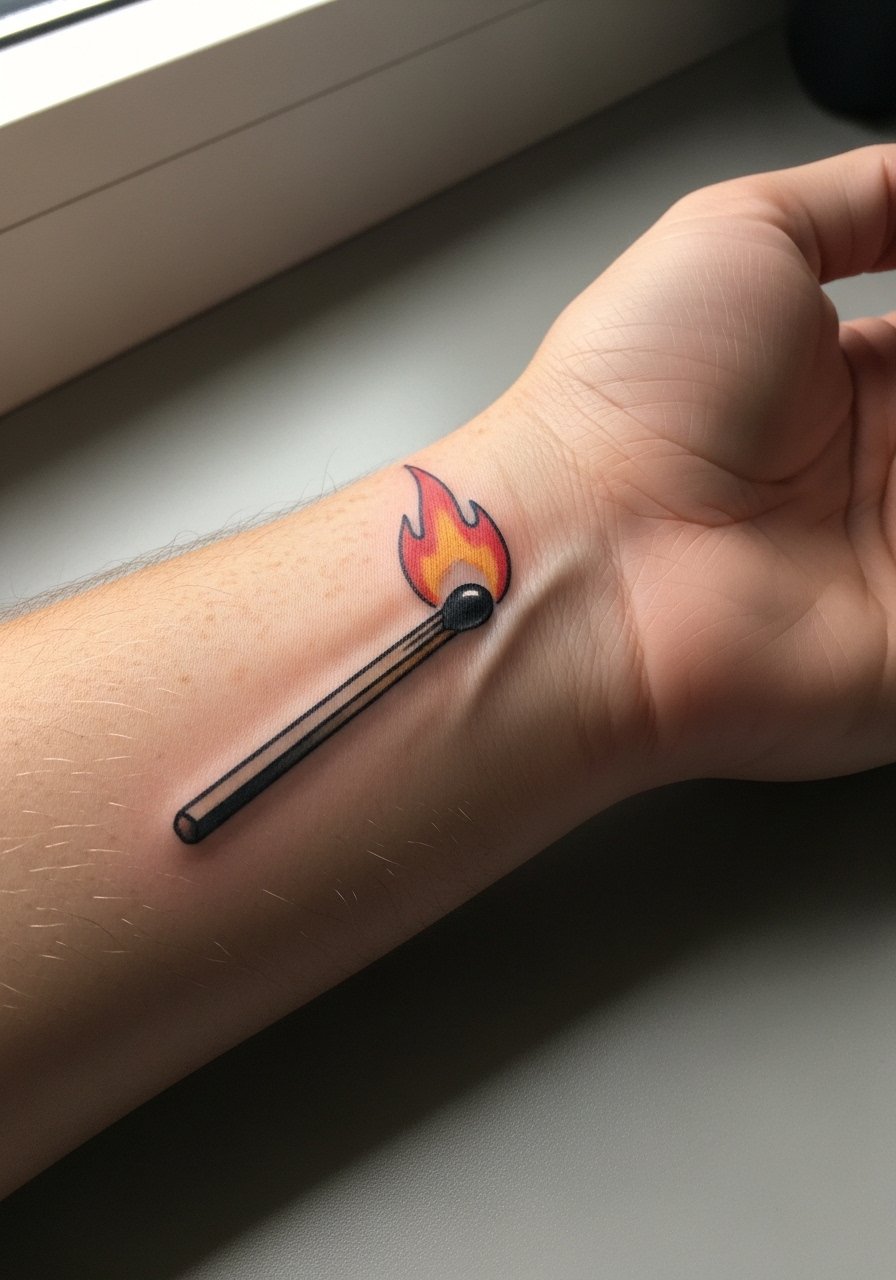
This tiny traditional flash reads loud at small scale because of bold outlines and high saturation. Mention to your artist that you want classic bold contours and a shallow fill so the flame keeps separation from the stick. Wrist pain is a 6 out of 10 and the session is usually under an hour. The most common misstep is opting for thin outlines, which lose contrast. Show it off with a minimalist watch that sits nearby but does not cover the art.
8. Blackwork Shoulder Blade Motif
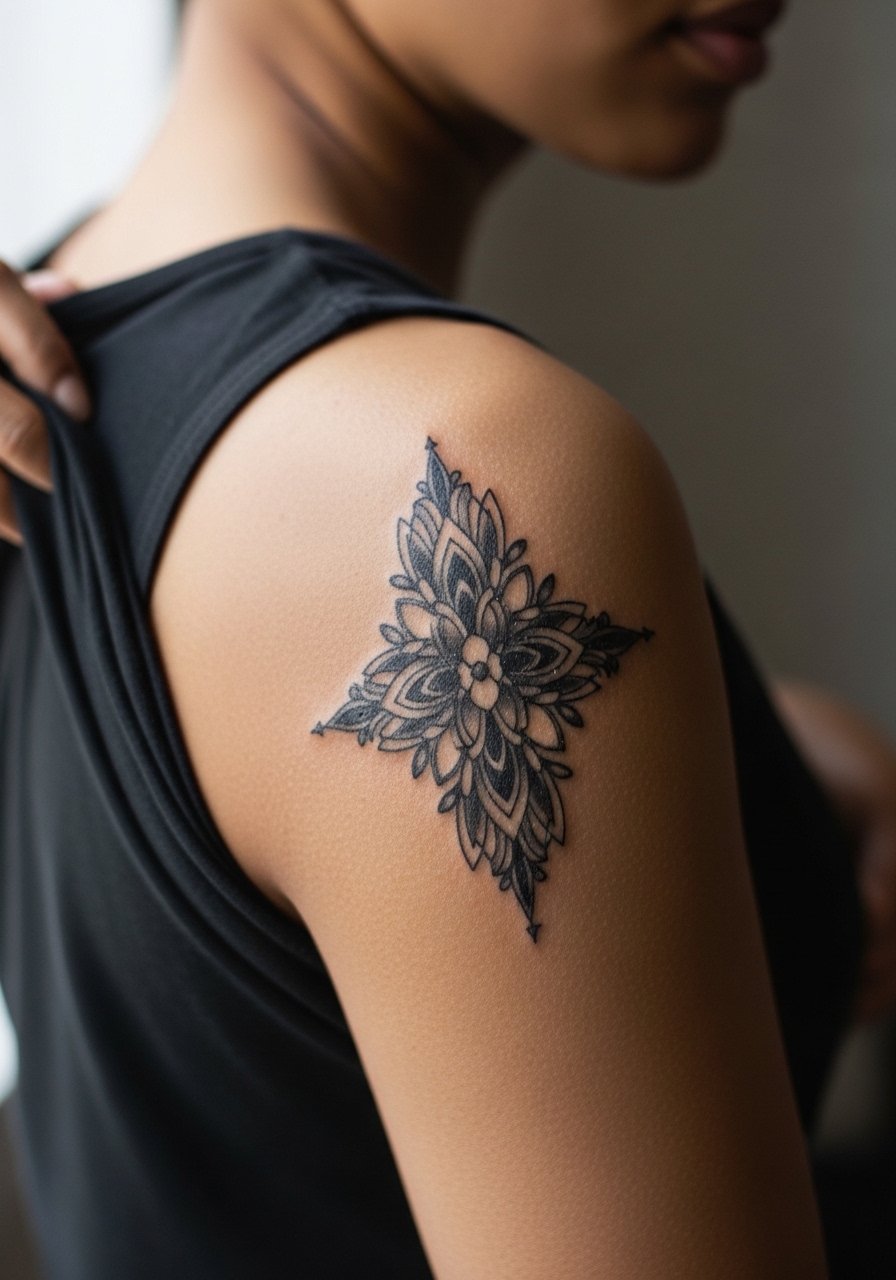
Shoulder blade pieces age well thanks to limited sun exposure. For geometric blackwork, ask for crisp stencil outlines and consistent saturation in the center. Expect a two to three hour session and a 3 out of 10 pain level. A real mistake is asking for too much tiny negative patterning, which merges over time. Wear a loose tank top for the appointment so your artist can access the site without you feeling exposed.
9. Watercolor Floral on Upper Thigh
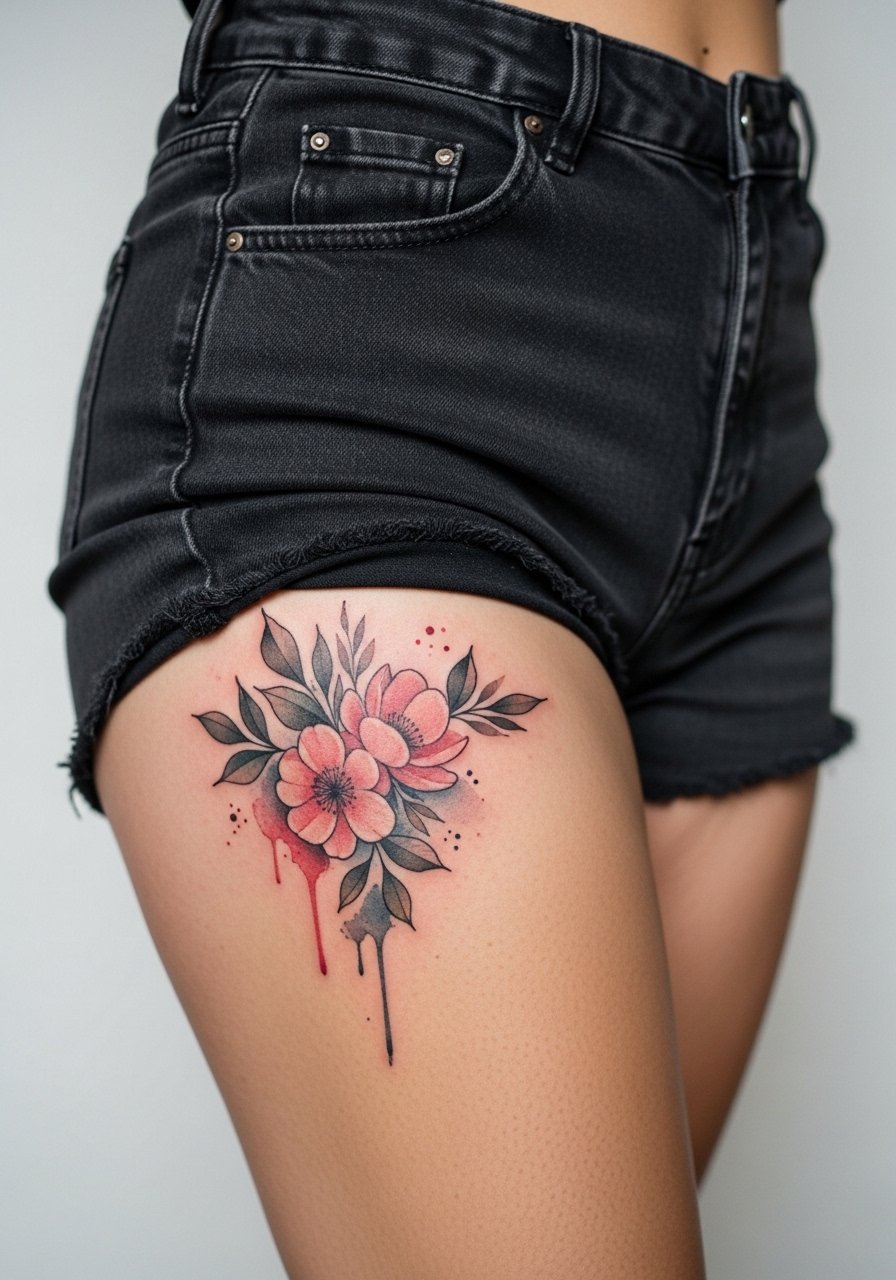
Thigh pieces let you go larger and play with softer stencil edges that guide the color wash. During consultation, say you want the color pushed away from linework to prevent muddying. Thigh sessions are a 4 out of 10 on pain and can run two to four hours for layered color. People often compress watercolor into too-small areas, causing early fading. For the appointment, wear loose drawstring shorts so the artist can roll the leg without pinching fabric into the area.
10. Dot Work Mandala on the Calf
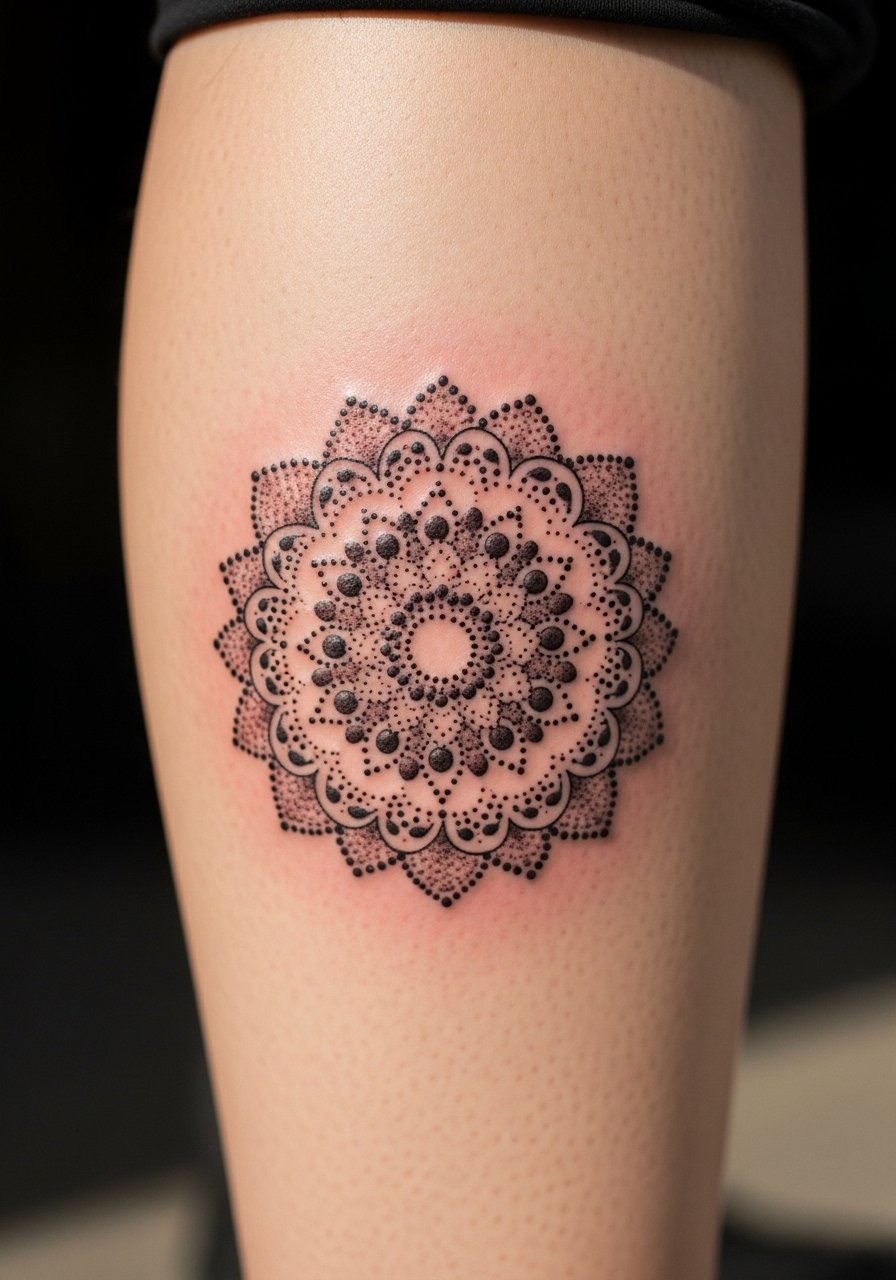
Dot work relies on negative space and careful stippling. Tell the artist you want visible spacing between dot clusters so the pattern holds over years. Calf pieces are a 3 out of 10 for pain and usually take one to three hours depending on size. The usual error is over-densifying the center, which looks muddy as skin shifts. Calf work pairs well with rolled-up trousers and a casual linen pant on show-off days.
11. Single Needle Symbol on the Finger
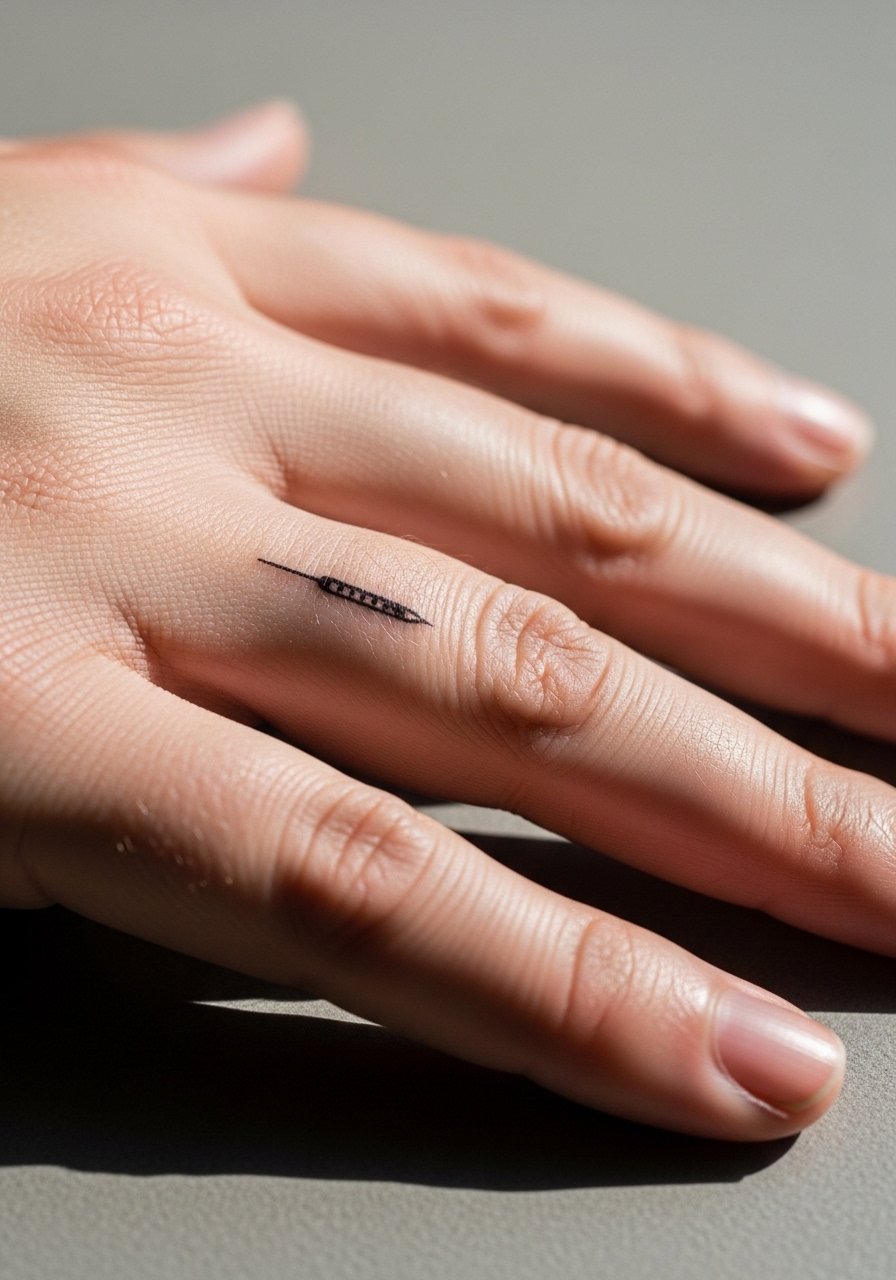
Finger tattoos demand realistic expectations because the skin there trades pigment quickly. Ask the artist to scale the symbol slightly larger than your initial idea and to avoid ultra-fine fills. Sessions are short but painful, usually a 7 out of 10, and touch-ups within a year are common. A mistake is choosing dense scripts for a finger. Keep it simple and style with a delicate ring stack that complements without rubbing the ink too much during healing.
12. Linework Spine Script
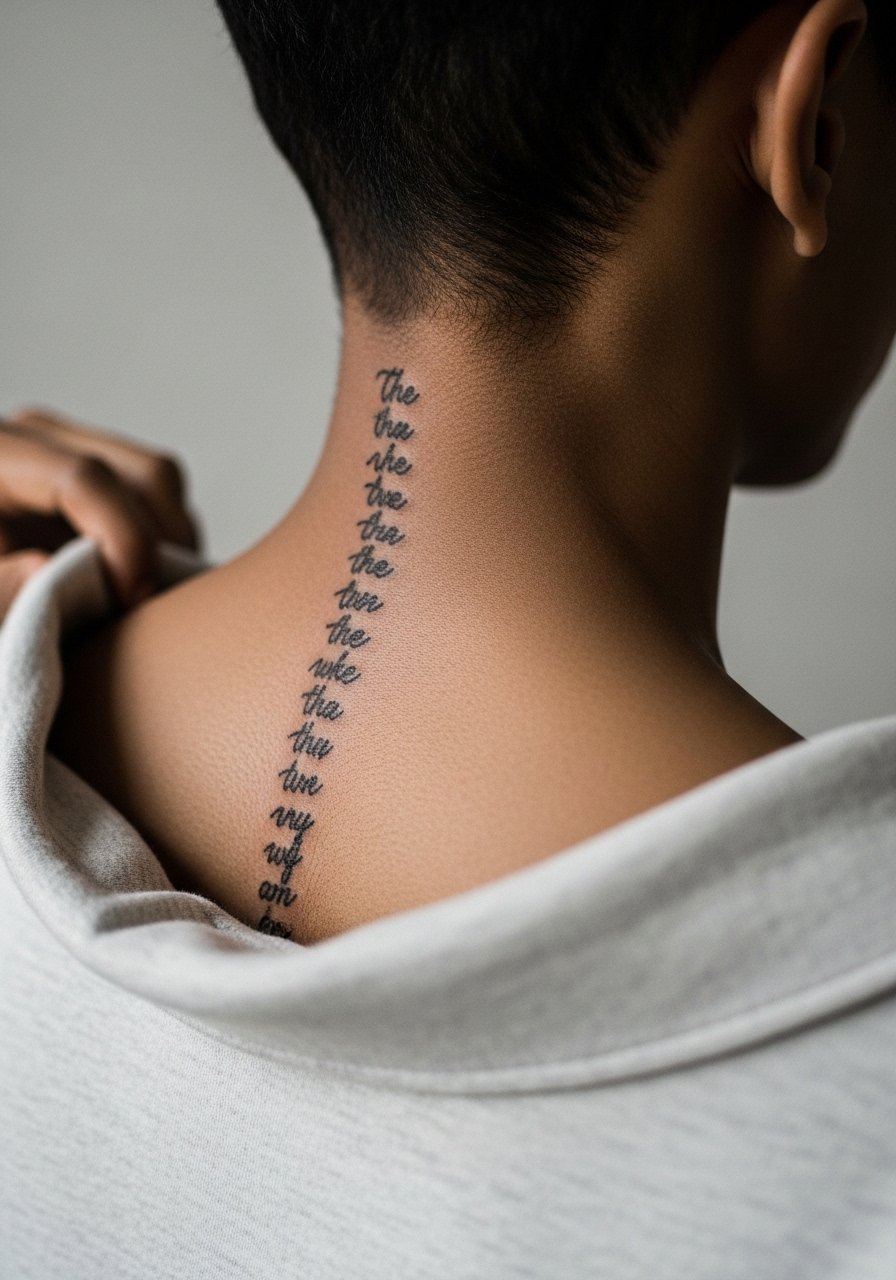
Spine script reads very vertical and dramatic when stenciled with even spacing. Tell the artist you want wider letter spacing so characters do not crowd as the skin moves. Expect a multi-hour session and a 5 to 7 out of 10 on pain depending on proximity to bone. Commonly people pick very dense fonts that compress over time. Pair the piece with open-back tops for nights out, as that framing keeps attention on the column without overexposure.
13. Stipple Shaded Ribcage Floral
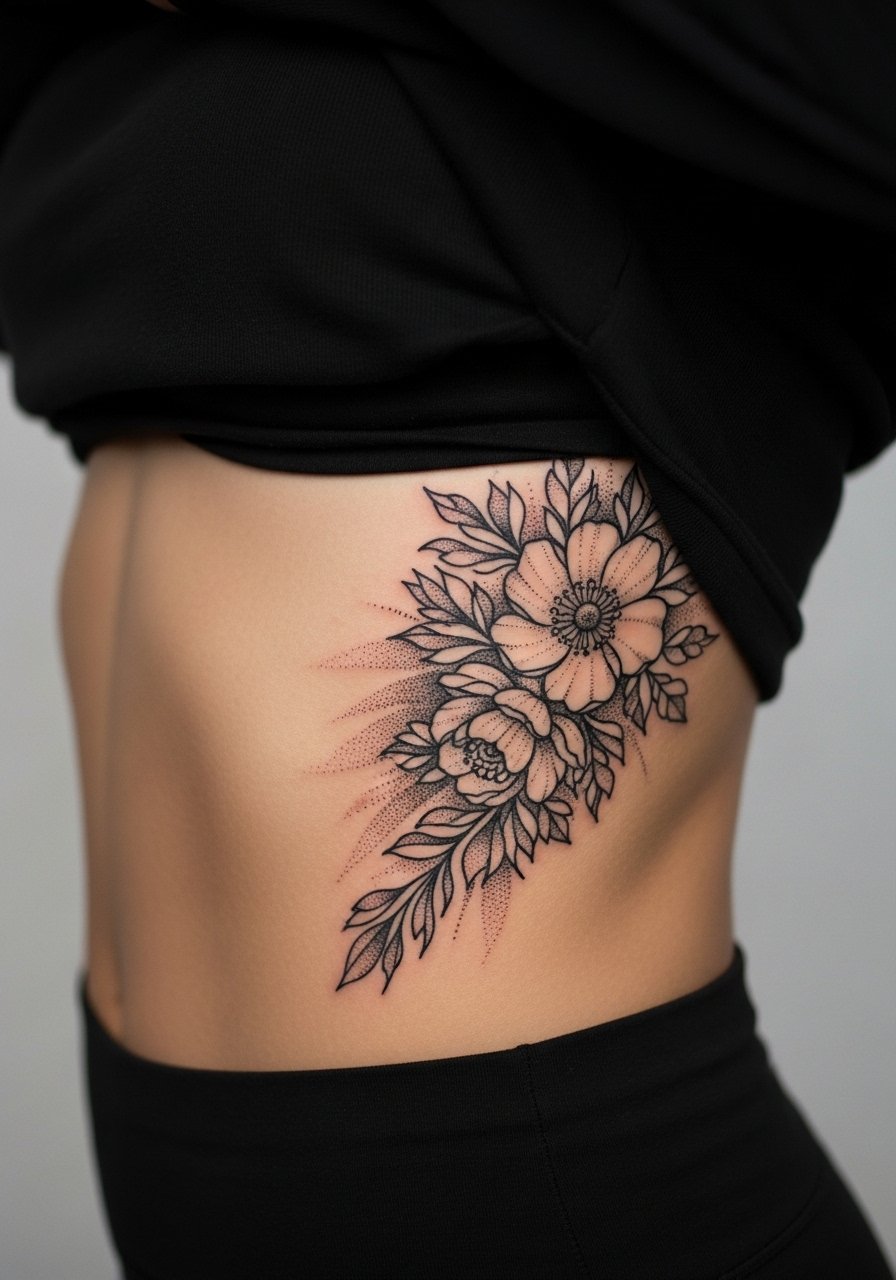
Ribcage placements spark debate among artists regarding fine line work there. One group says the constant expansion and contraction blurs minute detail, especially in stipple shading. The other group argues that with deliberate spacing and slightly bolder anchor lines, stippling can remain readable. If you choose ribs, request anchor lines and spaced stipple fields, and plan for a touch-up at year two. Pain is high, typically an 8 out of 10. For the session, wear a cropped top so the artist can lift fabric without exposing more than the area needed.
14. Minimalist Collarbone Quote
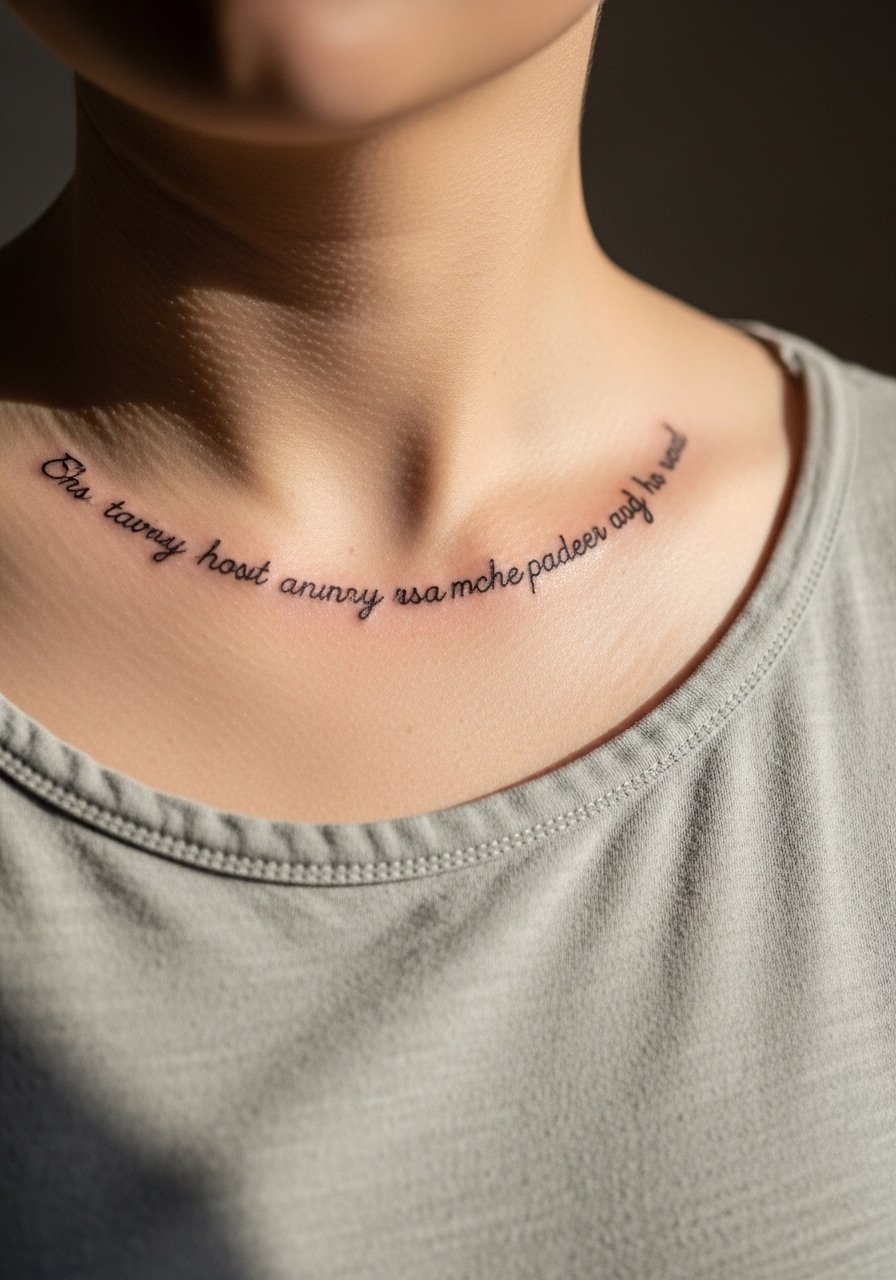
Collarbone text needs careful kerning because the curve of the bone changes how letters sit. Tell the artist to stencil and photograph multiple angles before committing. Sessions are short and the area is a 5 out of 10 on pain. The biggest mistake is choosing long phrases that wrap too close to the shoulder joint. On show-off days, wear an open-neck blouse that follows the collarbone line to highlight the text.
15. Botanical Inner Bicep Panel
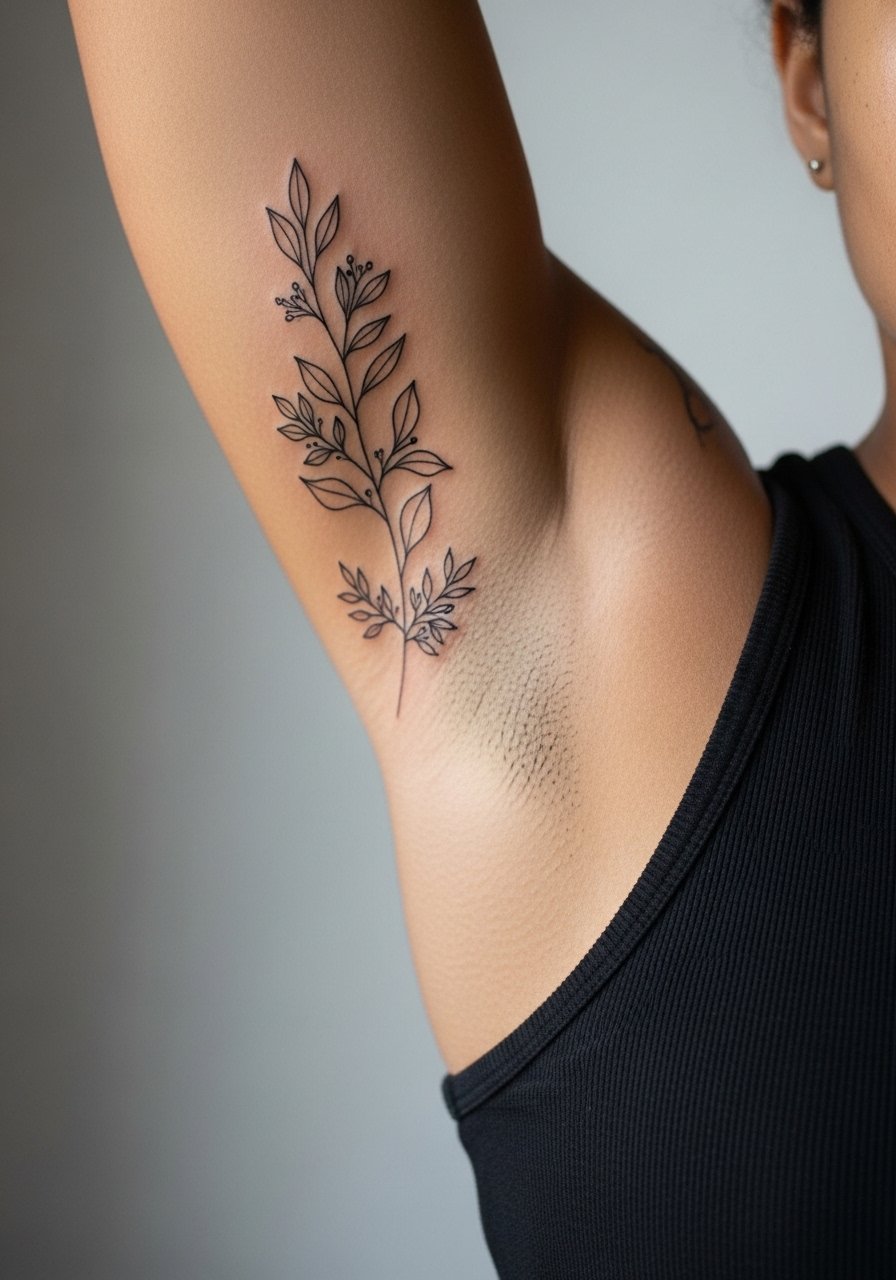
Inner bicep pieces age differently because the area sees stretching during muscle movement. Ask for slightly bolder main veins in the design and softer filler leaves so the silhouette remains clear. Pain is moderate to high, usually a 6 out of 10, and a panel can take two to three hours. A common error is crowding tiny details near the fold. For the appointment, wear a tank top you can raise so the artist can access the area without you feeling exposed.
16. Linked Circle Chain Around the Ankle
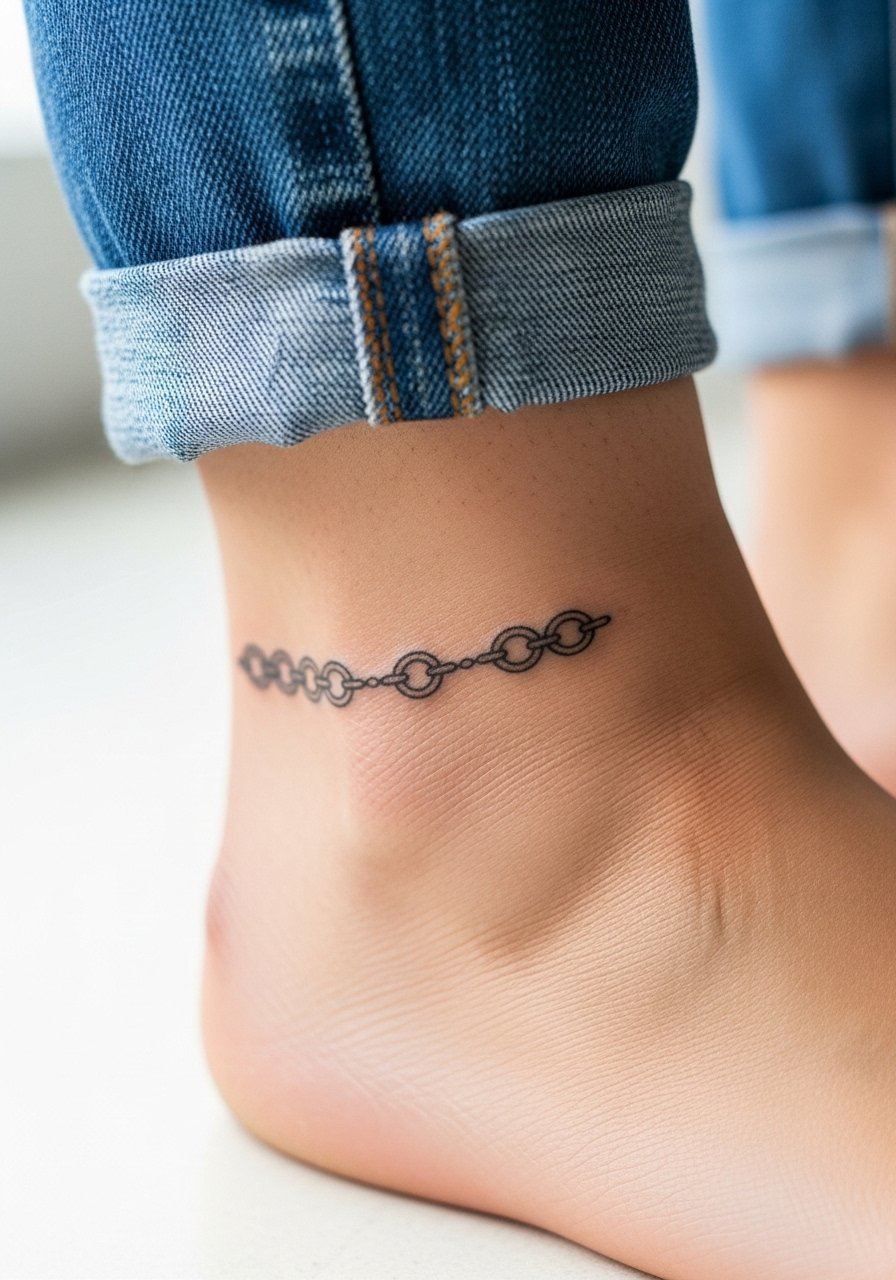
Continuous circular motifs need consistent stencil alignment or the chain reads uneven. Request that the artist mock the wrap and check for symmetry while standing. Ankle work is a 5 out of 10 and completes in under 90 minutes for small bands. The mistake is making each link too tight, which causes merging after months. Style it with rolled jeans and a cropped hem so the chain is visible without constant rubbing from socks.
17. Micro-Realism Eye on the Back of the Hand
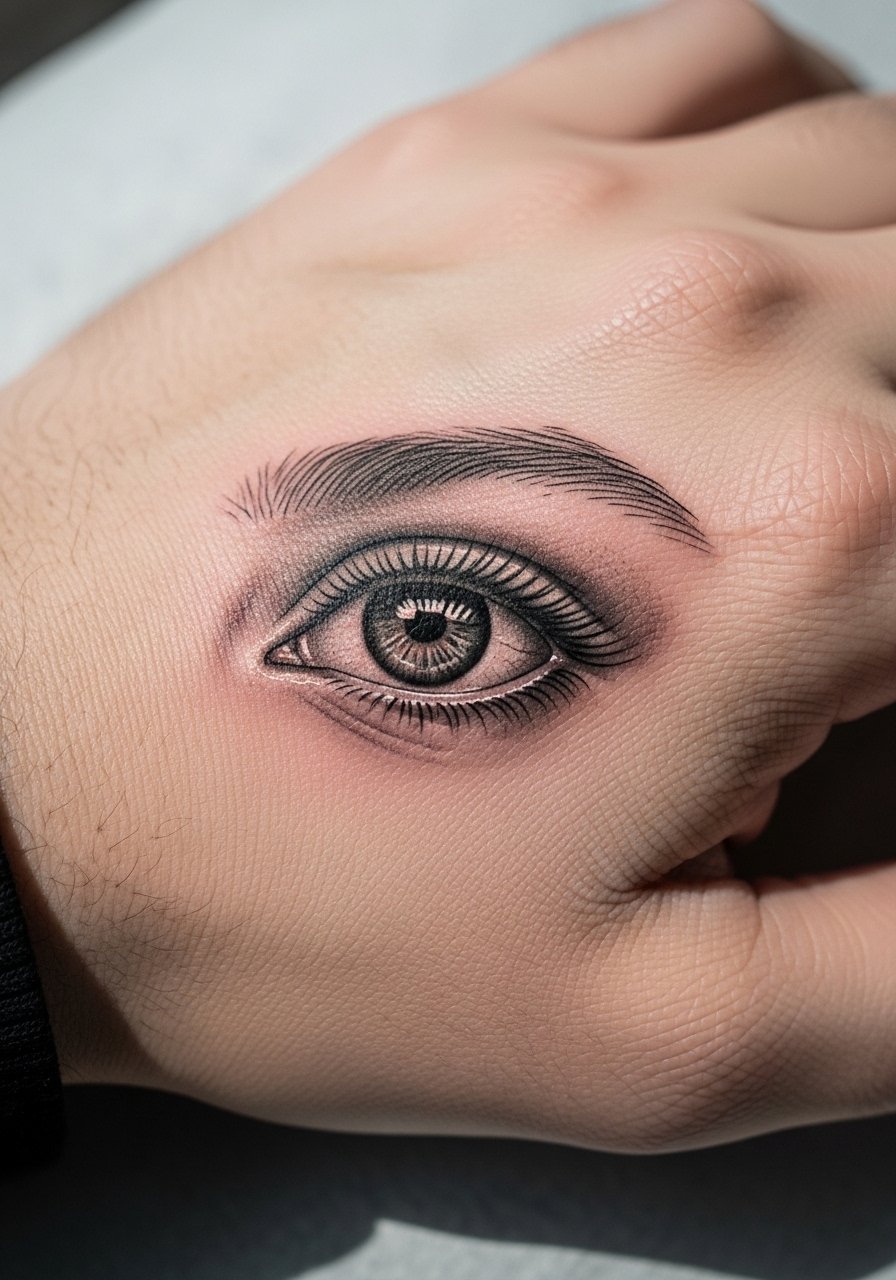
Hand pieces face high wear from washing and daily tasks. For an eye rendered in micro-realism, tell the artist you want bold outer lines with softer inner shading to preserve contrast. Expect a sharp session and a 7 out of 10 pain score, often under two hours. Realistic detail tends to fade fastest here, so plan touch-ups. Also consider career visibility since hand tattoos remain noticeable in some industries.
Frequently Asked Questions
Q: Will fine line wrist and finger stencils need touch-ups sooner than chest pieces?
A: From what I've seen, yes. Thin lines on wrists and fingers lose crispness faster because of friction and frequent washing. Expect a possible touch-up within one to three years for ultra-fine work, while chest and shoulder pieces often last longer before needing refresh.
Q: Can a geometric mandala be resized for sternum placement without losing detail?
A: It can, but you need to accept spacing trade-offs. Resizing down usually means increasing gap between elements and simplifying inner detail so the overall form reads clean after healing. Discuss line weight and ring spacing with your artist during the stencil stage.
Q: How should I dress for a thigh watercolor session to keep the area accessible and comfortable?
A: Wear high-waisted shorts or a loose skirt that you can shift slightly so only the immediate tattoo area is exposed. A loose drawstring short works well because it minimizes pressure on the site and keeps you covered.
Q: Are hand and finger tattoos still a hiring risk?
A: Some workplaces remain conservative about visible hand ink, while others are fine with it. Think about your career path and future interviews before committing to visible placements. If in doubt, pick a location you can cover with long sleeves or jewelry for a while.
Q: How do I choose an artist for micro-realism or stipple work if I do not want named recommendations?
A: Look for portfolios showing healed photos in similar placements, and ask about healed shots rather than fresh photos. Spend time in local shop directories, tattoo conventions, and community threads to see how particular styles hold up on real skin before booking.
