
Fine line tattoos dominate Pinterest right now, and the same artists pushing them are quietly booking touch-ups at year two. Blackout work flips the script by leaning into saturation and negative space so the piece reads clean for years. Expect more pain and longer sessions than small line work, and plan for touch-ups down the line. Below are 21 bold blackout directions that show how to design for longevity, placement, and your wardrobe.
1. Half-Sleeve Blackout with Negative Space Botanicals

I see this version on people who want dramatic coverage without losing organic shapes. Plan for two to three sessions depending on how much saturation you want. Tell your artist you want strong saturation in the background and preserved skin for the leaves, not the opposite. A common mistake is filling every petal and losing the plant silhouette, which ages into a single dark mass. Pain is medium for the upper arm, and touch-ups are usually at year two for heavy saturation. For show-off outfits, pair with a loose button-down shirt you can pull aside to reveal the sleeve.
2. Full Sleeve Blackout with Geometric Cutouts

Fair warning, full sleeves mean multiple long sessions and soreness afterward. The visual payoff is bold, and the cutouts give the arm structure so the blackout reads intentional rather than accidental. During consultation, show precise reference for the negative-space geometry and ask for planning stencils. Artists split into two camps on this style. One group prioritizes seamless saturation and says heavy coverage hides aging. The other prefers larger cutouts to avoid long-term flattening. Decide which you want before booking. For session wear, roll up a soft linen long sleeve so the artist can work without tugging.
3. Wrist Band Blackout with Tiny Script Window
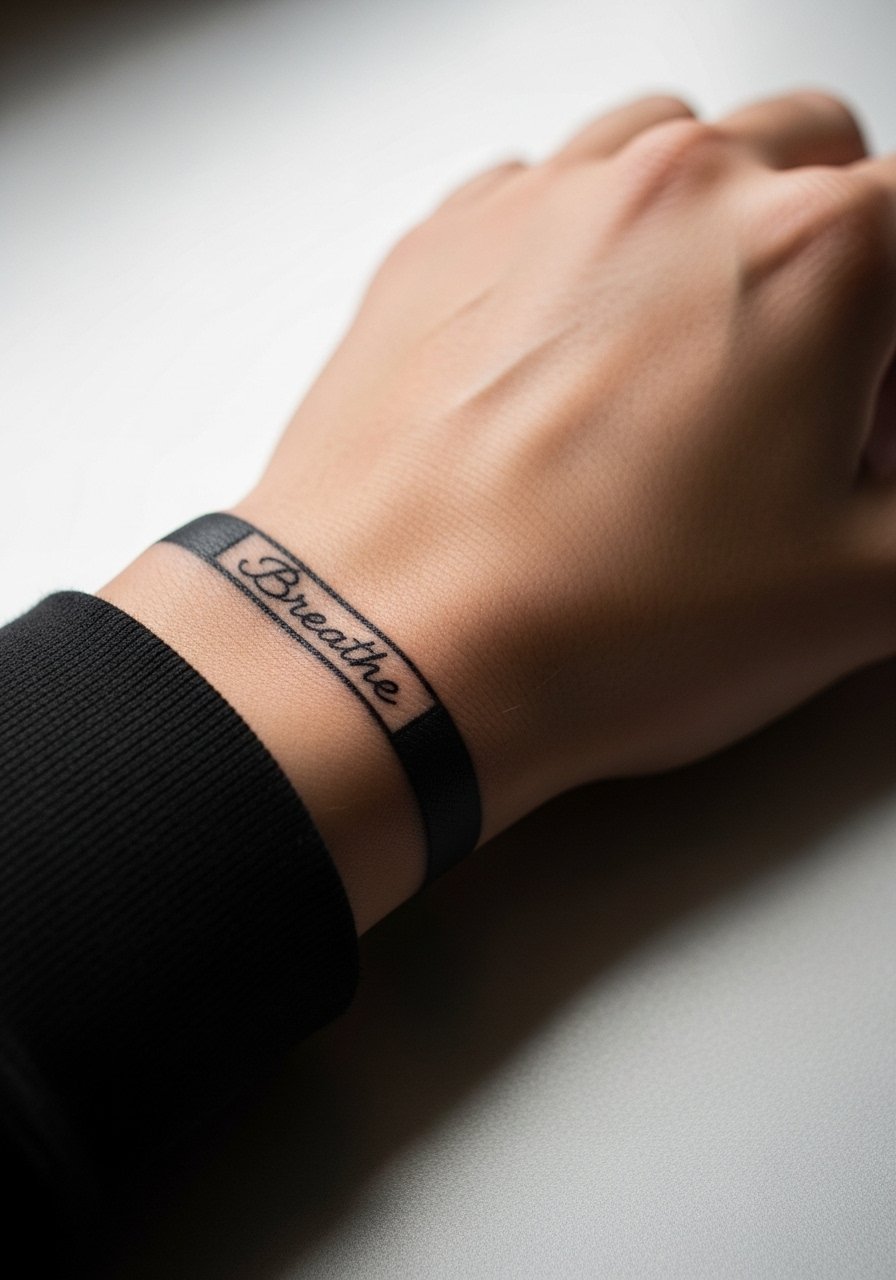
This tiny cuff looks crisp immediately but bears a lot of hand motion and washing, so expect softer edges after a year. The biggest mistake is going too thin with the script opening. Ask for a slightly wider letter spacing and deeper saturation around the edge so the script keeps contrast. The wrist is sensitive and may need a shorter, intense session rather than a slow fill. For showing it off, stack a thin chain bracelet that sits above the cuff rather than rubbing it.
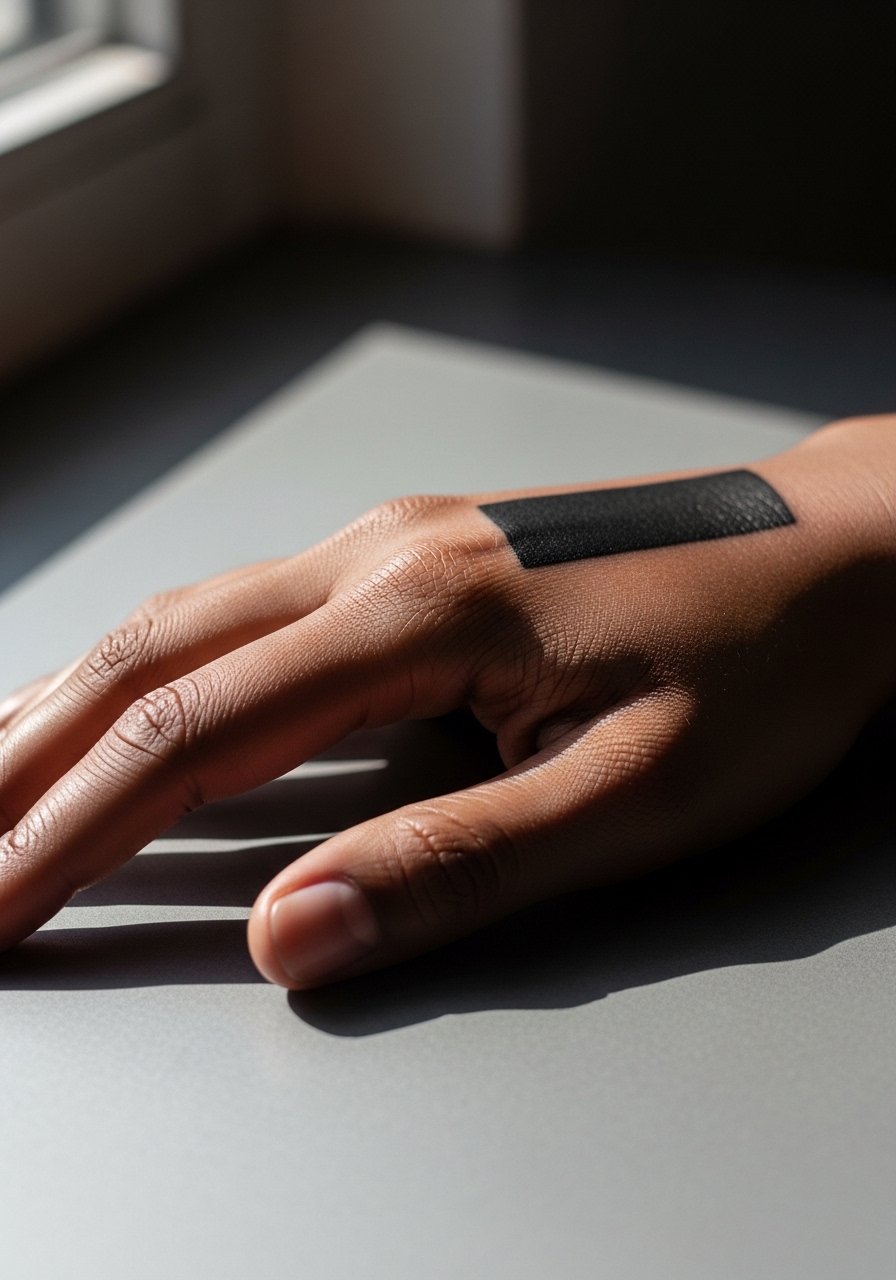
4. Finger Blackout Micro Bands
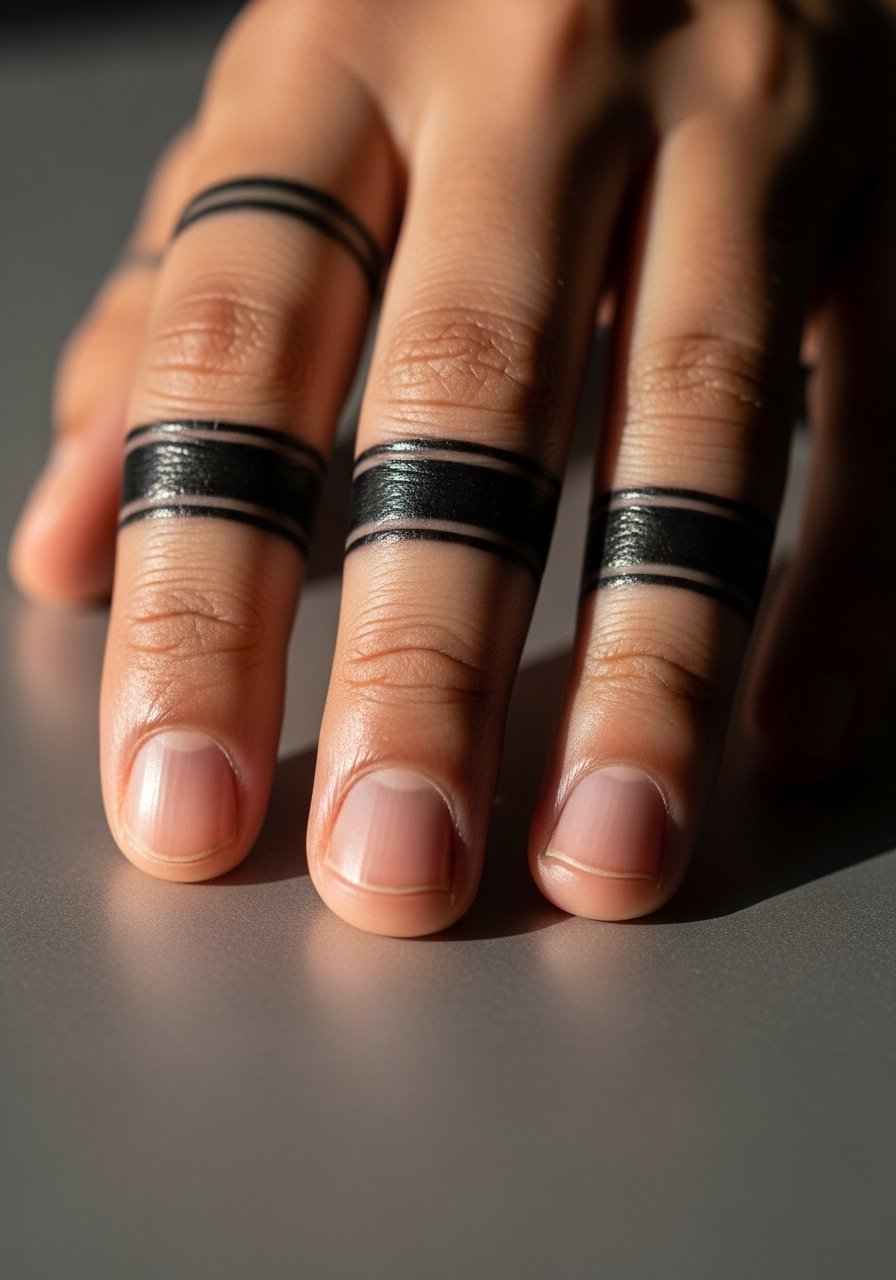
Hands and fingers blow out more easily because of thin skin and frequent use. Expect more frequent touch-ups than other spots. Tell your artist you want bold but not full-wrap saturation on the inner side of the finger to reduce blowout risk. A common error is wrapping a dense blackout too tightly around the knuckle area, which ends up patchy after healing. Sessions are quick but can sting sharply. Consider subtle spacing between bands so the lines retain definition over time.
5. Ribcage Blackout with Script Negative Space
Pain warning, ribs are one of the more painful placements, but the canvas lets the blackout breathe. Artists divide on fine line on the ribs. One camp says the skin stretch and movement blur lines quickly. The other camp says with correct depth and spacing, lines can hold. For this blackout you avoid tiny script inside dense fill. Instead ask for a bold negative-space window with thicker letterforms. Expect a longer session and a touch-up at year two or three if the edges soften.
6. Sternum Blackout Panel with Floral Cutouts
This placement reads dramatic but needs careful planning. The sternum area moves a lot with breathing and can be painful, especially on the centerline. Tell your artist you want the floral cutouts to follow the rib curve so the piece ages with the body's motion. Expect two sessions and a touch-up check at six months. For the session wear, a zip-up hoodie you can easily pull off helps the process.
Studio Day Picks
The sternum, ribs, and small wrist pieces above ask different prep from larger arm work, and the right items smooth the session and the first week.
-
Stencil transfer paper kit. Lets you preview placement on skin and check negative-space windows before the needle hits, which is crucial for the pieces above.
-
Topical numbing cream. Applied 30 to 45 minutes before can make rib and sternum sessions more manageable without messing with saturation.
-
Thin protective film roll. Handy for small wrist and finger work that faces a lot of friction in the first week.
-
Fragrance-free gentle body wash. Cleans healing areas without stripping oils, useful after chest and arm sessions.
-
Aquaphor healing ointment. A thin layer for the first few days keeps dense saturation from drying and scabbing too heavily on blacked areas.
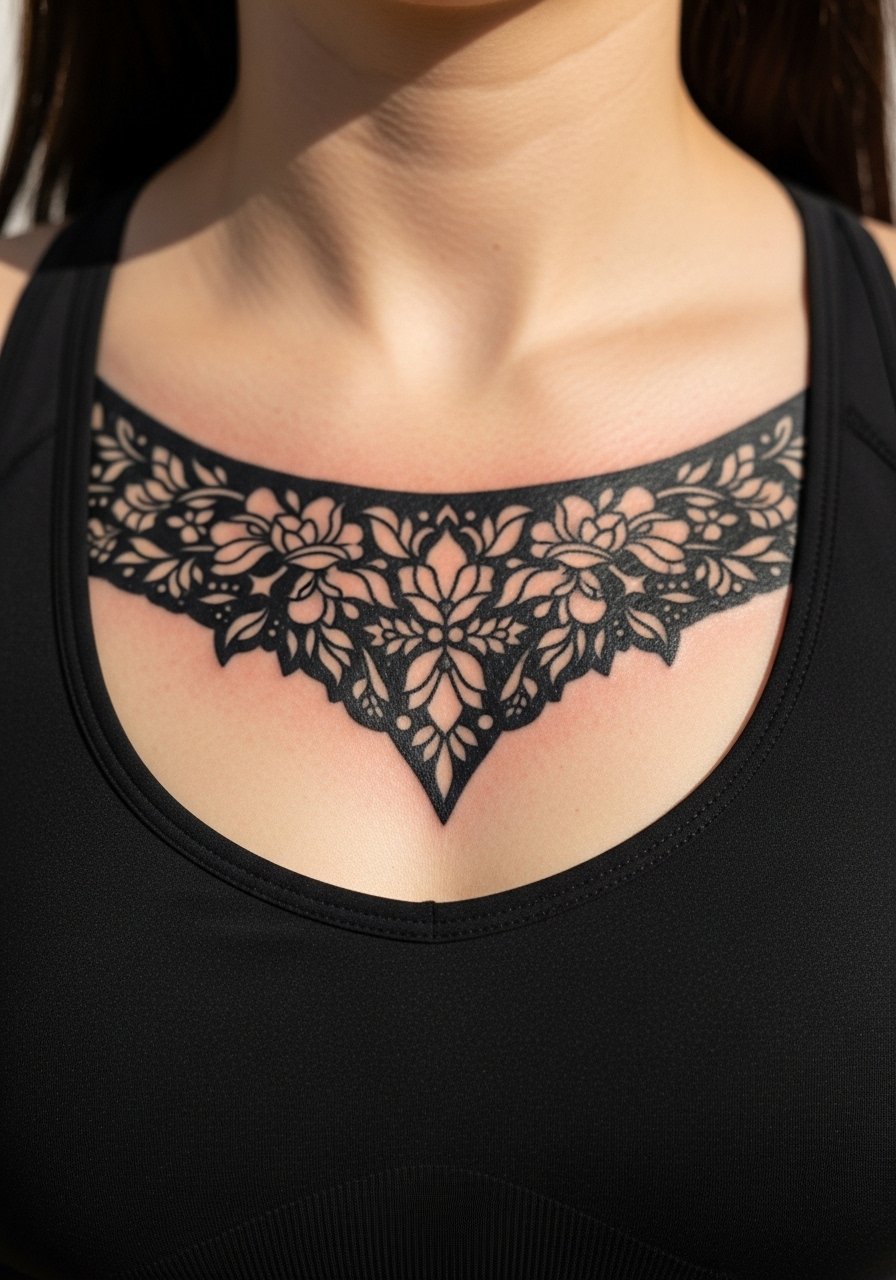
7. Collarbone Blackout Accent Patch
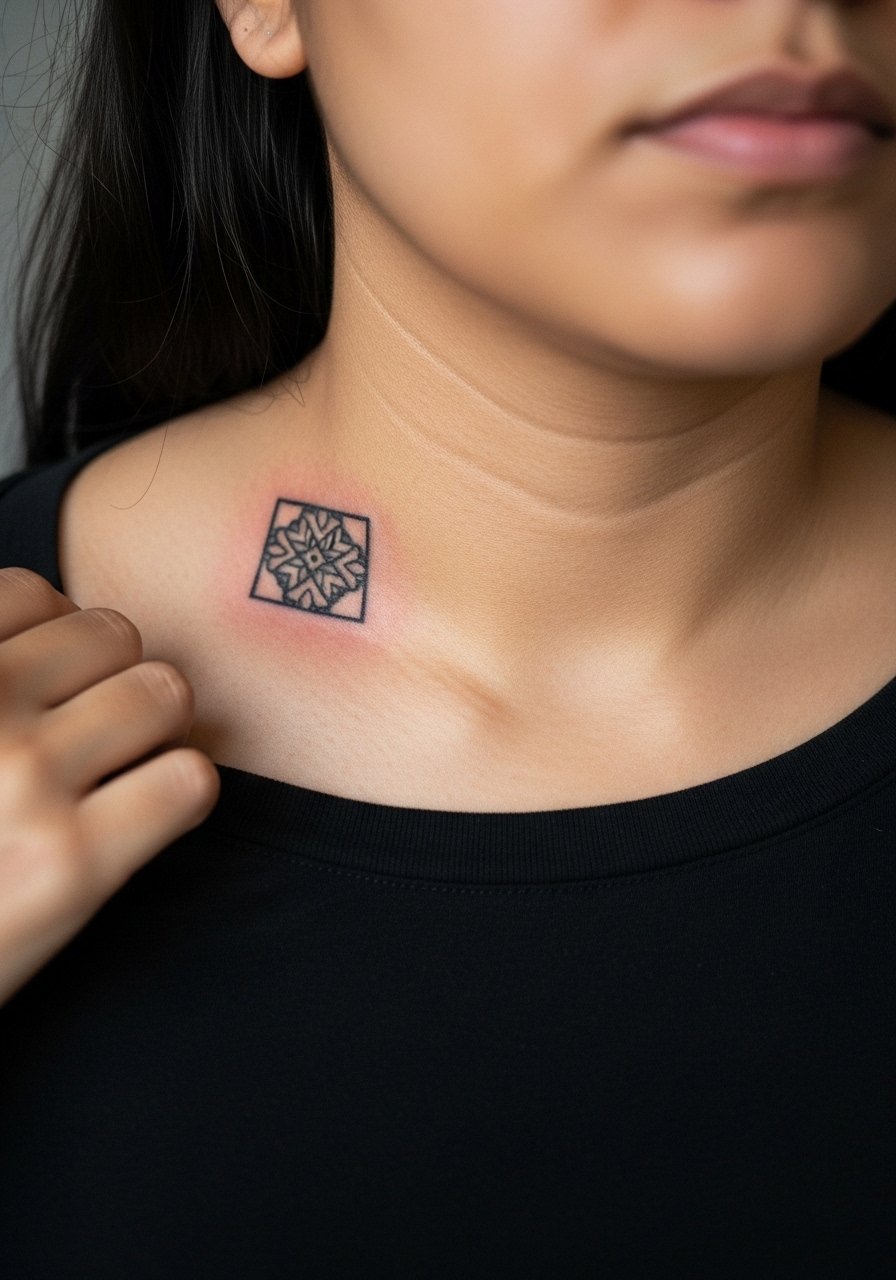
Personal observation lead: the collarbone spot reads like jewelry when framed well. The skin is thin so expect a sharper sting but a short session. Ask for the blackout to stop short of the clavicle edge so it reads intentional. The common mistake is pushing saturation right over the bone edge which can heal patchy. For evenings out, pair the patch with an open-back midi dress or a wide-neck tee to show it off without overexposing the area.
8. Thigh Side Blackout with Lace Negative Space
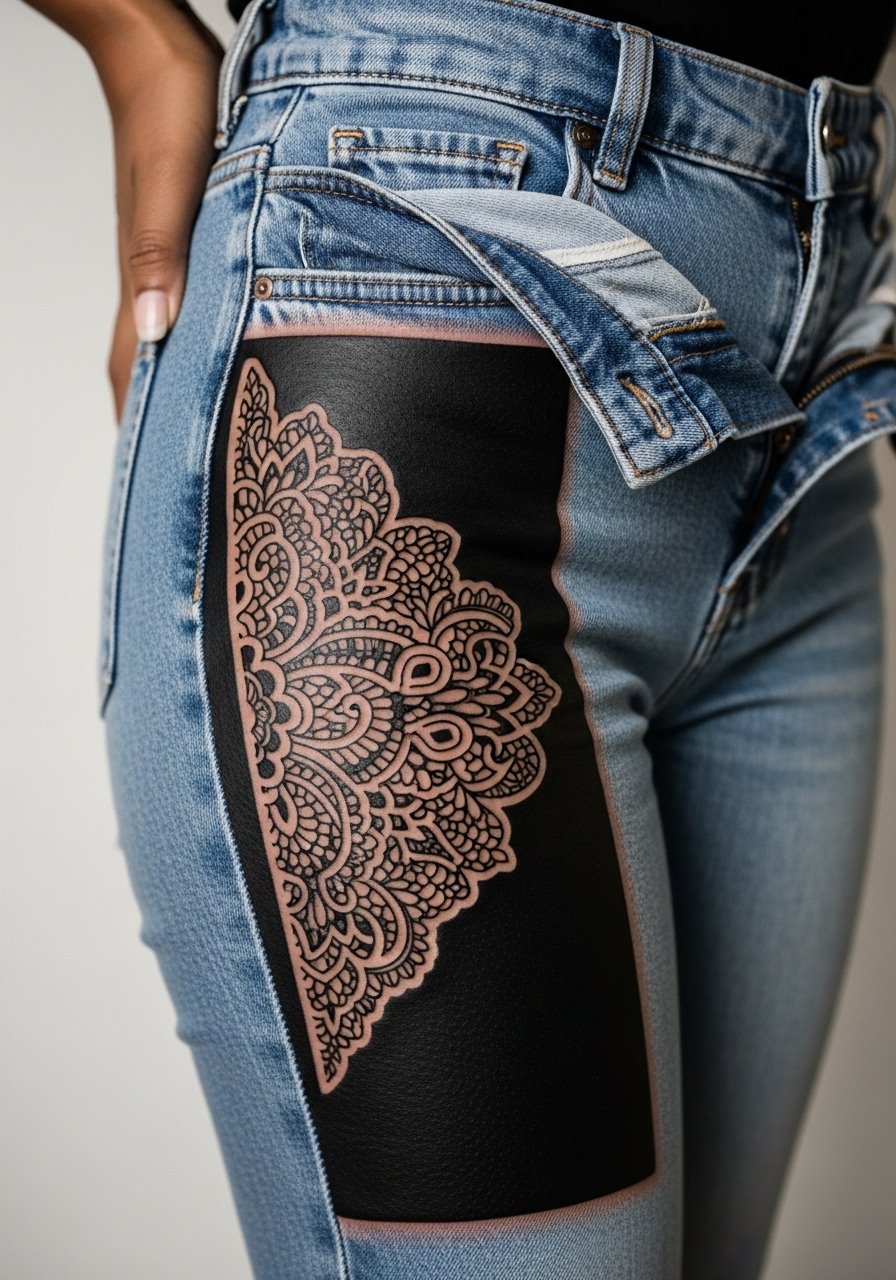
Aging and healing lead: the thigh is forgiving for saturation because it gets less sun and abrasion. Tell your artist to map the lace opening against your natural thigh curves so it moves with you. The one mistake is making the lace too dense against the blackout which loses the pattern after healing. Sessions are medium length and pain is lower than ribs. For session comfort, a pair of loose drawstring linen pants makes rolling up the leg simple.
9. Full Back Blackout with Starfield Negative Dots
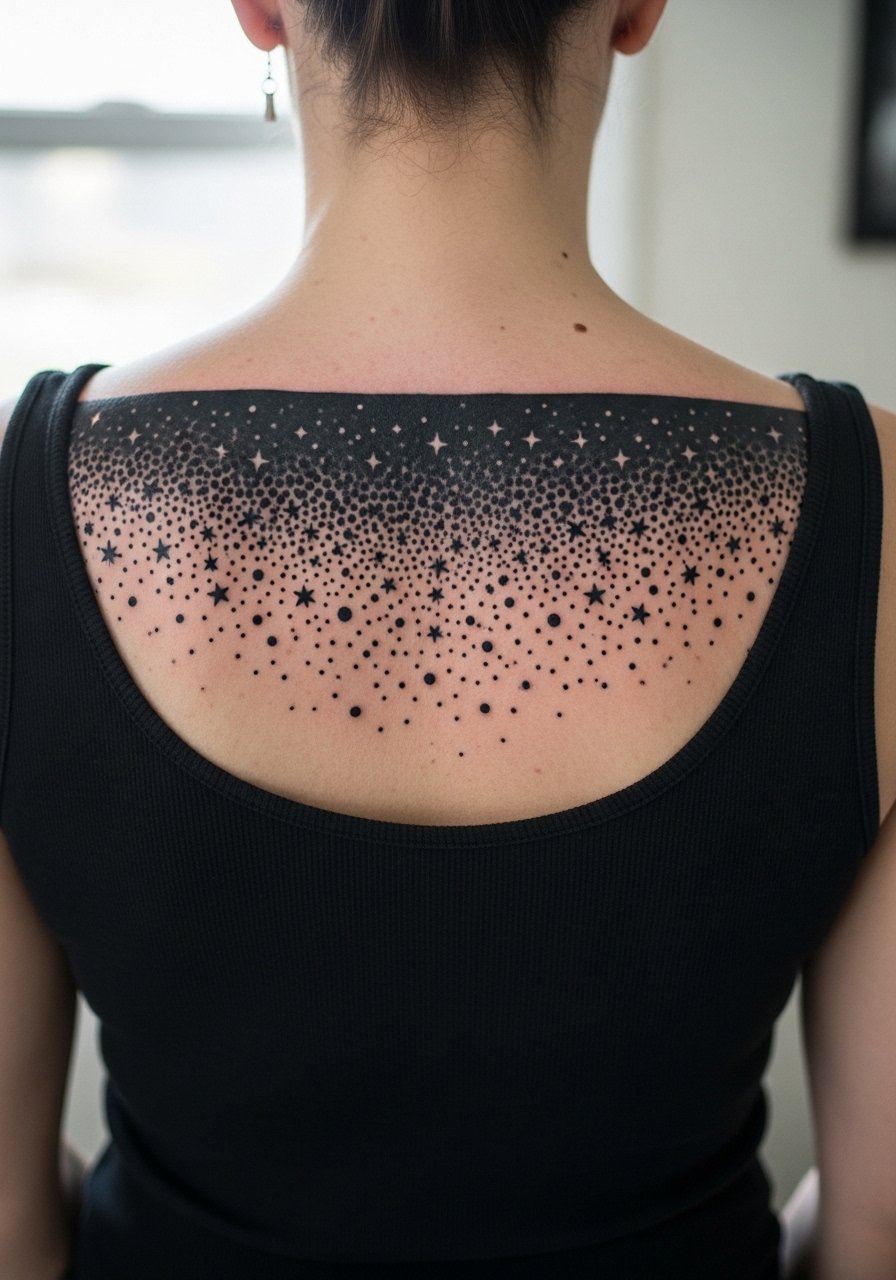
Visual impact lead: full-back blackout reads cinematic at a distance and intricate up close. Ask for planned staging across sessions so saturation is consistent and the dot pattern stays legible. The risk is uneven saturation across sessions when different machines or needle groupings are used. Mention you want the artist to maintain machine and needle continuity. Sessions will be long and may need a day between sessions for skin recovery. For evenings, an open-back maxi dress shows the negative-space stars.
10. Calf Blackout Panel with Animal Silhouette Window
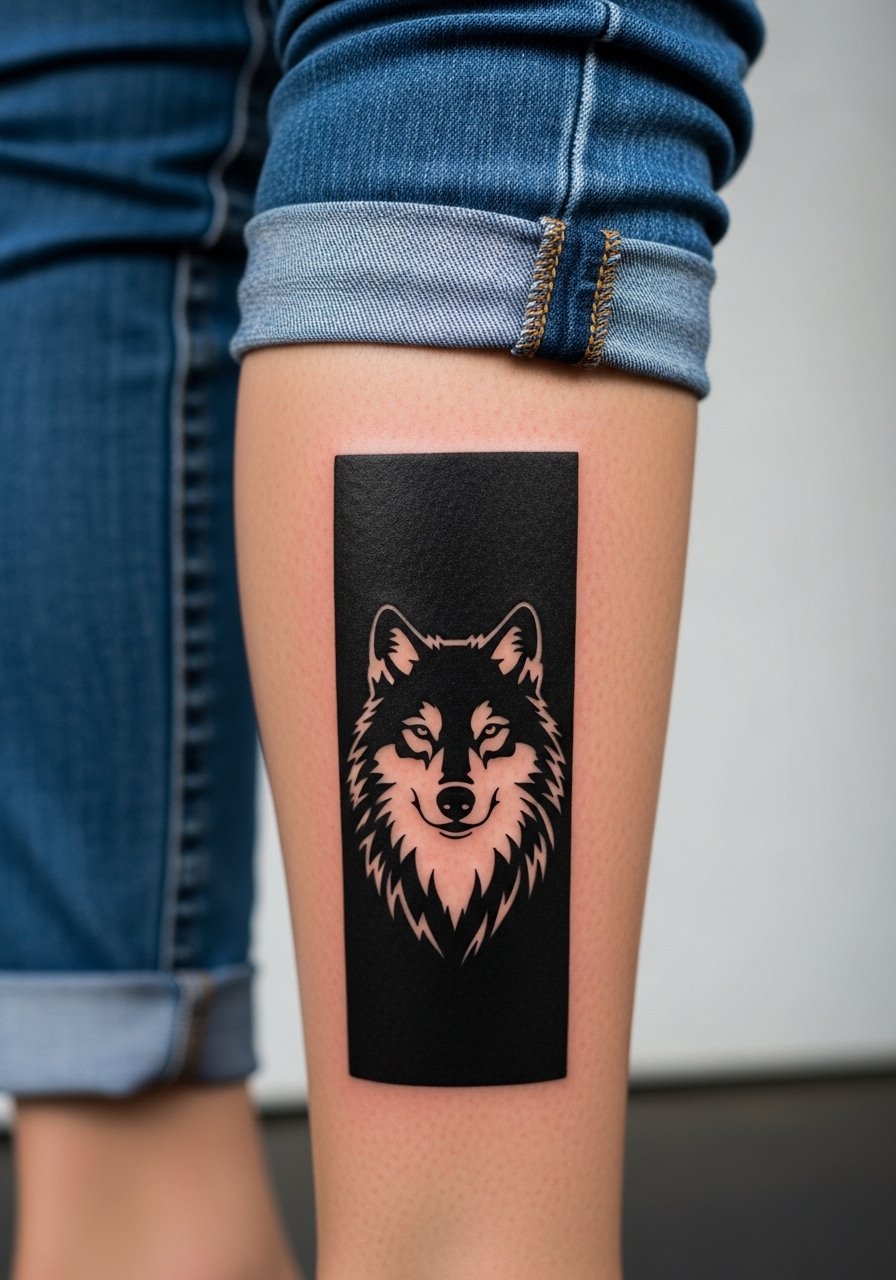
Mistake lead: pushing the silhouette too close to the edge of the blackout makes it read lopsided. During consultation, have scaled references so the silhouette sits centered on the muscle. The calf tolerates saturation well and the area ages predictably. Sessions are moderate and pain is low to medium. Pair this with ankle-exposing footwear, and during cooler months a pair of rolled jeans frames the piece.
11. Hand Blackout Palm Edge Accent
Consultation lead: hand pieces need specific aftercare planning and an honest talk about fade frequency. The palm and outer hand are high-friction zones. Ask for a slightly feathered edge instead of a razor edge to mask eventual softening. Expect earlier touch-ups compared with other areas. Sessions are short but painful. Be mindful of job considerations since hand tattoos remain visible.
12. Ankle Blackout Band with Constellation Cutouts
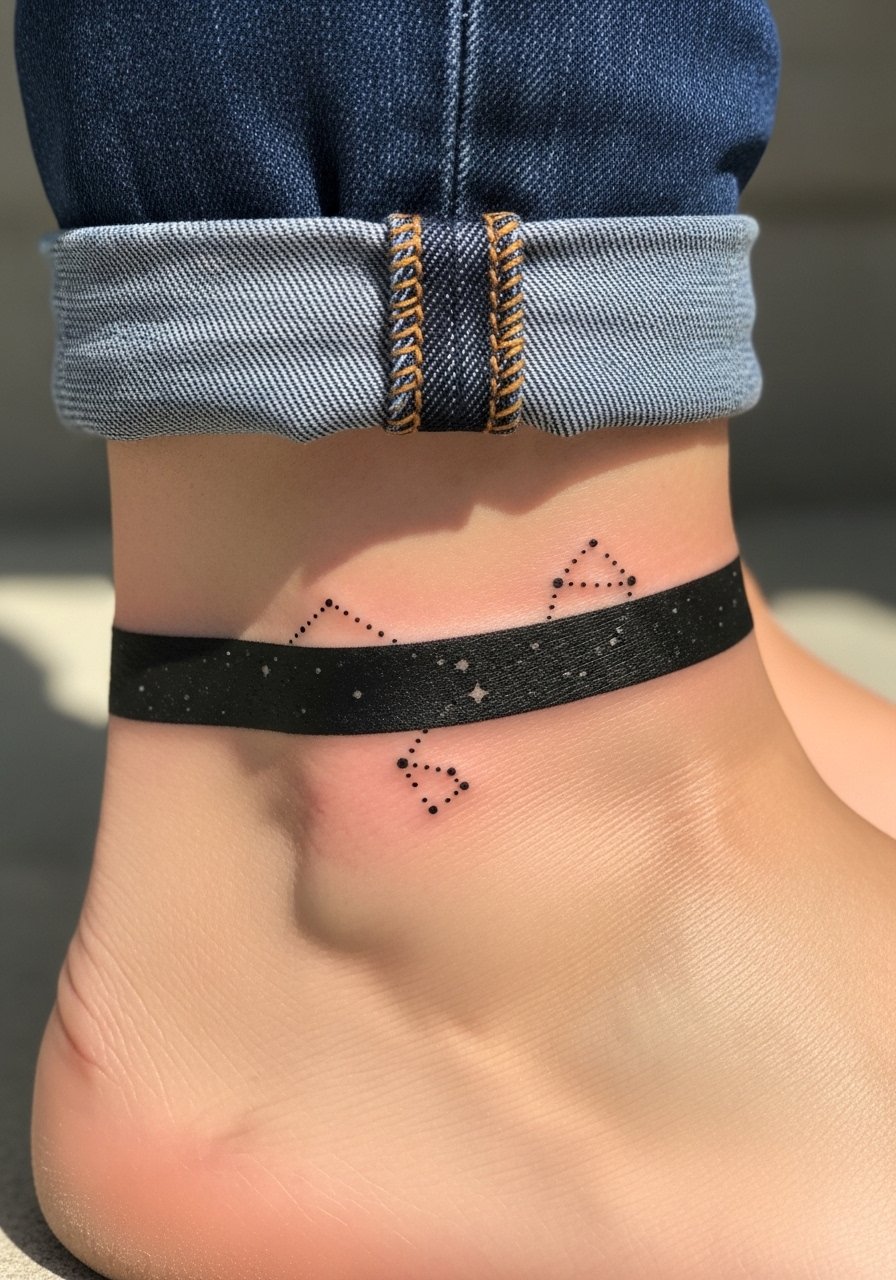
Pain warning lead: the ankle bone area can be sharp but sessions are brief. A common error is making the blackout too wide around the ankle which causes constant abrasion from socks and shoes. Ask for a slim cuff and slightly raised dots for the constellation so the negative space stays defined. For showing it off, sandals and a minimalist ankle chain keep attention on the area.
13. Nape Blackout Patch with Script Line
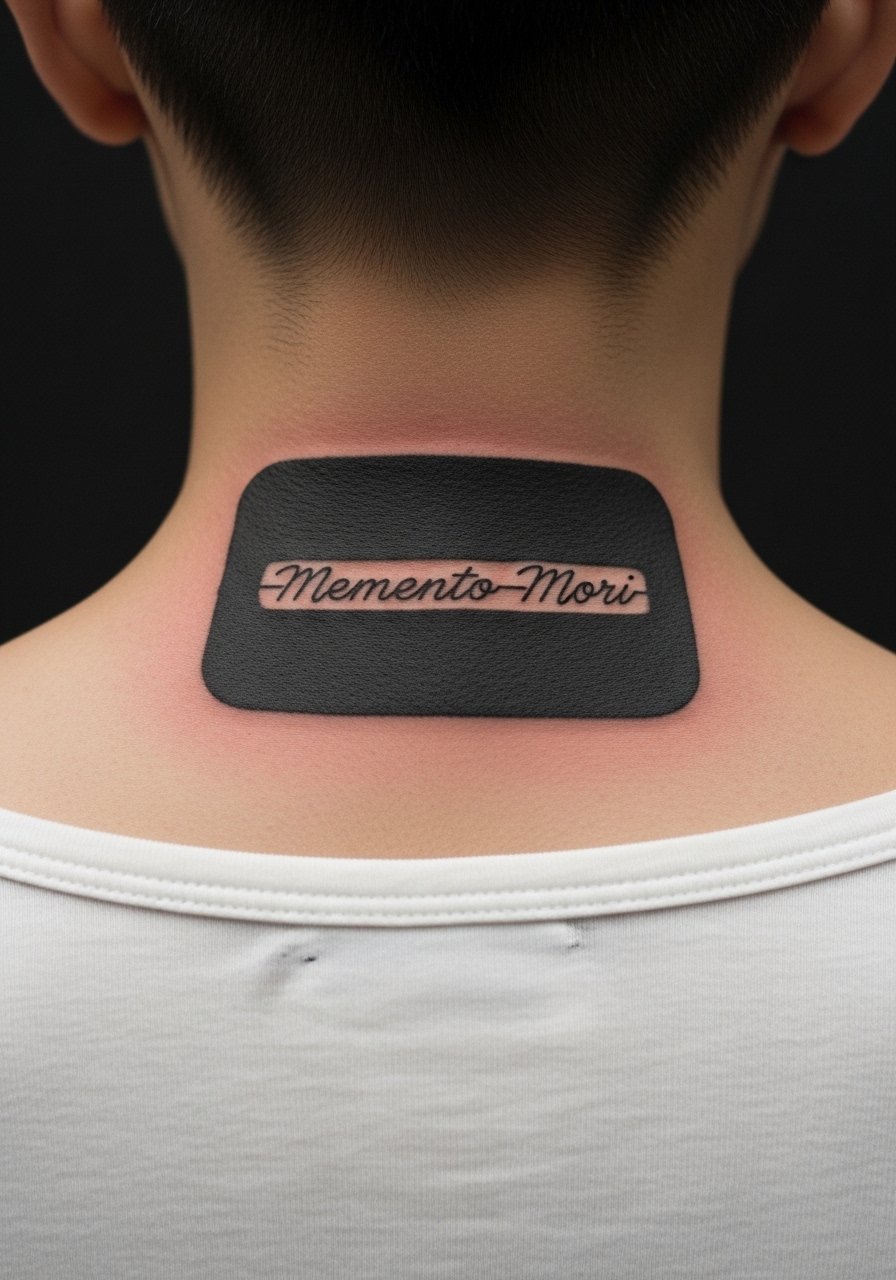
Personal observation lead: neck patches read bold but require skilled placement to avoid affecting hairline. Tell your artist exactly where you want the top edge relative to your hairline. The debate around neck work is cultural and practical. One camp values bold coverage for statement pieces. The other cautions about social and professional visibility. Be explicit about your comfort level and career considerations when booking. Sessions are short and spotty pain near the base of the skull can be sharp.
14. Inner Bicep Blackout Panel with Micro-Realism Window
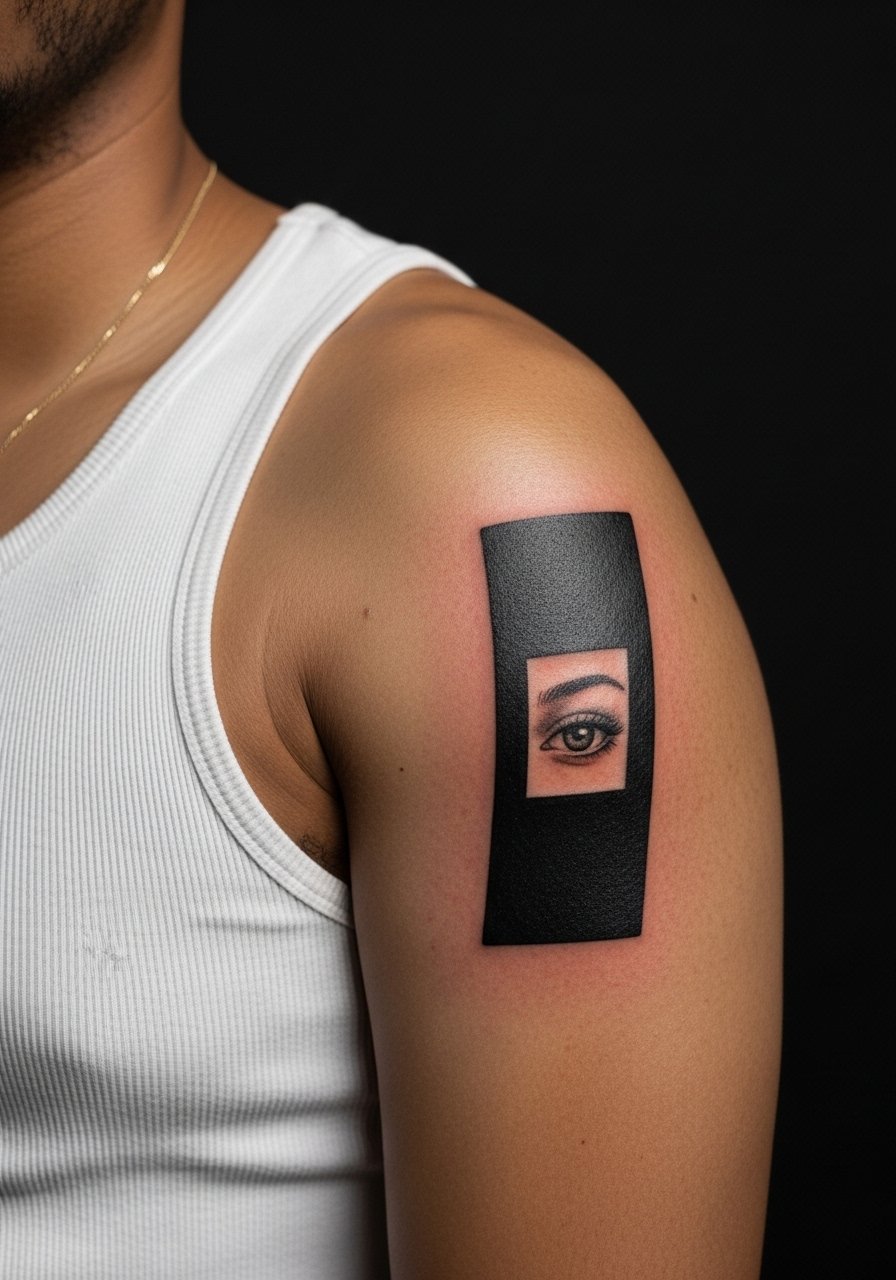
Visual impact lead: inner bicep is a private spot that reads bold when revealed. The area is tender and the skin can take saturation differently than the outer arm. Ask for a test patch or staged fill so you can see how the micro-realism holds inside the blackout. A common mistake is compressing too much detail into the window which softens as it heals. Sessions are medium and you should expect a touch-up check.
15. Hip Blackout Crescent with Floral Negative Lace
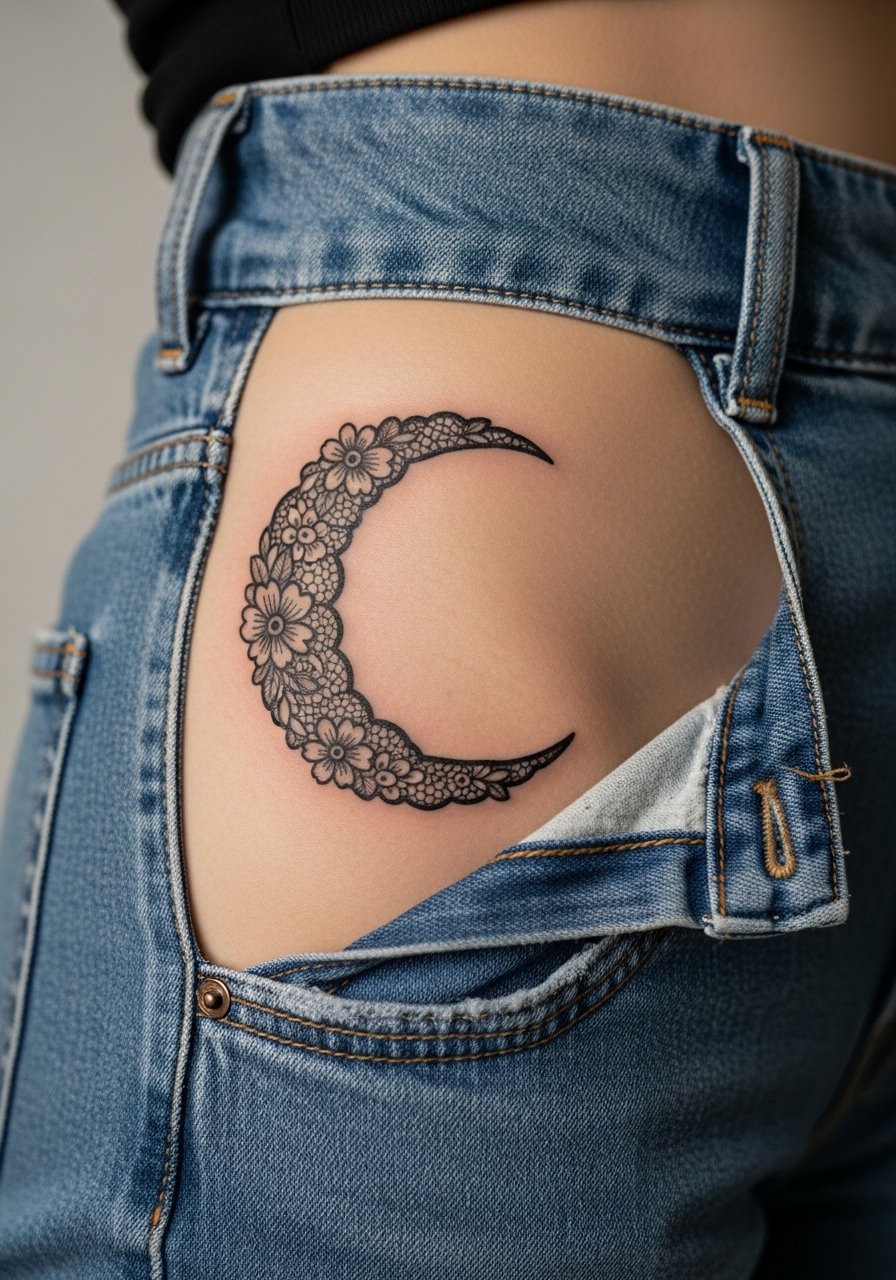
Mistake lead: hip skin moves with clothing and sitting, so a misaligned pattern can look off. Tell the artist your typical clothes so they can plan where the lace sits relative to waistbands. The hip tolerates saturation well but needs protection from tight fabrics during healing. For sessions wear high-waisted bottoms you can easily shift, like a high-waisted skirt.
16. Inner Thigh Blackout Panel with Script Ribbon

Aging/healing lead: inner thigh stays protected from sun, which helps saturation. Expect moderate pain and some sensitivity during sessions. Avoid tiny loops in script that can close up during healing; instead ask for slightly wider strokes so the ribbon reads clean after six months. Session wear should be loose shorts or a wrap skirt so the artist can access the area without pressure.
17. Elbow Cap Blackout with Chevron Cutouts
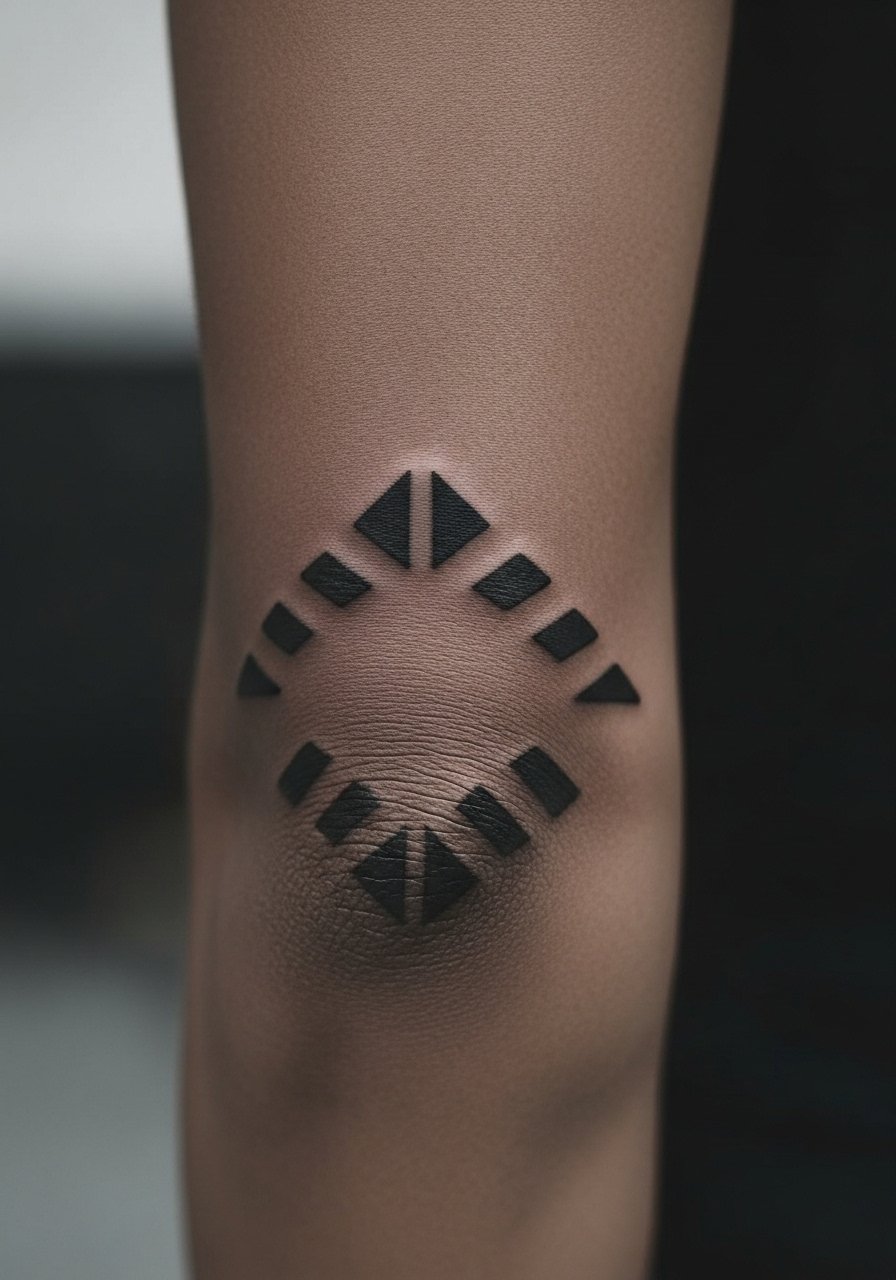
Consultation lead: the elbow moves constantly and old ink there often looks spotty. Ask the artist to plan the chevrons around the joint so movement does not disrupt the pattern. Sessions are bumpy and may need breaks. The risk is uneven saturation across the cap. Touch-ups are common by year two to keep the chevrons crisp.
18. Shoulder Cap Blackout with Mandala Negative Ring
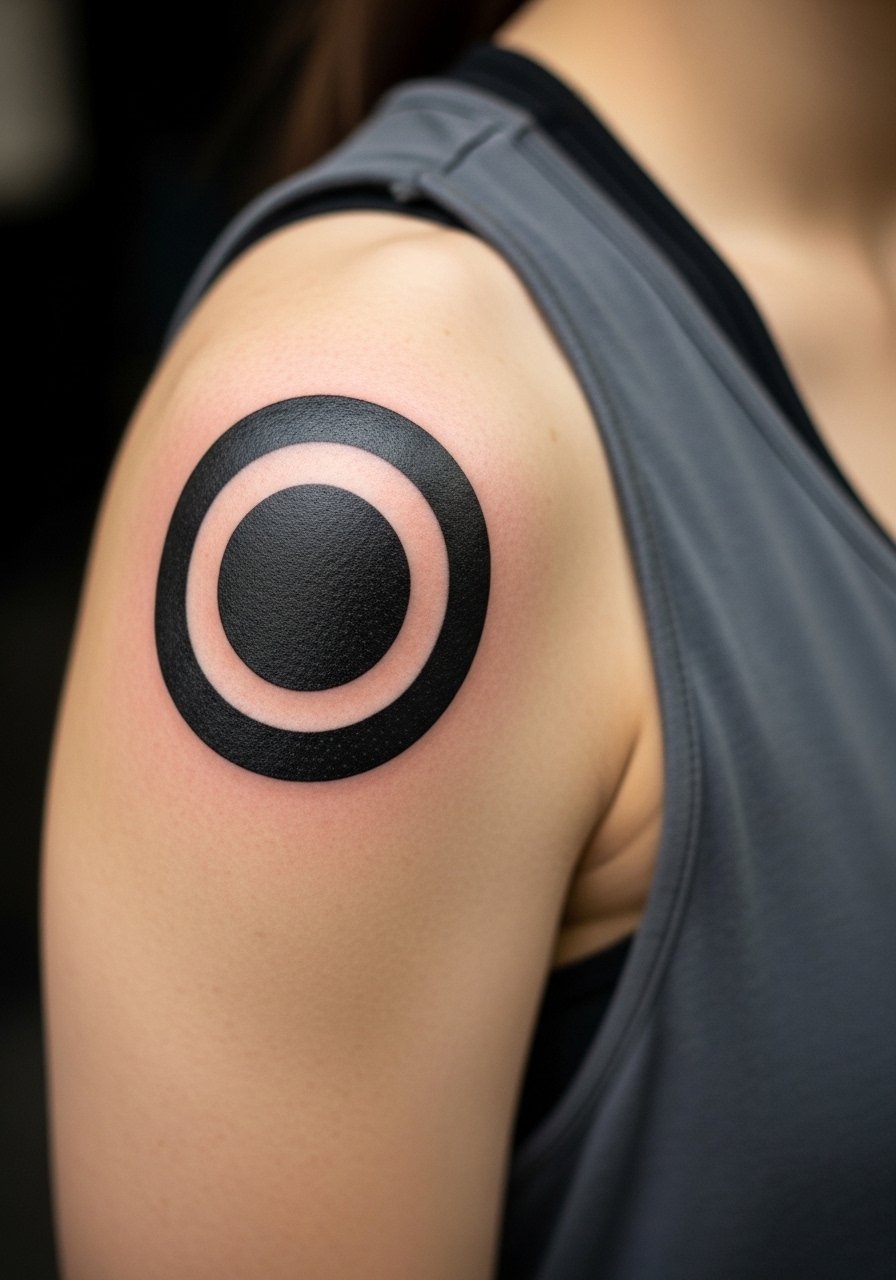
Controversy lead: mandala elements can be beautiful but they carry cultural origins. One camp treats them as decorative geometry available for modern reinterpretation. The other urges respect for spiritual and cultural meanings and recommends modifications or commissions that acknowledge origins. If you choose this route, ask your artist about appropriate variation rather than direct replication. The shoulder is forgiving for saturation and the piece ages well if positioned over muscle.
19. Small Chest Patch Blackout with Tiny Heart Window
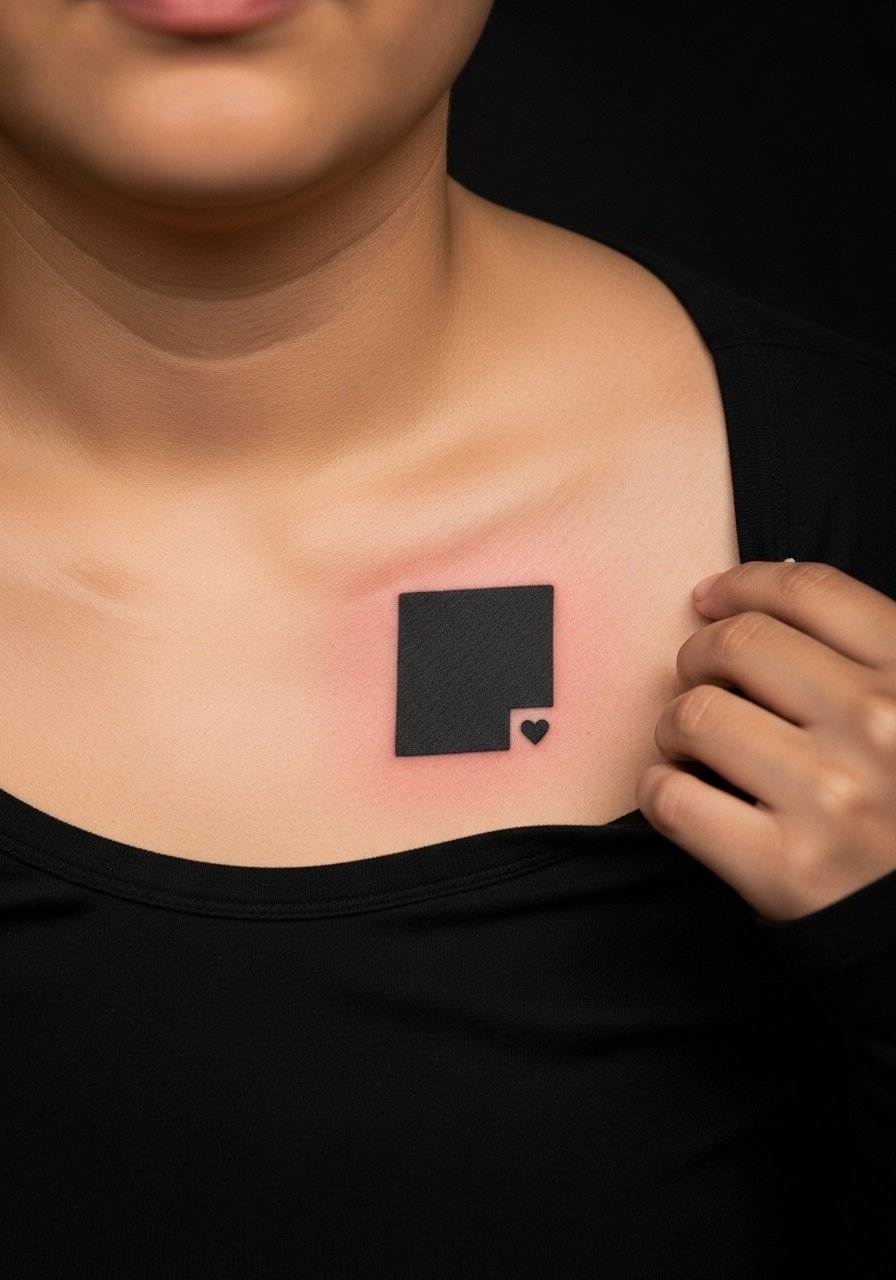
Mistake lead: tiny windows get lost if placed too close to the edge of the blackout. Ask for a margin of skin around the heart so it keeps contrast as the surrounding fill settles. Sessions are short and pain is medium due to bone proximity. For an easy reveal, pair with a thin chain pendant necklace that sits above the patch.
20. Lower Back Blackout with Floral Negative Curve
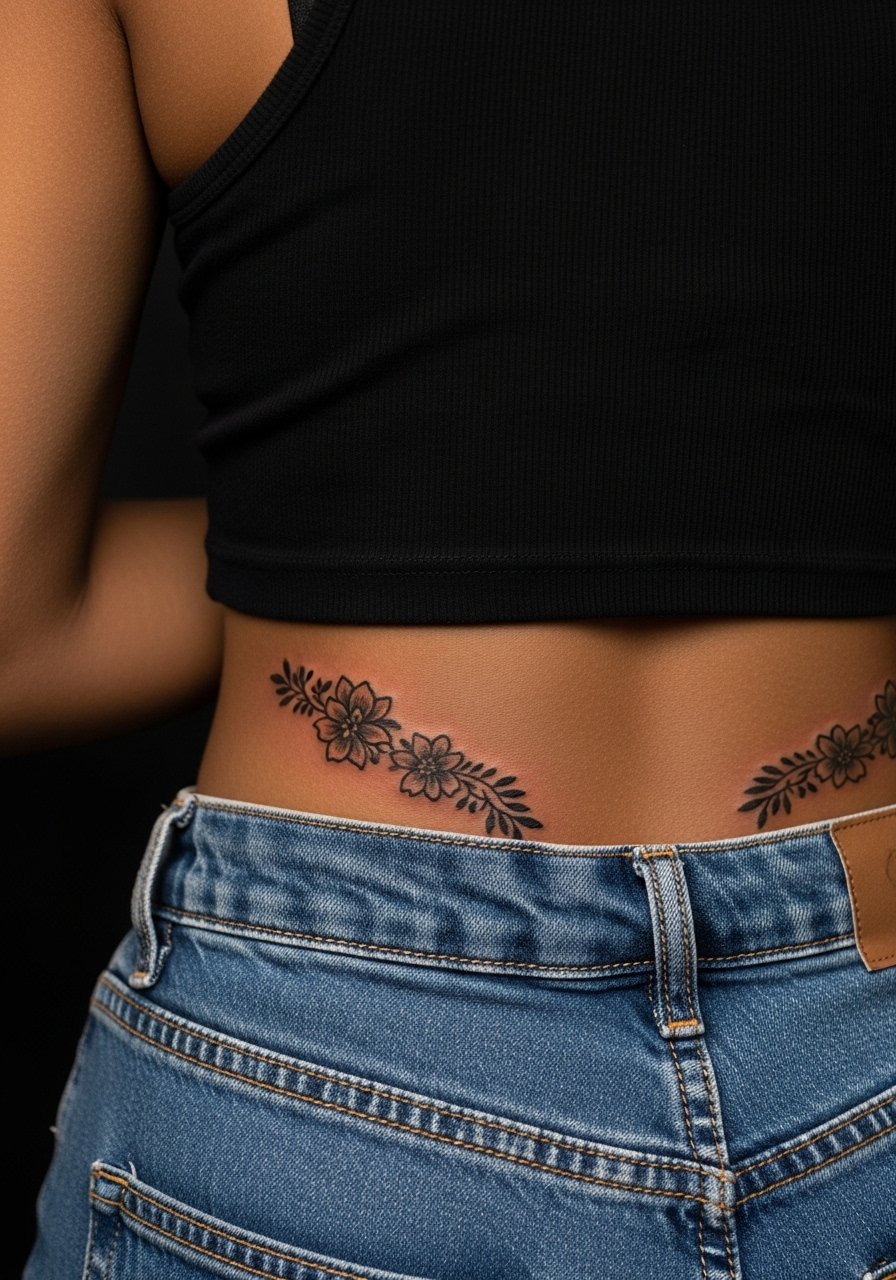
Personal observation lead: lower back blackouts can be sensual but need the right curvature to sit with body shape. Tell your artist how low your waist sits so the curve follows natural lines. Tight clothing after healing can press into the edges, so expect more scabbing if you reach for low-rise bottoms immediately. Sessions are medium and you should plan a touch-up check to even saturation.
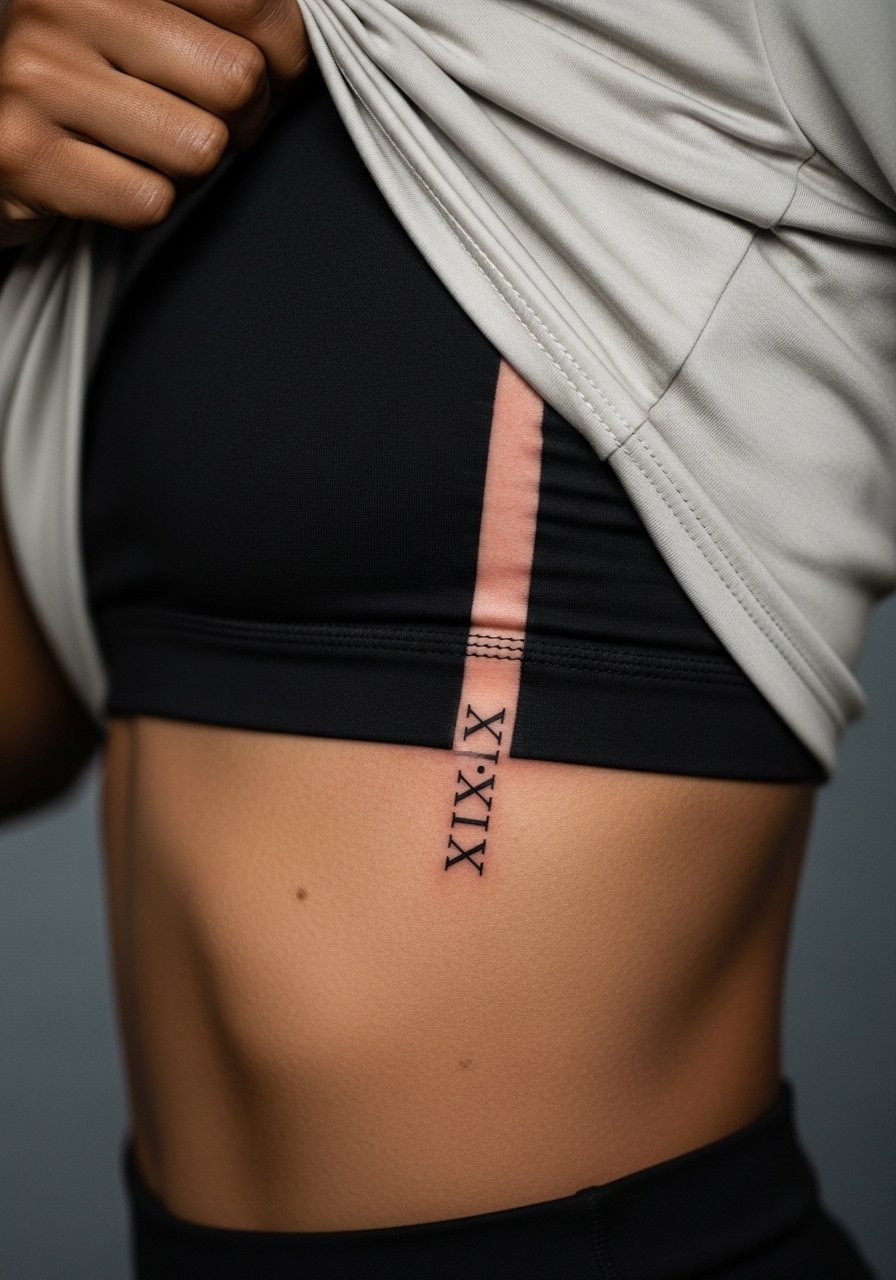
21. Side Stomach Blackout Stripe with Tiny Numeric Window

Styling lead: side stomach pieces hide well under clothing and reveal nicely with crop tops. Expect medium pain and an awkward position during the session because the artist often needs you to shift. Tell the artist you want the numbers to remain bold and ask for slightly thicker numerals so they read clean after healing. For session comfort wear a cropped tee and high-waisted bottoms.
Frequently Asked Questions
Q: How much does a blackout piece usually cost and how long will sessions take?
A: Prices vary a lot depending on size and shop, but expect sessions from one to six hours per sitting for most of the pieces above. Larger panels like sleeves or full back work will need multiple sessions spaced weeks apart. Pain and healing time scale with size and placement.
Q: Will blackout tattoos affect my ability to fade or cover later if I change my mind?
A: Heavy saturation is harder to remove or cover later, so think of blackout as more permanent than small line work. Some people plan negative-space windows specifically to allow future work inside them. Removal is possible but can take many sessions and depends on ink depth and skin tone.
Q: Do blackout designs age better than fine line on the same person?
A: From what I've seen, high-saturation blackwork often ages more consistently because it relies on contrast rather than tiny details. Fine line can look great initially but may need touch-ups sooner. Skin type, sun exposure, and placement all play a big role.
Q: Are there special wardrobe rules for the healing window with these dense black pieces?
A: Yes. For areas like ribs, sternum, and hips, wear looser fits such as a loose drawstring linen pant or button-downs so nothing rubs the fresh tattoo. Tight fabrics cause friction and can affect scabbing.
Q: Should I be worried about getting a blackout in a job that has strict appearance rules?
A: Visibility matters. Hand, neck, and collarbone pieces are the most likely to affect hiring in conservative fields. If you have concerns, choose placements you can cover easily by clothing during interviews or in formal situations.
