
Bold black bands read loud without color. They age into graphic marks that still read clean years later when placed and spaced correctly. Trends push tiny fine-line rings and micro bands, but the thicker blackwork bands often keep their integrity longer. Below are 17 band tattoo ideas that lean into boldness, placement logic, and what to tell your artist at the consultation to make the piece last.
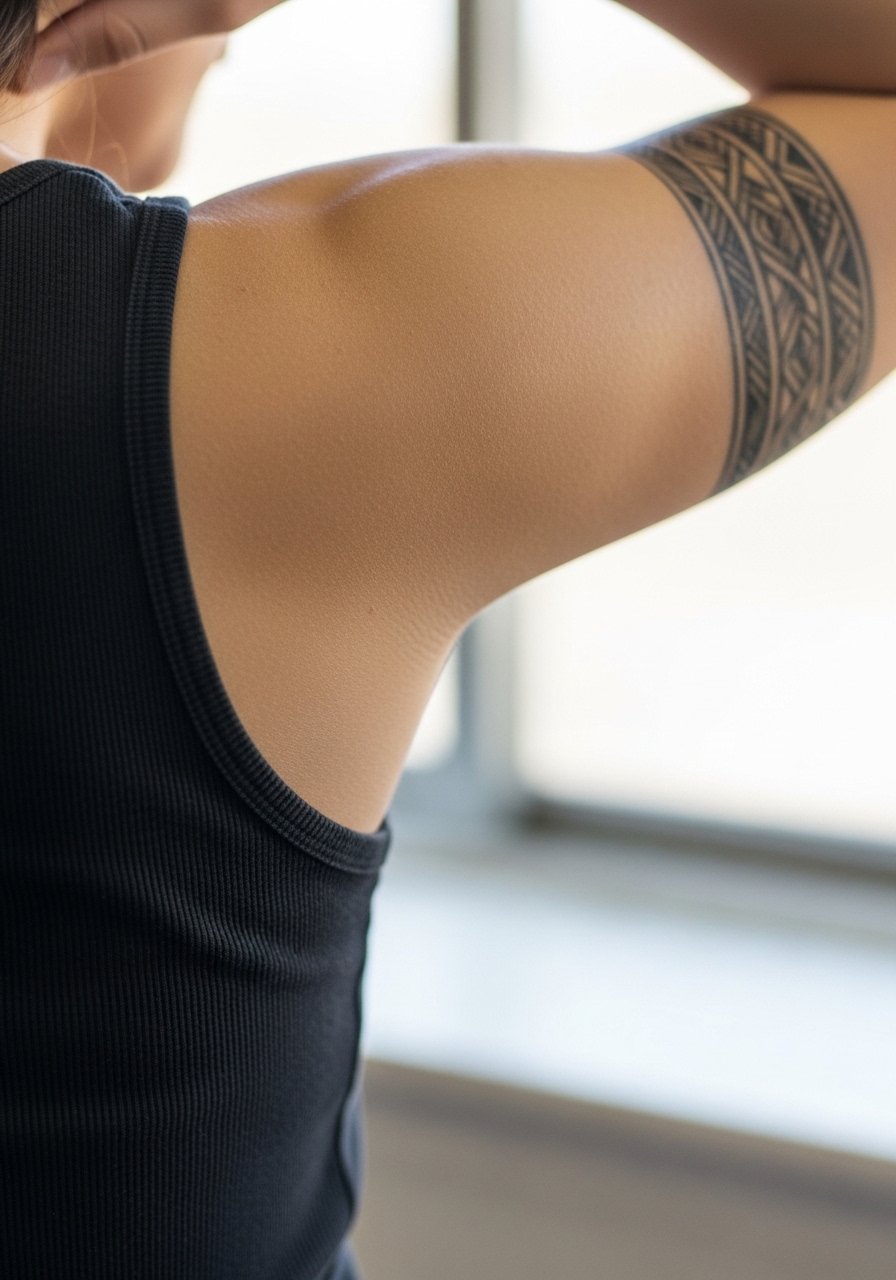
1. Upper Arm Solid Armband
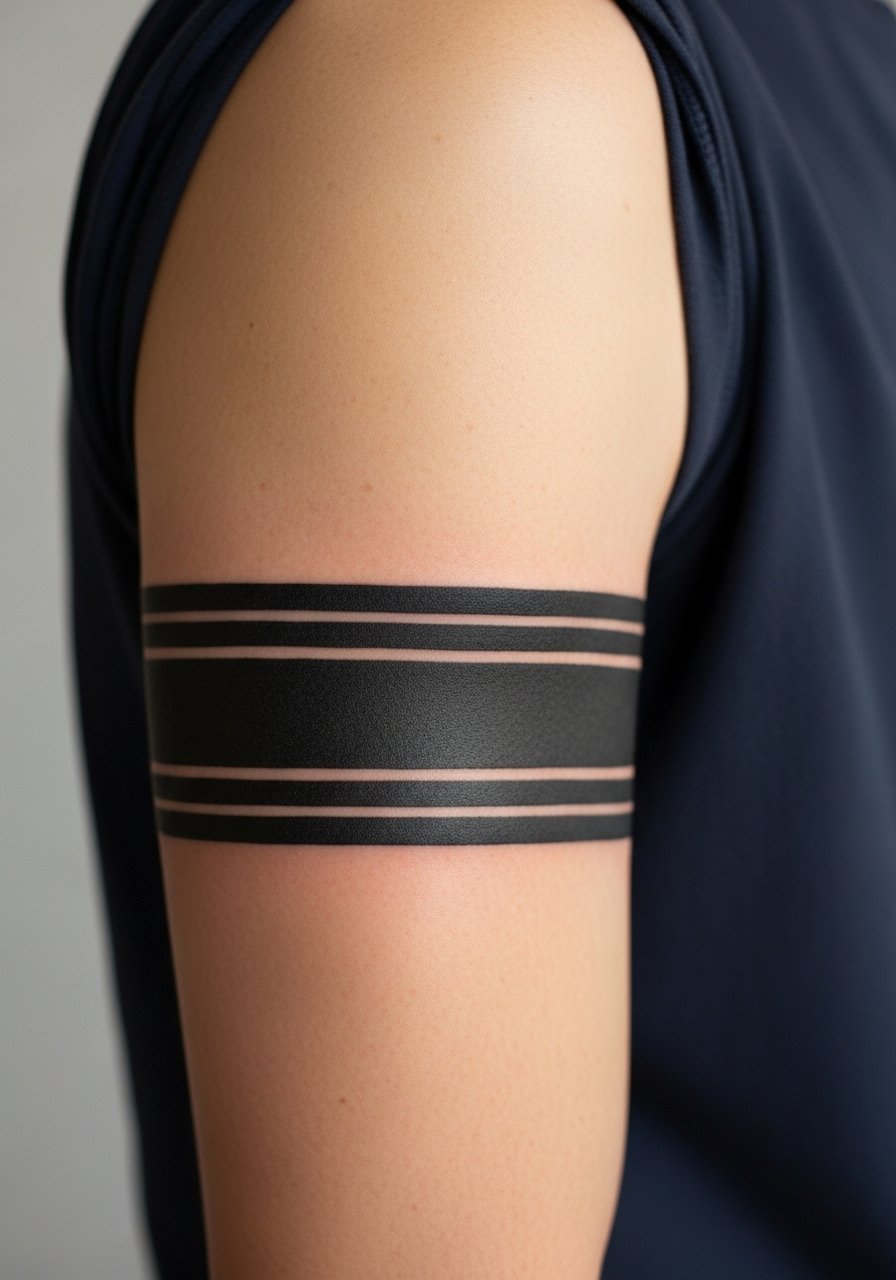
A chunky upper arm band reads like a modern bracelet from across a room. I recommend asking for even saturation and slightly rounded edges during your consult so the band does not sit like a stamped line when the muscle moves. Common mistakes are going too thin for tight skin or asking for micro detail inside the band, both of which blur faster. Pain is mild to moderate and most artists do this in a single short session. For showing it off, the band pairs well with rolled-up linen sleeves and a minimalist watch, try rolled linen shirts that let the upper arm read like jewelry.
2. Finger Ring Band, Heavy Black
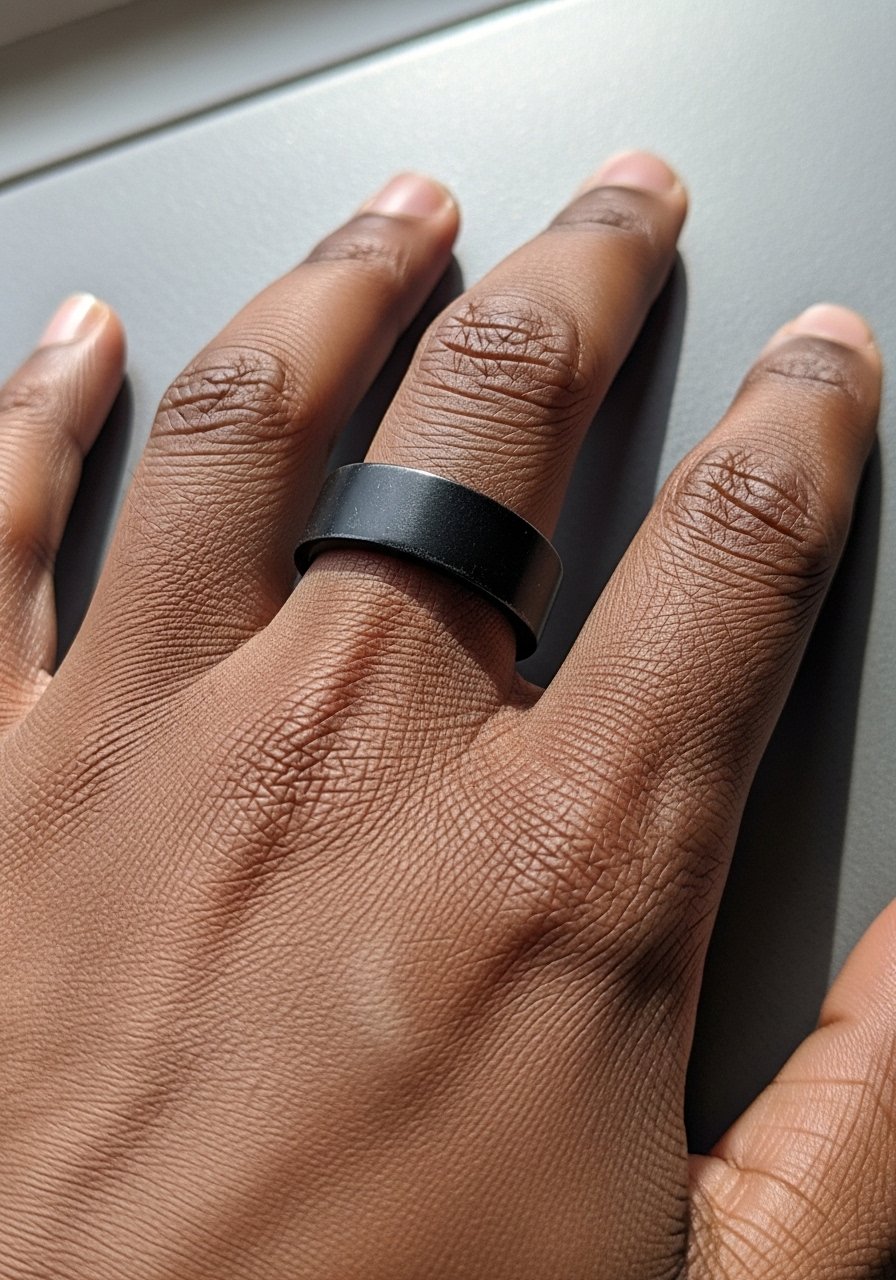
Finger bands are beautiful and high maintenance. Because fingers get constant friction, the biggest issue is fading and uneven edges from daily use. Expect touch-ups sooner than for arm bands. If you want a solid black ring, ask the artist to leave a narrow uninked margin inside the edge so the band reads crisp as the ink settles. Sessions are quick but sore since fingers have thin skin and many nerve endings. Also consider workplace visibility before committing, some industries still react differently to visible hand tattoos.
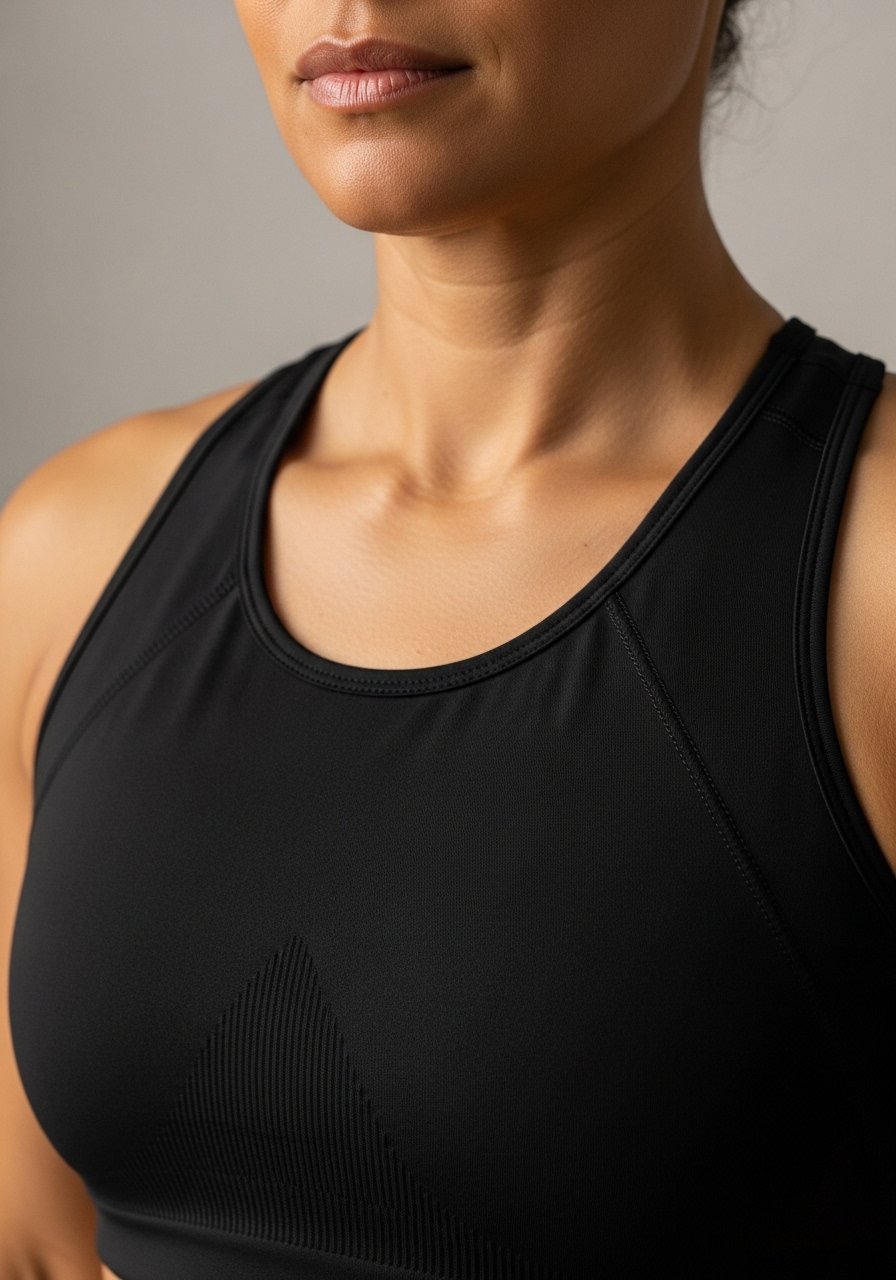
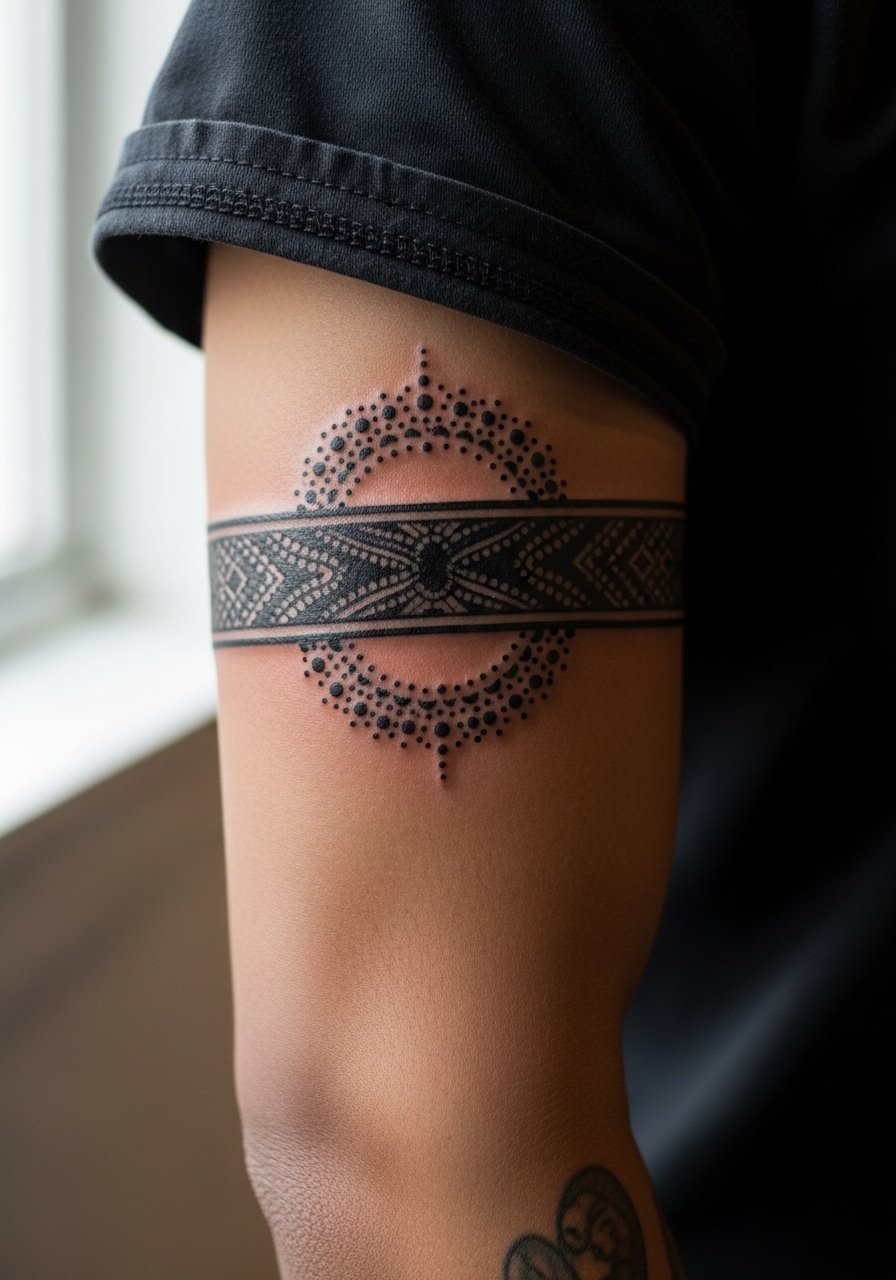
3. Stipple Mandala Bicep Band
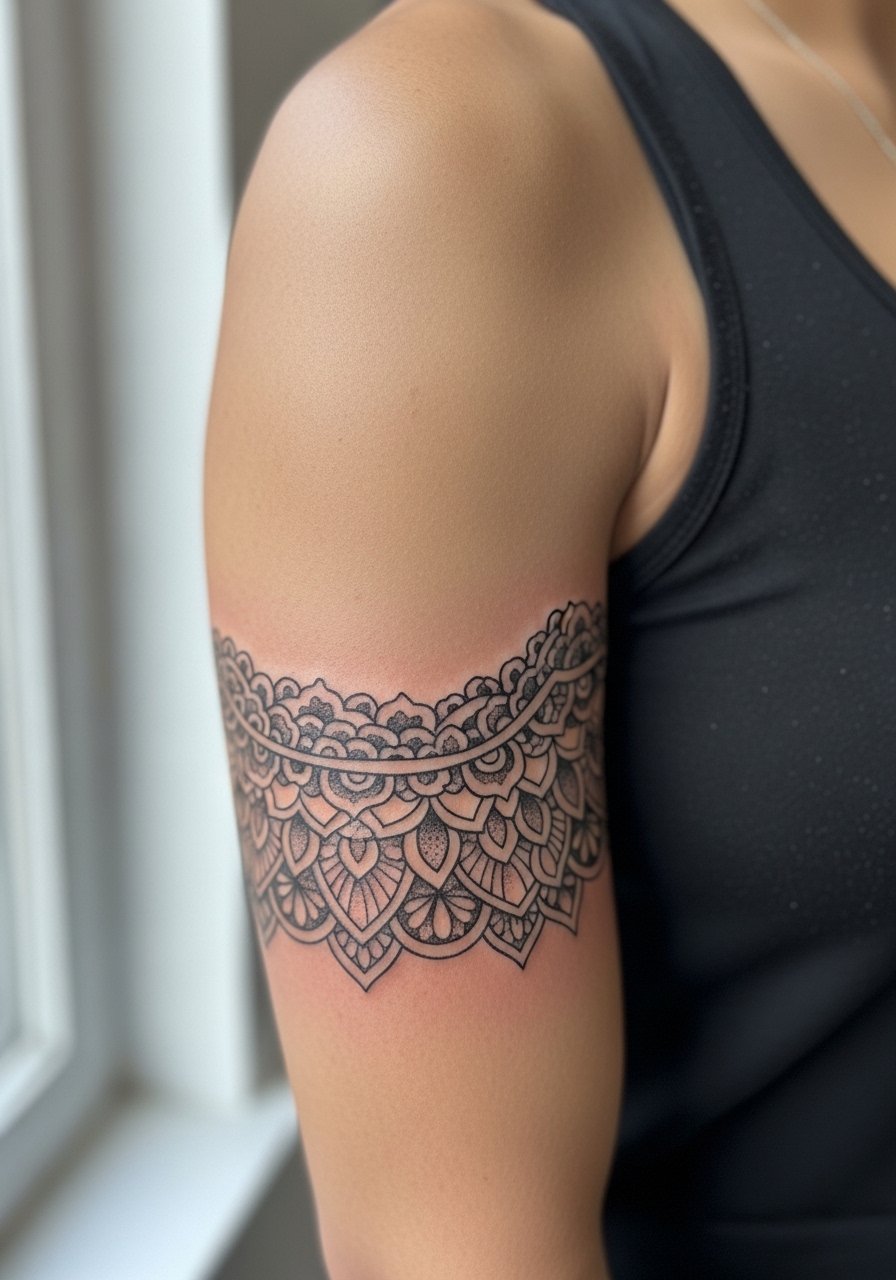
A stipple mandala band lets you carry ornate geometry without heavy saturation. Tell your artist you want clear negative space between dotwork clusters so dense areas do not merge as they age. One mistake I see is artists packing dots too close for small bands, which makes the pattern sludge after a few seasons. Biceps tolerate saturation well and the pain is moderate. For session comfort and access, wear a loose tank top so the artist can move the garment without rubbing the fresh work.
4. Geometric Forearm Band with Negative Space
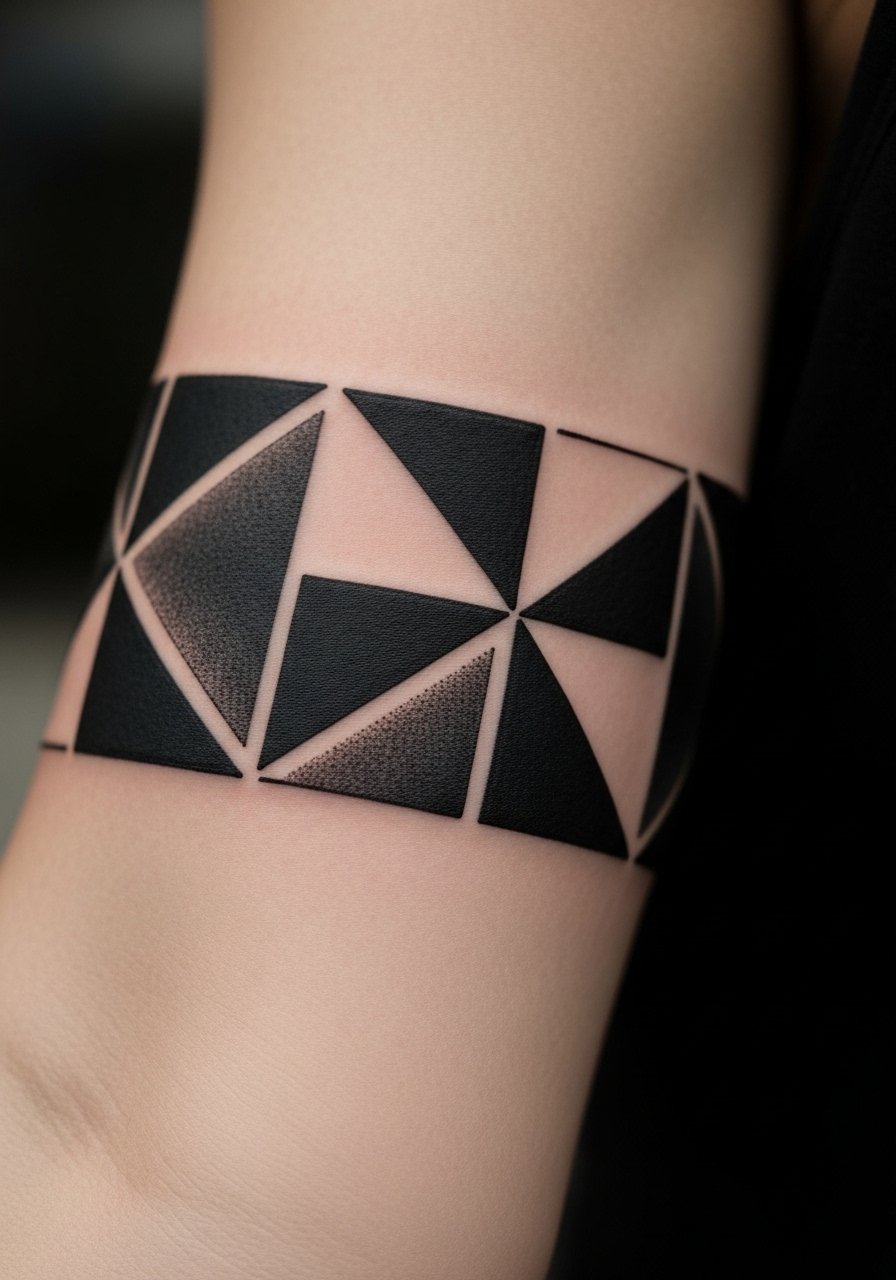
Geometric bands look crisp initially, but scale matters. The controversy here splits artists into two camps. One camp says very fine geometry on forearms needs wider spacing because forearm skin stretches and lines can merge within a few years. The other camp believes with proper needle depth and slightly heavier line weight the pattern can stay sharp. Ask the artist which camp they fall into and request a mockup that shows spacing at full-size. For everyday wear, rolled-up sleeves and short-sleeve tees frame forearm bands well, try a short-sleeve button shirt that keeps the band visible without crowding it.
5. Collarbone Encircling Script Band
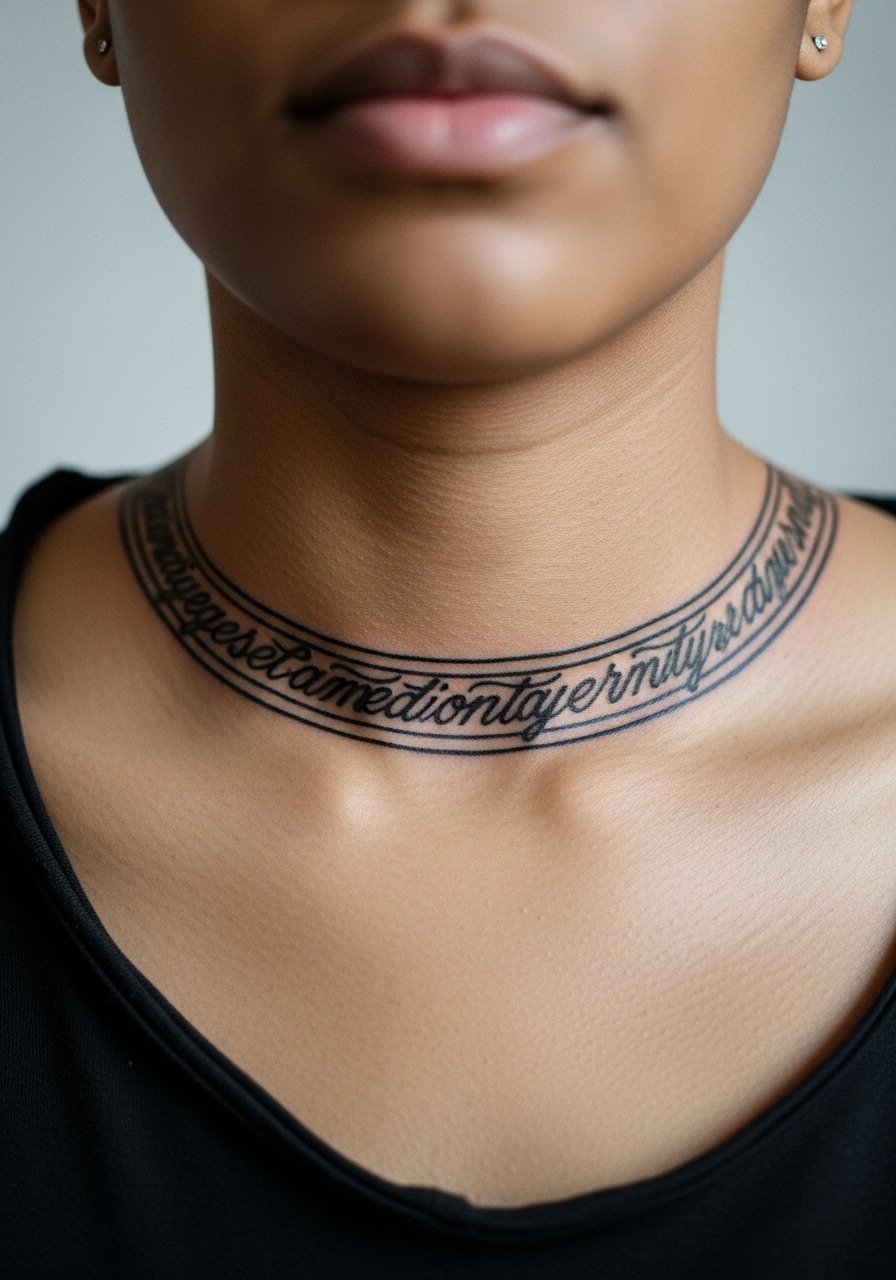
A thin script band that follows the collarbone reads delicate while remaining bold when saturated. Chest skin moves with breathing so one common mistake is asking for tiny, cursive lettering inside the band. Tiny script often breaks up; choose a bold serif or block lettering that holds. Mention during consultation how much curve you want and ask to see the stencil while standing so you can judge how the arc sits. This placement needs a fitted wide-neck or sports bra for session access, so plan clothing that makes repositioning simple.
6. Ribcage Encircling Band, High-Contrast Blackwork
Rib bands are dramatic but they come with a real debate. One group of artists argues the skin on ribs stretches and compresses too much, which blurs delicate bands within two to three years. The opposing group says a confident hand, correct depth, and slightly thicker line weight let a black band settle and last much longer. Be explicit in consultation about line weight and spacing. Sessions hurt more here and usually need breaks, so schedule with the expectation of a longer, slower chair time. For the session, a cropped athletic top you can lift without twisting keeps the area accessible and comfortable.
Studio Day Picks
The forearm, collarbone, and ribcage pieces above ask for different prep, so a few targeted items smooth out the session and the first week.
-
Stencil transfer paper kit. Lets you preview placement on the skin before the needle goes down, which is vital for curved bands like collarbone and ribs.
-
Topical numbing cream. Applied about 45 minutes before can make rib and inner-arm bands far more tolerable without interfering with linework.
-
Thin protective film roll. Useful for ankle and finger bands that face constant rubbing from socks and shoes in the first week.
-
Fragrance-free body wash. Gentle cleansers reduce irritation around tight black lines while the skin heals.
-
Aquaphor healing ointment. A thin layer for the initial days keeps saturated work from drying into scabs that lift ink unevenly.
7. Inner Thigh Band with Floral Negative Space
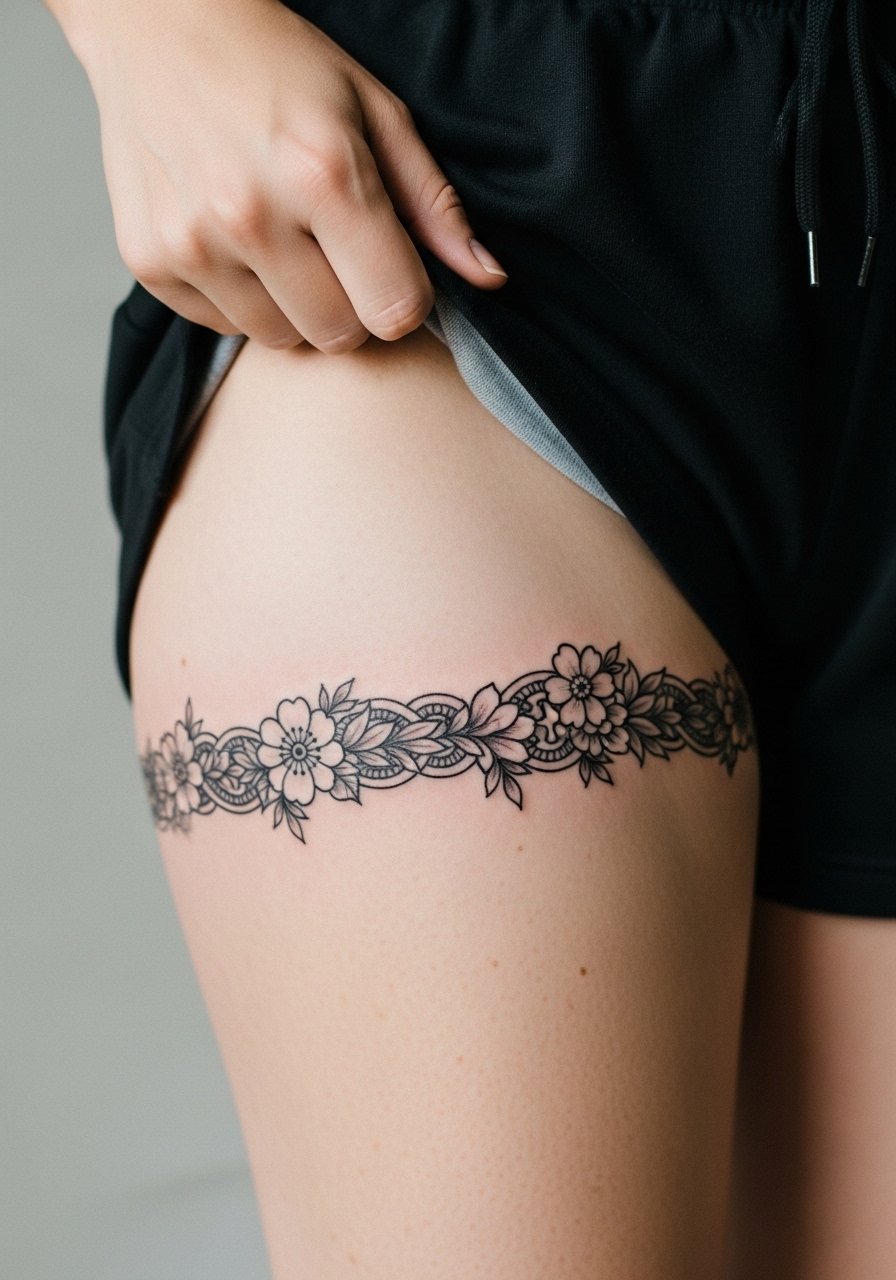
Inner thigh bands sit hidden until you want them seen. The benefit is less UV exposure and therefore slower fading, but the area stays warm and occasionally sweaty which can affect early healing. Tell your artist you want clear negative space between floral elements so the design does not merge when the skin stretches. Sessions here are more private and often slightly more painful than outer thigh work. For the appointment, wear shorts you can shift easily to show only the tattooed strip.
8. Calf Chain Band with Breaks of Skin
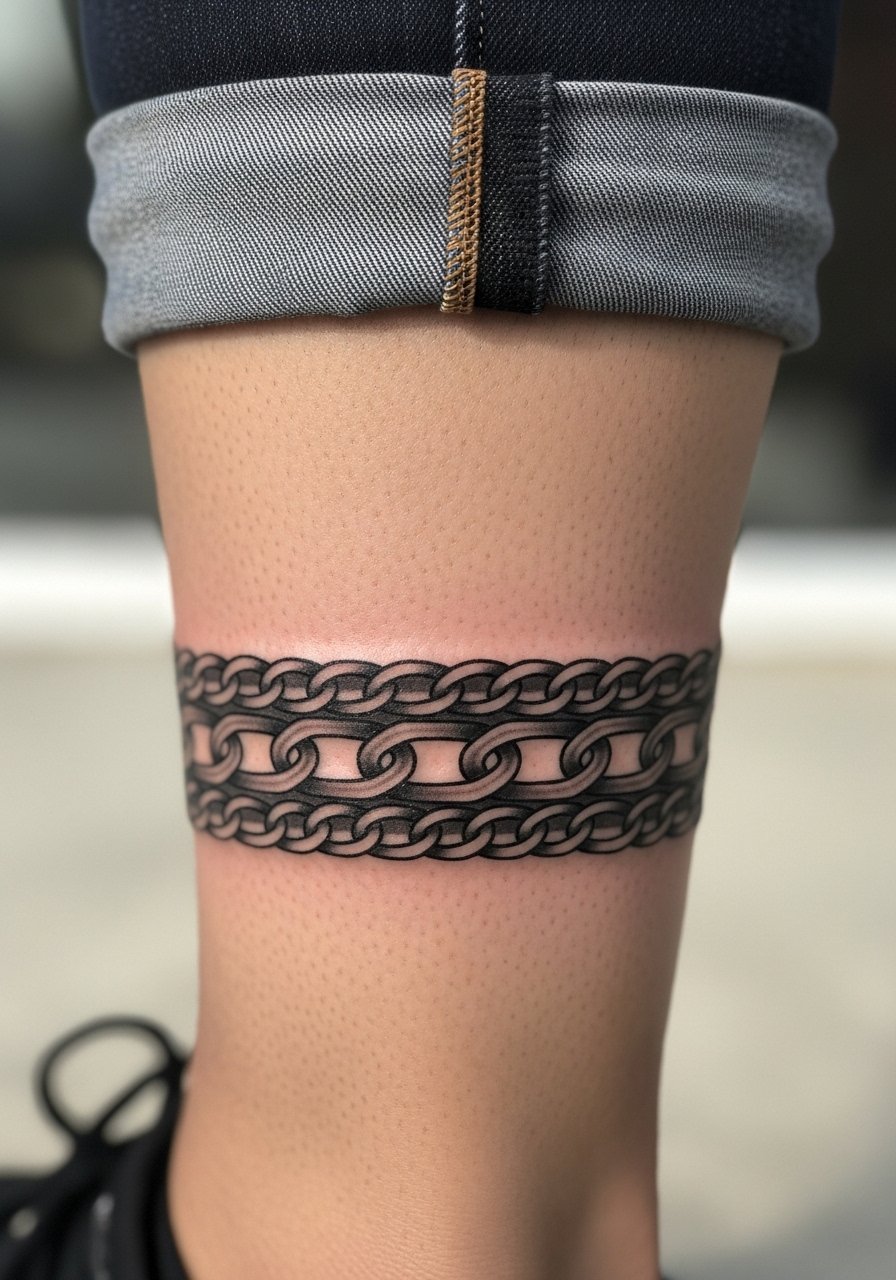
Calf bands benefit from the leg's thicker skin and slower movement, so heavy blackwork keeps its edge. A frequent error is making links too tight for a narrow calf which crowds the pattern as the skin settles. Ask for visual breathing room and for the links to scale with the circumference. Pain is usually low to moderate. For showing off, cropped pants or jeans rolled up frame calf bands without competing with the silhouette.
9. Ankle Micro Band, High-Saturation Edge
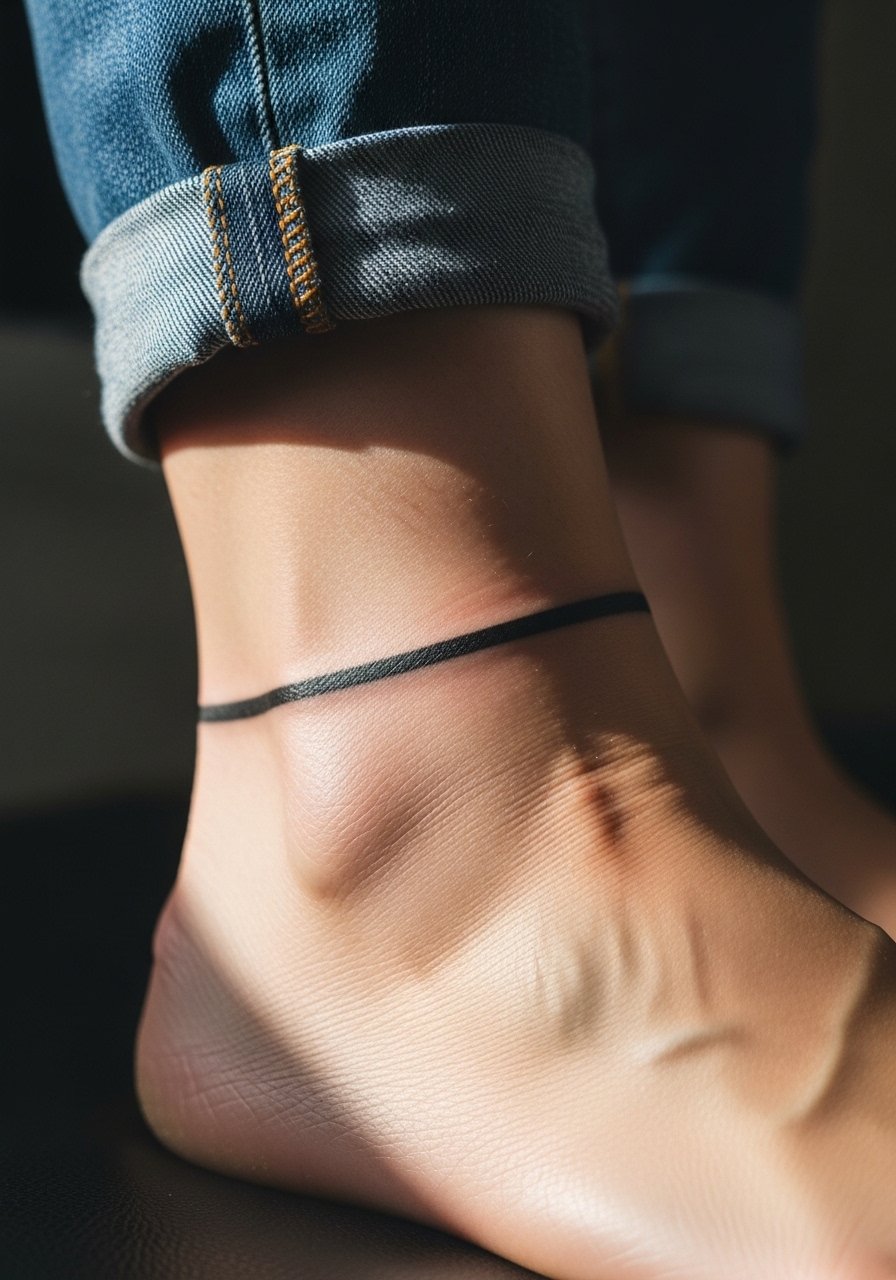
Ankle bands face a lot of daily wear from shoes and socks. The main mistakes are going too thin and underestimating friction zones that remove pigment unevenly. Solid saturation with a small margin of uninked skin at the inner edge helps the band age cleaner. Touch-ups are common within a couple of years. For the session, thin socks you can easily remove after the artist finishes are a practical choice.
10. Hand Cuff Band with Bold Fill
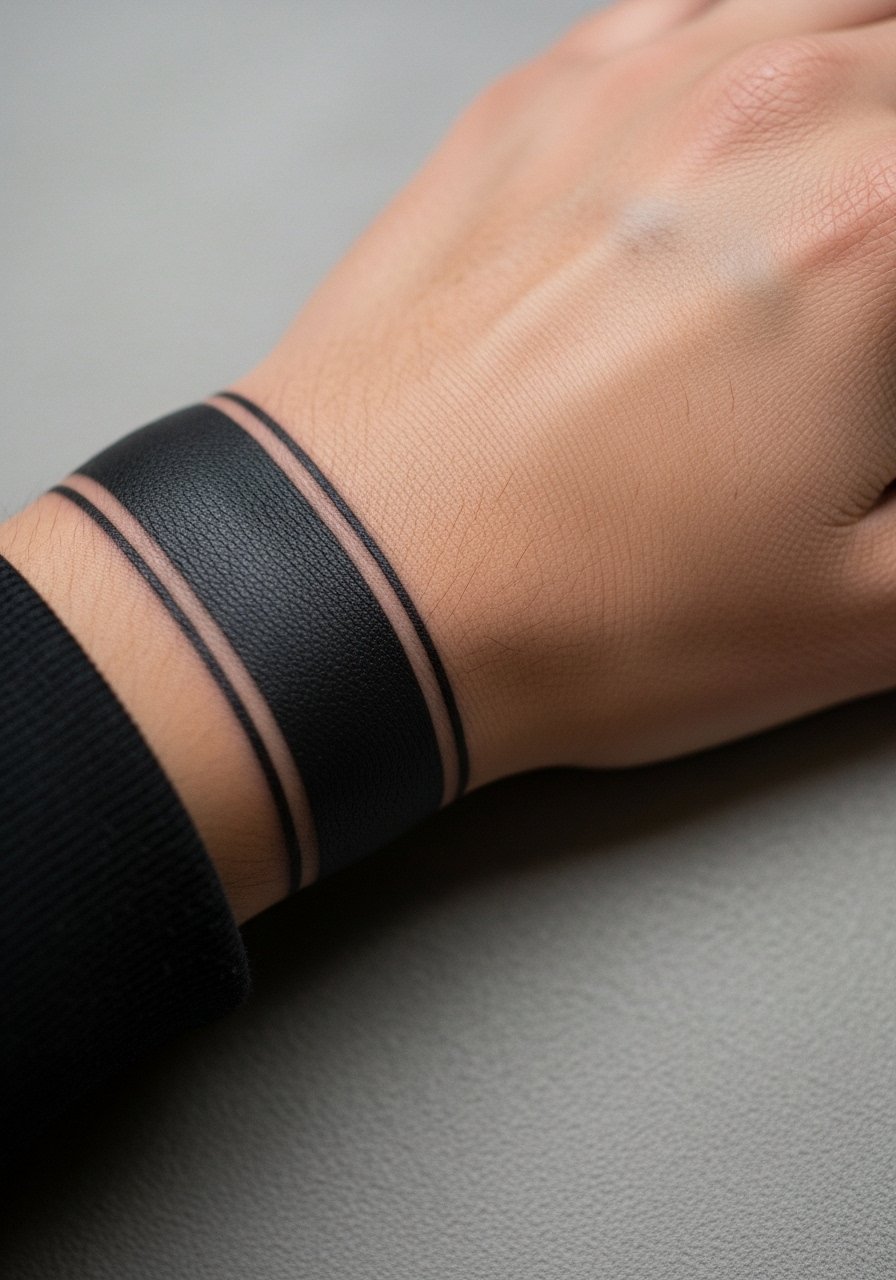
Hand cuff bands are visually striking and highly visible. If you want longevity, ask for slightly thicker line weight and a small flat edge so the band does not feather into the palm. The conversation around hand work includes career considerations, so be intentional. Expect faster fading and the need for touch-ups, sometimes annually. Pair this piece with thin stacked rings or a minimalist bracelet when you want the cuff to harmonize without competing, a good choice is a dainty stacking ring set.
11. Thin Finger Script Band
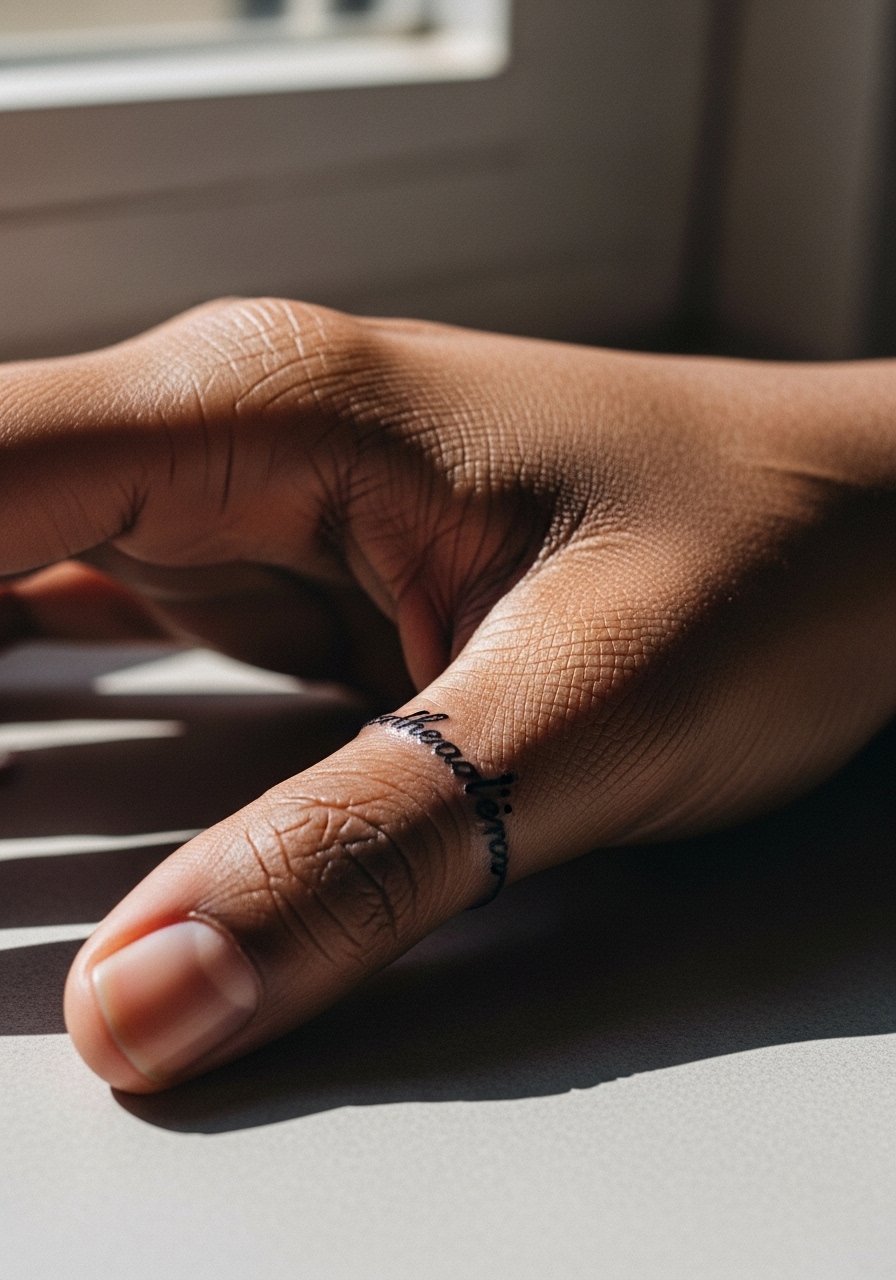
Script bands across a finger read like a wearable line of text but they are among the highest maintenance. The skin on fingers shifts constantly, which breaks very small lettering. If you want words, opt for bold, block characters or slightly spaced lettering that tolerates fade. One real mistake is choosing script that looks good on paper but disappears on skin after settling. Think of these as semi-permanent jewelry that will need refreshes.
12. Side Neck Band, Minimal Collar
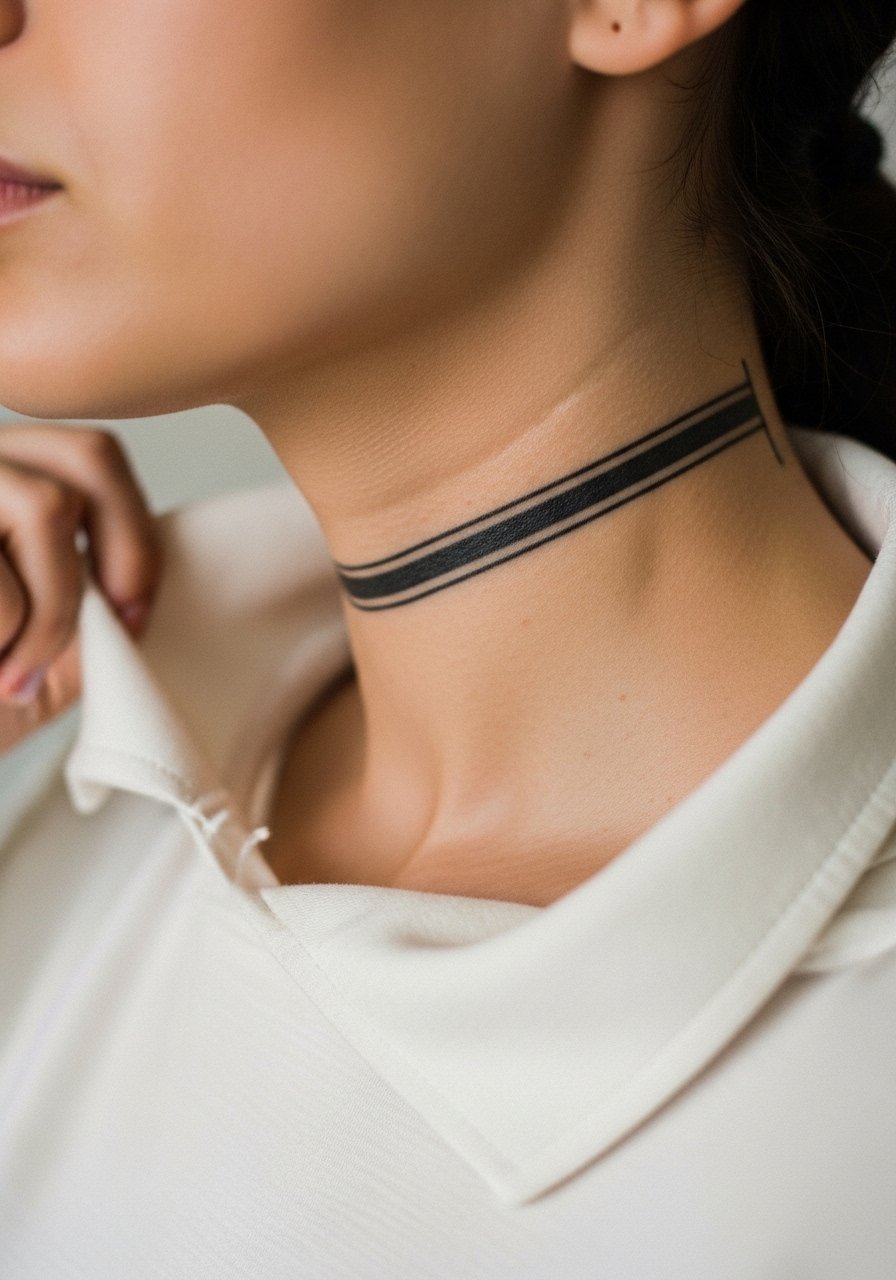
Neck bands are intimate and visible, so consult about social and career implications first. The neck's thin skin can make very fine bands blur faster, so one approach is a slightly heavier, even line that will maintain its silhouette. Pain is moderate and sessions are usually short. For showing off with jewelry, a thin chain that sits just above the band complements the piece, try a thin chain pendant necklace.
13. Back-of-Arm Tricep Band, Graphic Black
The back-of-arm band creates a hidden reveal when sleeves lift. It tolerates saturation well and ages nicely with less UV exposure. Artists sometimes compress patterns too much for that narrow strip which leads to blurring, so request a mockup scaled to your arm circumference. Sessions here are moderate in pain and often finish in one appointment. For access and comfort, a loose tank is the easiest option during the session.
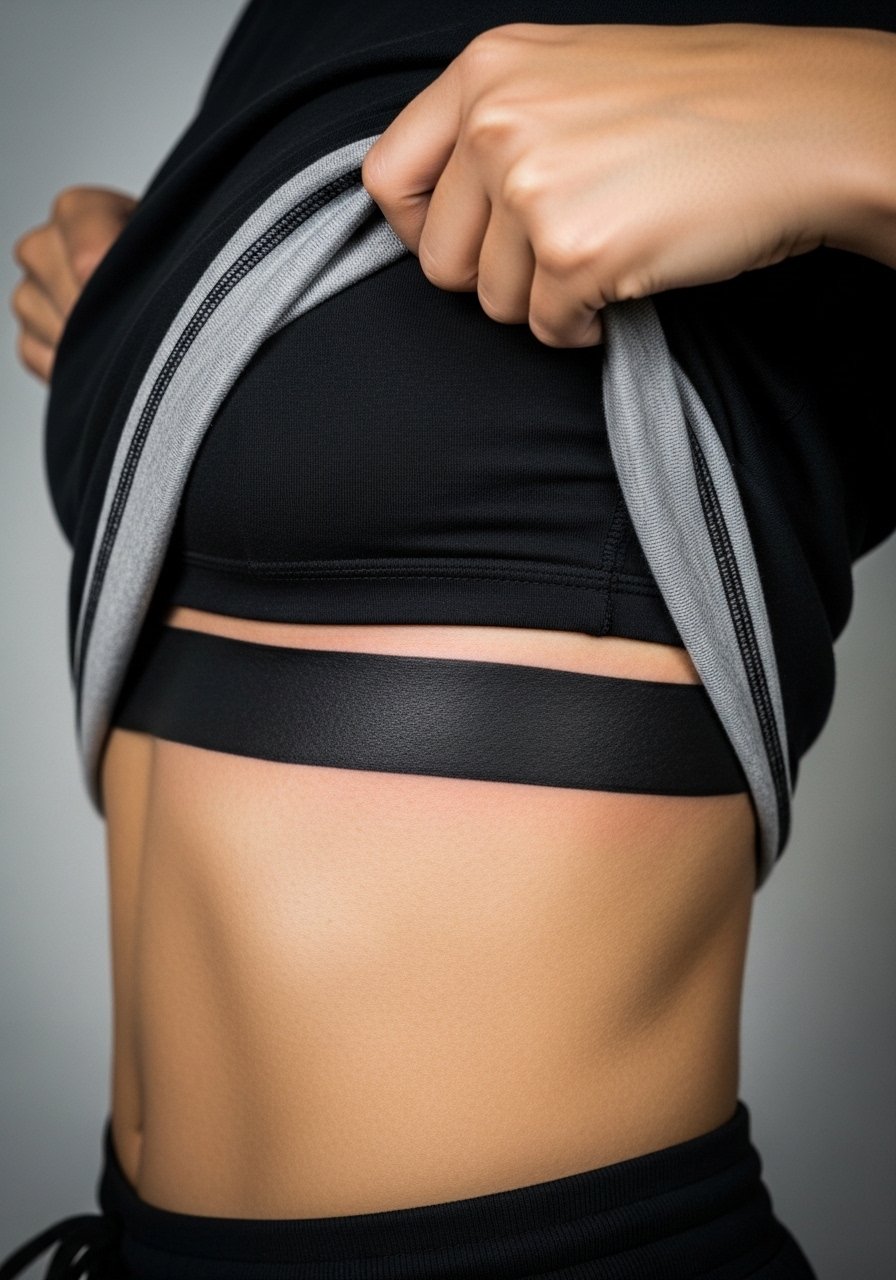
14. Sternum Underbust Band, Bold Linework
Underbust bands are dramatic with the right negative space and symmetry. The sternum area moves with breathing so very thin bands risk breaking up. The conversation here is simple, ask for consistent edge thickness and a symmetry check in multiple positions. Sessions can be tender and usually require short breaks. For session wear, a sports bra or bandeau that you can pull slightly down helps the artist maintain clean lines.
15. Elbow Accent Band with Dotwork Halo
Elbow-adjacent bands need careful spacing to avoid the fold of the joint. A common error is placing solid fills too close to the crease which causes ink migration. Instead choose an accent band with dotwork halo set slightly above the joint so movement does not distort the silhouette. The area is bony and sharp sensations are common, so expect a twitchy moment during the session. For showing it off, short sleeves or rolled sleeves make the halo visible without crowding.
For the session wear, a short-sleeve tee that you can pull up or down works well and keeps the artist's access easy.
16. Stacked Arm Bands That Read as a Sleeve
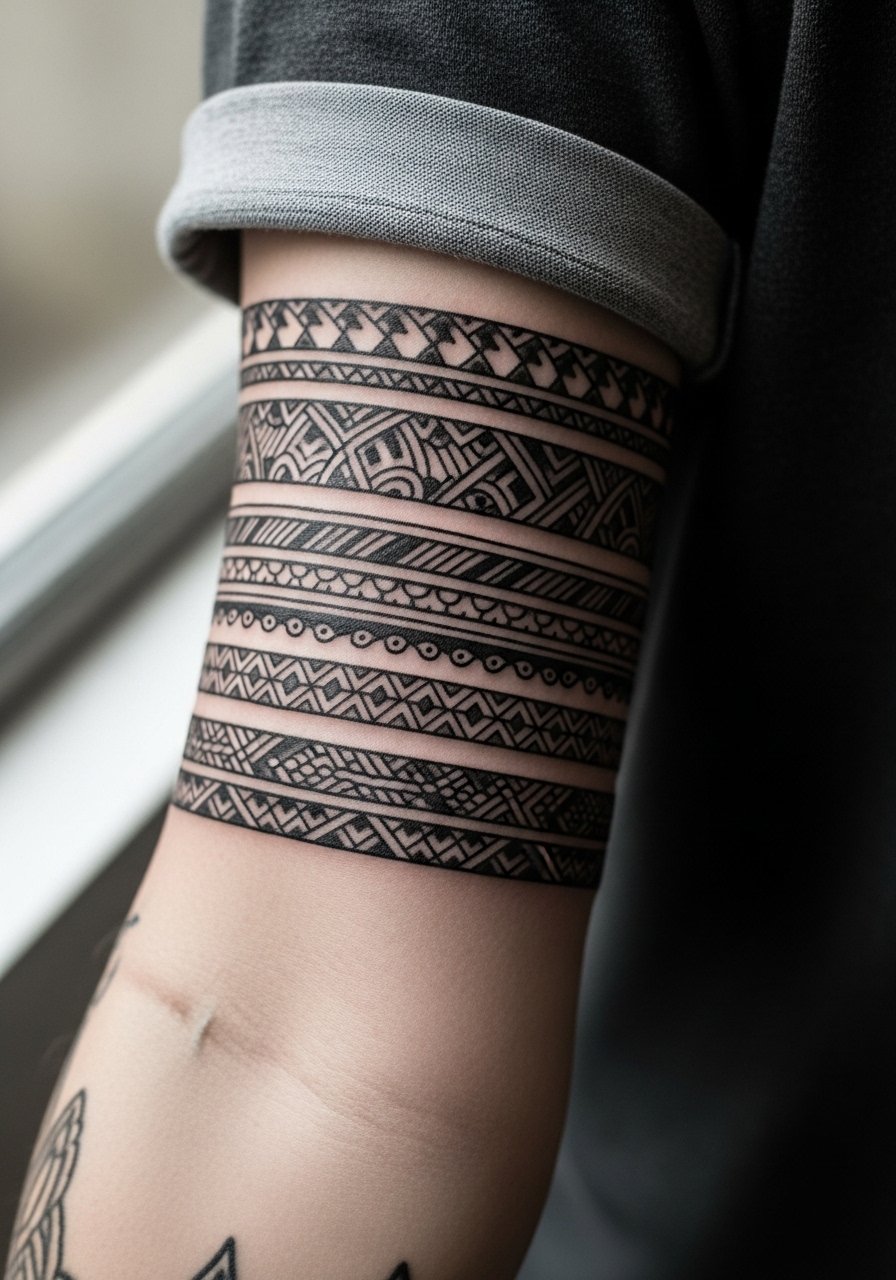
Stacked bands let you mix techniques, like solid fills, negative-space stripes, and stipple panels, without committing to a full sleeve of imagery. The trick is rhythm and spacing. Tell your artist you want each band to breathe visually so heavy sections do not ran into one another over time. Sessions are usually multiple shorter sittings rather than a marathon. Pair this look with a slim watch or simple bracelet so the arm reads cohesive, a minimalist watch keeps focus on the bands rather than competing.
17. Upper Arm Double Band with Cutouts

Double bands with negative cutouts offer a modern take on the classic armband. The main mistake is making the cutouts too fine relative to the band width, which causes loss of definition as the ink settles. Ask for proportion checks and a full-size stencil so you can see how the cutouts read when the arm is relaxed. Pain is similar to single armbands and most shops finish this in one session. If you tend to sunburn, plan for sun protection later because exposed upper arm work fades faster with heavy UV.
Frequently Asked Questions
Q: Will solid black bands blur quickly if I have thin skin on my arms?
A: It depends on placement and spacing. Thin skin can encourage slight feathering over time, so request slightly heavier line weight and clear margins during the consult. Also expect touch-ups sooner than for thicker-skinned areas.
Q: Are finger and hand bands worth it if I want a long-lasting look?
A: They are worth it if you accept regular upkeep. Hands and fingers are high-friction zones and often need touch-ups every one to three years. If low maintenance is your priority, consider the wrist or upper arm instead.
Q: How do I prepare clothing-wise for a rib or sternum band session?
A: Wear something that the artist can lift or pull aside without you needing to undress, like a cropped athletic top or a wide-neck shirt. That keeps the area accessible and limits unnecessary rubbing on fresh ink.
Q: Do stacked arm bands need multiple sessions or can they be done at once?
A: Many artists prefer multiple shorter sessions to get even saturation and to check how spacing is settling, but a single longer session is possible for smaller stacks. Discuss pacing with your artist during booking.
Q: What jewelry works best with collarbone and neck bands when I want to show them off?
A: Thin chains and minimalist pendants sit above or beside collarbone bands without crowding the design. A simple option to consider is a thin chain pendant necklace that frames the line without competing for attention.
