
Fine line tattoos and oversaturated watercolor pieces both look incredible on saved boards, but the designs that still read clean at year three are rarely the ones that got the most likes at day one. Trends push us toward ultra-fine detail and painterly fades, while the realities of sun exposure, placement, and skin texture decide what lasts. Below are 17 colorful directions that balance visual impact and long-term wear.
1. Fine Line Botanical on Inner Forearm
I've seen this on forearms for years and the gentlest versions age the best. Ask for slightly heavier primary stems with delicate stipple shading inside leaves so the silhouette reads from a distance while the detail still holds up. Fair warning, the inner forearm is lower on the pain scale, but it sees a lot of sun. Expect a touch-up at year three for color refresh if you are outdoors often. For the session, wear a loose button-down shirt you can roll or pull aside so the artist has clean access. Avoid requesting ultra-thin hairline veins for all the leaves because those lines merge faster than thicker outlines.

2. Color-Saturated Neo-Traditional Shoulder Patch
Personal observation lead: shoulder color holds exceptionally well when the artist uses bold outlines and dense saturation in color fields. The shoulder takes an afternoon session but not the endurance of a full sleeve. Tell your artist you want rich solid fills rather than layered watercolor washes. Most people forget to ask about stretching on the deltoid during movement, and that can change the way a motif sits. For showing it off, pair this with a loose tank top that keeps the shoulder visible without rubbing the fresh ink. Expect six to eight weeks before full settled saturation, and a possible touch-up at year five depending on sun exposure.

3. Watercolor Koi on the Calf
Visual impact lead: watched from across a room, a well-composed watercolor koi reads as motion even after healing. The calf is forgiving because it gets less friction than hands or feet. Ask for a saturated core color and faded edges to mimic brushwork, and avoid asking for extremely pale washes in high-traffic zones. Session-wise, the calf is a medium pain placement and usually fits into a single two to three hour visit for a medium piece. For evenings out, this pairs nicely with rolled-up denim or a pair of sandals that keeps the ankle visible. Over time the outer washes soften most, so plan a light refresh at year three to recover airy fades.

4. Micro-Realism Portrait on Bicep
Mistake lead: people asking for tiny photoreal portraits often underestimate how much surface area a face needs to stay readable. For the bicep, request a slightly larger scale and clean stipple shading to preserve features as it heals. The bicep is forgiving on blowout risk but can distort if the subject gains or loses a lot of muscle mass. Expect a longer session and the possibility of a second pass to refine small details. For session comfort, a loose short-sleeve tee that you can pull up works best. Think of how it will look at six months and two years, and plan touch-ups accordingly if you want crisp eyes and hair texture to persist.

5. Geometric Mandala Near the Collarbone
Aging and placement lead: collarbone pieces need breathing room because the skin there moves with motion and clothing. Ask for moderate line weight and open negative space so the mandala's geometry does not become a shaded mass over time. For photography-friendly outfits, a wide-neck shirt pulled slightly aside frames the collarbone work without exposing too much skin. The collarbone area can be sensitive during the session, so factor that into your appointment length. Avoid requesting extremely dense dot work directly over the bone because high-density stippling tends to blur first. Respect the origin of the pattern by choosing original compositions rather than direct sacred symbols.

6. Minimalist Color Constellation on the Wrist
Consultation lead: when you sit with your artist for wrist pieces, bring photos showing the exact star spacing you want. The wrist sees constant washing and friction, and that wears tiny dots and thin color spots quickly. Recommend slightly larger dots for the constellation and crisp spacing between stars to preserve the pattern. For the session, a minimalist watch can be removed and kept nearby so it does not rub the fresh bandage. Expect a touch-up window around year two for color re-saturation if your hands wash frequently. Hand and wrist tattoos can affect some employers' policies, so consider future job contexts before committing.

Before You Book
Those first six ideas include small exposed zones like the wrist and collarbone and larger places like the calf and shoulder, and each asks for different prep and first-week care.
-
Stencil transfer paper kit. Lets you preview lineweight and placement on the skin before committing, which matters for delicate wrist and collarbone pieces.
-
Topical numbing cream. Applied before the session it eases sensitivity on thin-skin areas like the wrist and sternum without altering the artist's approach.
-
Thin protective film roll. Useful for finger and wrist work where constant washing and friction can otherwise scuff fresh ink.
-
Fragrance-free gentle body wash. Gentle cleansing helps the healing color keep its edge on forearm and calf pieces.
-
Aquaphor healing ointment. Thin layers in the first days lock moisture in delicate linework zones without clogging pores.
7. Classic Anchor with Bold Color on the Calf
Pain warning lead: the calf handles saturation well and is a lower pain area, making it a good spot for bold traditional motifs. Ask for strong black outlines and deep primary fills so the anchor keeps its contrast over time. A common mistake is asking for too many fine ornamental details at small scale, which soften faster than the main silhouette. For session wear, pull on shorts or loose linen drawstring pants so the artist can work freely and you can get home without rubbing the fresh area. Expect this style to age gracefully if you keep it out of constant sunlight.

8. Color-Heavy Half Sleeve Accent on Upper Arm
Visual impact lead: half-sleeve accents that mix saturated color with bold blackwork read as a statement without occupying the whole arm. Tell your artist which area you want as the focal point and request transitional filler that blends color fields into negative space. The upper arm flexes with muscle, so heavier outlines around color blocks help the piece keep shape. For showing it off, a short-sleeve linen shirt rolled at the cuff keeps attention on the sleeve without covering the art. Sessions often split across two visits to allow layering and proper saturation.

9. Abstract Brushstroke Ribcage Piece
Controversy lead: fine line advocates split on ribs for a reason. One group argues the skin stretch on the ribcage causes fine work to blur within two years. The other group says with correct depth and spacing it settles fine. I recommend a middle path for colorful brushstroke work, with wider painted strokes and strategic gaps so the design breathes as the skin moves. Session-wise, expect higher pain and longer breaks. For modest coverage, wear a cropped athletic top lifted slightly to reveal only the rib area during the session. Plan on a touch-up at year two if you choose very pale washes.

10. Painterly Mini on the Back of the Hand
Mistake lead: the hand is unforgiving for tiny painterly detail because the skin is thin and exposure is constant. If you want a colorful hand piece, ask for bolder color patches and simplified motifs rather than tiny blends. Hand tattoos change job conversations and can complicate certain interviews, so weigh that when choosing placement. For the session, bring a small pouch to keep accessories out of the way and consider a minimalist leather bracelet to wear after healing if you want to frame the art. Expect touch-ups earlier than most body placements because hands endure the most daily abrasion.

11. Painterly Shoulder-to-Bicep Flow
Personal observation lead: shoulder-to-bicep painterly work reads best when the artist maps natural muscle flow into the composition. Ask for color gradients that follow the deltoid curve and anchor points that keep the eye moving. The session usually splits into two longer blocks to allow the color to settle between layers. A common mistake is requesting too many small motifs that break the flow. For the session, wear a button-down you can slide off easily so you can stay comfortable without contaminating the area. Over the first year the edges will soften, and a light touch-up brings back edge crispness.

12. Bold Neo-Japanese Back Panel
Visual impact lead: back panels let color breathe and present large surfaces for saturated traditional motifs. For a cohesive Neo-Japanese direction, insist on clear compositional lines and dense saturation within motifs so dragons and waves retain contrast as the piece ages. Sessions will be long and could span several visits. For the session, wear a loose button-down or a top you can pull aside to expose only the upper or mid-back. Pairing the finished piece with an open-back shirt or a relaxed kimono-style jacket showcases the work without overexposing skin. Expect lower blowout risk on the back but plan for occasional spot touch-ups on outer edges.

13. Fine Line Script Sternum with Color Accents
Controversy lead: fine script across the sternum divides opinion. One camp says the sternum's movement and thin skin cause script to blur quickly. The other camp maintains that with the right needle depth and spacing, thin script holds. If you want color accents, ask for slightly heavier script strokes and small saturated motifs above or below to frame the sentence. The sternum is a sensitive area during the session, so plan for shorter passes and breaks. For privacy and comfort, wear a fitted sports bra or bandeau top so only the sternum area is revealed. Expect touch-ups sooner than on forearm pieces, especially if you wear tight clothing over the area during healing.

14. Delicate Botanical Hip Accent
Aging/healing lead: hip pieces sit in a friction zone when you wear low-rise waistbands, which can scuff color while healing. Ask for placement that sits above everyday belt lines and request a design that leans on solid color islands rather than tiny fragile details. The hip is a moderate pain area and often needs a single longer session. For the session, wear high-waisted denim or high-cut shorts that you can shift down slightly so the artist can access the site without fully exposing your midriff. Consider how swimsuits might sit over the design in the first month after the session.

15. Watercolor Phoenix on Outer Thigh
Visual impact lead: thigh pieces can carry dramatic watercolor fades because the skin tolerates large transitions well. Ask for saturated core colors and airy outer washes rather than pale washes in the center. Sessions are comfortable because you can lie on your back or side and relax. For shows and nights out, a mid-thigh slit in trousers or a skirt will let the phoenix peek out. Avoid tiny feather details near the inner thigh where friction and sweat can accelerate fading. Plan for a color refresh after a few years if you keep the area sun-exposed.

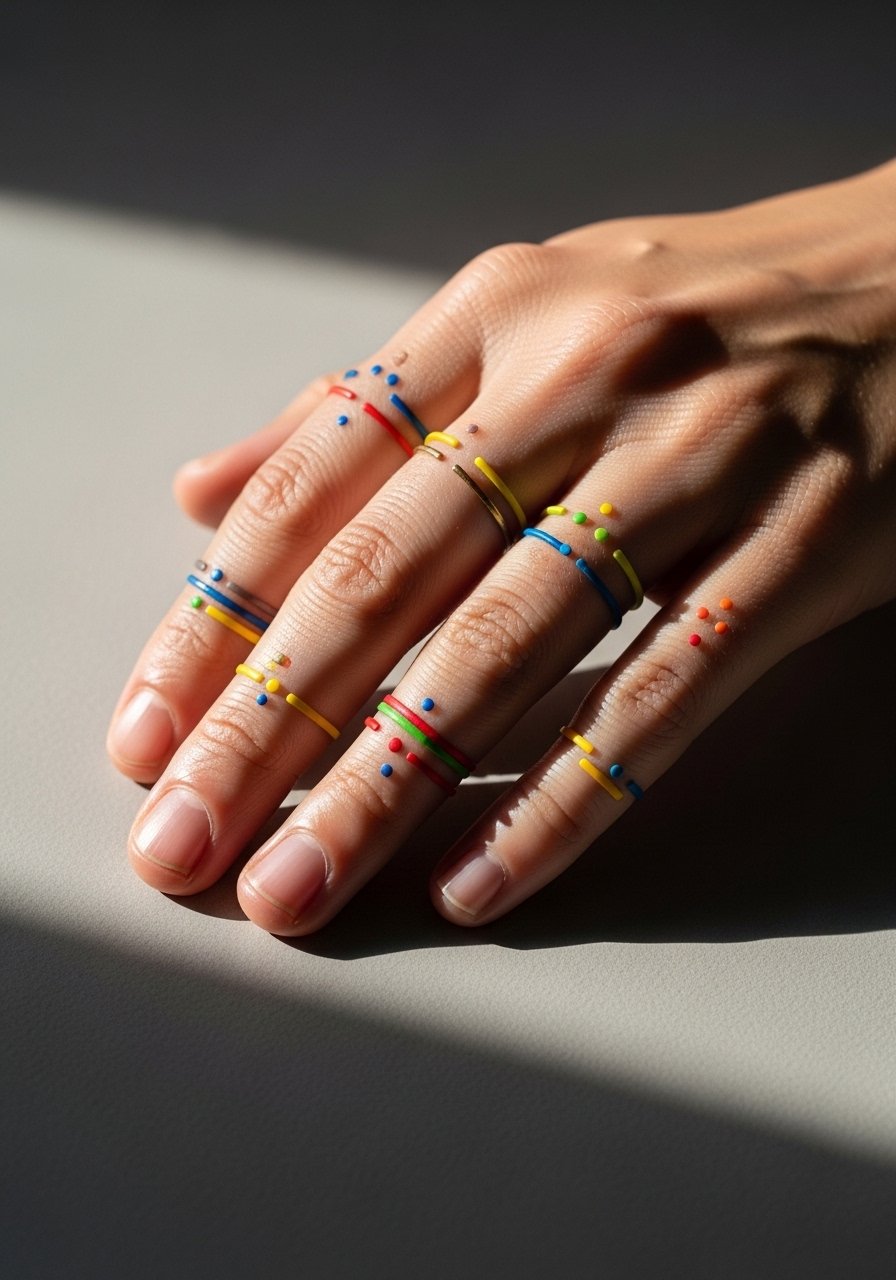
16. Tiny Color Rings on Finger Bands
Styling lead: finger and ring tattoos are intimate and visible, and size matters more than detail. The skin on fingers moves and sheds faster than elsewhere, so opt for solid color bands and simplified motifs rather than micro shading. For the appointment, keep rings off and wear short sleeves so the artist can work without obstruction. A small tasteful accessory like a thin chain pendant necklace complements hand jewelry choices once healed. Expect early touch-ups and accept that these may need attention every two years to keep edges crisp. Also remember that some workplaces still have strict policies about visible hand ink.
17. Surrealist Calf Scene in Bold Color
Consultation lead: surrealist scenes on the calf let you combine micro and macro elements, but you need to prioritize which parts stay crisp from afar. When you consult, mark the focal elements and ask for bolder outlines there while letting background washes be looser. The calf is an excellent canvas for this because it avoids constant abrasion. For session comfort, bring a playlist and water; longer sessions can run three to five hours for a large scene. Over time, softer background washes will mellow first, and a selective touch-up keeps the main figures strong.

Frequently Asked Questions
Q: Do watercolor-style tattoos need different aftercare than traditional saturated color pieces?
A: In my experience the principles are the same. Keep the area clean and protected, avoid soaking and heavy friction, and follow your artist's covering instructions. Watercolor pieces often use softer washes that can benefit from avoiding direct sun for longer during the first year. Use the product suggestions in the section above for gentle cleansers and protective film if your placement sees a lot of contact.
Q: Will fine line script on the sternum blur faster than on the forearm?
A: It depends on skin movement and how the script is set up. Sternum skin moves and can be more sensitive, so many artists favor slightly heavier script strokes there. Ask your artist about recommended line weight and spacing for that area, and plan for an earlier touch-up timeline than you would for a forearm piece.
Q: How do I find an artist who can handle color saturation and long-lasting washes without overworking skin?
A: Use discovery pathways like local shop directories, tattoo convention listings, and community forum threads to shortlist artists. Look for portfolio images showing healed work rather than fresh photos. Bring healed references into the consultation and ask about how they approach layering and saturation for your chosen placement.
Q: Are hand and finger tattoos still a hiring risk?
A: Yes, in some industries visible hand or finger tattoos remain a potential issue. If you work in a conservative field, consider placements that can be covered or discuss discrete options with your artist. If you are set on a hand piece, ask about smaller, simplified designs that can be adjusted or concealed with rings or gloves when needed.
Q: How often should I expect to get touch-ups for colorful calf or back panels?
A: From what I've seen, large saturated areas on the calf and back can maintain good color for several years if you limit sun exposure. Expect a light touch-up around year three to five, and potentially sooner if you spend a lot of time outdoors. Planning periodic refreshes keeps the color rich without requiring heavy reworking.
Q: What should I wear to a sternum or ribcage session to make the process easier?
A: Wear a fitted sports bra or a bandeau that exposes only the work area, or choose a zip-up or button-down you can lift slightly so the artist sees the exact zone. For ribcage work a cropped athletic top is practical because it gives access while keeping the rest of your torso covered.
