
Fine line looks fragile in photos but the real test is how it reads two years later. Trends push tiny, detailed anatomical hearts onto wrists and fingers because they photograph well. The catch is that placement, spacing, and line weight decide whether you need a touch-up in a year or the piece still reads crisp in year five. Below are smart takes on anatomical heart work, what to ask for in consults, and wardrobe tips that actually show the lines without crowding them.
1. Fine Line Anatomical Heart on the Inner Wrist
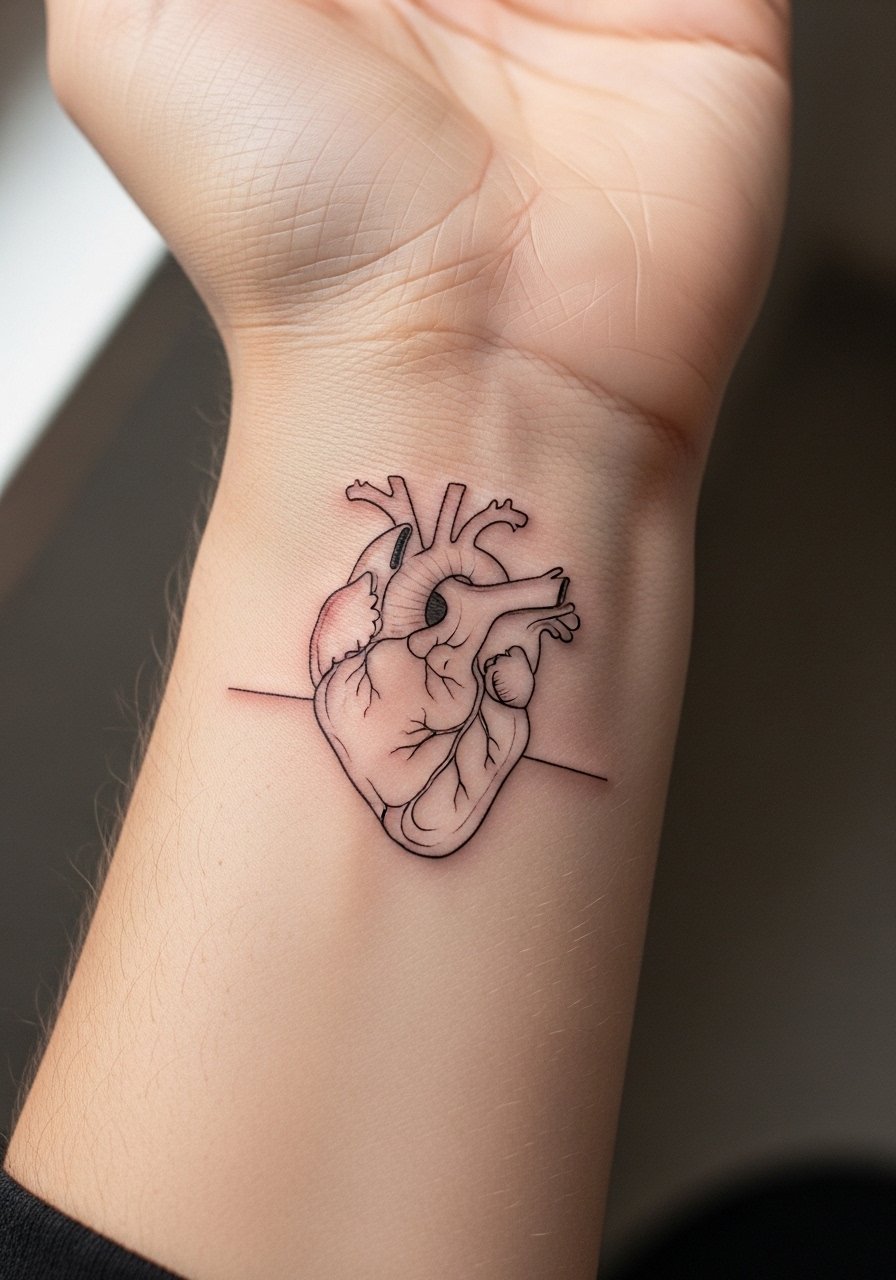
I see this placement every season because it reads intimate and delicate. Fair warning, wrists get constant friction from clothing and accessories, so ask your artist for slightly stronger line weight than the thinnest flash. A common mistake is requesting pencil-fine lines with no breathing room between chambers. That looks great fresh and then softens into blur. Expect a short single session and a touch-up window around year one to three depending on wear. For showing it off, pair the wrist with a thin gold chain bracelet on the opposite wrist and wear a linen button up shirt with the cuff rolled to mid-forearm so the linework stays the focal point.
2. Watercolor Anatomical Heart on the Collarbone
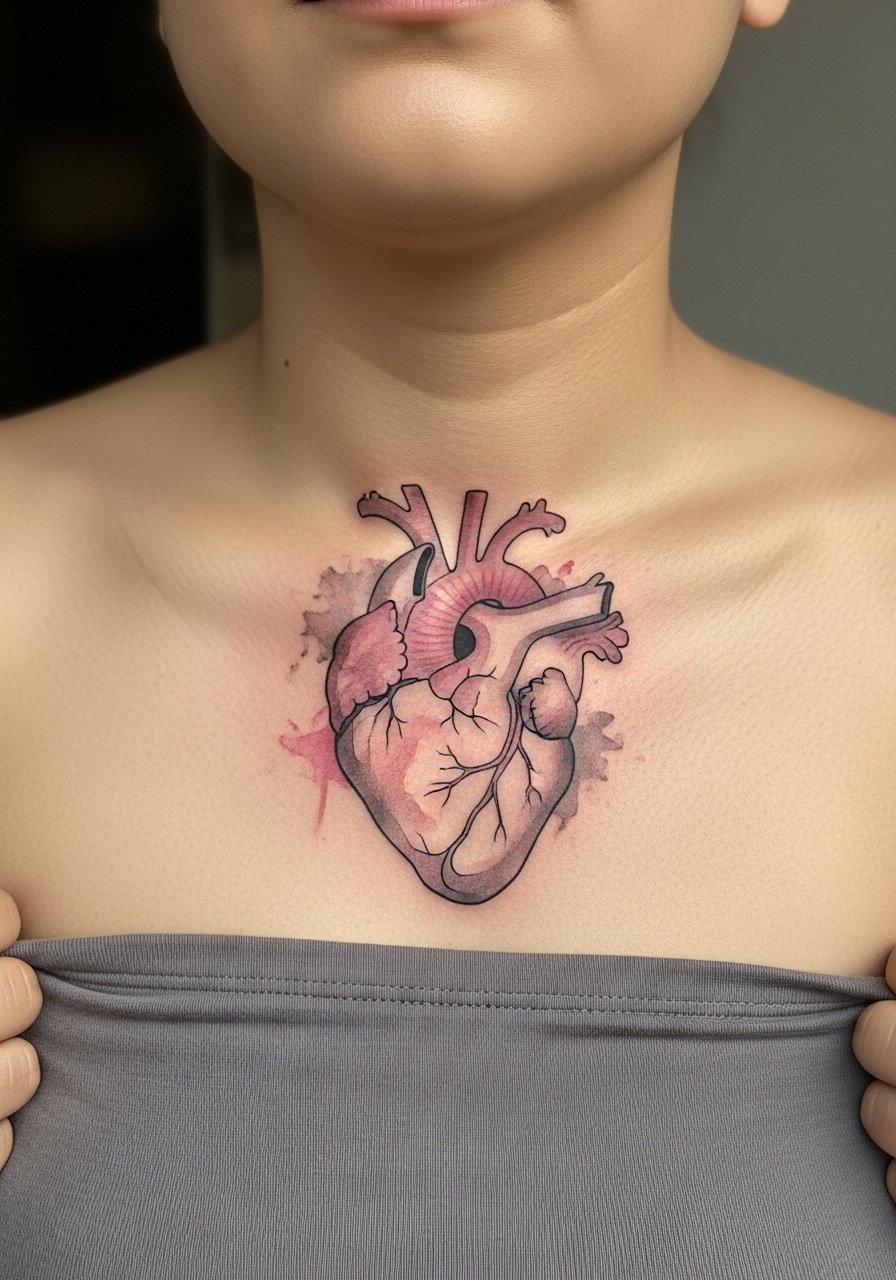
Watercolor softens the clinical edge and adds a romantic palette without losing form. The collarbone is low-friction so color gradations hold well if saturation is moderate. Bring reference photos that show exactly how much negative space you want between washes and linework. Many watercolor pieces are overdosed with pigment and then photograph like a bruise after a year. Tell the artist you want color accents layered over black and gray linework so the structure survives fading. Session time is usually one to two sessions. For evenings or photos, slip into a strapless top women and a layered necklace delicate that ends above the design.
3. Neo-Traditional Anatomical Heart with Floral Wreath on the Upper Arm
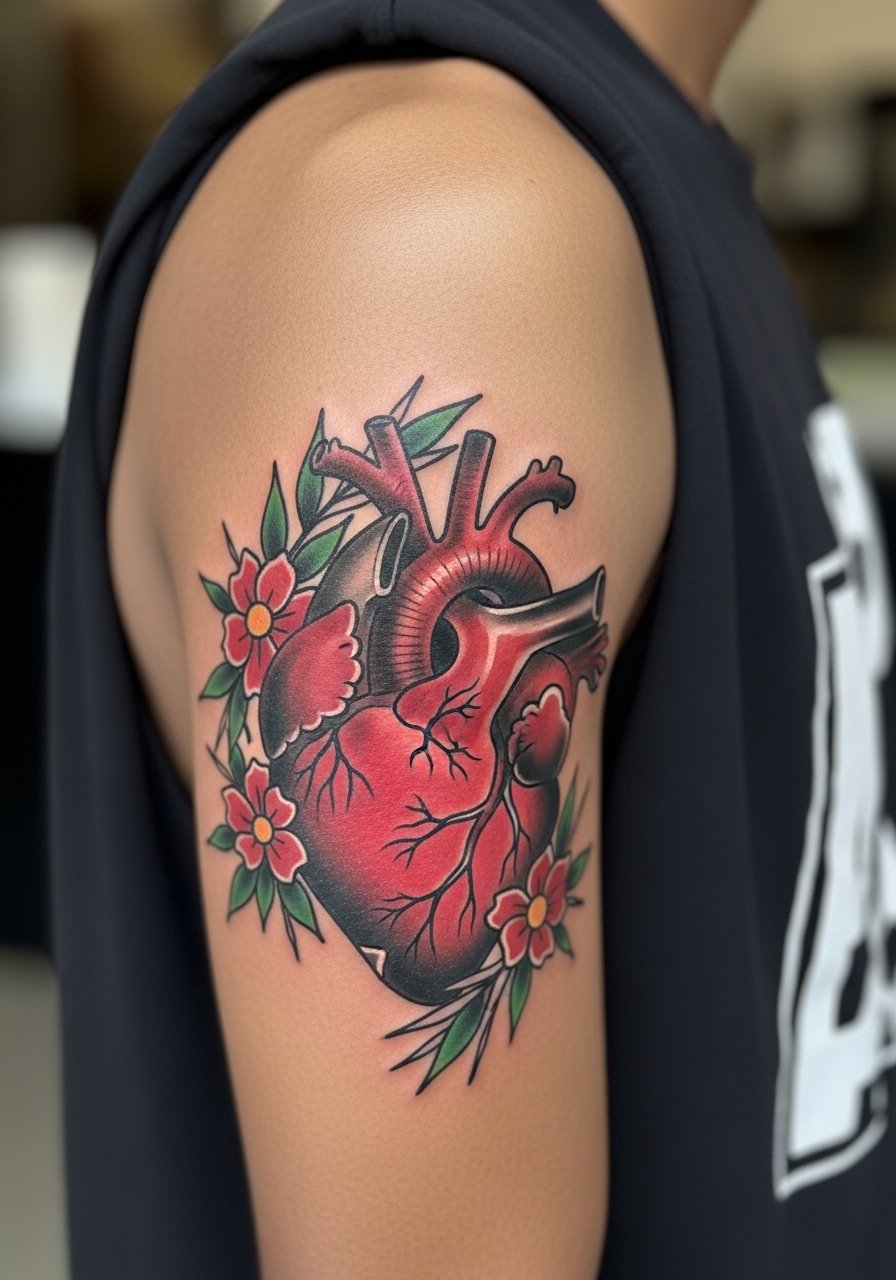
There is something about bold outlines filled with saturated color that reads from across a room. Neo-traditional gives you an anatomical core with illustrative leaves and blooms that age into a confident patch of color. Tell your artist you want the outline bold enough to carry color as it fades and to avoid tiny dot details that can dissolve at five years. This style usually needs two sessions for saturation and layering. Wear a muscle tank women to the appointment so the shoulder has full access without tight sleeves. A common mistake is asking for too many tiny petals inside the wreath. Those compress and merge over time.
4. Minimalist Chamber Outline Behind the Ear
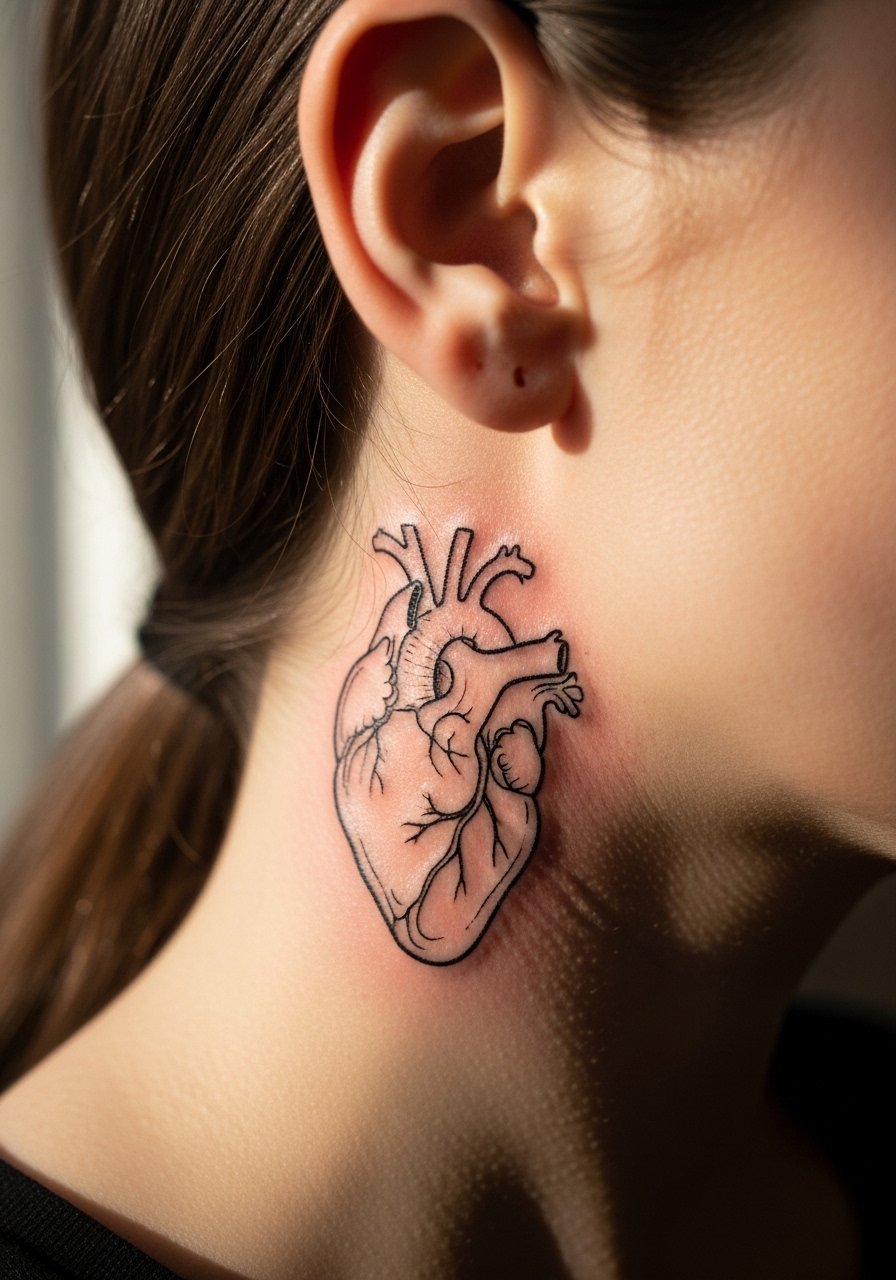
The behind-the-ear spot is tiny and surprising when it peeks out from hair. Pain is low to moderate and sessions are brief. The biggest consultation note is scale. People request a detailed chamber map and then regret the cramped look once the hair grows out. I recommend a single clean outline of the chambers under one inch. Healing hides detail quickly because the skin is thin, so expect line softening in two years. Also consider career visibility before booking this placement. Keep the ask simple in consults and test the size with printed mockups taped in place.
5. Blackwork Anatomical Heart with Geometric Shading on the Forearm
Blackwork is a practical answer for darker skin tones or anyone who wants longevity. Solid fills and geometric shading keep the design legible longer than thin linework. This piece takes two to three sessions depending on size and saturation. A frequent mistake is packing small geometric textures too close together. Give geometry breathing room so the shapes do not merge as they settle. For casual wear, a navy fitted tee with sleeves rolled shows off the forearm without visual clutter. Touch-ups for saturation may be scheduled at year two to three.
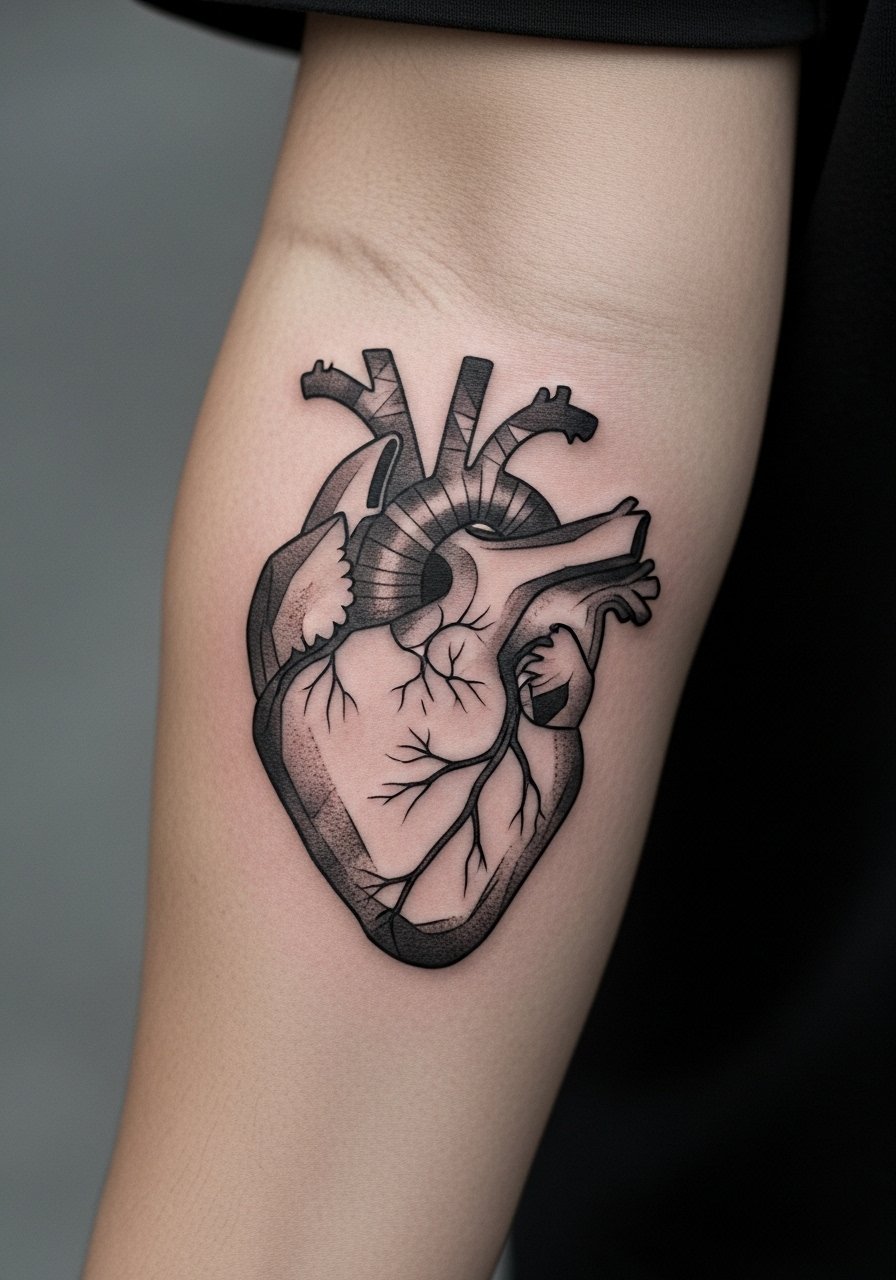
6. Micro-Realism Anatomical Heart on the Inner Bicep
Micro-realism packs valve textures and artery hints into a small scale on the inner bicep. Expect sharp contrast at first and gradual softening as the skin moves. The inner bicep gives the artist a fairly smooth canvas and the session is usually a single focused appointment. A common mistake is trying to force photoreal gradients into a sub-two-inch space. Ask for a slightly larger scale if you want true micro-realism to read at arm distance. Healing is generally kind here because the area sees low friction. For placement accessibility wear a loose tank top to the studio.
Studio Day Picks
The wrist, forearm, and inner bicep pieces above demand different prep than ribcage or collarbone work, and a few specific items smooth out the session and the first healing week.
-
Stencil transfer paper kit. Lets you preview exact placement on skin before the needle touches, which is helpful for small wrist and finger placements above.
-
Topical numbing cream. Applied about 30 to 45 minutes before the session it can take the edge off wrist or ribcage sensitivity without changing line single pass work.
-
Thin protective film roll. Keeps small hand and finger tattoos clean through the first week of constant washing and surface contact.
-
Fragrance free gentle body wash. A simple wash that avoids irritating delicate linework is useful for collarbone and inner bicep aftercare.
-
Aquaphor healing ointment. A thin layer can help keep fine line and watercolor pieces from drying out in the first days without suffocating the skin.
7. Ornamental Anatomical Heart with Dotwork Veins on the Shoulder Blade

Dotwork veins pair well with mandala framing on the shoulder blade because it is a low-friction canvas. The piece sits nicely under clothing and is easy to hide for professional settings. Ask for defined negative-space distances between dot clusters so stipple shading has room to age without filling in. Sessions may run two sittings depending on intricacy. For show-off outfits choose an off shoulder sweater or a backless top when you want the detail visible.
8. Ignorant Style Anatomical Heart on the Ankle
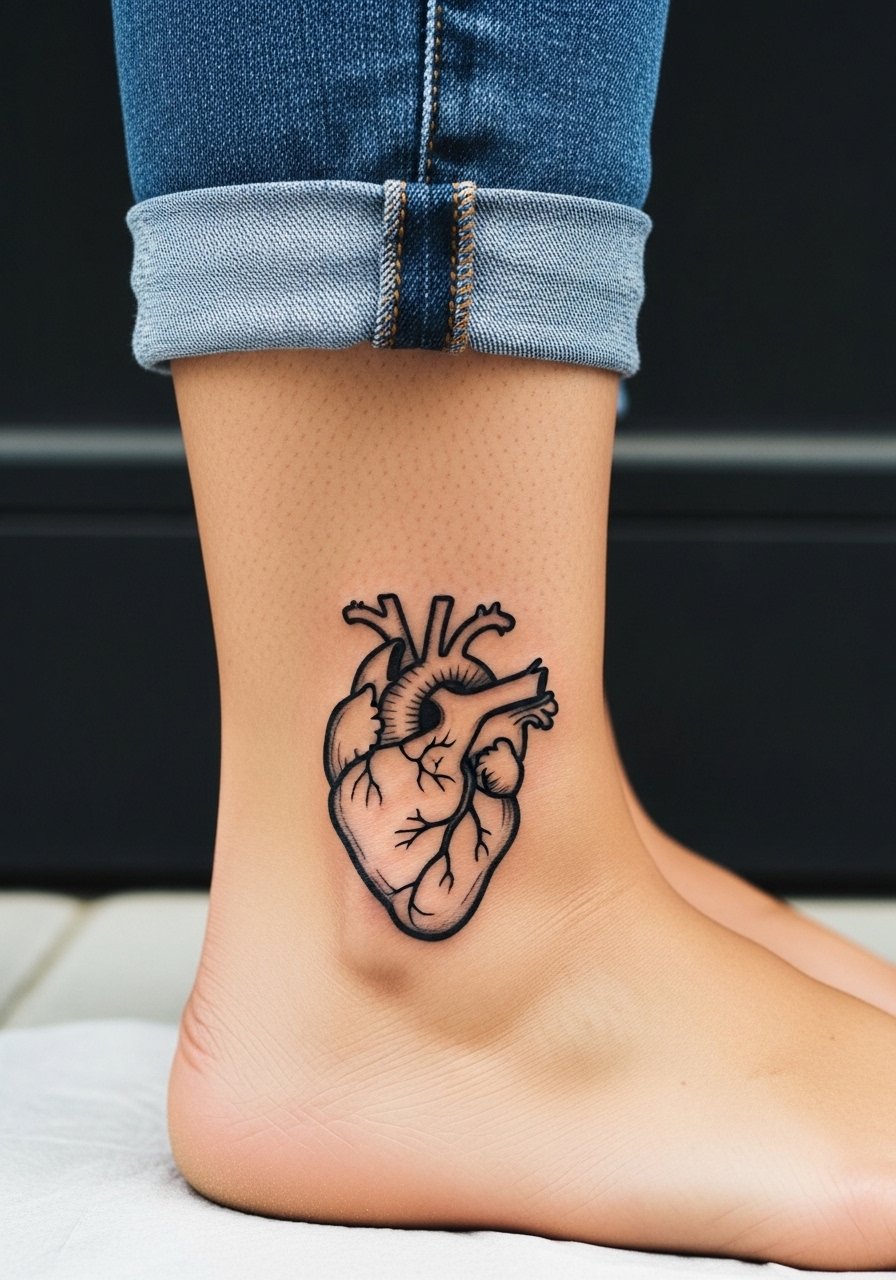
Ignorant style celebrates imperfect, naive lines that read personal and playful. The ankle is an accessible spot that makes the design feel like a charm. Expect a single short session and fast healing, but know the ankle sees friction from shoes and socks so keep scope at two inches or less. A common mistake is pushing too many internal details into the naive aesthetic. Keep the composition simple. For summer wear pair the piece with cropped jeans women or a thin ankle bracelet on the opposite foot to balance attention.
9. Traditional Anatomical Heart with Banner Scroll on the Calf
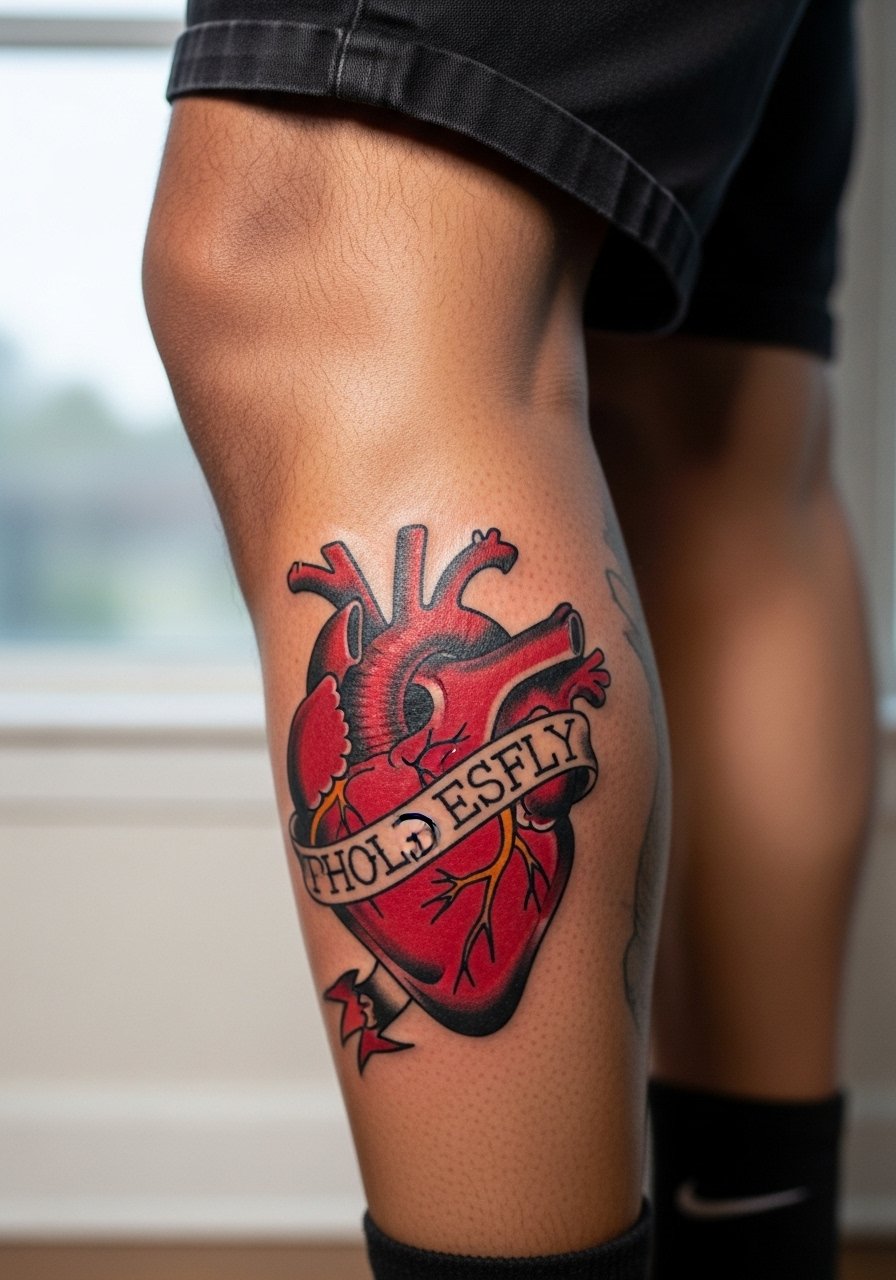
Traditional lines and banners give a modern anatomical heart a nostalgic edge and strong longevity. The calf is forgiving for color saturation and holds up well under sun exposure with standard sunscreen use after healing. One mistake is tiny script inside the banner. Keep lettering larger than you think because the skin on the calf can stretch. Sessions are commonly one or two sittings depending on size. For casual show-off, high-water pants or shorts keep the calf visible without rubbing against the design. Wear high water pants or athletic shorts for comfort during the appointment.
10. Fine Line Anatomical Heart with Dangling Ribbons on the Ribcage

Fair warning, the ribcage rates high on most pain scales and the skin stretches differently during breathing. Artists split on fine line here. One camp says the stretch blurs lines within two years. The other camp argues that with proper needle depth and spacing fine line settles fine on the ribs. Ask your artist where they stand and request a slightly stronger initial line weight for longevity. Sessions can be single long appointments depending on size. For the session wear a loose cropped top or strapless bra so the artist has clean access. Expect to compare fresh and healed photos across months because this area changes with body movement.
11. Micro Heart Knuckle Placement for Ring-Like Permanence
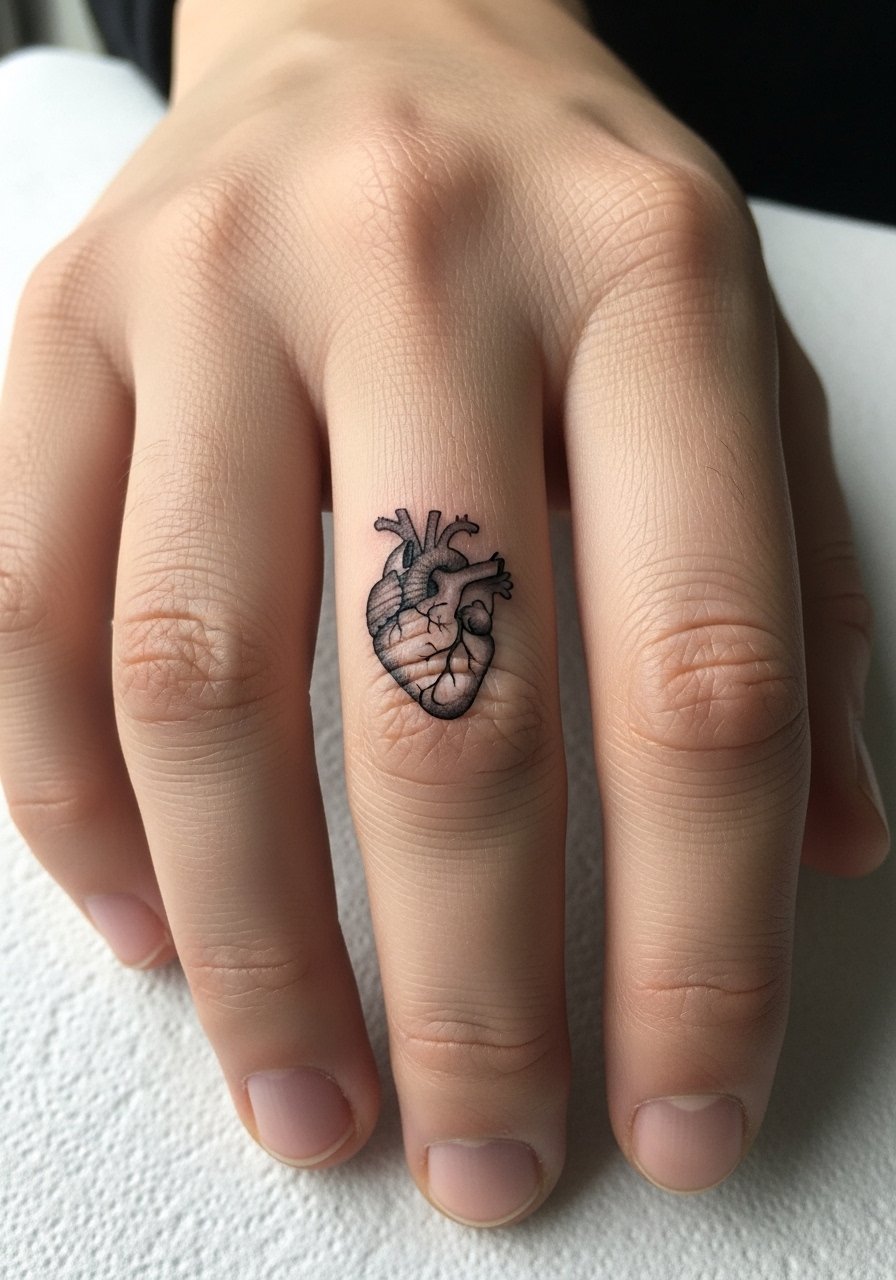
Knuckle pieces read like permanent rings and that permanence is literal. Skin on the knuckles moves constantly and experiences frequent abrasion, so micro work here often needs touch-ups. The advantage is the visual commitment it signals. Ask for simplified chamber lines and plan on a thin protective film in the first week. Sessions are very short but potentially more painful than the finger pad. I recommend testing a temporary ink version for a few weeks so you can live with the placement and scale before committing.
12. Sternum Anatomical Heart with Clockwork Gears
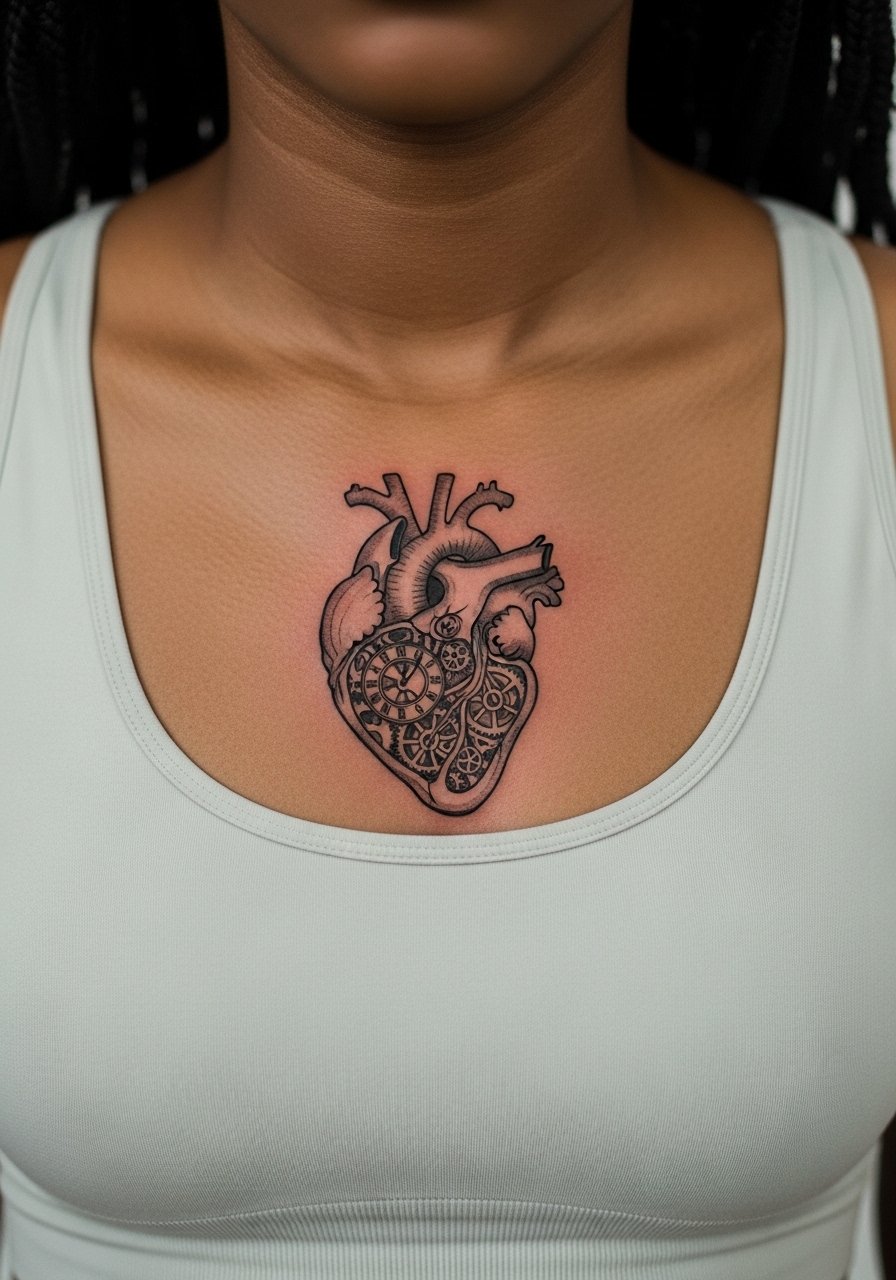
Combining anatomical detail with internal gears makes a strong personal statement about time and passion. Sternum work requires an artist comfortable with centered composition and symmetry. The area is sensitive and healing benefits from minimal compression from clothing. For the session plan to wear a strapless top women or fitted sports bra that keeps fabric from rubbing the site. Many people prefer a two session approach for layered black and gray shading plus mechanical detail. Tell the artist if you want soft edges or crisp mechanical lines so they can map needle depth appropriately.
13. Black and Gray Heart on Knuckles That Ages into Scar-Like Realism
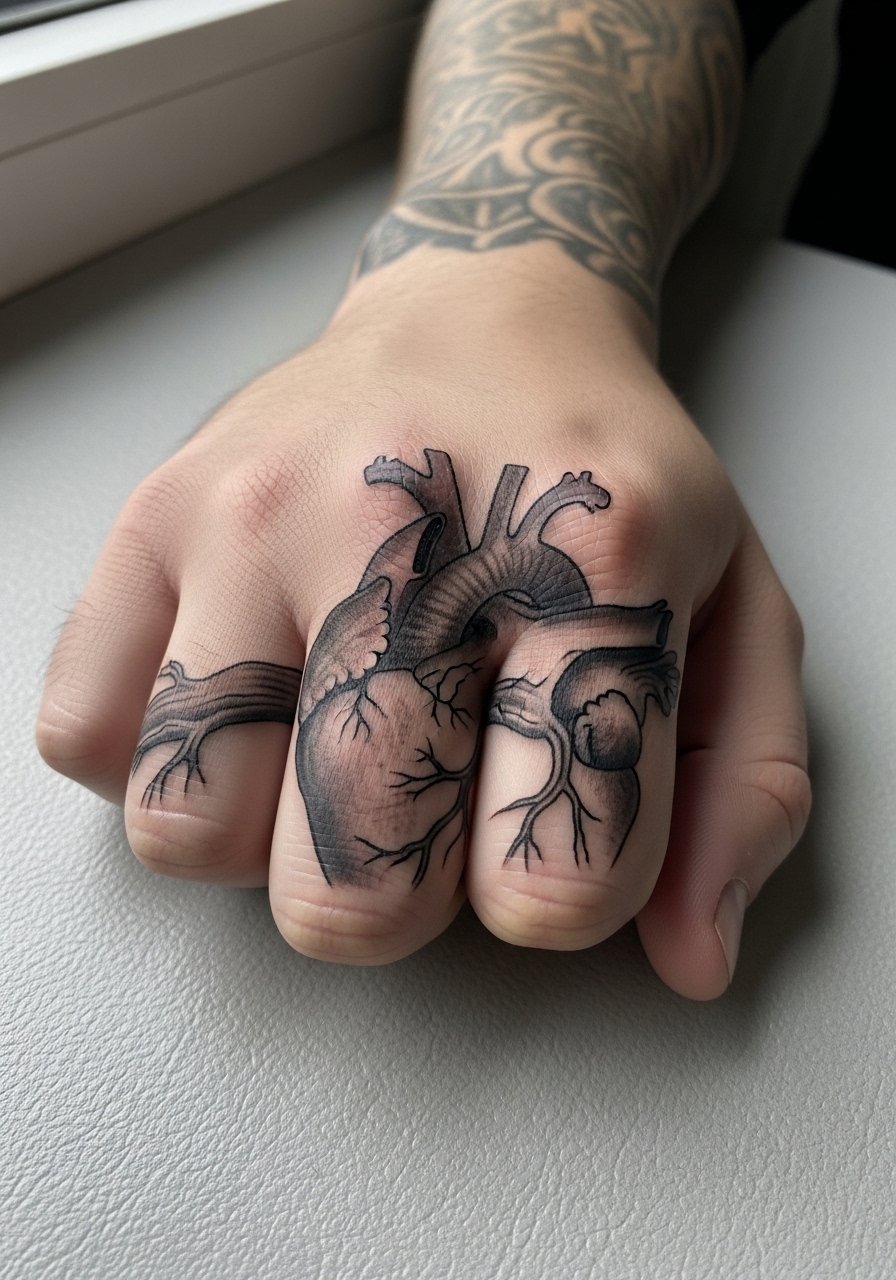
A bold black and gray knuckle piece can mimic scar textures as it heals and ages. The effect is intentional for some collectors who want that raw look. Expect faster fading and more frequent touch-ups than forearm work. Avoid tiny internal shading packed into a very small footprint. If you want scar-like realism, ask your artist to plan for staged texturing and a follow-up touch-up six to twelve months after the first session. Hand placements also require candid conversation about workplace visibility.
14. Ornamental Heart Paired with Constellation Mapping on the Ribs
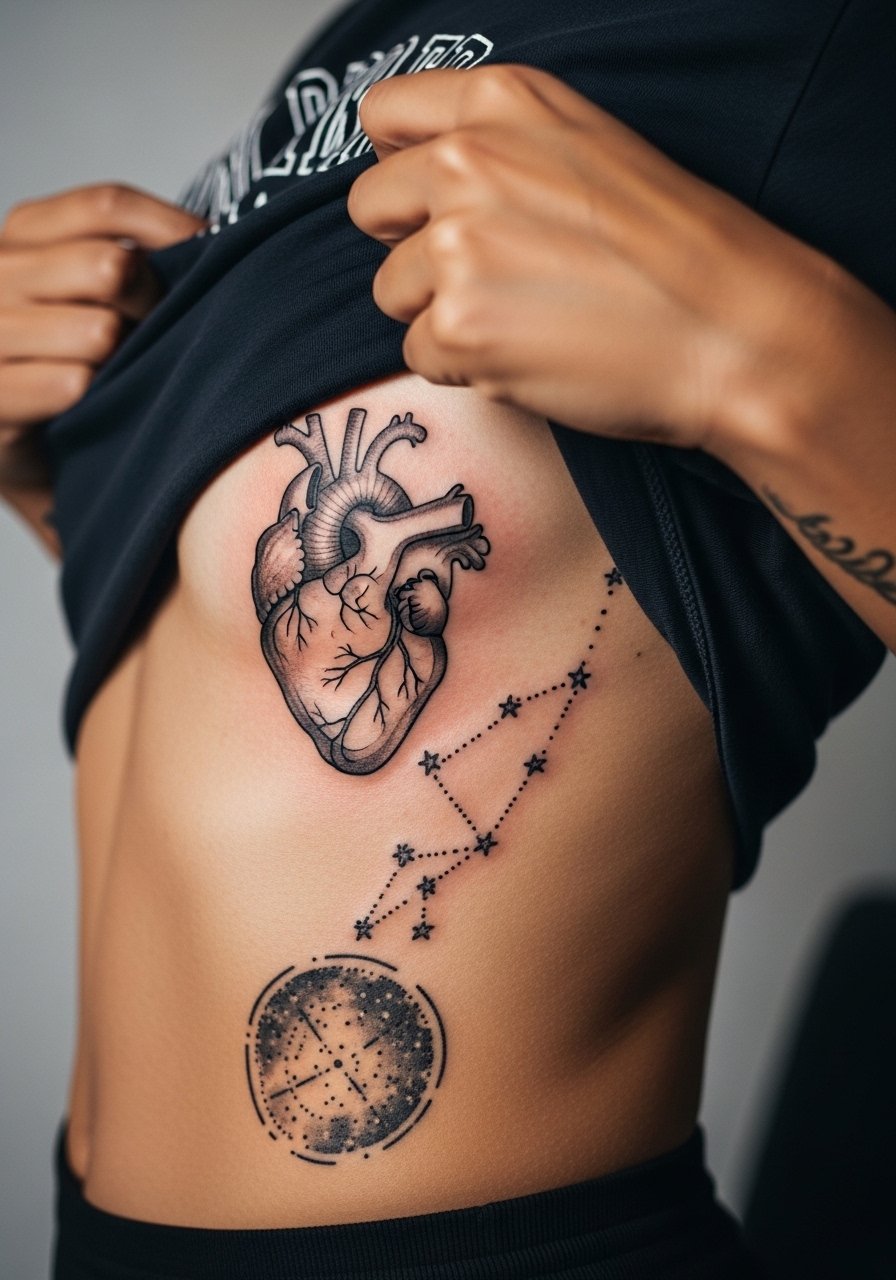
Pairing a heart with a personal star map gives the piece narrative weight. Ribs are a sensitive canvas so plan for limited session lengths and careful spacing between the dot constellations and stipple in the heart. A real mistake is compressing tiny star points too close to dotwork veins. Let the constellation breathe so it still reads after slight spread. For placement previews, bring a face-up mockup you can lift and move while sitting in the consult. Expect an initial session for linework and a second for shaded accents.
15. Tiny Anatomical Heart Behind the Ear with Subtle Script
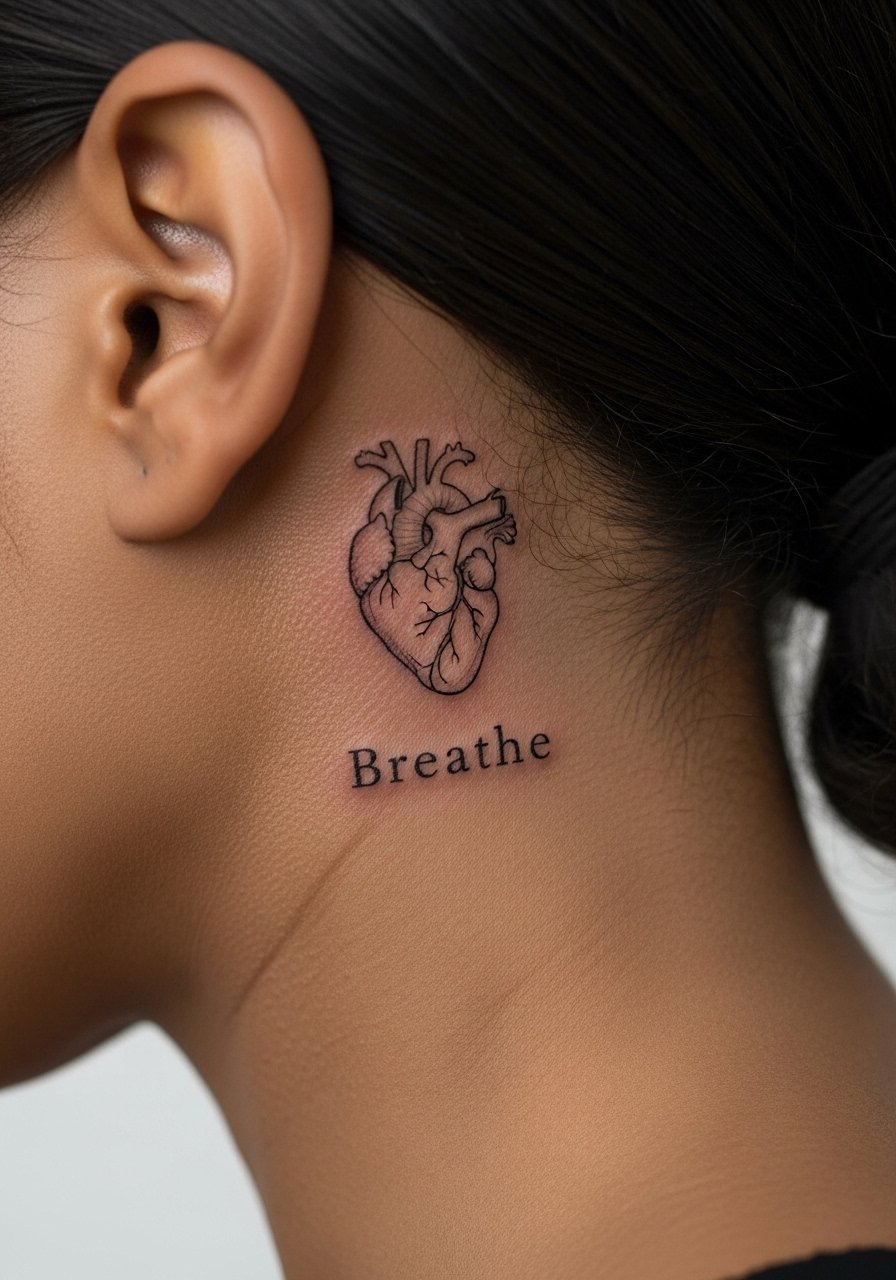
Behind-the-ear placements are a quiet canvas for micro text and marks. The area needs careful stencil placement because hair moves and hides the piece until it is styled away. When lettering is included specify exact text and font in the consult to avoid poor legibility. Sessions are short but expect touch-ups as the skin there is thin. If you want the piece visible for events style hair up or choose a short layered cut that consistently reveals the area.
16. Inner Thigh Anatomical Heart with Botanical Border
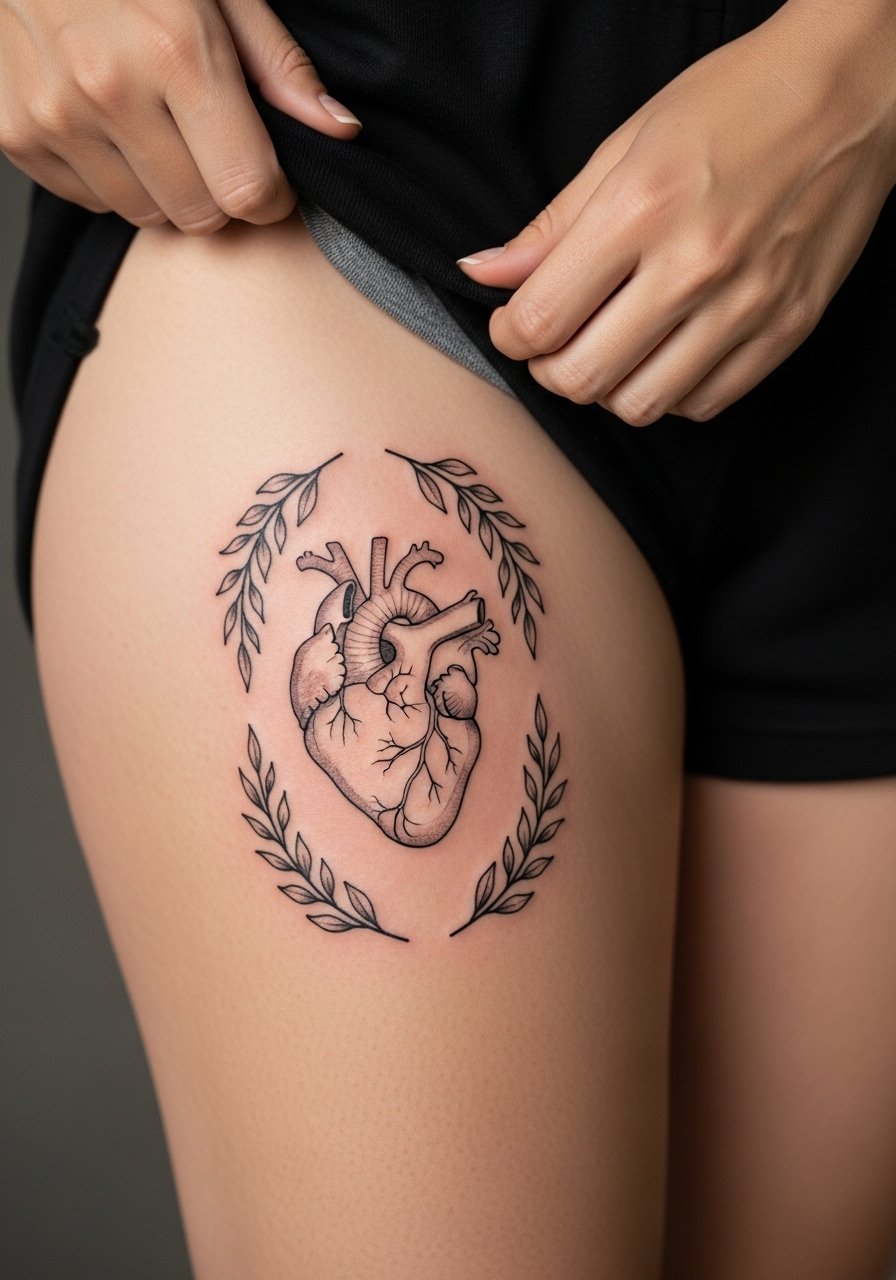
Inner thigh work is intimate and tends to heal with less friction than outer thigh. Sessions can be comfortable if you wear loose shorts that allow the artist clear access. A common mistake is packing too much fine detail into an area that may shift with weight changes. Ask for slightly bolder linework in the botanical border so it reads if the skin stretches. Healing here is usually forgiving unless you have tight clothing rubbing the area.
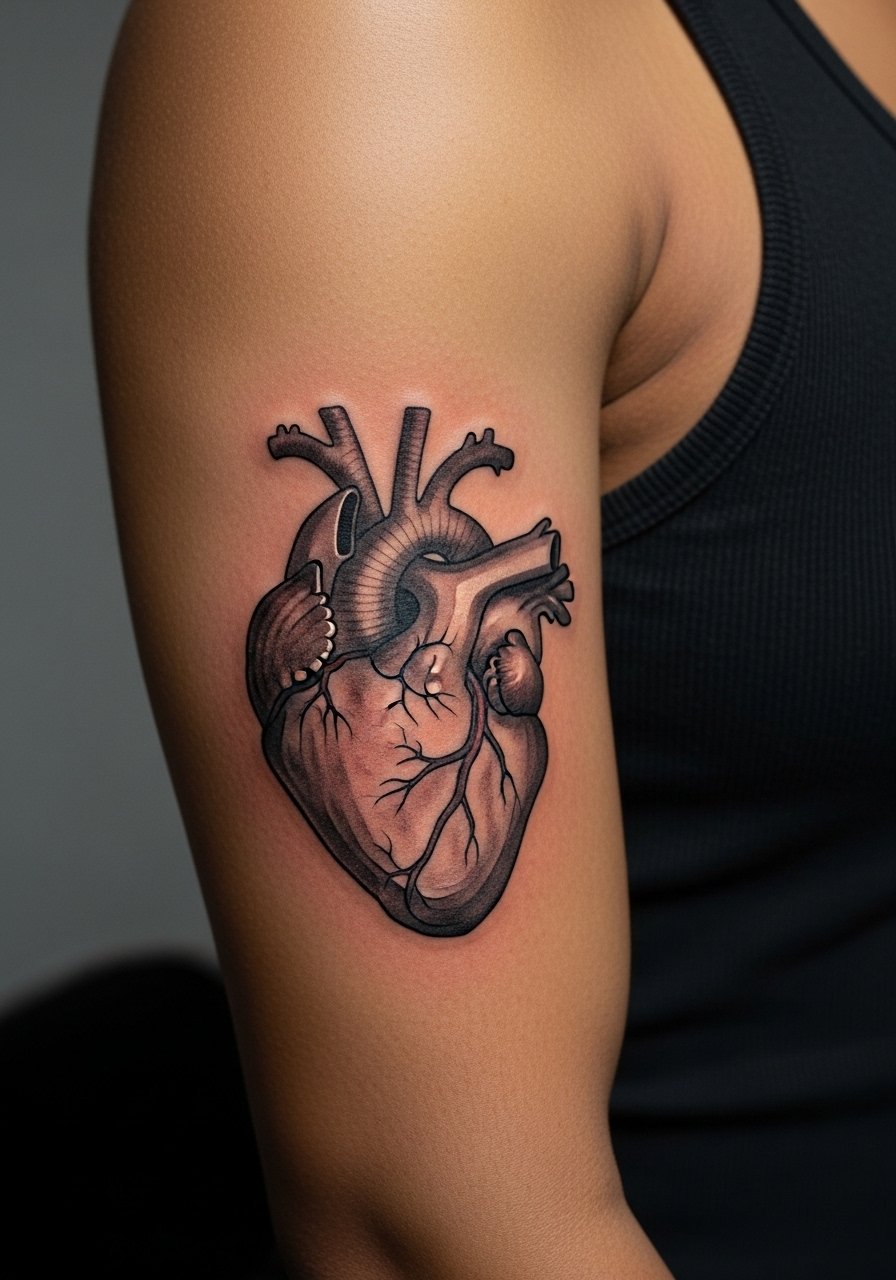
17. Small Micro-Realism Heart on the Upper Arm Near the Shoulder
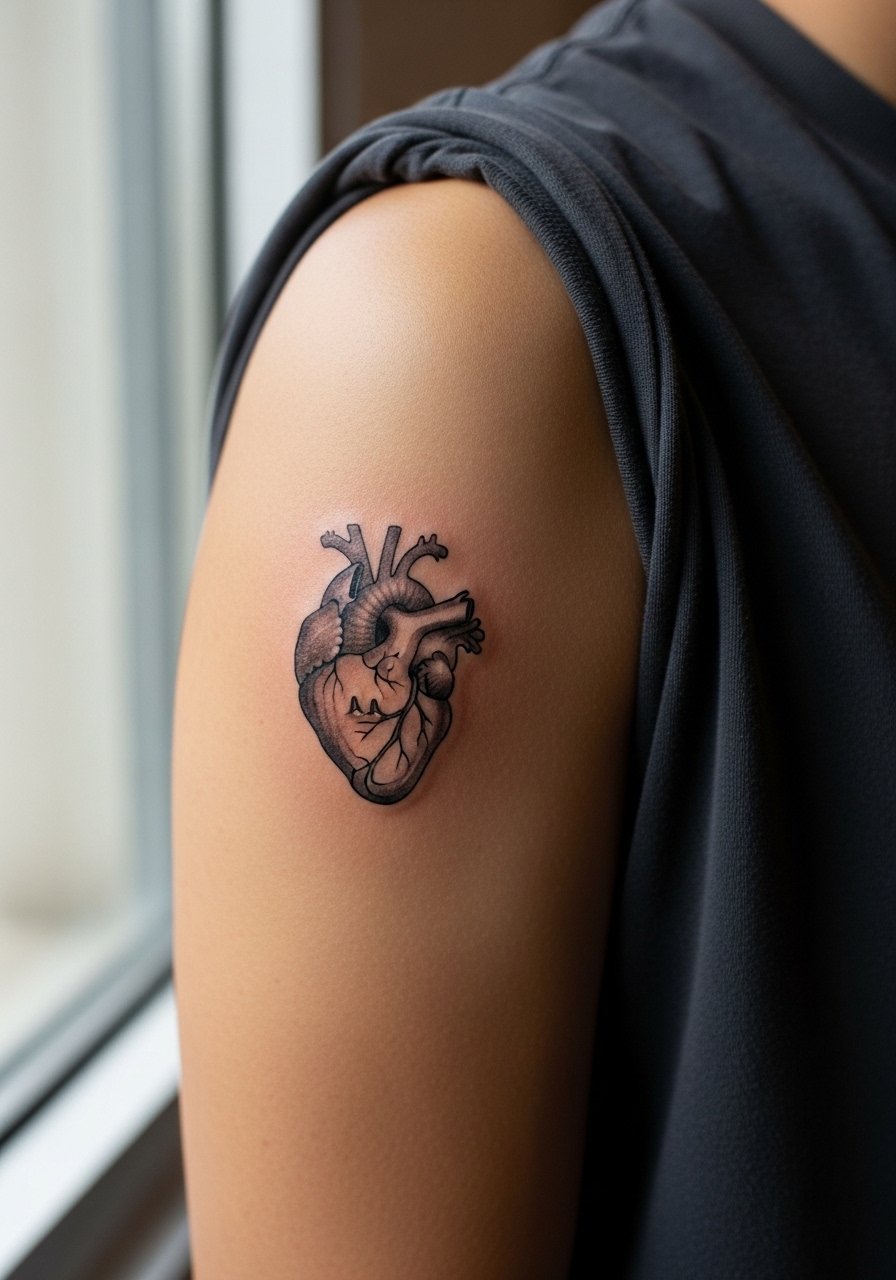
Upper arm micro pieces combine easy visibility with a friendly aging profile because the area avoids constant abrasion. Ask for the piece to be placed slightly off-center on the deltoid so muscle movement does not distort the tiny textures. Sessions are short and usually one sitting. A frequent error is choosing micro-realism too small for the viewing distance you want. Scale up slightly if you plan to show the piece from across a room.
Frequently Asked Questions
Q: Will fine line anatomical hearts blur faster on wrists and fingers than on forearms or ribs?
A: In my experience yes, wrists and fingers blur faster because of constant washing and friction. Forearms and low-friction chest areas usually hold detail longer. If you love fine line on a high-motion spot, ask for a slightly heavier line weight and plan a touch-up between year one and three.
Q: Do watercolor anatomical hearts need different aftercare than black and gray pieces?
A: The basic aftercare steps are similar but watercolor relies more on gentle handling early on because the lighter pigments can migrate and wash out with too-aggressive scrubbing. Keep the area out of direct sun, follow the shop's healing routine, and avoid exfoliating the area for at least a month.
Q: How do I choose between fine line and bold blackwork if I have darker skin?
A: For darker skin high-contrast blackwork or neo-traditional saturation typically reads clearer in photos and at a distance. Fine line can work, but talk candidly with the artist about contrast and spacing during the consult. Ask to see healed examples on similar skin tones.
Q: Is the ribcage a bad place for detailed anatomical shading because of breathing and movement?
A: It depends on scale and technique. Some artists avoid ultra-fine shading there because the skin moves and breathes. Other artists use slightly stronger line weight and spacing to compensate. Ask where they fall in the two-camp debate and request a placement mockup before committing.
Q: What should I wear to a collarbone or sternum session to make access easy and protect the area afterward?
A: Wear a loose button-down or a strapless top that can be shifted without rubbing the tattoo after the session. For the collarbone try a loose tank top that you can pull aside easily while keeping the rest of you covered.
