
Fine line Y2K looks are everywhere online, but the reality is that what trends on a feed is not always what holds up on skin. I have seen tiny stars and butterflies go from crisp to blurry faster than people expect, and I have also seen smart spacing and the right placement keep a design readable for years. Below are 21 delicate Y2K tattoo ideas with what to ask for and how to wear them so they age well.
1. Fine Line Daisy Chain on Outer Wrist
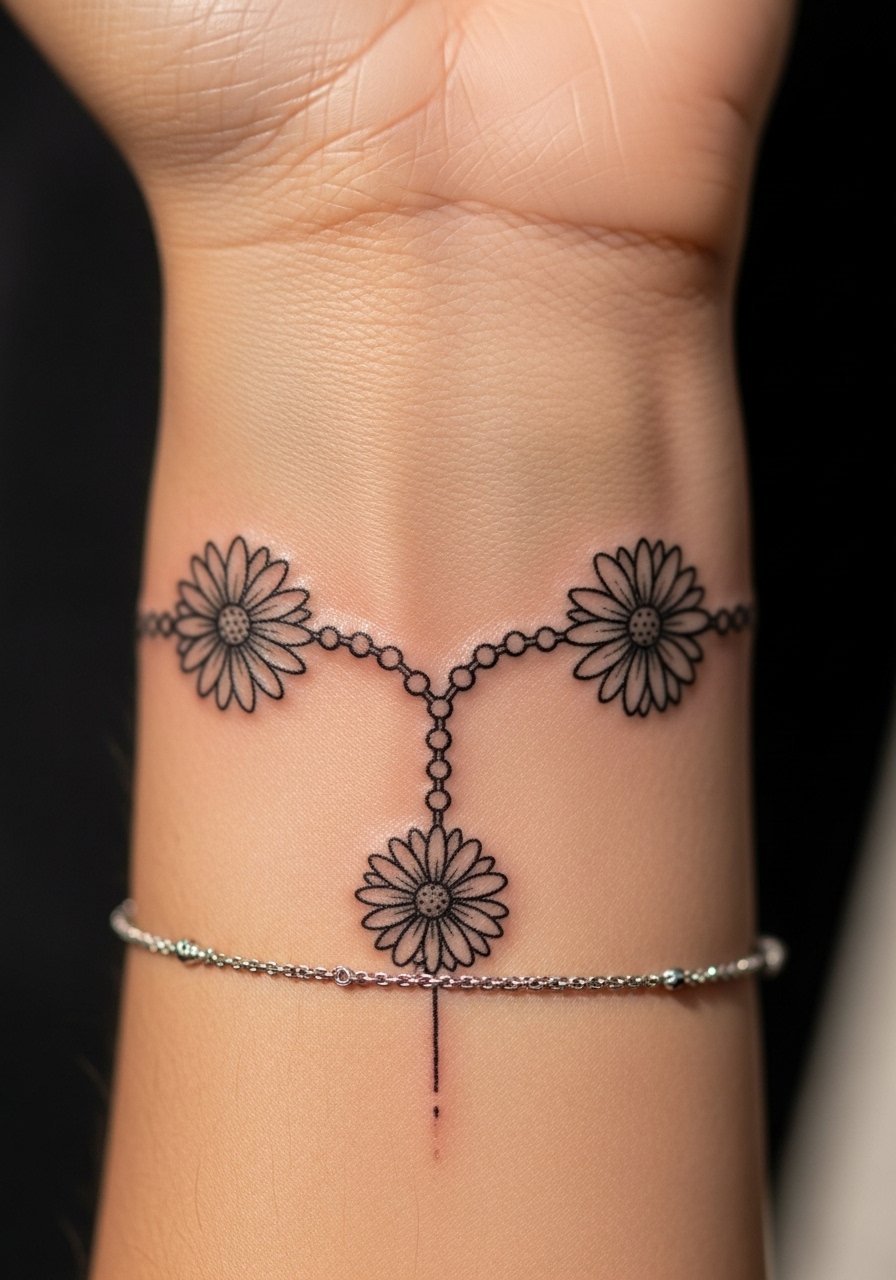
I recommend this when you want something readable and easy to hide with long sleeves. Tell your artist you want single-needle linework with slightly spaced petals so the dots do not merge over time. A common mistake is asking for microscopic petals that blur into a gray block after a few years. Expect a 30 to 45 minute session on most wrists and mild soreness while typing the first day. Pair it with stacked dainty bracelets or a thin watch so the design looks intentional. Wear a loose button-down shirt to the session so the artist has clear access.
2. Tiny Celestial Trio Behind the Ear
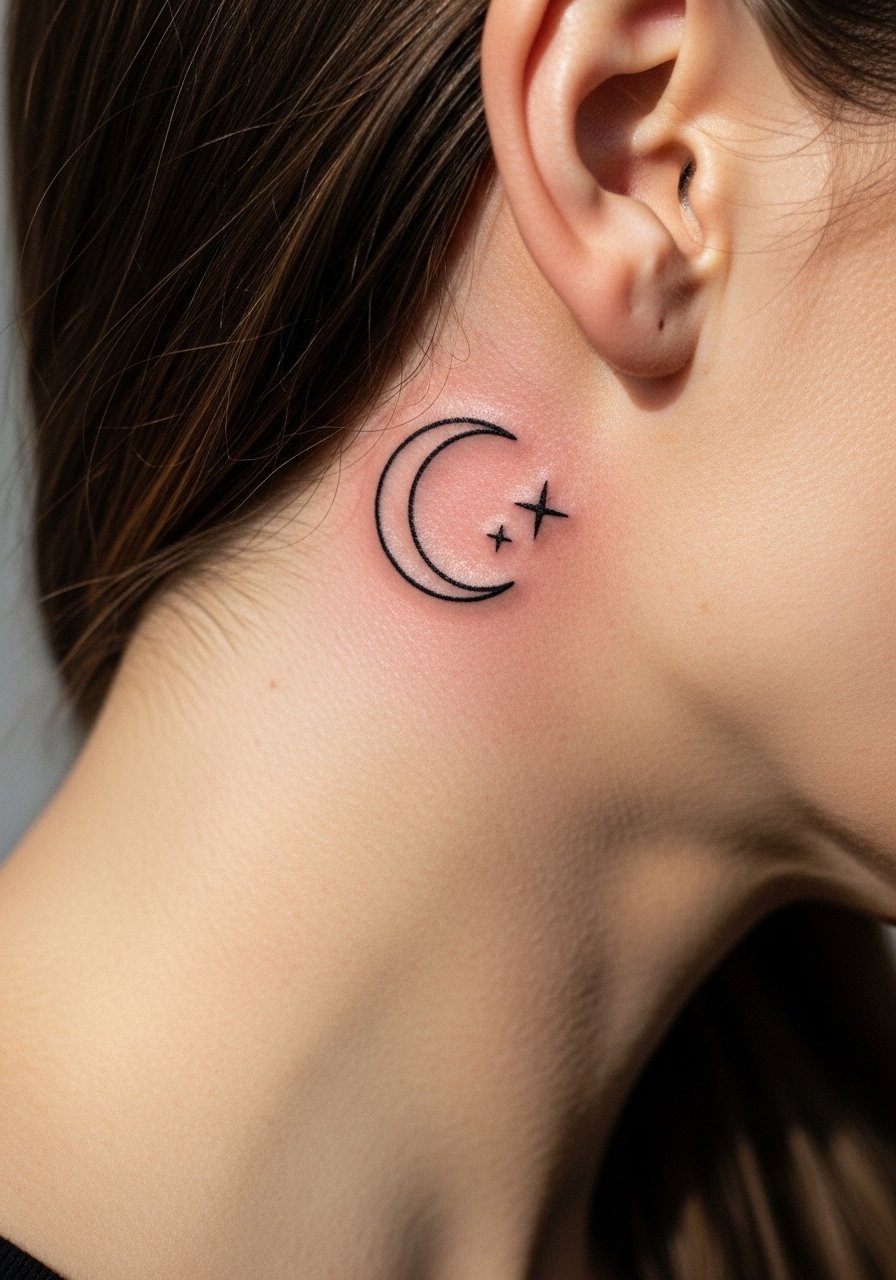
Fair warning, behind the ear can be fiddly. The area moves with hair and sleep, so ask for slightly bolder single-needle lines so the moons and stars keep shape as they settle. One camp of artists avoids fine line here because the skin is thin and lines can fade quickly. The other camp says careful depth and spacing make it fine. Ask your artist which camp they follow. Session time is short, under 30 minutes, and pain is low to moderate. For showing it off, try a short bob or a half-up style and slide on a thin chain pendant necklace that sits near the jawline.
3. Micro Butterfly on the Ankle
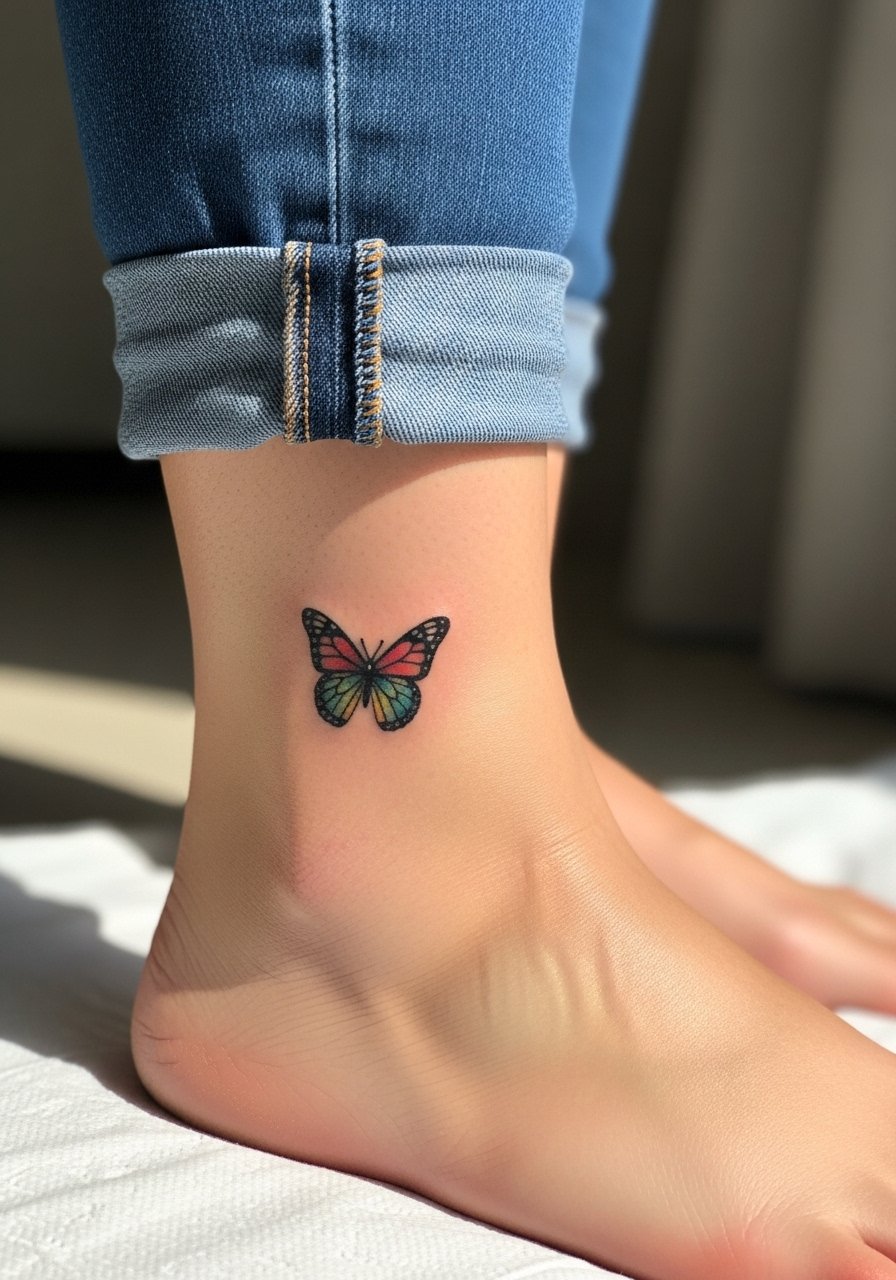
This classic Y2K symbol reads best with a little color to keep the wings distinct against skin. The big mistake is packing too many small details into the wings. Ask for simple color blocks and a clear outline to reduce touch-up needs. Ankle work bangs the list for friction from socks and shoes, so expect a touch-up sooner than a forearm piece. The session is usually under an hour and the pain is moderate. Pair the tattoo with sandals or strappy sandals when you want to show it off, and bring loose pants to the appointment so you can roll them up comfortably.
4. Tiny Script Along Collarbone
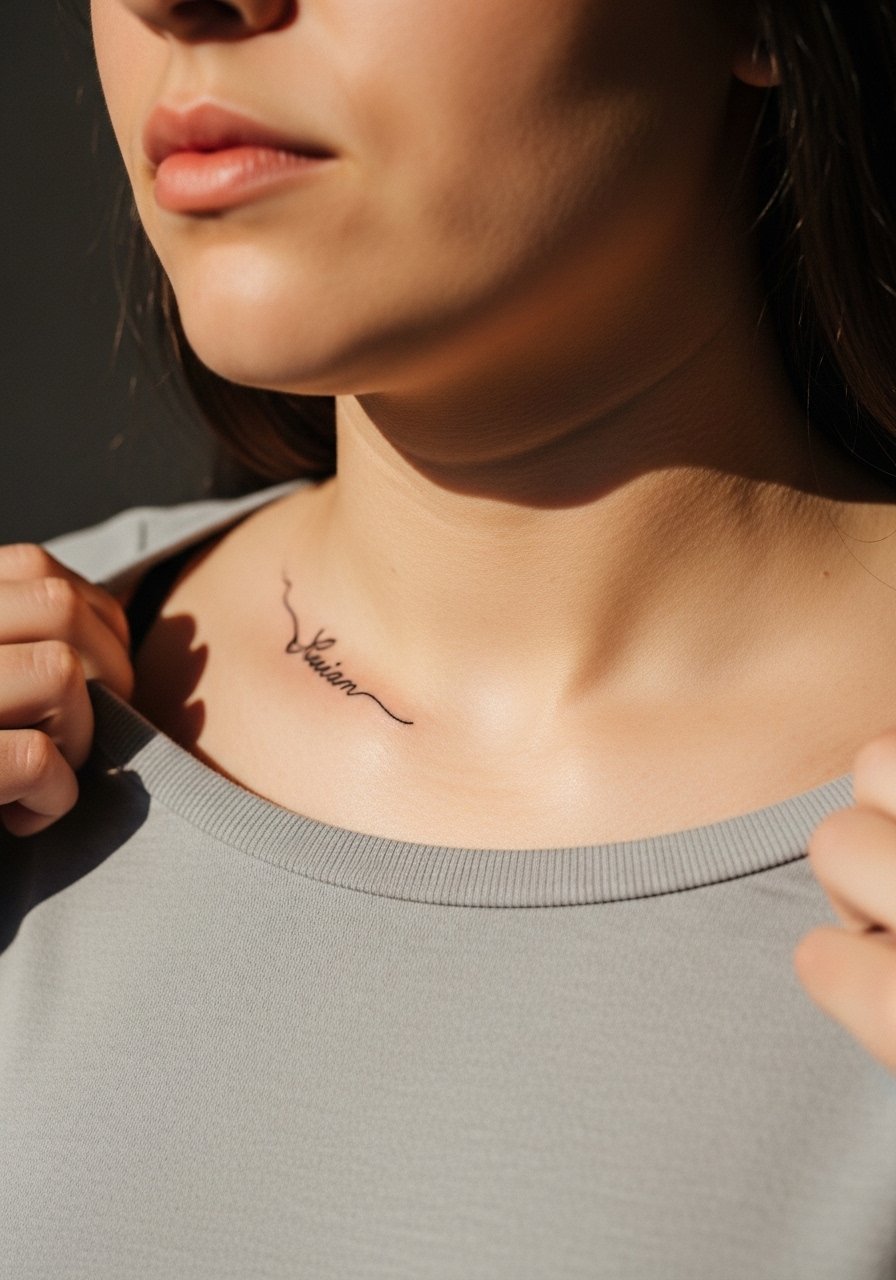
A collarbone script reads elegant when it sits parallel to the bone and uses open letter spacing. A common error is asking for dense cursive that later becomes a smudge after sun exposure. Tell your artist to space letters and avoid hairline flourishes. This placement can sting more than forearms because the skin is thin, so expect higher sensitivity during the session. For the session wear, bring a wide-neck shirt so the artist can expose just the area without you being uncomfortable. For evenings out, a slip dress or boat-neck top frames the script without competing.
5. Mini Tribal Band on the Upper Arm
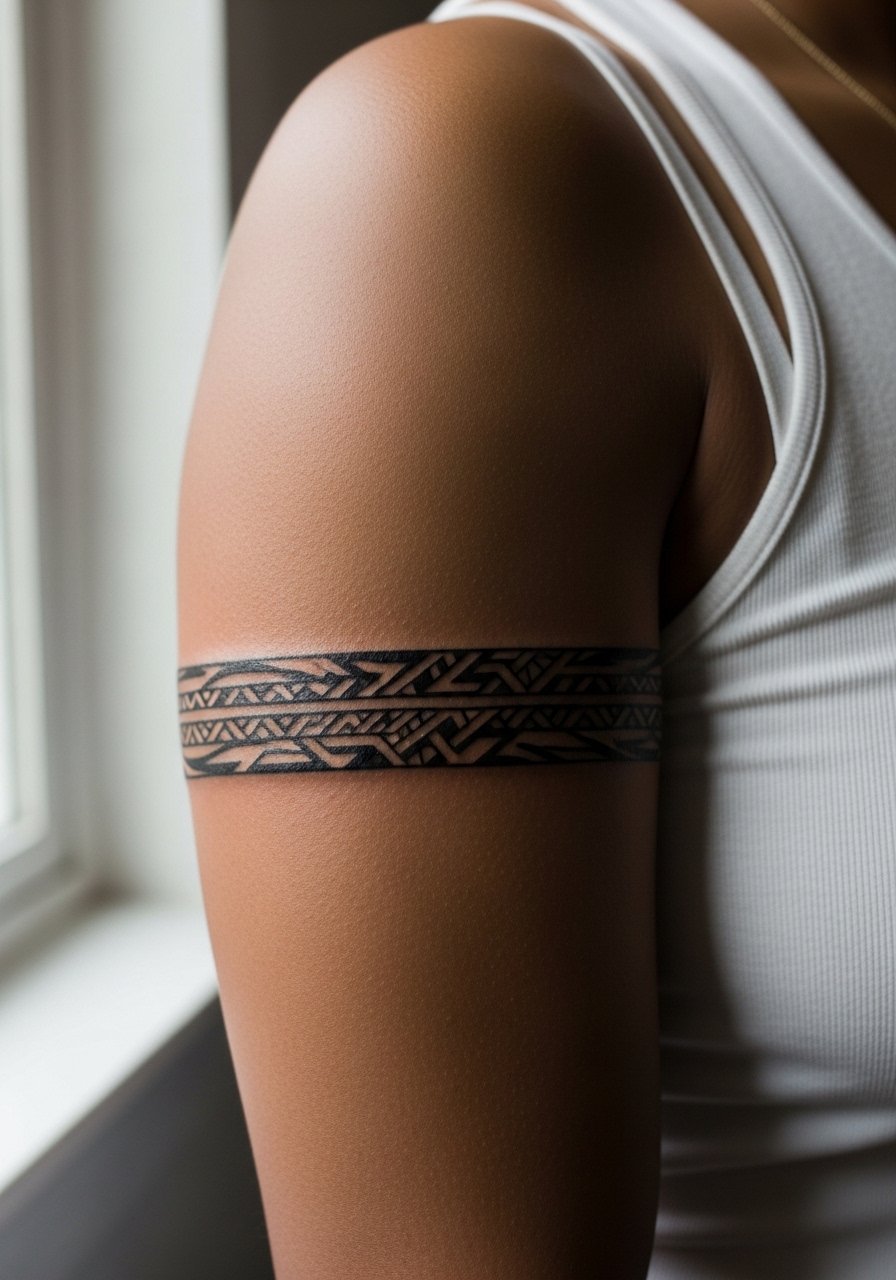
Tribal motifs were a 2000s staple and they still work if you modernize the spacing. The biggest mistake is tracing dense 2000s flash patterns and shrinking them too small. Ask for open negative space between motifs so the band keeps definition as it ages. Upper arm sessions are forgiving on pain and often finish in 45 to 90 minutes depending on complexity. This placement pairs well with sleeveless tops and a racerback tank for show-off moments. If the pattern has cultural origins, mention respect and ask your artist about appropriate variations.
6. Patchwork Mini Cluster on the Outer Forearm
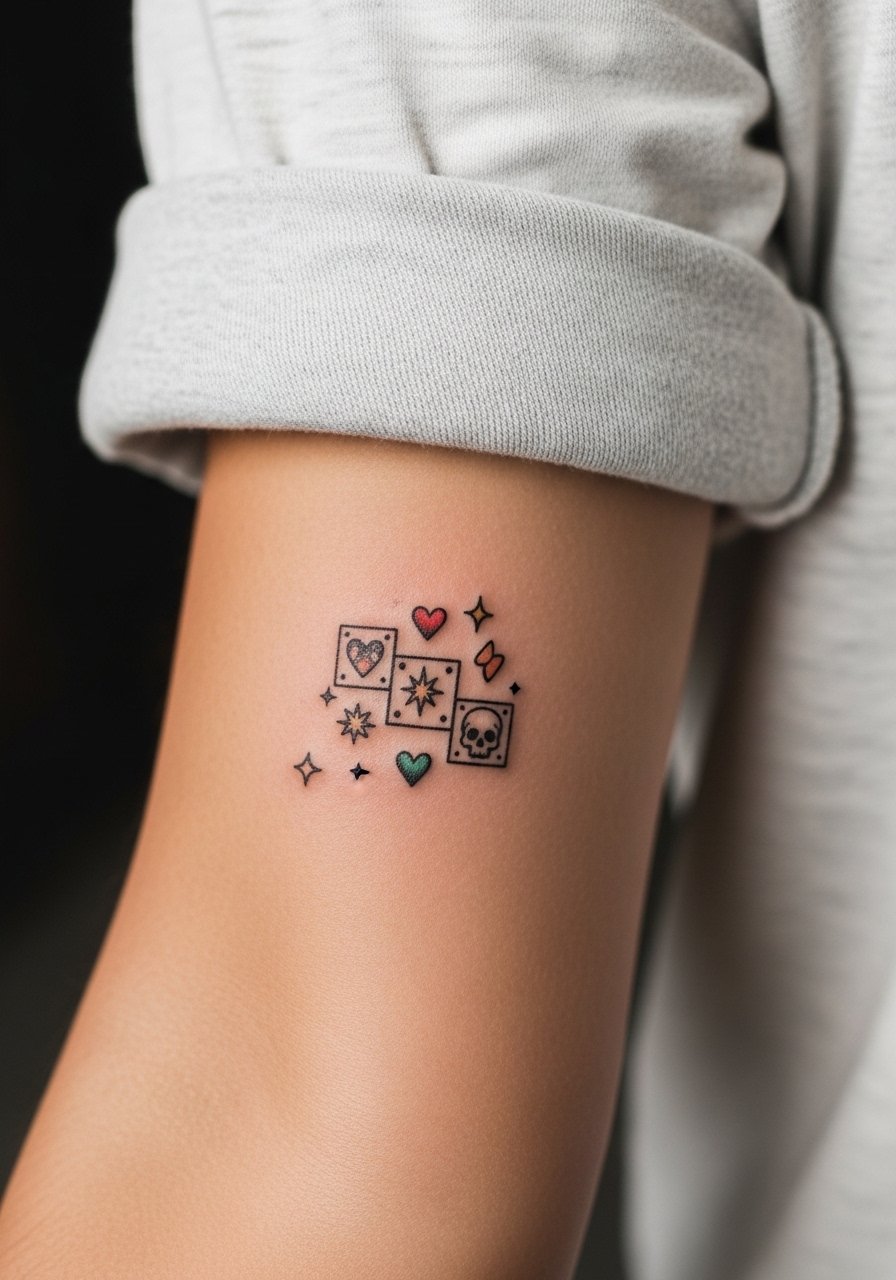
Patchwork clusters let you add pieces over time and still read cohesive if you plan the negative space. Tell your artist you want a thematic palette and consistent line weight so new additions do not look tacked on. Rushing to fill every gap is a common error that makes the sleeve look busy and forces earlier touch-ups. Forearm work is lower on the pain scale and shows off well with rolled sleeves. For the session, wear a loose button-down shirt you can roll up. Expect multiple sessions over months if you scale this into a partial sleeve.
Studio Day Picks
The wrist and forearm pieces above need different prep than chest or ribcage spots, and these items smooth the session and the first week of healing.
-
Stencil transfer paper kit. Lets you preview the exact placement so small celestial clusters land where you actually want them.
-
Topical numbing cream. Applied before the session it eases wrist and rib sensitivity without altering linework when used as directed.
-
Thin protective film roll. Keeps ankle and finger pieces clean during the first week of friction from shoes and hand washing.
-
Fragrance-free gentle body wash. Cleanses healing areas without irritating the delicate single-needle linework.
-
Aquaphor healing ointment. Thin layers for the initial days help fine line pieces retain moisture without clogging the channels.
7. Micro Rosebud on Inner Wrist
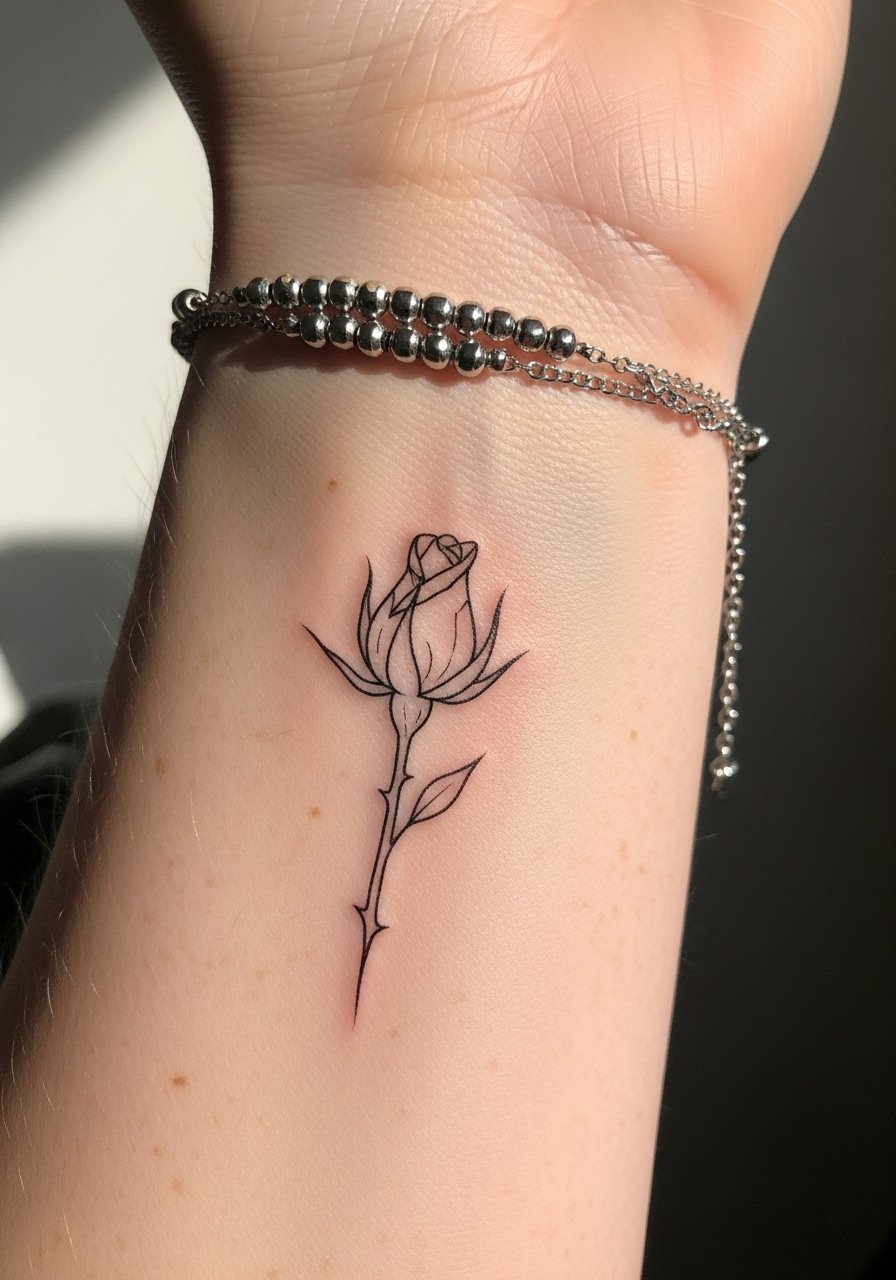
I've seen rosebuds shine on the inner wrist when artists give each petal room to breathe. The mistake is packing dots and tiny stipple shading into a space that moves and rubs against clothing. Tell your artist you want simplified shading and a clear outline so the bud stays legible. Inner wrist sensitivity is higher than outer wrist and the session will sting more, but it is often short. Pair this with stacked dainty bracelets or a minimalist watch when you want a dressed-up look for evenings. Plan for a touch-up at year two if you use a lot of washes in the shading.
8. Tiny Constellation Across the Side of the Finger
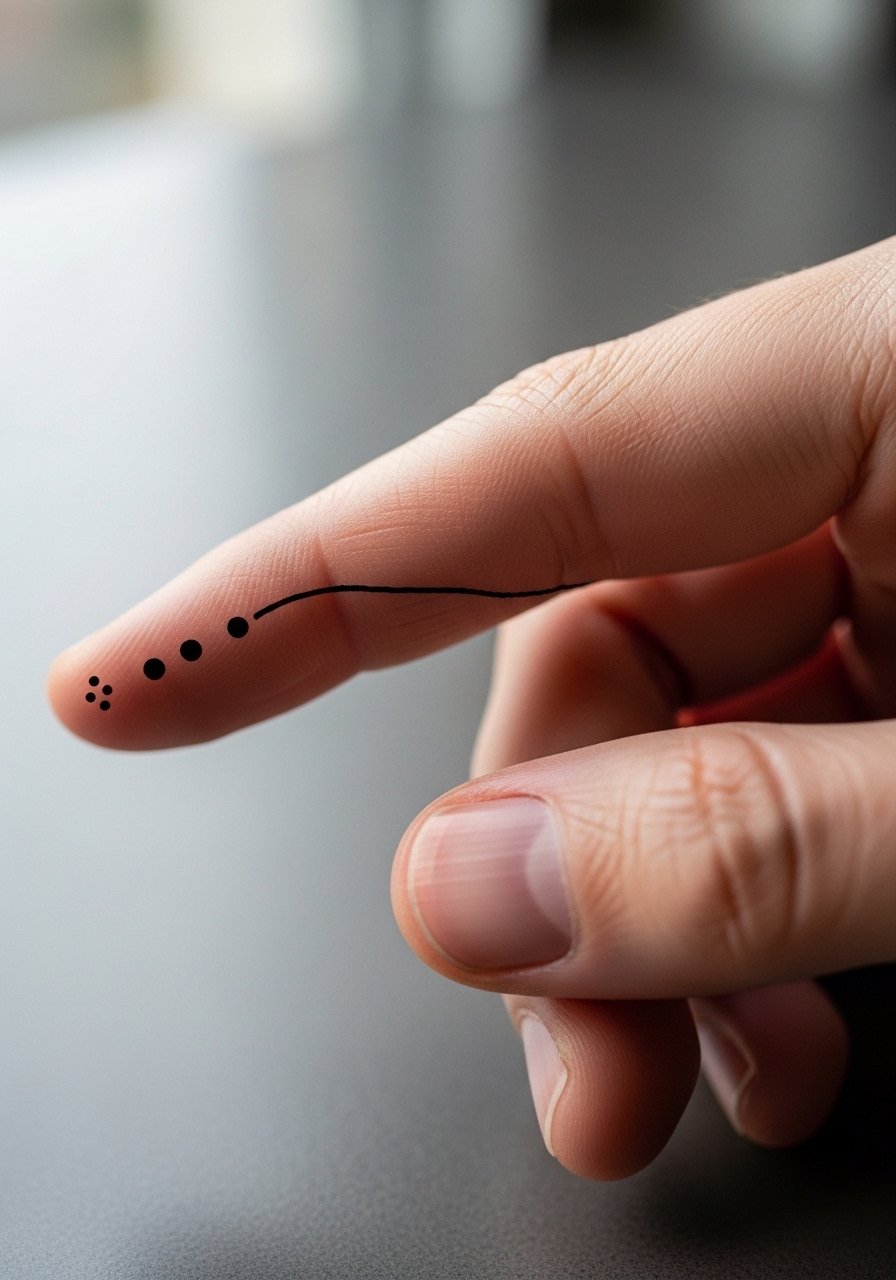
Finger work is a commitment. Small dots and lines here wear faster because of hand washing and friction. The common mistake is expecting finger microwork to last as long as forearm pieces. Ask your artist for slightly bolder dot placement and plan for touch-ups within one to three years. Sessions are quick but painful, and blowout risk is higher on the fat pad of the finger. For performers and people who type a lot, consider alternative placements. Keep the hand moisturized after the initial healing period to slow fading.
9. Delicate Butterfly Cluster on Shoulder Blade
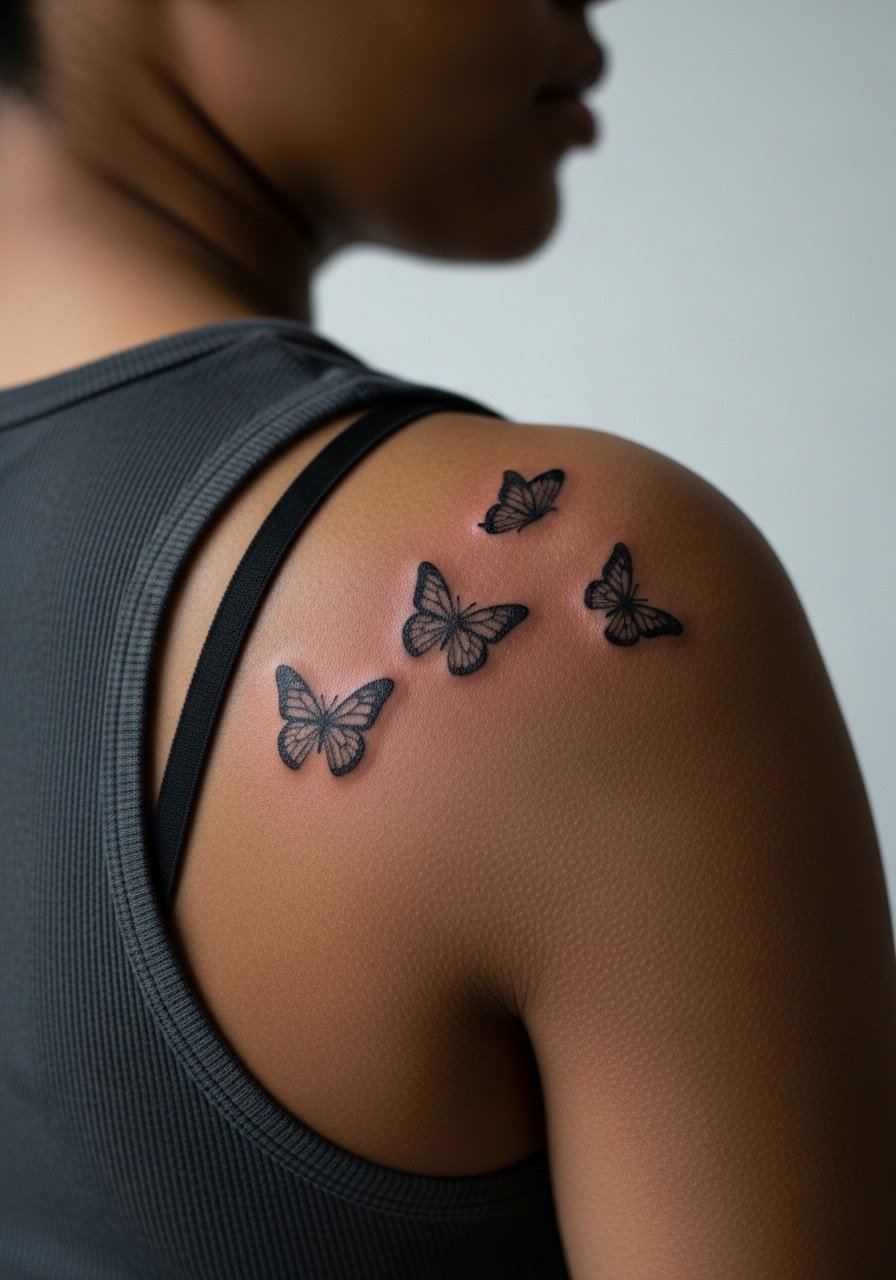
The shoulder blade survives movement well when designs have balanced spacing. A common version that ages poorly packs too many tiny antennae and spots. Ask your artist for simplified wing shapes and a consistent ink saturation plan. Shoulder blade sessions are moderate in pain and allow for 45 to 90 minute sittings. The placement pairs perfectly with open-back dresses or a slip dress for summer evenings. If you plan to expand into a back patchwork, discuss palette and negative space from the start.
10. Micro Skull on Side of Finger Near Knuckle
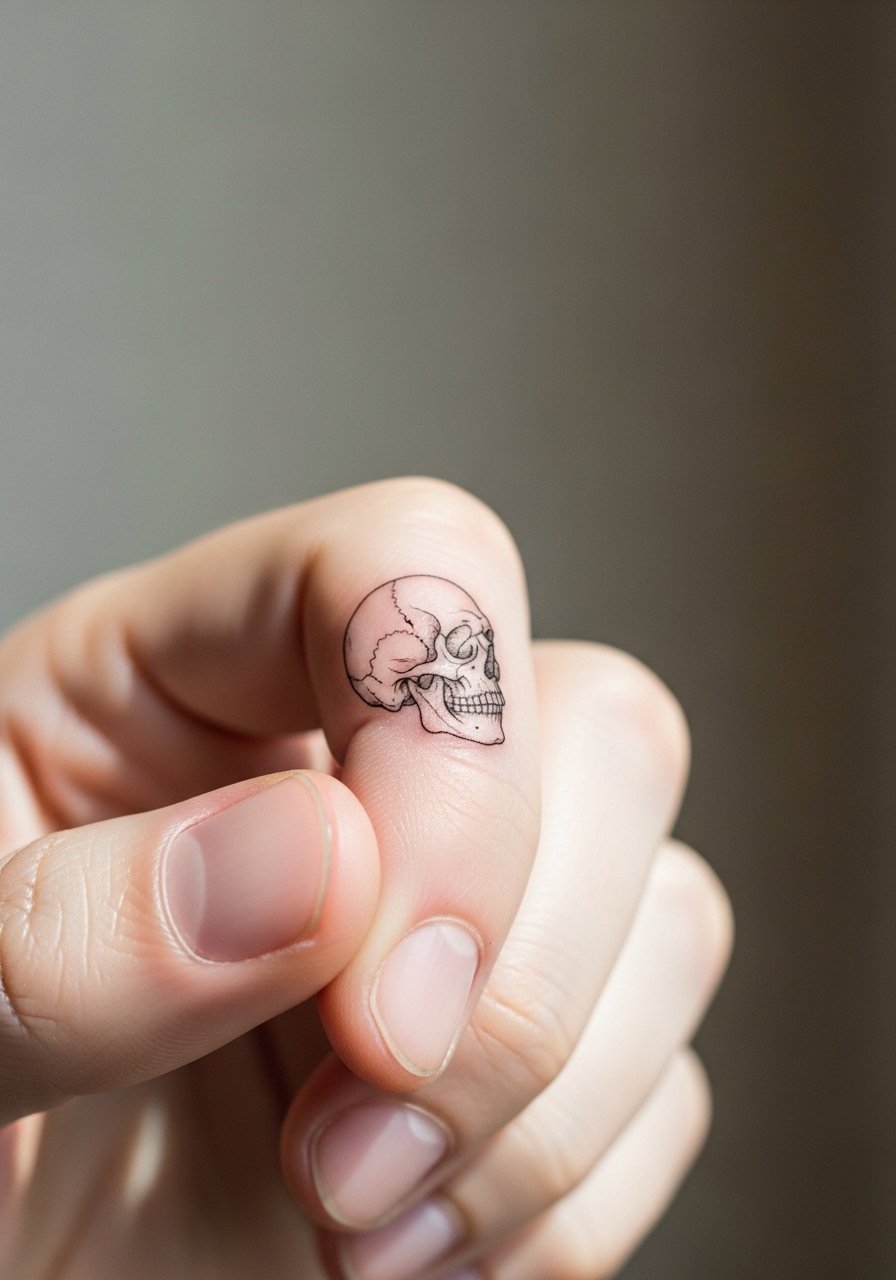
Knuckle-adjacent pieces are high wear zones. The biggest mistake is making the skull too detailed. Ask for bold contour lines and minimal internal detail so the shape remains readable. Expect sharper pain during the session and rapid fading from constant use. Budget for touch-ups or accept that the design will soften into a suggestion over time. If finger visibility is a concern for work, consider moving the motif to the inner wrist.
11. Minimalist Wave on Side of Ribcage
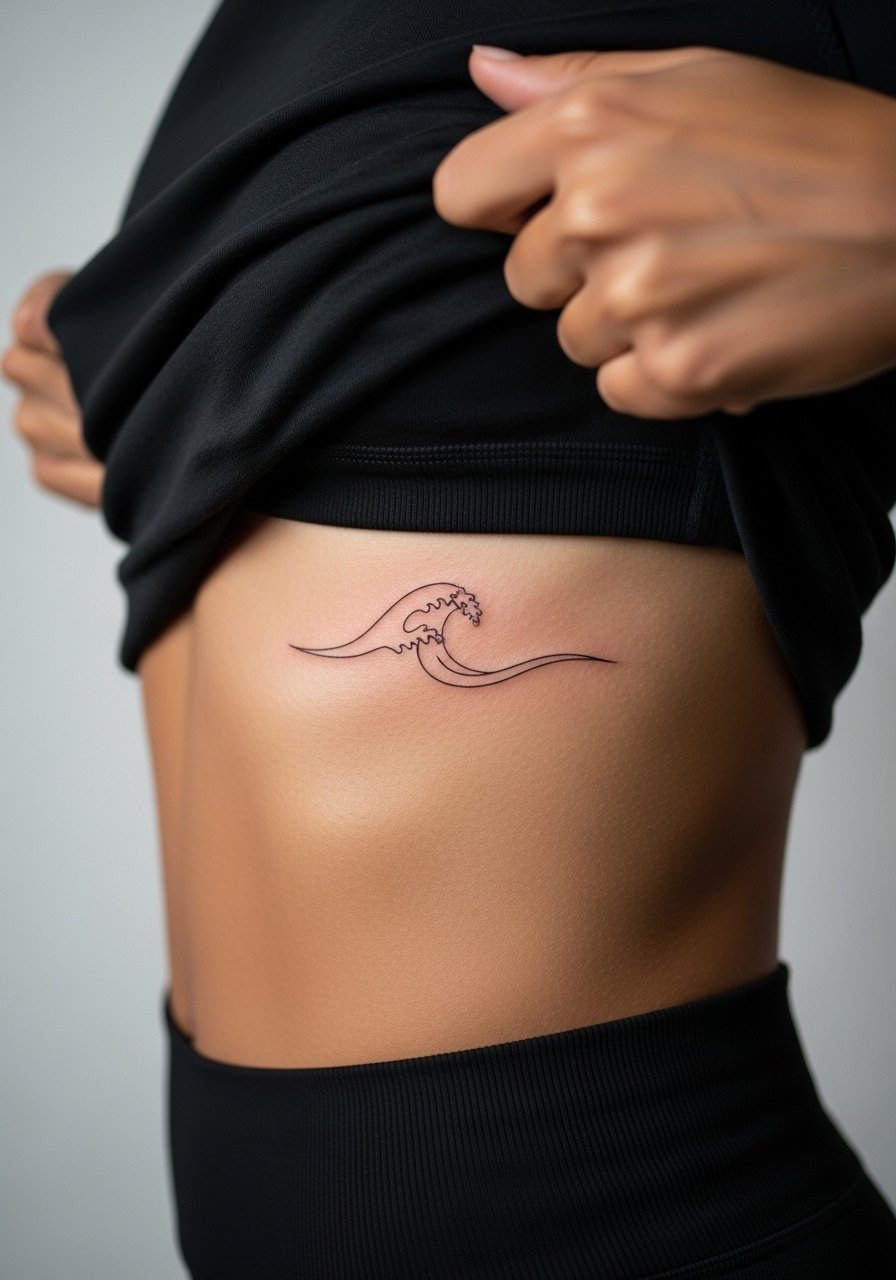
Ribcage pieces carry a reputation for sharp pain but striking payoff. Artists split on whether ultra-fine lines hold here. One camp says the skin stretch and breathing blur small lines. The other camp says spacing and needle depth can make it last. Ask your artist which approach they prefer and whether they recommend slightly thicker linework. Sessions take longer because of careful positioning, and aftercare needs gentle attention during healing. For the appointment, wear a cropped athletic top you can lift to reveal only the area.
12. Tiny Heart Near Ankle Bone
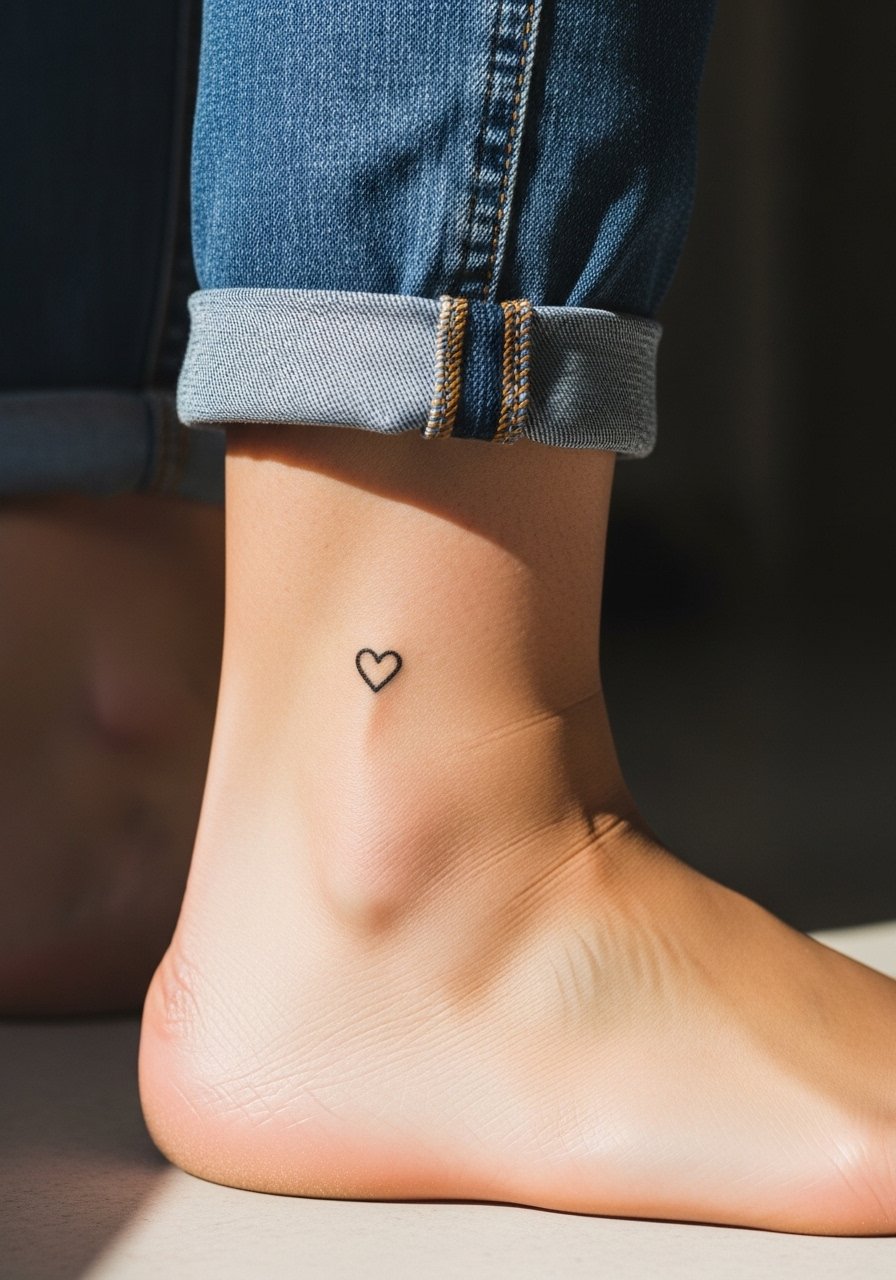
This pocket-sized heart ages like other ankle work and shares the same friction concerns from shoes. The common error is micro stippling inside the heart which can blur quickly. Ask your artist for a clean outline with minimal interior detail and expect touch-ups earlier than forearm work. Session time is short and pain is moderate. For showing it off, slip into sandals or roll up jeans. Keep in mind that ankle tattoos often need gentle sunscreen after healing to slow fading.
13. Tiny Geometric Sun on Upper Thigh

Thigh skin handles fine line geometry better than hands or fingers, so designs stay crisper longer here. The error is cramming too many concentric lines into a tiny sun which creates a blur as the skin moves. Ask for slightly more spacing in the rays and to avoid dense dot shading. Sessions are comfortable for most people and last around 30 to 60 minutes. For the session, wear high-waisted shorts that you can shift to expose only the working area. Thigh pieces are also easy to hide for work.
14. Micro Script on Side of Ribcage Below Armpit
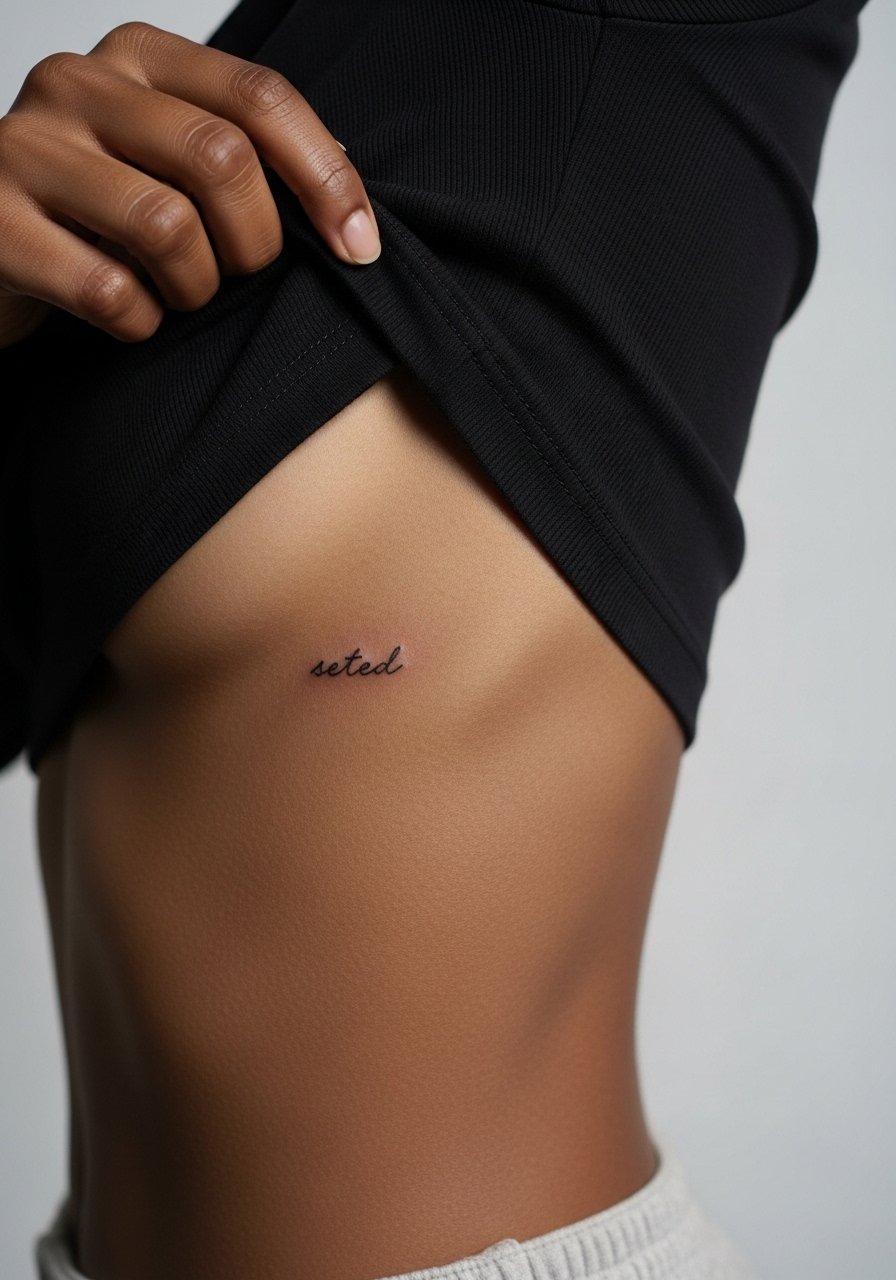
Side rib scripts can sit beautifully when letter spacing is generous. Dense cursive that looks great on the screen often melts into an unreadable line after healing. Tell your artist to space letters and avoid super thin flourishes. Pain is higher and breathing affects the session, so expect breaks. For sensitivity and access, wear a cropped top you can lift slightly. Discuss touch-up timelines with your artist because side ribs can need minor work after a year or two.
15. Tiny Anchor Behind the Ear Lobe

This is a discreet spot that reads best if you keep the motif simple. A frequent mistake is intricate anchor rope detail that disappears after settling. Ask for a silhouette anchor and slightly heavier outer line for longevity. Sessions are short and sensitivity is low to moderate. For showing it partly, wear hair up in a loose bun. A simple hoop earring or small hoop earrings pairs nicely without competing for attention.
16. Minimal Planet and Ring on Inner Forearm
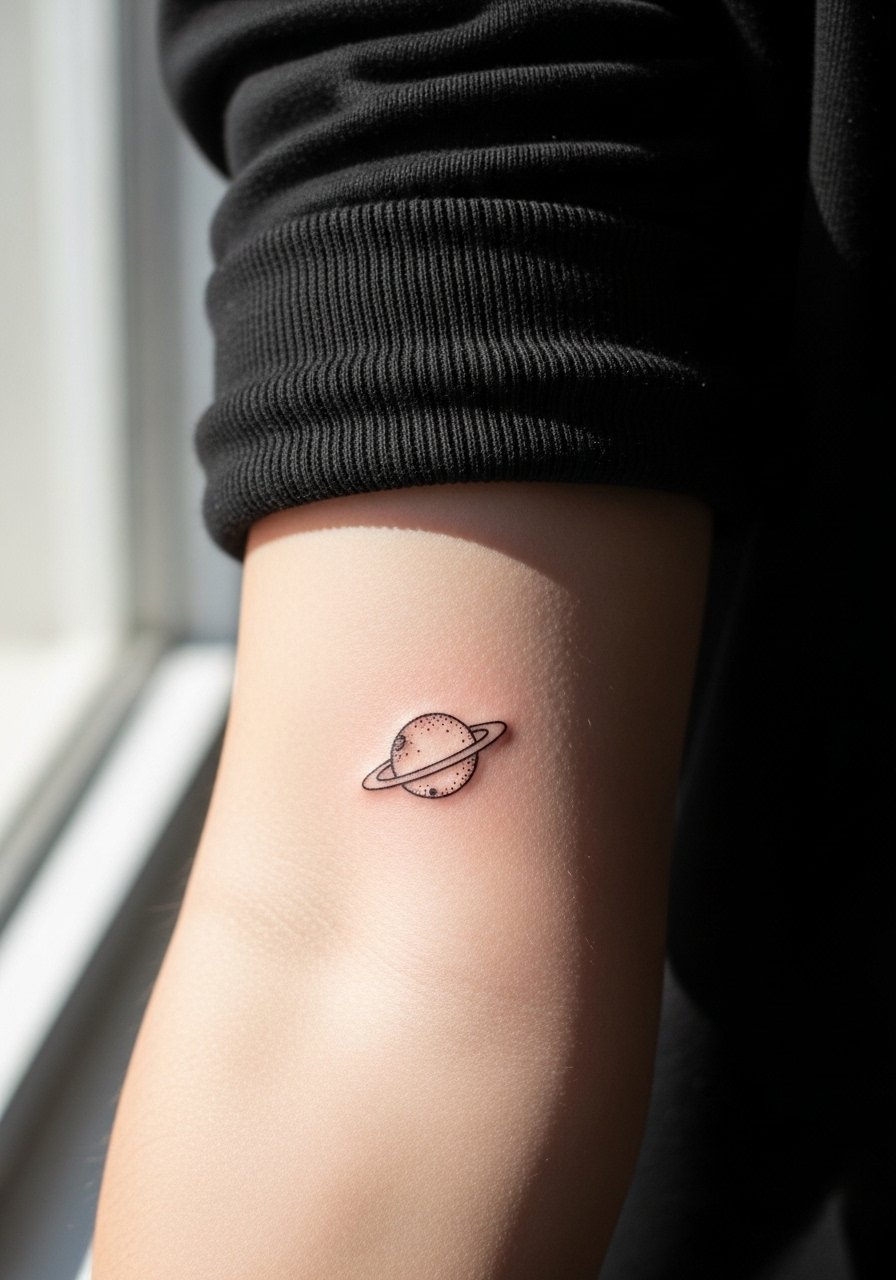
Inner forearm is forgiving and shows off delicate space motifs well. The mistake is asking for dense dot shading inside the planet which can gray out when healed. Ask for measured stippling and a clear ring contour. Sessions are comfortable and run 30 to 60 minutes depending on shading. For showing it off, roll sleeves and pair with a minimalist bracelet. Expect a touch-up in a few years if you expose the piece to a lot of sun.
17. Tiny Keyhole on Side of Hand

Side-of-hand work fades quickly because of frequent washing and sun exposure. The common error is over-detailing tiny internal lines that vanish. Ask your artist for a bold silhouette and minimal interior marks. Sessions are painful and healing requires avoiding friction. If career considerations matter, remember hand tattoos remain visible. For the session, bring gloves or a soft sleeve so the area stays protected when you travel home.
18. Micro Anchor on Sternum Edge
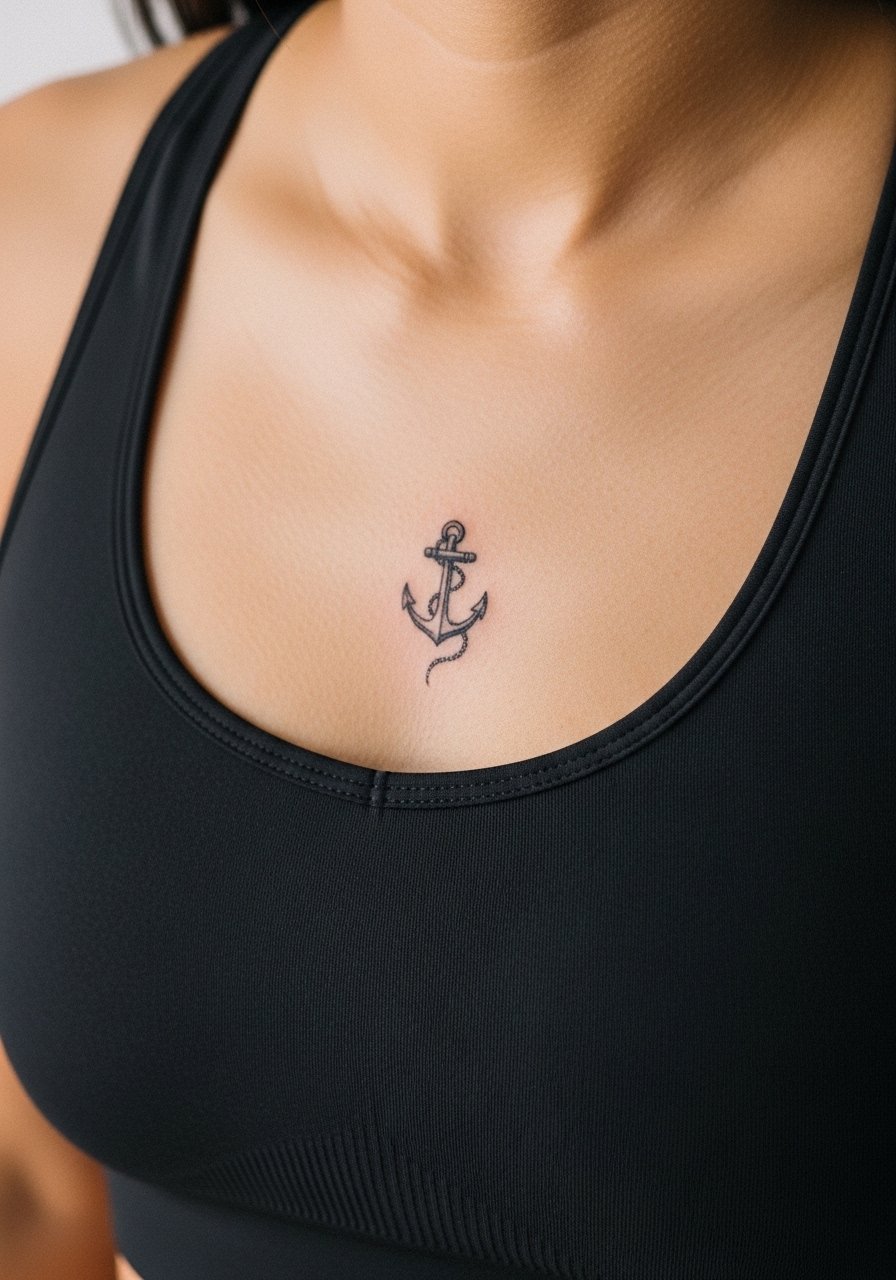
Sternum placements can be sensitive and require trust in the artist. The error is requesting ultra-fine detail in a moving zone without discussing how depth changes with breathing. Name the exact font or silhouette you want at consultation and ask if they recommend a slightly stronger line. Sessions are stingy and posture matters for artist access. Wear a fitted sports bra to the appointment so the artist can reveal just the area and keep you comfortable.
19. Tiny Crescent Moon Behind Collarbone
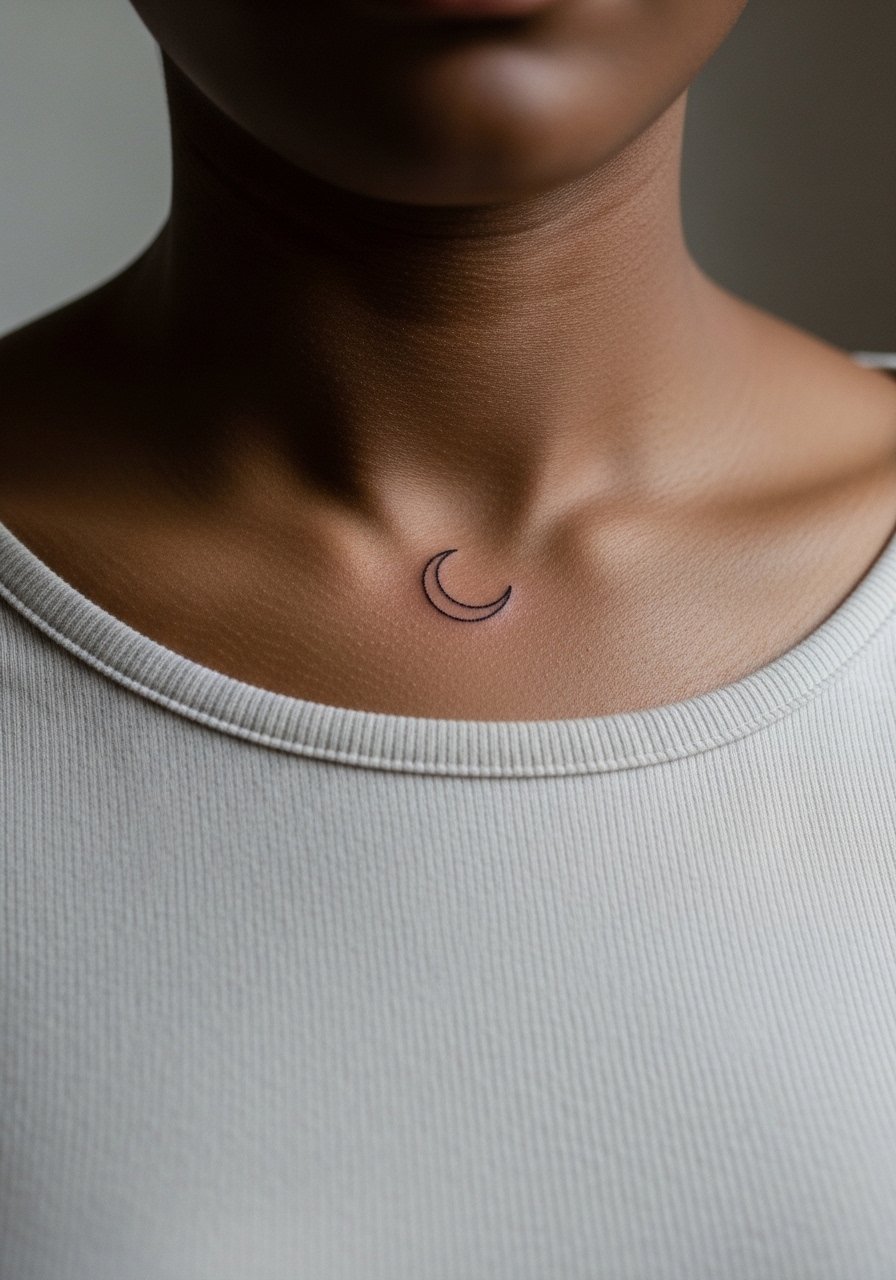
This placement is subtle and photographs well with necklaces. The common mistake is asking for ultra-thin crescents that soften into invisible marks after sun exposure. Ask for slightly more weight on the outer curve. Expect higher sensitivity because the collarbone sits close to bone. For showing it off, layer a thin chain necklace to sit just below the moon.
20. Minimalist Palm-Sized Botanical on Calf
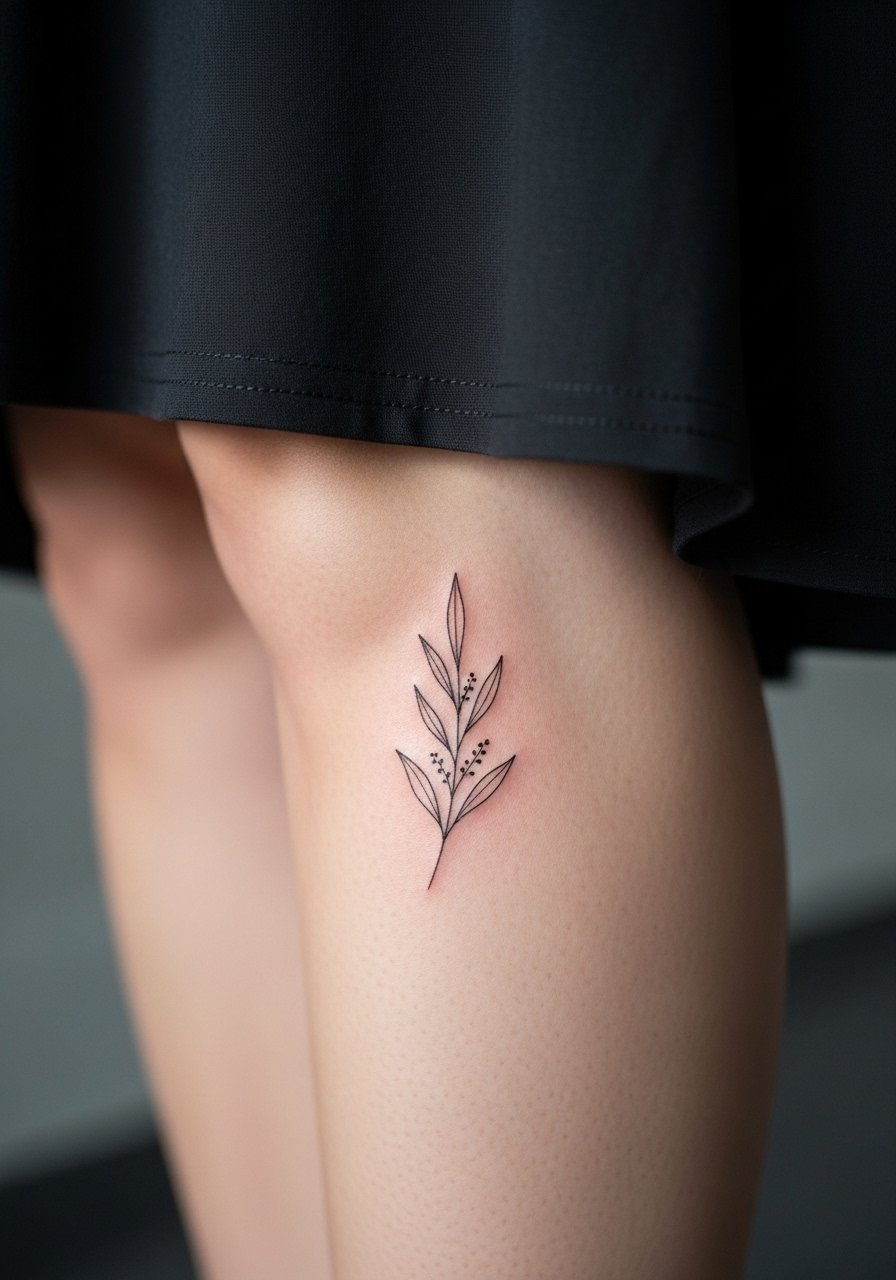
Calf skin tolerates fine line and subtle shading well, making it a safe spot for slightly larger Y2K botanicals. The mistake is packing a dense bouquet without breathing room. Ask for a vertical sprig with open negative space so the leaves read at distance. Sessions are usually low to moderate pain and can be completed within an hour. For the session, wear a skirt or shorts you can shift for access. Calf pieces age predictably and need less frequent touch-ups than hands.
21. Tiny Daisy Ring Around Finger
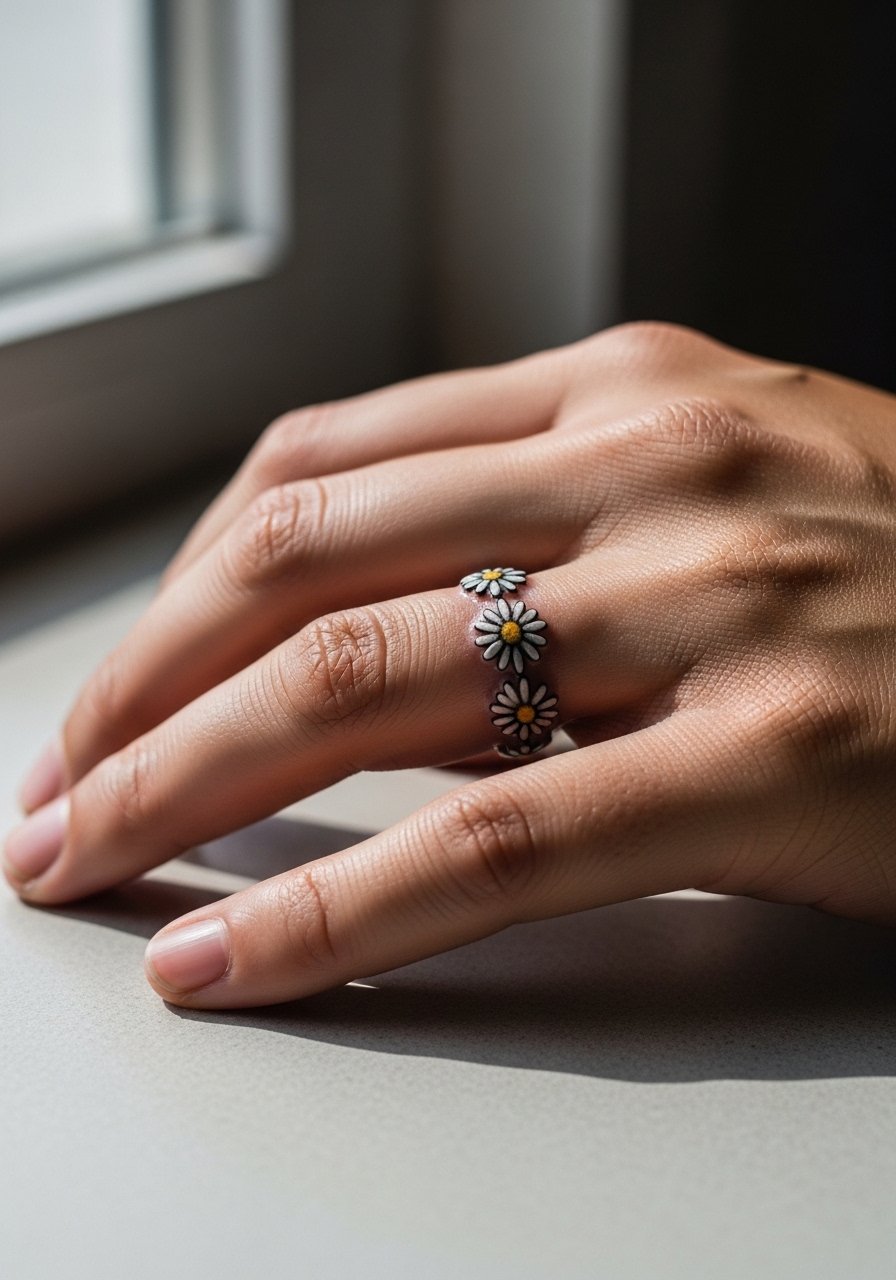
Finger rings are visible and wear fast. The most common mistake is requesting tiny petals and thin stems that flatten with hand use. Ask for simplified petals and slightly bolder outlines to maintain the ring shape. Expect the session to sting and plan for touch-ups within a year. If you want a forever ring effect, consider placing it on the inner finger band where friction is lower.
Frequently Asked Questions
Q: Do fine line Y2K tattoos fade faster than traditional bold work?
A: In my experience fine line pieces tend to lose crispness sooner because the lines are thinner and there is less pigment to withstand skin movement and sun exposure. That does not mean they are a bad choice. Placement and spacing matter more than style alone, and a planned touch-up at year two to three keeps the look fresh.
Q: What should I wear to a ribcage or sternum session to stay comfortable?
A: Wear a fitted sports bra or a cropped top you can lift slightly so the artist can reach the area without you being cold. I often tell people to bring a loose hoodie for the trip home and to avoid garments that rub the fresh work.
Q: How do I find an artist who specializes in delicate Y2K linework without naming specific accounts?
A: Search tattoo directories and community hashtags, then vet portfolios for healed photos with clear linework over time. Use location tag searches and community forums to find recent client photos. Ask about touch-up policies during consultation.
Q: Will tiny tattoos on fingers or hands affect job prospects?
A: Some industries remain conservative about visible hand tattoos and others do not. Think about your career trajectory and whether you want a visible reminder every day. If you need to hide it, choose inner wrist or thigh placements instead.
Q: Can I get a protective top to wear after an ankle or wrist tattoo while I travel home?
A: Yes, thin protective film or breathable bandages help during the first 24 to 48 hours. For appointment-day clothing, a loose button-down or drawstring pants make the session easier. If you want a quick option, try a loose drawstring linen pant.
