
Fine line whale shark tattoos are everywhere on saved boards right now, but the pieces that still look crisp after a few summers are usually the ones planned for aging, not the ones that photograph best in studio light. Expect to ask about spacing, dot density, and touch-up timing during the consult. Start with designs that suit your skin tone and lifestyle and the list below will take you from tiny wrist silhouettes to a full sleeve foundation that can actually last.
1. Dotwork Whale Shark Mandala on Forearm
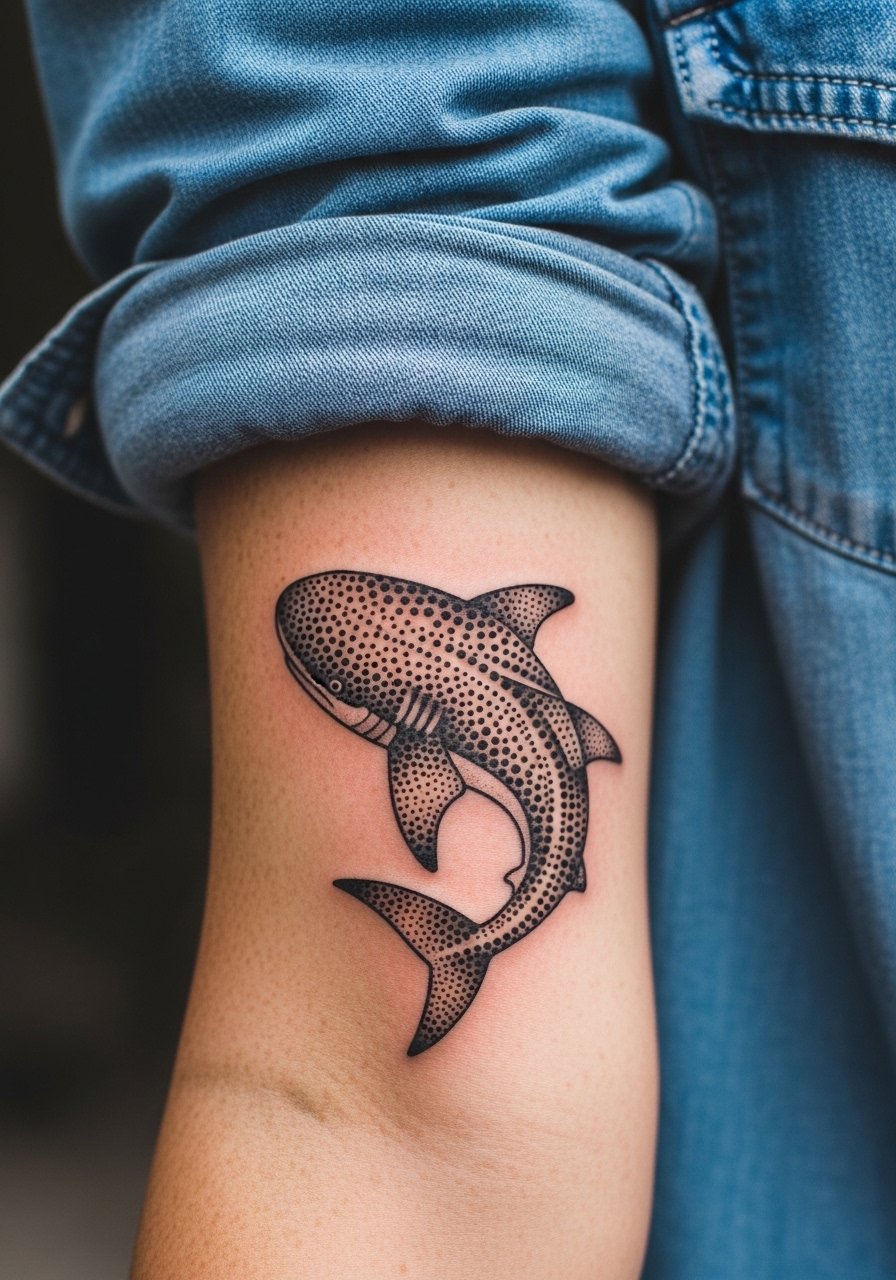
I recommend this when you want geometry and a marine motif that reads from across a room. Tell your artist you want expanded negative space between the mandala nodes so the dense stipple does not merge in two years. Session time is typically two to three hours and forearm pain sits around a four out of ten. Common mistakes are cramming too much mandala detail into a small patch and expecting it to stay crisp. This version ages better because the dot gradients are spaced for touch-ups, and you can show it off with a rolled cuff chambray shirt on casual days.
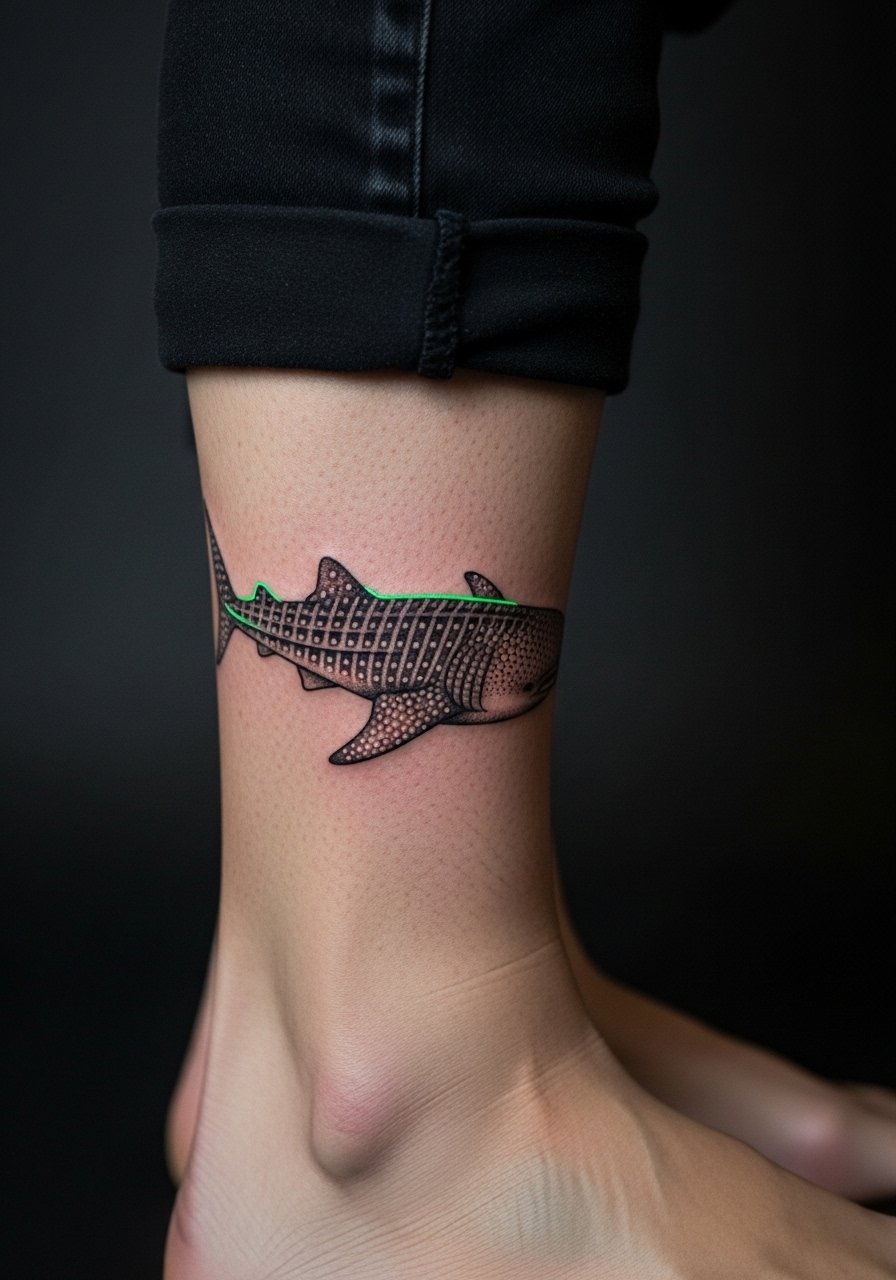
2. Geometric Whale Shark Outline on Ankle
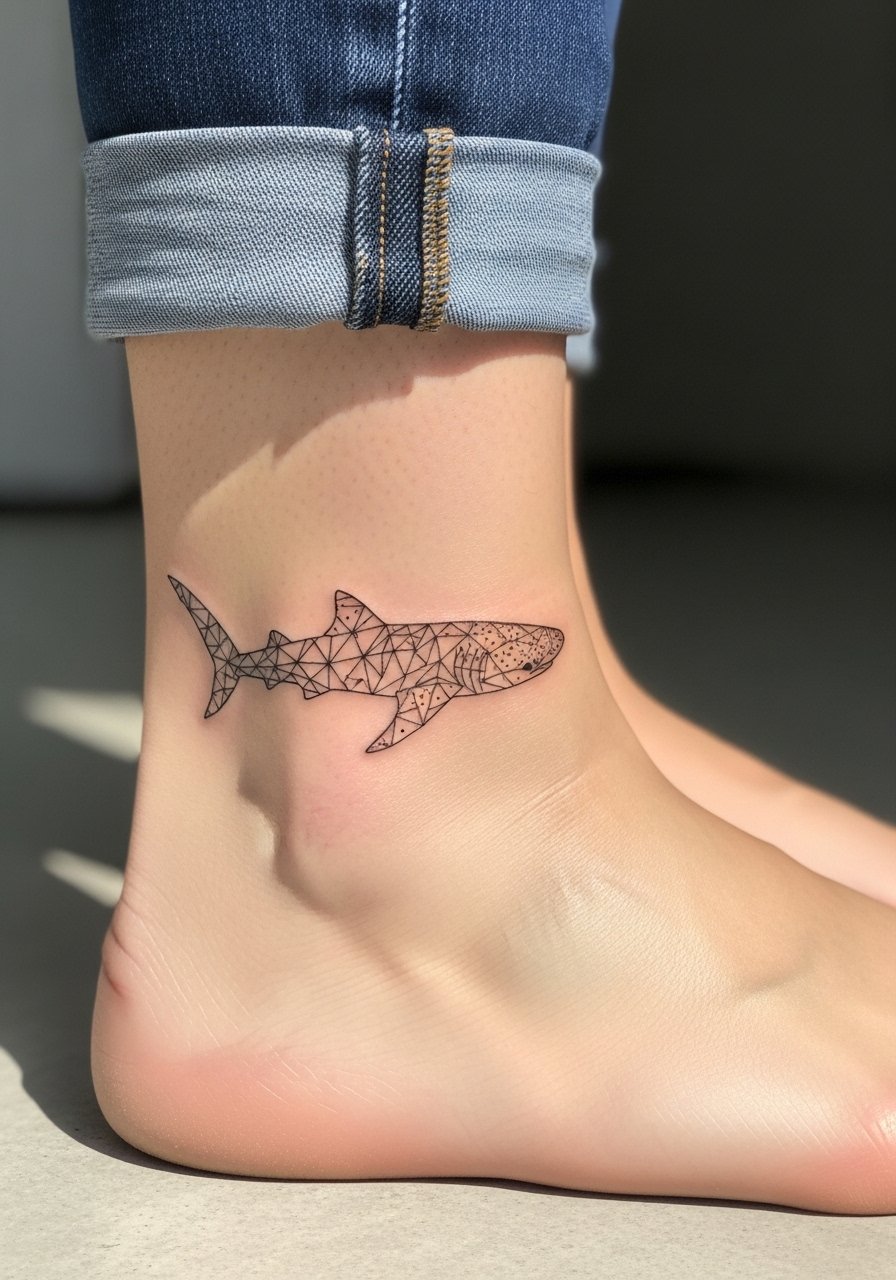
The ankle is perfect for a small geometric outline that keeps the marine silhouette discreet. This is a one-session pick that usually takes under an hour, with pain levels around five for the thin skin over the ankle bone. Ask for slightly denser dotwork along the outline to reduce the risk of patchy fade on medium to dark tones. A frequent error is going too tiny; dots need breathing room or they look like soft gray lines after a year. For showing it off wear cropped pants or rolled jeans, and plan light footwear while it heals so nothing rubs the area.
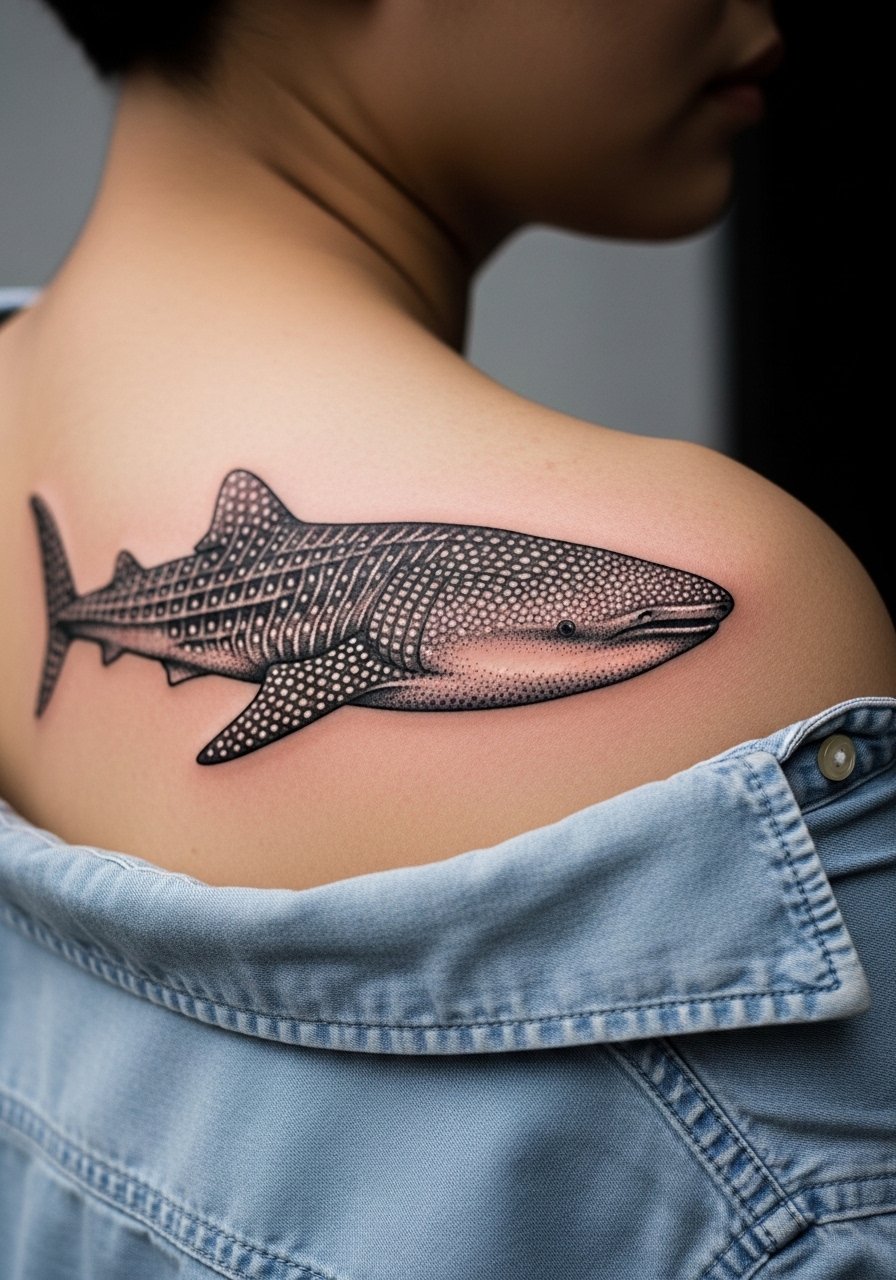
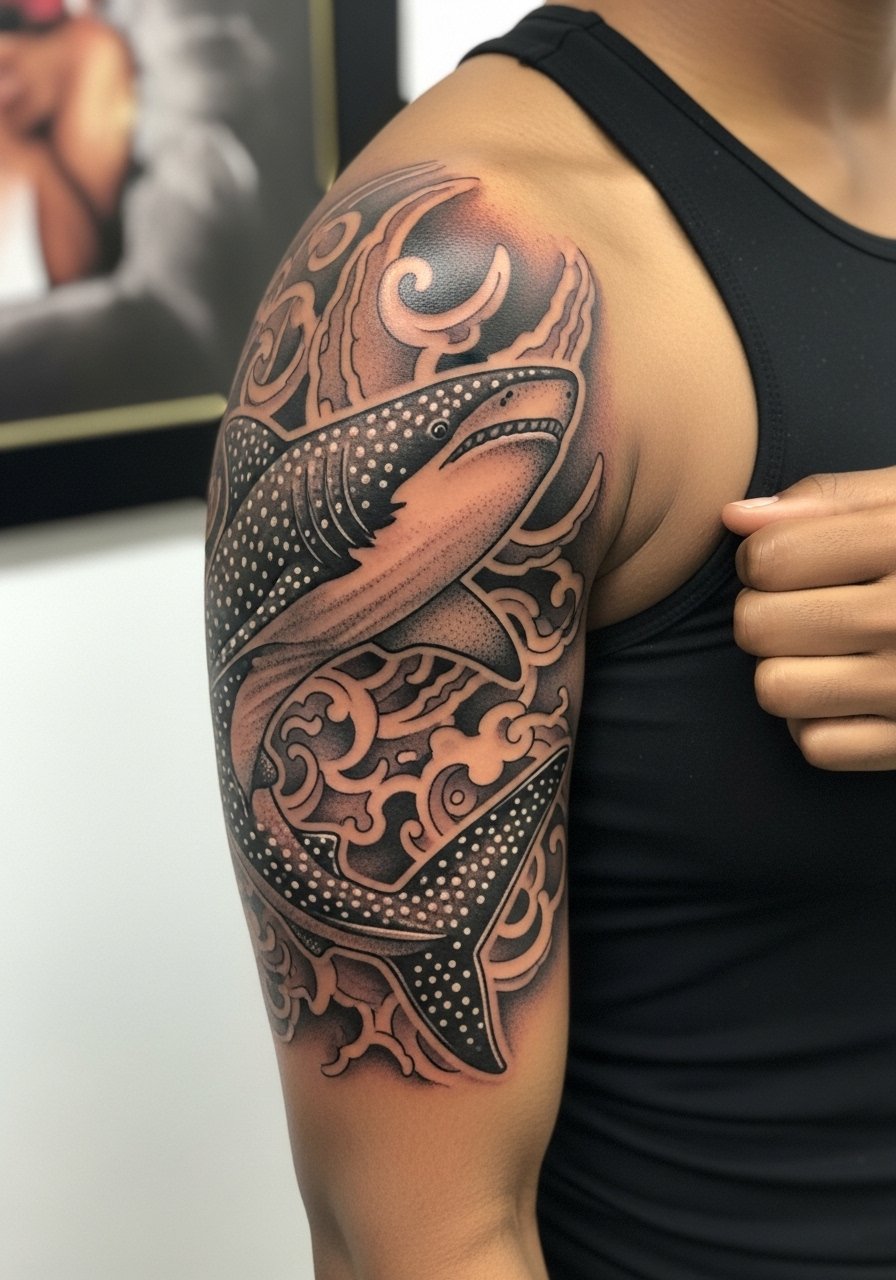
3. Tribal Dotwork Whale Shark on Shoulder

Shoulder placement makes tribal fusion feel intentional and wearable. I suggest larger scale, five to eight inches, so the Polynesian-inspired motifs keep their spacing and the stipple shading does not merge. Tell the artist you want bold anchors around the shark silhouette so the tribal panels age into clear shapes rather than muddy gray. Sessions often run two hours with low to moderate pain. A common mistake is mixing too many cultural motifs without respecting spacing, which flattens detail. Pair this with off-shoulder tees or a sleeveless muscle tank to frame the geometry.
4. Fine Line Dotwork Whale Shark Hybrid on Inner Arm

Fair warning about the controversy here. Artists split into two camps on fine line in soft areas. One camp says delicate needles blur on inner arms within a couple of years. The other camp maintains that with correct depth and slightly denser stippling it holds up. I lean toward denser dot gradients for inner-arm pieces to avoid early softening. Session time tends to be one to two hours and pain is moderate. A common mistake is asking for hair-fine dots at a tiny scale. During consult ask for healed mockups and discuss touch-up timelines. For the session wear a loose tank top so the artist can access the area cleanly.
5. Realistic Dotwork Whale Shark Profile on Back
This is for collectors who want depth from dot density and volume created by gradients rather than color. Expect multiple sessions, often three to four, and longer chair time. The back gives enough canvas for accurate proportions and prevents stretch distortion that shows up on the forearm with weight changes. Common errors include compressing too much detail into one sitting which leads to uneven saturation. Over five years carried with regular sun exposure a delicate micro-realism piece will soften, so plan a touch-up at year two if you swim a lot. Wear a button-down you can pull aside for the session and expect slower initial healing from larger panels.
6. Ornamental Dotwork Whale Shark with Waves on Ribcage

Fair warning: ribcage is commonly ranked around a seven out of ten on pain charts. People pick ribs for dramatic pieces but then underestimate healing and expansion. This ornamental take pairs waves that let the shark breathe visually, which helps long-term clarity. Ask for slightly larger spacing in the wave fills so stipple shading does not merge with breathing. A common mistake is going too small on the waves and expecting the detail to hold through stretch and movement. Sessions are typically two sessions of two hours. Consider touch-up at 12 to 18 months if dots thin out.
Studio Day Picks
The forearm, inner arm, and ribcage examples above ask for different prep, so a compact kit for session day smooths the process.
-
CeraVe Healing Ointment. Favored for non-greasy coverage that avoids clogged pores on active areas like forearms and ankles, useful after the first day when heavier balms feel too thick.
-
Green People Tattoo Balm. Thinner than many balms so it reduces dot bleed risk on delicate stipple and is handy for inner-arm or calf pieces.
-
Aussie Soothing Gel Aloe. Cooling and light for lower-leg tattoos during warm-weather healing, helpful if you plan to run or cycle while it settles.
-
Hada Labo Lotion. Lightweight hydration for weeks two and three when heavy ointments feel occlusive, especially on fine line collarbone work.
-
Hustle Butter Deluxe. A single thin layer after the initial scab phase locks moisture without the greasy feel, which helps denser dotwork age more evenly.
7. Minimal Dotwork Whale Shark Silhouette on Collarbone

Collarbone silhouettes suit first-timers who want a clean marine nod. The collarbone area is visible and pairs well with soft necklines. Sessions are quick, generally under an hour, and pain varies with how close the bone is. A frequent misstep is choosing excessively thin dots that look great fresh but disappear against sun exposure and natural skin oils. Request slightly increased dot density along the silhouette and plan for a touch-up at year one. For show-off wear a V-neck cotton tee that frames the work without competing.
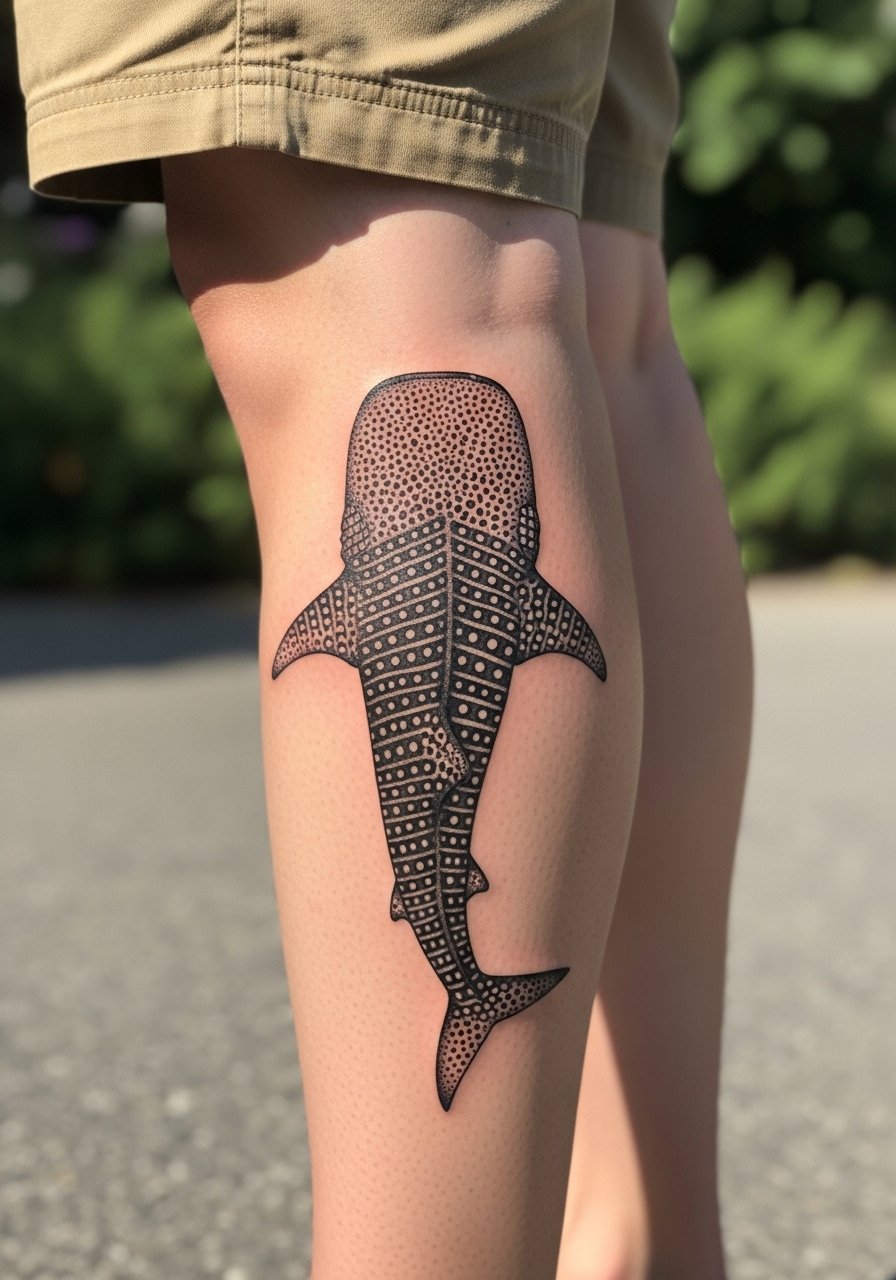
8. Blackwork Dotwork Whale Shark Fusion on Calf
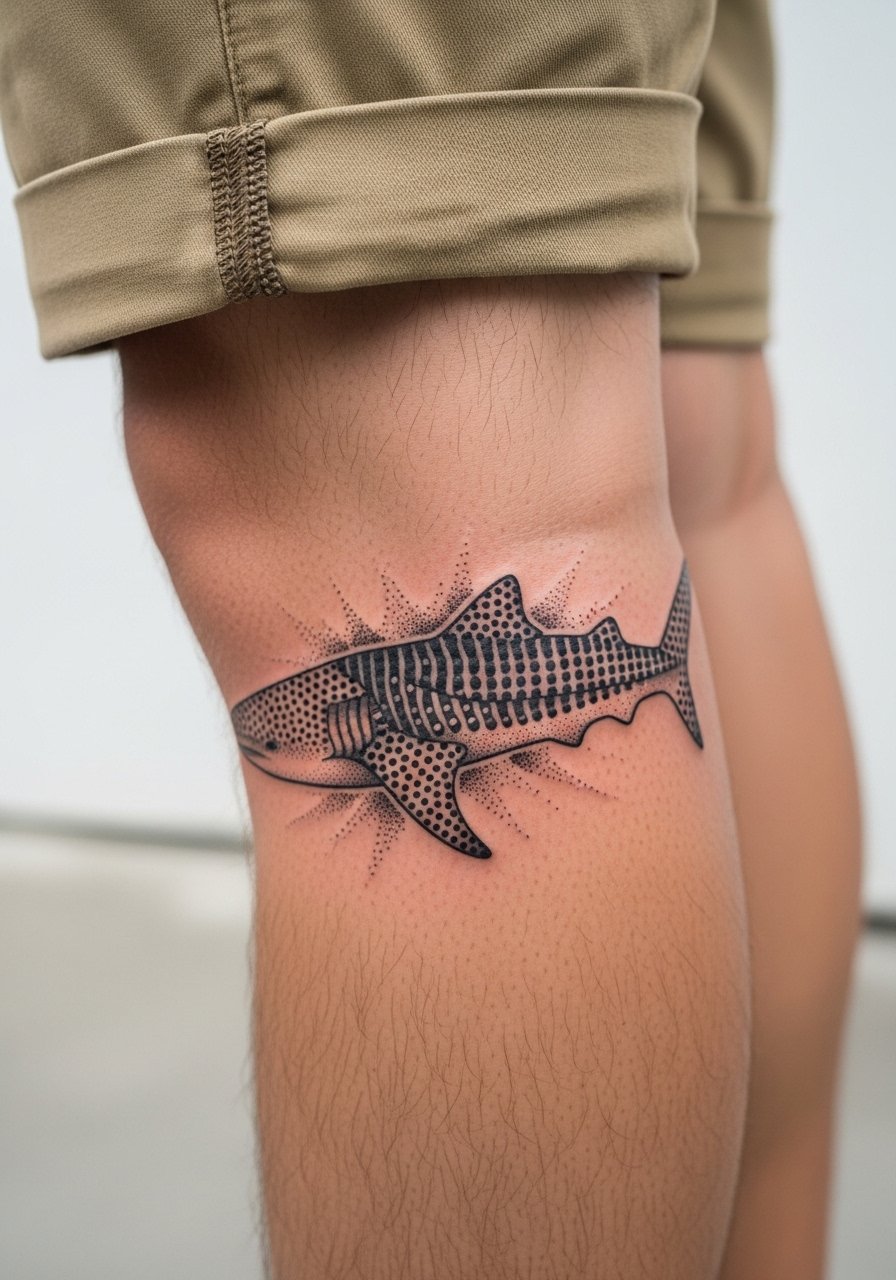
Calf pieces carry movement well and are excellent if you want a bold silhouette that ages into contrast rather than blur. Blackwork fills give the dots anchor points so the image reads on darker skin tones and holds longer. Sessions are often two sessions totaling around three hours. A common mistake is too much fine detail near the ankle where friction wears lines quickly. For runners or active people consider a vertical flow that follows the leg muscles. Show it off with slim chino shorts or rolled joggers to let the shark move with your stride, for example chino shorts.
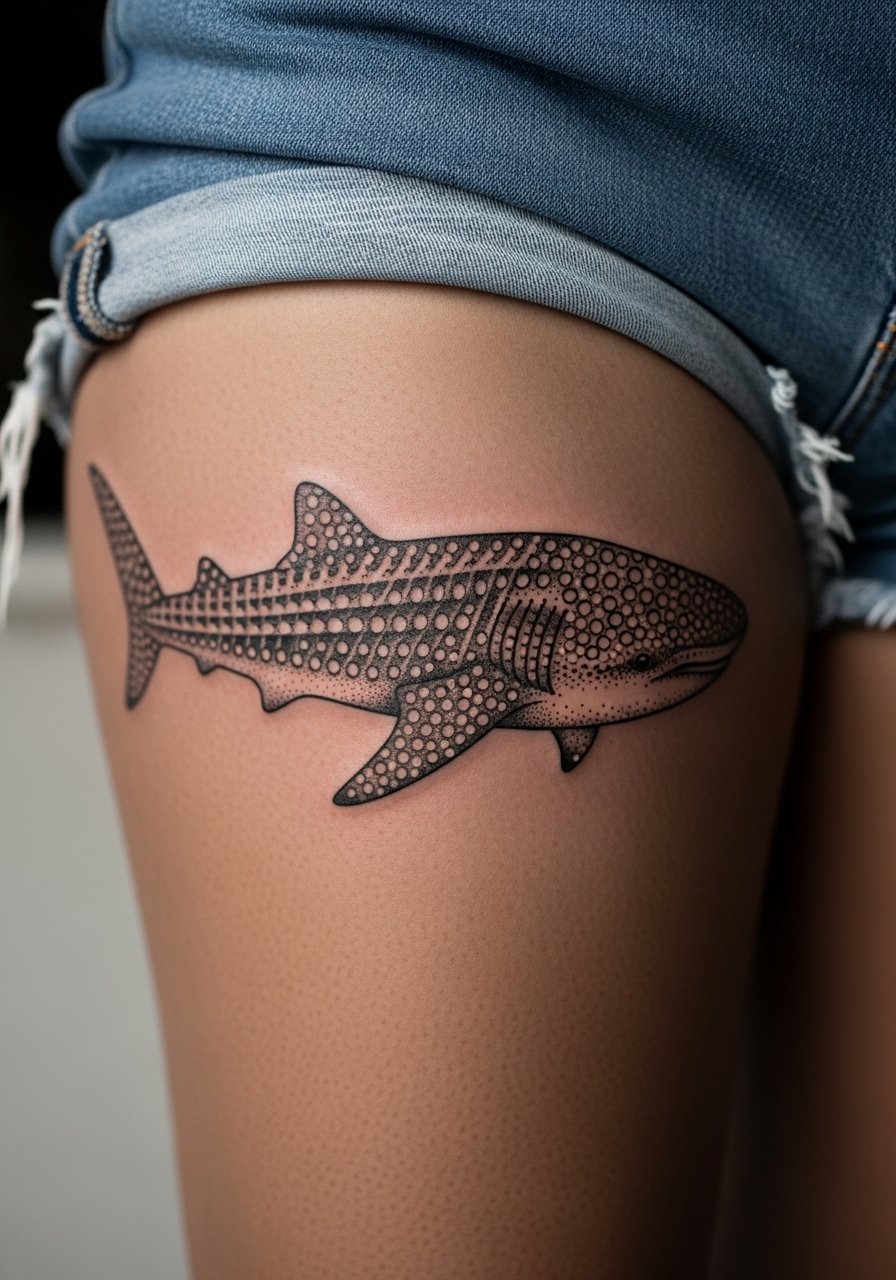
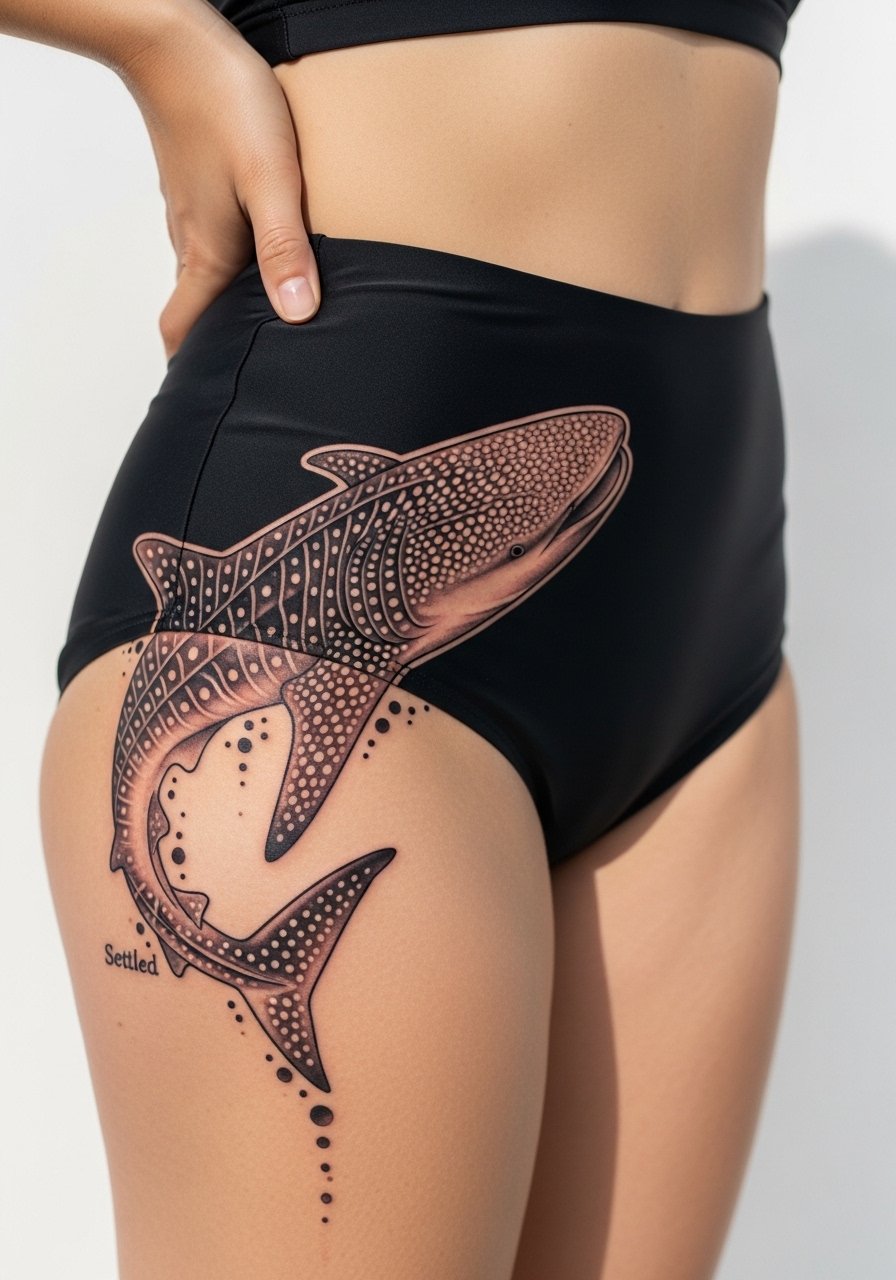
9. Ignorant Style Dotwork Whale Shark on Outer Thigh
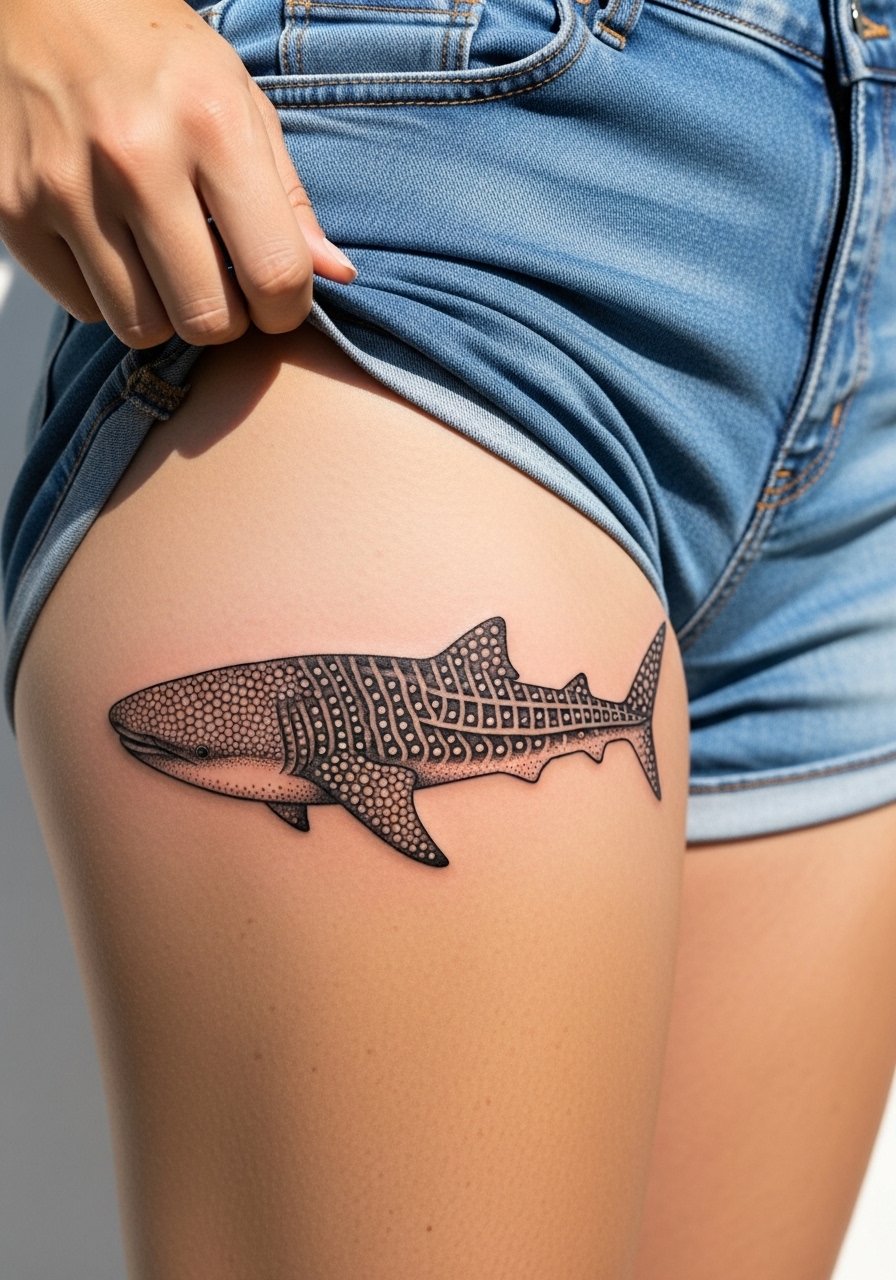
Ignorant style uses imperfect, raw dots that mimic skin texture and scales. The outer thigh is forgiving for that aesthetic and handles larger size without distortion. Sessions usually run around two hours and are relatively low pain. A common error is requesting a hyper-detailed ignorant piece too small; the rough dots need space to read as texture. Plan for touch-ups at one to two years if you swim or sweat heavily. The thigh gives room to expand into a wrap or complement with a high-waisted swim trunk look for summer. Wear loose shorts the day of the session so the artist can access the area easily.
10. Dotwork Whale Shark Sleeve Starter on Upper Arm
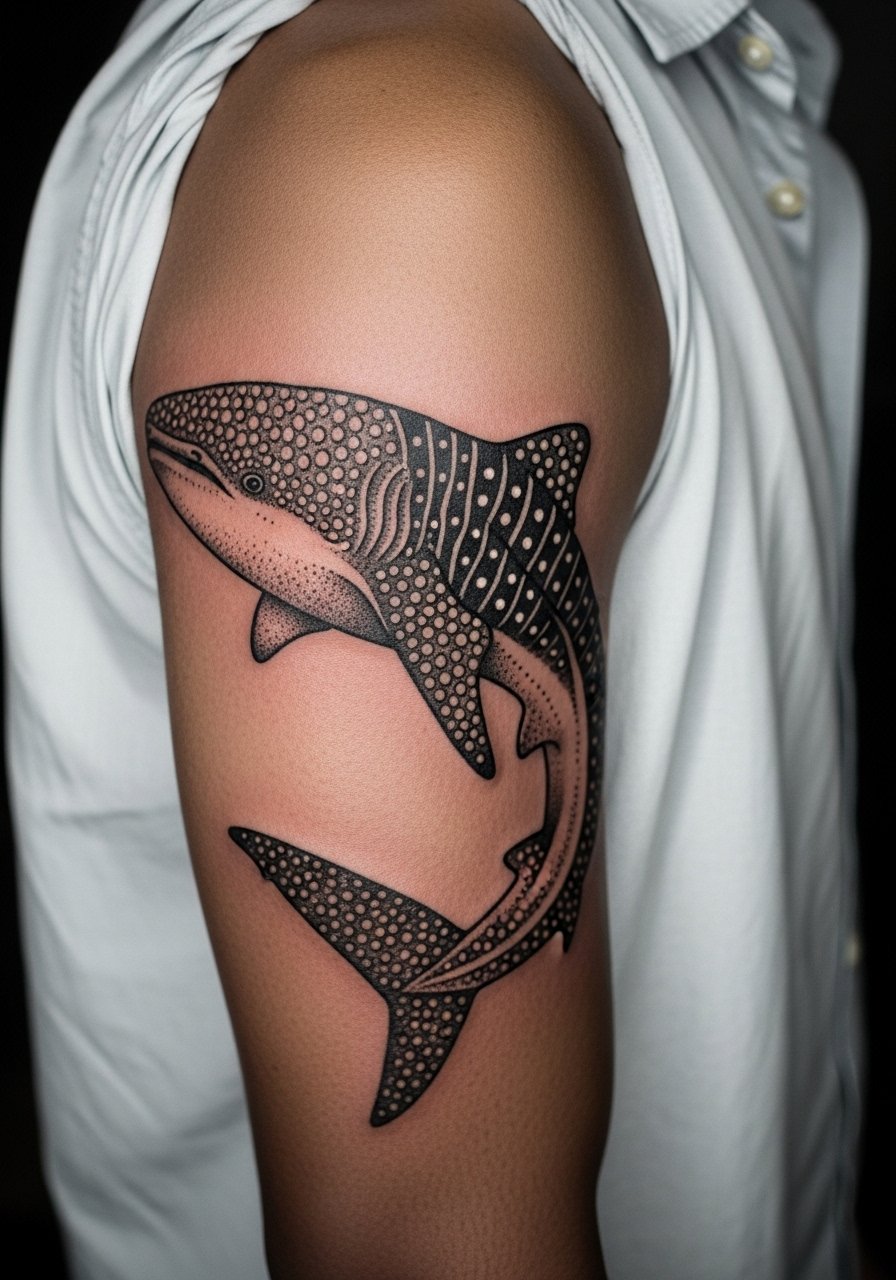
This is the foundation piece for collectors who plan nautical sleeves over time. Start with a bold whale shark spine or mandala anchor that leaves negative space for later panels. Expect multiple sessions spread over months and tip around 15 to 25 percent is standard for multi-session work in many shops. A typical mistake is treating the starter as a single flash piece; instead, map how future elements will flow before ink. The sleeve starter ages well if the initial dots are slightly denser than in pure fine-line work. For the session wear a loose button-down shirt that you can pull aside.
11. Negative Space Knuckle Whale Shark

Knuckle placements are bold and raw, and negative space dotwork offers a minimalist way to keep details readable. Hand and knuckle tattoos face high friction and faster fade, so expect a higher touch-up frequency. The session is quick but healing is tricky because washing and work use the hands constantly. A common mistake is underestimating workplace policies and the occupational wear knuckles endure. Consider slightly larger negative shapes so the shark silhouette reads even as dots soften. Professional considerations matter here, so balance visibility with career needs before booking.
12. Bioluminescent UV Dot Glow Effect on Calf
This niche experiment pairs classic black dotwork with tiny UV ink dots to simulate bioluminescence under blacklight. It is a conversation piece and not for everyone because UV ink has different aging characteristics and visibility in photos. Ask your artist about their experience with UV pigments and long-term safety. Sessions run a bit longer due to careful placement and separate passes for UV. Common mistakes include overusing UV and making the effect visible in normal daylight. If you plan evening events or festivals this can be striking. Wear shorts the day of your session so the calf is easy to access.
13. Calf Flow Whale Shark for Runners
Runners pick calf placements for the way the shark moves with the stride. The vertical composition follows muscle lines and avoids distortion from weight changes. Expect a low to moderate pain level and sessions of one to two hours. A typical error is placing a design that crosses the back of the knee which creases and blurs with motion. For athletes think about compression and friction during healing. Some runners use a thin compression sleeve while healing but check with your artist first. For showing it off pair with rolled shorts or mid-calf joggers like rolled joggers.
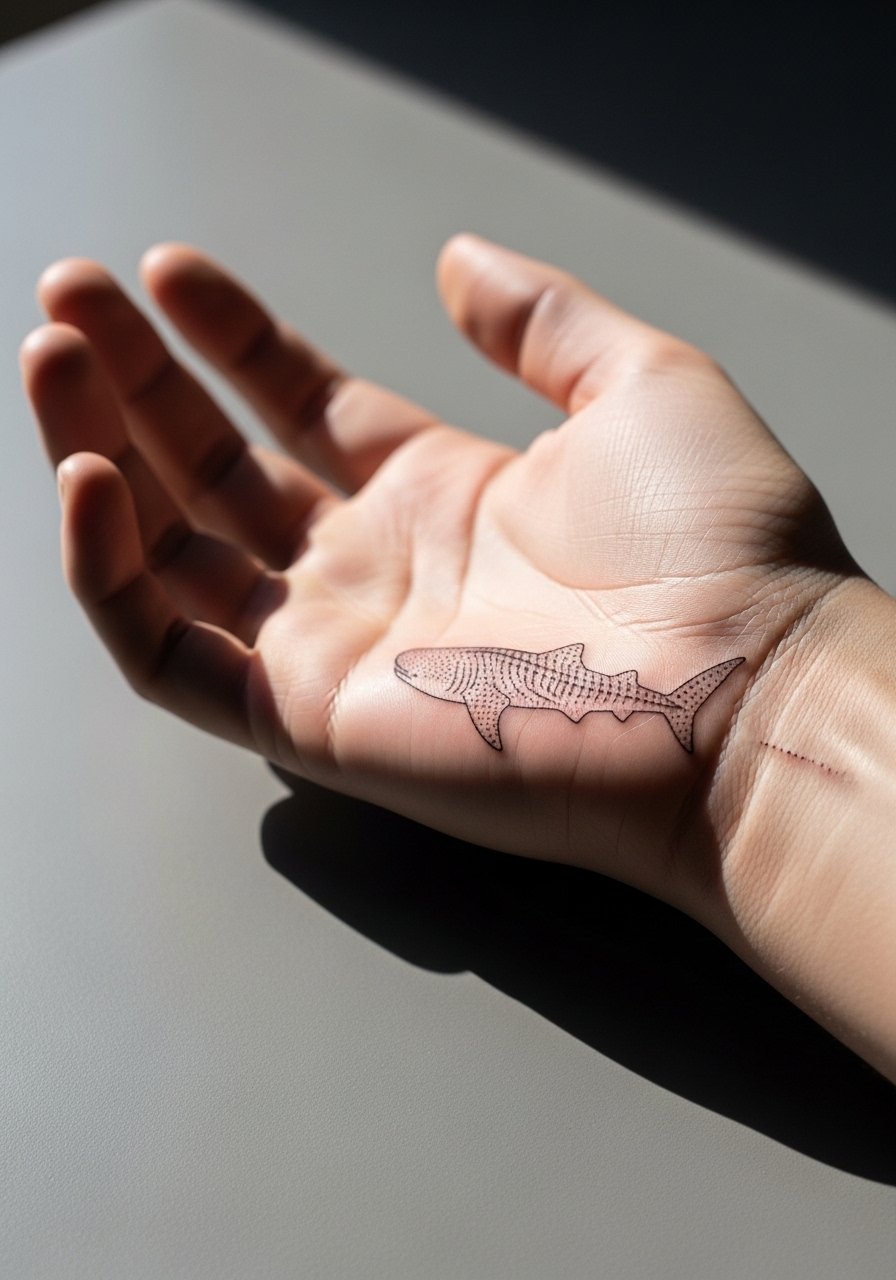
14. Minimal Wrist Dotwork Whale Shark
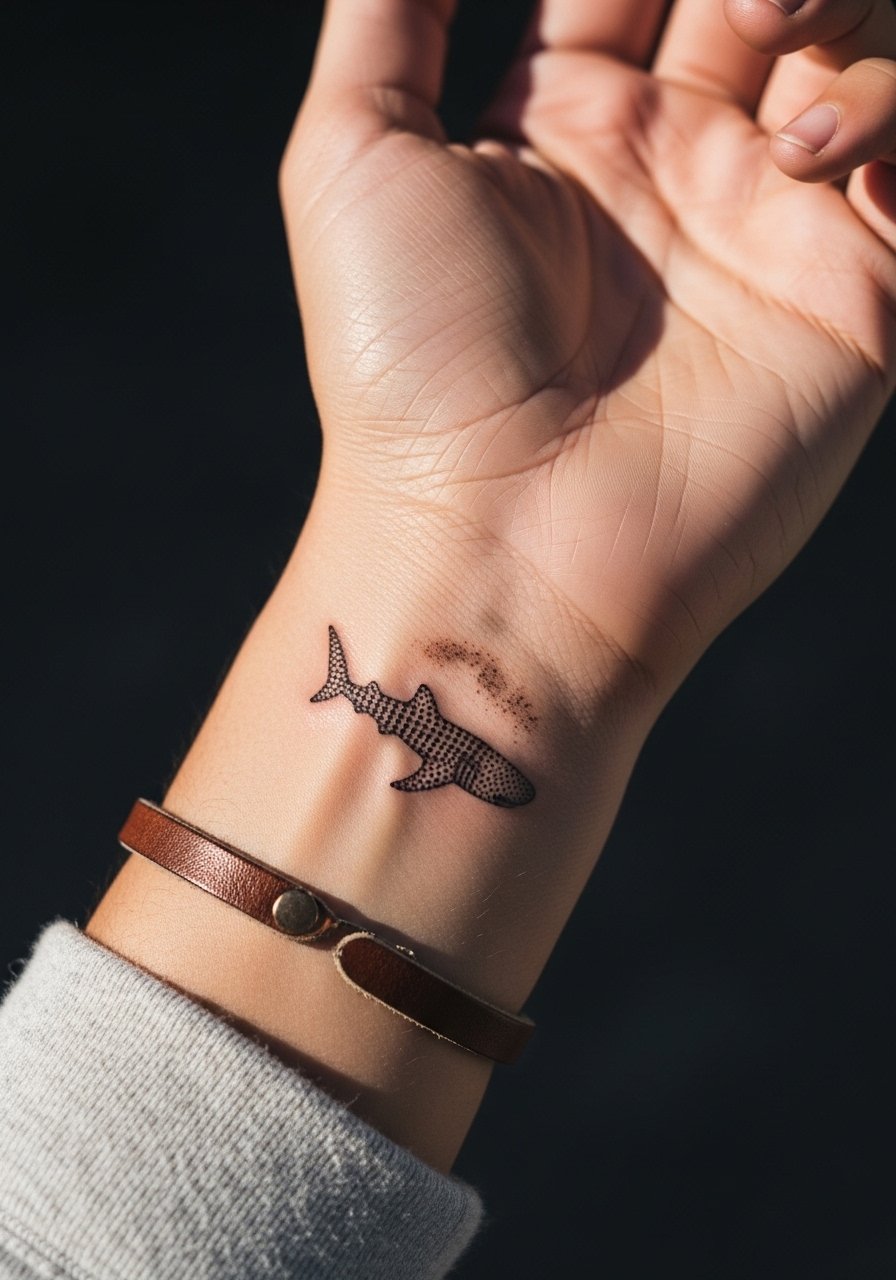
Wrist silhouettes are classic first tattoos. Pain is moderate and sessions are brief, often under an hour. They can fade faster because of sun exposure and constant washing. A common mistake is choosing too small a motif with sparse dots; on medium to dark tones that can disappear. I advise asking for a slightly thicker outer dot density and planning a touch-up within 12 to 18 months. For styling, a thin leather cuff on the opposite wrist helps balance the look. A thin leather cuff bracelet keeps the focus on the silhouette without crowding it.
15. Inner Thigh Ornamental Whale Shark
Inner thigh gives room for larger ornamental designs and tends to hide well under clothing. Sessions here are moderate on pain and you should plan two-hour windows to keep movement minimal. A common error is using extremely fine dots without planning for friction from clothing. For heal longevity consider slightly bolder anchors within the piece and schedule touch-up if you change body composition. Sensitive placement means discreet session wear like loose shorts or skirts so the artist has clean access. Note that inner thigh work has slower scab formation for some people and needs careful clothing choices during the first two weeks.
16. Collarbone Fine Dotwork Script with Shark Silhouette
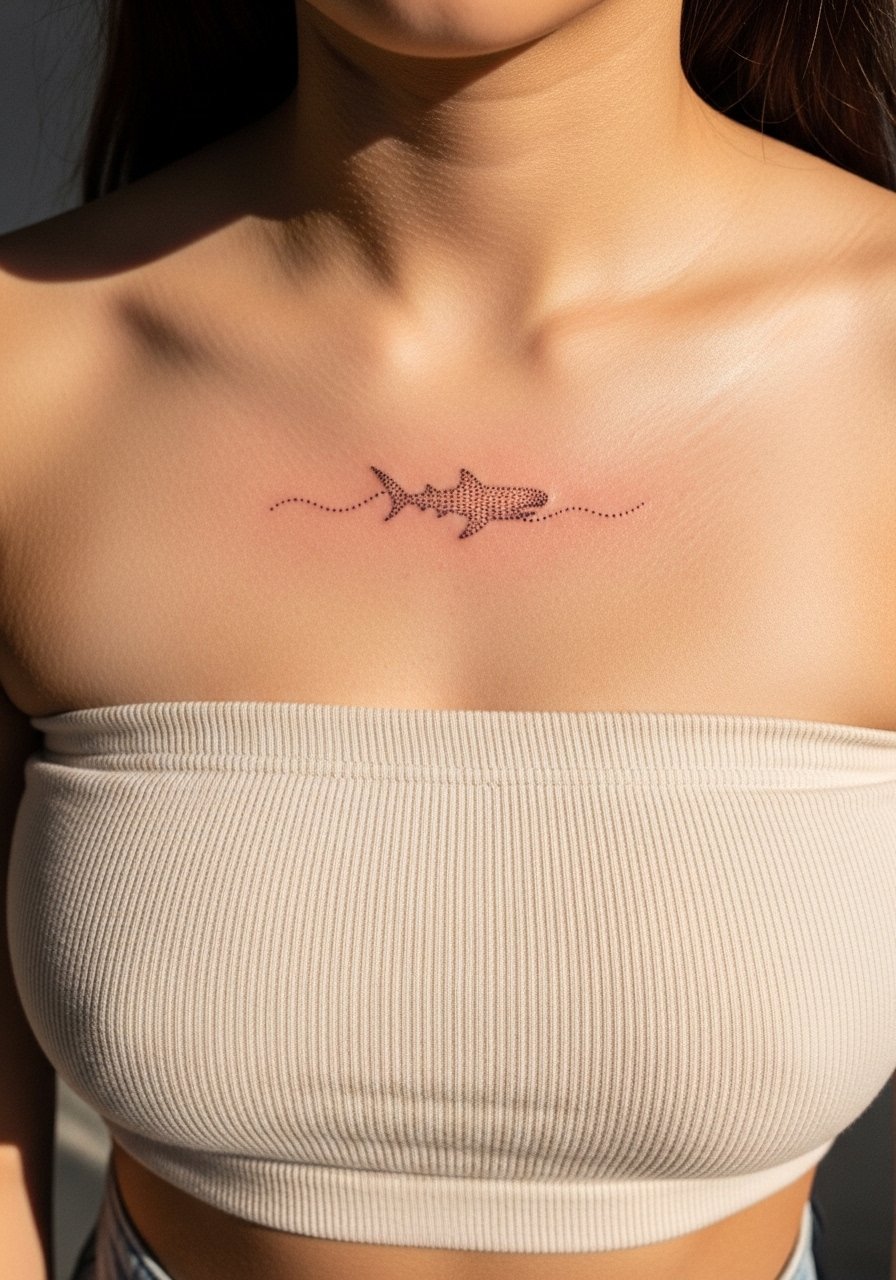
Pairing delicate script with a tiny whale shark requires planning so the text and motif do not compete. Collarbone anatomy exposes ink to sun and clothing, so denser dots near the silhouette help it stay visible. Sessions are short and pain depends on bone proximity. A frequent mistake is cramming both script and detailed dots into a very small area. Ask the artist for mockups that show spacing and how the script sits relative to the shark. For show-offs wear a strapless top or V-neck tee like strapless crop top to reveal the collarbone cleanly.
17. Sternum Underbust Dotwork Whale Shark

Sternum and underbust work look intimate and bold. Expect higher pain and limited session durations because veins and thinner tissue make long sessions hard. A common mistake is requesting extreme fine dots too close to the décolletage where shirts rub. Ask your artist about session planning for the sternum, and know that some artists split this into two visits. Wear a sports bra or bandeau to allow access without exposing more than the tattoo zone. Consider how your wardrobe will frame the piece before committing.
18. Black and Gray Sleeve Expansion with Whale Shark Anchor
If you plan to expand into a sleeve, start with an anchor piece that includes heavy black blocks to preserve contrast across skin tones. Sessions are multiple and long, and good scheduling prevents burnout. A common error is placing tiny anchors that get lost when the sleeve grows. Ask for clear negative spaces and map how future elements will sit so the sleeve reads unified years down the road. For the session wear clothing that allows partial exposure, like a racerback, and plan on multiple touch-ups as the sleeve fills in.
19. Hand Side Whale Shark Micro Dot Accent
Side-of-hand tattoos are highly visible and face heavy wear from daily tasks. Micro dots here need to be bold enough to survive frequent washing and sunlight. Pain is moderate and healing is finicky. The common mistake is treating hand micro-dot designs like wrist pieces; they require more saturation. Plan for touch-ups at year one and avoid jobs that frown upon visible hand ink. Keep your consult frank about lifestyle so the artist can advise on density and placement.
20. Negative Space Rib-to-Thigh Whale Shark Panel
This dramatic panel uses negative space to create the shark silhouette while surrounding stipple suggests water motion. Expect multiple sessions and significant pain on the rib portion. A common error is not accounting for body movement that stretches the transition zone between rib and thigh. Discuss long-term plans with the artist so proportions remain balanced as you age or change weight. For the session wear high-waisted shorts or a swimsuit bottom so the artist only needs to reveal the zones being worked on.
21. Sleeve-Ready Mandala and Whale Shark Mix on Upper Arm

This final idea is explicitly a sleeve-ready composition that leaves consistent negative spaces for future panels. The key is mapping where future blackwork or floral elements will sit so the mandala does not get swallowed. Sessions tend to be four-plus hours across visits and the initial anchor should be slightly denser than social media references to age better. Common mistakes include accepting a one-off flash without sleeve planning. For the session wear a loose tank so the artist has full access to the upper arm and shoulder.
Frequently Asked Questions
Q: How does dot density affect how a whale shark tattoo ages on medium and dark skin tones?
A: Denser dots provide more pigment per area which helps the design keep contrast as it softens. On medium to dark skin tones I recommend asking for slightly heavier stipple in shadow areas and clear negative space around important contours. Expect a touch-up at 12 to 18 months for most dense dotwork.
Q: Are ribs a bad place for fine line or dotwork whale sharks given the pain and stretch?
A: Ribs are higher on the pain chart and the skin there can cause lines to blur if the work is too packed. One camp of artists avoids tiny fine lines on ribs while another says careful spacing and proper needle depth will hold. Ask your artist where they stand and plan shorter sessions so you can manage pain without losing consistency.
Q: What should I wear to a calf session so the artist has the best access and the piece heals clean?
A: Wear shorts or joggers that roll up easily so the calf is fully exposed without tight elastic cutting into the skin. For showing the healed piece later, slim chino shorts or rolled joggers help the design move with your leg. Consider packing a loose pair of shorts specifically for the session.
Q: How often should I expect touch-ups for a blackwork hybrid whale shark sleeve starter?
A: For a blackwork hybrid anchor, initial touch-up is commonly within 12 to 18 months, then less often if you avoid sun and keep good hydration of the skin. Larger sleeves tend to stabilize once filled, but small detailed spots may need periodic work depending on your lifestyle.
Q: Can UV ink bioluminescent dots be added later to a healed whale shark, and are there photographic concerns?
A: UV accents can be layered over healed blackwork but you should ask about the artist's experience with those pigments. They photograph differently and may be invisible in normal daylight, so treat them as a special effect for certain settings rather than a primary visual element.
