
Fine line tattoos are everywhere on feeds right now, and the gap between what trends and what lasts matters. Fine one line work looks effortless when it is fresh, but placement and spacing decide whether it still reads in year three. Read these 21 elegant one line directions with what to ask your artist, how they age, and the wardrobe notes that actually help you show them off.
1. Single-Line Arrow on the Inner Forearm
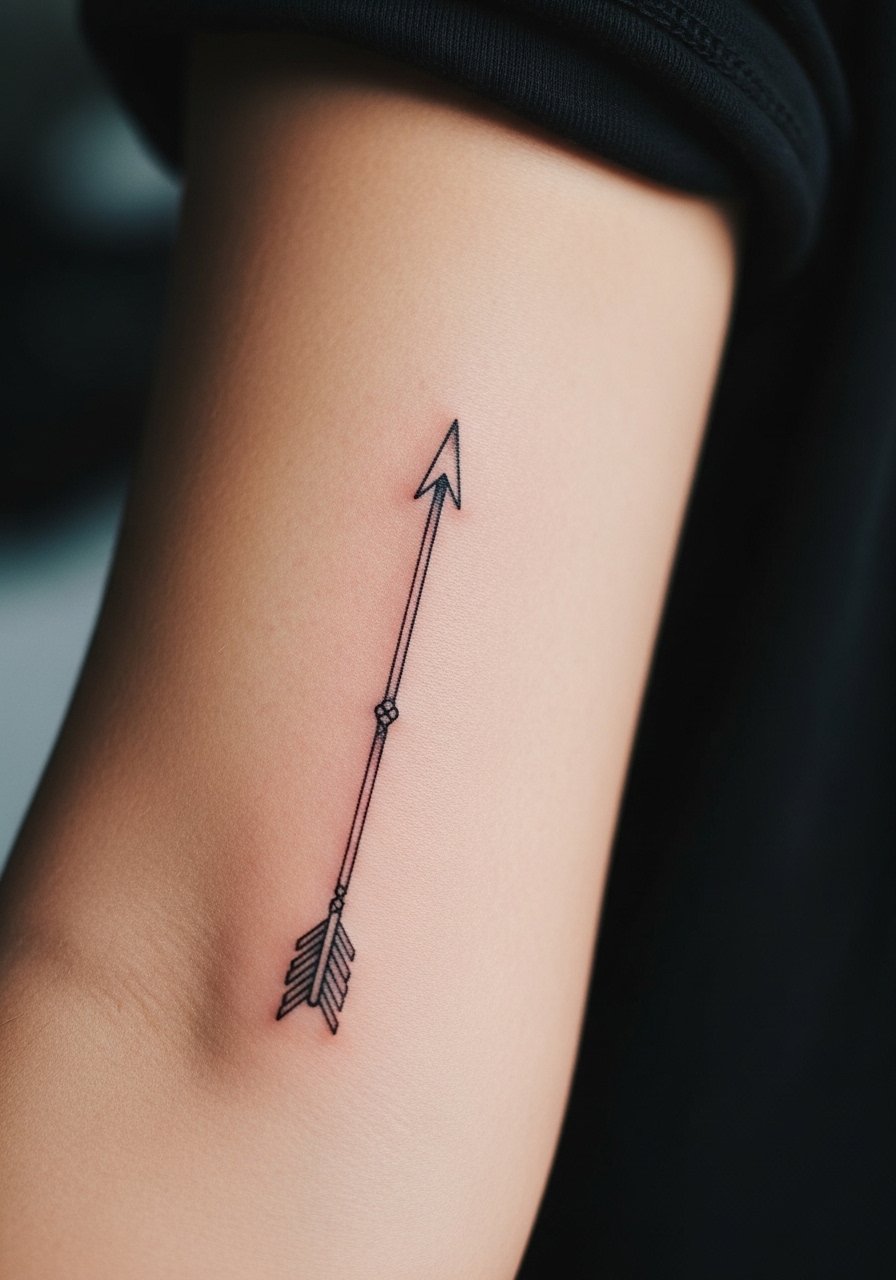
I recommend this when you want a clear directional motif that stays readable on flat skin. Tell your artist you want slightly heavier lineweight at anchor points so the tip and shaft read after a year. Common mistake is asking for hairline weight across the whole arrow, which tends to soften into a gray streak by year three. Session feels manageable, roughly 30 to 45 minutes, and pain is low. For showing it off, roll up a linen button shirt and keep sleeves hitched to the elbow, which frames the shaft without competing with the linework.
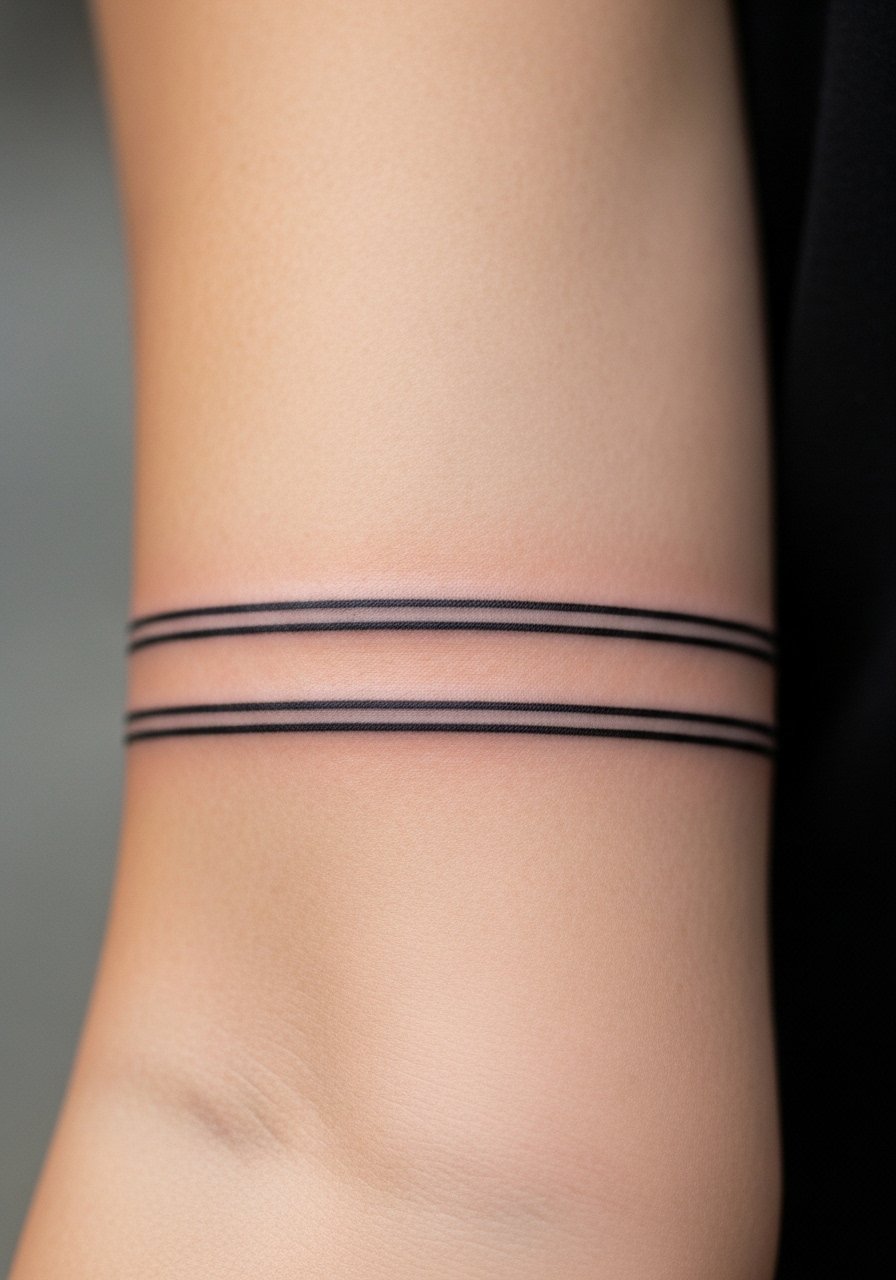
2. Minimal Bracelet Band Around the Wrist

This reads like jewelry and works if you want something that blends with accessories. Warning, the wrist faces constant friction from watches and cuffs, so ask for a slightly bolder single pass where it meets the ulna. Expect a 20 to 40 minute session and a likely touch-up at year two for crispness. People often ask for the band too tight, which increases blowout risk. For session access, slide on a loose button-down shirt you can pull aside. Layering with a thin chain bracelet frames the line without overpowering it.
3. Single-Line Script on the Collarbone
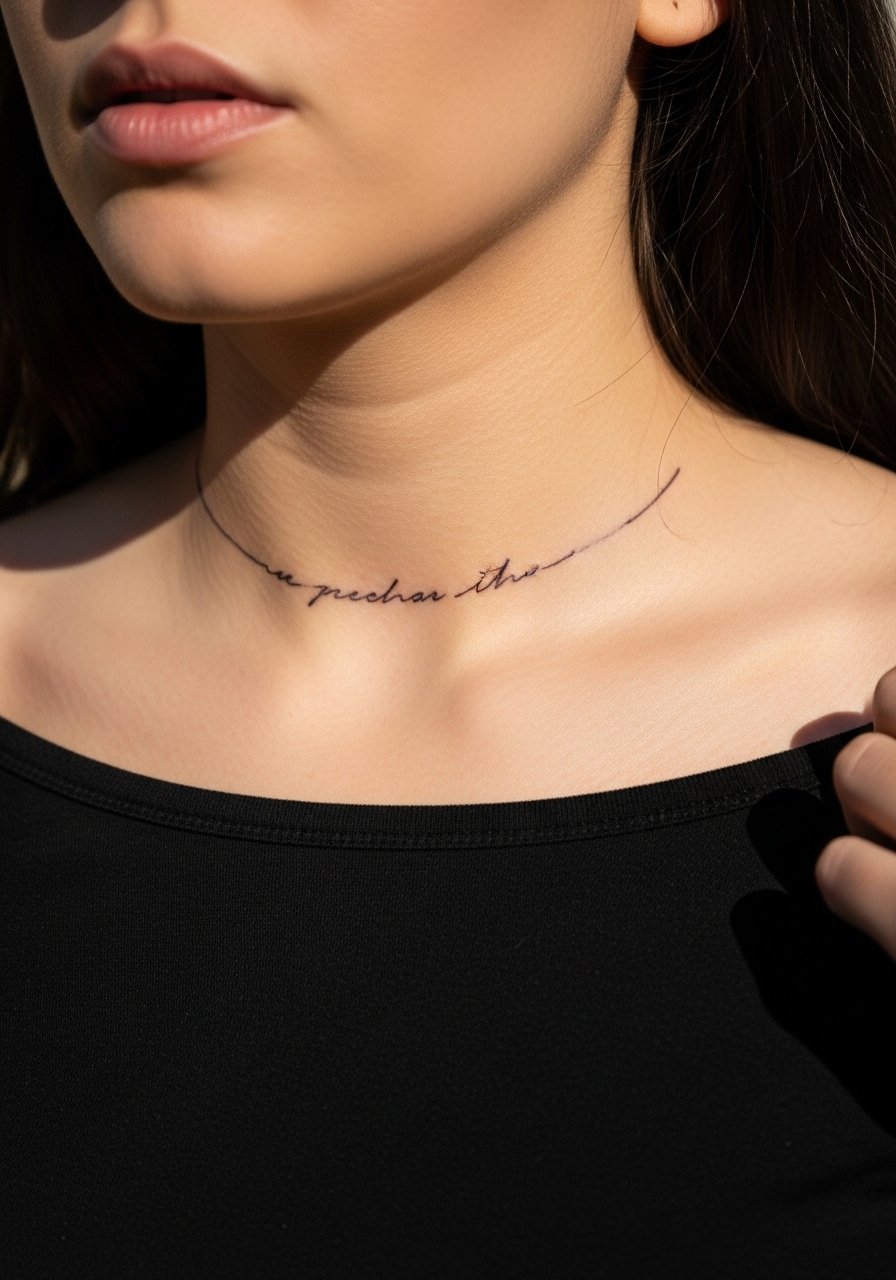
Collarbone script reads elegant when spaced to follow the bone shape rather than a straight baseline. In consultation, show the artist where the letters should sit relative to the clavicle and ask for slightly spaced kerning so the letters do not merge as the skin moves. Pain is moderate because of the bone proximity, and sessions are short. A common aging issue is placing script too close to the bone where minor swelling can blur fine joins. For evening looks, pair the piece with an open-neck blouse so the line sits above the fabric and reads like a deliberate detail.
4. One Line Mountain Range on the Ribcage
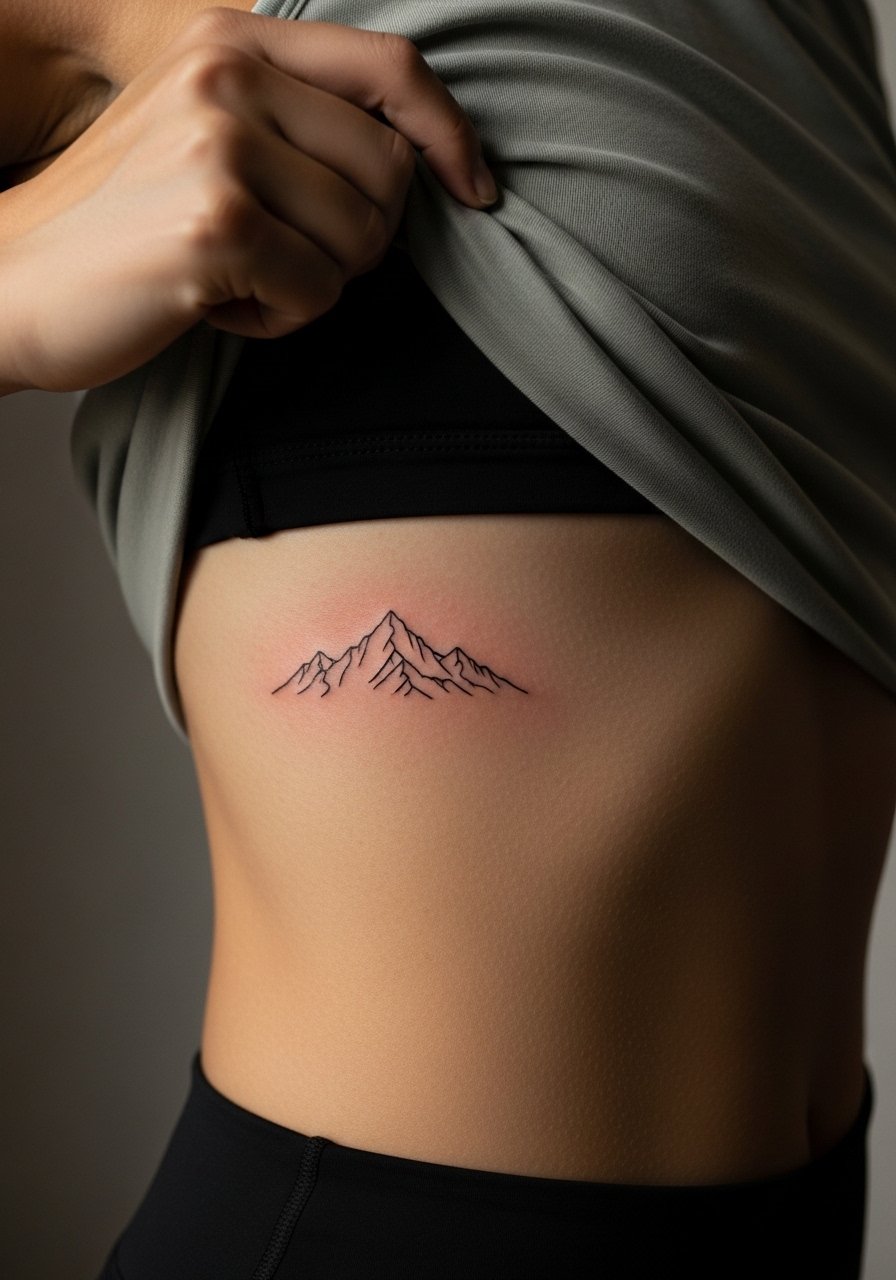
Fair warning, ribs are a high-pain placement and the skin stretches differently when you breathe. Some artists decline tight fine line here. Artists split into two camps on this placement. One camp argues the stretch and shallow dermis blur fine lines within two years. The other camp says with the right needle depth and spacing the design settles fine. Ask where your chosen artist stands and get a compromise with bolder peaks and more spacing. Expect a longer session and a likely touch-up at year two. For the session, wear a fitted sports bra so the artist can access the side without you being uncomfortable.
5. Tiny Constellation on the Ankle
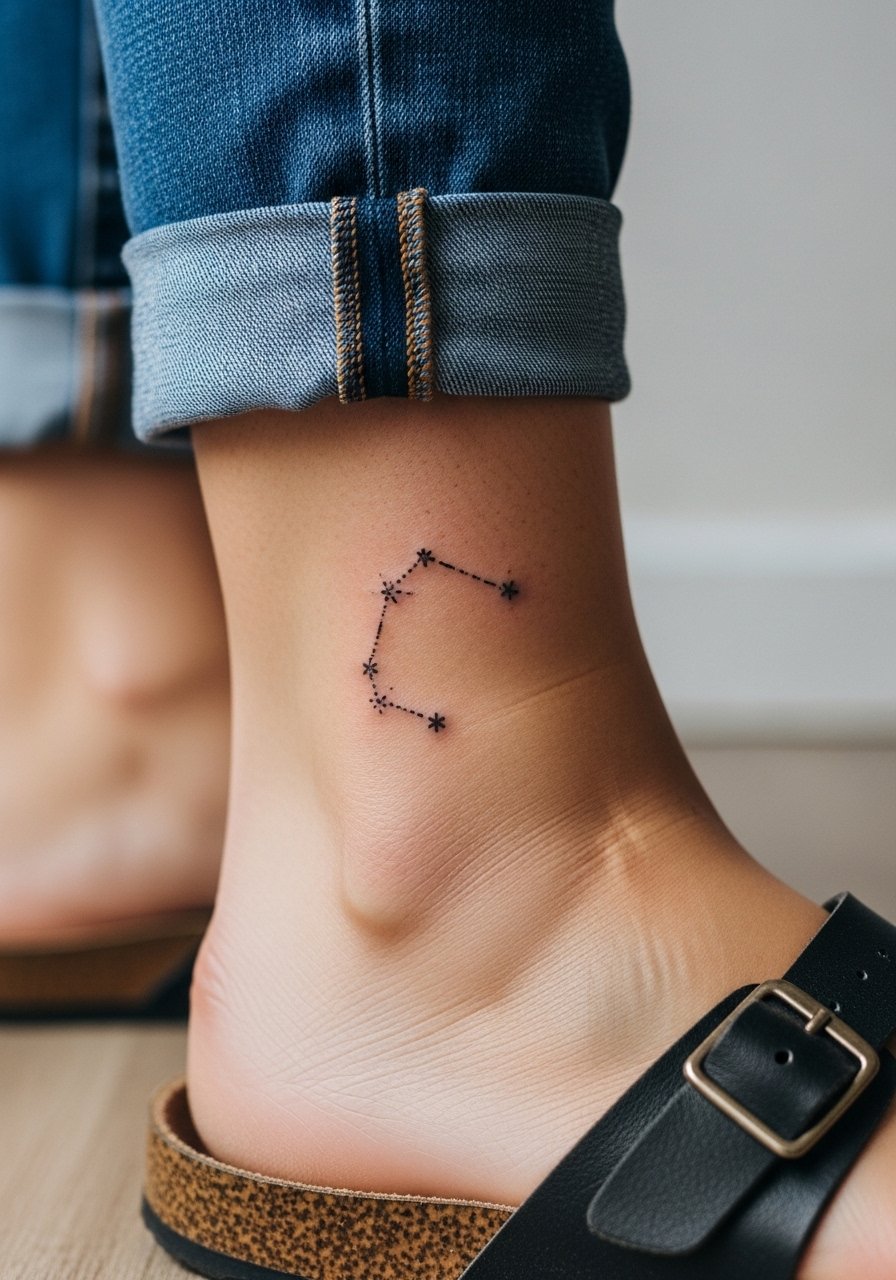
Ankle tattoos are charming and show when you want them to. Ask for slightly thicker connecting lines between stars if you plan to wear sandals or sneakers that rub the area. People underestimate toe and shoe friction early in healing which can scuff the first week. Sessions are short and pain ranges low to moderate. For showing it off, pair the ankle with strappy sandals or rolled jeans. Expect the first touch-up discussion around year three if you want the constellation to stay bright.
6. Behind-the-Ear Single Botanical Line
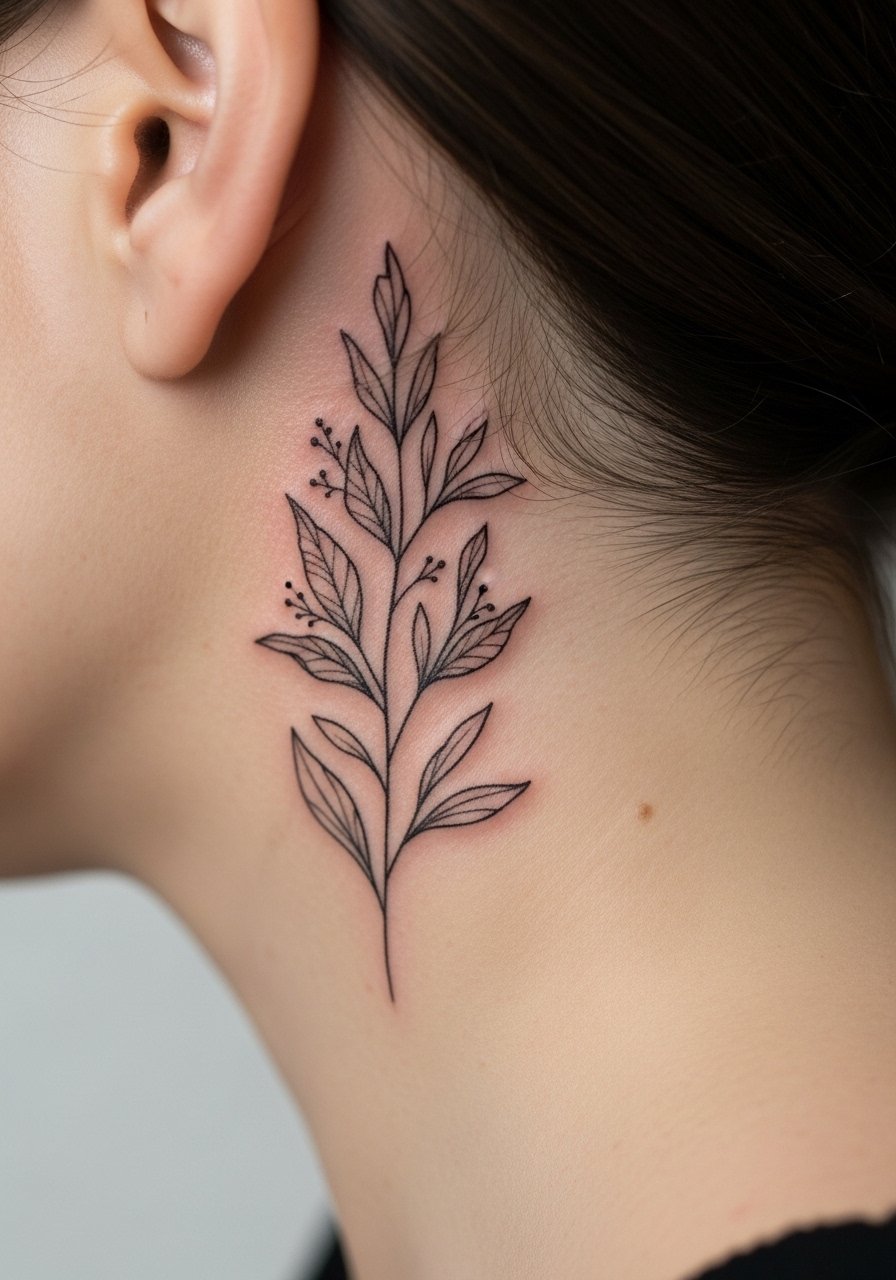
This placement is intimate and subtle, ideal for someone who wants a private accent. Tell your artist you want the stems tapered into the hairline so the design reads like it grows from under the hair. Pain is low to moderate and sessions are short. Hand placement and sun exposure do not affect this spot, which helps longevity. Note that some workplaces are conservative about visible neck tattoos, so consider your career path. For the appointment, a collared shirt you can pull aside works best, and ask about aftercare for hairline zones where shampoo can irritate the scab.
Studio Day Picks
The small placements above heal differently than large saturated pieces, so a few focused items make the session and the first week easier.
- Stencil transfer paper kit. Lets you preview how the line flows on skin, which is helpful for collarbone script and wrist bands.
- Topical numbing cream. Applied 30 to 45 minutes before can ease ribcage sensitivity without blurring the stencil when used correctly.
- Thin protective film roll. Keeps ankle and wrist pieces protected from boots and watches during the first few days.
- Fragrance-free gentle body wash. Cleans the healing zones without stripping ink, especially for forearm or collarbone lines.
- Aquaphor healing ointment. Thin application in the first two days locks in moisture for fine line work while allowing the skin to breathe.
7. Continuous Floral Vine on the Side Neck
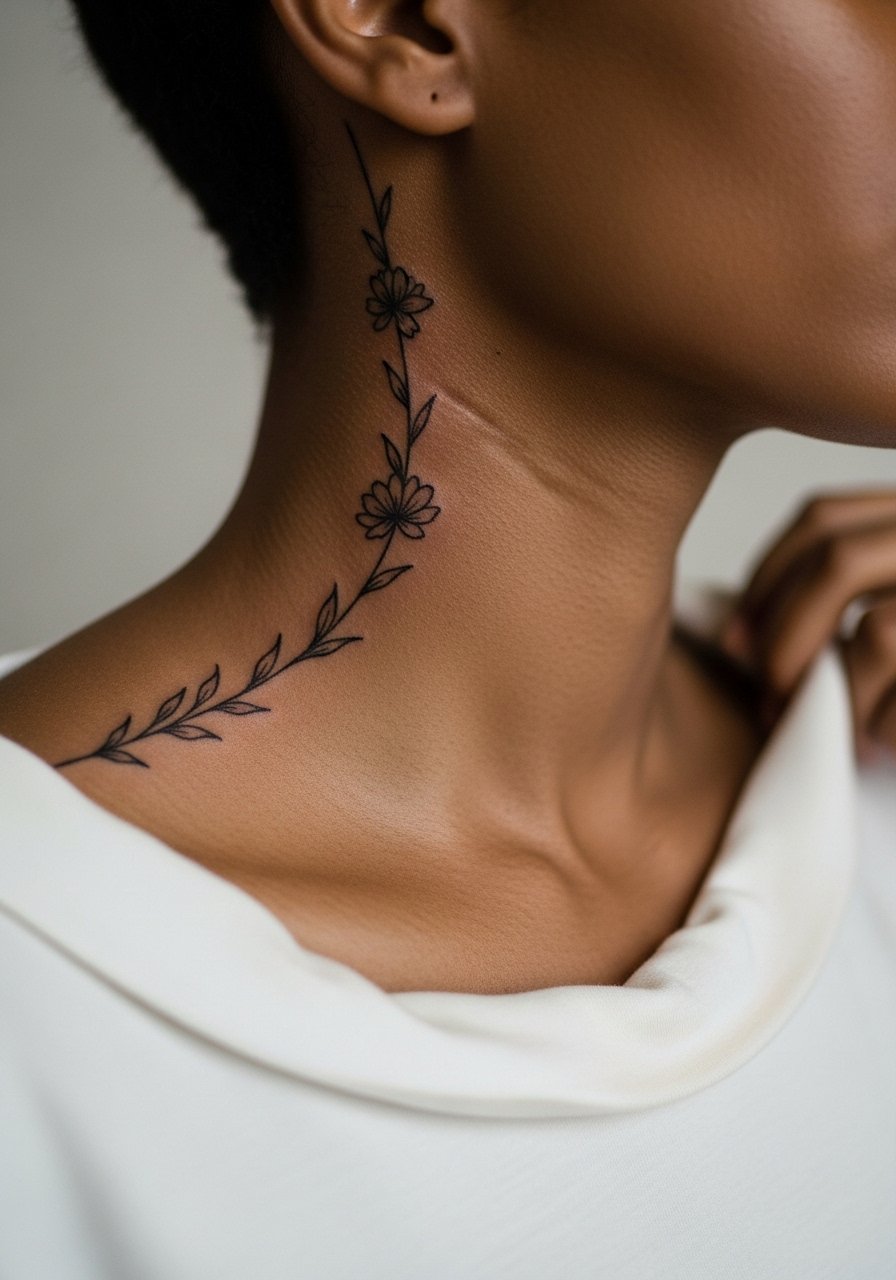
This reads like an accessory if scaled to follow the neck curve. On consultation, show the artist where you want it to sit in relation to the jawline and hairline. The neck is a moving surface and lines can soften faster than on the forearm. Ask for slightly more spacing between petals so the design keeps shape after swelling. Pain is moderate and sessions can be broken into short passes. For nights out, wear open-neck tops to let the vine sit above fabric lines. Hand placement while sleeping can irritate the area, so consider a sleep pillow arrangement the first week.
8. Single Continuous Line Face Profile on the Upper Arm
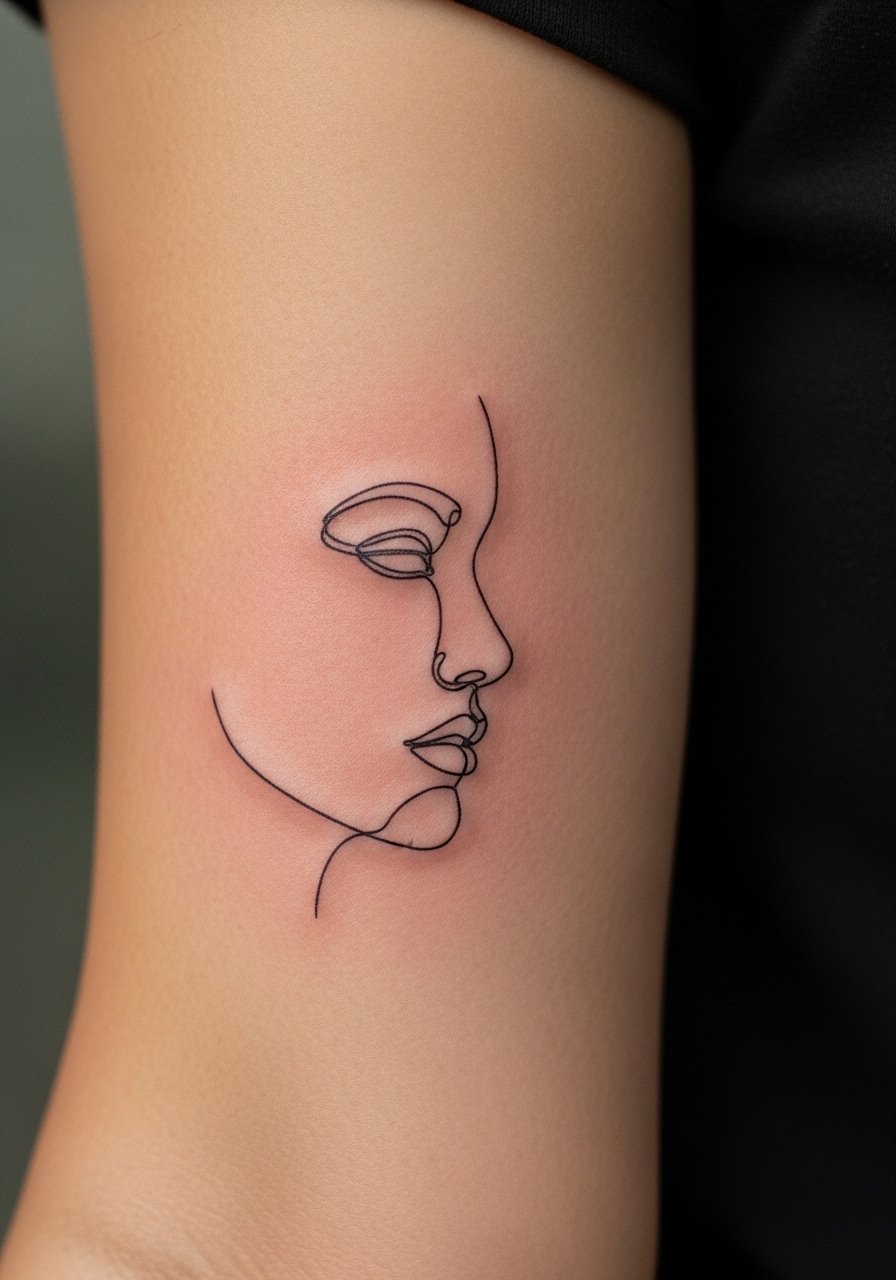
A single-line profile reads modern and holds well on the fleshy outer arm. Tell your artist you want deliberate gaps so facial features remain distinct as the skin ages. Outer arm sessions are low pain and short. Some people request the smallest possible scale which causes features to merge in a couple of years. Placing the piece slightly larger and on fleshier areas avoids that. For the session, a tank top gives the artist full access without fuss.
9. One Line Wave on the Side of the Wrist

This tiny motion piece works well if you want a daily reminder that is easy to hide with a watch or bracelet. Ask for the wave crest to be the slightly darkest point so the shape reads after frequent washing. The wrist faces heavy use so expect a touch-up window earlier than forearm pieces. Sessions are brief and the pain is mild. For showing it off, a minimalist watch or thin stacking bracelets keep attention on the curve without crowding the skin. Avoid asking for micro-dot weights that can blur under pressure.
10. Single-Line Geometric Diamond on the Sternum

Sternum work is a sensitive area with movement and bone proximity. Artists split on the ideal scale, so name your tolerance for touch-ups and ask for bolder outer lines with open interior space. Expect a higher pain rating and a session that may break into two shorter passes. A common mistake is cramming too many interior lines in a small diamond which merges as healing completes. For the appointment, a strapless or zip-front top makes access easier and keeps the area private during breaks.
11. Single Continuous Bird Silhouette on the Upper Back
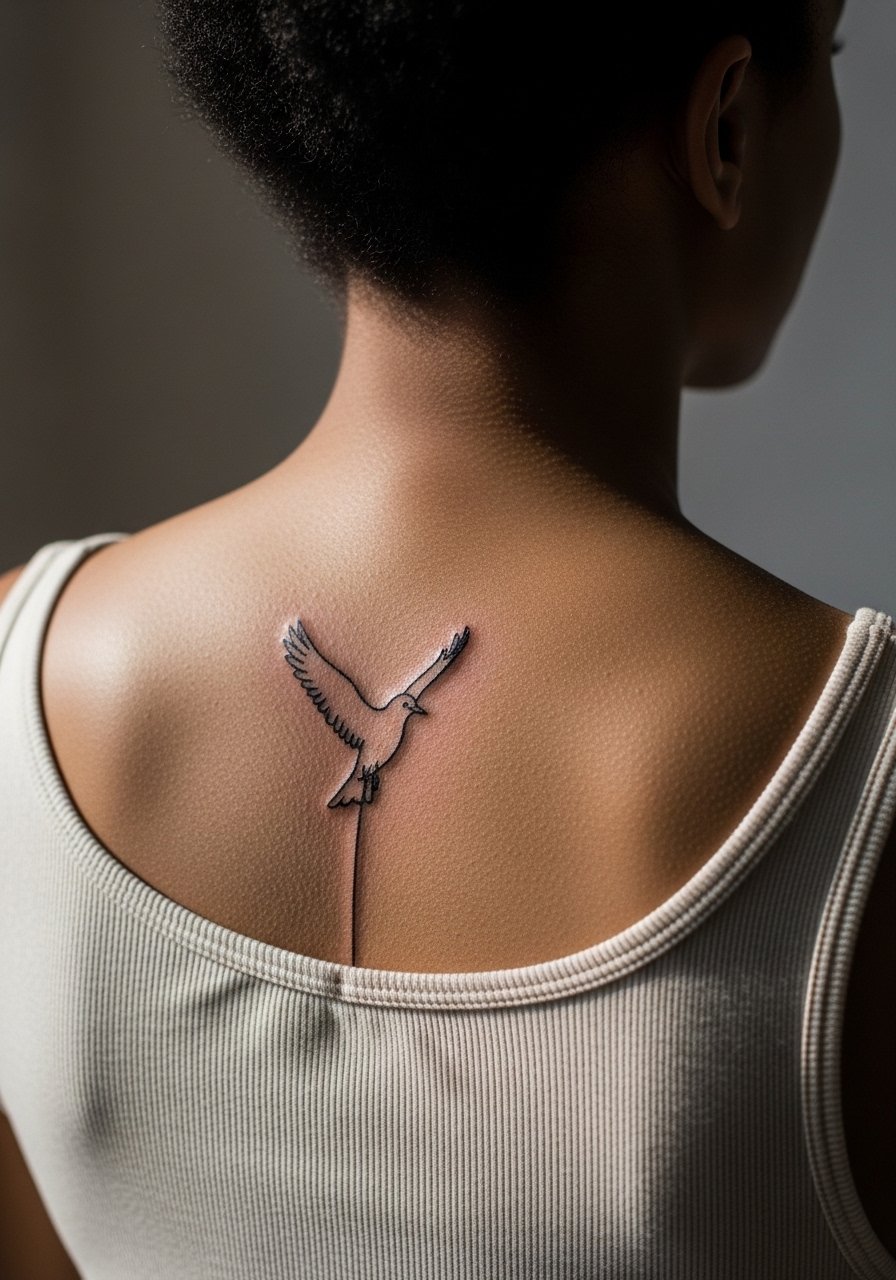
Upper back lets the design breathe and scale well. For a silhouette that stays crisp, request slightly thicker outer contour and minimal interior touches. Sessions here are low pain and can be combined with nearby pieces. People sometimes choose tiny versions that lose wing detail after two years. If you want to show it off, an open-back dress or tank top frames the bird without stealing the focus. Mention future plans for adjacent work so the artist can plan flow.
12. Single-Line Minimal Heart on the Finger
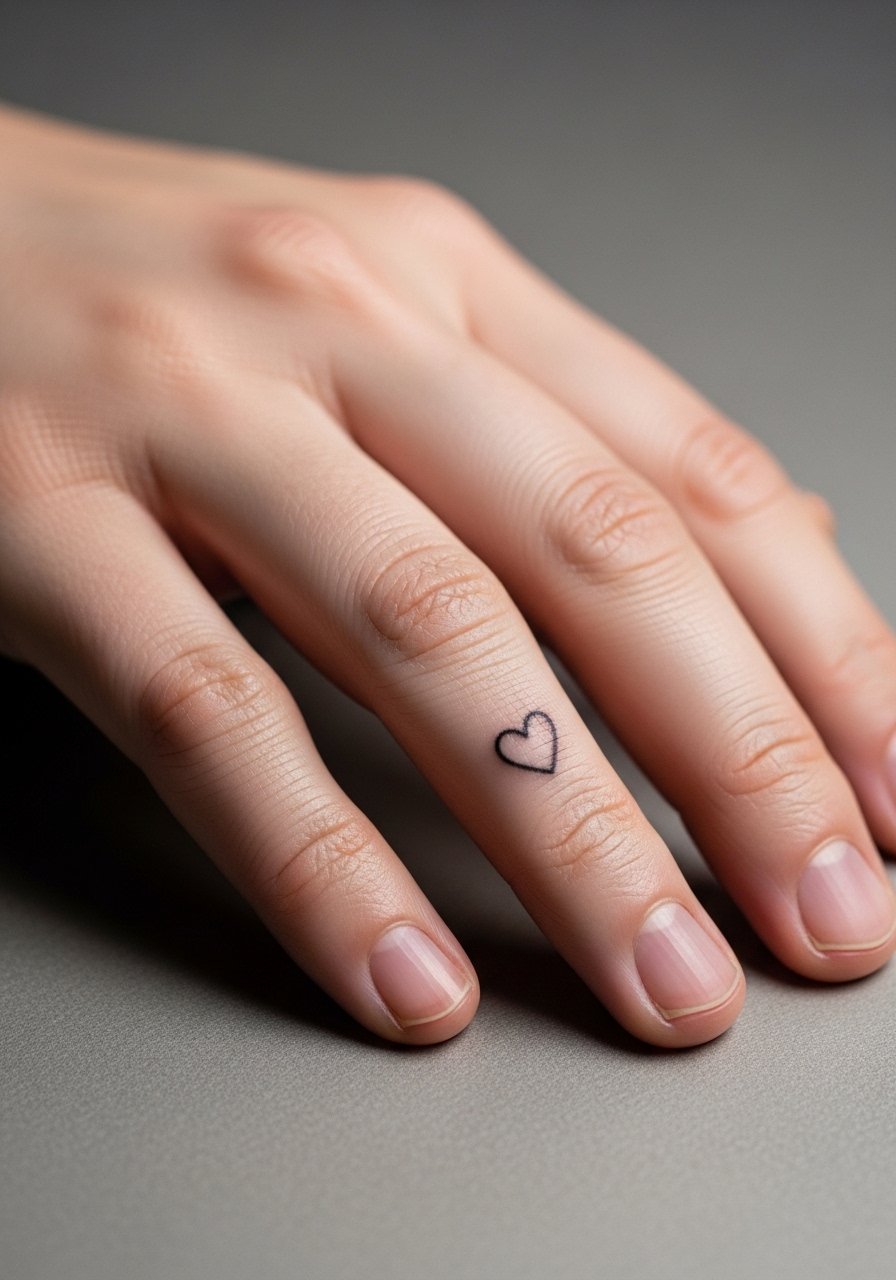
Fingers are a high-wear area. The main trade-off is visibility versus longevity. Expect that finger pieces often need touch-ups within a year because of constant washing and motion. Ask your artist for a slightly bolder pass and prepare for a maintenance plan. The session is quick but can be more uncomfortable than the outer arm. If your workplace is conservative, think about placement choices. For showing a subtle accent, a thin stacking ring on the same finger complements the motif without competing.
13. One Line Floral Ankle Band
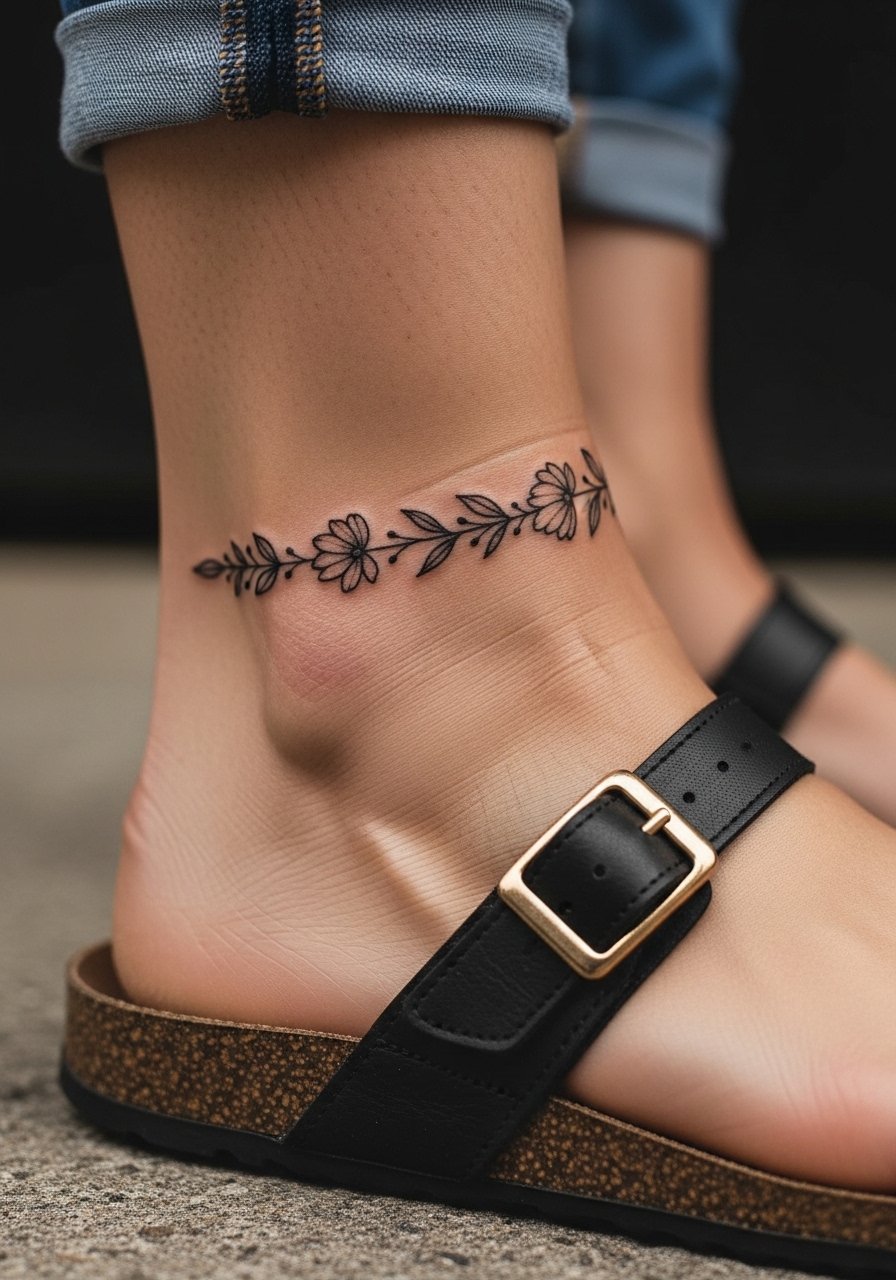
Ankle bands read like delicate jewelry and scale well if spaced properly. Tell the artist you want breathing room between blooms so stems do not merge with everyday movement. Friction from socks and shoes can scab the first week, so session prep matters. Expect a short session and a touch-up conversation at year three. Pair the band with ankle strap sandals to make the design part of your outfit. Avoid asking for ultra-fine leaf veins which rarely survive repeated abrasion.
14. Continuous Wave Line Along the Calf
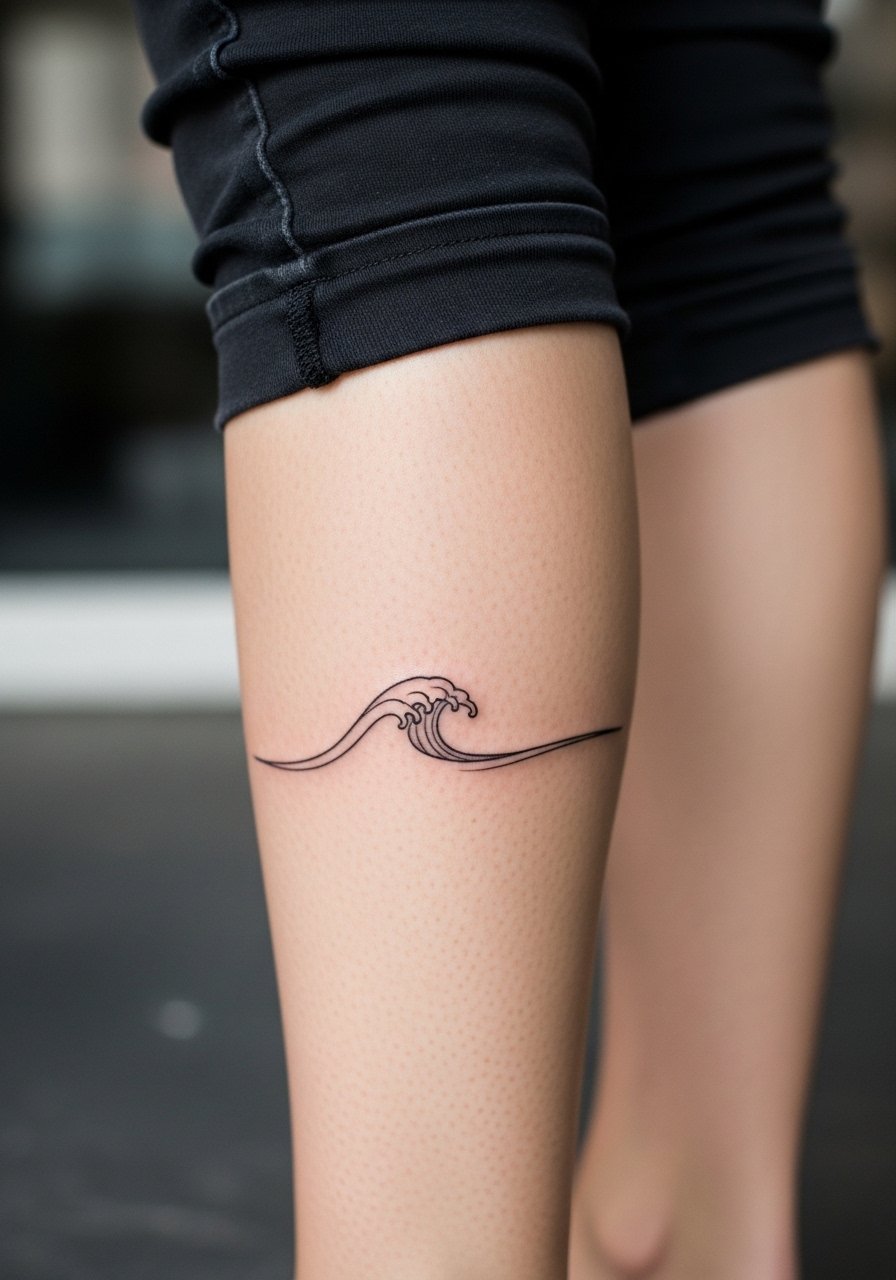
Calf placement is forgiving and keeps one line long without excessive compression. A good consultation covers how the design reads standing and seated since muscle shape changes with movement. Sessions are medium length and pain is low to moderate. A mistake is asking for too many tight undulations that merge after the first year. For session comfort, wear loose drawstring linen pants so the artist can roll the leg without pressure on the tattoo zone.
15. Single-Line Minimal Portrait on the Bicep
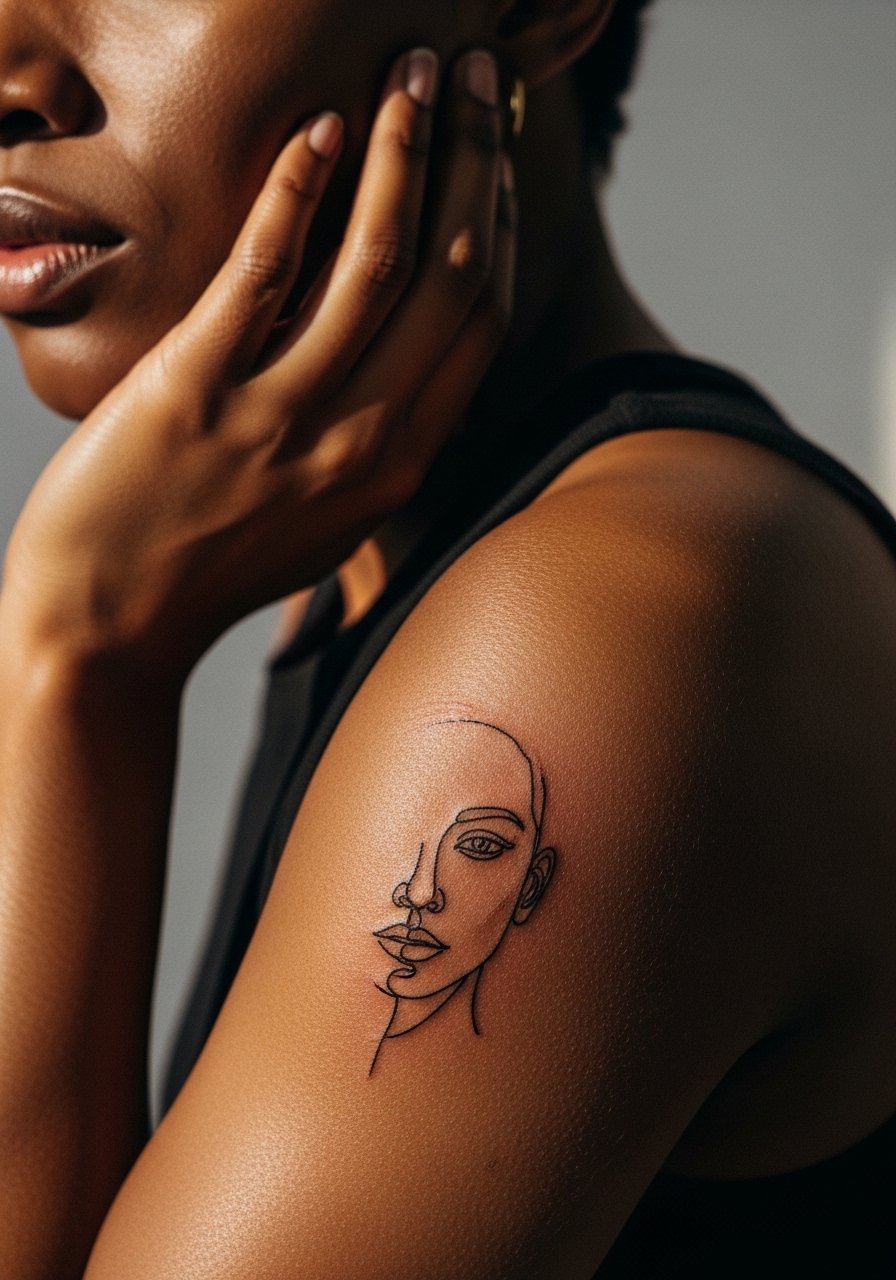
One-line portraits need scale to keep features distinguishable. Tell the artist you want introduced negative space for eyes and mouth. Biceps are fleshy which helps the lines settle, and sessions are low pain. The common error is requesting a tiny face which loses expression within a couple of years. For showing it off in casual looks, a short sleeve rolled tee frames the portrait without hiding it. Discuss future sleeve plans if you think you might expand around the piece.
16. Continuous Botanical Spine Line
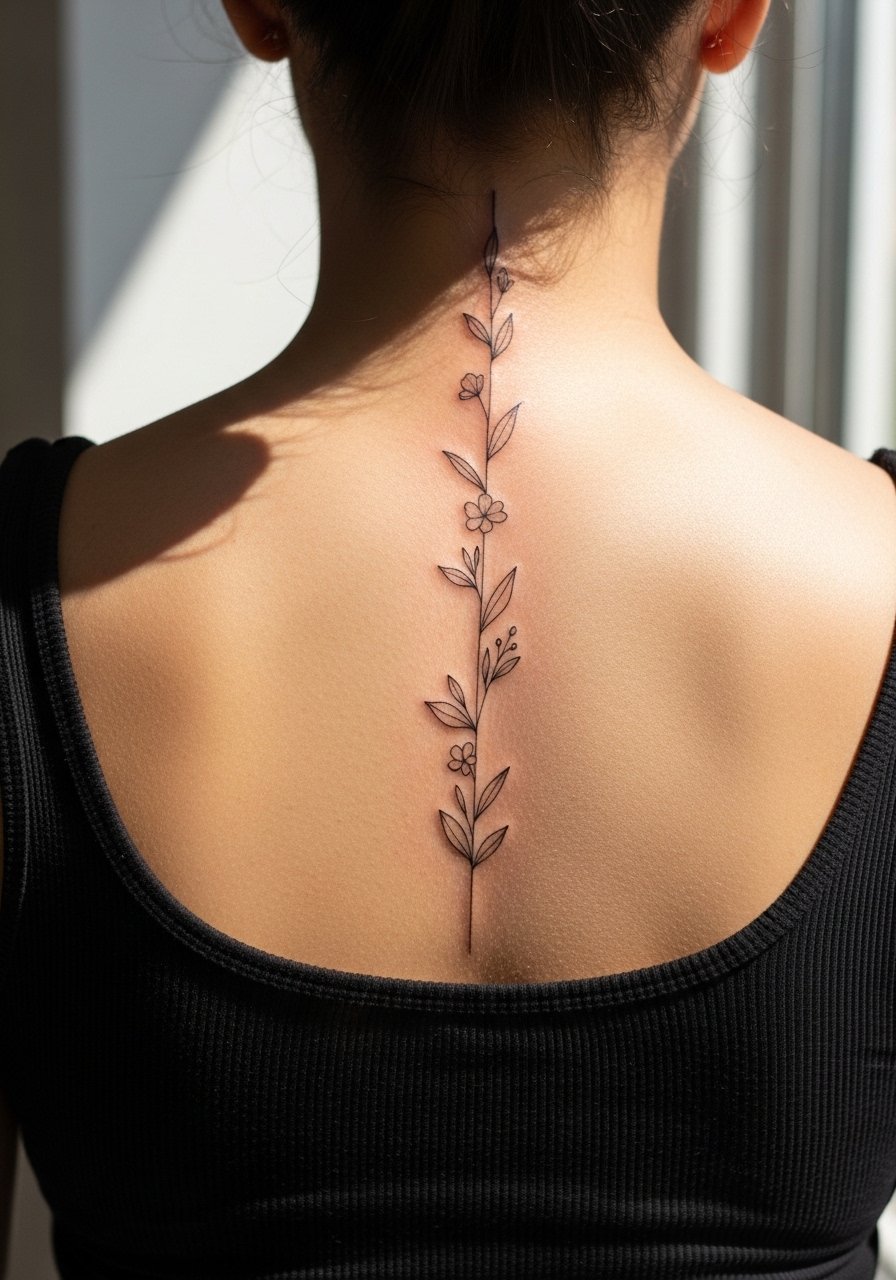
Spine work reads dramatic even in simple one-line versions because of the vertical canvas. Pain varies and can be high near the vertebrae. Ask for breaks in the stem pattern so skin tension does not pull details together as it heals. Sessions may be split and a touch-up at year two is common if the pieces sit tight to the bone. If you plan to wear show-back garments, an open-back top highlights the line without revealing too much. Mention sleep positions during consultation since pressure while sleeping can affect early healing.
17. One Line Minimalist Leaf on the Inner Bicep
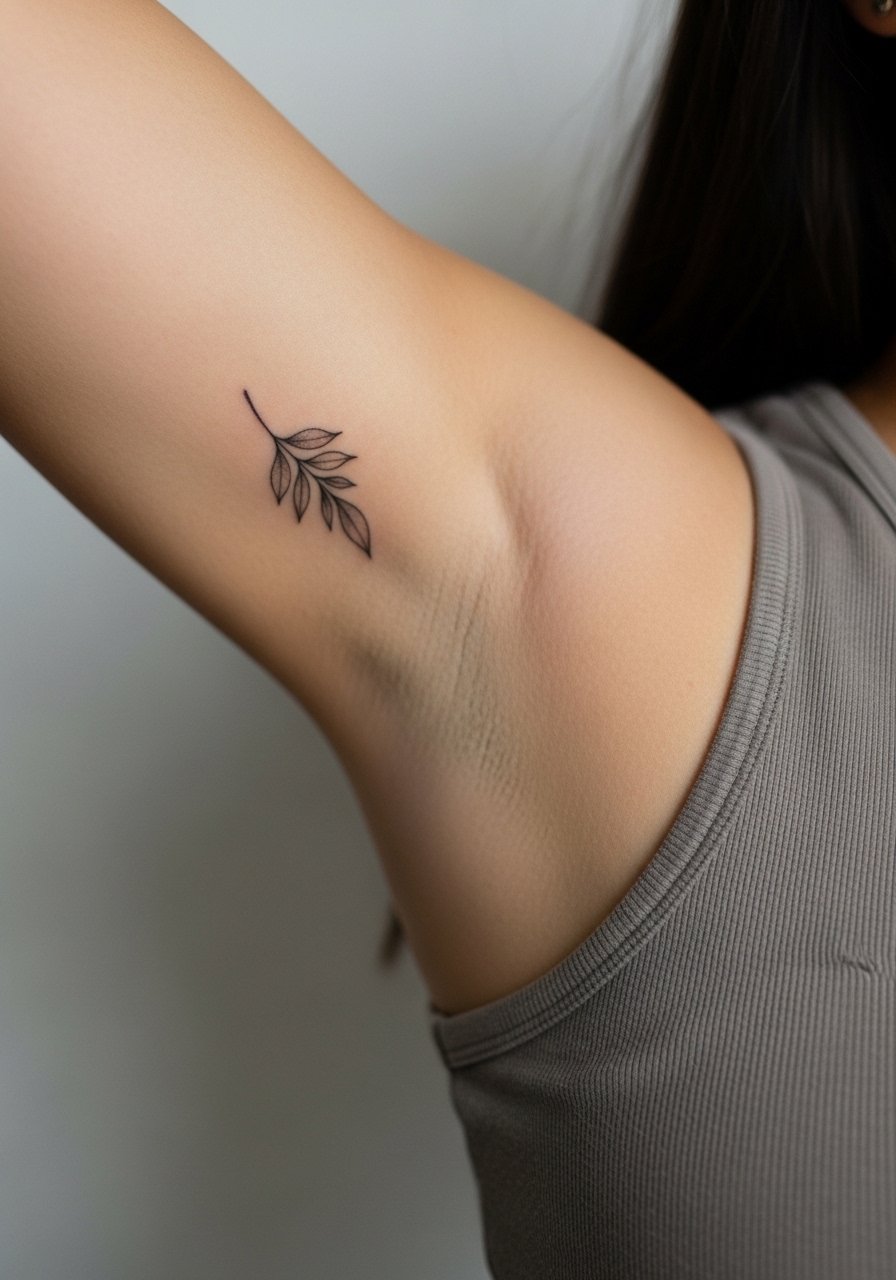
Inner bicep skin is soft and moves a lot, so spacing matters. Ask your artist for a slightly thicker leaf spine with open veins so the shape keeps its identity at six months and beyond. Pain is moderate because of the area sensitivity and sessions are short. A frequent mistake is asking for ultra-fine veins that fade into a patchy look. For the appointment, a racerback tank lets the artist access the spot without tugging at the shoulder seam.
18. Single Line Minimal Anchor on the Side Rib
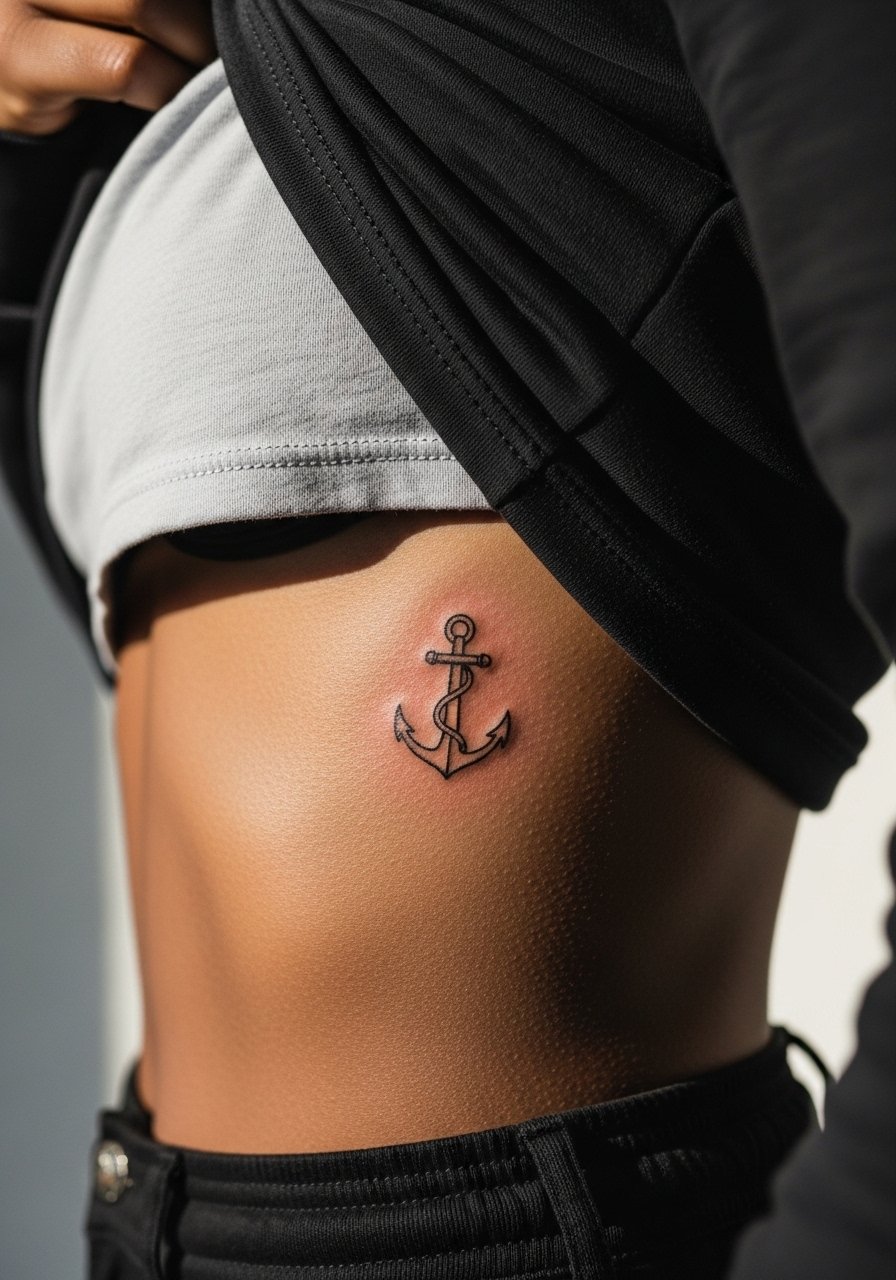
Rib anchors are bold statements in a tiny package but they ask for realistic expectations. The two camps on fine line ribs repeat here. One group warns that constant breathing and skin stretch cause early blurring. The other group points to technique and spacing as the deciding factors. Ask your artist which camp they practice and opt for spacing that reduces risk. Pain is high and the session time depends on the artist's pacing. For comfort during the session, a zip-up hoodie you can loosen works better than a top you have to remove.
19. Continuous Minimal Leaf Wreath Around the Thigh
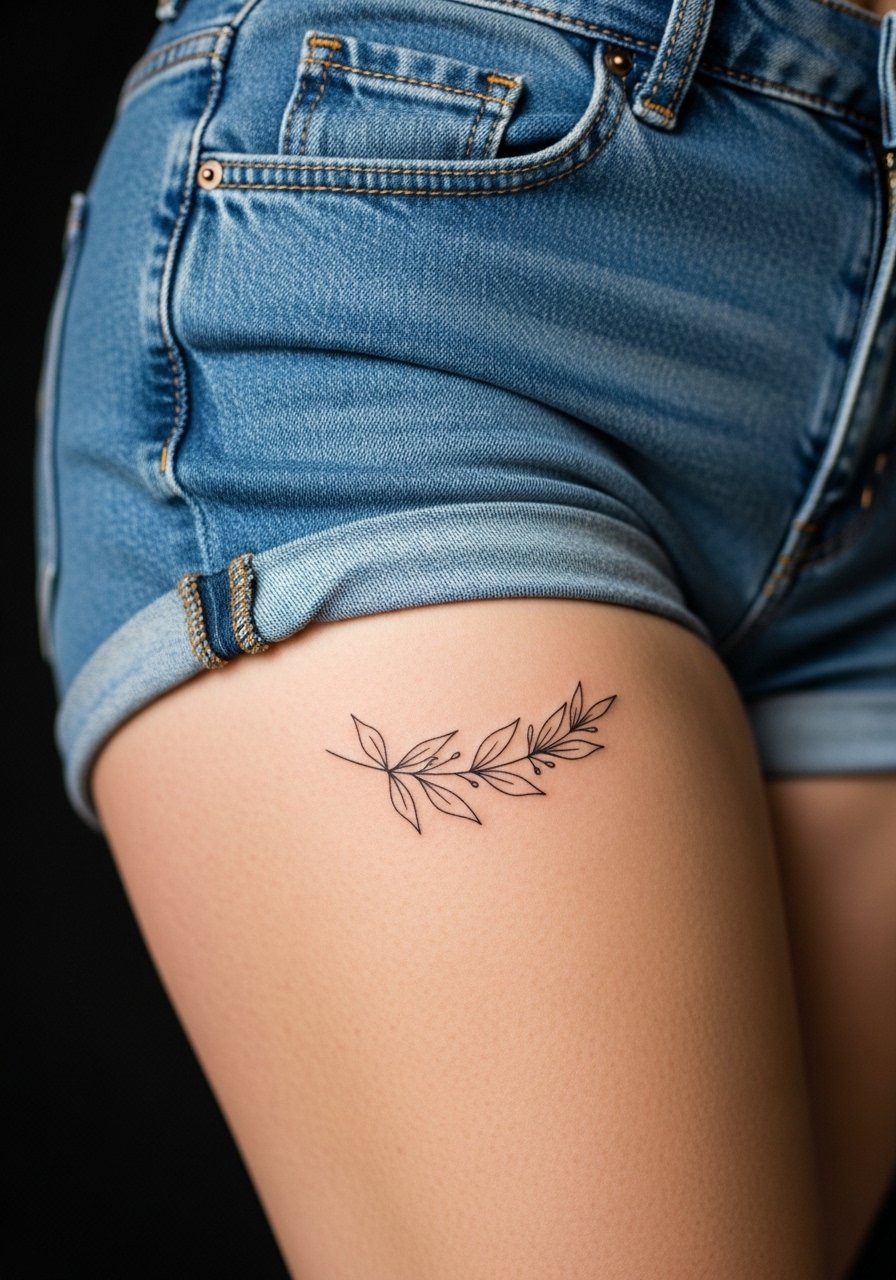
Thighs offer a forgiving canvas and the wreath reads well when spaced for muscle contour. During consultation, mention whether weight fluctuation is a concern so the artist can place the line away from stretch-prone areas. Sessions are comfortable and can be longer. A mistake is wrapping the wreath too tightly which leads to detail loss when the leg moves. For session wear, pull on high-waisted shorts so the artist can expose only the working area without you feeling exposed.
20. One Line Minimal Geometric Band on the Forearm
Forearm bands age predictably if given room to breathe. Tell the artist you prefer slightly aired gaps between angles so the pattern does not fill in as the ink settles. Pain is low and session time depends on circumference. A common mistake is choosing a band with too many micro-angles which blur after a few years. For daily styling, roll a sleeve or cuff so the band peeks out with a minimalist cuff bracelet.
21. One Line Minimal Wave on the Collarbone Edge
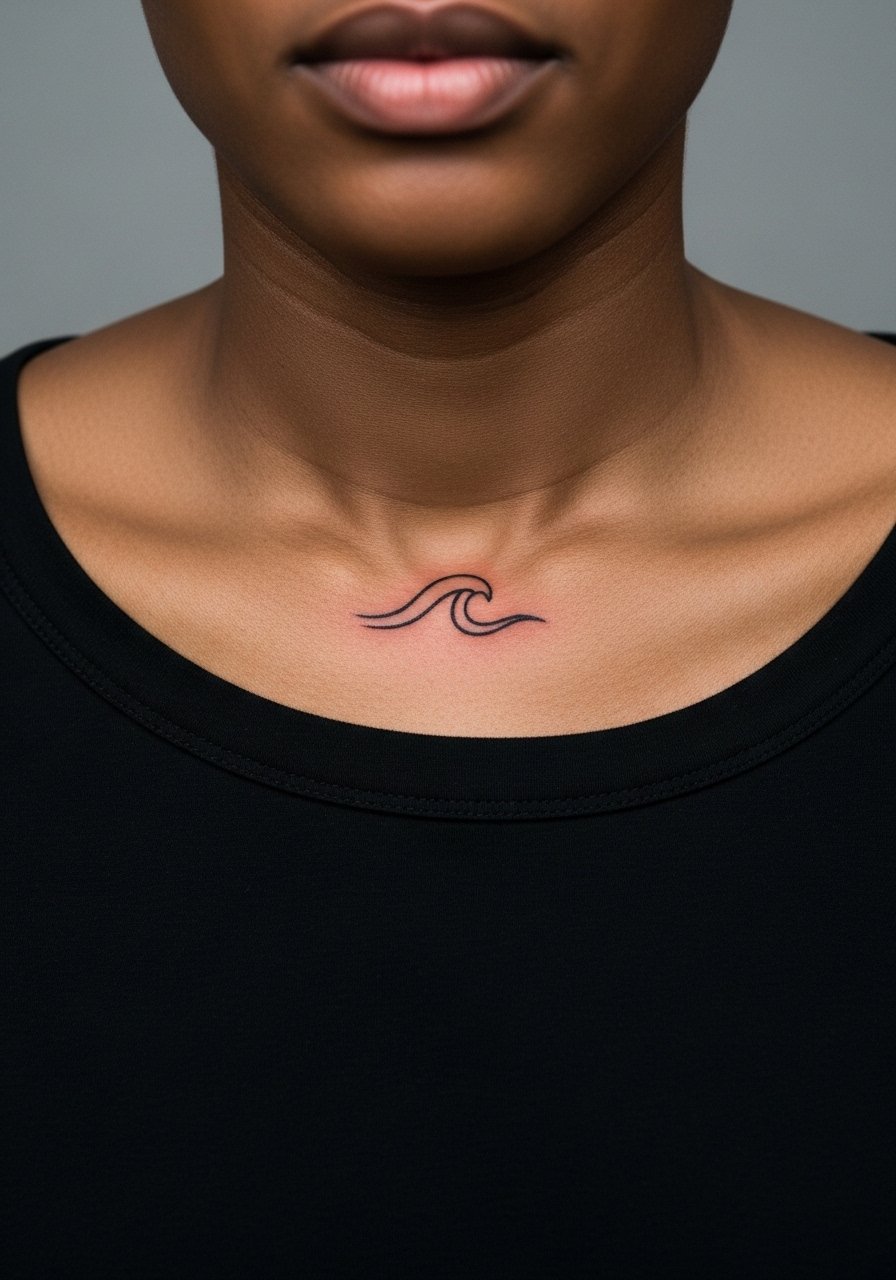
Placing a wave along the collarbone edge reads delicate when it follows the bone contour. In consultation, point to exactly where you want the crest relative to clavicle width so the piece does not look off-center in photos. Pain is moderate and sessions are under an hour. People often ask for hairline crests which wash out in two to three years, so a touch of boldness helps longevity. Pair the wave with a thin chain pendant necklace that sits just below the crest to create a layered effect.
Frequently Asked Questions
Q: How long do elegant one line tattoos typically stay crisp on the wrist and ankle?
A: From what I have seen, wrist and ankle pieces face more abrasion from daily use and washing. Expect a potential touch-up around year two to three for the finest weights. Choosing slightly bolder anchor points and planning for maintenance keeps the lines readable longer.
Q: Are fine one line designs on the ribs worth the pain and risk of blurring?
A: The answer depends on your priorities. One camp argues ribs stretch and soften fine lines quickly. The other camp finds a compromise with spacing and depth that preserves the design. If you want ribs, ask the artist where they fall and accept that a touch-up at year two is common.
Q: For showing off collarbone and sternum pieces what clothing actually works best?
A: Wide-neck tops, open-neck blouses, and fitted sports bras are practical choices that reveal the area without overexposure. A simple link for open-neck styles is open neck blouse which helps when planning outfit pairings.
Q: Will a single-line tattoo on the finger ruin my chances at some jobs?
A: Finger tattoos are very visible and some employers still have conservative policies. If you work in an industry with strict appearance rules, consider inner finger placement or confirm company policy. Also factor in the likely maintenance schedule since finger ink fades faster.
Q: How should I prepare for a rib or sternum session day?
A: Wear clothing that gives the artist clean access without you being fully exposed. A fitted sports bra or zip-up top that you can loosen is practical. Bring a water bottle and expect breaks. Numbing options and planned short passes can ease the experience.
