
Fine line Om tattoos are everywhere on saved boards right now, and one hard truth keeps coming up. The look is delicate and stills scrolls well, but the lines that read crisp at month one can soften if placement, spacing, and sun exposure are ignored. Start with the right placement and the right consultation and you get a minimalist piece that stays readable for years. First up is a classic wrist placement and why it works.
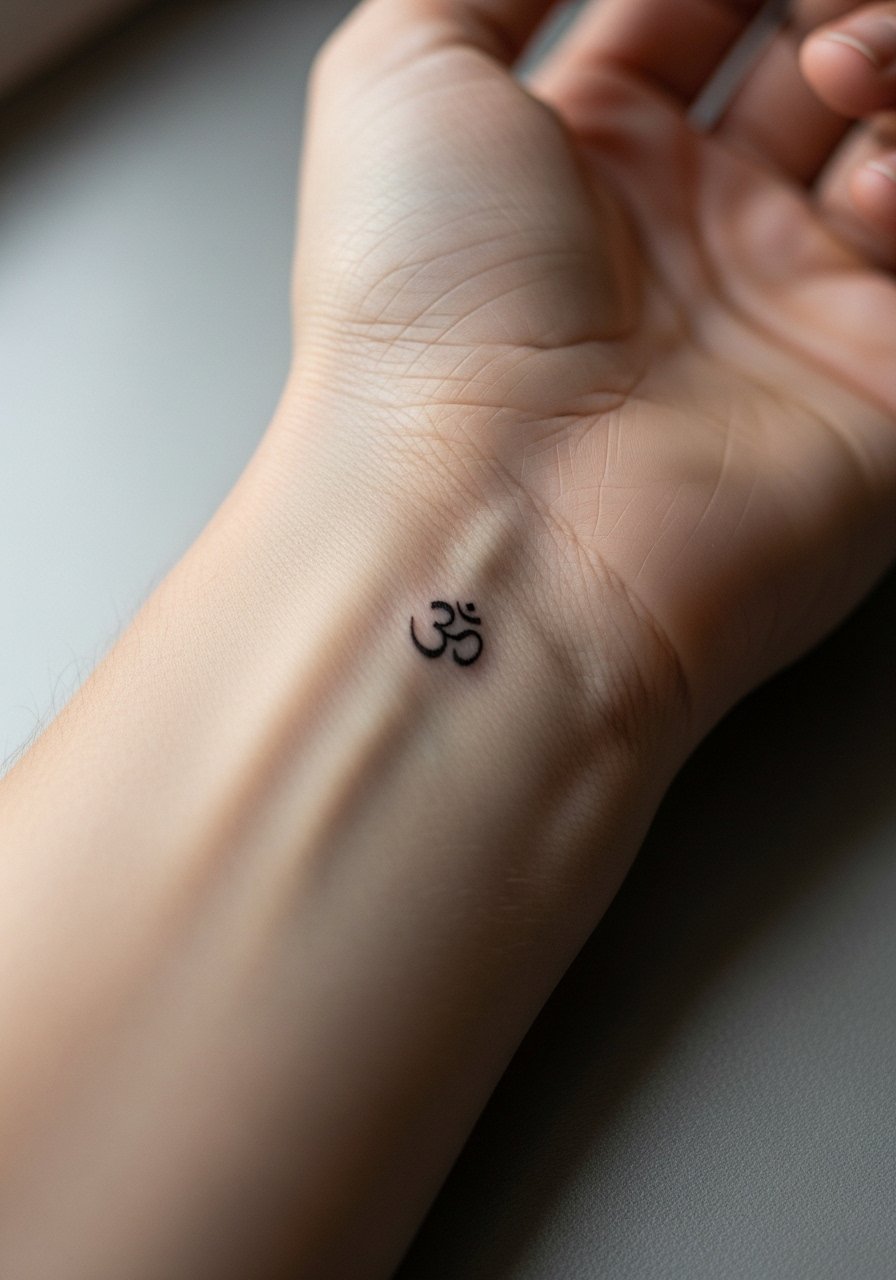
1. Tiny Om on the Inner Wrist
I've seen tiny wrist Om pieces last or blur depending on spacing and touch-up plans. For this placement, expect a short session and a sharp sting since the wrist is thin-skinned. Tell your artist you want slightly more spacing between the strokes than the reference so the lines do not merge over time. A common mistake is asking for hairline strokes that are too close together. For showing it off, pair the piece with stacked bracelets or a minimalist watch. Try a set of stacked dainty bracelets that sit above the tattoo without covering it. The healed look at two years usually shows some softening, and plan for a touch-up around year three if you want crisp edges.
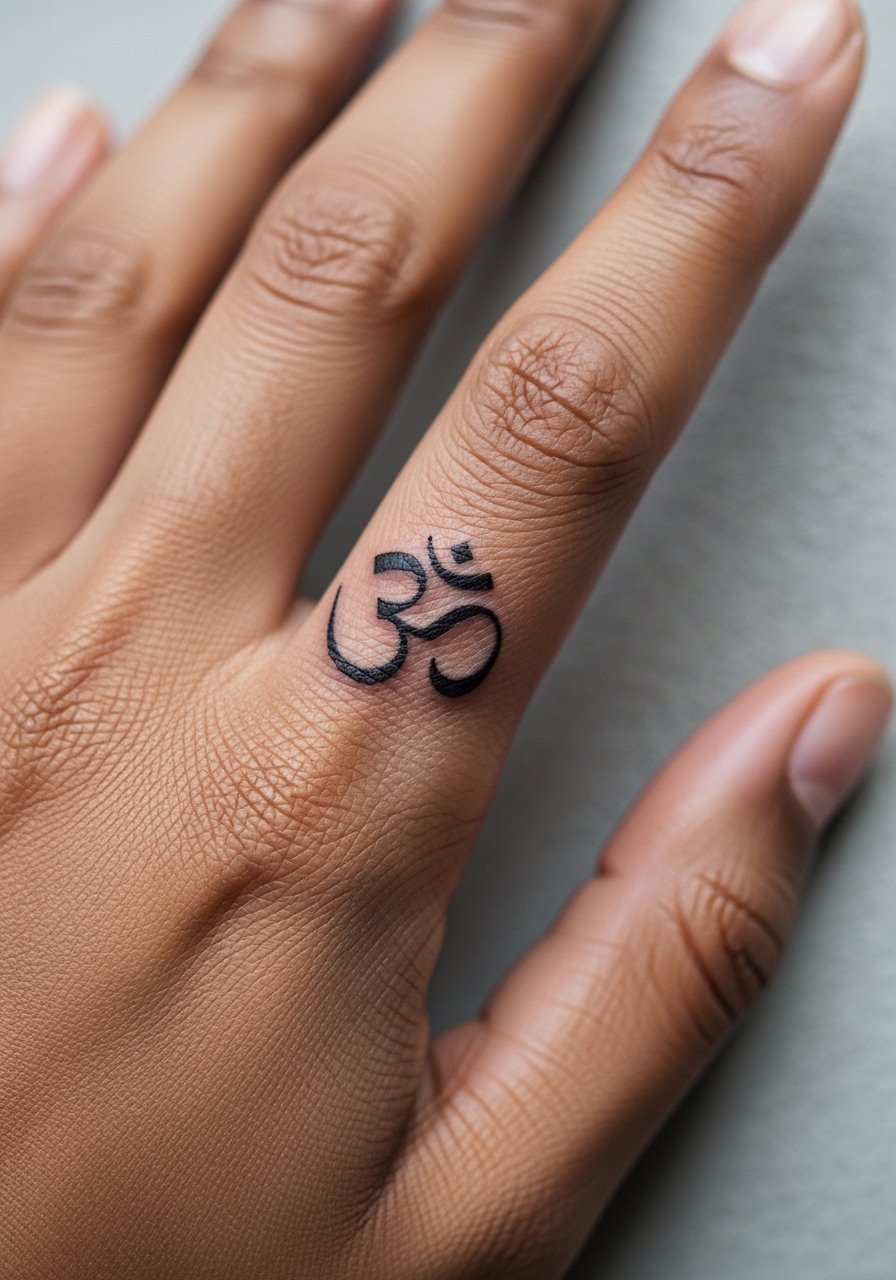
2. Micro Om On The Finger Side
Fair warning: fingers are one of the highest touch and wash zones and most artists rate them a seven out of ten for touch-up probability. The session is quick but the healing is fussy because of constant motion and water exposure. When consulting, ask the artist for slightly bolder linework than your first instinct so the form reads after scabbing. A frequent mistake is asking for ultra-thin strokes that vanish within a year. Expect a thin scabbing week and potential touch-up at year one. For placement safety, show only the hand in photos. If your job involves frequent handwashing, consider this before booking.
3. Om at the Collarbone
Most collarbone pieces age well when given room and correct placement. The collarbone skin moves with shirts and straps, so tell your artist you want the symbol centered and slightly above the bone to avoid distortion when you move. The pain is moderate. Many people ask for tiny script right on the bone and then regret the blurring after a year because the area rubs against clothing. For showing off, pair this with a thin chain pendant necklace that sits just above the Om without competing. Expect the tattoo to hold shape best if the linework is modestly weighted and you avoid constant friction from tight collars.

4. Vertical Om on the Inner Forearm with Dot Work
There is something about a vertical Om with stipple shading that reads clean across seasons. The inner forearm gives enough flat real estate to keep linework from crowding and to let dot work breathe. During consultation, bring a few references showing desired dot density and exact vertical placement. The session feels steady and manageable. Common mistakes include packing too many dots into a small area which ages into a muddy patch. For casual outfits try a rolled linen shirt the next time you want to show the forearm, the neutral texture frames linework without glare. At two years the dot work softens, but spacing preserves legibility.

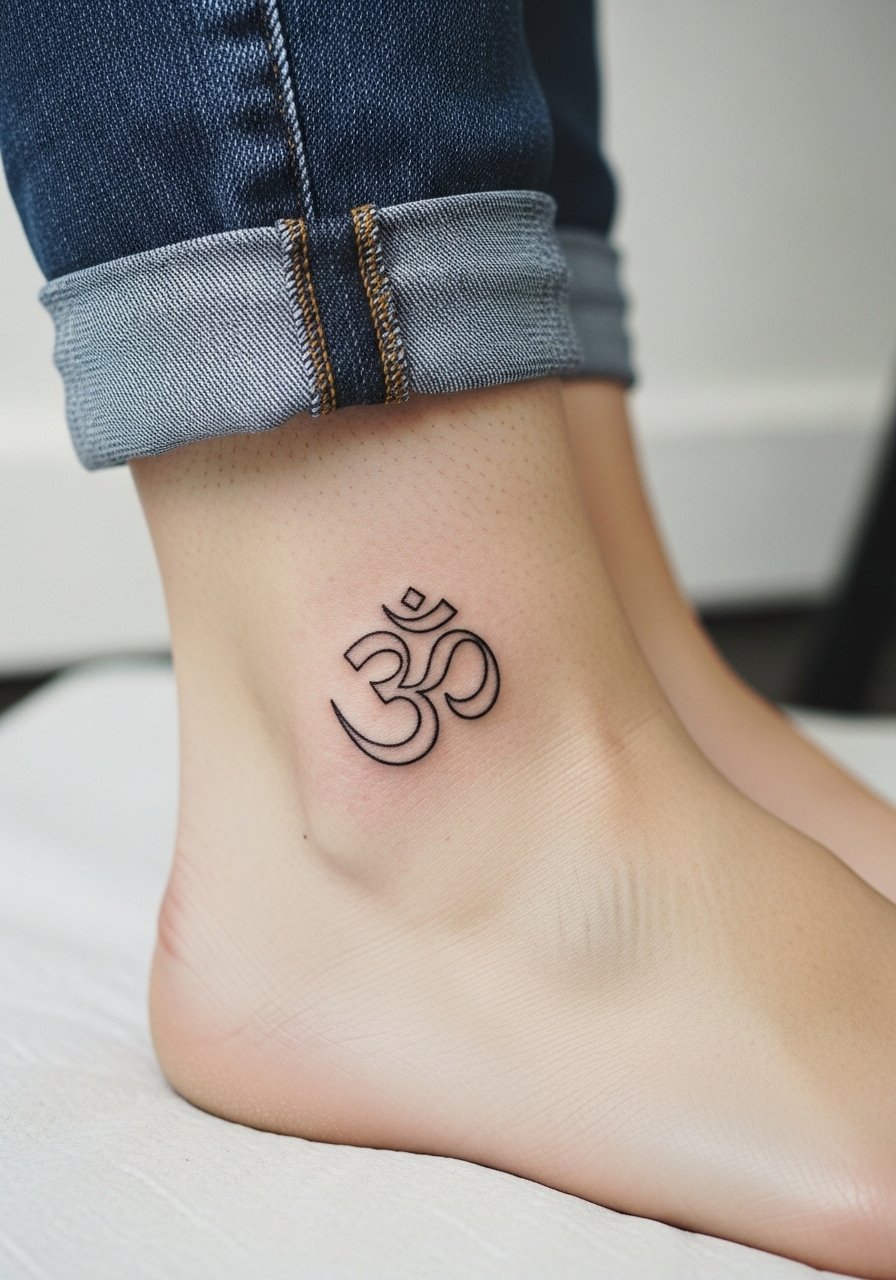
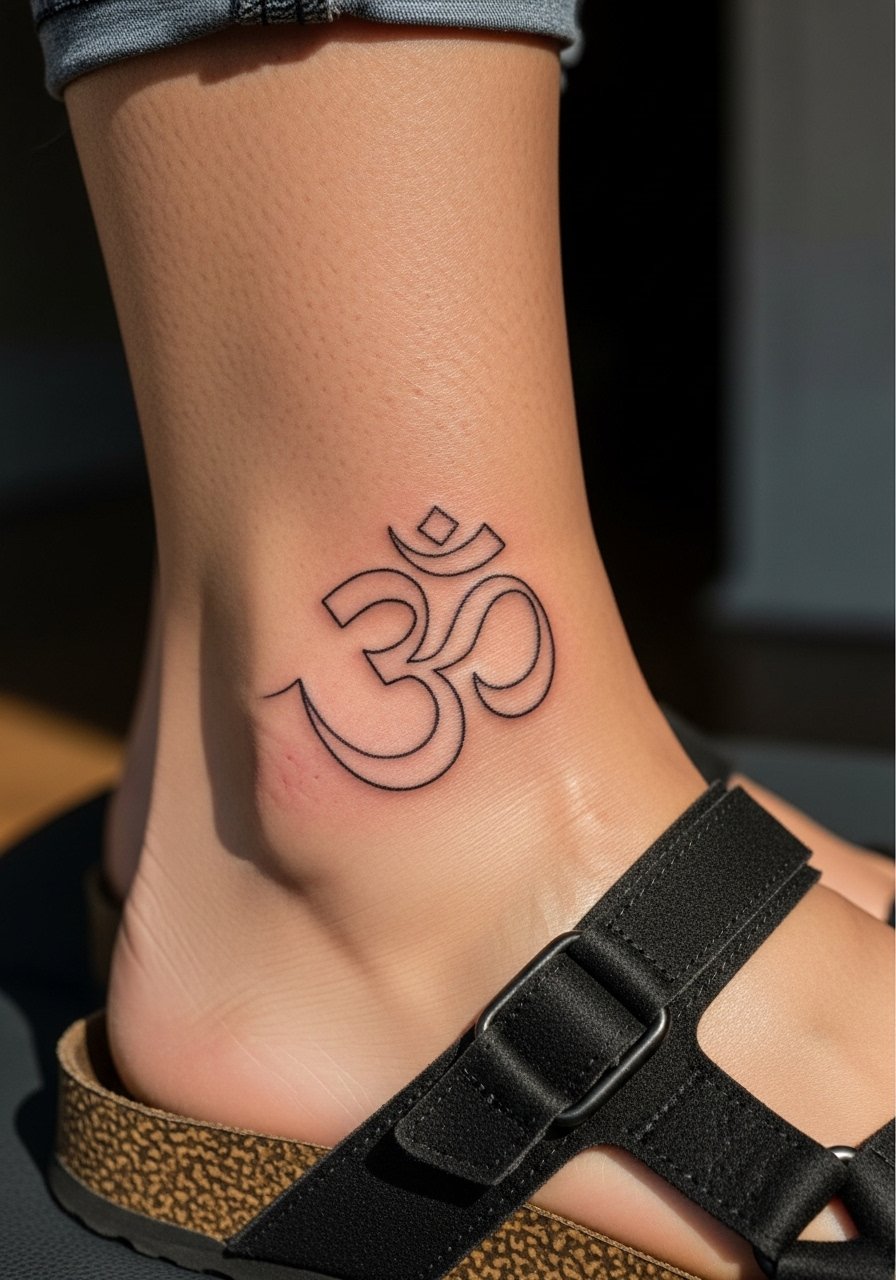
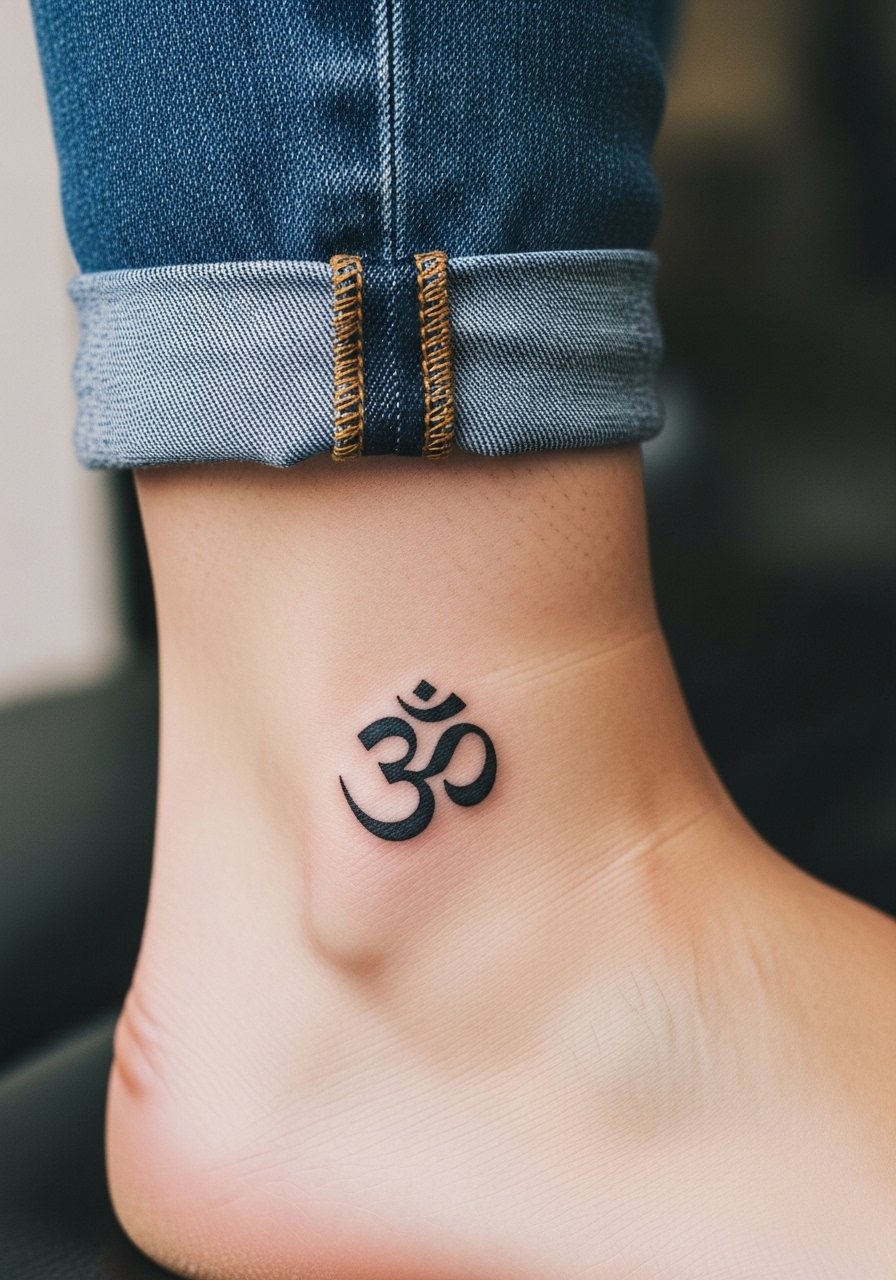
5. Tiny Om Ankle Tattoo
The ankle is a playful spot that reads well with footwear, but it sees rubbing from socks and shoes. The session is brief and the pain is mild to moderate near bone. Avoid placing the Om directly where a shoe strap sits; ask the artist to shift it slightly higher. A common complaint is that ankle Om tattoos get scuffed by sandals and boots the first month. For showing it off in summer, try sandals with an ankle strap that let the piece peek free. Expect slightly faster fading than the forearm and plan a touch-up if you wear shoes that rub the area every day.
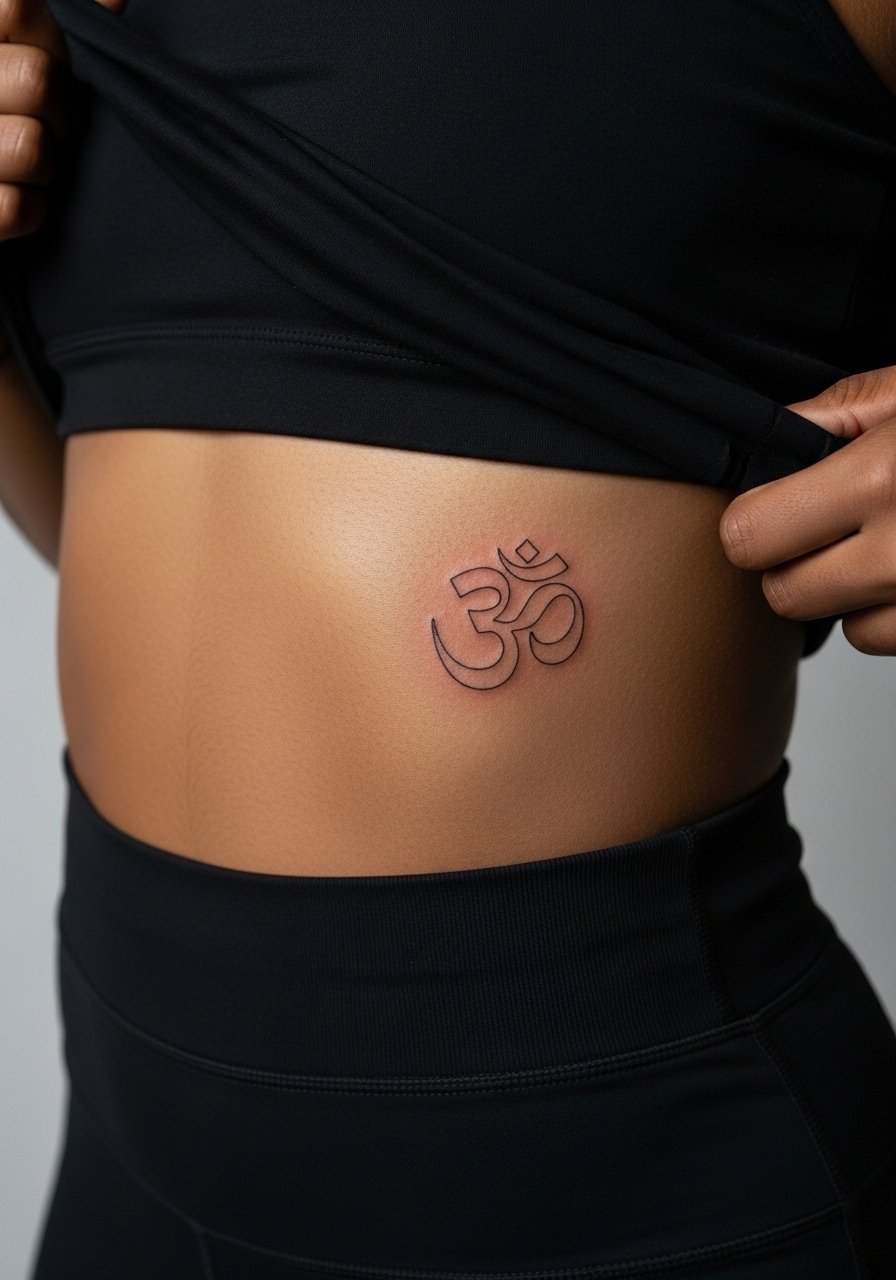
6. Fine Line Om on the Ribcage
Artists split on fine line on ribs. One camp argues the skin stretch and breathing make lines blur within two years. The other camp says that with correct depth and spacing it can settle just fine. Be explicit with your artist about how much movement you expect the piece to endure. The ribcage is high on the pain scale and sessions can be long if the design is dense. The common mistake is asking for dense detail in a narrow area. If you choose this spot, wear a cropped top or a shirt lifted slightly for the session so the artist has clean access. Expect a longer healing window and plan for a possible touch-up at year two.
Pre-Session Essentials
Those wrist, finger, collarbone, inner forearm, ankle, and ribcage ideas above call for different prep. A few targeted items smooth the session and early healing for the delicate lines in ideas 1 through 6.
-
Stencil transfer paper kit. Allows you to preview the Om placement on skin before the machine starts, which matters a lot for small pieces on wrists and collarbones.
-
Topical numbing cream. Apply about 45 minutes before for ribcage sessions if you need the edge taken off without compromising the artist's work.
-
Thin protective film roll. Handy for finger and ankle tattoos that see a lot of friction during the first week.
-
Fragrance-free gentle body wash. Cleans healing fine line work without irritating delicate ink channels.
-
Aquaphor healing ointment. Thin layers in the first days help keep moisture balanced for small fine line pieces.
7. Micro Om Behind the Ear
When you sit down with your artist for a behind-the-ear piece, bring photos that show exactly where below the hairline you want the mark. The area is discreet and heals differently because it is sheltered and not exposed to sunlight as often. Sessions are short but precision matters because the skin is thin. A common error is requesting too much tiny detail that the spot cannot hold. For the appointment, pin your hair back or wear a hairstyle that keeps the area visible. For styling, a wide-neck shirt with hair tucked behind the ear showcases the piece subtly. The healed look is tidy because the spot avoids direct sun.

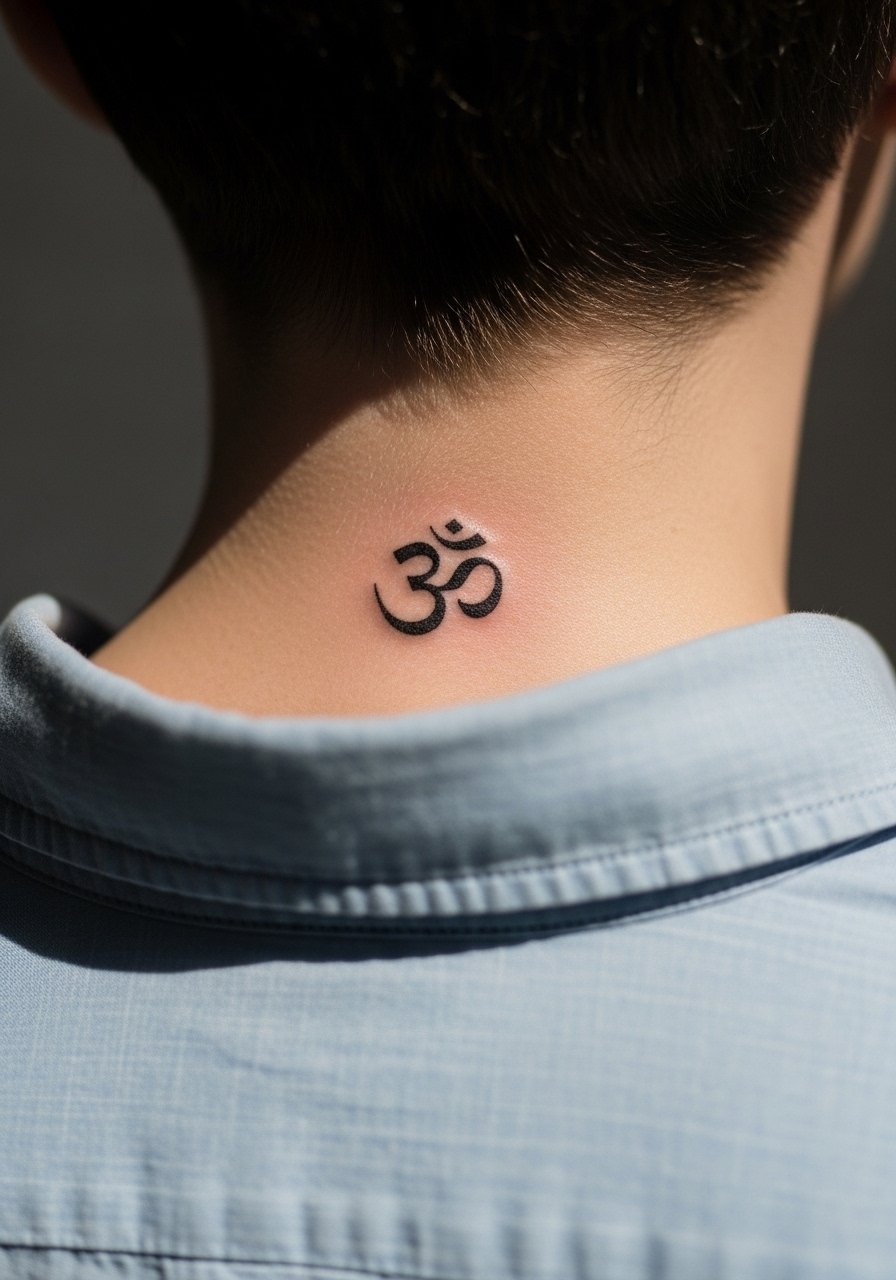
8. Small Om on the Back of the Neck
This placement reads bold if centered but can be hidden under hair when needed. The session is short and the pain is moderate. Tell your artist if you wear high collars or turtlenecks a lot since clothing can rub during healing. The mistake I see is putting the symbol too low where collars press, which speeds fading. For showing it off, pair with a wide-neck blouse or a low ponytail so the mark becomes part of your neckline. Hands-on professions might consider how often the area will be rubbed by collars before booking.

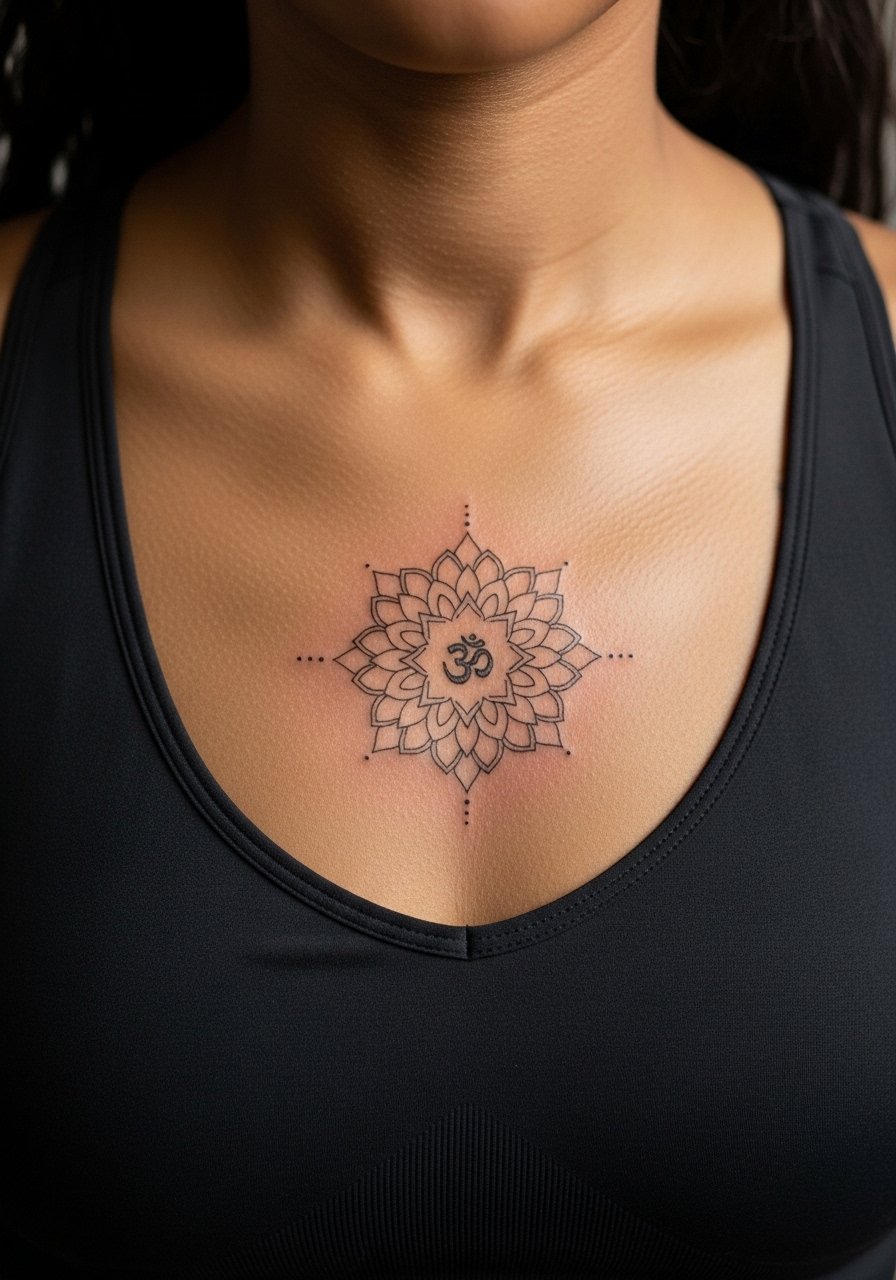
9. Om Within a Tiny Mandala on the Sternum
Most sternum pieces require a specialist touch because the skin moves and the area is sensitive. Expect a higher pain score and a longer single session if you want surrounding dot work. The common mistake is crowding a dense mandala too close to the sternum line which then blurs with movement. If you choose this, wear a fitted sports bra or bandeau for the appointment so the artist can access the area cleanly. Also consider whether your wardrobe will expose the piece frequently. The healed result looks best when the negative space in the mandala is respected.
10. Minimal Om at the Nape
There is a visual economy to a tiny nape tattoo that sits just below the hairline. Pain is moderate and healing is straightforward if you avoid neck creams and heavy perfumes near the area. The mistake people make is placing it too low where shirt collars scrape. During consultation ask for the piece to be placed high enough to live under most collars but low enough to peek out with certain hairstyles. For sessions, wear a button-up you can pull to the side to give clean access without full exposure. Expect good longevity so long as sun and abrasion are limited.
11. Om Ring Tattoo Around the Wrist Bone
The wrist bone is unforgiving for tiny wrapping tattoos. The biggest mistake is trying to wrap an ultra-thin band too tightly. That pressure makes the ink migrate and the design soften. When you consult, ask the artist for a slightly wider lineweight and a small gap in the wrap so the skin has room to move. Sessions are short but the healing week requires careful soap-and-water care. For showing this piece off, try pairing with a minimalist watch or a single slim bracelet that complements rather than hides the ring. Expect a touch-up at year two for most wrapping designs.

12. Tiny Om on the Upper Shoulder
Most shoulder pieces weather well because the area is less exposed to constant friction and it gets sunlight in summer. The session is comfortable and healing is straightforward. A common error is choosing a placement that disappears under sleeved tops more than you expect. Tell the artist how often you wear tanks versus tees so they can place the Om accordingly. For the session, a loose button-down shirt you can pull aside will make access easy without fully undressing. Over five years the shoulder typically keeps fine line definition better than hands or fingers.

13. Om on the Side of the Foot
Side of foot tattoos face friction from shoes and frequent washing which speeds fading. In consultation, discuss how often you wear closed shoes versus sandals so the artist can nudge the placement away from pressure points. The session stings more near bone and the healing window is longer because scabs form where the skin flexes. For the appointment, wear loose drawstring linen pants so you can roll the leg up without pressure. Expect touch-ups sooner than the forearm pieces, especially if you favor closed shoes daily.
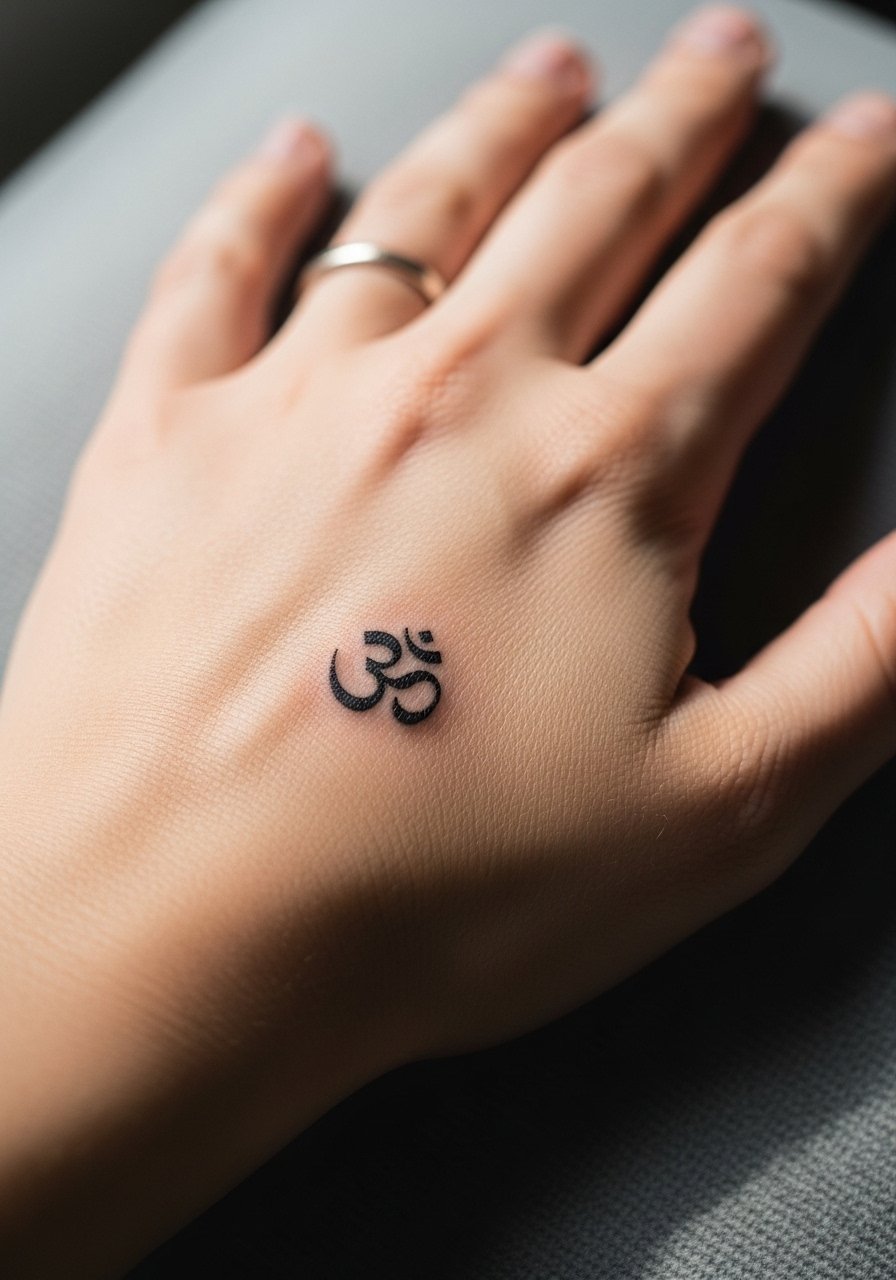
14. Micro Om on the Back of the Hand
There is real debate about hand tattoos and employment implications. One camp accepts the trade-off and values visibility. The other camp recommends discrete placements because hands remain highly visible in most professional settings. Be honest about your work situation before booking. The back of the hand ages fast because of washing, sunlight, and constant use. The common mistake is treating a hand piece like a low-maintenance accessory. If you go ahead, keep expectations realistic and plan for frequent touch-ups.
15. Om Integrated Into a Delicate Wrist Chain Design
I've seen integrated chain-style designs hold up when the chain links are given breathing room. The wrist is thin, so give the illusion of links without tight, hairline connectors. The session is short and the pain is mild. A frequent error is asking for overly tight linkwork that crowds the Om and blurs after six months. For showing it off, layer with a racerback tank or rolled sleeves so the wrist remains visible in summer. Most people enjoy the look for years if they accept a possible touch-up at two to three years.

16. Tiny Om Near the Hip
This spot is intimate and often hidden so it takes wear better than hands. For session wear, pick high-cut shorts or jeans that you can shift so the artist accesses only the hip area. The common mistake is asking for very tight placement near a waistband which causes constant rubbing. For casual show-off looks try high-waisted shorts that reveal the piece without constant abrasion. Expect long-term legibility as long as you avoid repetitive friction from tight belts or low-rise waistbands.

17. Small Om Above the Ankle Bone
Fair warning: areas above the ankle bone sit in a high-flex zone and often face boot and sock friction. The session is quick and the pain depends on how close to bone the needle lands. A common mistake is placing it where a sock cuff sits. During your consultation ask for a placement that avoids habitual pressure points from shoes. For show-off moments in warm months, pair with cropped pants or a midi skirt so the piece is visible without constant shoe contact. Expect a touch-up earlier than forearm work if you wear heavy boots frequently.
Frequently Asked Questions
Q: Will a fine line Om on my ribs blur faster than one on my forearm?
A: It depends on movement and spacing. Rib skin stretches with breathing and clothing friction, which increases blur risk. A forearm Om usually keeps crisper lines longer because the skin is flatter. If you want ribs, ask for slightly more spacing and plan for a possible touch-up at year two.
Q: Can a finger-side Om survive daily handwashing without frequent touch-ups?
A: Fingers are high maintenance. Expect faster fading because of soap and motion. You can reduce touch-ups by protecting the area during the first two weeks and avoiding harsh scrubbing. If you need the design to read for years with minimal upkeep, consider a nearby placement like the inner wrist.
Q: How should I dress for a sternum or ribcage Om session?
A: Wear a fitted sports bra or a cropped top you can lift slightly so the artist has clean access without full exposure. A zip-up hoodie also works for quick coverage when you leave the studio. Comfortable, adjustable clothing keeps the session efficient.
Q: Are fine line Om pieces culturally sensitive to get?
A: The Om symbol has spiritual roots and meaning for many people. If you choose a design tied to a tradition, consider slight personalization and be prepared to explain your reasons. Many people opt for respectful variations rather than direct replicas.
Q: How do I find an artist who has experience with tiny fine line work?
A: Search local shop directories, hashtag portfolios, and community forums. Look for healed photos that show minimal blowout and consistent linework at small scale. Bring several healed examples into your consultation so the artist clearly understands the result you want.
