
Fine line tattoos dominate feeds right now, and the reality is they look delicate fresh more often than they hold razor-thin detail long term. The trick with tiny floral pieces is choosing shapes and placements that give the linework room while still feeling minimal. Below are 17 tiny flower ideas that balance immediate charm with how they will actually age on skin, and what to ask your artist before the stencil goes on.
1. Mini Rose on Inner Forearm

I recommend a tiny rose on the inner forearm when you want something visible without being loud. Tell your artist you want slightly thicker primary contours with delicate internal stipple shading so the core lines keep definition at year two and five. Common mistakes are asking for hairline outlines that look elegant fresh but blur into a gray shadow within a couple of years. Expect a two-hour session and medium pain because of thin skin and occasional bony areas. For showing it off pair it with a rolled sleeve linen shirt that frames the forearm, or wear a stacked dainty bracelet set that keeps attention on the linework.
2. Tiny Lavender Sprig on Wrist

The wrist is great for a tiny lavender sprig if you want a vertical piece that moves with your hand. Ask for a slightly softer line weight at the stem and tiny dots for the buds so the texture survives frequent washing. Blowout risk is higher on the wrist because of thin skin and constant motion, so expect a light touch from the artist and a touch-up possible at year two. Session time is brief, often under an hour, and pain sits around a five on most scales. For outfits, this looks elegant with a minimalist watch or thin chain bracelets that do not rub directly over the ink.
3. Micro Daisy Behind the Ear

Behind-the-ear florals are tiny and discreet, perfect if you want a secret accent. The session feels quick but fiddly because the area is small and the artist must work at awkward angles. One camp in the community says behind-the-ear pieces fade fast from hair rubbing and shampooing. The other camp counters that careful placement just below the hairline and conservative line weight can hold up well. Tell your artist you prefer the piece placed below the hairline on the neck and ask about touch-up timelines. For the appointment wear your hair up and a wide-neck tee so they can access the area easily.
4. Petite Sunflower on Ankle

An ankle sunflower is a good pick if you want something that peeks out from shoes or skirts. The ankle sits in a friction zone from socks and shoes, so ask for a compact layout with negative space between petals to slow early blurring. Expect a 30 to 60 minute session and a moderate pain level near the bone. A common error is placing too many tiny details in the center, which are the first to lose clarity. For showing it off, wear rolled jeans or ankle strap sandals that let the motif peek without rubbing.
5. Collarbone Sprig
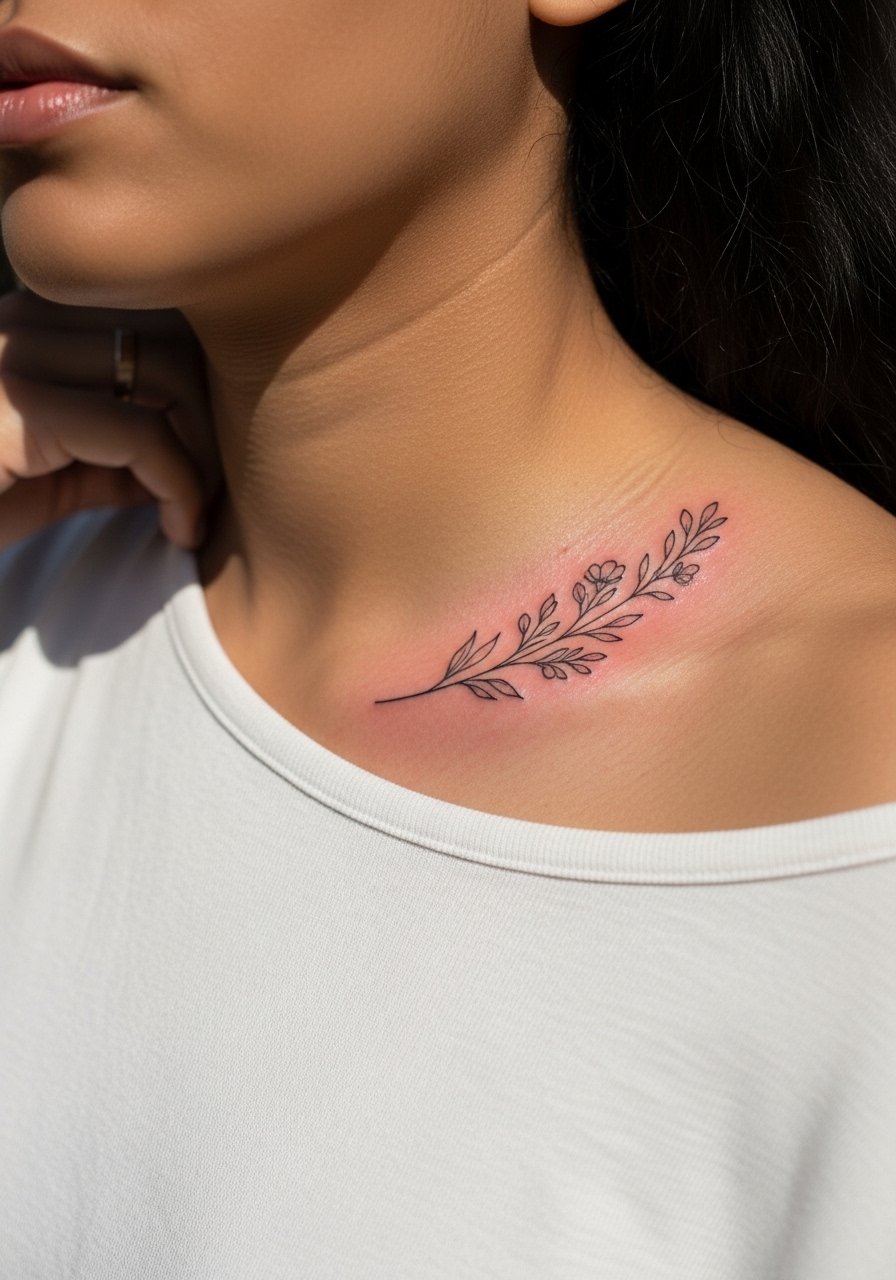
The collarbone is flattering for a horizontal sprig that follows the bone line. In consultation ask for a layout that uses the collarbone as a frame rather than sitting directly on top of it, because tattoos over sharp bone can feel more painful and tend to fade unevenly. Session time is often an hour and pain ranges from medium to high. One mistake is requesting ultra-fine hairline curves that the skin rejects over time. Pair this with an open-neck blouse when you want to show it off for evenings out.
6. Tiny Anemone on Outer Shoulder

Outer shoulder pieces are forgiving because the skin there moves less and the area takes ink well. Tell your artist you want the flower scaled to sit inside the shoulder cap so it does not migrate toward the arm where blowout risk rises. Expect a short session under ninety minutes and low to medium pain. A frequent mistake is crowding the petals too tightly, which loses the delicate separations on healed skin. For session access wear a loose button-down shirt that you can pull aside without exposing the rest of your torso.
Studio Day Picks
The wrist, collarbone, and shoulder pieces above ask for different prep and first-week care, so a small kit helps with session comfort and the critical first days of healing.
-
Stencil transfer paper kit. Lets you preview placement at the sink or in daylight, which is helpful for the collarbone and shoulder layouts above.
-
Topical numbing cream. Applied to the wrist or ankle about 45 minutes before makes short sessions more comfortable without heavy sedation.
-
Thin protective film roll. Useful for low-profile areas like wrists and ankles where clothing friction is constant during the first week.
-
Fragrance-free gentle body wash. Mild cleansers reduce irritation on delicate fine line work while you shower.
-
Aquaphor healing ointment. A thin layer helps lock moisture for small linework in the first few days before switching to a lighter routine.
7. Single Stem Daisy on Side Rib
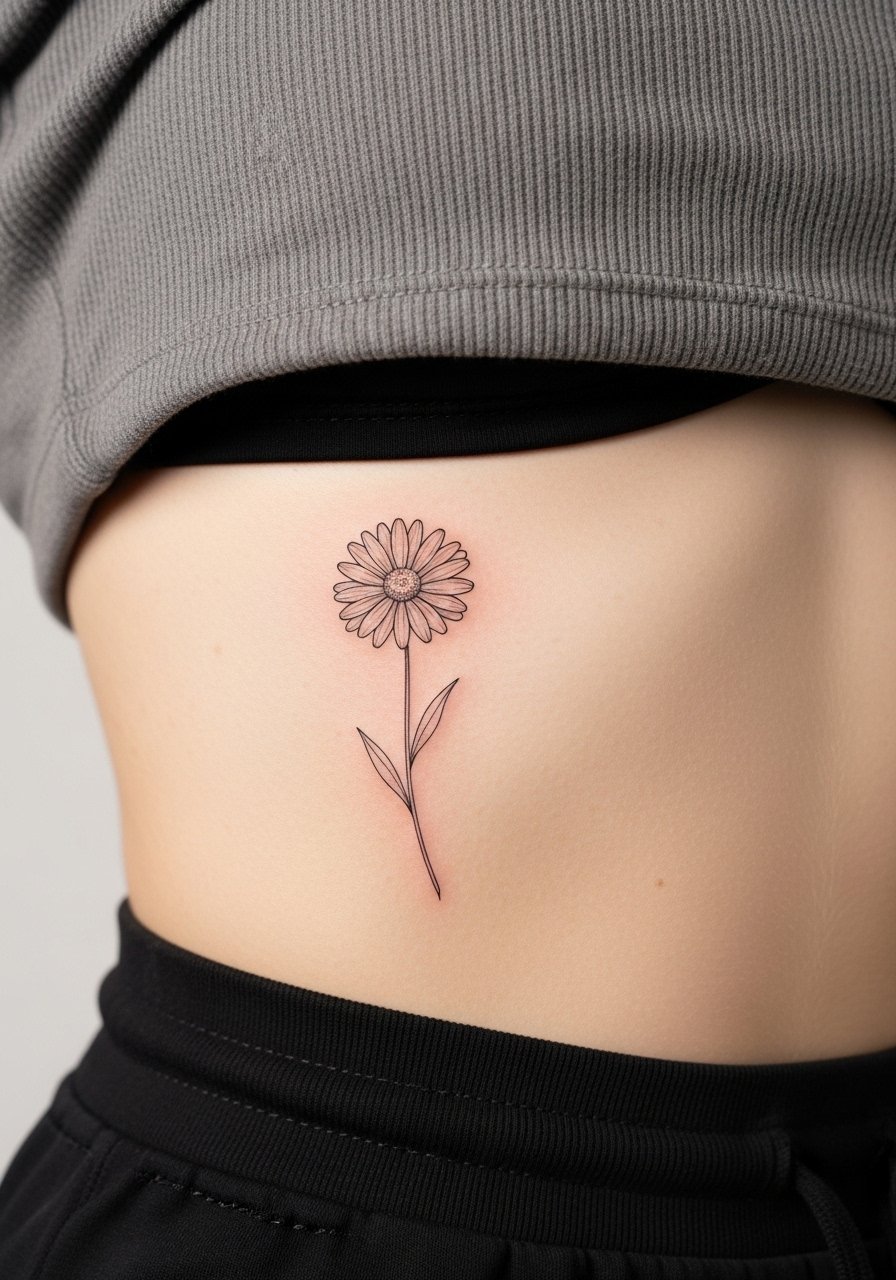
Rib designs are intimate and dramatic, but they come with real aging questions. Artists split into two camps on fine line ribs. One camp argues the skin stretch and motion blur lines within two years. The other camp says careful spacing and slightly stronger contour lines let fine work last. For a daisy ask the artist to use more separation between stem and petals, and expect a higher pain rating for the session. Sessions can take an hour or more depending on placement. For the appointment wear a sports bra or a zip hoodie you can pull aside so the artist can access the side torso easily.
8. Tiny Chamomile on Inner Thigh

Inner thigh florals are private and sit on skin that sees less UV but more friction from clothing. Tell the artist you want a compact cluster so daily movement does not fold the petals into each other. The session feels warm and sensitive because the area is soft, and pain varies widely between people. A common mistake is going too dispersed with tiny lines, which leads to loss of detail. For the appointment pick loose shorts or a wrap skirt so the artist can work without fabric pressure.
9. Micro Poppy on Finger Side

Finger tattoos are visible and fade faster due to washing and use. One camp says fine line works are fine for fingers if you accept refreshes every couple of years. Another camp prefers bolder lines or dot work because the skin on fingers moves and sheds differently. For a side-of-finger poppy, ask for a slightly bolder outer line and simplified center detail to help it read after healing. Session time is short but pain is high and touch-ups are common. Style it with thin stacking rings that avoid pressing directly on the ink, and consider a slim midi ring set to compliment the placement.
10. Tiny Blossom on Nape of Neck

The nape is a great spot for a discreet small blossom that shows with an updo. Tell your artist to avoid placement immediately on the spine of the neck and instead center the design a touch to either side so movement does not blur central lines. The session is relatively quick and the pain is moderate. Mistakes include trying to cram text or too many tiny petals into the small canvas. For showing it off wear a wide-neck top or cropped sweater when you want the piece visible.
11. Little Peony on Upper Arm
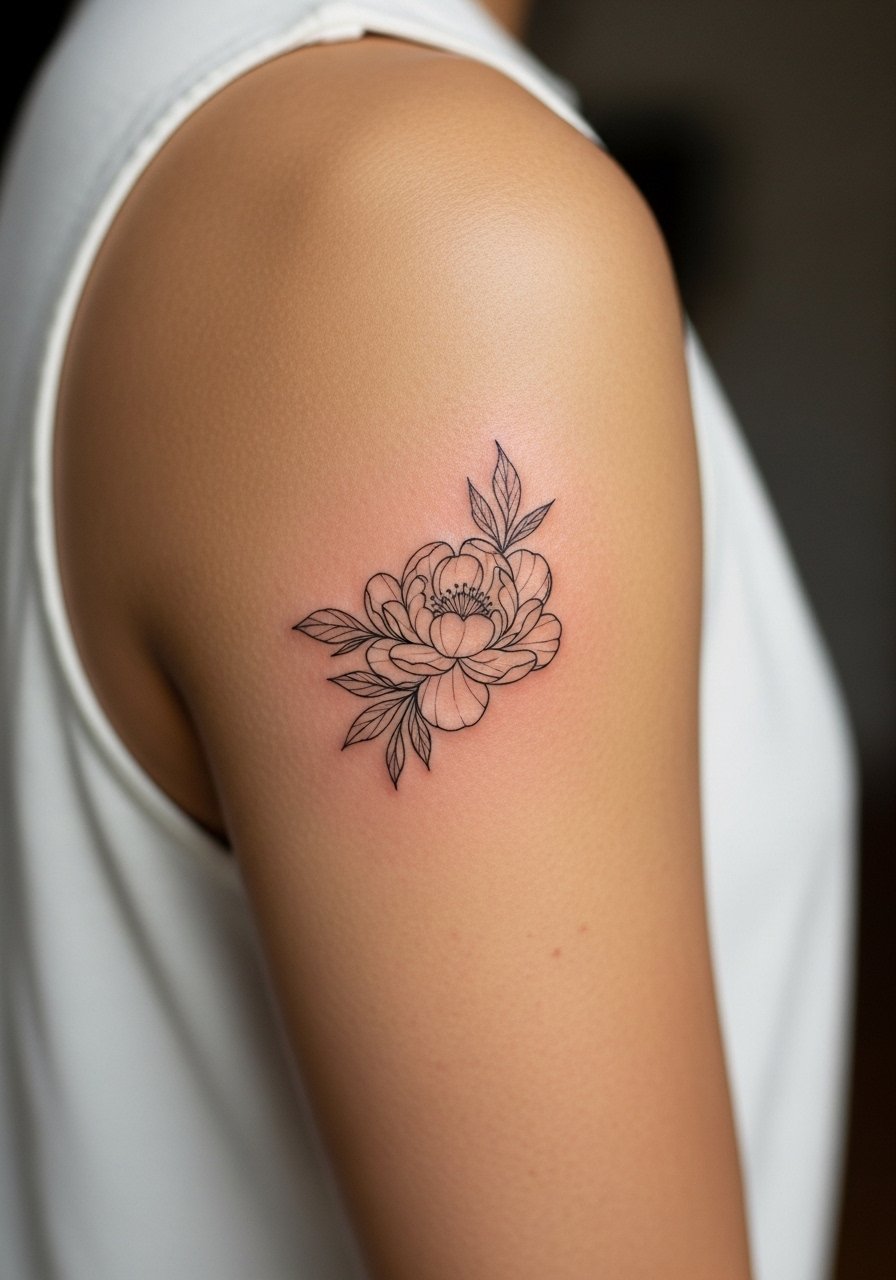
Upper arm florals take ink well and age more predictably than hands or ribs. Ask for a modest silhouette and stipple shading to keep the peony readable at two and five years healed. The session feels comfortable and often finishes within an hour. A common mistake is insisting on ultra-skinny internal lines in a dense bloom, which soften first. This placement works with casual rolled sleeves or a sleeveless linen top if you want to show the tattoo without constant sun exposure.
12. Tiny Forget-Me-Not on Lower Back

Lower back florals are low visibility day to day but can be a subtle accent for evenings. Placement benefits from slightly bolder primary lines because lower back skin can shift with movement. Sessions are usually under ninety minutes and pain is low to moderate. People sometimes over-detail the center of tiny blooms, which ages poorly. For the session wear a tank top and high-waisted jeans so you can expose only the lower back area without discomfort.
13. Single Stem Violet on Calf

Calf placements offer a larger canvas if you later want to expand. For a tiny violet choose open petal spacing and light stipple shading so the silhouette stays readable at distance. The session is comfortable with low to medium pain and often wraps in under an hour. A mistake is packing in tiny veins or micro-details that vanish as the skin ages. Show it off with skirts or mid-length dresses that let the calf speak when you want it to.
14. Micro Orchid on Hip

Hip tattoos sit in a spot with shifting tension from clothing and movement. For a tiny orchid keep the central lines simple and allow negative space around the petals. Pain varies and often registers as medium because of the area. Artists debate fine line on hip similarly to ribs, with one group worried about stretching and the other confident in careful spacing. Ask your artist about expansion options if you might want a small cluster later. For the session wear low-rise jeans or a bikini bottom so they can reach the area without discomfort.
15. Tiny Wildflower Cluster on Shoulder Blade
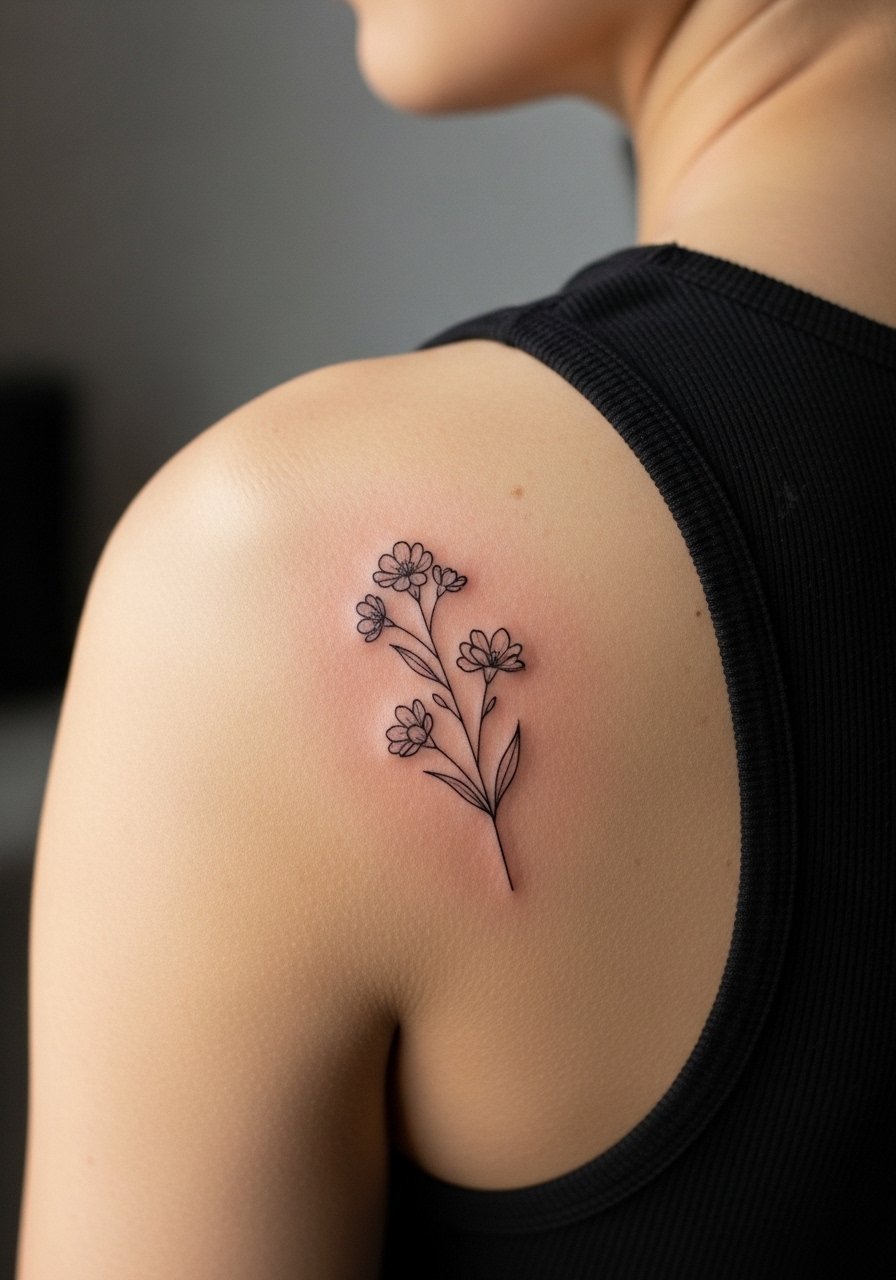
The shoulder blade is forgiving and a good spot for a small cluster of wildflowers that can be extended into a larger piece. Tell your artist to place blooms within the flatter zone of the blade so the skin movement does not warp the composition. Expect a short session and low pain. A common error is crowding blooms toward the spine where the curve can distort lines. Pair with an open-back dress when you want to let the cluster show.
16. Petite Iris Above Ankle

A small iris above the ankle can look refined and delicate. Because the area sees shoe friction, ask for a simple silhouette with clear petal separation so it reads as the skin settles. Sessions are brief and pain sits in the medium range near the bone. People often try to add micro-hatching that blurs first. Style it with low-profile sandals or ankle boots that do not press against the design, and consider a linen ankle pant for casual wear that keeps the area visible.
17. Tiny Clover on Thumb Base

Thumb base tattoos are small and highly visible, but they endure heavy use and washing. For a clover request compact negative space around each leaf and a reinforced outer contour so it remains distinct. The session is short but painful and touch-ups are common. A real mistake is asking for ultra-fine internal veins that the skin will not hold. If your work involves hand use heavily, consider whether frequent touch-ups will fit your routine.
Frequently Asked Questions
Q: Will tiny fine line flowers blur faster than thicker tattoos on forearms and wrists?
A: From what I have seen, ultra-thin hairline work on high-motion, high-wash areas like the wrist tends to soften sooner than pieces with modest contour weight. Ask for slightly stronger primary lines and open spacing between elements to slow blurring, and factor in a likely touch-up around year two or three.
Q: Are tiny flowers on the ribs worth it if I want them to last?
A: Ribs are a debated spot. One camp says the skin movement and stretch blur fine line work within a couple of years. The other camp argues careful spacing and conservative line weight can make small pieces last. If you choose ribs, plan for possible touch-ups and ask the artist about their success rate with similar placements.
Q: How should I dress for a collarbone or sternum session to make access easy?
A: For collarbone pieces wear a wide-neck shirt or a button-down you can pull aside. For sternum sessions a fitted sports bra or bandeau helps the artist work without full exposure. A practical option to pack is a loose button-down shirt that makes both areas accessible and keeps you comfortable during the session.
Q: Do finger and thumb tattoos need more frequent touch-ups than calf or upper arm pieces?
A: Yes. Fingers and thumbs are high-wear spots from washing and friction. Expect a higher chance of color loss or line fading and plan on touch-ups. Choosing a simplified silhouette and accepting a refresh schedule makes the placement more realistic over time.
Q: Can I expand a tiny flower into a sleeve later without losing the original piece?
A: You can expand most small designs, but placement and initial line weight matter. Pieces on the upper arm, shoulder blade, and calf are easiest to build out. Tell your artist you might want an extension later so they can orient and scale the original for future cohesion.
