
Fine line tattoos are trending in saved boards and short videos, but the pieces that still read clean in five years are usually the ones planned with aging in mind. For Ghibli fans that means choosing line weight, placement, and spacing that match your skin and lifestyle. Below are 27 sketch ideas inspired by Howl's Moving Castle elements, each with consultation notes, aging expectations, and wardrobe tips to make the result last.
1. Fine Line Castle Silhouette on Inner Forearm
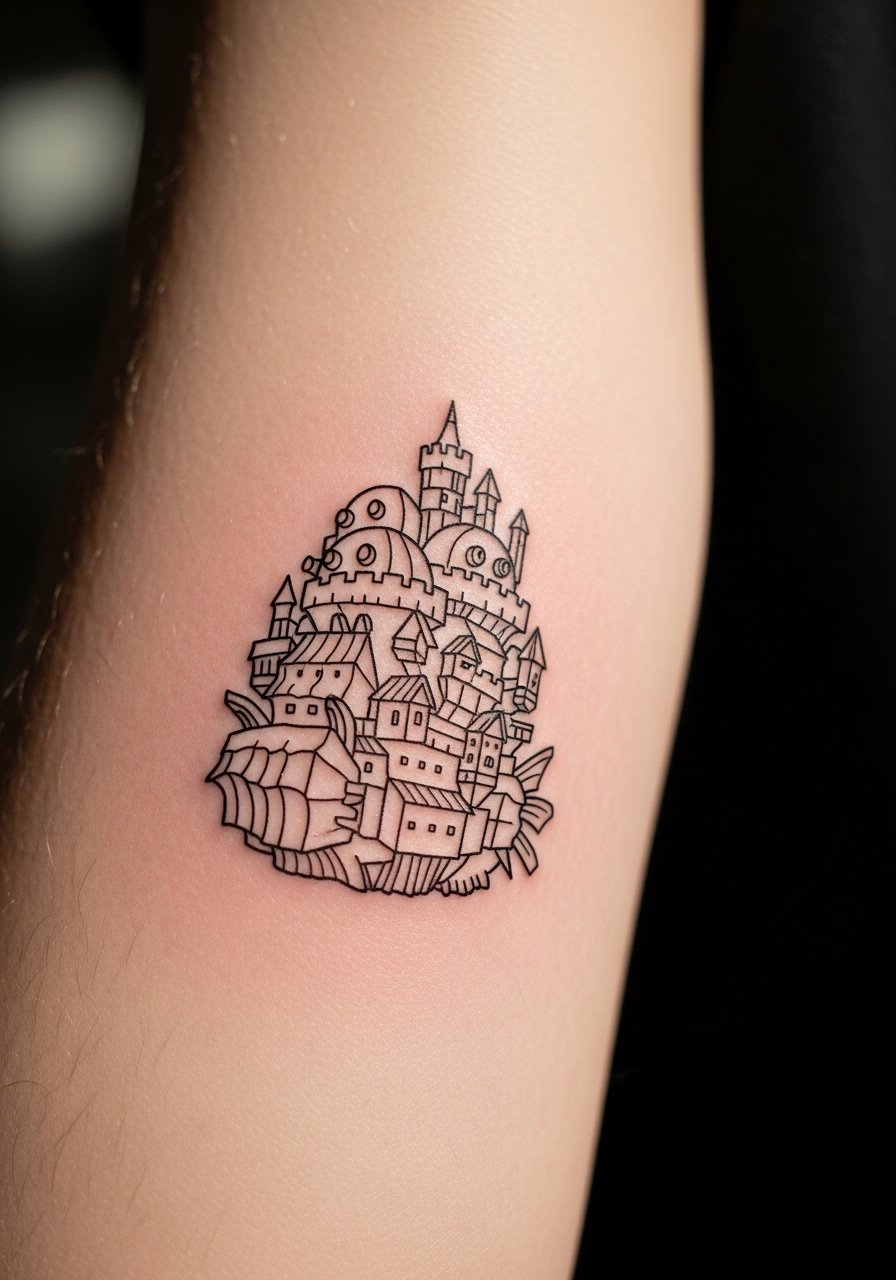
I recommend this as a first tattoo if you want a recognizable Ghibli nod without heavy color. Ask your artist for slightly heavier primary outlines with finer interior details so the silhouette keeps its shape as lines soften. Common mistake is going too small with dense architectural detail, which blurs by year three. Expect a 60 to 90 minute session with moderate pain. For showing it off, try a rolled sleeve chambray shirt and a thin leather cuff bracelet, both frame the forearm without covering the linework.
2. Watercolor Calcifer on Shoulder Blade
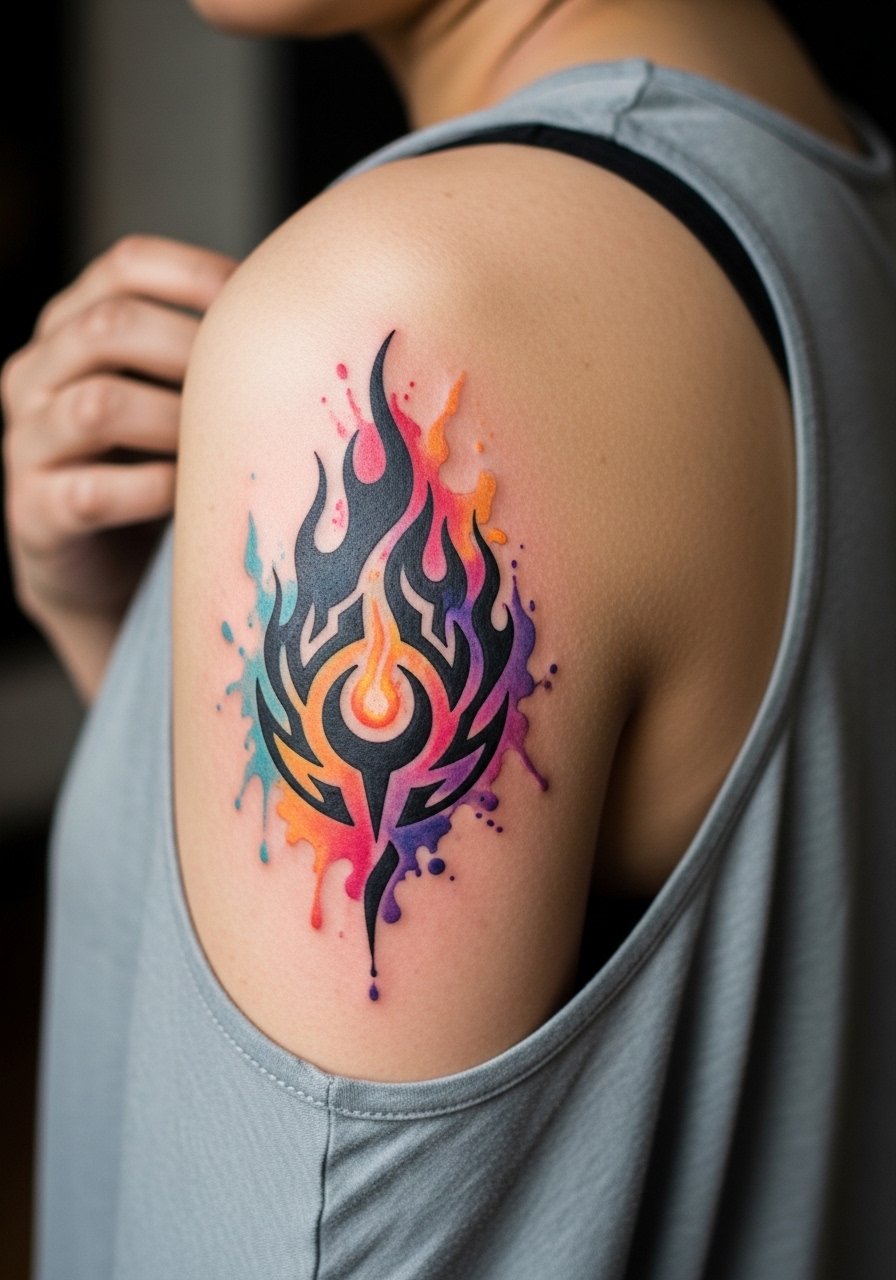
Watercolor captures Calcifer's lively energy but it fades faster than saturated black. Tell the artist you want saturated core color with soft feathered edges so the center stays vivid as edges mellow. Shoulder blade sessions are low to moderate pain and sit well in one appointment for a 3-inch piece. After a year expect some edge softness, and plan for a touch-up at year two if you want the original intensity restored. For session comfort, wear a loose tank top you can shift, and for nights out an off shoulder blouse shows the canvas.
3. Neo-Traditional Sophie Portrait on Upper Arm
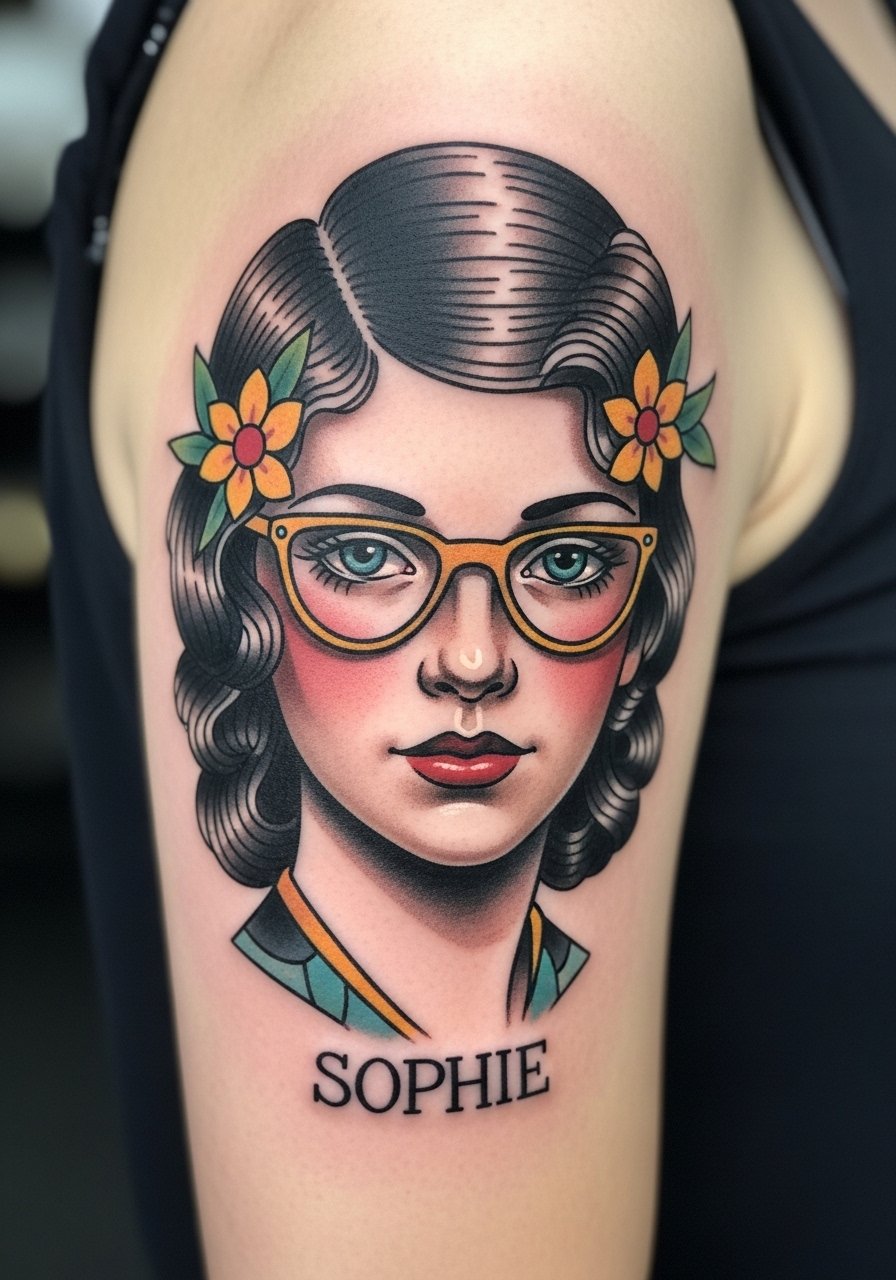
A neo-traditional portrait gives you bold outlines that hold up and color that reads from a distance. Ask for reference expressions and a bold outer line so facial features remain defined as color fades. Common mistake is over-detailing the face in a small piece, which loses definition over time. Expect multiple sessions for larger sizes and moderate pain. This placement pairs well with an off shoulder blouse to show the piece or a loose button-down shirt for session access.
4. Minimalist Calcifer Wrist Icon
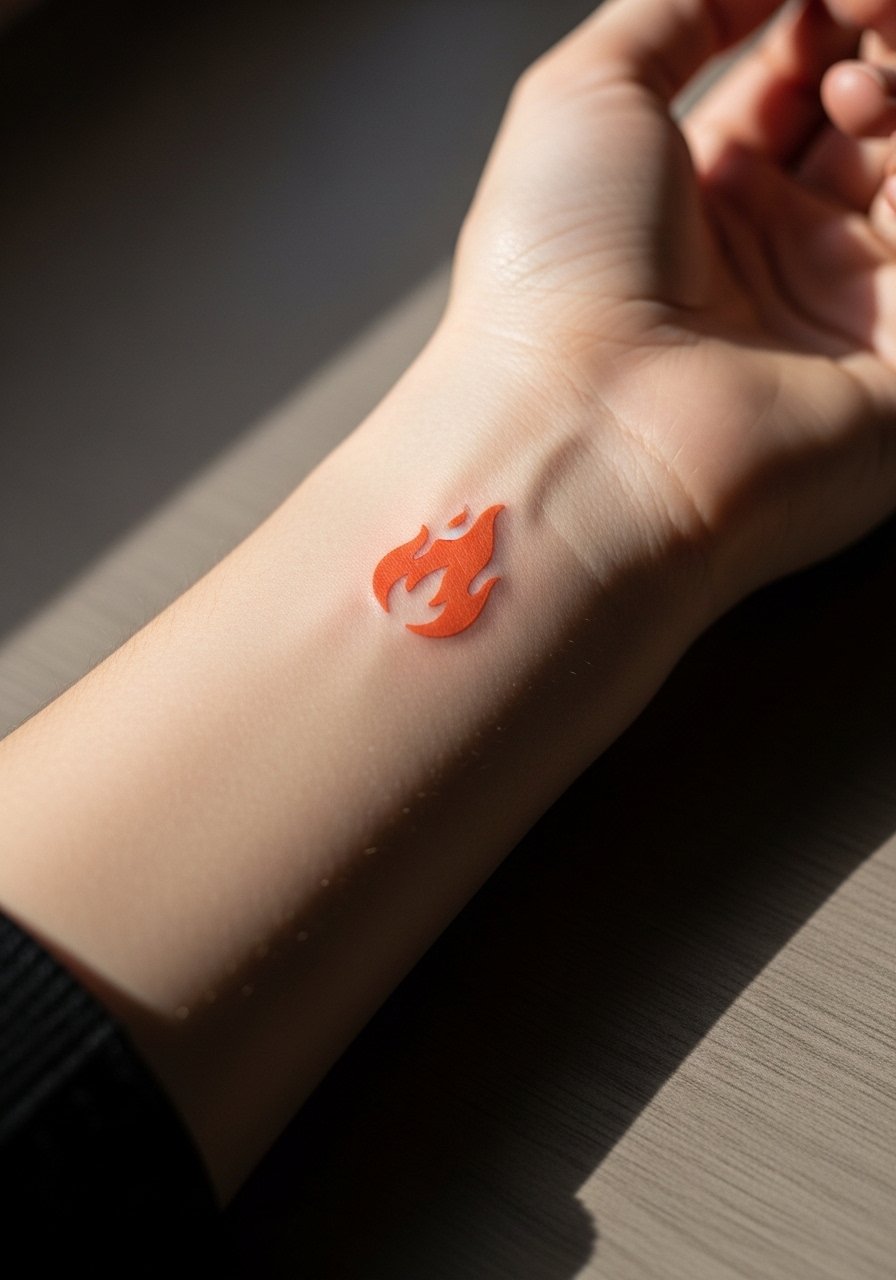
Tiny wrist icons are easy to conceal but face high friction and frequent washing that accelerate fading. Pick a design with a bold central shape rather than lots of tiny lines. The biggest mistake is requesting ultra-thin lines on the wrist. Expect a short 30 to 45 minute session and plan touch-ups around year two. For showing it off, layer with a thin silver chain bracelet that complements small color without crowding.
5. Gothic Blackwork Howl Silhouette on Ribcage
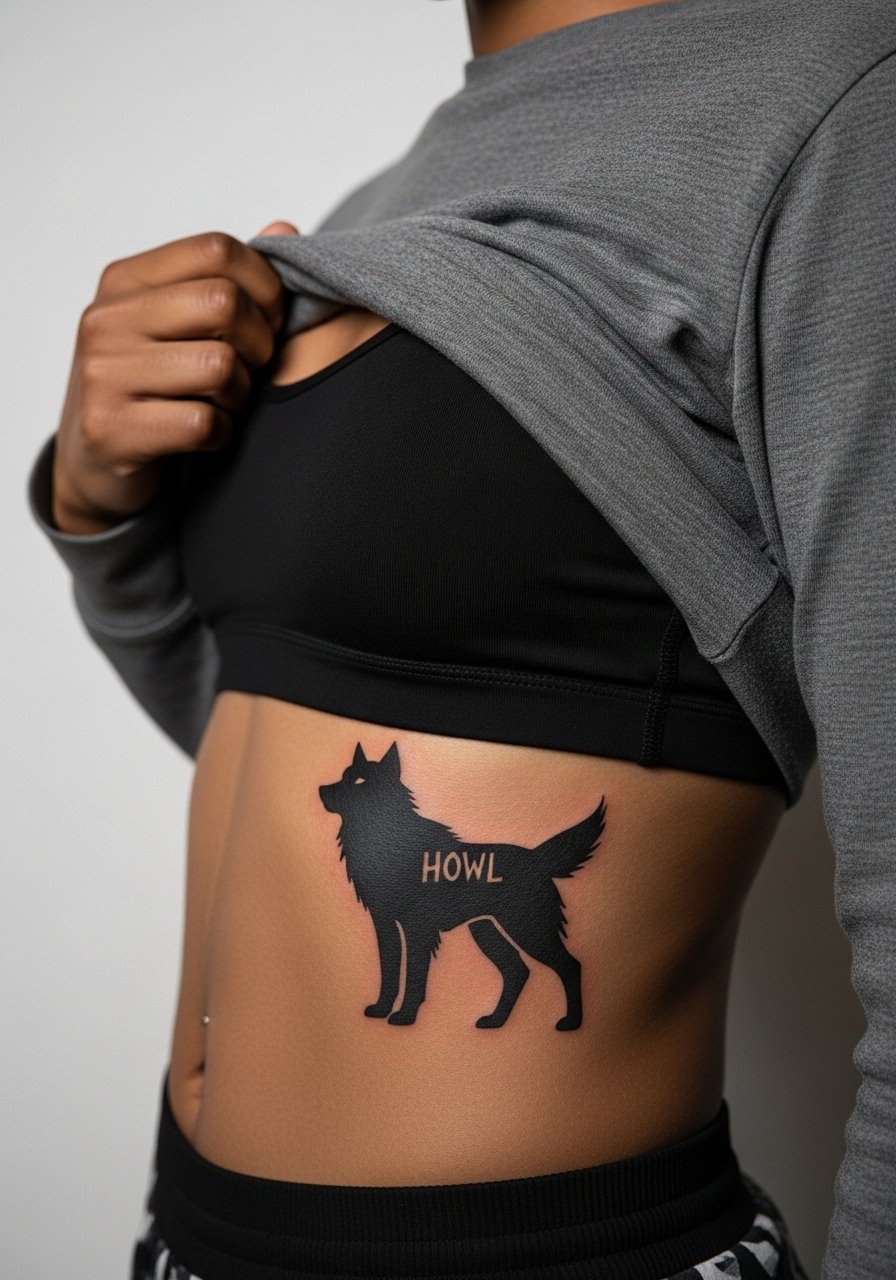
Ribcage is high on the pain scale but excellent for bold blackwork that reads well from a distance. Artists split on fine line here versus bold work. One camp says ribs stretch and blur fine lines within two years. The other camp argues that properly spaced fine line can settle fine. I recommend bold silhouette or add negative-space windows to preserve shape. Expect a longer session and consider breaking it into two. For session comfort wear a cropped athletic top you can lift rather than fully undress.
6. Tiny Moving Castle Key Behind the Ear
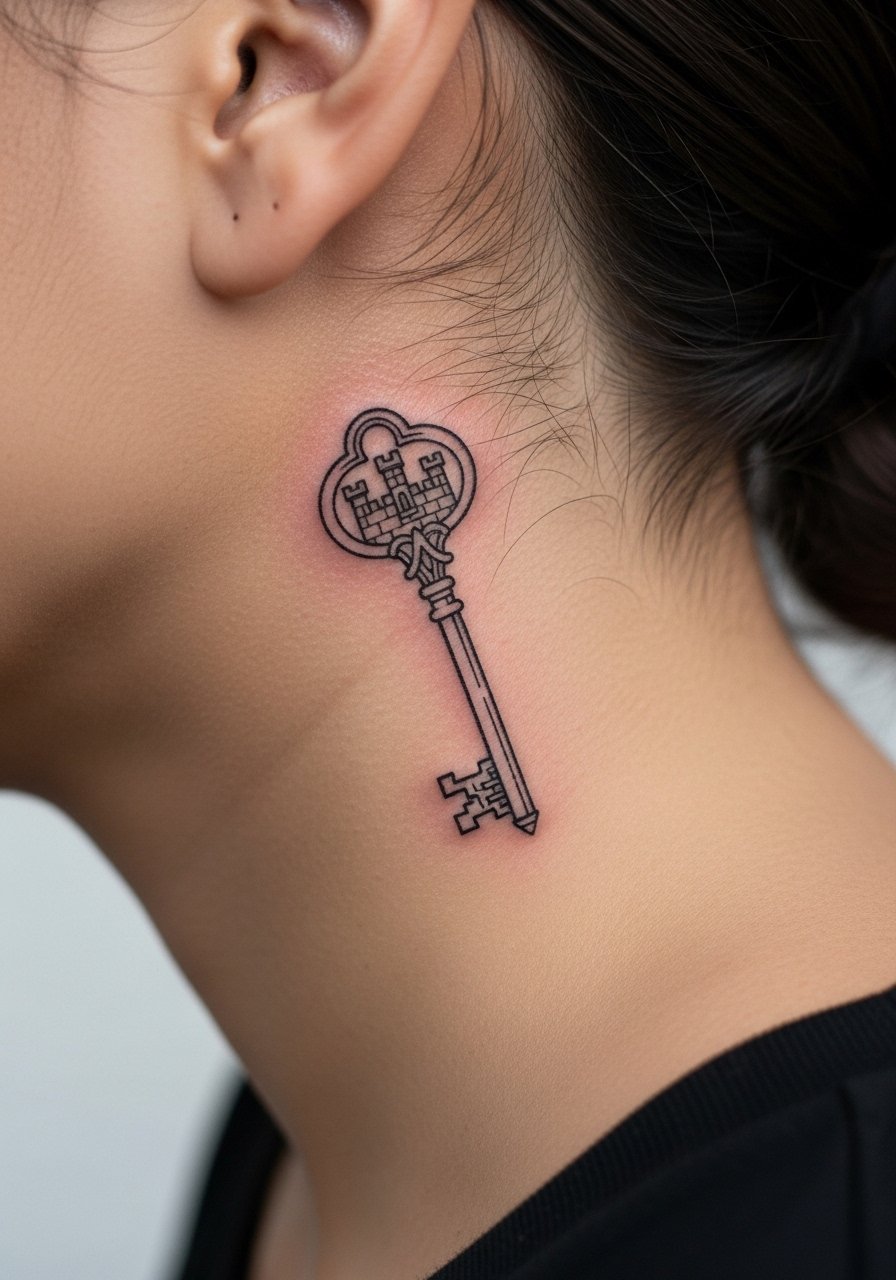
Behind-the-ear placements read intimate and discrete, but detail must be minimal. The area is sensitive for placement accuracy and touch-ups are trickier. Bring a single, clear reference of the key silhouette and ask artist for simplified detail so the design reads from day one. Pain is low to moderate. For parties where you want it visible style hair in a half-up knot, no product link for hair styling here because this spot is intimate and session wear is simple.
Pack Smart
The first six ideas above mix small wrist and ear pieces with larger rib and shoulder work, so a few targeted items make the session and first week smoother.
- Stencil transfer paper kit. Lets you preview how the castle key or silhouette sits on curved areas like the rib and forearm before the needle hits skin.
- Topical numbing cream. Applies before pain-sensitive rib and ear sessions to reduce discomfort for nervous clients.
- Thin protective film roll. Useful for covering small wrist and behind-ear pieces during the first day of high friction.
- Fragrance-free body wash. Gentle cleanser for showers that helps avoid irritating fresh linework on shoulder and rib pieces.
- Aquaphor healing ointment. A thin application in the first 48 hours helps retain moisture for delicate fine line work without clogging tiny channels.
7. Micro-Realism Howl Eye on Inner Bicep
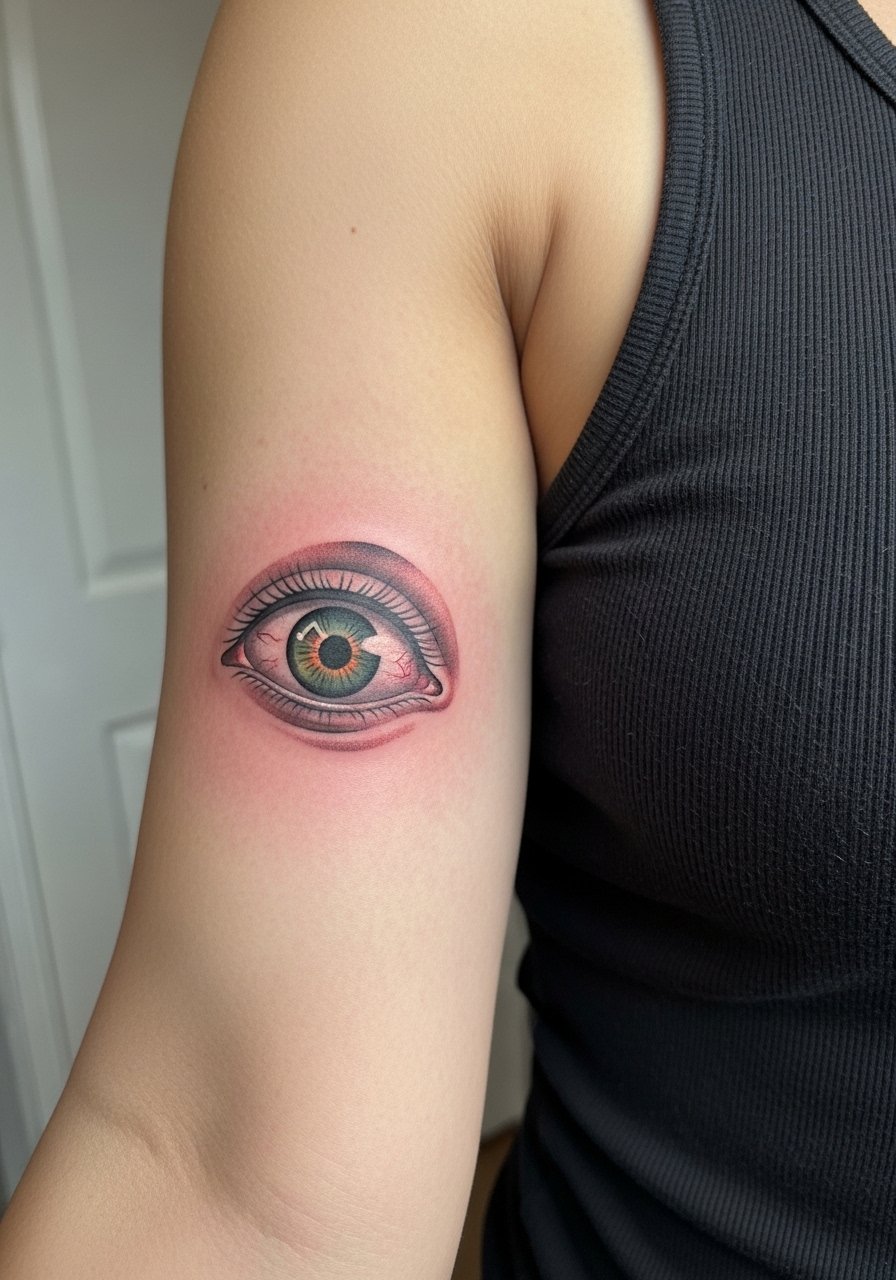
Micro-realism on the inner bicep needs confident needle depth and restrained detail. The inner bicep moves with muscle and can blur if the lines are too close together. Ask for slightly larger pupils and stronger contrast so the eye stays legible at six months. Sessions are short but slightly painful. For the appointment wear a tank top to give the artist clear access and avoid tight sleeves afterward.
8. Blackwork Castle Panorama Across Upper Back
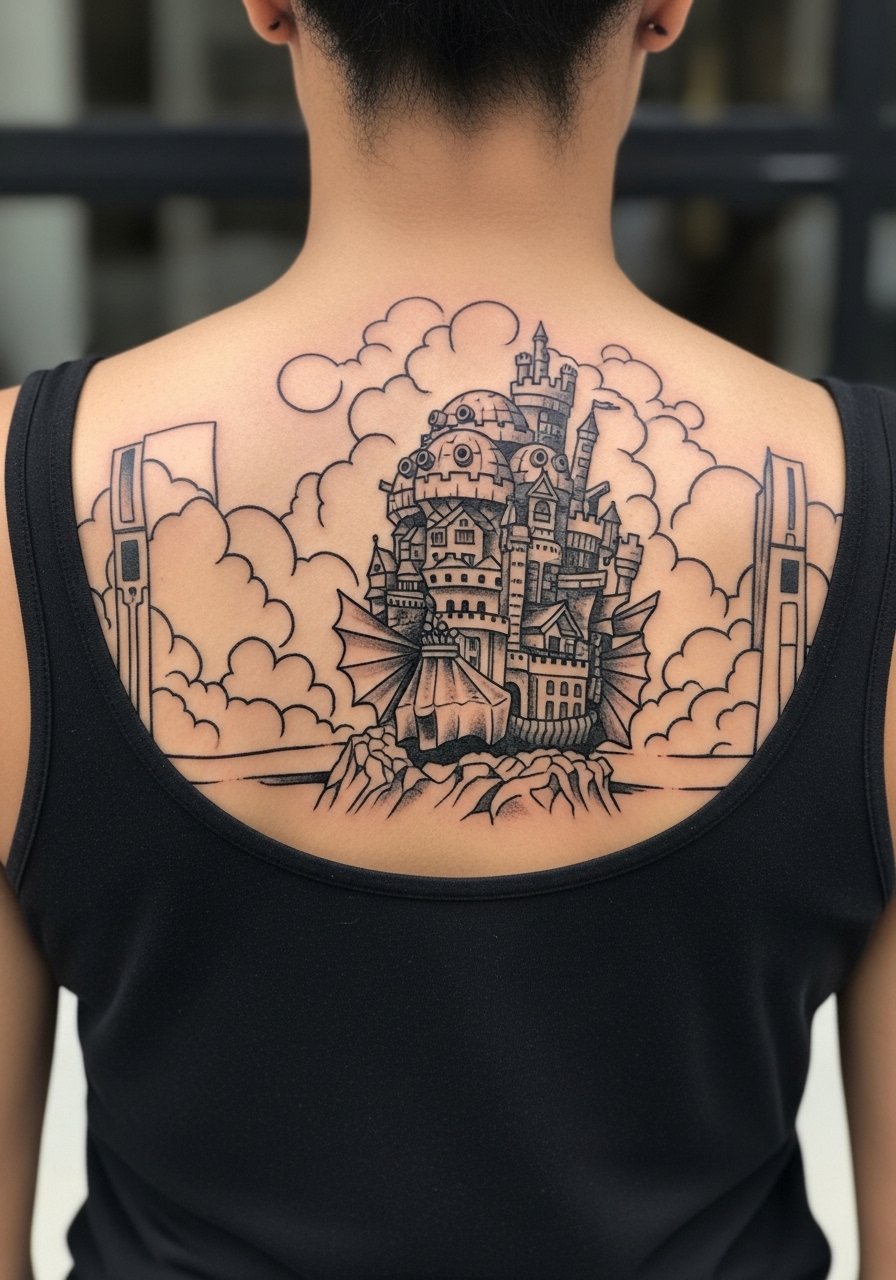
Upper back canvases take larger silhouettes well because they age slowly and show from a distance. Tell the artist you want heavy outer lines and blocky architectural masses rather than intricate filigree. The common mistake is cramming tiny windows and spires into a wide piece. Expect multiple sessions for a refined skyline. For showing it off choose open-back dresses or a wide-neck shirt pulled slightly aside for evenings.
9. Negative-Space Windows for Dark Skin on Rib
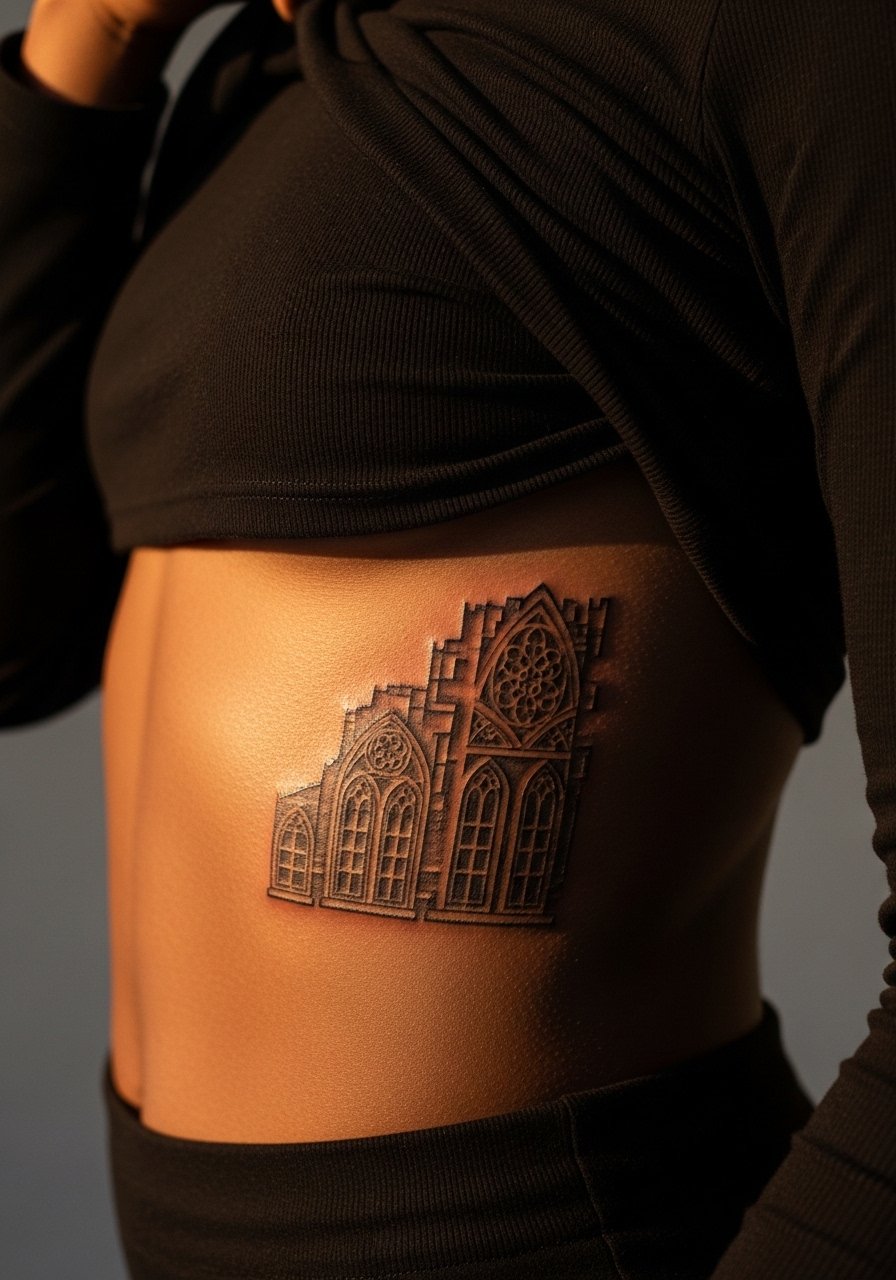
On darker skin, negative space can read as windows and light without relying on subtle color shifts that may not show. Ask for deliberate gaps framed by bold silhouettes so the effect reads at arm's length. The rib placement multiplies the aging risk if lines are too tight. Expect higher pain and a careful session. Wear a cropped athletic top so the artist can access but you stay covered.
10. Pocket-Sized Map on Inner Wrist
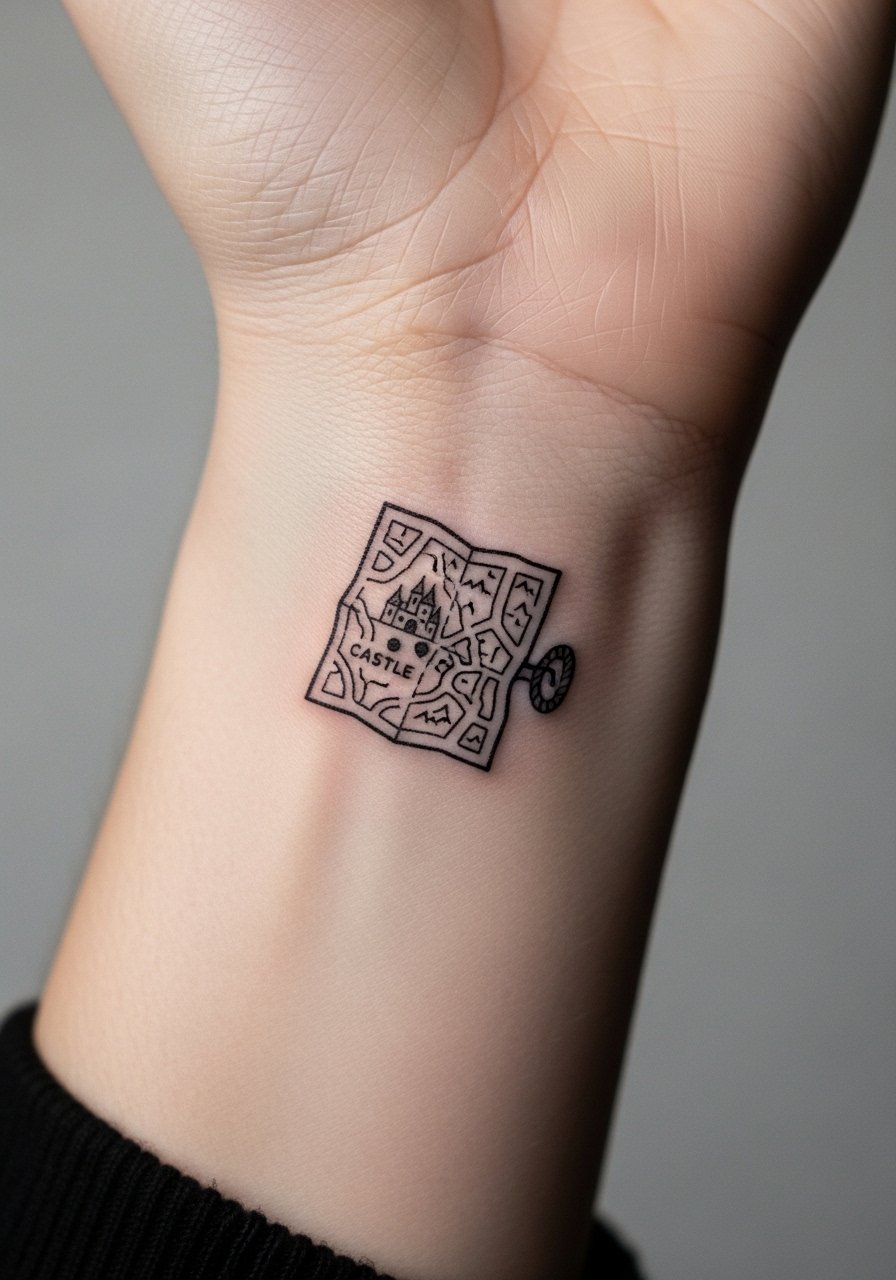
Small cartographic pieces are charming but suffer from constant friction and frequent washing. Keep the design simple with a bold main shape and minimal text. The wrist needs deeper initial linework than a faded aesthetic might suggest. Plan for touch-up at year two. For display layer a minimalist leather watch on the opposite wrist to balance attention.
11. Stipple Shaded Castle Slice on Calf
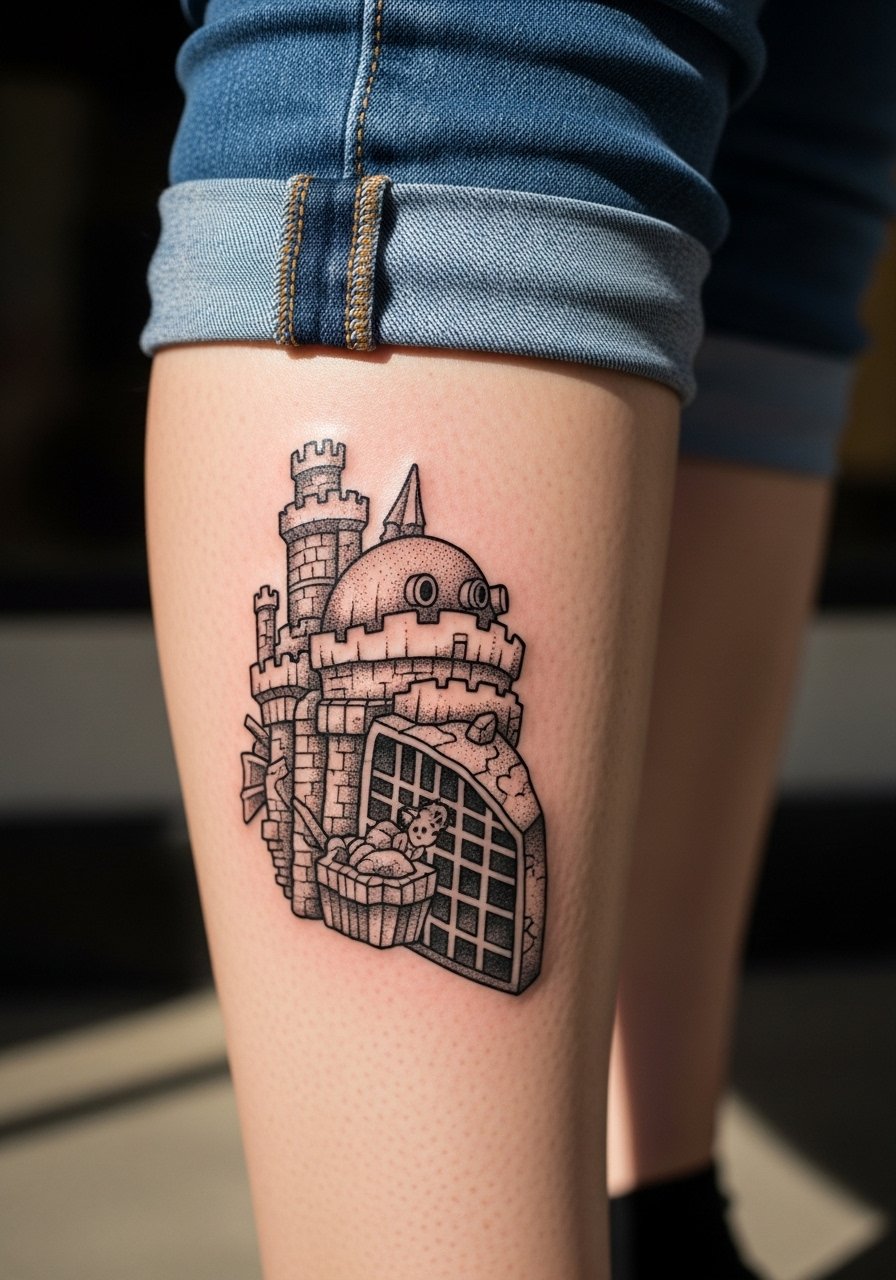
Stipple shading gives architecture texture and heals into a soft grain. Calf placement handles stippling well because of thicker skin and lower friction. Tell the artist you want more spacing between dots in darker zones so they do not run together over time. Pain is moderate. Pair with sandals or rolled jeans for visibility and wear jeans rolled up for easy session access.
12. Whip-Shaded Howl in Motion on Outer Thigh
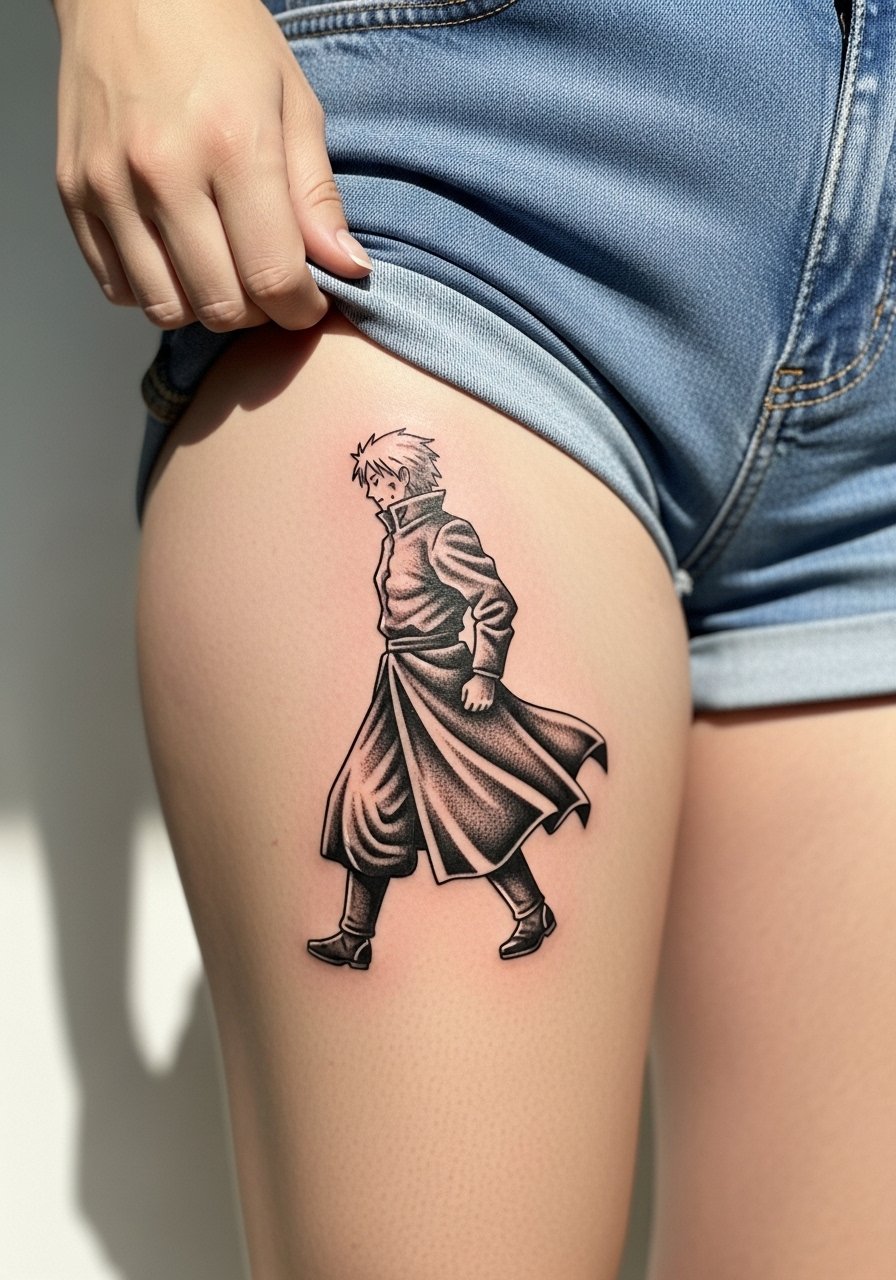
Outer thigh is forgiving for motion studies and larger compositions and tends to hold detail well. Whip shading gives motion without heavy saturation. The common mistake is compressing too much fine detail, which loses contrast on softer flesh. Sessions are moderate and can be broken into two. For session comfort wear high-waisted shorts you can adjust easily.
13. Miniature Castle on Finger
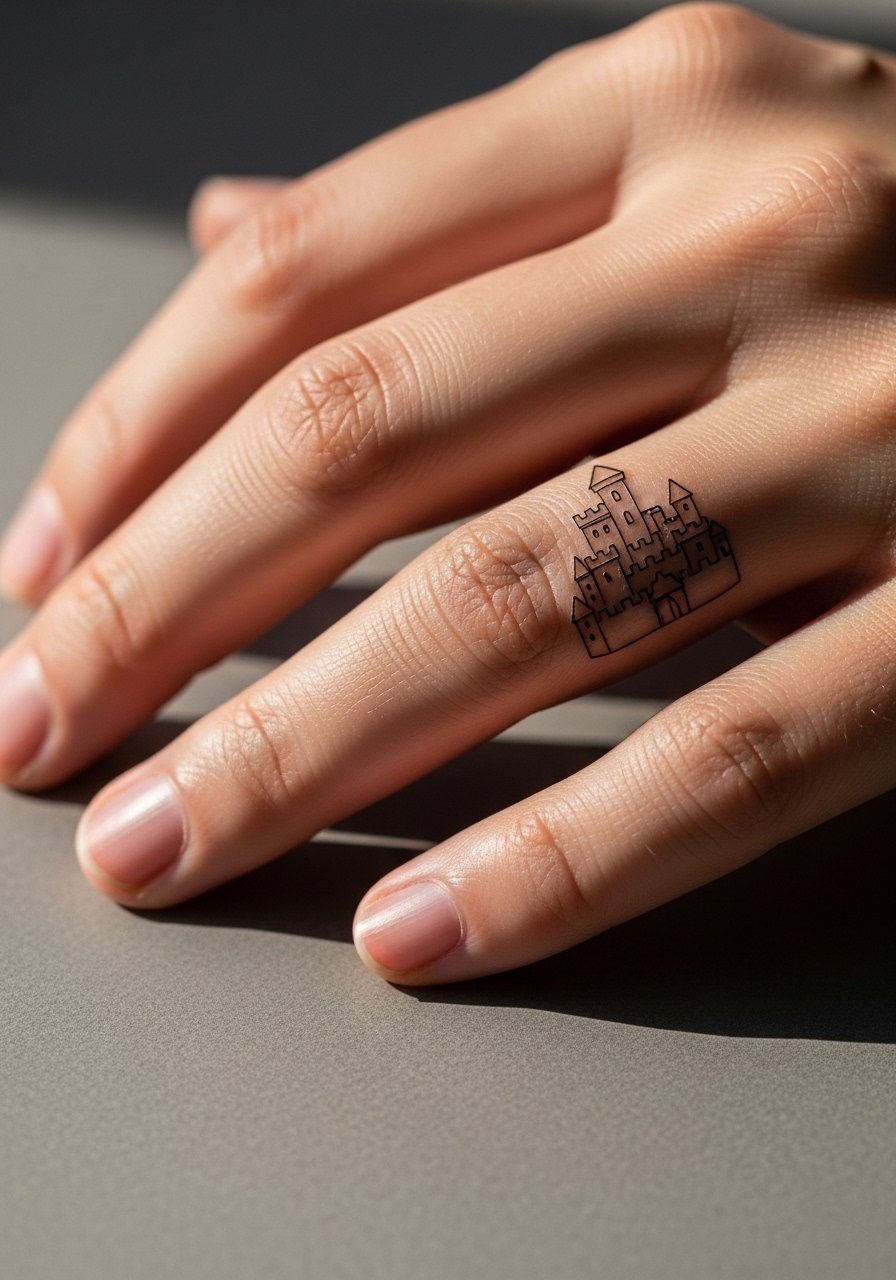
Finger tattoos face a high fade and possible blowout from thin skin and constant hand use. If you want a finger castle, opt for a bold, simplified silhouette with minimal interiors. Expect touch-ups at year one or two. The session is quick but the longevity is the trade-off. No clothing link here because the area is visually small and accessory options can crowd the design.
14. Scripted Quote with Castle Accent on Collarbone
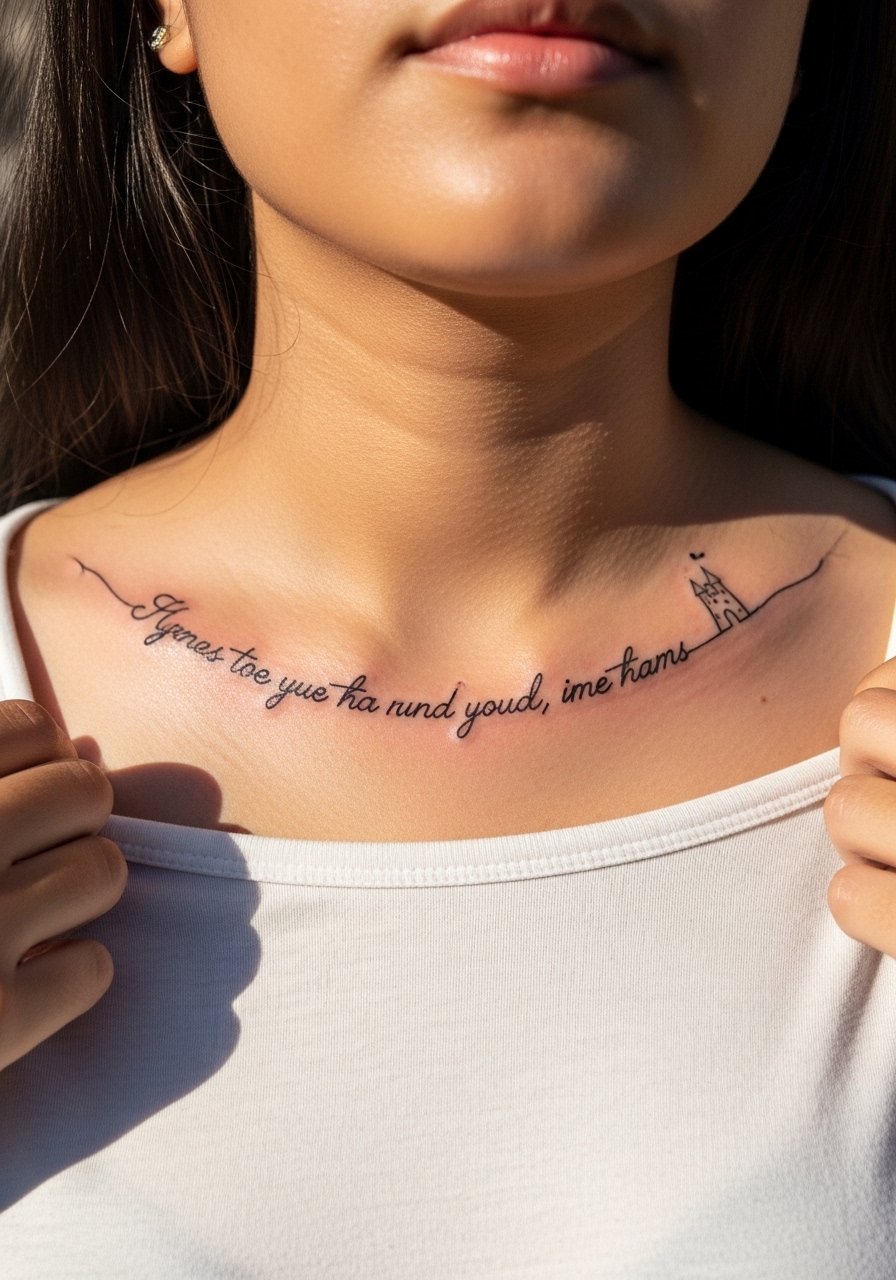
Collarbone makes script feel elegant, but thin cursive can fade unevenly. Choose simple lettering, spaced letters, and a small castle accent to anchor the line. The common failing is dense cursive that blurs into an unreadable band. Pain is moderate and session times are short. For evenings, frame with a thin chain pendant necklace that sits above the text.
15. Stained-Glass Calcifer on Calf
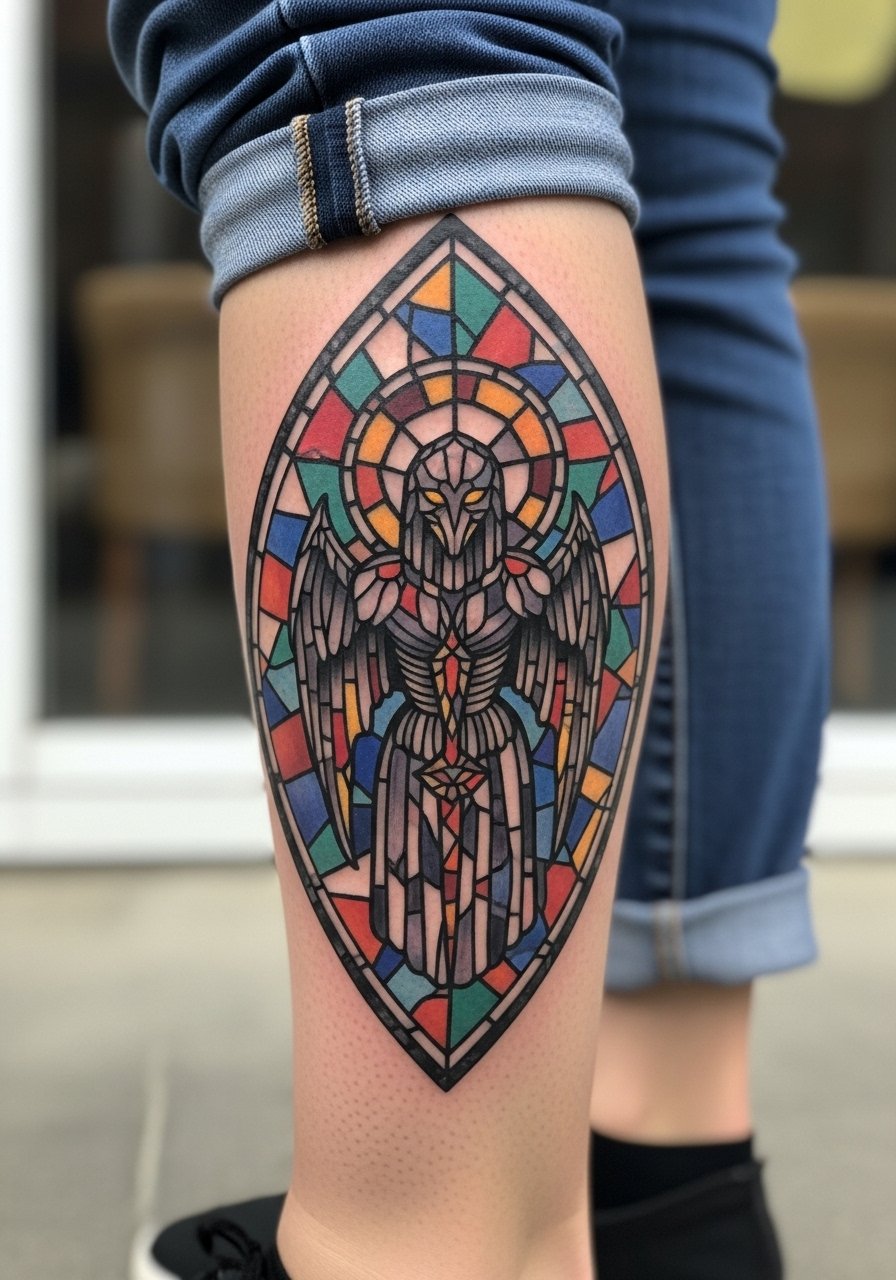
Stained-glass technique uses black outlines and segmented color that ages predictably. Ask for slightly larger color panels to avoid early graininess. Calf placement helps colors hold longer than forearms. Sessions are moderate and can be done in one sitting for a small-to-medium piece. Pair with sandals or crop pants to show the piece and wear jeans rolled up to the appointment.
16. Architectural Blueprint Sleeve Accent on Outer Forearm
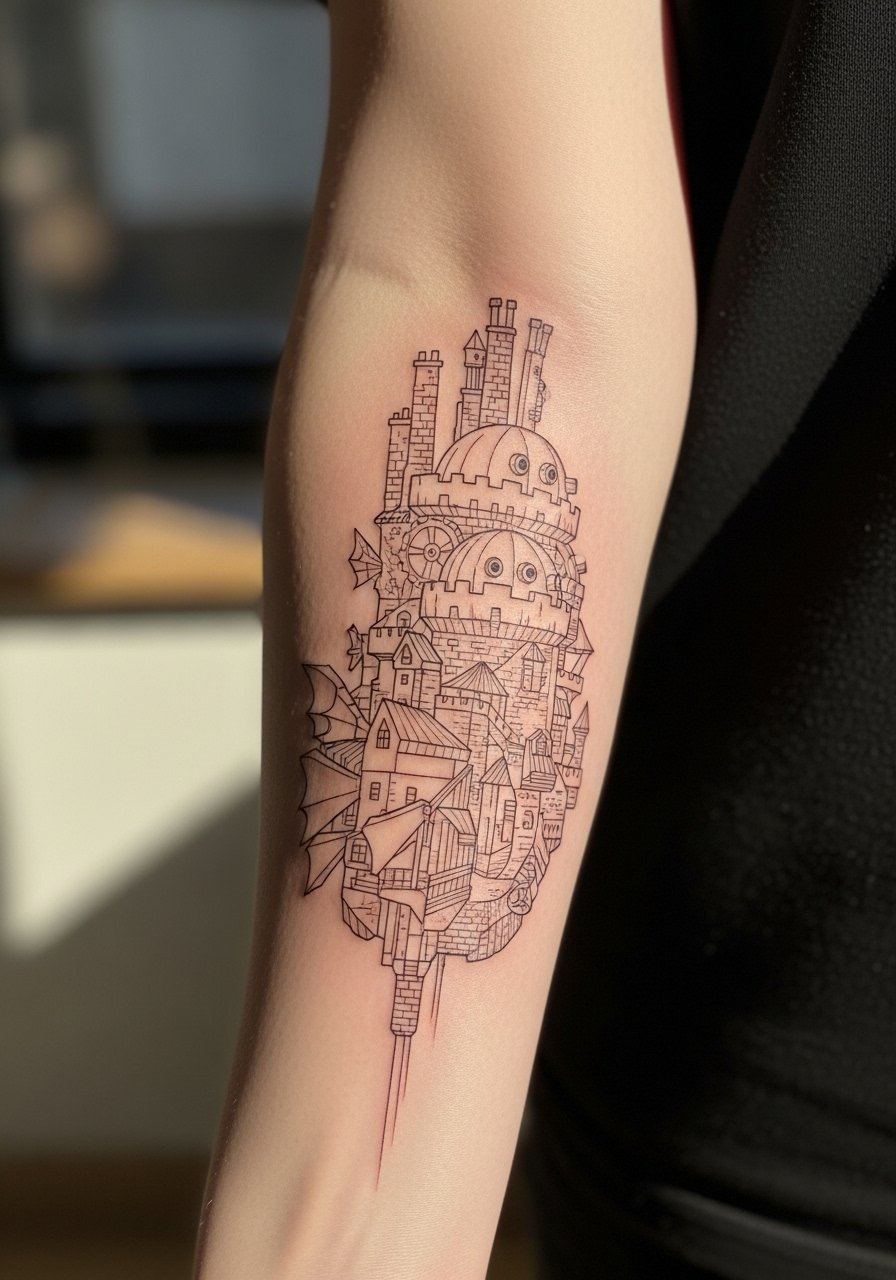
A forearm blueprint reads technical and benefits from spacing between structural lines. The common mistake is crowding tiny measurements and hatch shading which clump as the piece heals. Ask your artist to scale elements so major towers remain distinct at arm's length. Expect a longer session or two shorter ones. For display, rolled sleeves and a thin leather cuff bracelet work well.
17. Back-of-Neck Howl Silhouette
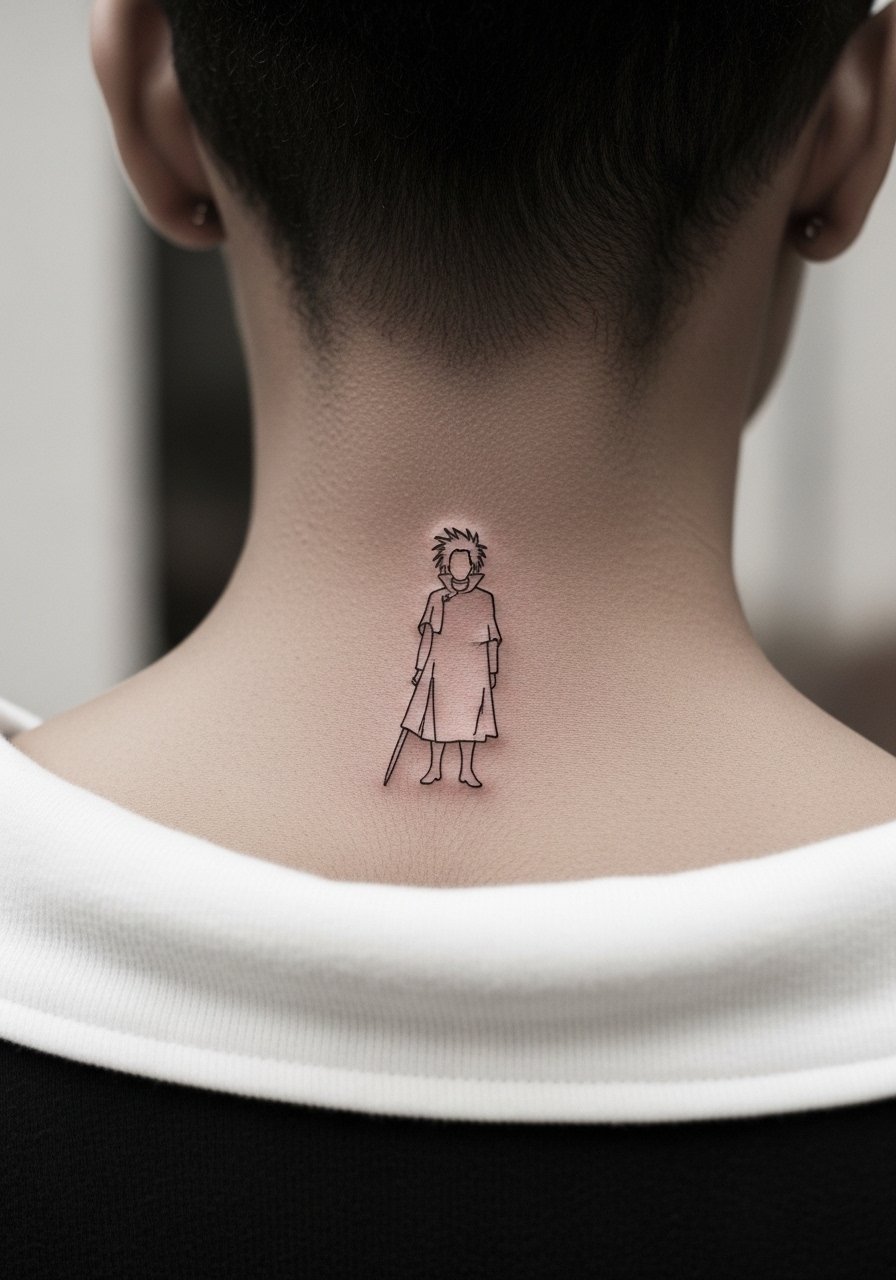
Back-of-neck tattoos are subtle and easy to conceal with hair or collars. The area tolerates small designs but keep lines a touch bolder than you might online. The risk is shallow placement that fades unevenly or blurs. Sessions are short and mildly sensitive. For sessions wear a wide-neck shirt that can be adjusted without exposing more than necessary.
18. Mini Soot Sprite Cluster on Ankle
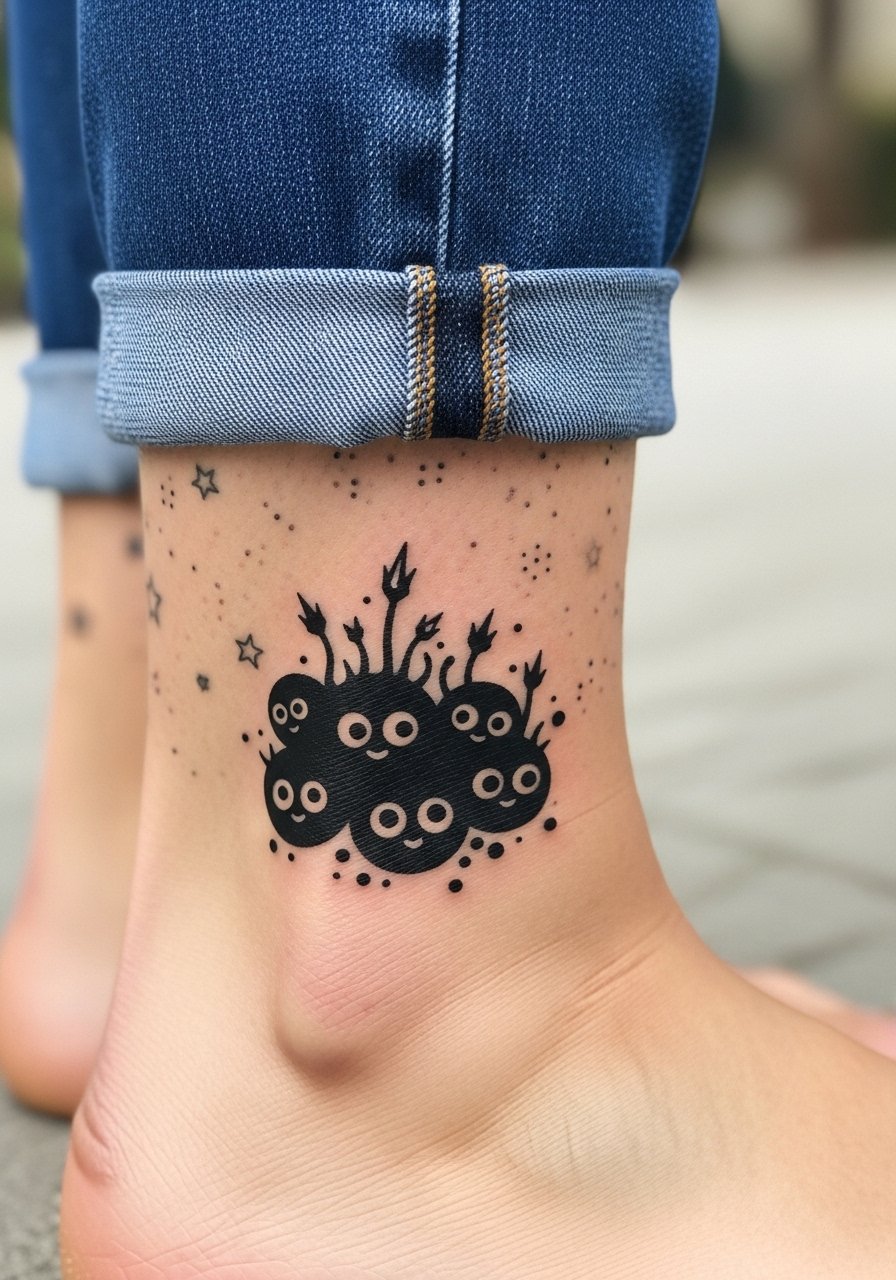
Ankle pieces are visible and pair well with small clusters. Keep each sprite simple to avoid blurring into a single dark shape. Expect touch-ups earlier than for thigh or calf. Session is brief. Pair with sandals or a minimalist ankle bracelet to draw attention without crowding the tattoo.
19. Cross-Section Engine Diagram on Upper Arm
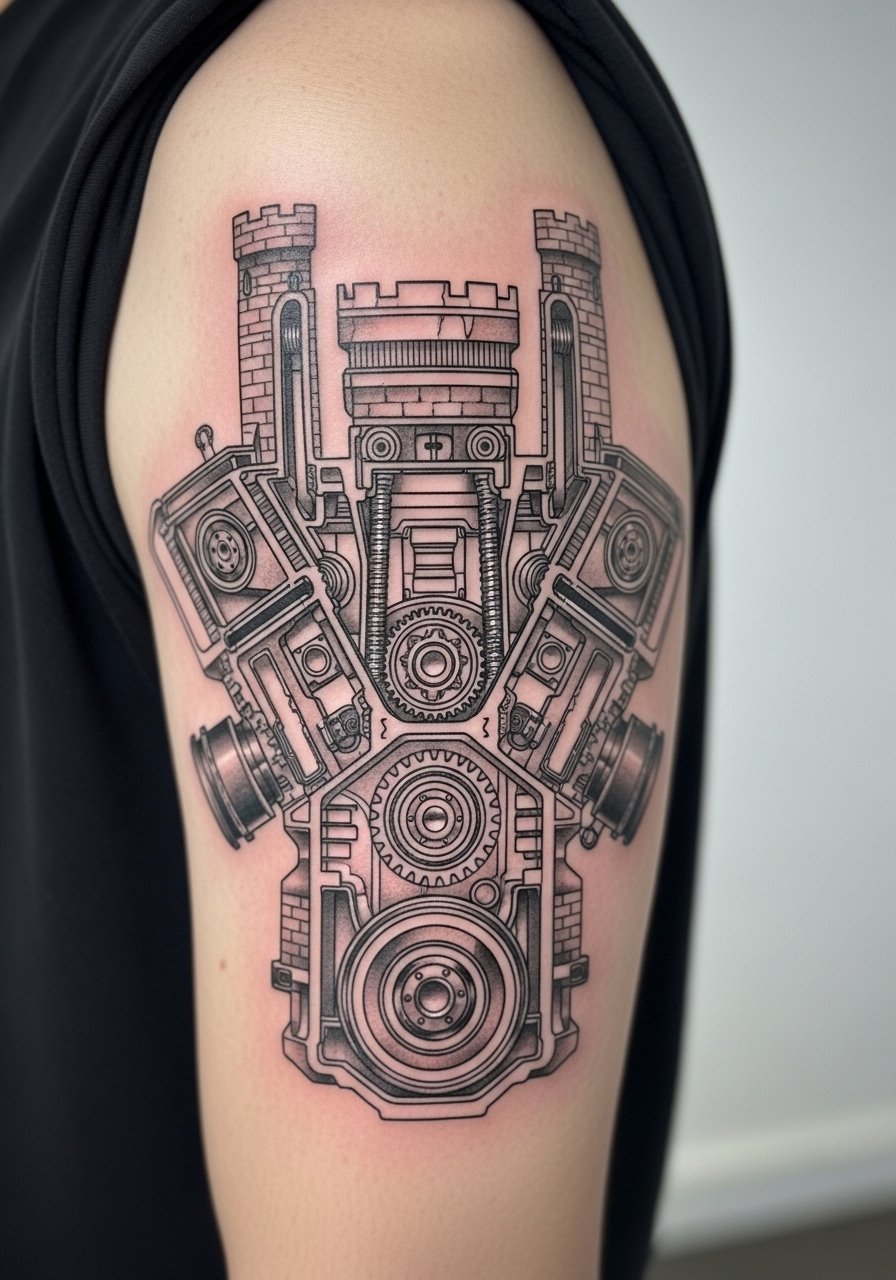
Technical diagrams favor clear negative space and bold framing to survive long-term. The mistake is tiny labels and too many thin hatches. Keep annotations minimal and scale main gears larger. Upper arm tolerates detail and ages slowly. Wear a loose button-down shirt to the appointment so you can roll sleeves without pressure.
20. Collarbone Constellation with Tiny Castle
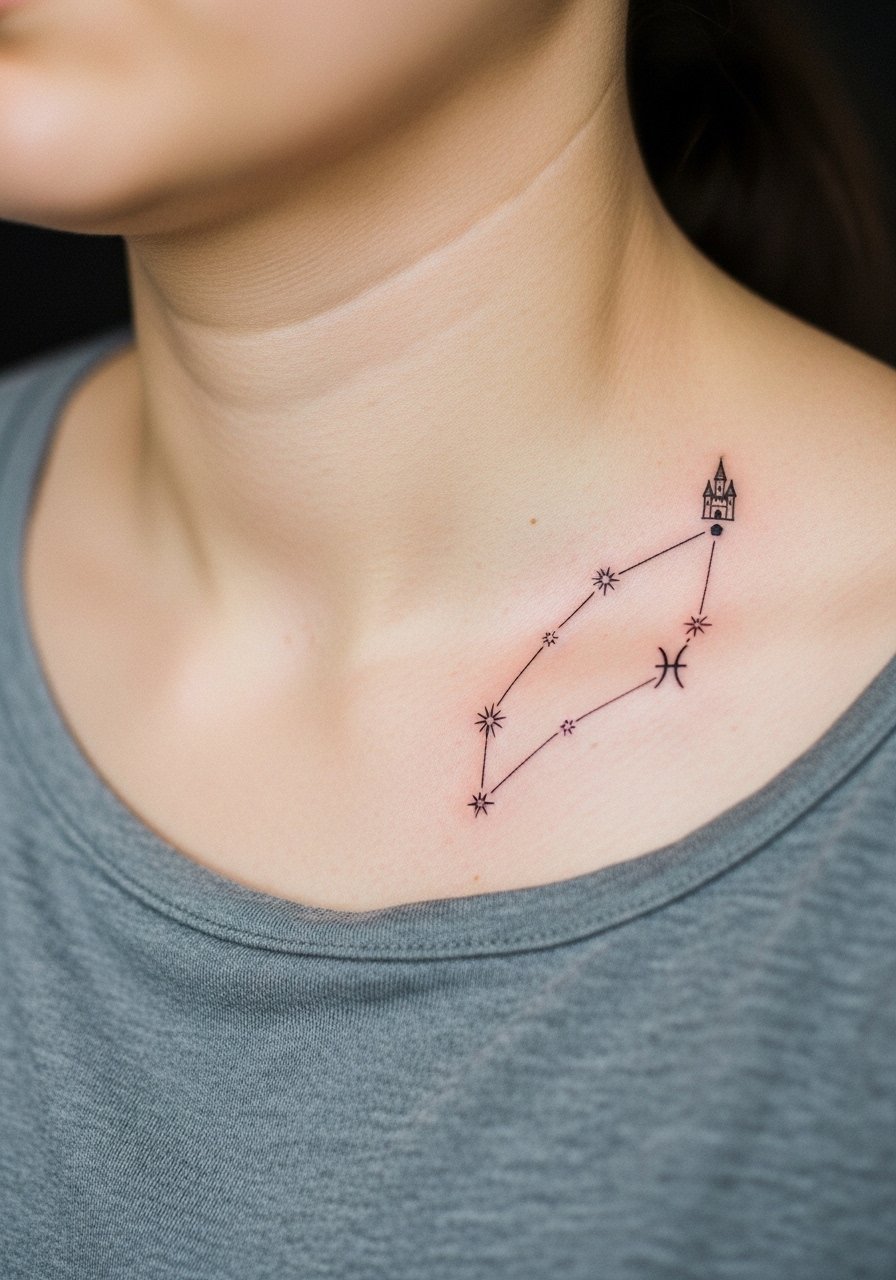
Constellation placements are subtle but need spacing so stars do not merge. Keep dots and connecting lines slightly bolder than you might at first prefer. Collarbone movement and sun exposure affect longevity. Sessions are short but expect touch-ups at year two. Pair with a thin chain pendant necklace that sits above the design.
21. Pocket Watch Containing Castle on Sternum
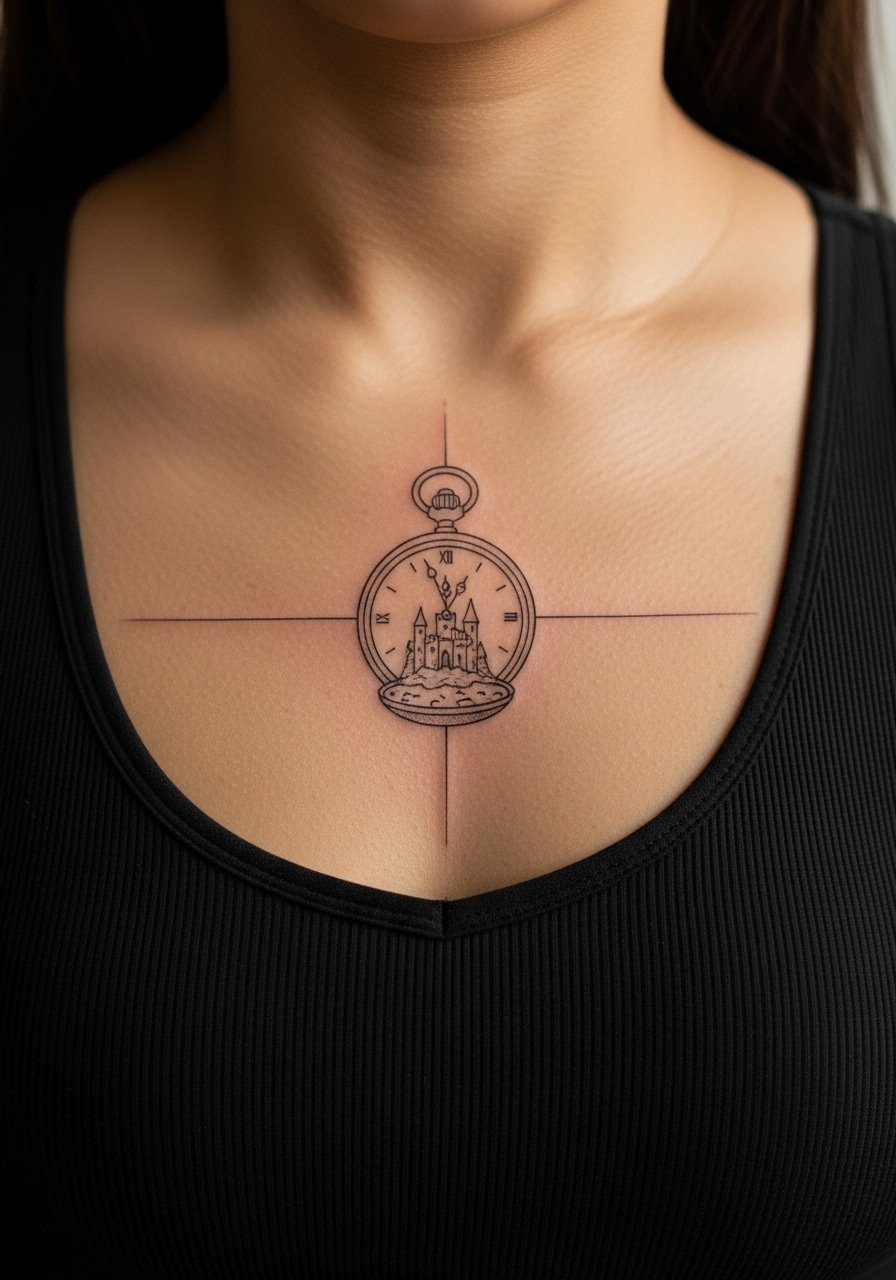
Sternum work is sensitive and needs a stable canvas. Tiny internal details in a pocket watch must be bold to remain legible. Expect higher pain and probably multiple short sessions. Keep the face simple with a clear border so time elements age cleanly. For comfort wear a fitted sports bra to the appointment.
22. Gothic Clock Tower on Lower Back
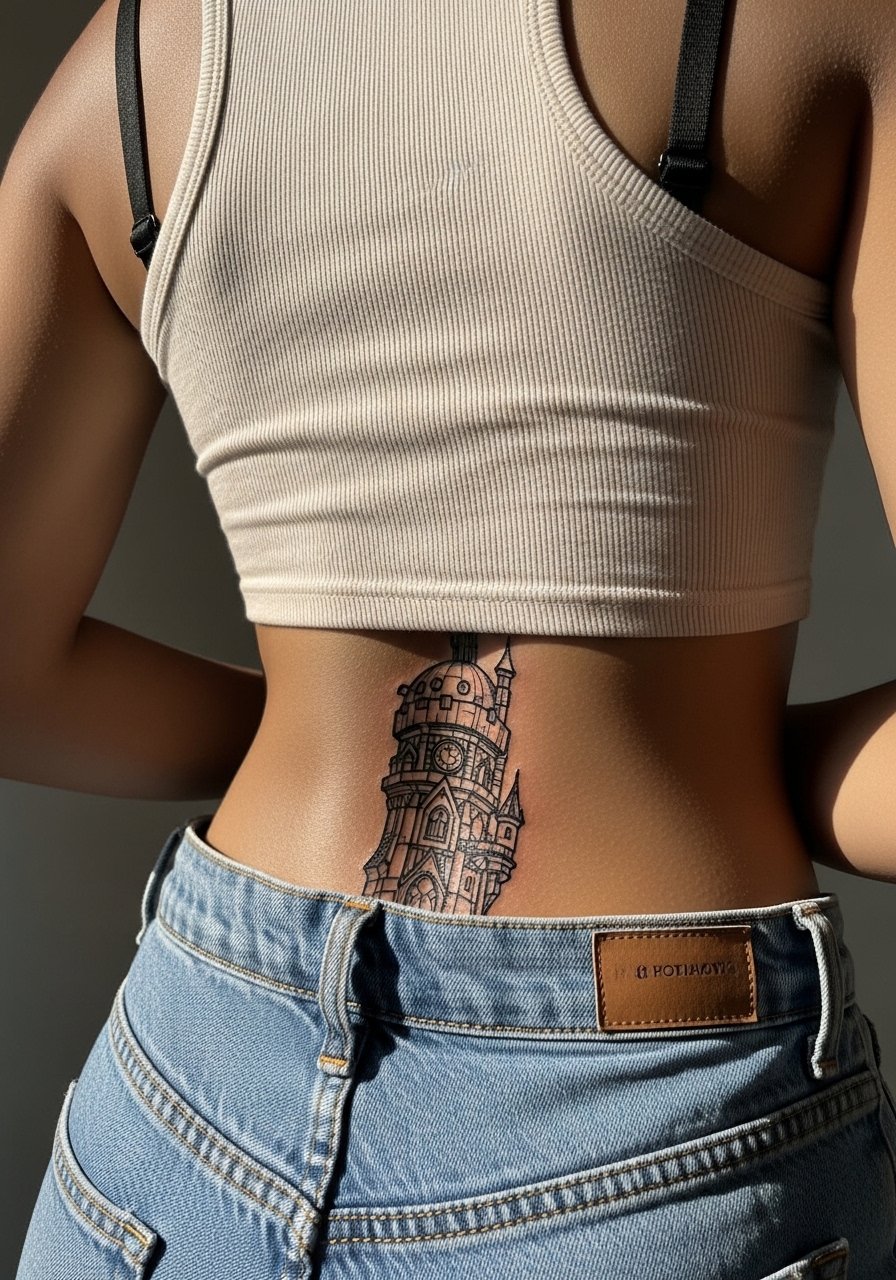
Lower back gives room for vertical towers and bold anchors. Avoid overloading the spire with tiny buttresses that blur. The lower back is a moderate pain zone and a good place for larger silhouettes that will age steadily. Wear a tank top with high-waisted bottoms for the session and for evenings choose a low-back dress to show it.
23. Tiny Chimney Stack on Ankle Bone
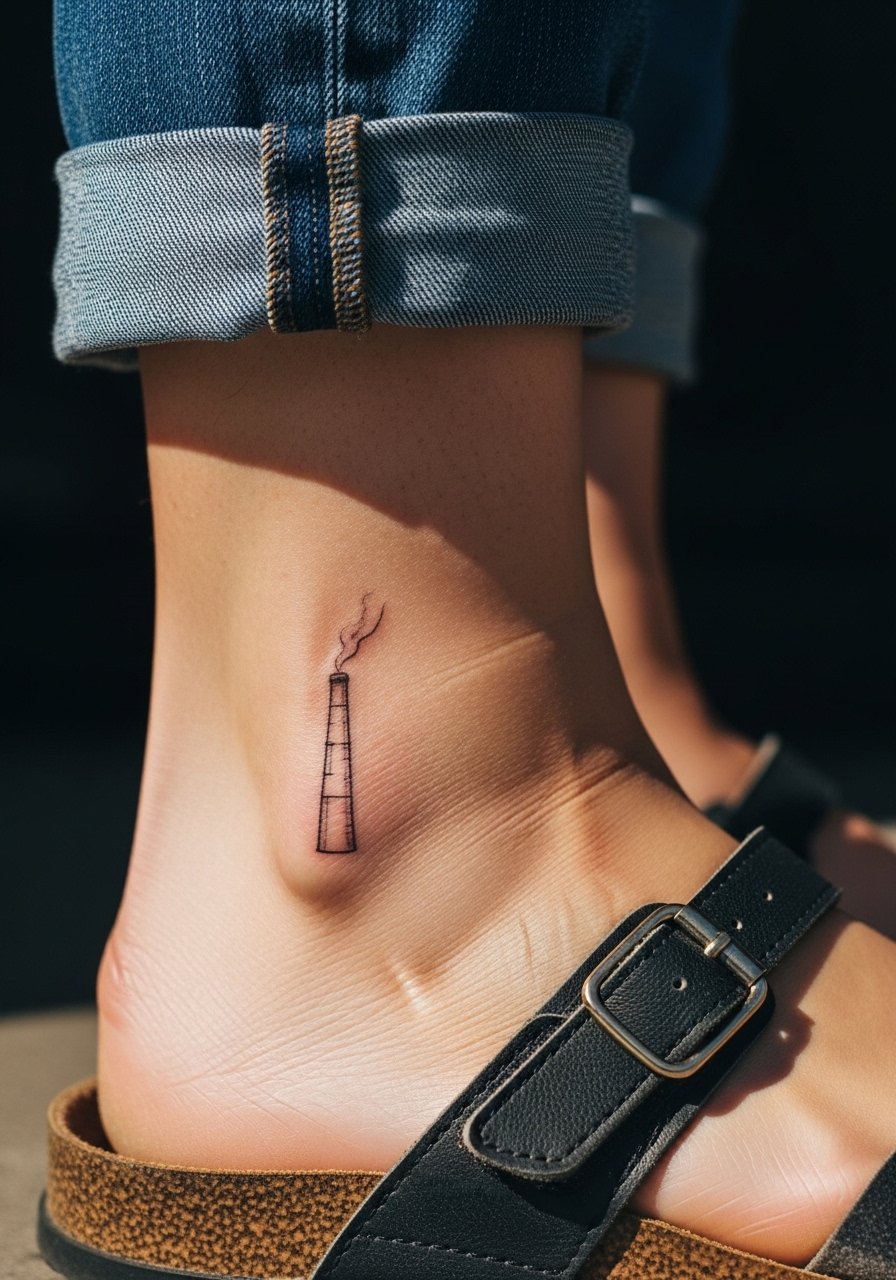
Ankle bones bruise and rub, so thin vertical lines need extra spacing and slightly thicker anchor lines. Expect this to be a quick session but require touch-up sooner than calf work. Pair with sandals for visibility and a minimalist bracelet to accent the area.
24. Panorama Silhouette Across Shoulder Blade
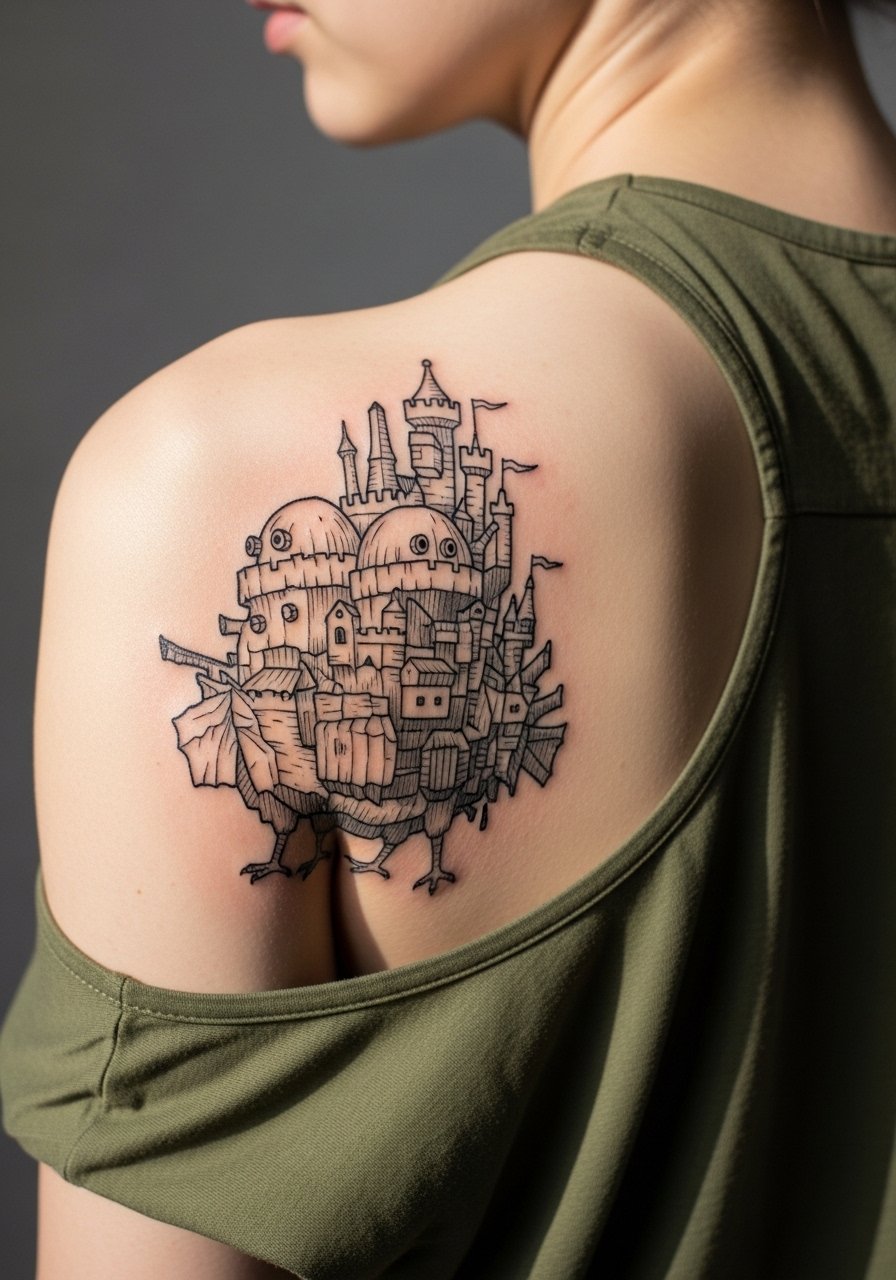
Shoulder blade placement is forgiving and shows larger silhouettes well. Ask for clear separation between towers so the piece retains its reading as it ages. Common mistake is cramming horizontal detail that reads as texture later. Sessions are moderate. Show it off with an open-back midi dress for evenings.
25. Mandala-Inspired Castle Medallion on Upper Back
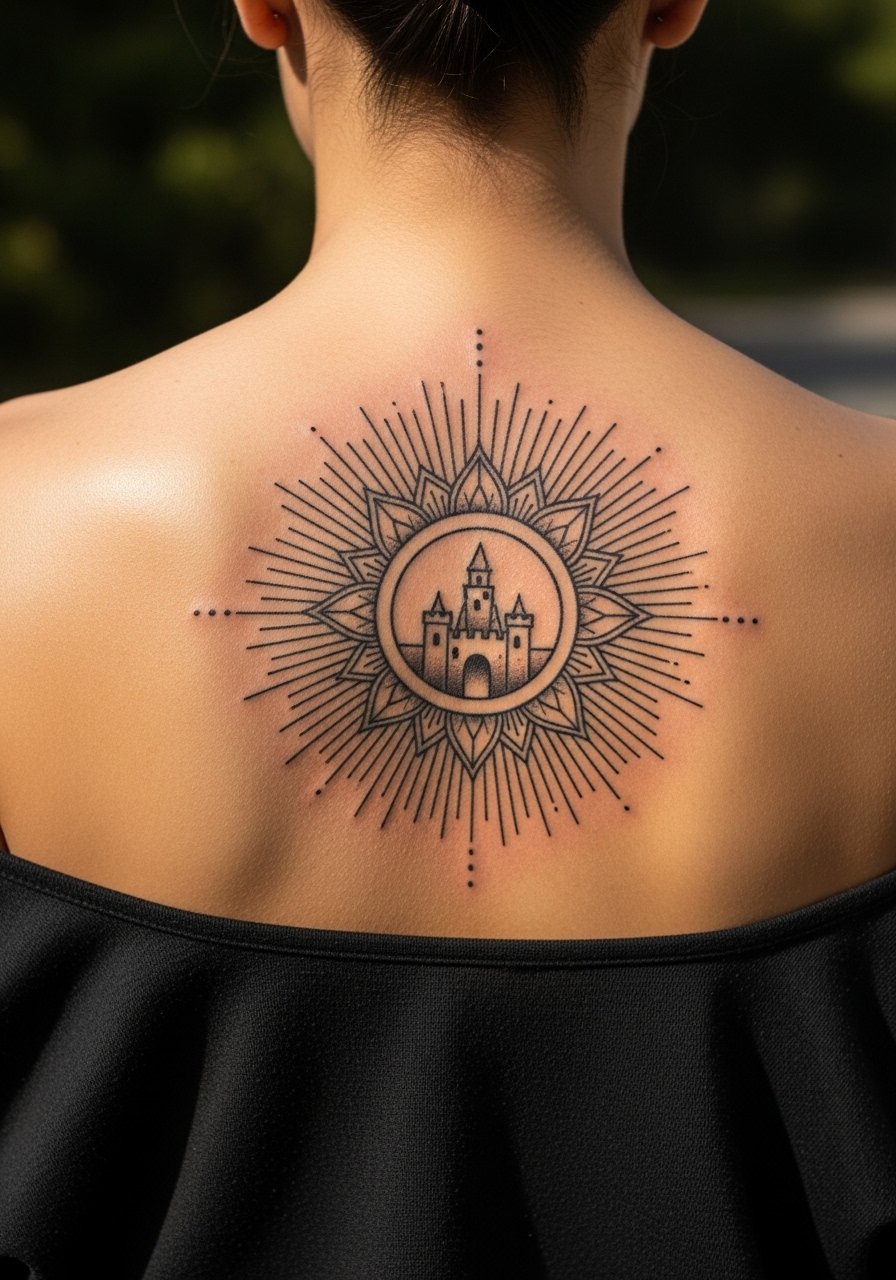
Mandala frameworks help distribute detail so central imagery stays legible. Make sure the artist spaces concentric lines for longevity rather than packing rings too tightly. Upper back handles radial symmetry well. Session time varies by scale. Wear a wide-neck shirt you can shift for the appointment.
26. Inner Thigh Sophie Silhouette with Floral Frame
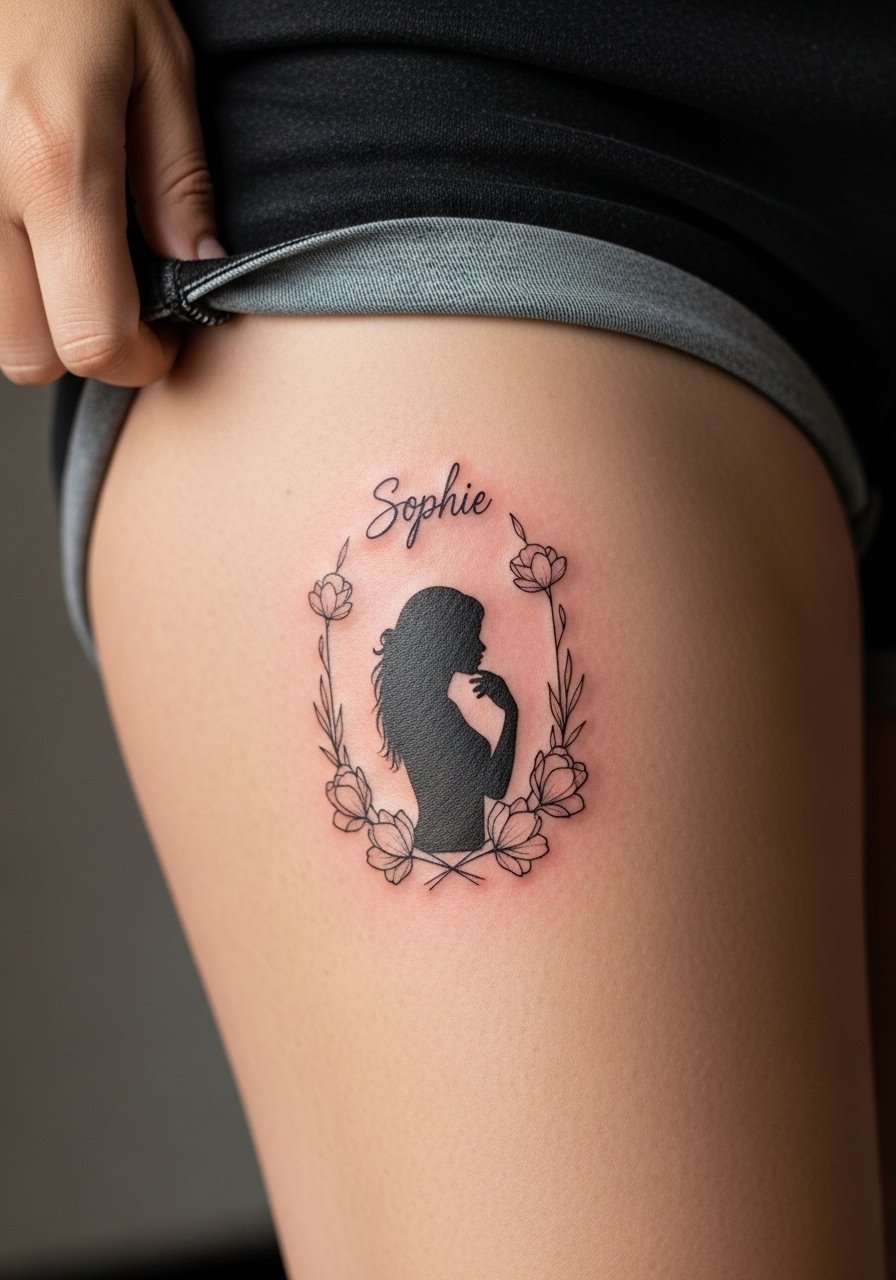
Inner thigh is intimate and heals differently due to friction from clothing. Choose slightly bolder outlines for the silhouette and give florals breathing room. Pain can be moderate to high depending on sensitivity. For the session wear loose shorts you can move easily. Keep in mind many artists prefer experienced clients for intimate placements.
27. Geometric Castle Medallion on Chest Near Collarbone
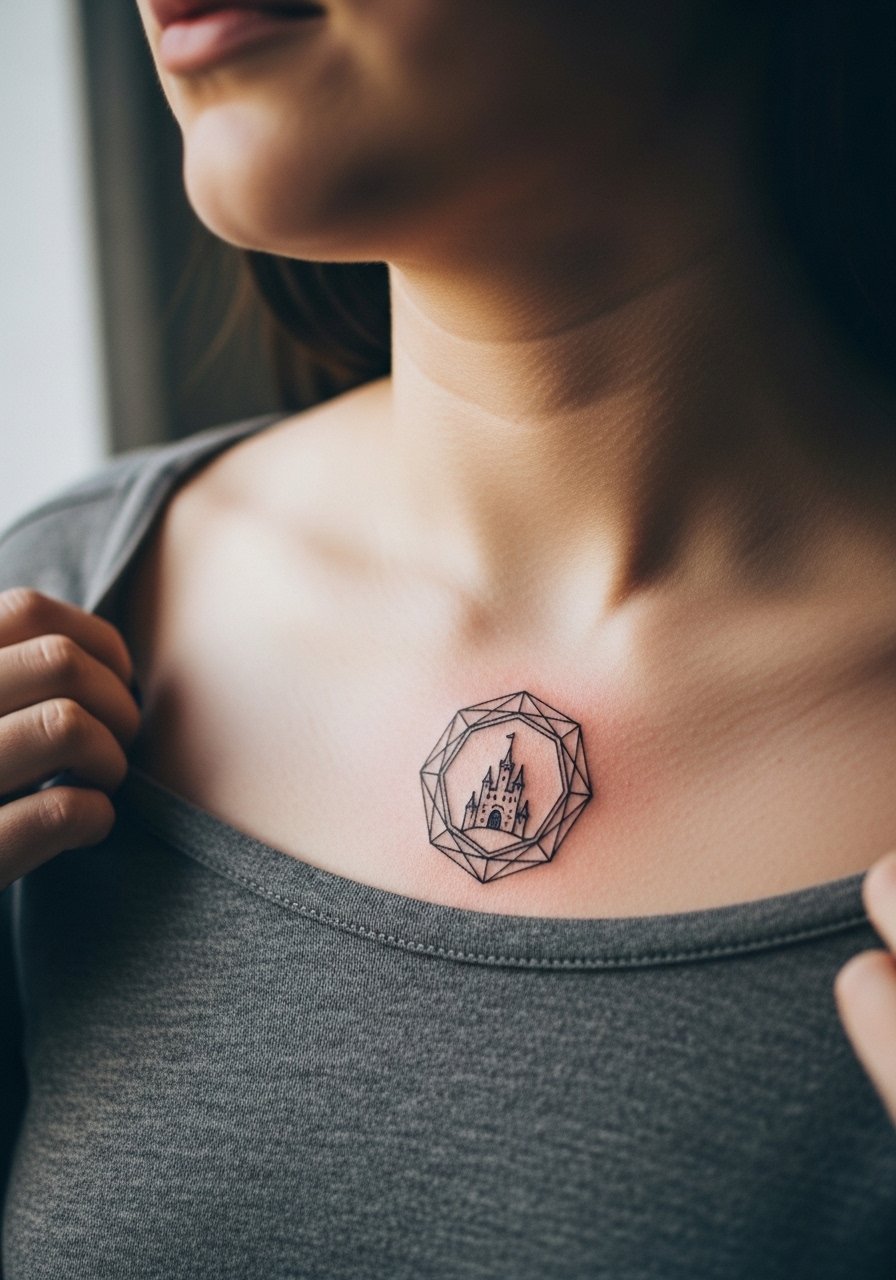
Chest geometry reads well when shapes have clean negative space. The mistake is packing too many intersecting lines which merge with healing and chest movement. Sessions are moderately painful. For appointment comfort wear a wide-neck shirt you can pull slightly aside without exposing the torso.
Frequently Asked Questions
Q: Do fine line Howl's Moving Castle tattoos fade faster than bold blackwork?
A: From what I've observed, fine line designs tend to blur sooner on high-friction spots like the wrist and fingers. Bold blackwork holds shape longer, especially on the back and calf. If you love fine line, ask your artist to slightly thicken outer contours and plan a touch-up around year two or three.
Q: Is rib or sternum work worth the pain for detailed castle pieces?
A: If you want a detailed piece the rib and sternum offer ample canvas, but they bring more pain and movement. One practical route is to prioritize bolder silhouettes there and reserve ultra-fine detail for less mobile areas like the upper back. Break larger chest sessions into two appointments if needed.
Q: How should I prepare clothing-wise for a shoulder blade or upper back session?
A: Wear a loose tank or a button-down you can pull aside so the artist has clear access without you getting too exposed. A loose tank top is usually the easiest option and keeps the session comfortable for both of you.
Q: Artists disagree on Saniderm versus dry healing. Which side do you lean toward?
A: I see both camps. Some clients prefer Saniderm for fewer scabs and less daily fuss. Others opt for open air with gentle wash and ointment because they feel it reduces trapped moisture risks. Ask your artist what they find reliable and follow their protocol for the best healed result.
Q: How do I adapt these designs for darker skin tones so the castle details still read?
A: Negative space and bold silhouettes work well on darker skin. Request high-contrast anchors, avoid tiny gray washes, and favor simplified interior detail that reads at arm's length. Bringing healed reference photos of similar skin tones helps your artist match contrast and spacing.
Q: Will a small finger or ankle castle look okay in a professional environment?
A: Many workplaces still have conservative policies. Finger and ankle pieces can be hidden with sleeves, shoes, or jewelry, but consider your career path before committing to very visible placements. If unsure, choose placements that can be covered during interviews and meetings.
Q: When should I plan for touch-ups on watercolor Calcifer or stained-glass styles?
A: Expect watercolor edges to soften within one to two years and stained-glass panels to need refreshing around two to three years depending on sun exposure. Lighter placements and frequent sun can accelerate fading, so sunscreen after healing helps preserve color.
