
Fine line Melanie Martinez-inspired tattoos look delicate at first glance, but what keeps them honest over time is spacing, placement, and realistic expectations. Fans trade bold portrait flash for illustrative scenes that read like album art when healed. Below are 27 illustrative ideas that lean on clear linework, smart sizing, and wardrobe pairings so your piece ages like a thoughtful fan piece rather than a smudge.
1. Mini Lollipop on Inner Forearm
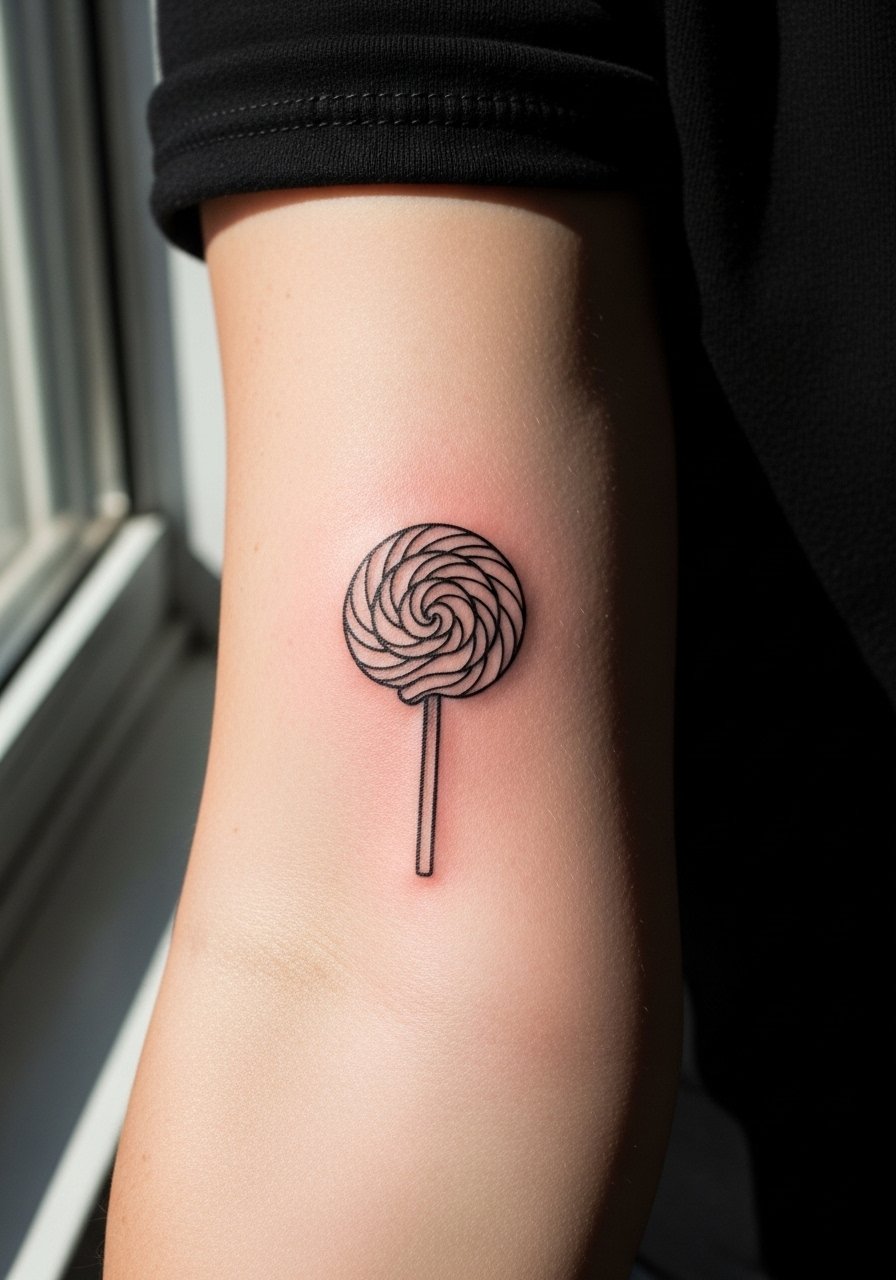
I've seen tiny lollipop pieces last when artists give them breathing room. Ask for slightly thicker linework than your reference so the candy reads at year two. Fair warning, the inner forearm is visible and gets sun, so plan for sunscreen in the healing years. The session is low discomfort, about 30 to 60 minutes. Common mistake is wanting a hairline outline that vanishes into pores. For showing it off, roll up sleeves and wear a linen button-down to keep attention on the forearm without overcrowding the image.
2. Pastel Doll Portrait on Upper Arm
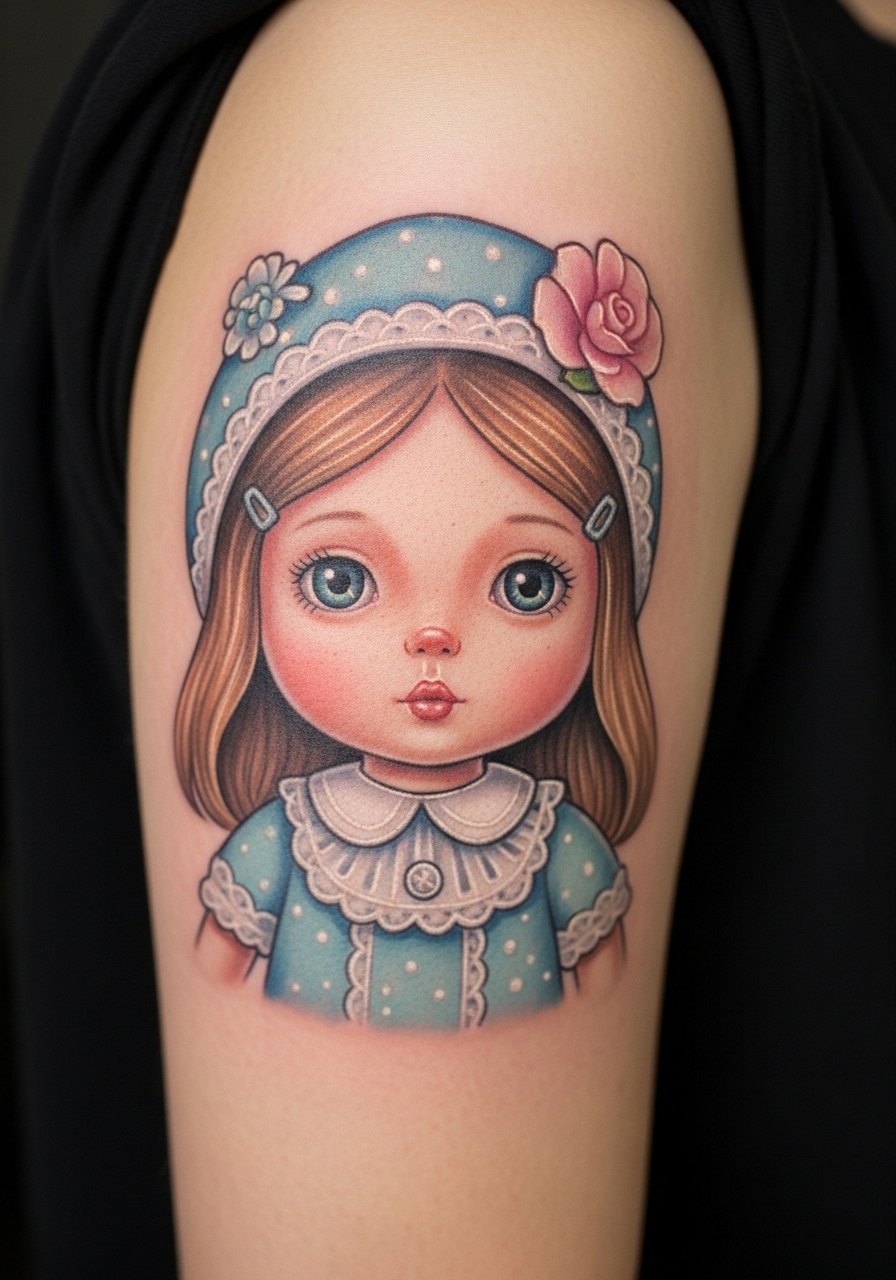
When people request a portrait, they often want everything tiny. A shallow approach flattens and softens into muddiness by year five. For an illustrative Melanie Martinez portrait, tell your artist to keep midtones and stipple shading for the cheeks rather than tight micro detail. Upper arm sessions are medium pain and take two to four hours depending on size. Expect touch-up at year three if you want the pastel to stay visible. Pair the piece with rolled sleeve tees or a short sleeve vintage tee to let the portrait peek out on casual days.
3. Half-Split Hair Silhouette on Nape of Neck
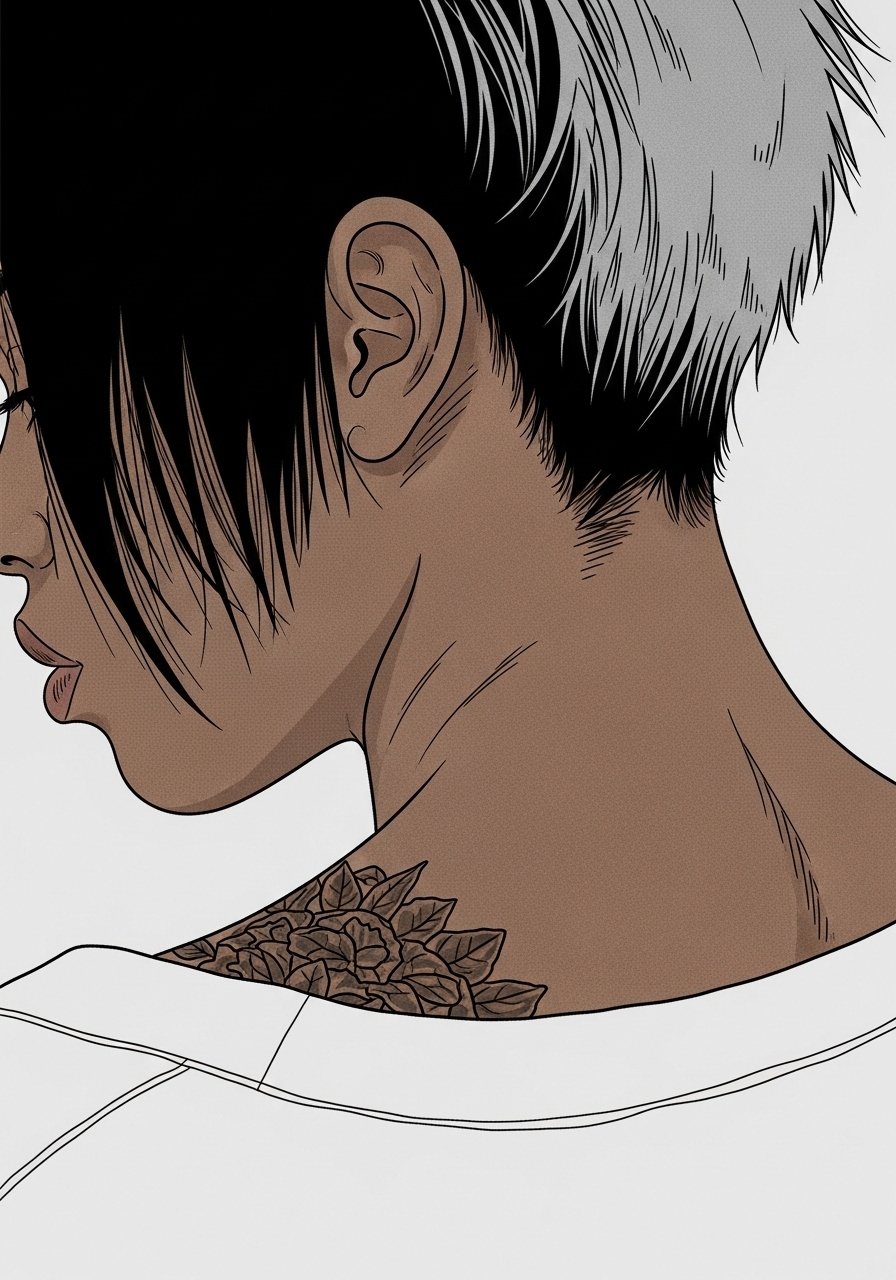
Neck placements split artists into two camps. One group says the thin skin and movement blur lines fast. The other group argues correct depth and spacing keep a silhouette crisp for years. If you opt for the nape, ask for bolder contour lines and a slightly larger scale to avoid blowout. The area is sensitive while in the chair, but sessions are short. For showing it, a wide-neck sweater frames the nape without hiding the silhouette. Consider career visibility before booking.
4. Cry Baby Script Along Collarbone
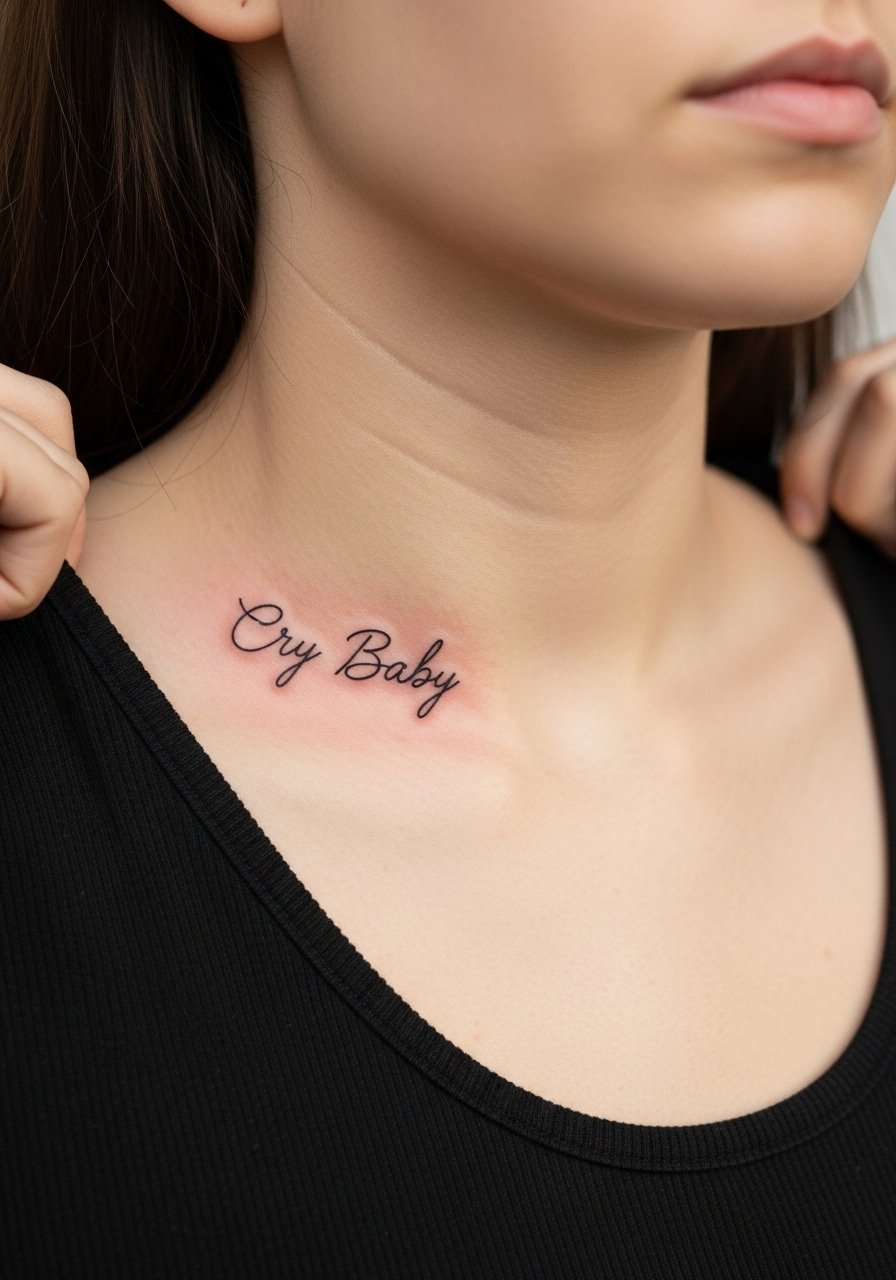
Script on the collarbone needs spacing and font choice to age well. Many people pick ultra-thin cursive that fragments over time. Ask for slightly heavier linework and ask the artist to write the phrase on tracing paper in the size you want. Collarbone work is medium pain and looks great under scoop or wide-neck tops. For evenings out, a thin chain pendant sits above the script and keeps focus on the lettering. Expect a touch-up around year three if you want crisp edges.
5. Stitched Smile on Forearm Wrap
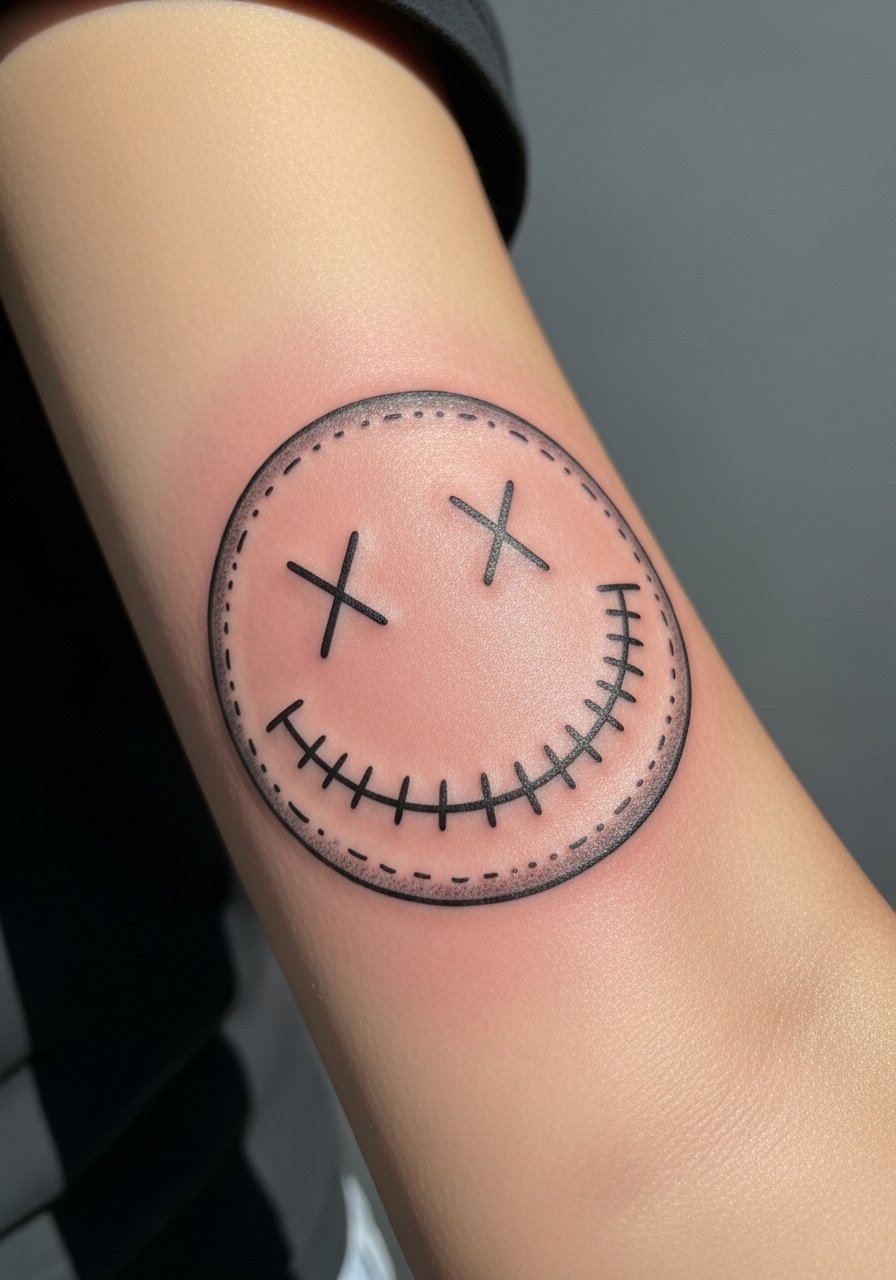
A stitched smile that wraps gives a playful nod without needing a full portrait. The outer forearm tolerates slightly denser linework, so you can get contrast without risking blowout. The common mistake is making the stitches too close together. Ask for spacing that reads at arm distance. Session time is about one to two hours and pain is mild. For a casual look, cuff a loose denim jacket so the wrap peeks in motion rather than being hidden.
6. Carousel Horse on Outer Thigh
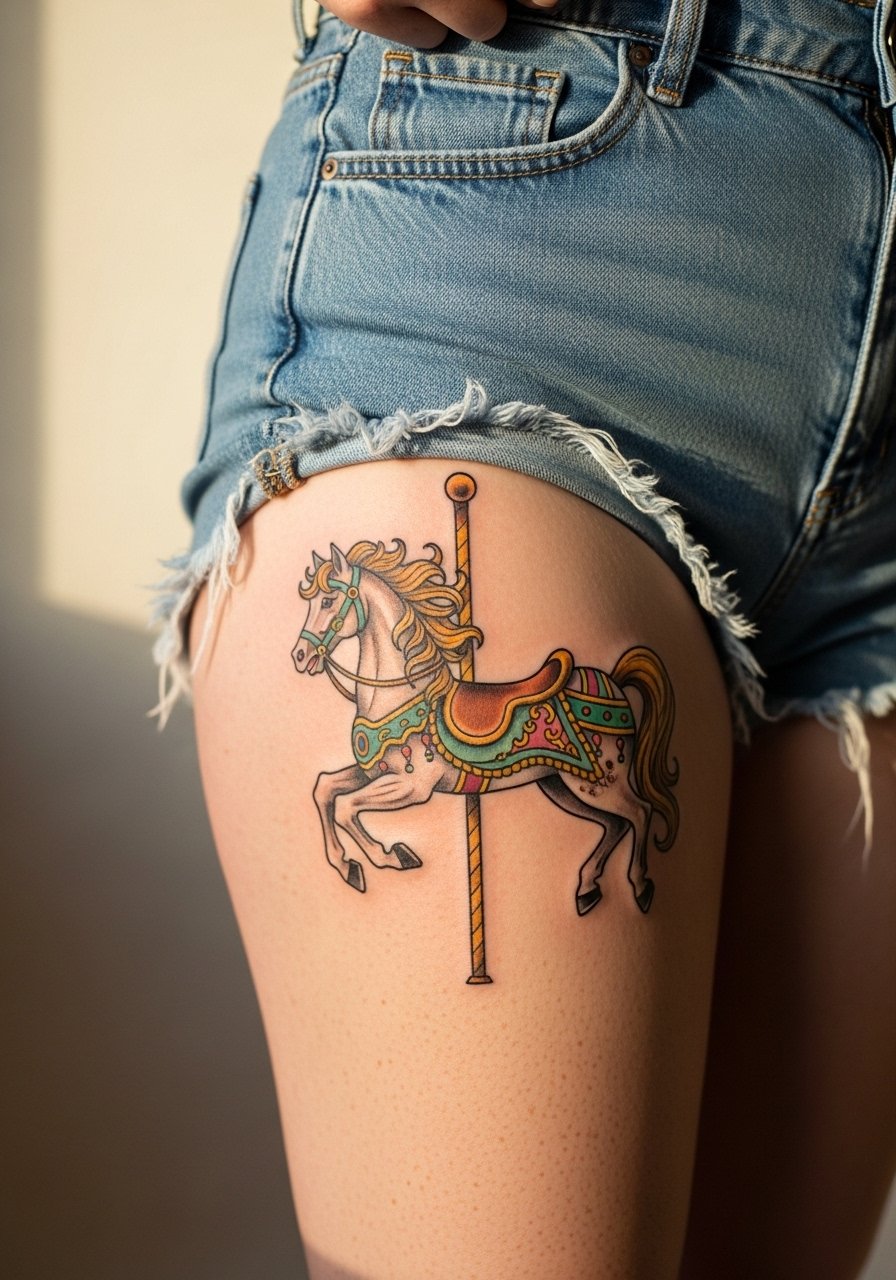
The outer thigh holds detail well, so a carousel horse with stipple shading ages nicely there. Fair warning, thigh flesh can change with weight and seating, which affects how crisp the scene looks over years. During consultation, specify which elements must remain sharp, like the eye and mane, and which can be softer. Sessions feel low to medium on pain and can run two to three hours. For after-session comfort, wear loose drawstring shorts the day of your appointment.
Studio Day Picks
The first six ideas include collarbone, forearm, neck, upper arm, and thigh placements, and each needs different prep and gentle healing aids.
-
Stencil transfer paper kit. Lets you see exact placement on skin before the needle touches you, which is crucial for script and silhouette pieces.
-
Topical numbing cream. Applied per instructions about 45 minutes before the session eases the sharp edge on collarbone and rib areas.
-
Thin protective film roll. Helps keep forearm and thigh pieces shielded from friction during the first 48 hours.
-
Fragrance-free gentle body wash. Cleanses healing areas without stripping the ink, useful for upper arm and thigh showers.
-
Aquaphor healing ointment. Thin application locks in moisture for delicate linework while allowing the tattoo to breathe during early healing.
7. Vintage Microphone on Inner Bicep
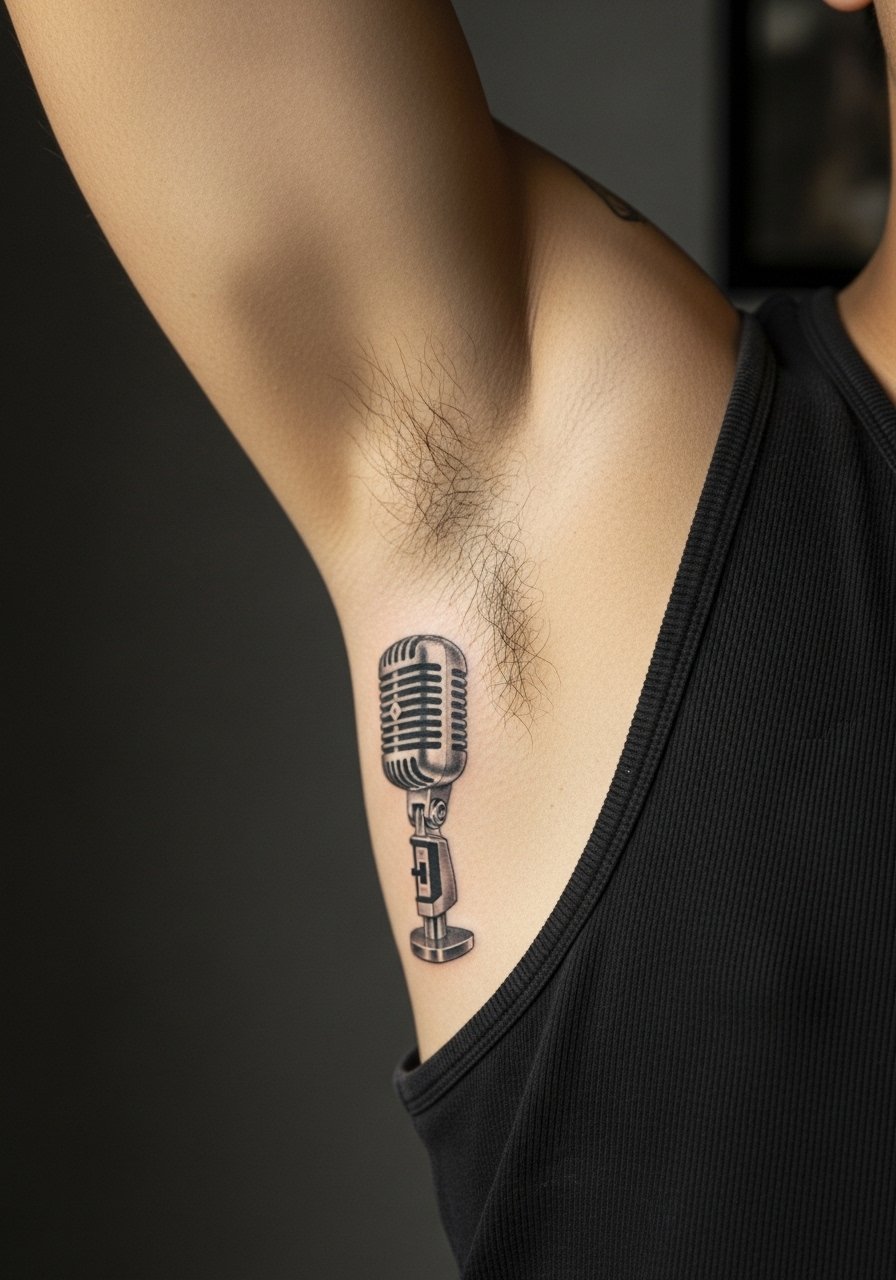
When a music-themed piece is on the inner bicep, durability depends on needle depth and how much flesh moves during daily activity. The inner bicep is one of the more sensitive zones. Expect a session that ranges from one to two hours and a medium pain level. The common mistake is overfilling the shadow areas which can blur with arm motion. Tell your artist to favor stipple shading for texture. For the session, wear a tank top you can pull aside so the artist has clear access.
8. Lined Dollhouse Window on Ribcage
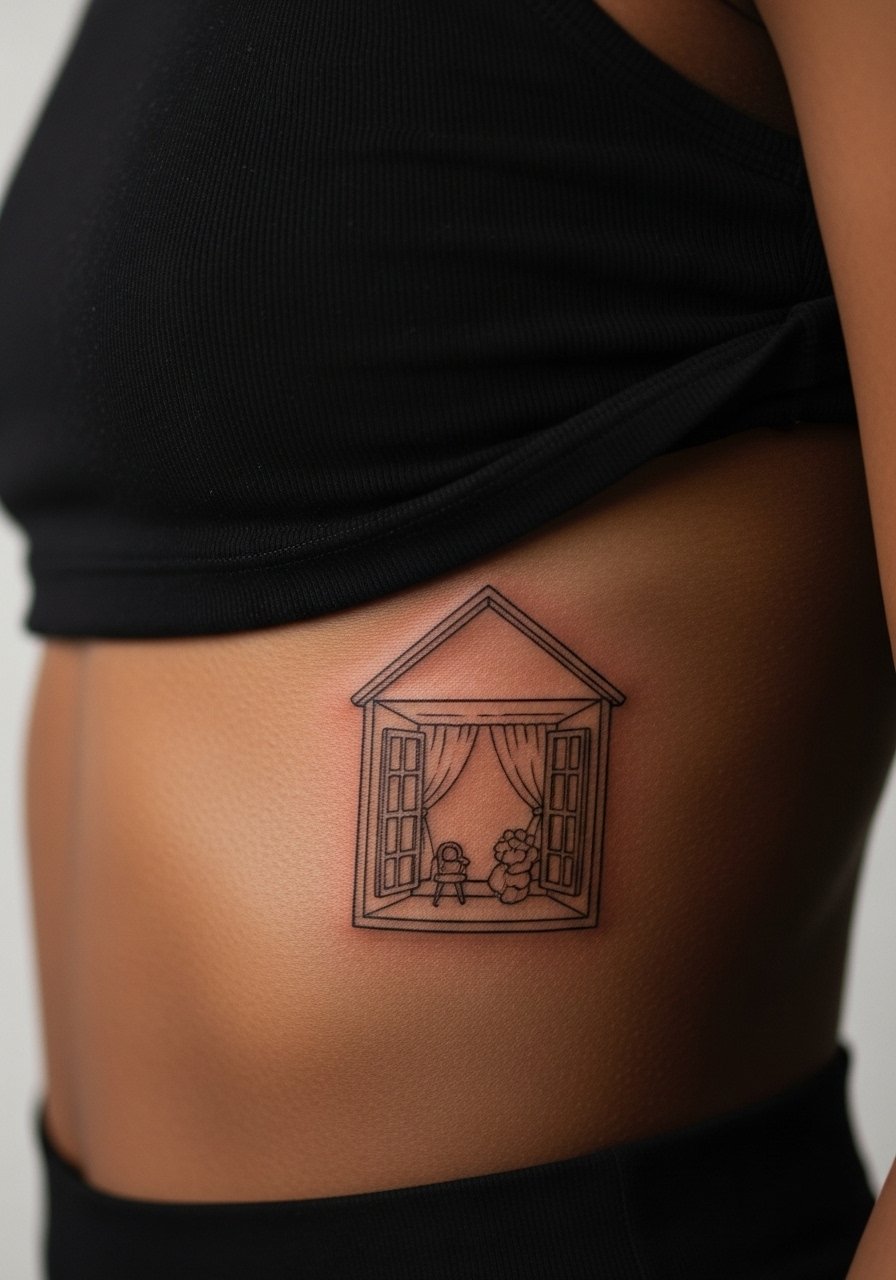
Ribcage pieces split artists into two camps about fine line work. One camp says the skin stretch and breathing blur thin lines quickly. The other camp says careful depth and larger spacing keep details readable. If you want a ribcage window, request slightly stronger outlines and ask for stretched tracing to match your breathing. Pain is high and sessions are slower. For the appointment, a cropped top that can be lifted easily makes the process smoother. Think through the longevity trade-off before committing to ultra-fine details.
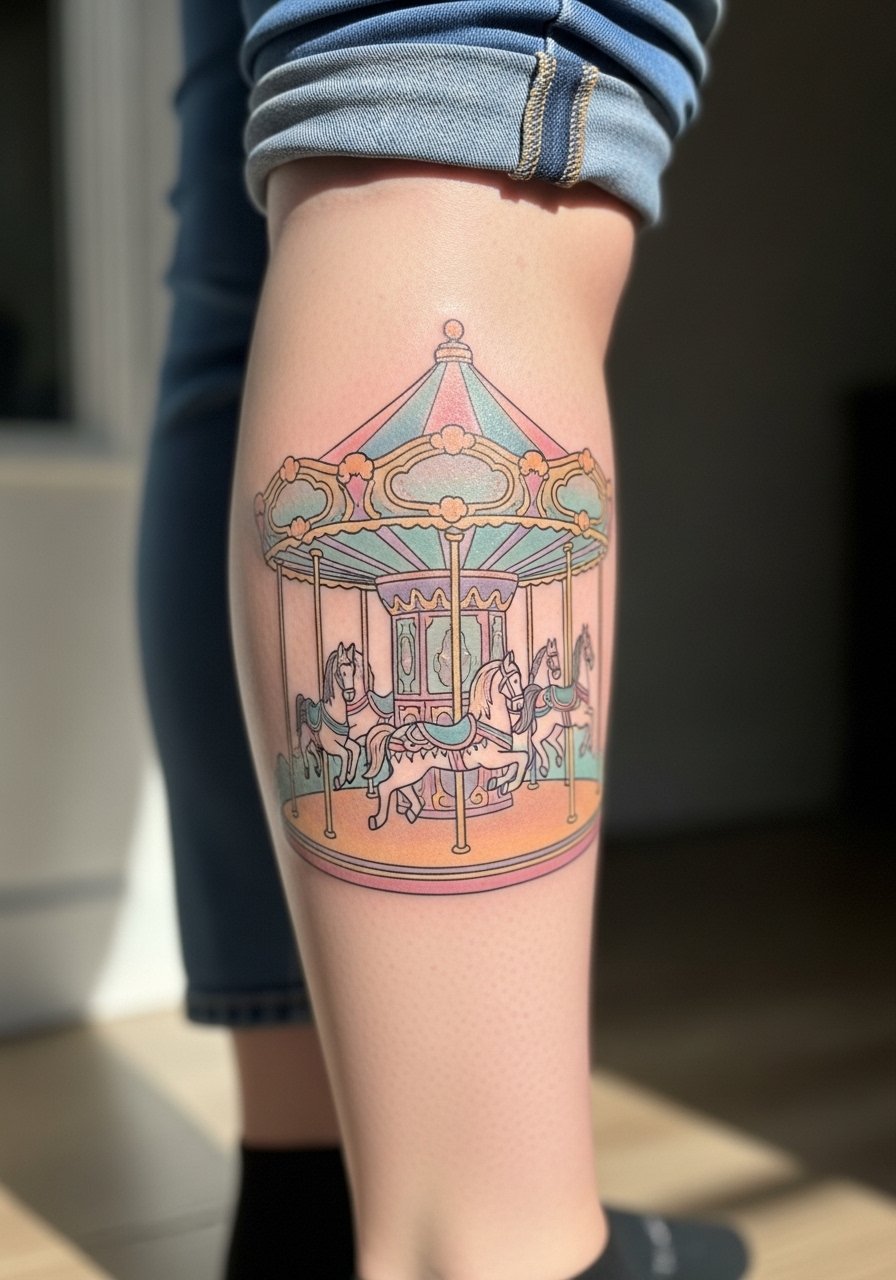
9. Pastel Carousel on Calf
Calf skin tolerates saturation well, so pastel fills with bold outlines can hold longer than on thinner skin. A common mistake is choosing tiny motifs that get lost among pant seams. Ask for a composition that reads from a few feet away. The session is medium and may be split into two sittings if color is involved. For showing the piece off, roll up pant legs or wear high socks that stop below the tattoo so the carousel remains visible without rubbing.
10. Teddy Bear with Stitched Heart on Chest
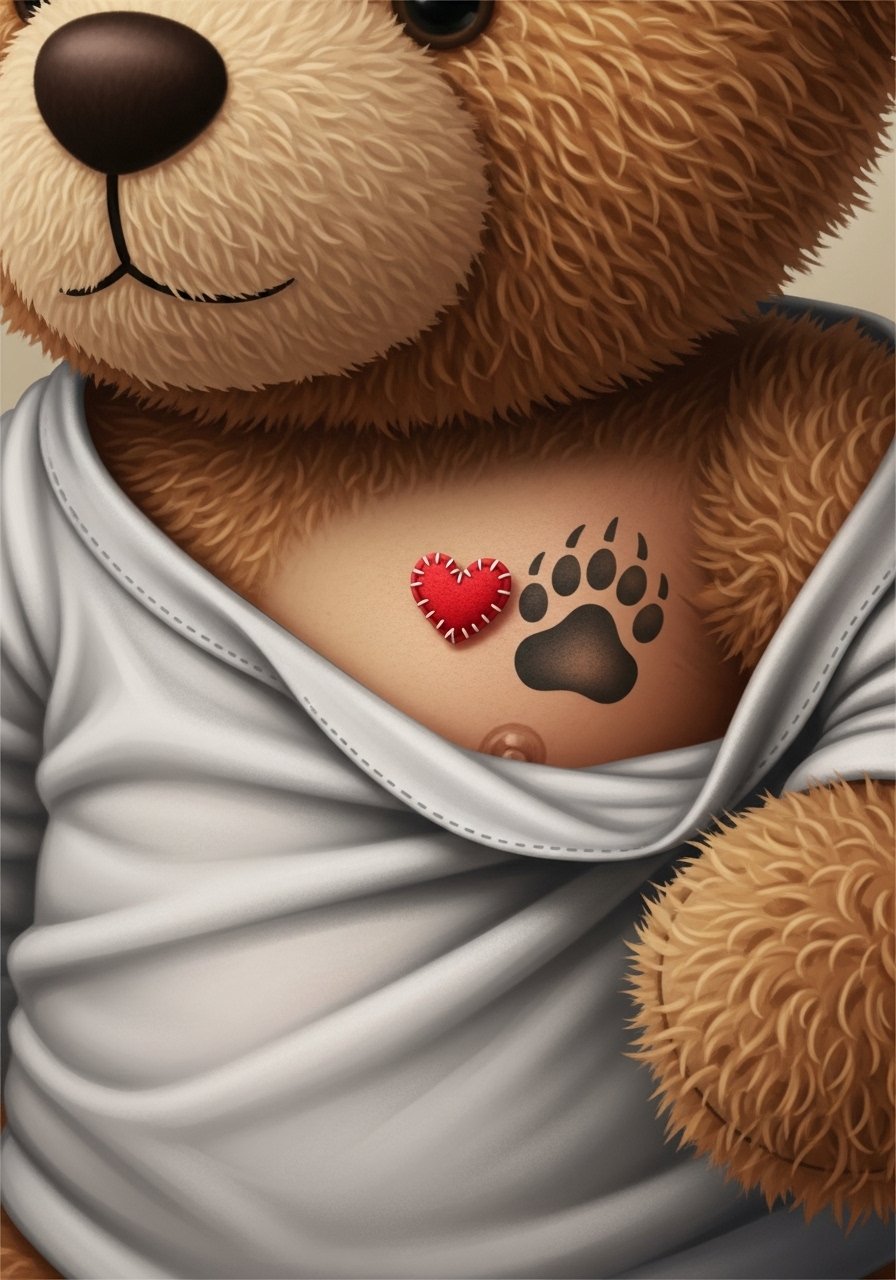
Upper chest pieces read differently depending on chest movement and clothing choices. The chest accepts larger scale and looks best with clear negative space. Common mistake is cramming a complex scene too small near the sternum. If you want the stitched heart to stay distinct, ask for heavier outer lines and open interior shading. Sessions here are medium pain and may require longer recovery. Pair the tattoo with a bandeau top for evenings out so the teddy sits above the fabric line.
11. Broken Mirror Fragment on Wrist
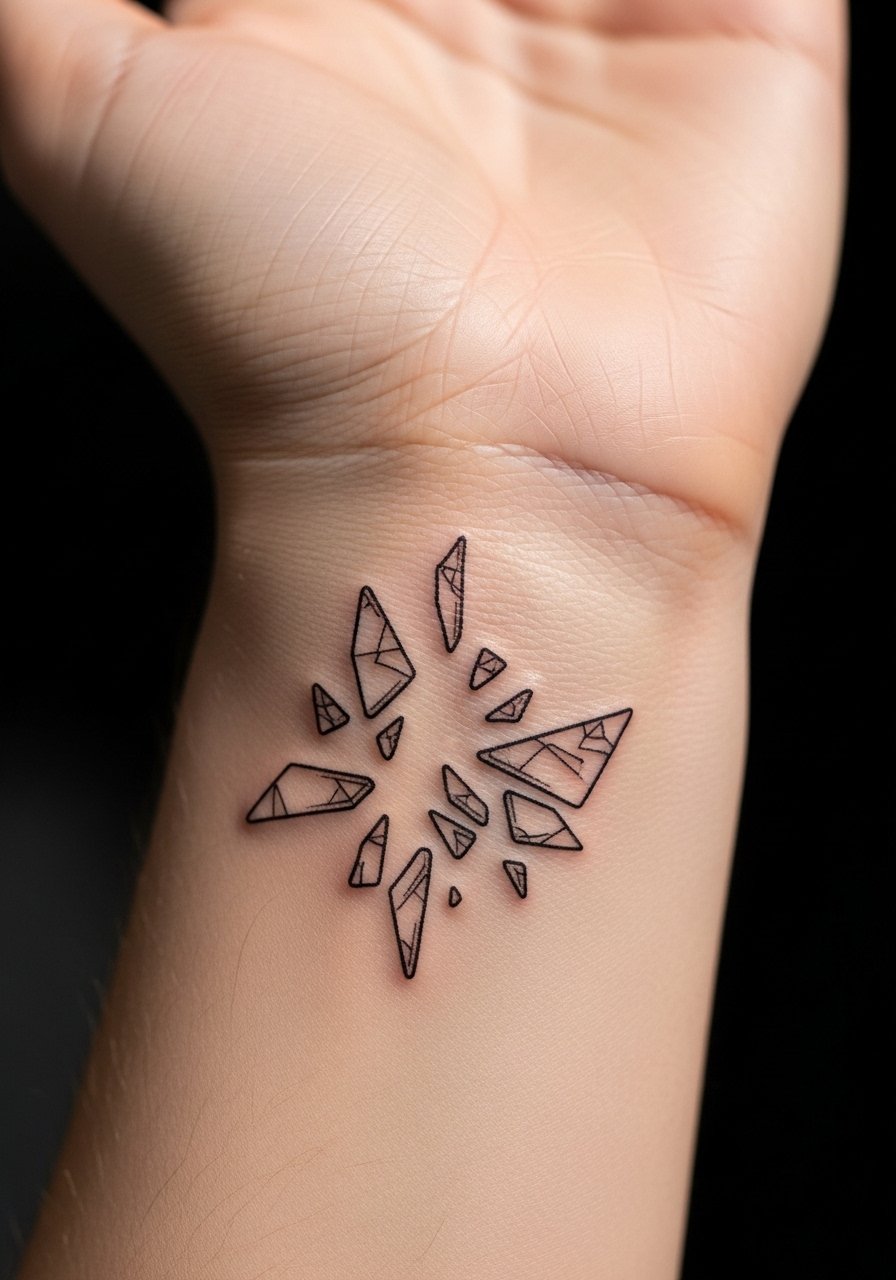
Wrist tattoos face constant washing and friction from watches and bracelets. The biggest mistake is asking for too much micro detail on a small wrist patch. For longevity, request bolder shards and avoid tiny interior textures. The session is brief and pain is mild to medium. Expect a touch-up sooner than for larger pieces because of hand movement. For showing it off, choose a minimalist watch or thin bracelet that sits below the tattoo rather than over it.
12. Ribbon Bow Behind the Ear
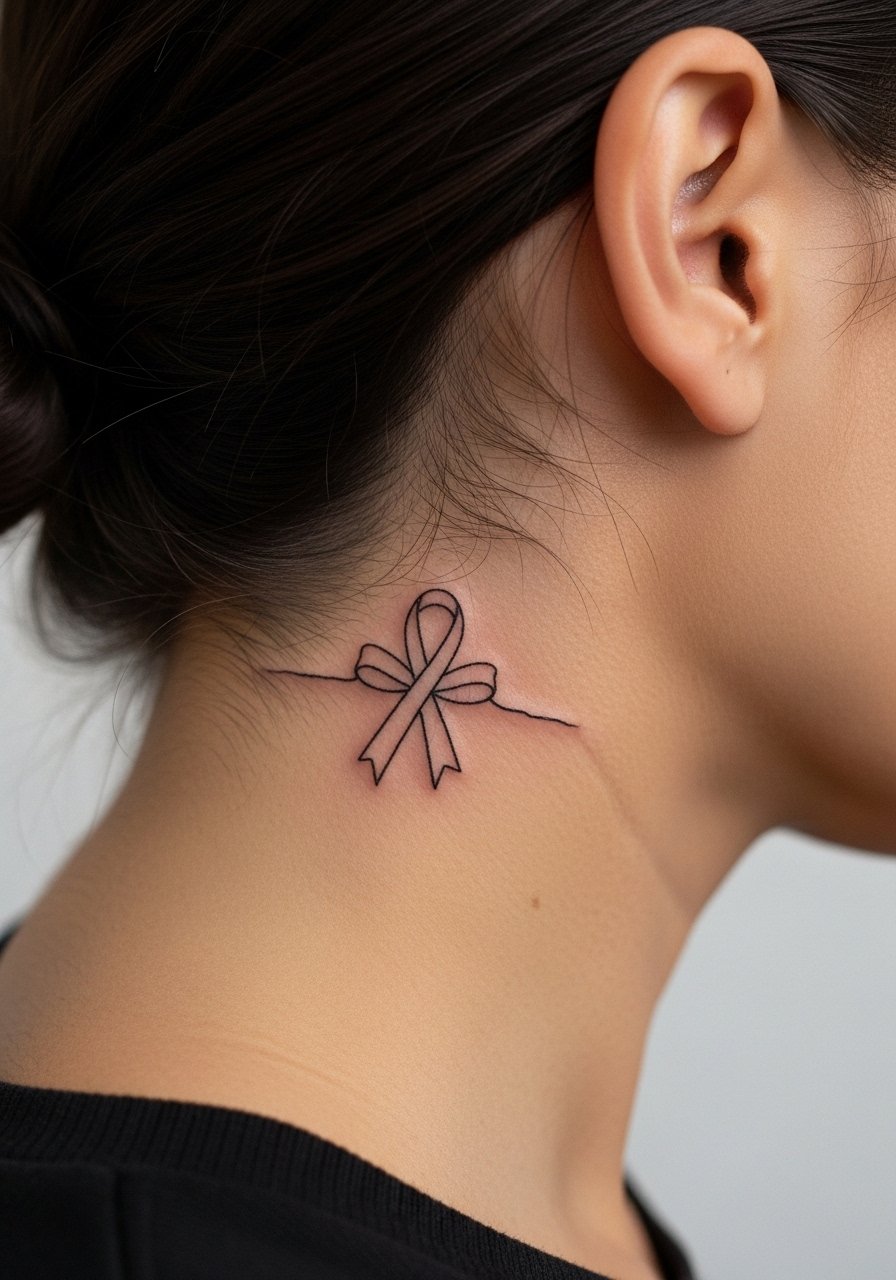
Behind-the-ear placements require tiny designs and careful discussion about visibility. The area is mildly sensitive and small changes in hair or glasses can affect how often others see your tattoo. Tell your artist you want clean contours rather than dense fill. The session is short but touch-ups are common because the skin there is thin. For concealment or reveal, keep hair styles flexible and try a thin chain choker that sits lower so attention rests on the bow when you tuck hair.
13. Lollipop Bouquet on Thigh Side
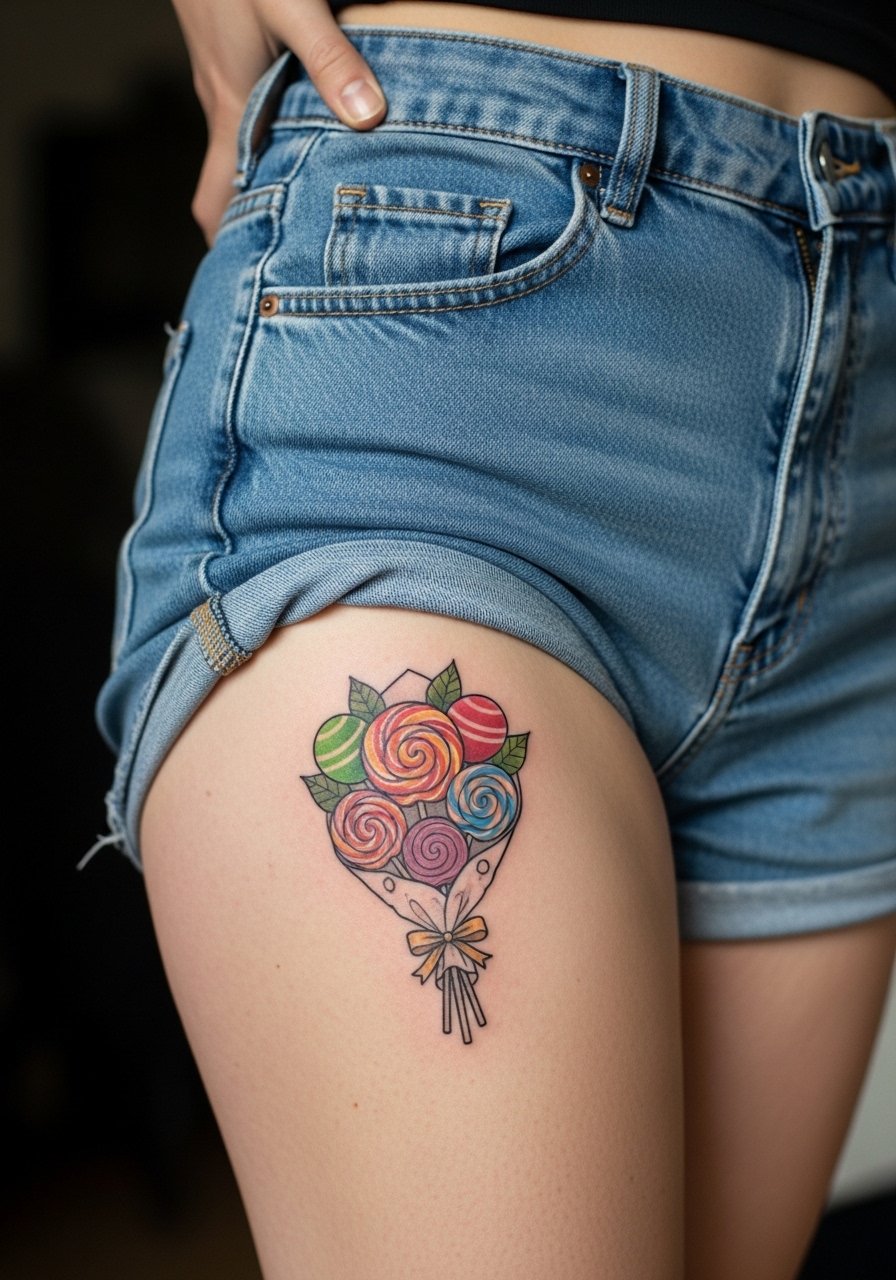
Thigh-side work tolerates color and detail, so a bouquet of lollipops looks vibrant there without risking quick blurring. The main mistake is choosing fragile linework when the area can support more graphic decisions. Ask for a mix of stipple shading and saturated fills to help the colors hold. Sessions are medium pain and can take a few hours. For the appointment, loose high-waisted bottoms are ideal. For showing it off, a swimsuit bottom that reveals the hip works well.
14. Puppet Strings on Upper Back
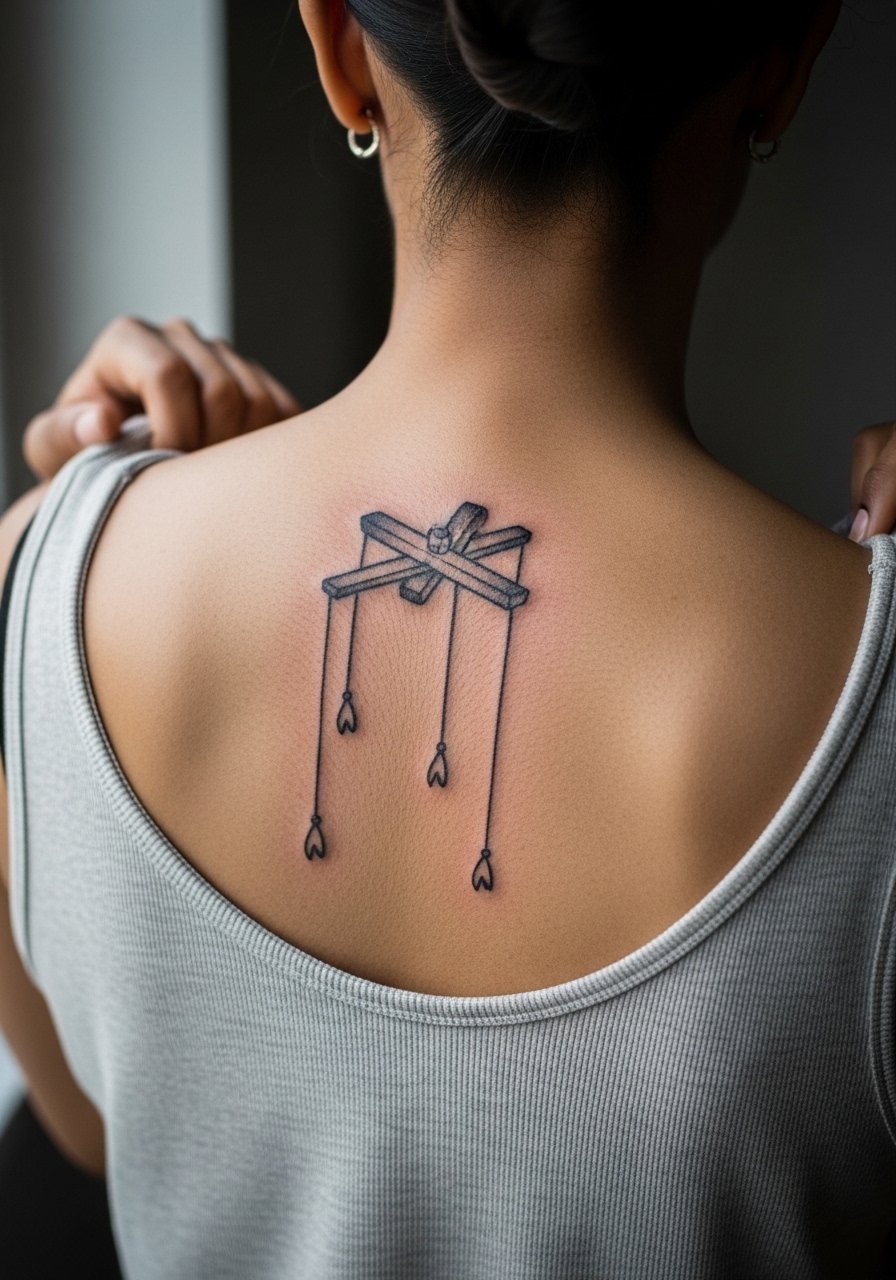
Upper back pieces allow elongated compositions and hold linework well. The common error is making strings too thin when the back's canvas supports bolder strokes. Sessions may require larger stretches and gentle repositioning, so bring a comfy shirt that is easy to remove. Pain is moderate and healing is straightforward. Plan wardrobe that accommodates the bandage and follow-up appointments. A loose tank top makes both the session and the immediate aftercare easier.
15. Glazed Donut with Bite on Calf Outer
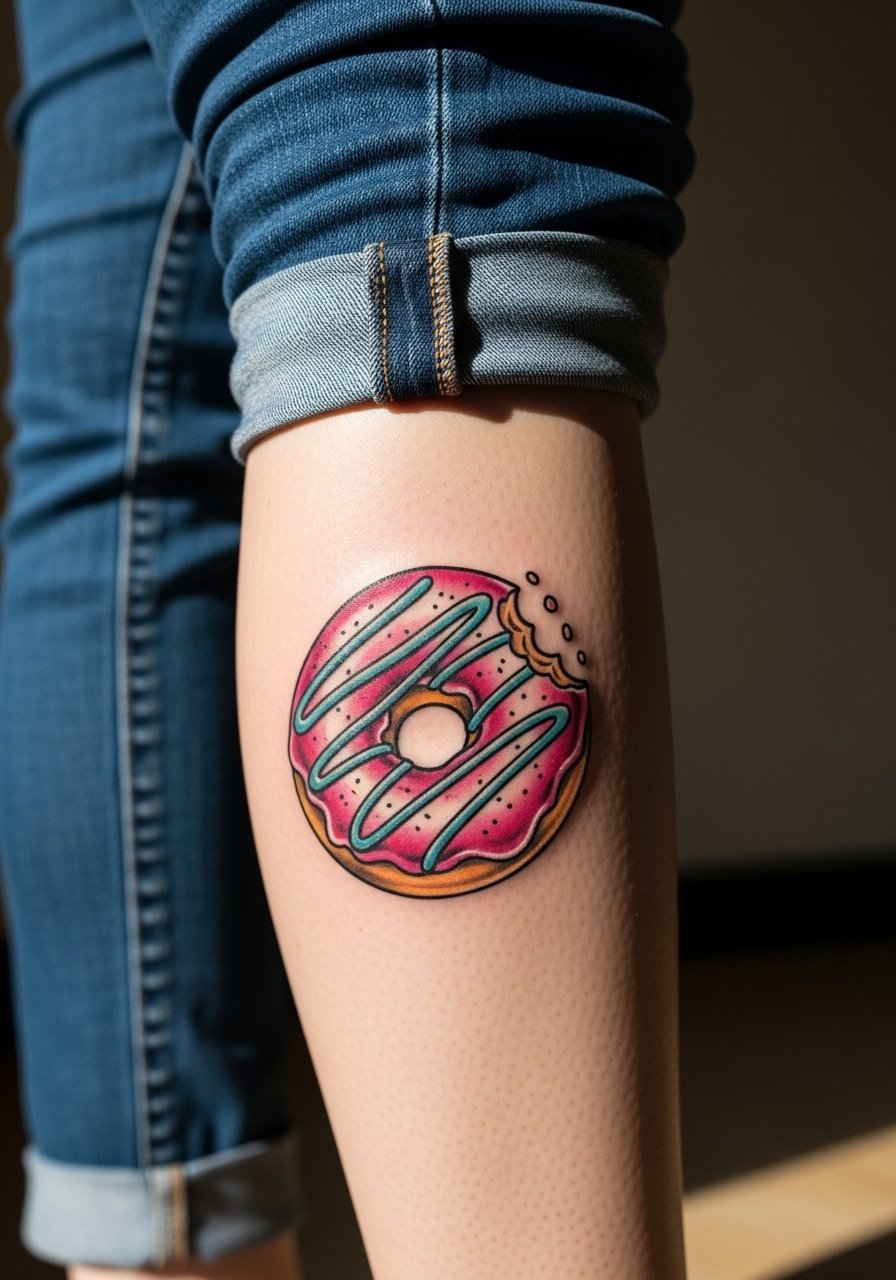
Playful food motifs age well on the calf because of lower sun exposure and less constant friction. The usual mistake is packing too much tiny texture into the glaze. Tell your artist to prioritize clear highlights and single-color gradients rather than microscopic lines. Sessions are medium and usually single visit. For show-off days, wear cropped pant legs or a denim skirt so the piece reads when you walk.
16. Stitched Eye on Sternum
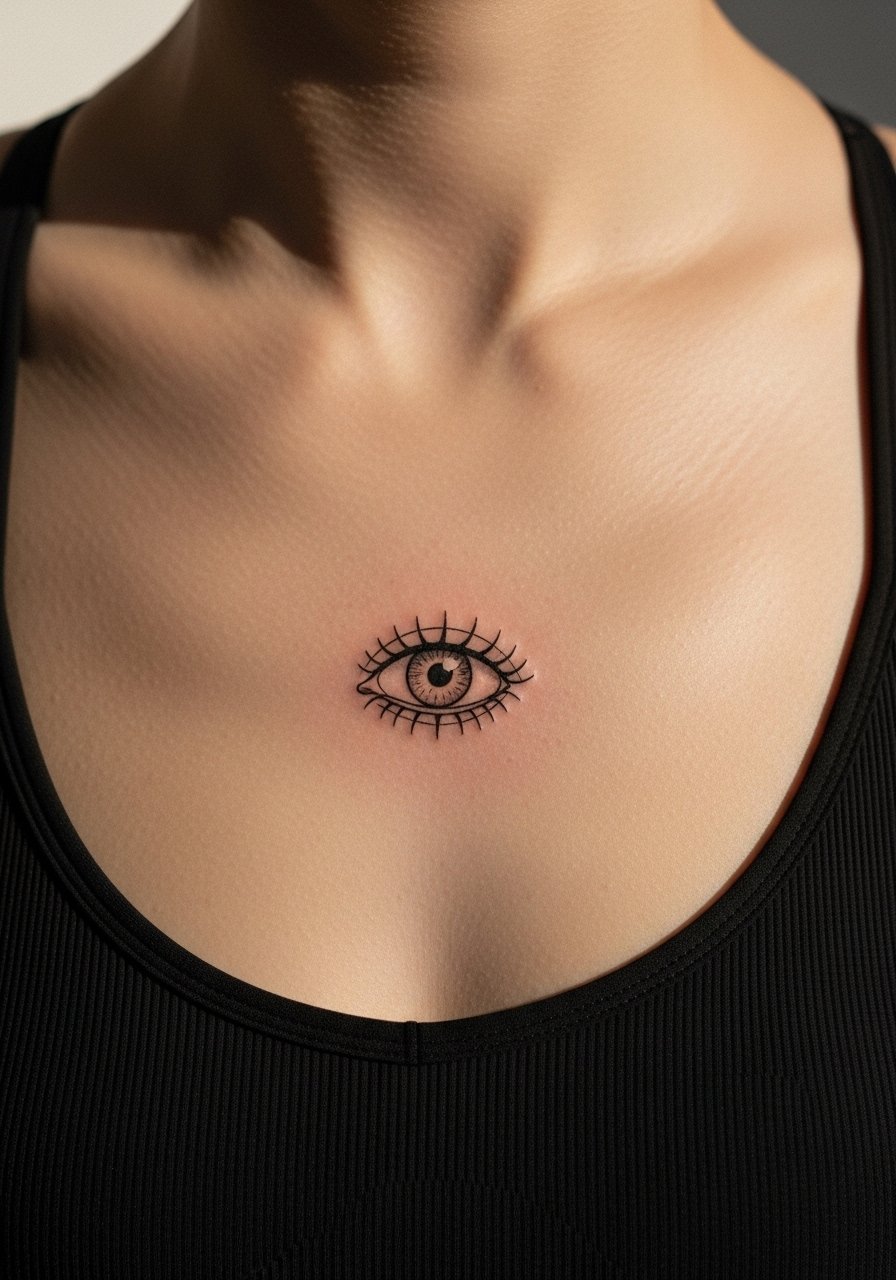
Sternum placement requires a specialist touch and honest discussion about pain and healing. The area is sensitive and movement from breathing can affect initial line placement. One camp says fine line here is risky, while another says careful depth keeps it crisp. Tell your artist you want slightly stronger contour and plan for at least one follow-up. Wear a fitted sports bra to the session so the artist can access the area and you can avoid irritation while healing. Consider the visibility implications before committing.
17. Candy Wrapper Collage on Forearm
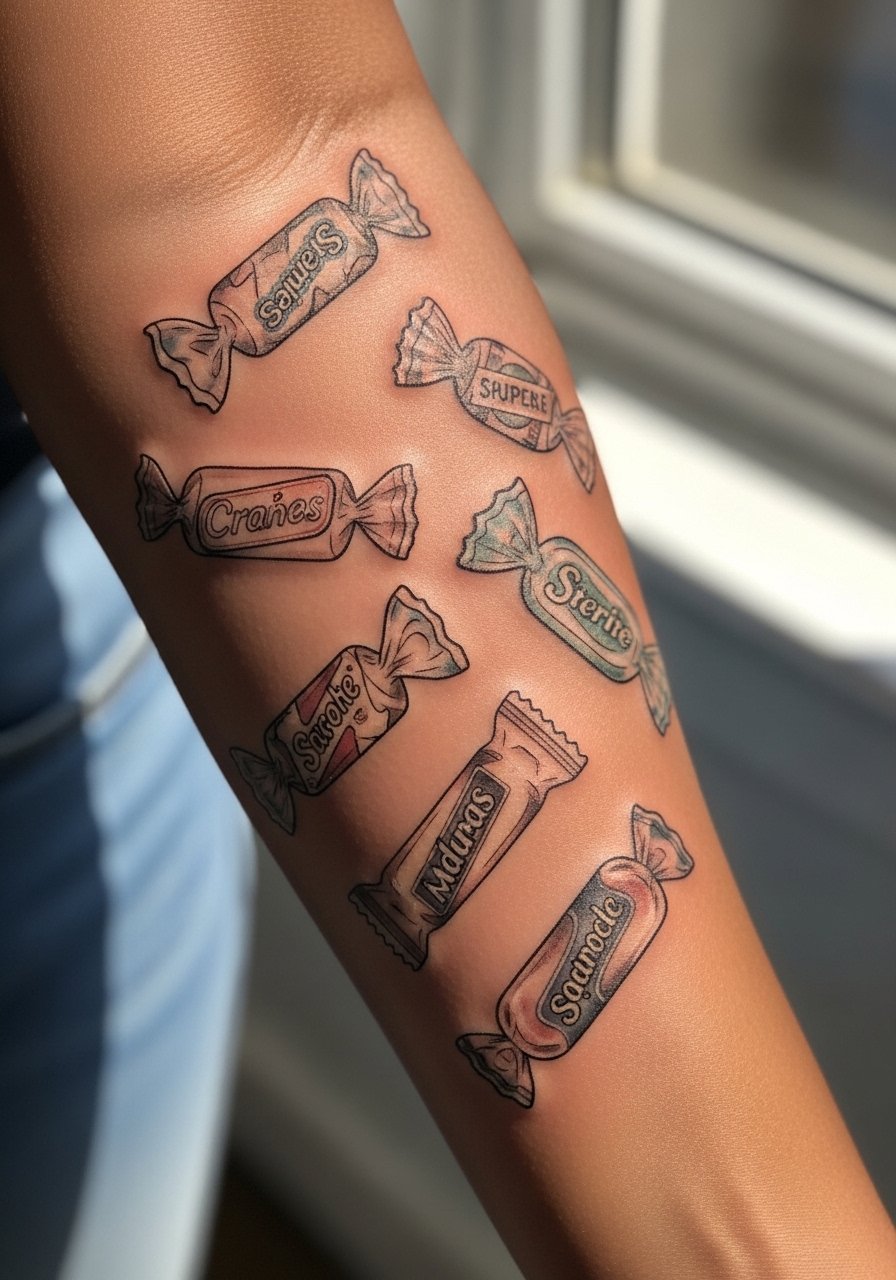
A collage works best when composed so each wrapper has negative space around it. The big mistake is crowding elements, which produces a muddled healed look. Forearm skin sees sun and abrasion, so ask for slightly bolder outlines and moderate saturation. Sessions usually range from one to three hours based on coverage. For outfit pairing, cuff a lightweight cardigan so the collage meets casual layers without being hidden.
18. Broken Heart Locket on Collarbone Side
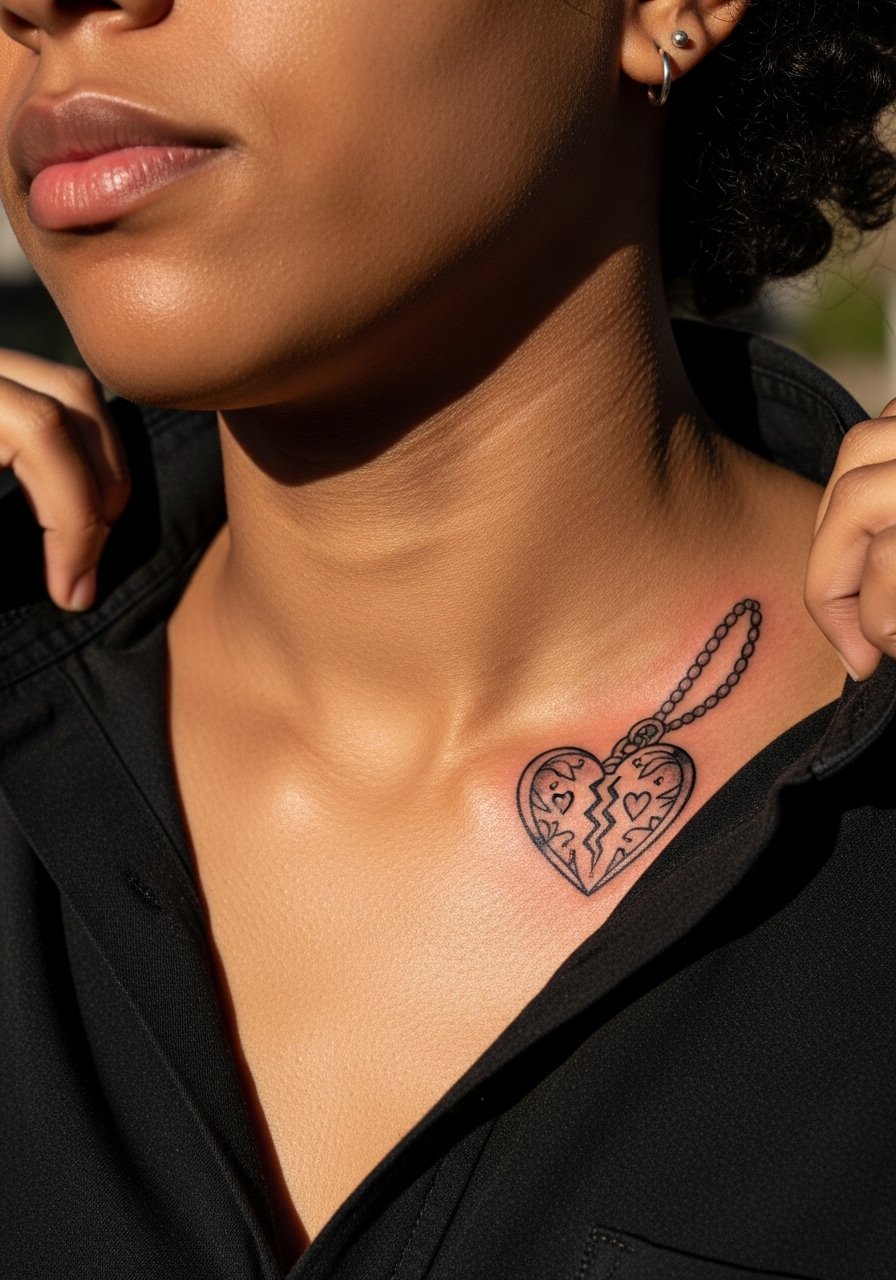
A locket needs clear internal negative space so the broken detail reads. People often ask for tiny interior filigree that disappears. For collarbone work, request a simplified interior with pronounced outer lines. Pain is moderate and sessions are usually under two hours. For styling, a delicate pendant necklace sits above without competing, letting the broken locket be the focal point.
19. Cassette Tape on Upper Arm Sleeve Edge
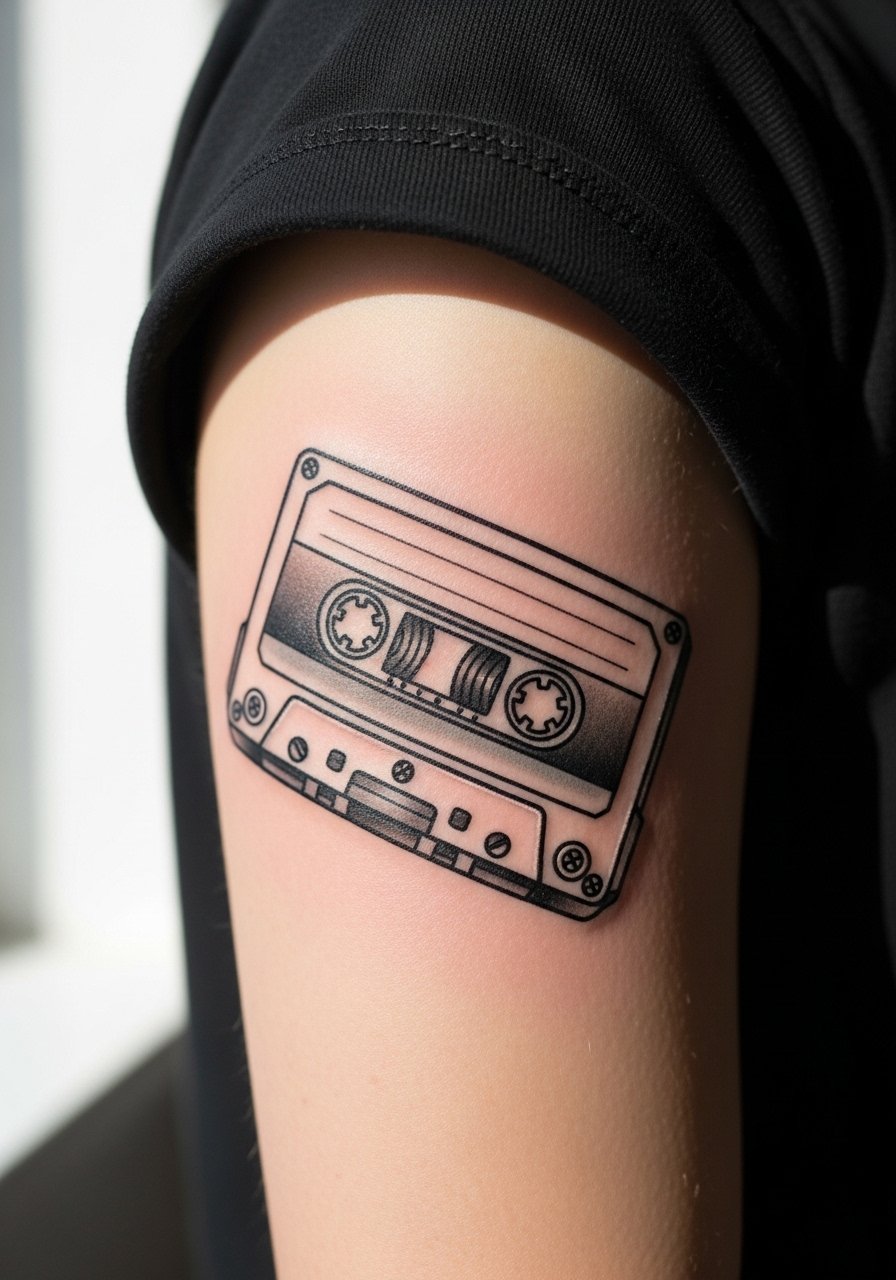
Sleeve-edge motifs need to read when covered partly by clothing. A cassette tape with clean linework and modest shading keeps its shape when half-covered. The common mistake is adding too many small labels and text that vanish. Sessions are medium and easy to schedule into a longer sleeve plan. For showing the detail, a rolled sleeve over a short sleeve tee frames the tape so it peeks from under fabric.
20. Marshmallow Cloud Cluster on Ankle
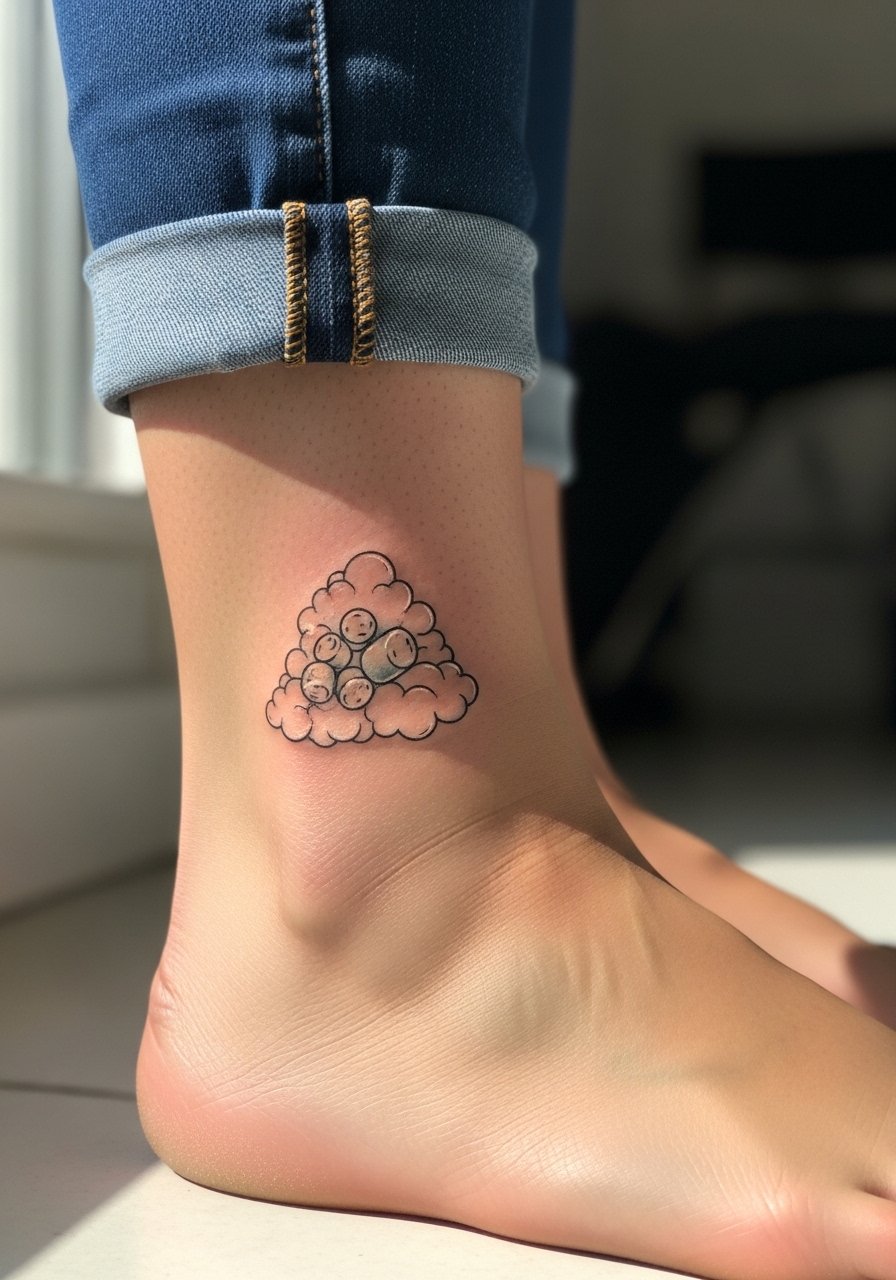
Ankle tattoos endure shoe friction and frequent washing. The usual mistake is dense shading that rubs off against socks. Ask for airy stipple shading and skip heavy saturation near the shoe line. Expect a short session and mild pain. For footwear that reveals the tattoo without rubbing, sandals or low-cut sneakers work best. Try a pair of simple sandals when you want the cluster visible.
21. Vinyl Record with Floral Overlay on Shoulder Blade
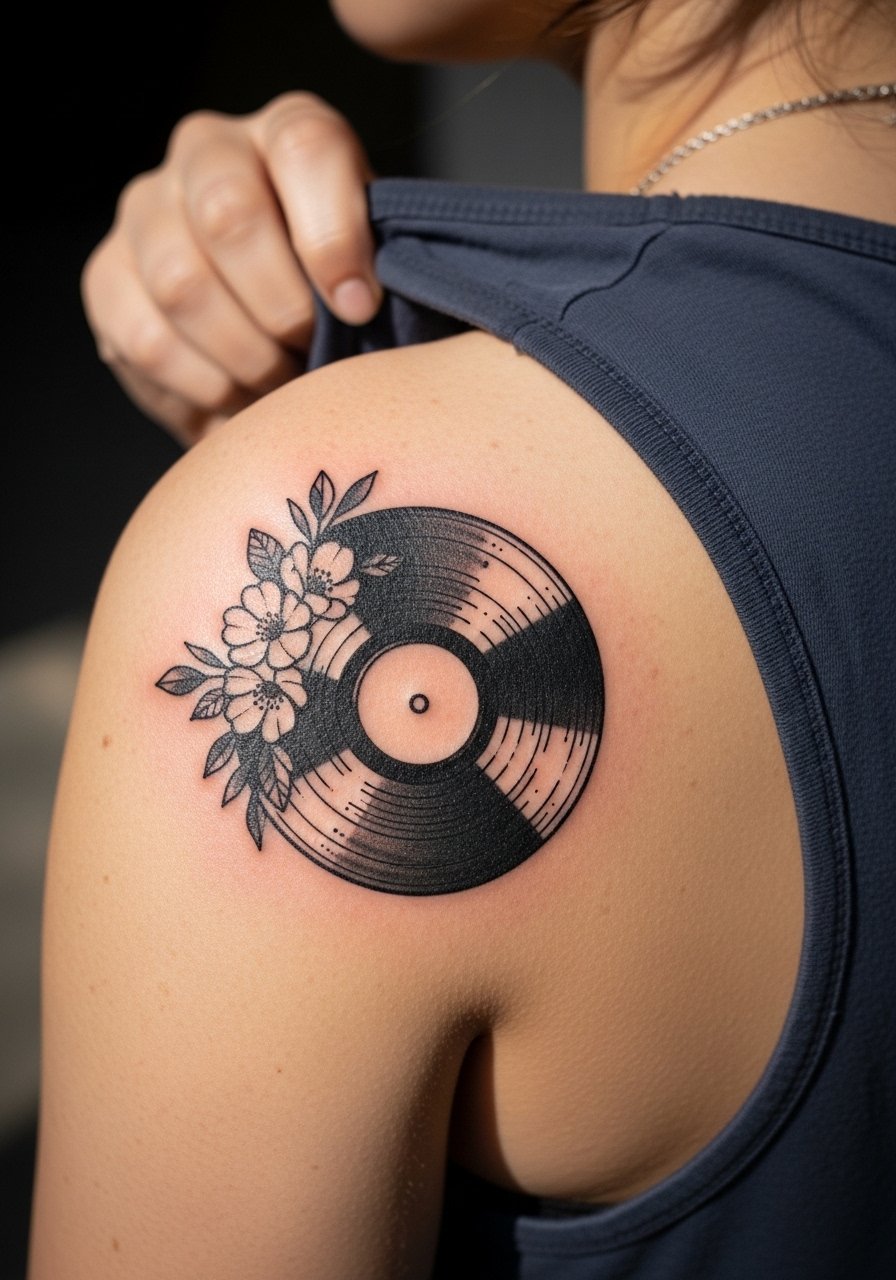
The shoulder blade is a forgiving canvas for layered imagery. If you want the vinyl groove to stay legible, ask for a strong contrast between the record and the floral overlay. The typical error is softening the grooves too much with heavy blooms. Sessions are moderate and healing is simple. For show, a scoop back dress displays the shoulder blade without revealing too much.
22. Carousel Ticket Stub on Ribcage Side
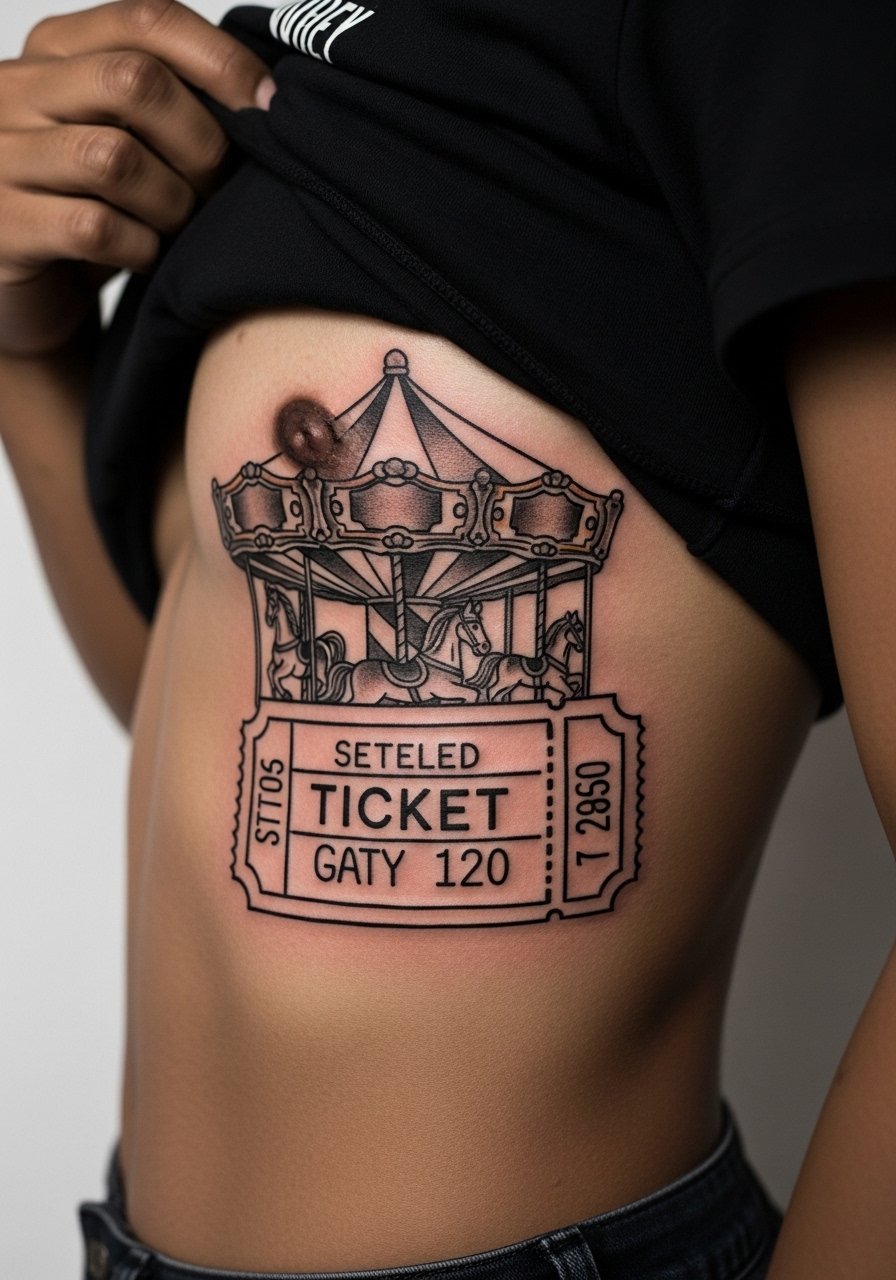
Text-based small elements like ticket stubs on the ribs need readable typeface and spacing. Many people pick tiny serif fonts that bleed into a gray patch as the skin shifts. Request a slightly larger letter size and clear spacing. Sessions hurt more on the ribs but finish quickly for small pieces. For the appointment, a loose cropped top makes access easy. Think through the font choice carefully so the stub still reads at year three.
23. Stitched Balloon on Inner Arm
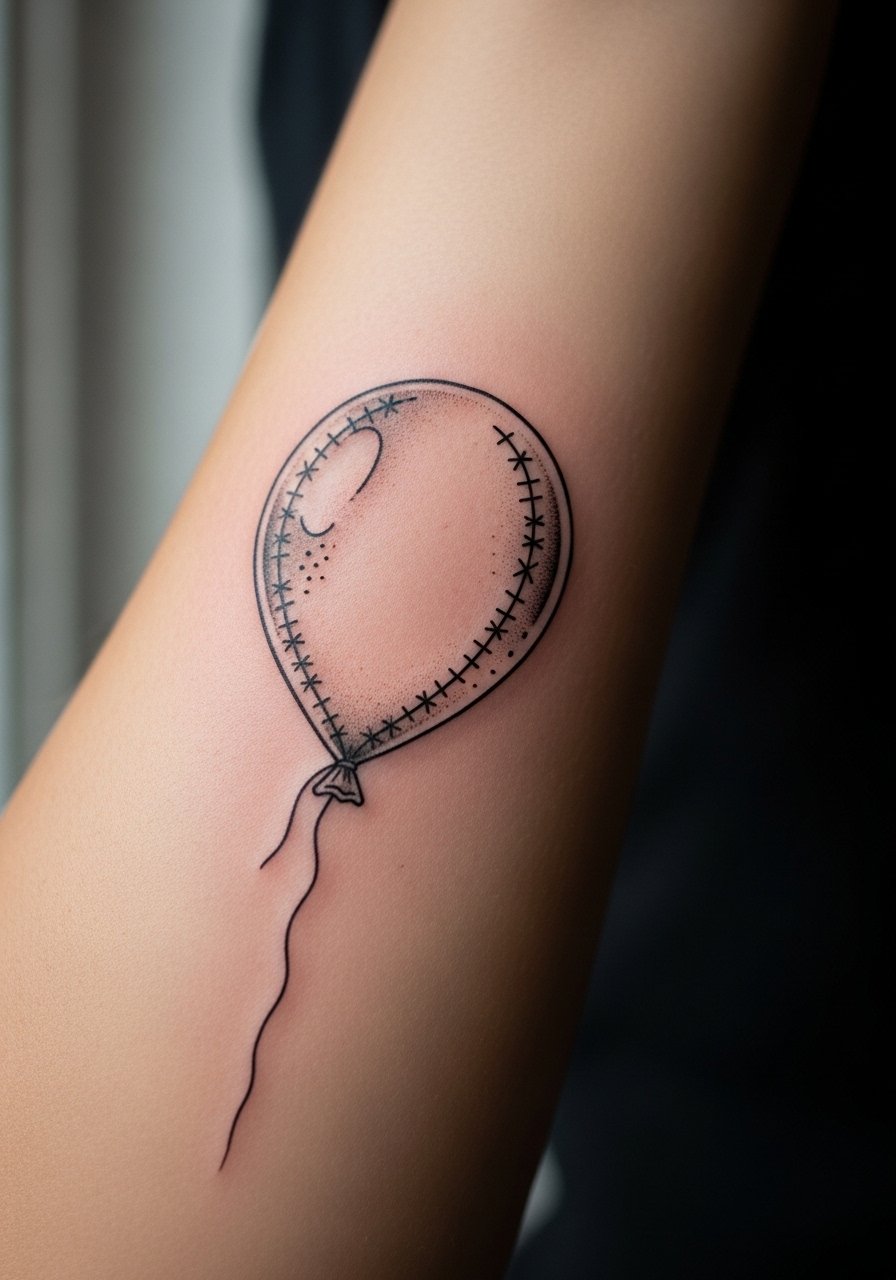
Inner arm motifs near the crease face motion and stretching. The main mistake is placing seams where the skin folds during movement. Ask your artist to center the design away from the deepest crease and to use whip shading for soft dimension. Sessions are medium and a bit awkward for positioning. For showing off, push up sleeves on a lightweight sweater so the balloon floats into view.
24. Tape Recordings Stack on Ribcage Lower
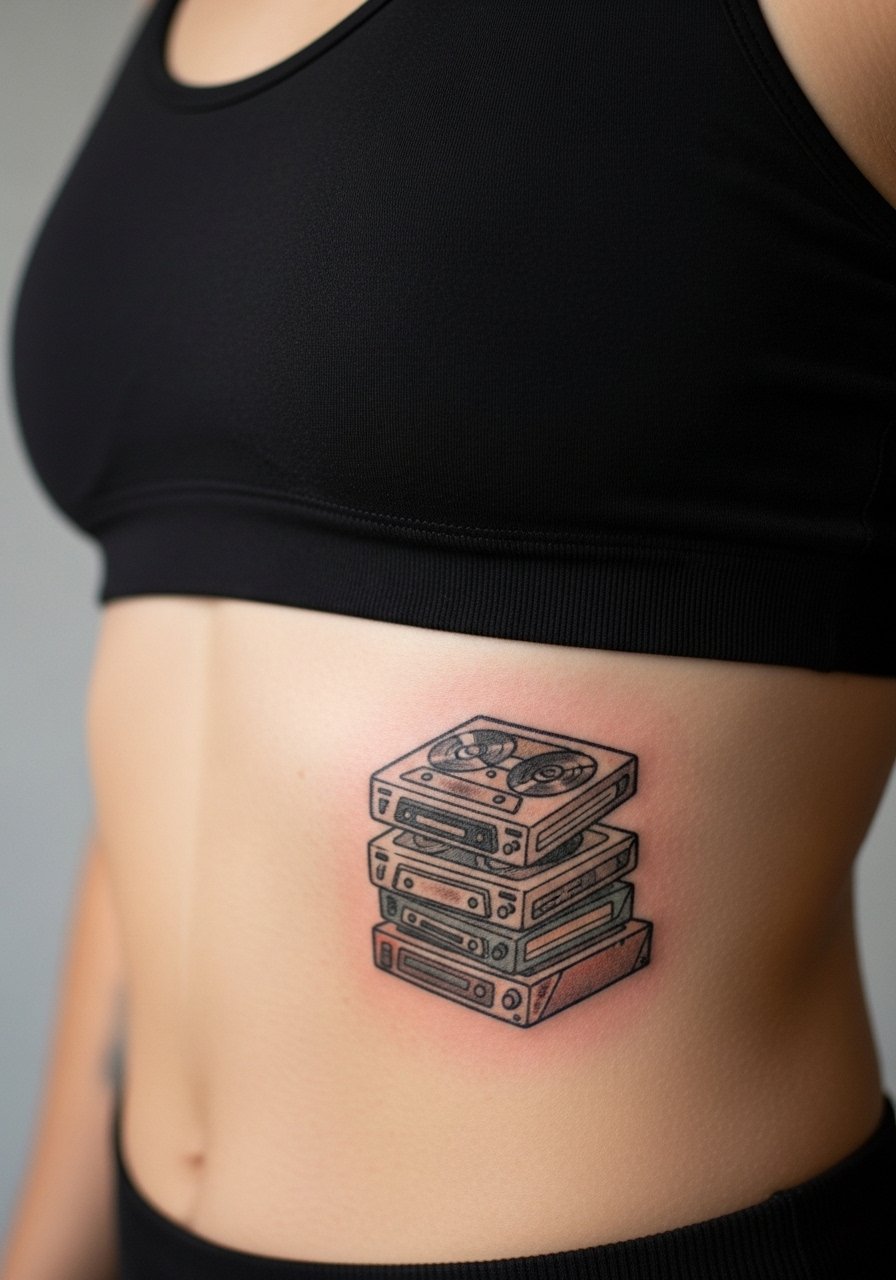
Lower rib designs age like other rib pieces, with the added variable of core movement. The common error is too-tight layering that blends into one dark shape. Ask for intentional negative space between tapes and for linework that leans slightly thicker. Sessions hurt and you should allow rest between sets. For recovery, wear a fitted sports bra that does not rub the area during movement.
25. Handheld Mirror with Cracked Glass on Hand
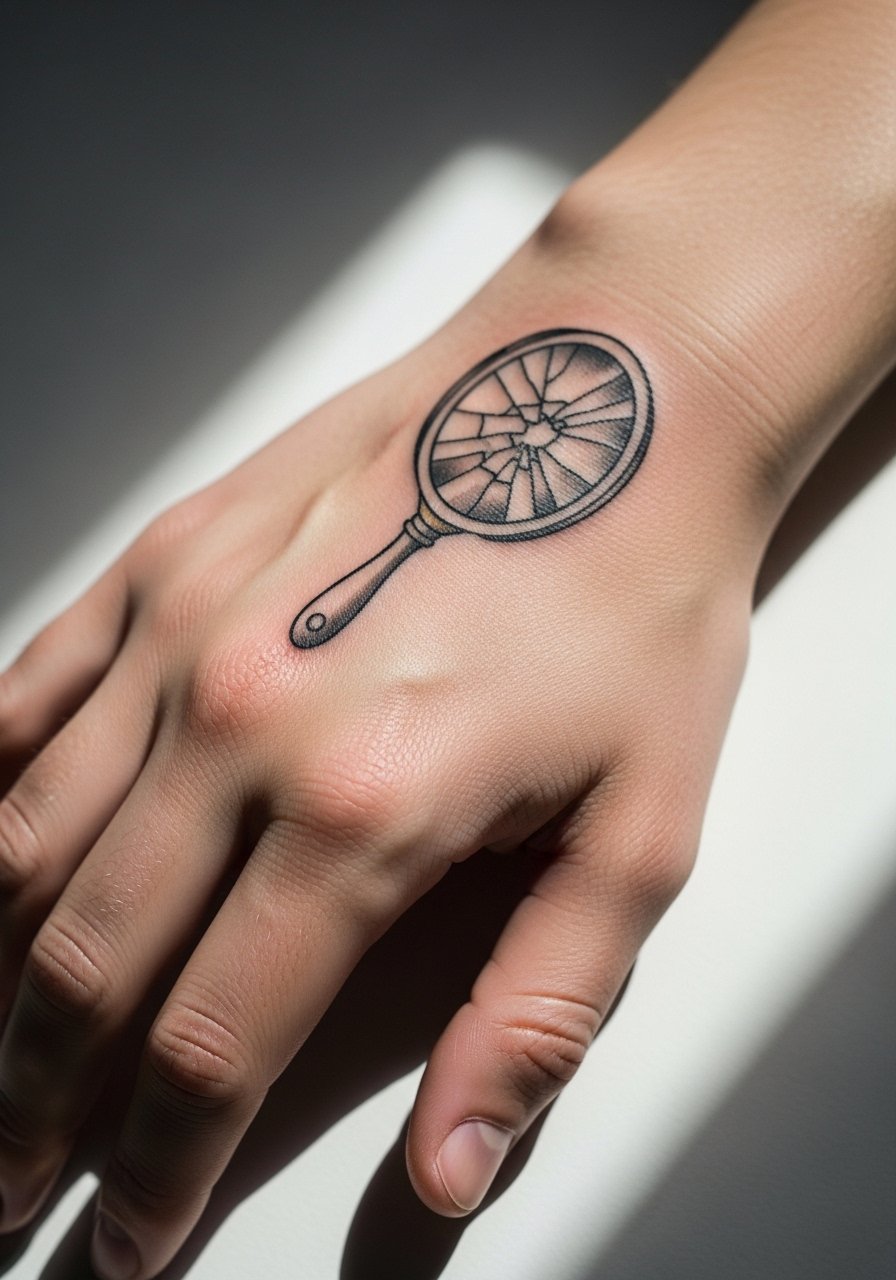
Hand tattoos demand caution because of high wear and frequent fading. The biggest mistake is picking thin internal detail that disappears under regular use. For a cracked mirror, prioritize bold outer contours and simplified cracks. Expect a touch-up at year one or two. Consider how visible it will be in work settings. For accessories, a simple ring set keeps attention near the hand without covering the art.
26. Moon and Candy Stars Along Spine
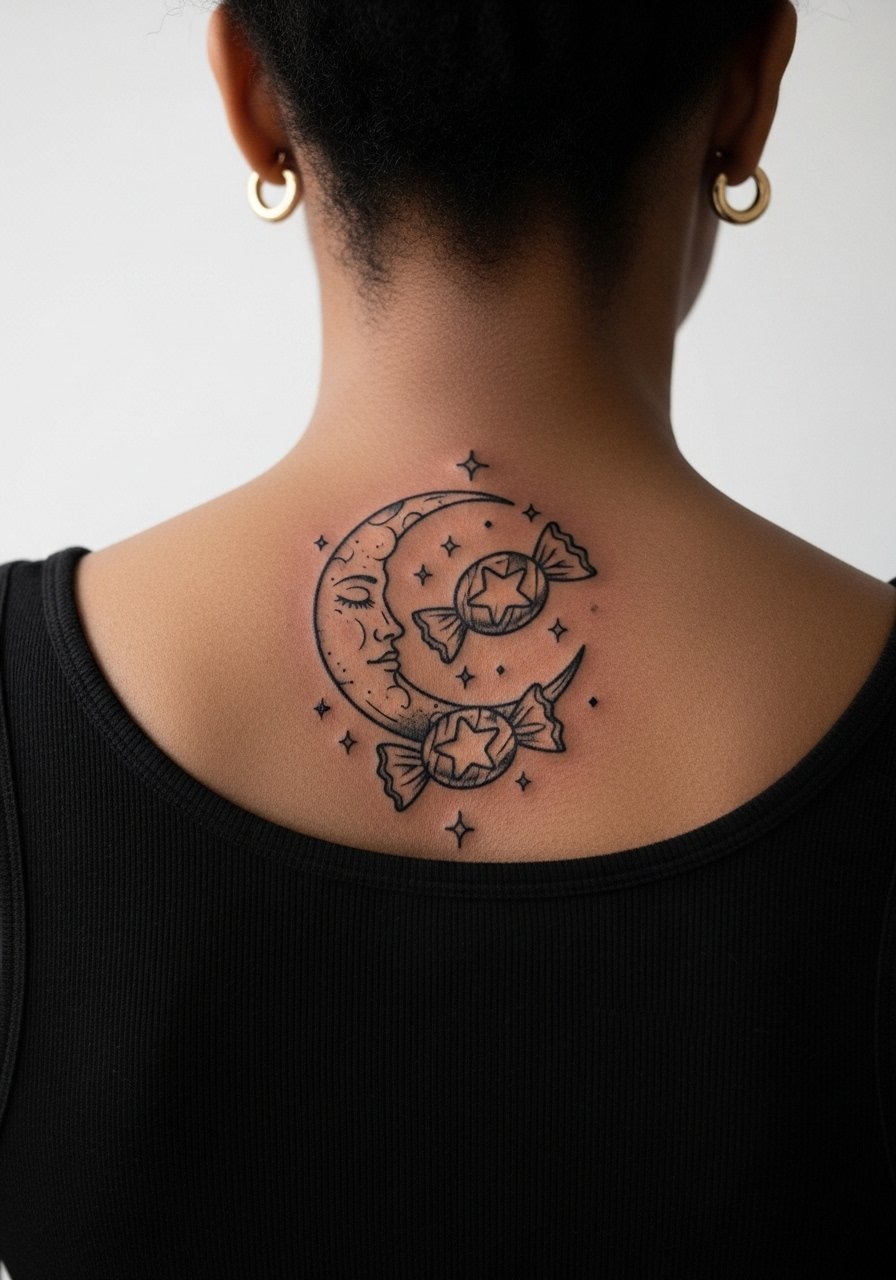
Spine placements age well when spacing between motifs is generous. The common error is squeezing too many small stars into a narrow strip. Ask for a rhythm of negative space with occasional stipple shading to add depth. Sessions can be painful for some and may need breaks. For showing off, open-back tops or a halter top lets the sequence read without distortion.
27. Silhouette Portrait with Candy Accessories on Thigh Inner
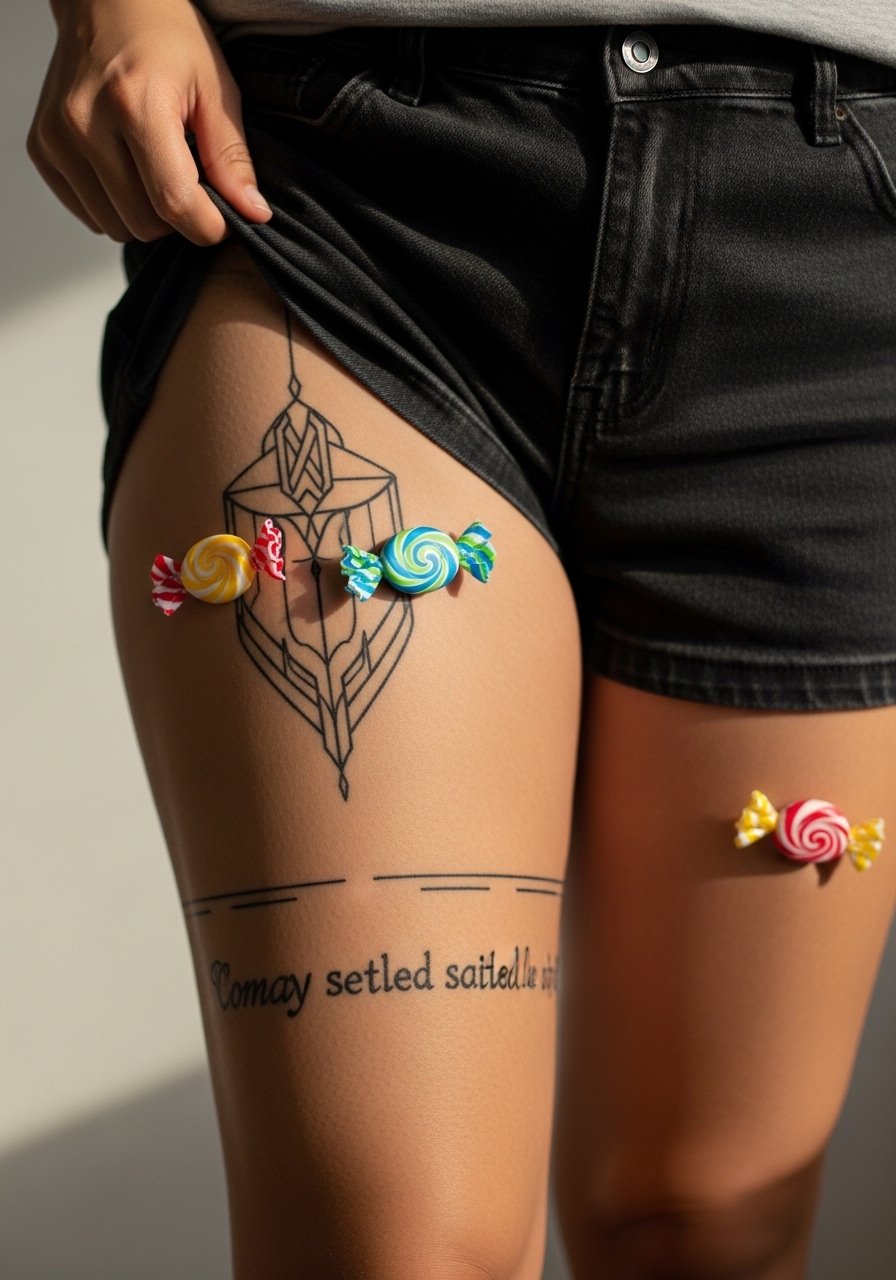
Inner thigh pieces require an artist comfortable with intimate placements. The mistake is compressing facial features into a scale that cannot hold. For a silhouette with candy accents, ask for a clear profile and simple accessory shapes. Sessions are higher discomfort and healing involves limited friction from clothing. For the appointment, wear loose shorts you can shift easily. Think about privacy and comfort during both the session and recovery.
Frequently Asked Questions
Q: Will a fine line illustrative portrait inspired by Melanie Martinez blur faster than bolder portrait styles?
A: From what I have seen, very fine line portraits tend to soften faster than designs with stronger contour lines and moderate shading. If longevity matters, ask for slightly heavier outer lines and stipple shading rather than ultra-micro details. Touch-ups around year three are common if you want the highest fidelity.
Q: Are ribcage and sternum placements a bad idea for lyric or phrase tattoos from her songs?
A: Ribcage and sternum placements can be great for lyric tattoos, but they demand honest sizing and font choice. Thin script may blur with breathing and motion. Ask your artist to write the lyrics at the size you want and to leave more spacing than you think necessary. Pain and healing are heavier there, so plan accordingly.
Q: How should I dress to the studio for a sternum or collarbone piece to keep the area accessible and modest?
A: Wear a fitted sports bra or a wide-neck shirt you can pull aside so only the tattoo zone is exposed. That keeps the artist able to work while you stay covered. Bringing a loose zip-up hoodie for afterward is also helpful for comfort during the trip home.
Q: Do hand and wrist illustrations affect job prospects more than thigh or upper arm pieces?
A: Hand and wrist tattoos remain more visible and can still affect first impressions in some workplaces. Thigh and upper arm pieces are easier to conceal with clothing. Think about your career context and whether you want a visible daily reminder versus a private piece.
Q: How often should I expect touch-ups on fine line candy or pastel pieces on the forearm and calf?
A: Expect a touch-up around year two to four for fine color and very light lines, depending on sun exposure and friction. Forearms see more daily wear and sun than calves, so forearm touch-ups typically come sooner. Regular sunscreen and minimal abrasion will extend the interval.
