
Fine line tattoos are everywhere online, but they do not all age the same. What looks razor-sharp in a shop photo can blur into a softer shape a few years later if the placement, spacing, or saturation is wrong. I prefer ideas that lean on the body’s curves and everyday wardrobe so the ink still reads well at year three and beyond. Below are 27 illustrative tattoo placement ideas that balance longevity, look, and how you actually live.
1. Fine Line Script on the Inner Wrist
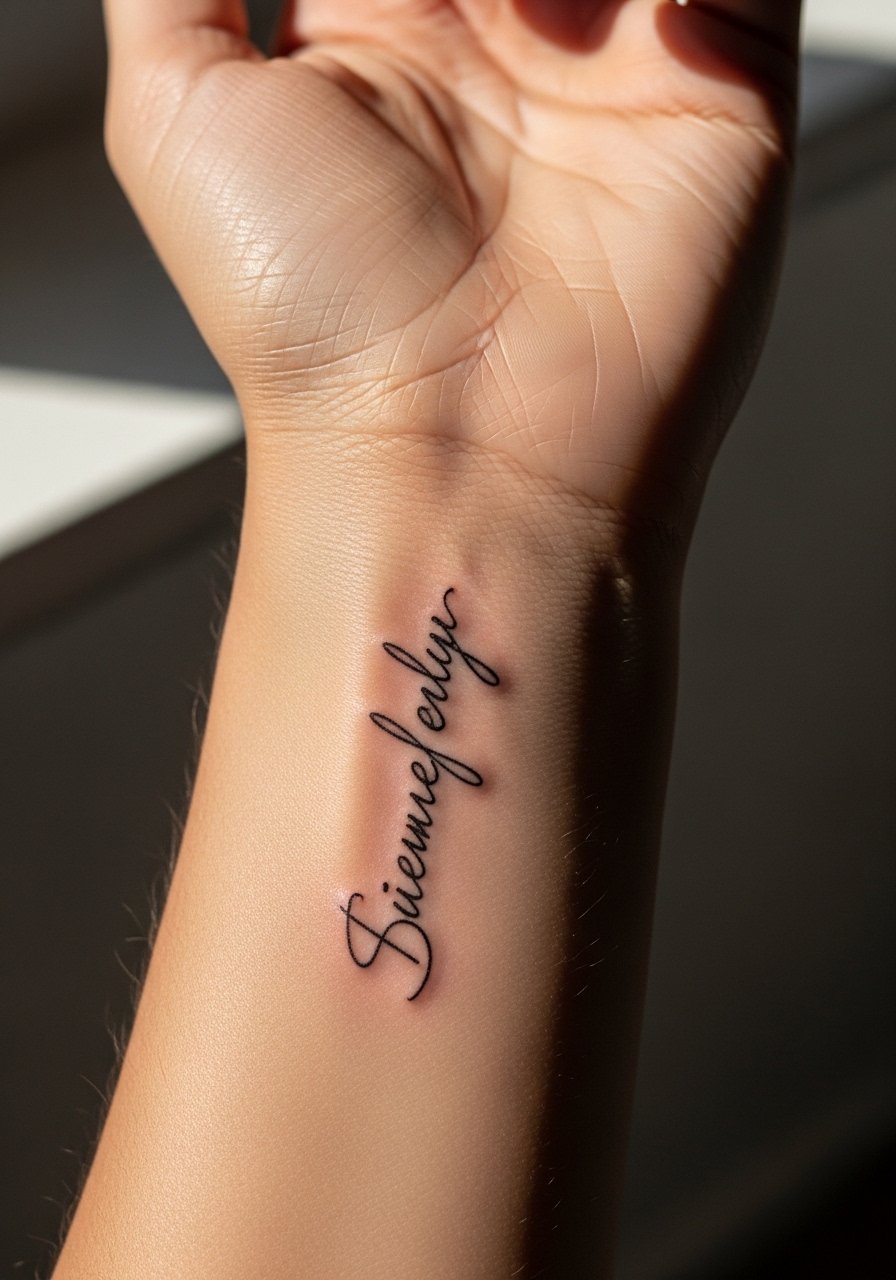
I see the inner wrist as a classic place for small script, especially when the linework stays thin and the letters have breathing room. Fair warning, the wrist gets a lot of sun and friction from bracelets, so I ask artists for slightly increased spacing and soft spacing between letters so the words do not merge after two to three years. The session usually runs under an hour and feels like light scratching. For the appointment wear a short sleeve or sleeveless top for easy access and pair the finished piece with a thin chain bracelet on the opposite wrist to keep attention balanced.
2. Minimalist Flowers Around the Ankle
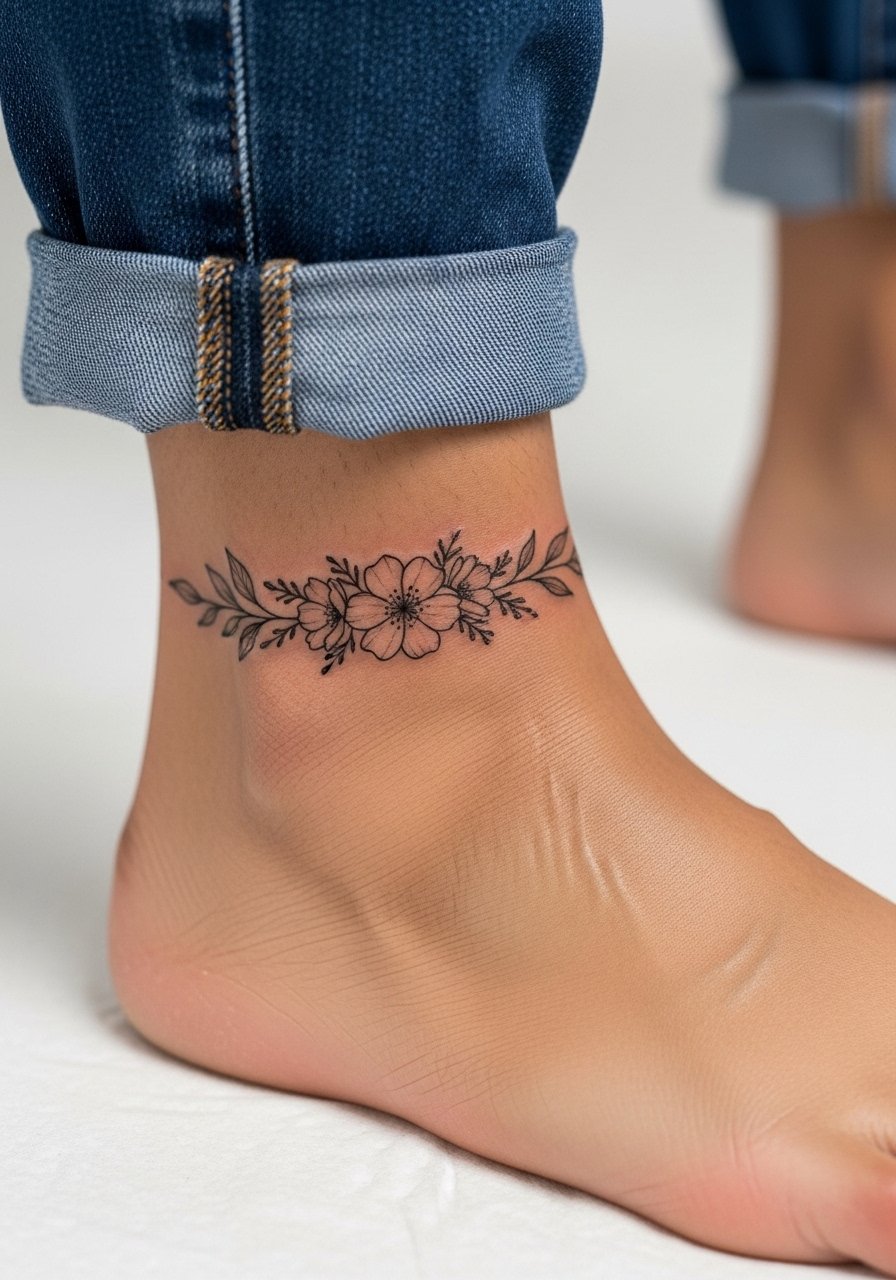
Ankle flora reads discreet and ages well because it avoids constant sun exposure when covered by socks and shoes. That said, tiny thin petals too close together risk losing definition where fabric rubs. When you consult, ask for slightly thicker main outlines and airy fills so the motif keeps its silhouette. Session time is often one short appointment. For showing it off, cropped pants or a skirt are ideal, and for the session wear loose pants you can roll up easily. Try pairing the look with ankle strap sandals when you want it visible.
3. Mandala Bloom on the Shoulder
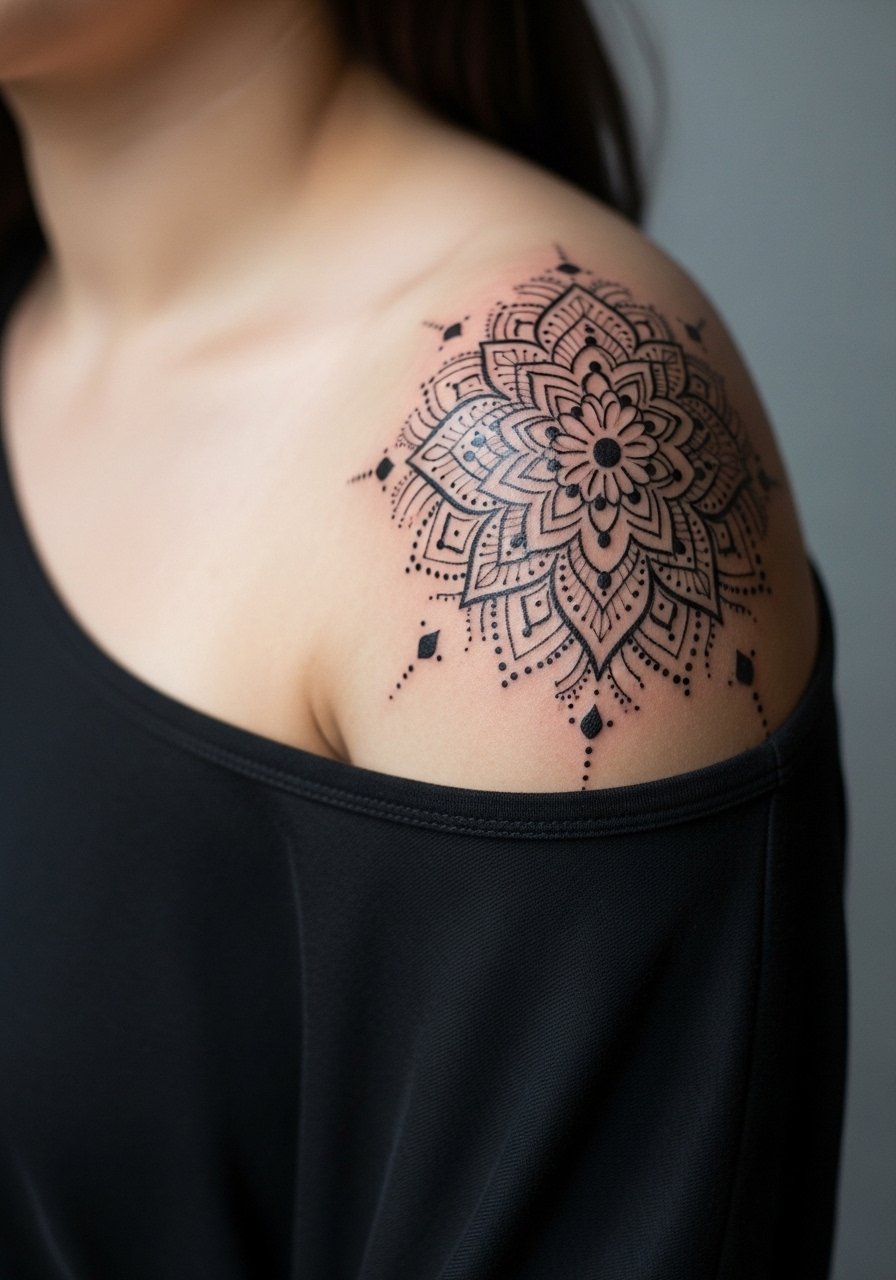
Rounded shoulders are made for radial work. A mandala uses symmetry to sit with the muscle, so spacing and dot work are critical. I recommend bringing photos that show the exact spacing you like, and tell the artist you want heavier outer ring lines with finer interior stipple shading to avoid dense zones that can blur. Sessions vary from one to two depending on size. Wear a loose button-down shirt you can slide off for the session. For respectful handling note that mandala motifs can draw on Buddhist geometry, so many people opt for stylized interpretations.
4. Illustrative Inner Arm Floral Wrap
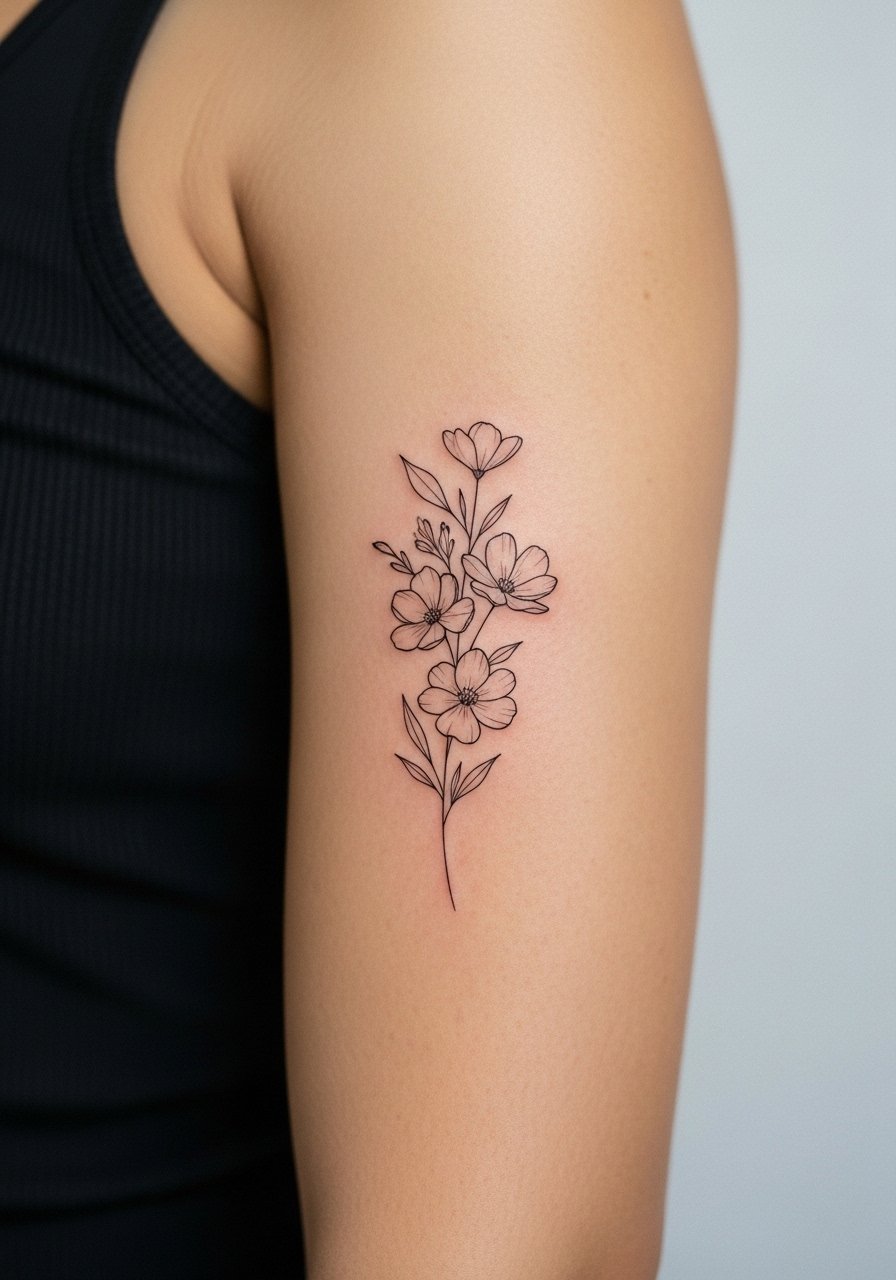
Inner arm florals fall into the sweet spot for visibility and concealment. The skin is softer there so the linework needs confident depth to avoid blown thin lines. A common mistake is cramming too many tiny elements into the strip of skin, which makes the piece look muddled after healing. Ask your artist to scale the main blooms up slightly and give leaves breathing room. Sessions usually run one to two hours and the area can be tender around armpit folds. For the session wear a rolled sleeve shirt or a sleeveless top so the artist has clear access.
5. Traditional Full Sleeve Story
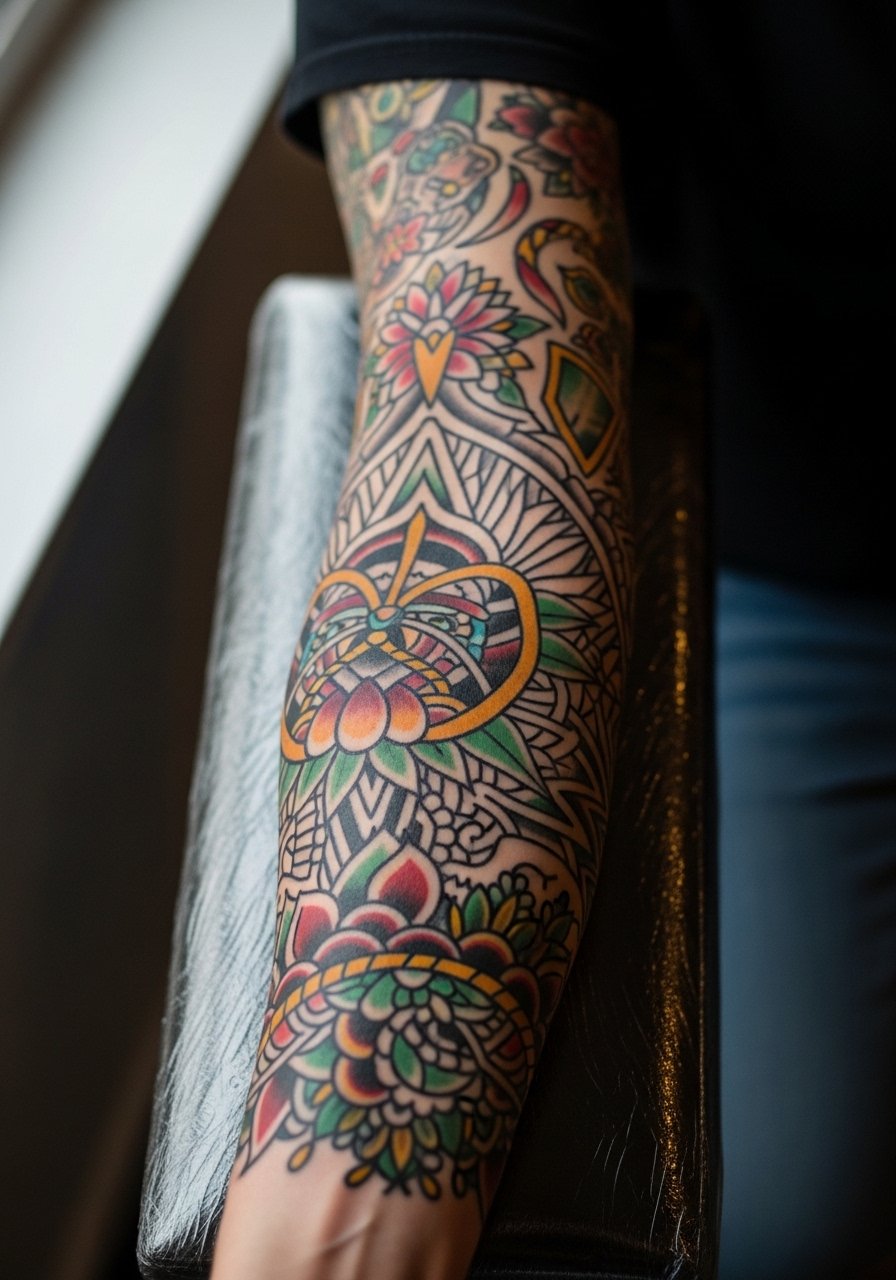
Full sleeves are for people who want narrative flow across the arm. Expect multiple sessions and plan how pieces connect. One real mistake is insisting on every reference at once, which can make the composition feel crowded. Start with 1-2 focal pieces and let the artist build connecting motifs. Traditional saturated work tends to age into a bold, readable look because of strong outlines and saturation. Sessions range from a few hours to many days across weeks. When you want to show it off, rolled-up fitted long sleeves work well, and for the appointment wear a fitted long sleeve tee you can roll.
6. Blackwork Dragon Across the Upper Back
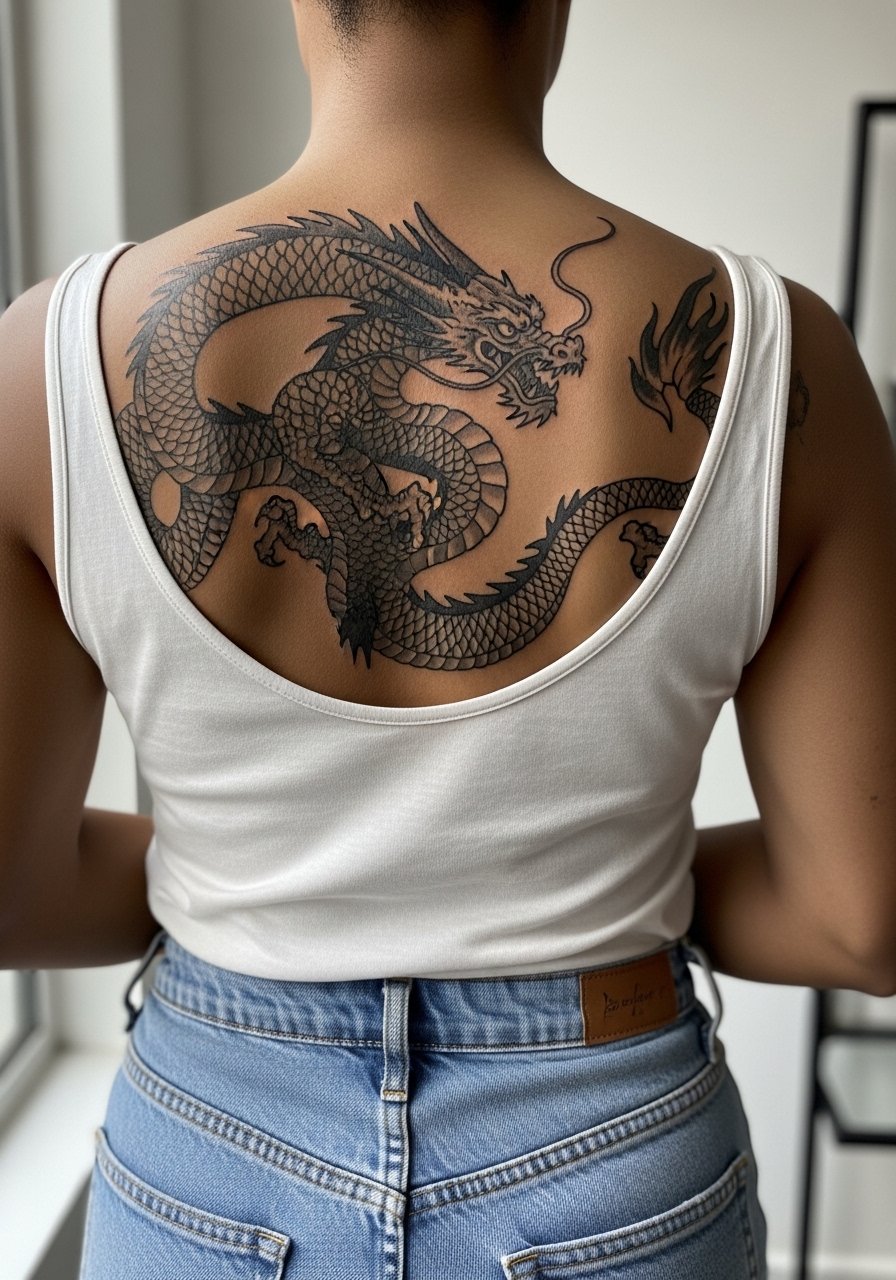
The back can accommodate large, theatrical blackwork that benefits from bold negative spaces. Sessions are long and the skin handles heavy saturation well, which gives the dragon lasting contrast. A common aging issue is uneven saturation near the spine where motion affects healing. During consultation ask about planned shading and session spacing to avoid overly long single sittings. For the session wear a loose tank top or button-down you can pull aside. If you plan to reveal it later, a backless top will show the full spread.
Studio Day Picks
The wrist, ankle, and shoulder pieces above each have different prep needs, and a small kit can smooth out the session and the first week.
- Stencil transfer paper kit. Lets you preview line placement on skin before the needle, which is handy for wrist and ankle motifs where scale matters.
- Topical numbing cream. Applied before short sessions it can calm the edge on sensitive spots like the wrist without changing how the ink takes.
- Thin protective film roll. Useful to cover low-friction ankle or wrist pieces during the first days when clothing rub would otherwise irritate.
- Fragrance free gentle body wash. Cleanses healing areas without harsh additives that can dull fine line work.
- Aquaphor healing ointment. A thin layer in the initial 48 hours helps keep fine lines from drying into flakes, which is important for script and delicate florals.
7. Neo-Traditional Portrait on the Chest
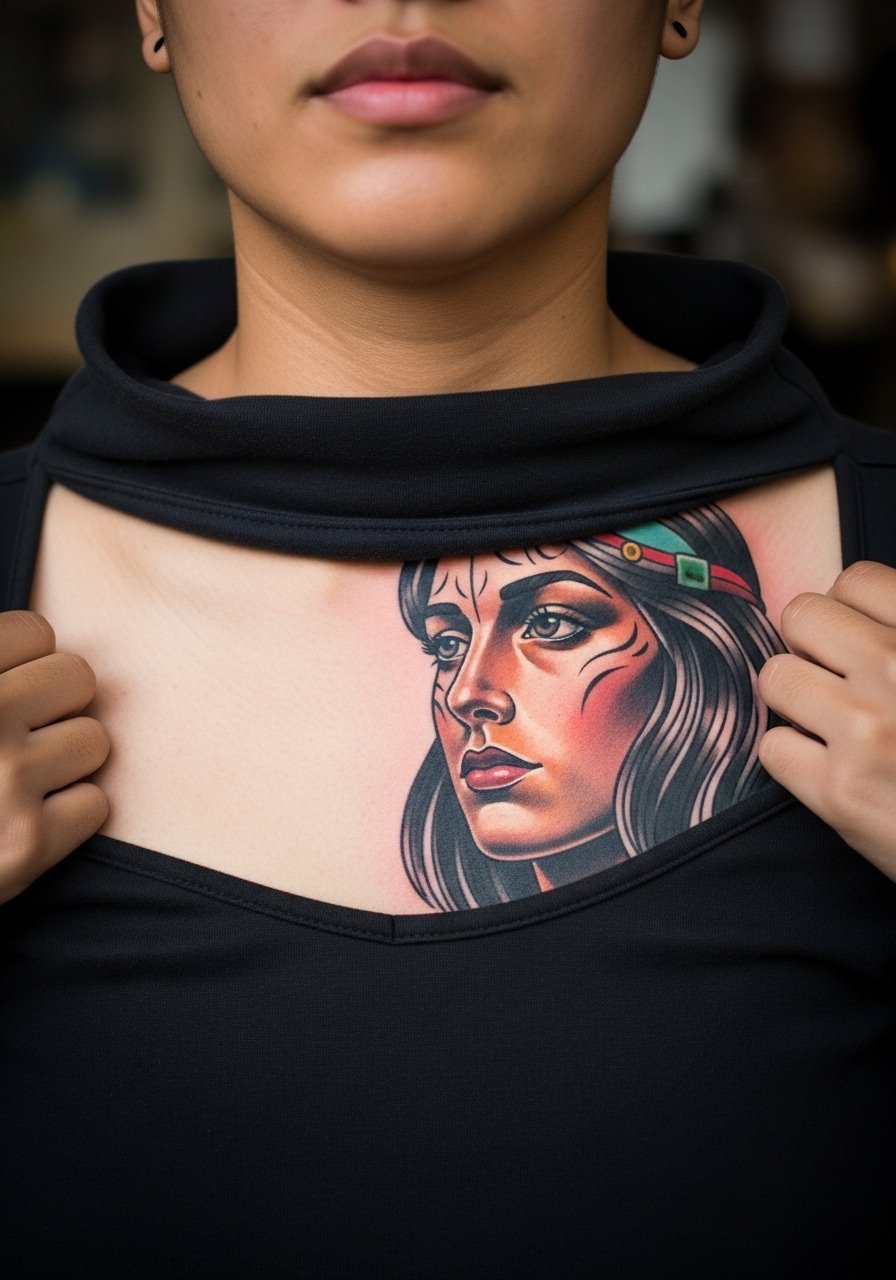
Chest portraits read as personal and close to the heart. The sternum and chest move a lot with breathing so ask the artist about contouring the portrait to the muscle planes. The sternum area can be higher on the discomfort scale. A common mistake is requesting too small a face, which loses detail quickly. Sessions run two to four hours depending on size. For the appointment wear a button-front or wide-neck shirt you can easily pull aside. When styling for reveal, a v neck tee or open button shirt frames chest work without cutting across it.
8. Watercolor Thigh Wrap That Follows Curves
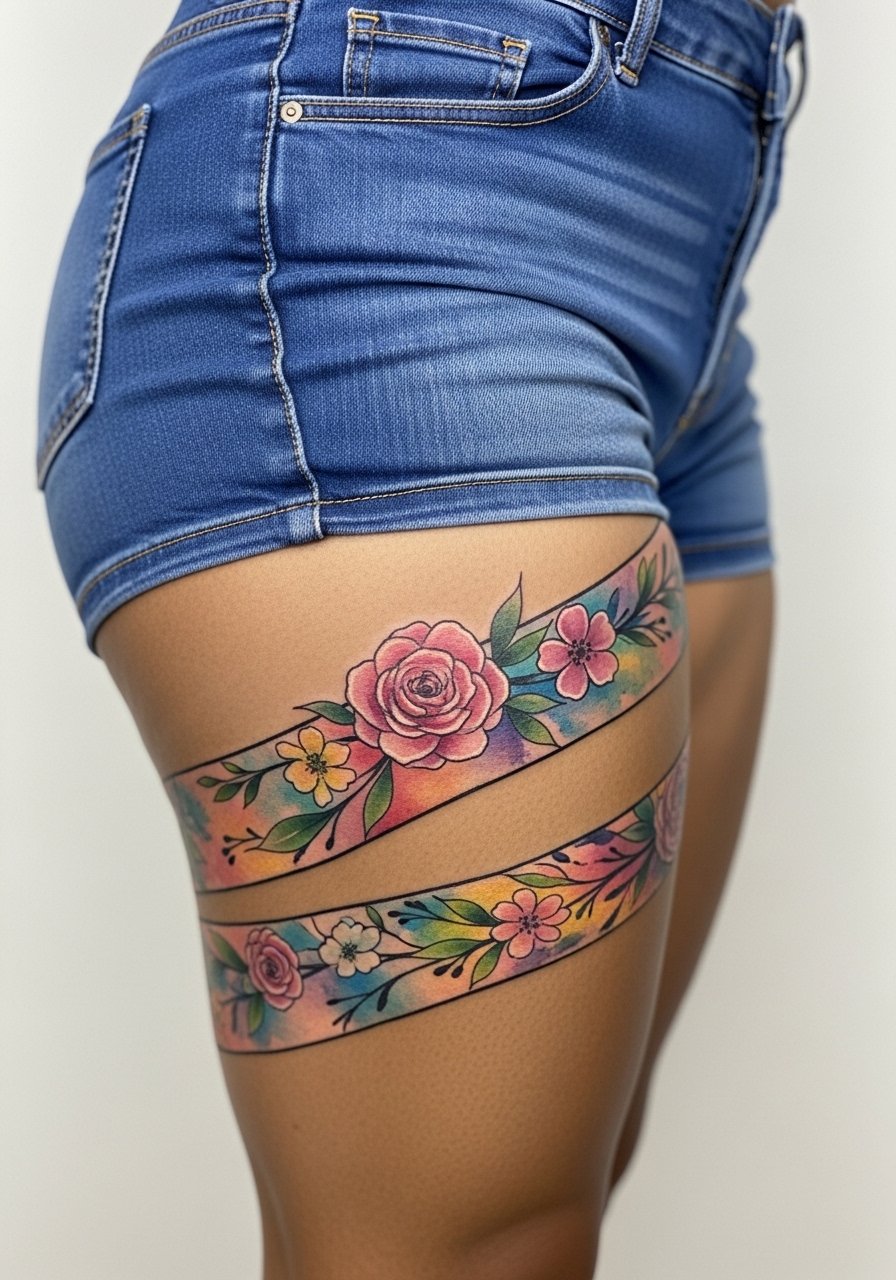
Thigh wraps let curved designs breathe with the body, which is why watercolor effects can look painterly there. Watercolor styles age differently because soft edges can fade into the skin more than solid black. The trick is designing with deliberate negative space and occasional stronger outlines that hold the shape. Sessions are multi-hour but often fewer sittings than a full sleeve. Wear loose drawstring pants or high-waisted shorts for the session so the artist can access the area without pressure. For outings, high-waisted shorts or skirts let the wrap shine.
9. Tribal Curve on the Upper Arm
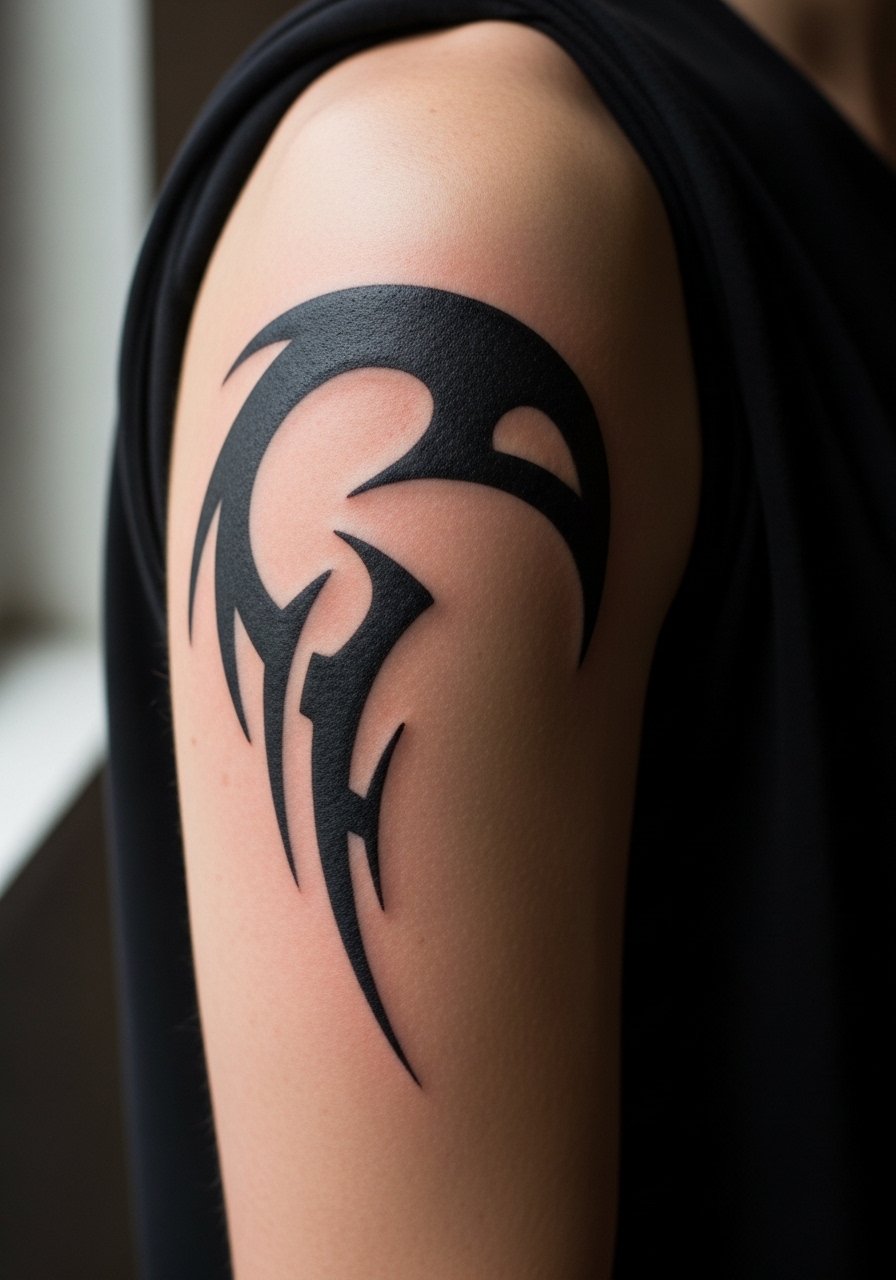
Tribal curves are designed to follow shoulder rounding and movement, which is why scale matters. A common error is forcing a geometric motif into too small a space, which breaks the flow. Tell the artist you want the lines to follow the muscle so the piece looks natural in motion. Sessions are usually one to three hours depending on thickness. For the appointment wear a loose button-down you can slide off. Style it with off-shoulder or strap tops to show the curve when you want to.
10. Micro-Realism Script Along the Forearm
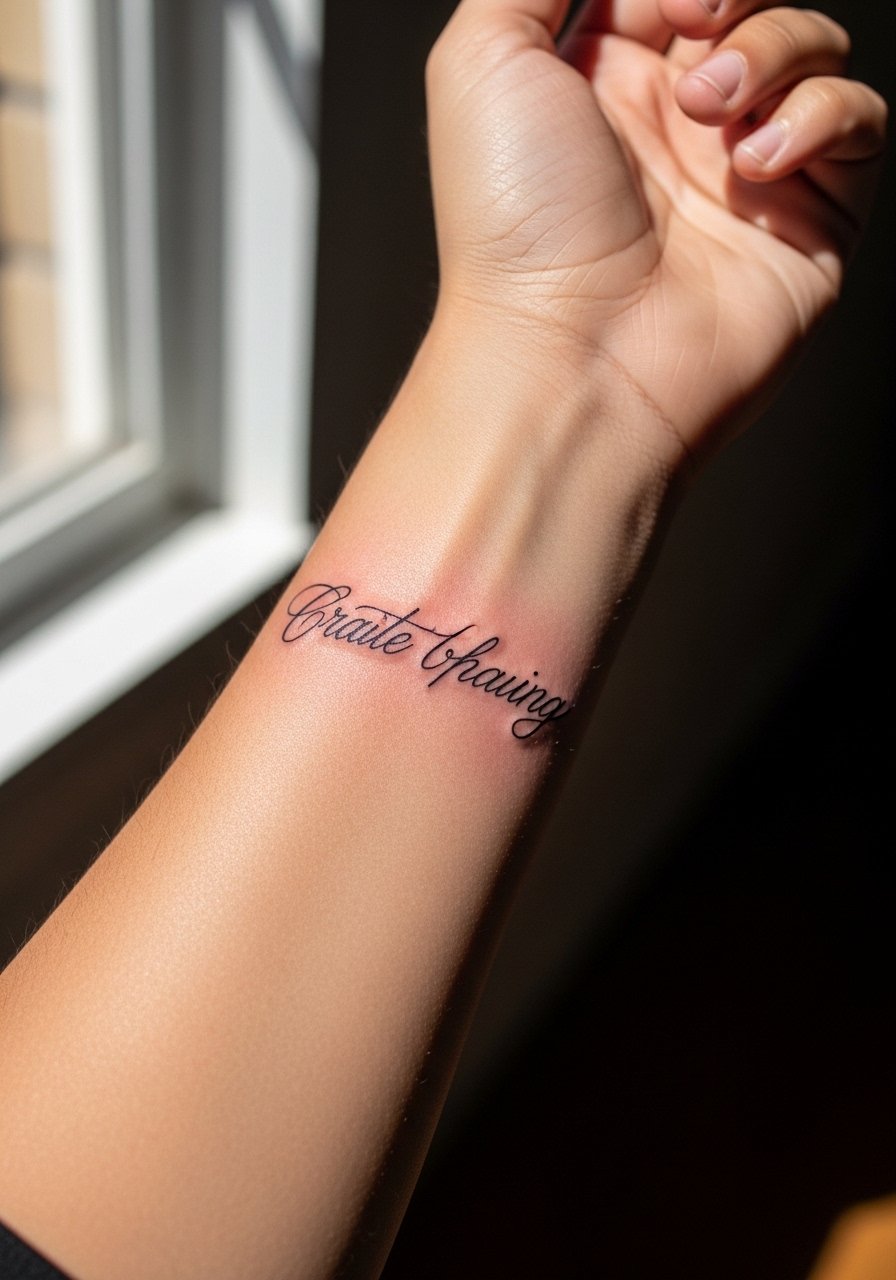
Forearm script gets good daily visibility and often ages well because the skin is stable. Micro-realism requires crisp contrast and slightly bolder anchor strokes so letters remain legible after a few years. The appointment tends to be under two hours. A common mistake is choosing ultra-thin strokes with tight letter spacing. For the session wear a short sleeve or sleeveless top and plan to show it with rolled sleeves or a fitted long sleeve tee rolled up for a clean look.
11. Ornamental Ribcage Linework
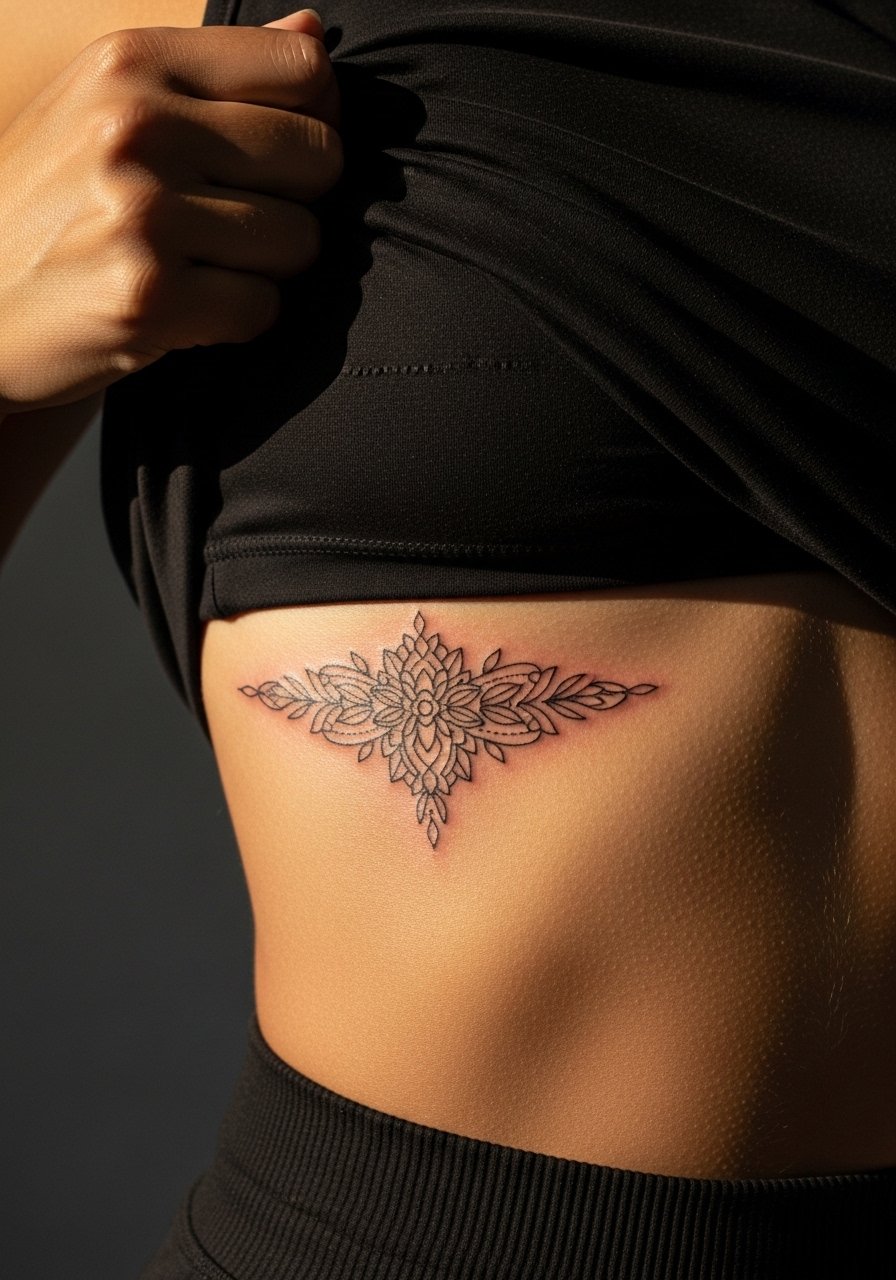
Full disclosure, the ribcage is commonly ranked as one of the more painful spots. Despite that, it offers a narrow feminine curve that suits ornament and script. Artists split into two camps on fine line ribs. One camp says the skin stretch and thinness blur fine line quickly. The other camp argues that with proper needle depth and spacing fine line can settle well on ribs. Name both camps when you book and ask where your artist stands. Sessions are usually one to two hours and may need short breaks. For the appointment wear a loose tank that you can lift slightly so the artist can access only the area.
12. Ignorant Style Mandala on the Calf
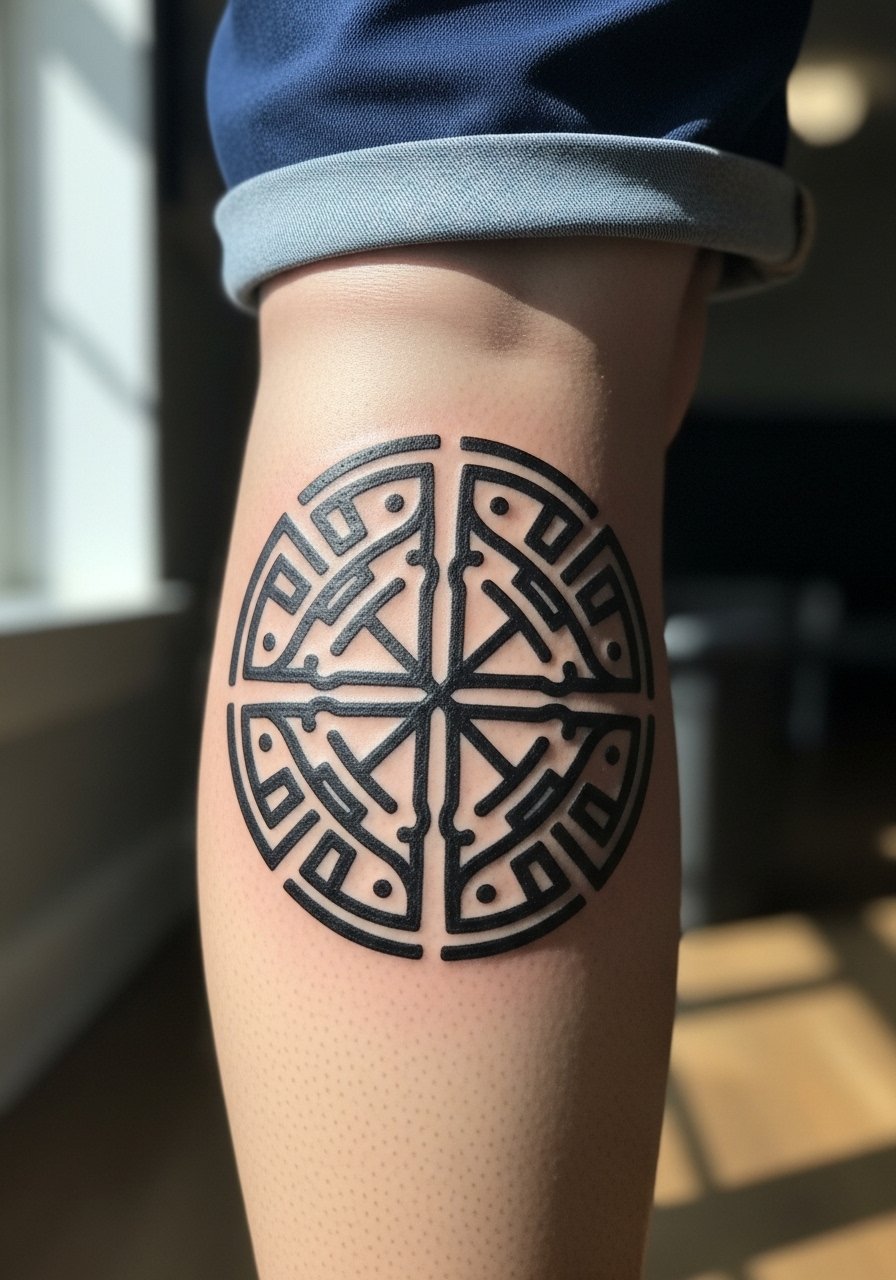
Calf placements handle thicker lines and bolder fills, which suits ignorant or neo-tribal looks. The area tolerates saturation well so the graphic clarity remains from a distance. People sometimes request too many interior details, which in this thicker-line aesthetic is unnecessary. Ask for strong outer lines and playful interior motifs that read from a few feet away. Sessions are two hours or more depending on scale. Pair the finished work with cuffed jeans or shorts when you want to display it.
13. Tiny Symbol Behind the Ear
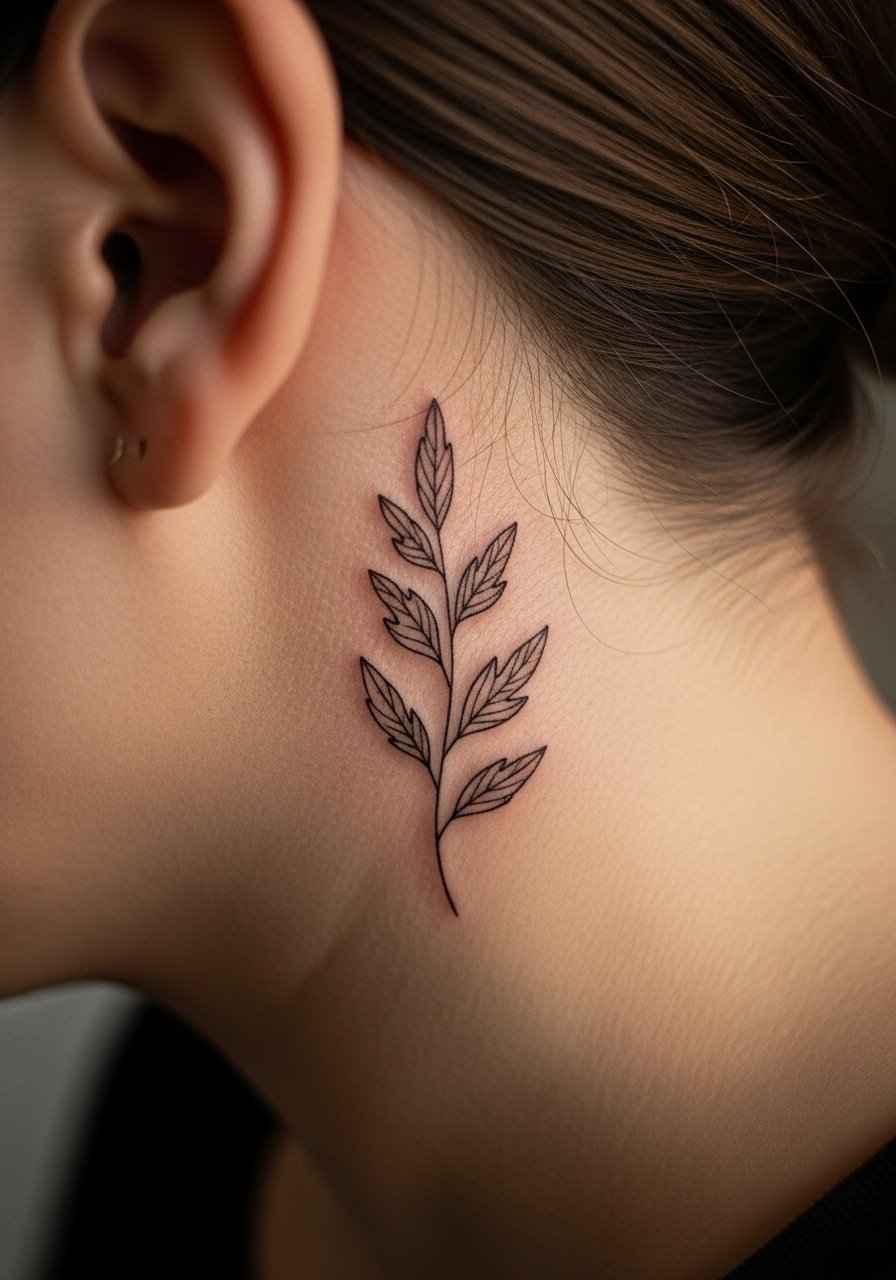
Behind-ear pieces are small and intimate. The skin there is thin so keep motifs micro and bold enough to avoid fading into ghost lines. A common mistake is asking for ultra-fine detail that the area cannot hold. Sessions are short under an hour but require a steady hand from the artist. For the session wear hair up and easy-access clothing so the artist can reach below the hairline. Because this is a visible spot near the neck consider whether workplace norms matter to you.
14. Black and Gray Sternum Floral
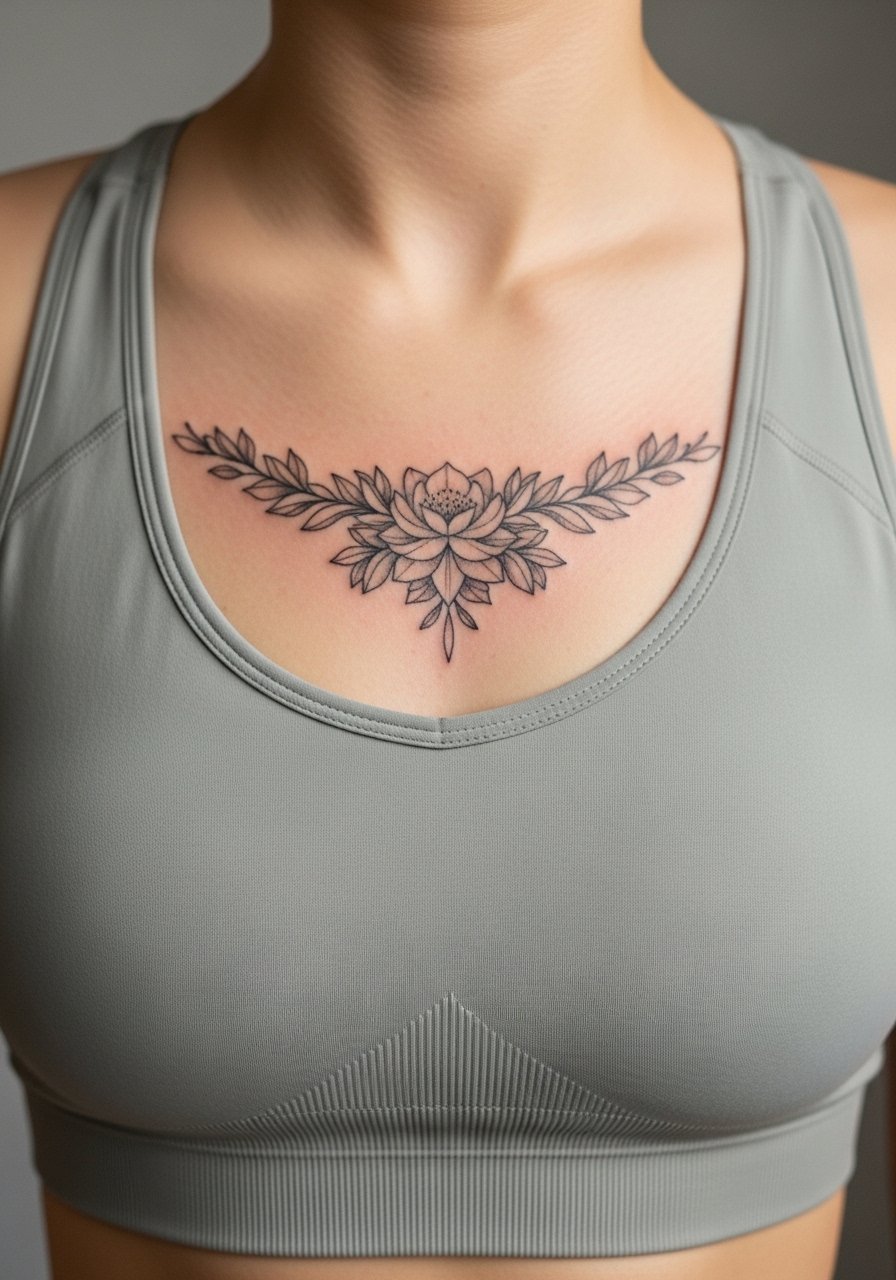
Sternum work sits close to the center of the chest and moves with breathing and posture, which affects how shading settles. This placement can be tender and often requires careful session planning to avoid unexpected swelling. I recommend asking the artist for softer central shading and stronger outer contours so the piece keeps its heart-shape over time. Sessions typically run two to three hours. For the appointment wear a strapless or fitted sports bra so the artist can access the zone without full exposure. Many choose this piece as an empowerment or memorial motif.
15. Spine Script Following Natural Lines
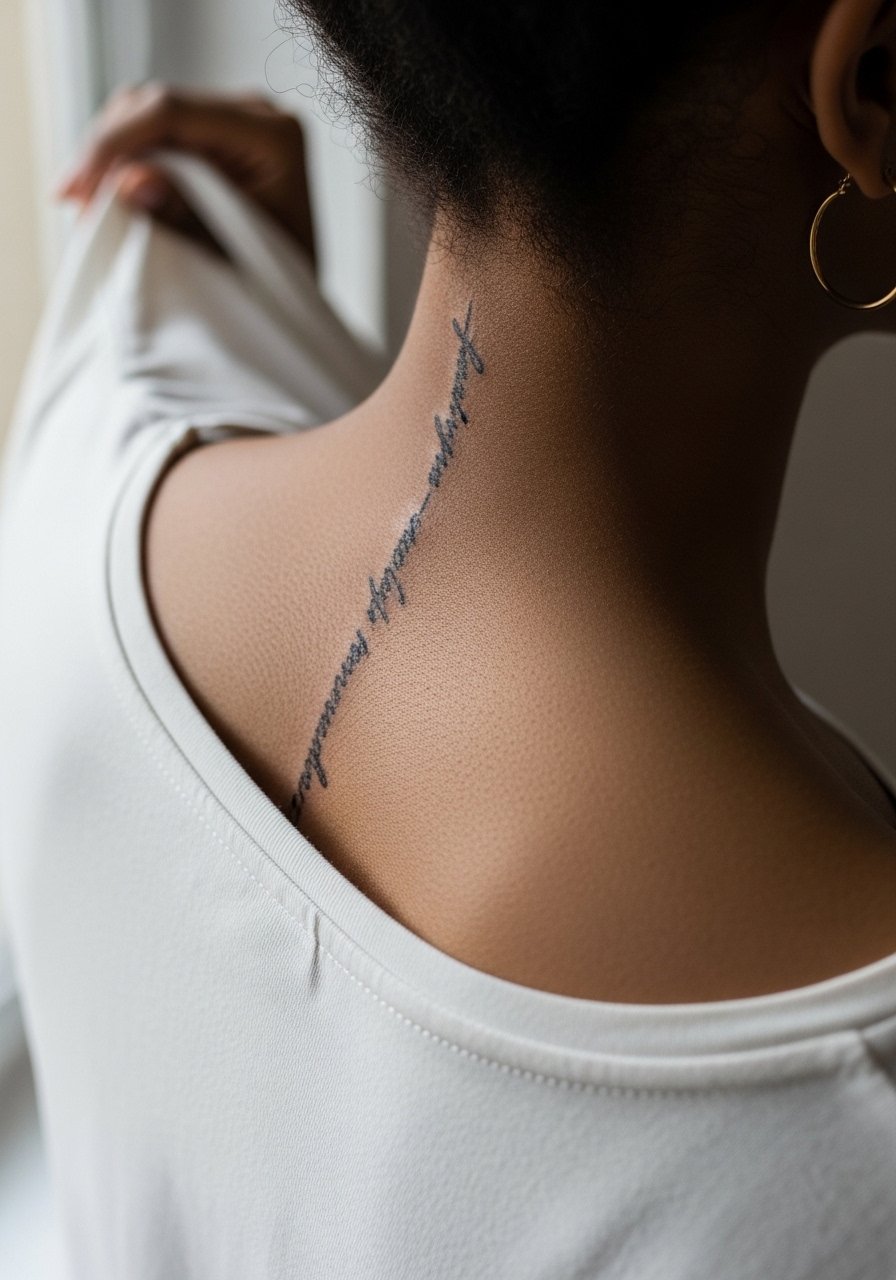
Script down the spine looks elegant because the vertebral line gives a natural guide. The main mistake is forcing curved lettering across straight segments, which creates visual tension and uneven spacing. Tell your artist you want the lettering to follow the spinal curve with even spacing and slightly varied line weight so key letters hold. Sessions are often one to two hours per segment. For the session wear a loose top you can shift aside. For evenings out a low-back or halter can make a spine script read like jewelry.
16. Geometric Mandala Spreading Over the Knee
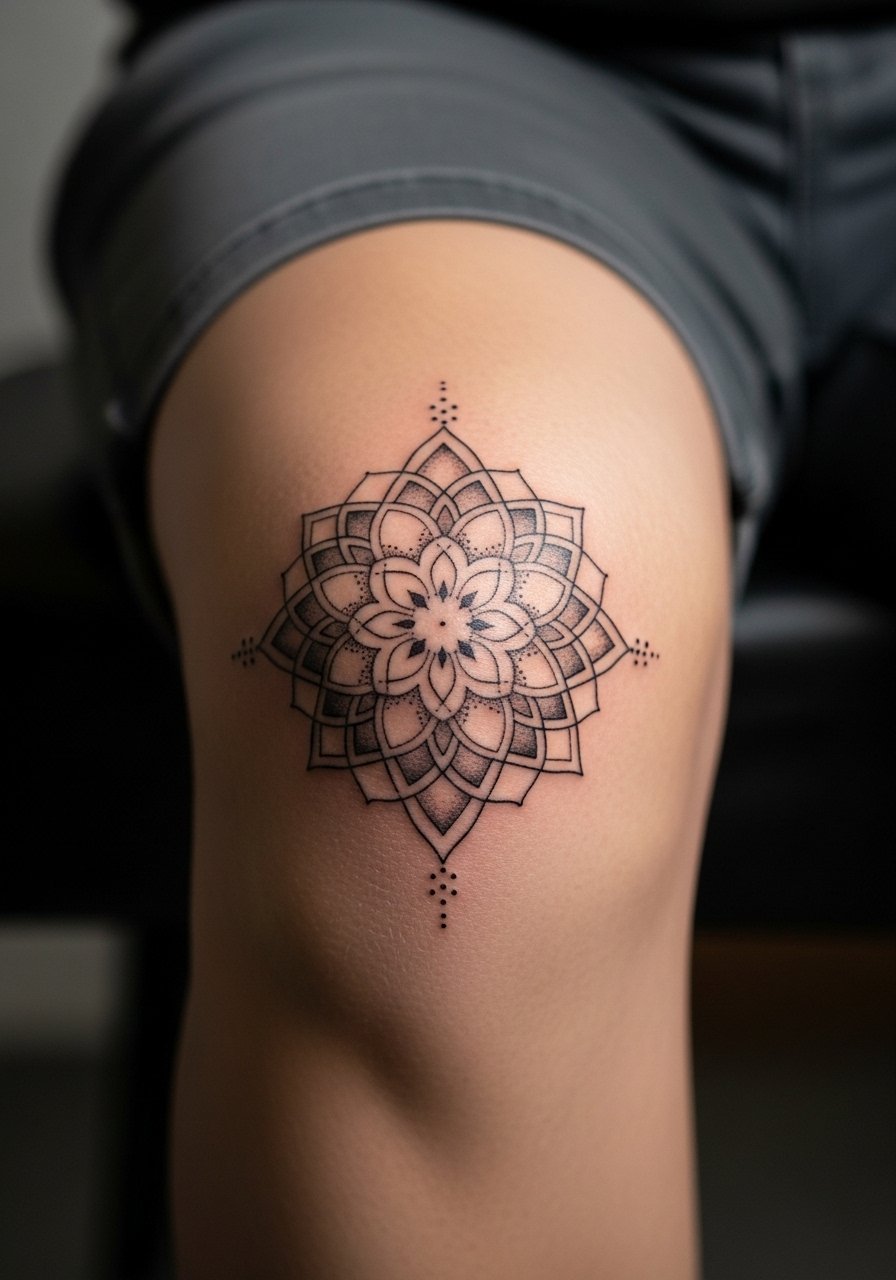
Knee-spanning designs must respect movement, because stretching and bending can affect long-term line spacing. Dense inner details that look great on a flat mockup can compress once you walk. I advise keeping central motifs slightly larger and using stipple shading rather than packed black. Sessions are often split into shorter sittings to handle the sensitivity. For the appointment wear shorts or a skirt so the artist can access the joint with ease.
17. Small Fine Line Finger Accent
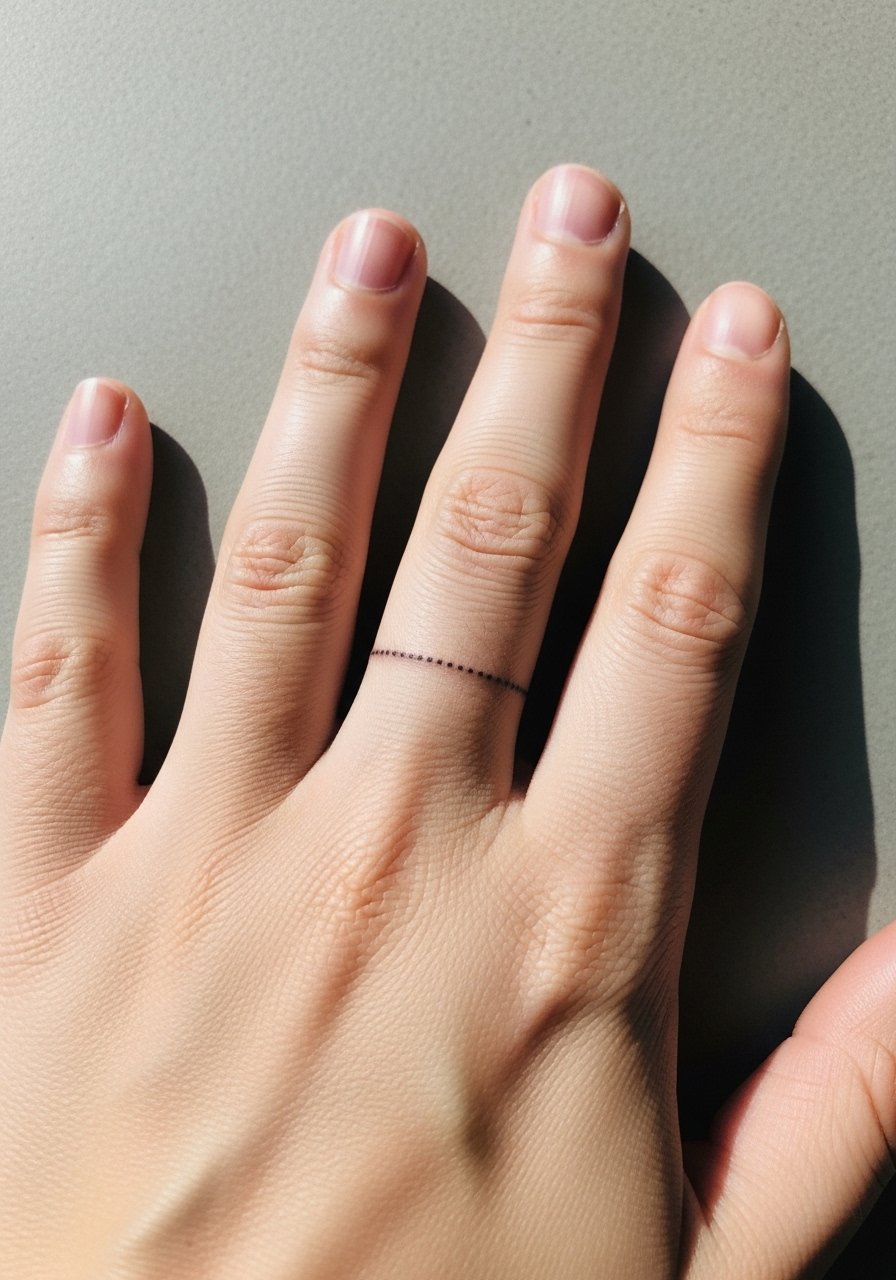
Finger tattoos fade faster than many spots because washing, friction, and gloves wear them down. Common mistakes include asking for too much tiny detail or expecting permanent sharpness in high-contact zones. If you want a finger accent, choose bolder tiny marks rather than intricate miniatures. Sessions are quick but you should expect touch-ups in the first year. For hands-on jobs think about visibility and wear.
18. Collarbone Botanical Accent
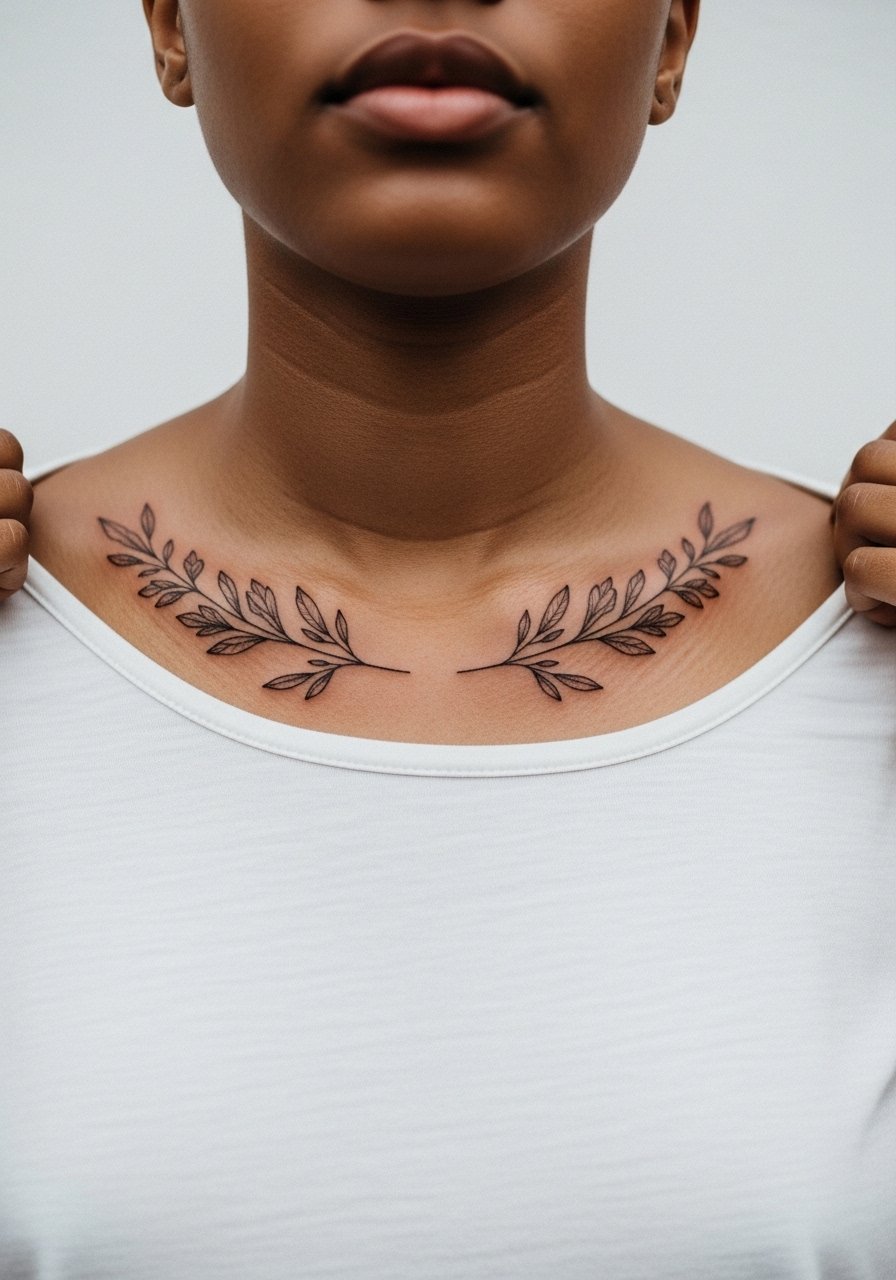
Collarbones provide a graceful horizontal line that complements necklaces and necklines. The area can bruise easily and the bones create a distinct shadow that changes how shading reads. Ask for slightly stronger anchor lines with lighter interior detail so the motif remains visible in photos and daily wear. Sessions are usually one short appointment. Pair the final piece with a thin chain pendant necklace to accent without crowding the linework.
19. Inner Thigh Botanical Panel
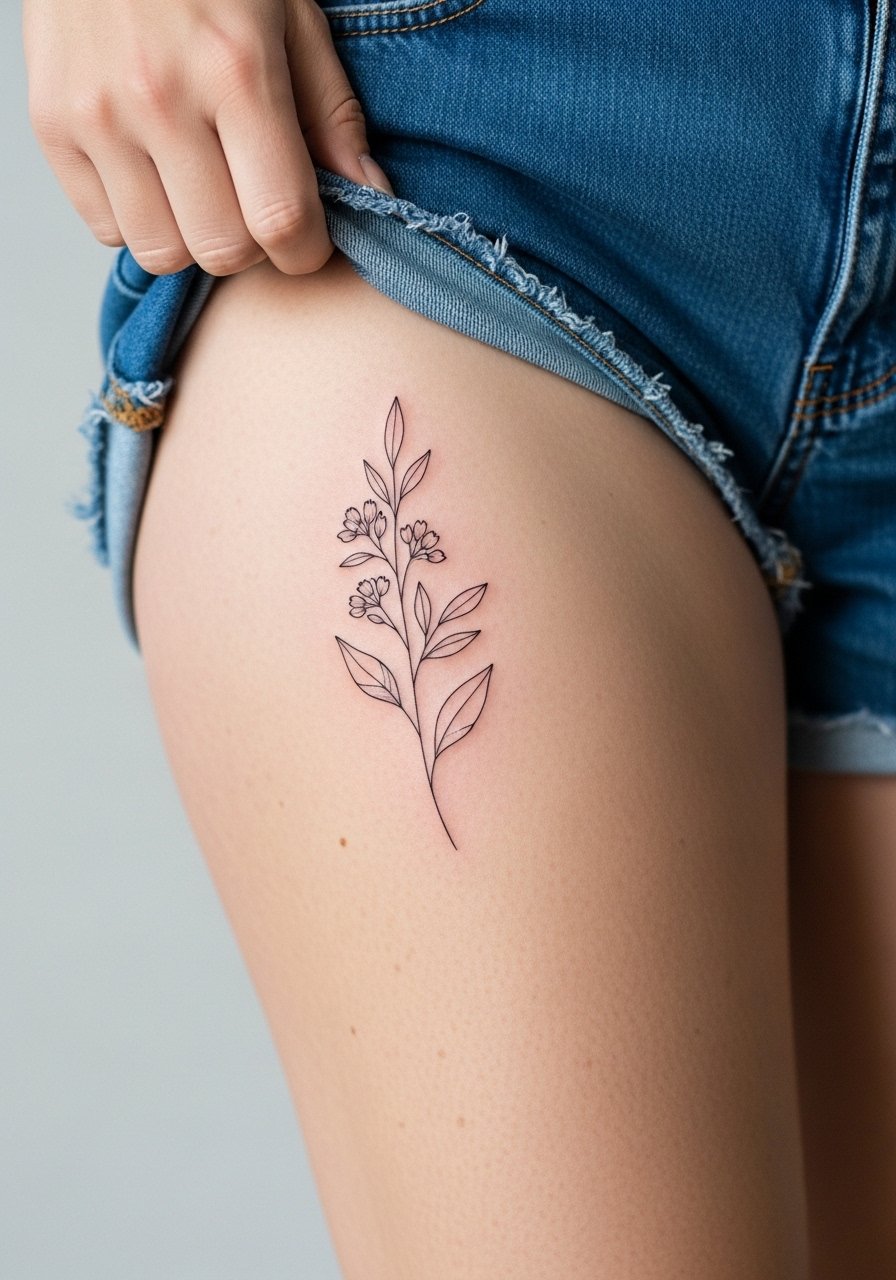
Inner thigh work is intimate and can be hidden easily. The skin there can shift with weight changes, so avoid extremely tight compositions that stretch. A common mistake is over-detailing in a narrow strip. Instead aim for bold focal blooms and open negative space. Sessions can be tender and often done in a couple of sittings. For the appointment wear shorts you can shift up slightly or a swimsuit bottom to expose just the area.
20. Calf Portrait or Icon
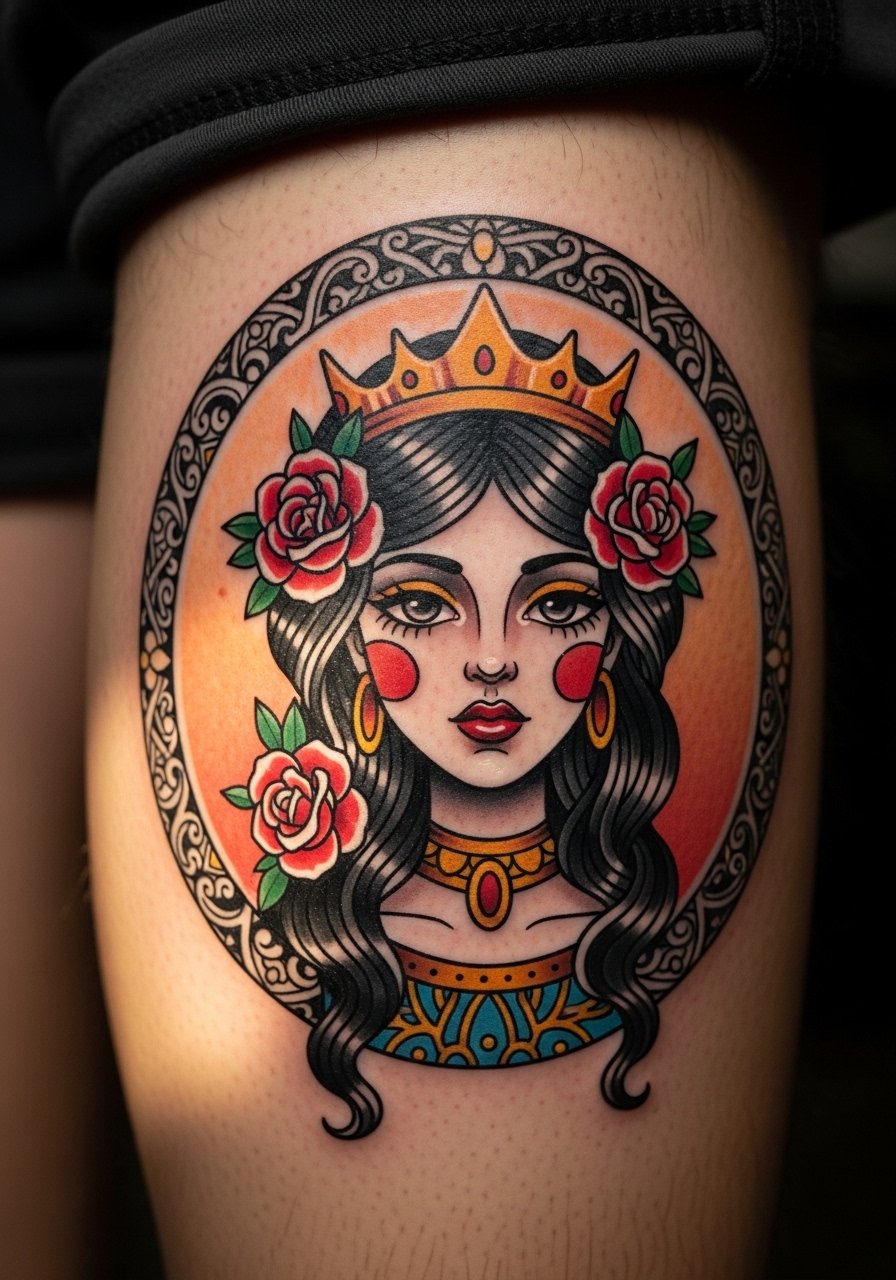
The calf is forgiving for portraits and icons because the skin is thicker and tends to hold saturation. This makes it a good choice if you want a tiny face or badge that still reads from a distance. Avoid asking for extremely fine facial detail too small to hold. Sessions vary but the calf will usually take saturation well in one or two sittings. For showing it off, cuffed jeans or shorts work best.
21. Small Behind-Knee Crescent or Symbol
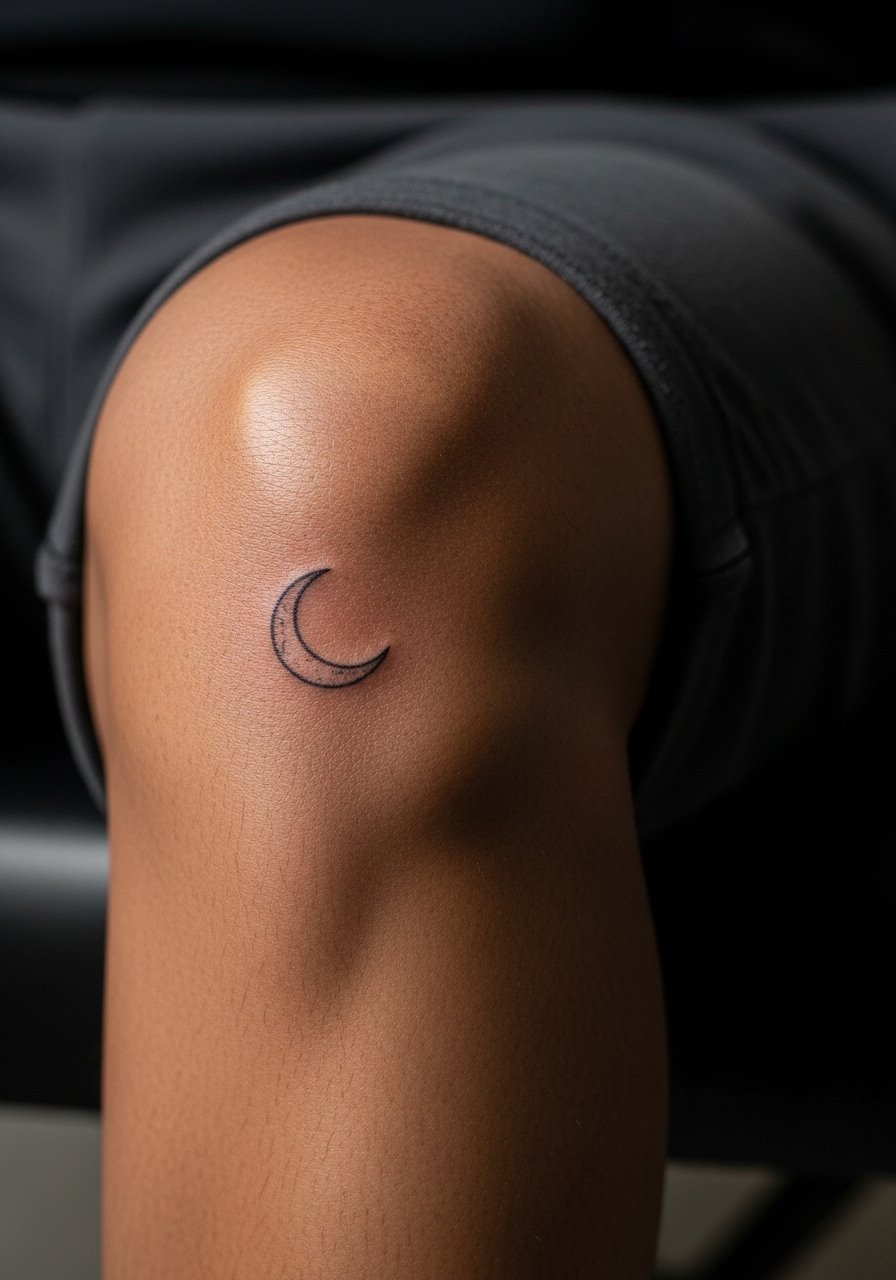
The area behind the knee is rarely chosen but it gives a private spot that peeks out in summer. Healing can be tricky because the skin creases with movement. The common mistake is very tight linework that compresses. Ask for slightly bolder strokes and expect a gentle touch-up if needed. Session time is short. For the appointment wear shorts you can sit comfortably in.
22. Minimalist Ankle Band or Chain
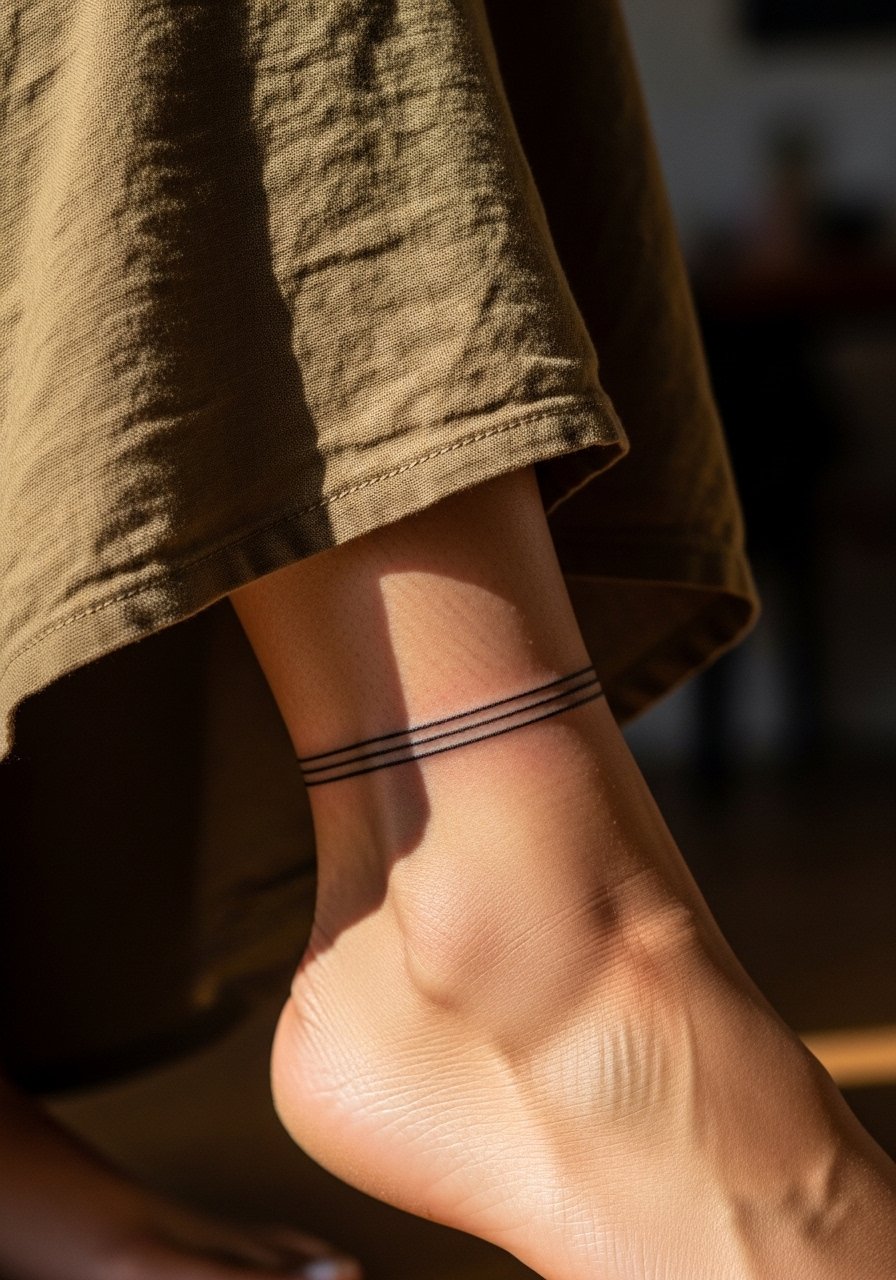
Ankle bands provide a jewelry-like feel without the metal. The trick is not to go too thin where daily friction blunts the edges. Ask for consistent line weight and slightly thicker anchor points where the band meets. Sessions are quick and suited to a single appointment. Wear roll-up pants or a skirt for the session. For styling, pair the tattoo with cropped linen pants or a light skirt for summer.
23. Forearm Botanical Cluster
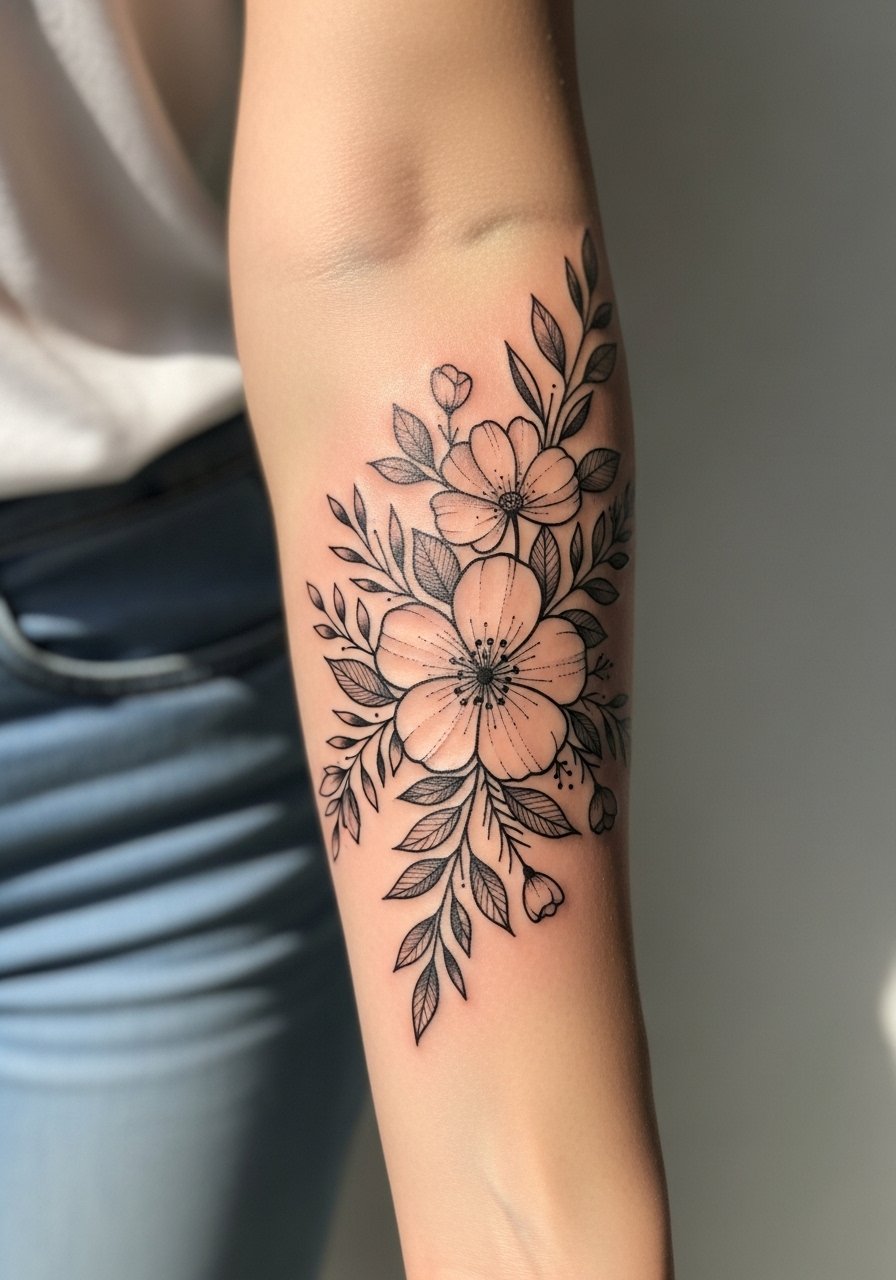
Forearm clusters tend to hold detail well because the skin is stable and visible. The mistake I see is requesting ultra-dense vein-like detailing close to the wrist, which can blur. Instead ask for a clear focal bloom and supportive leaves that breathe. Sessions are often one to two hours. For the session wear short sleeves and show it with rolled sleeves or a minimal bracelet. A roll up sleeve shirt makes for an easy reveal.
24. Hip Curve Floral Near the Waist
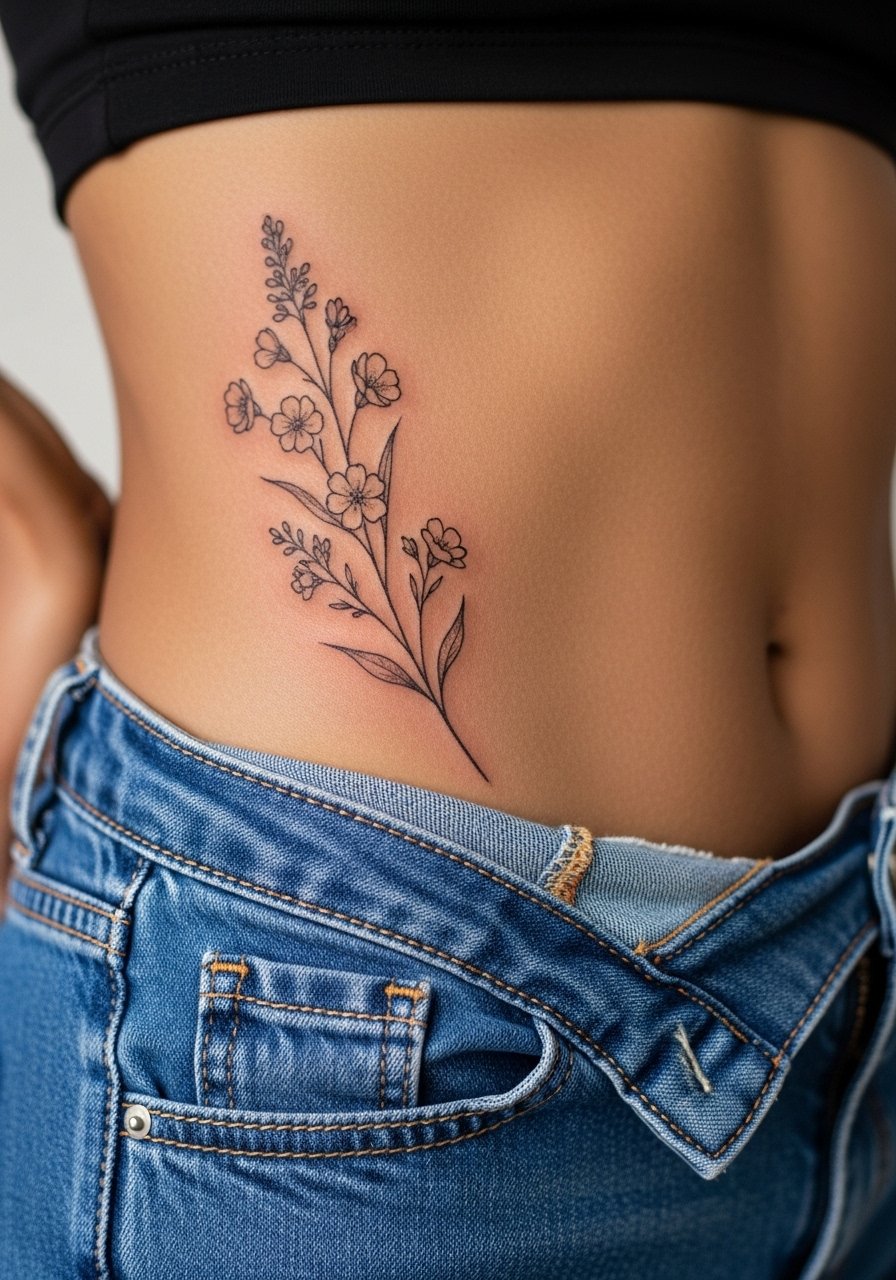
Hip tattoos ride well with body curves but they can shift if weight fluctuates. The common misstep is forcing intricate detail into a small space along a curve. I recommend bold central motifs with airy connectors that follow the hip bone. Sessions are typically one to two hours. For the appointment wear high-cut shorts or jeans you can lower slightly. Swimwear or high-waisted bottoms are great for showing the piece.
25. Inner Bicep Micro-Realism Piece
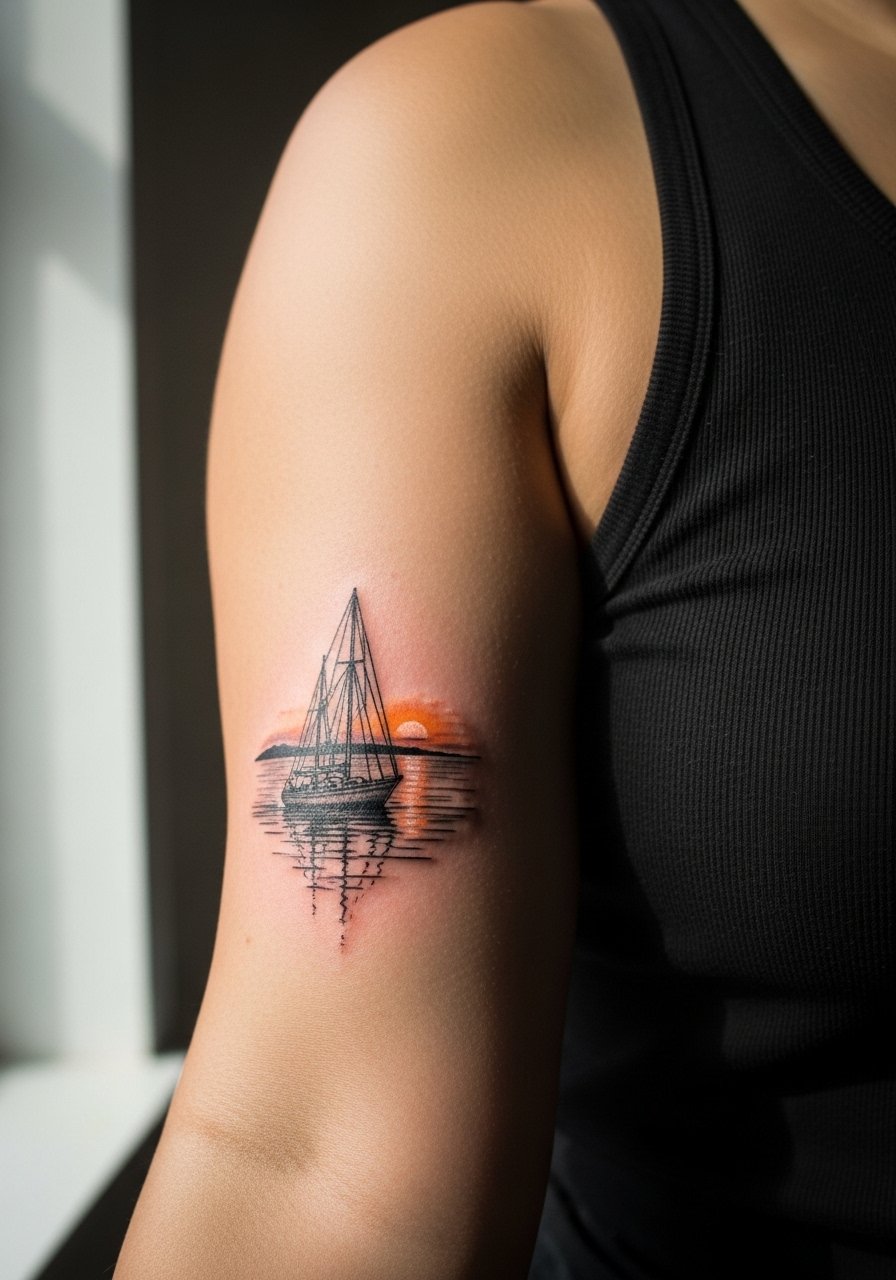
The inner bicep gives intimacy and concealment. The skin is softer so demand confident needle depth and slightly larger reference details than you might plan for elsewhere. A mistake is putting very tiny micro shading that the area cannot retain. Sessions are often sensitive but short to moderate in length. For the appointment wear a tank top so the artist works easily.
26. Tiny Sternum Glyph or Coordinate
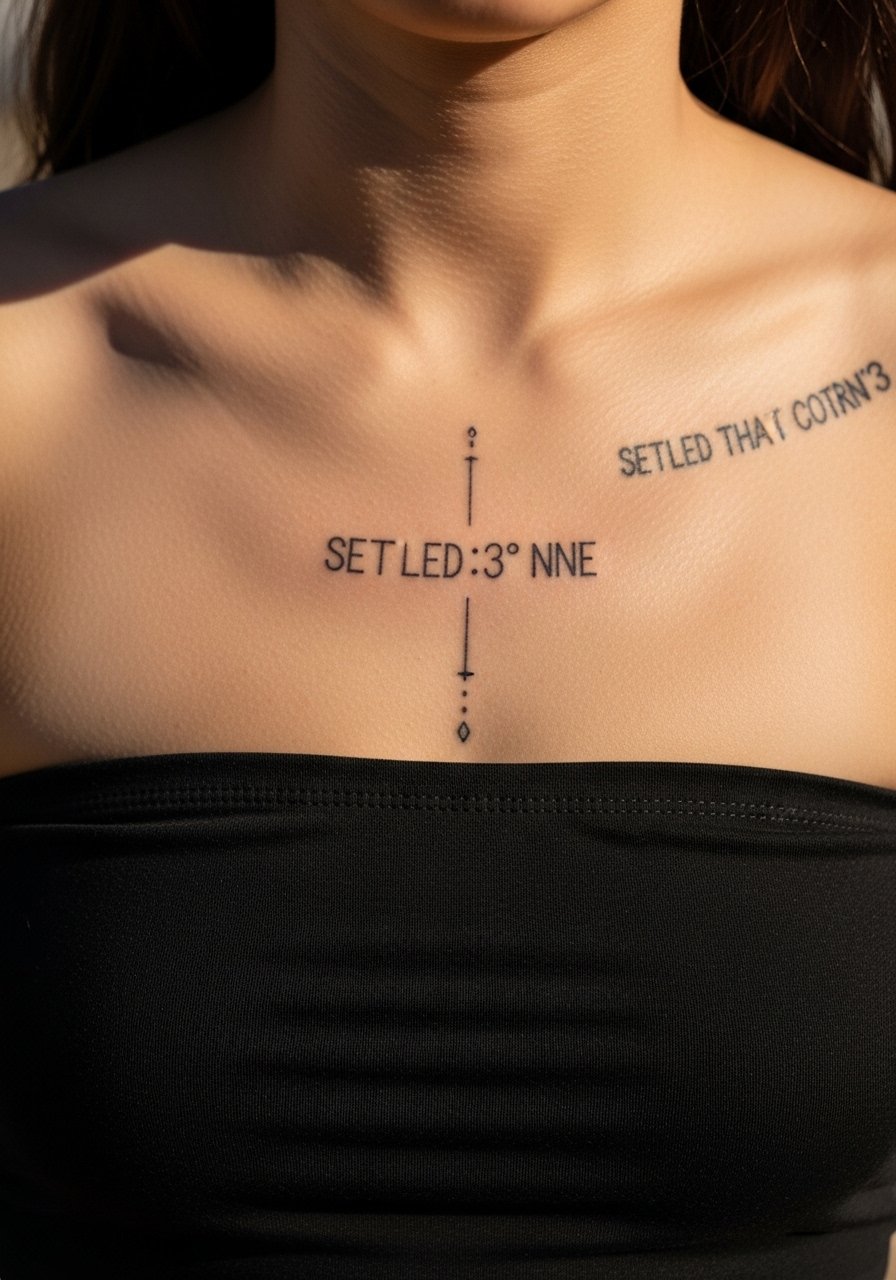
Coordinates and small glyphs near the sternum read like a private talisman. Because the region is central and moves with respiration, choose slightly larger numerals or glyph strokes so nothing disappears into skin texture. Sessions are brief but the site is tender. Wear a bandeau or fitted sports bra to the appointment so the artist can access the area without full exposure.
27. Curve-Under Breast Illustrative Accent
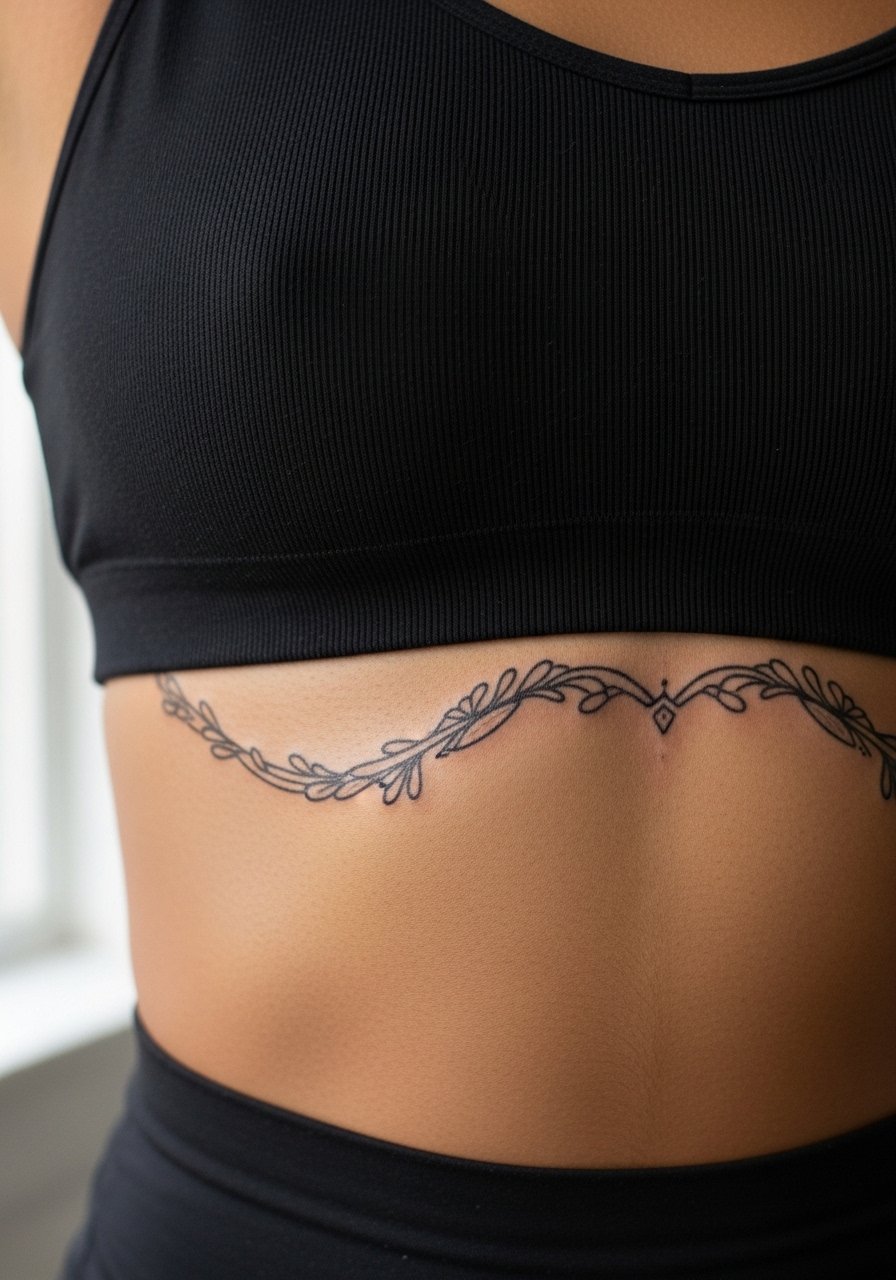
Under-bust illustrations follow body curves and can serve as empowerment work or survivor memorials. The skin here is sensitive and the area requires careful shading to keep the artwork readable as the body changes. One practical mistake is compressing detail into that narrow band. Ask for a flowing motif that echoes rib curves and plan session length around comfort breaks. For the appointment wear a sports bra or bandeau you can momentarily shift so the artist only sees the area needed.
Frequently Asked Questions
Q: Will fine line wrist script blur faster than thicker script on the forearm?
A: From what I have seen, ultra-thin lines on high-contact spots like the wrist tend to soften sooner than slightly bolder script on the forearm. If you want longevity ask your artist to increase weight on anchor strokes and to space letters a touch wider. Expect a possible touch-up within a few years depending on sun exposure and friction.
Q: Do watercolor thigh wraps need a different approach to aftercare than blackwork pieces?
A: Watercolor styles use softer edges and less dense black, so they can look paler sooner. During healing keep moisture balanced and protect from prolonged sun while pigment settles. The initial week is crucial for both styles, but watercolor often benefits from more sunscreen afterward when fully healed.
Q: How should I dress for a shoulder mandala or upper back session?
A: Bring a loose button-down shirt you can remove or pull aside so the artist has clear access while preserving modesty. A tank top you can slide off is also a simple choice for comfort between sittings.
Q: Are ribcage fine line pieces worth the discomfort?
A: There are two sides to the ribcage debate. One group says fine line blurs because of skin thinness and motion. The other group says correct needle depth and spacing can make it hold up. Ask your artist where they stand and look at their healed rib work before you book.
Q: How often do finger tattoos need touch-ups compared with calf or back work?
A: In my experience fingers often need touch-ups within a year because of constant washing and friction. Calf and back pieces with heavier saturation usually last longer between touch-ups thanks to thicker skin and better retention.
Q: Is there anything I should warn my artist about when booking a chest portrait?
A: Mention any recent changes in weight or scarring near the area and describe how much of the collarbone or sternum you want included. Clear communication about breathing, session length, and reference size helps the artist plan shading and line decisions so the portrait reads clearly over time.
