
Fine line One Piece tattoos are everywhere on my feed, and what I keep hearing at shops is that scale and placement decide how long a micro design stays crisp. Small Sailor hat icons and tiny Jolly Rogers look gorgeous fresh, but the right placement and line weight make the difference at year three. Below are 17 compact ideas that actually age, with what to tell your artist and what to wear the day of the session.
1. Straw Hat Jolly Roger, fine line on the inner wrist
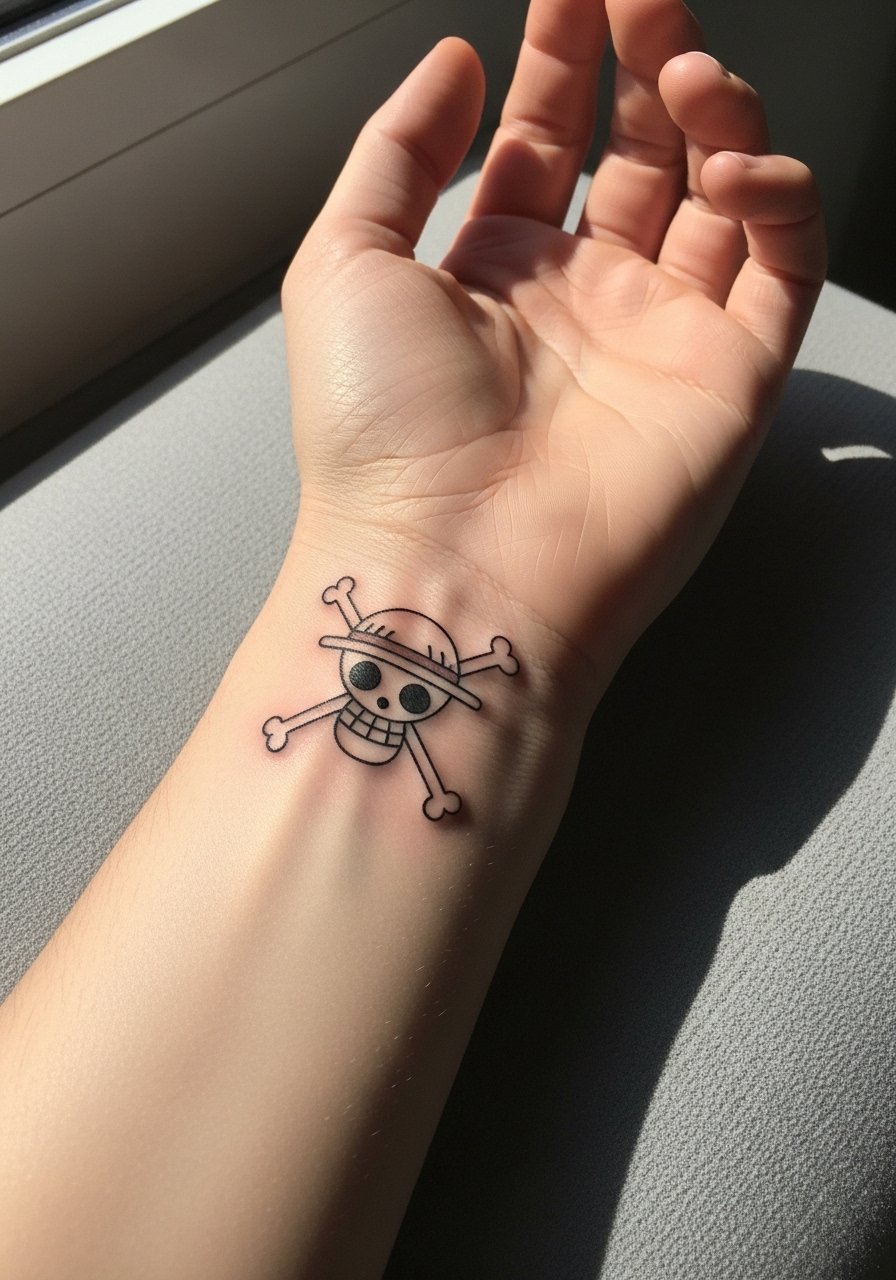
I recommend this if you want a tiny crew emblem that reads as a clean graphic rather than a sticker. Ask for slightly heavier linework than a hairline so the black holds up under frequent washing and typing. Artists split on fine line for wrists. One camp warns that wrists see constant friction and thin lines blur fast. The other camp says a bold but delicate line at the right depth keeps the shape intact. Name your tolerance for touch-ups and ask for portfolio photos of healed wrist pieces. For show-off wear, pair it with a thin chain bracelet on the opposite wrist so the small emblem reads like jewelry during summer. Expect a short session and low pain, but higher touch-up risk than forearm work.
2. Straw Hat embroidery-patch style on the outer forearm
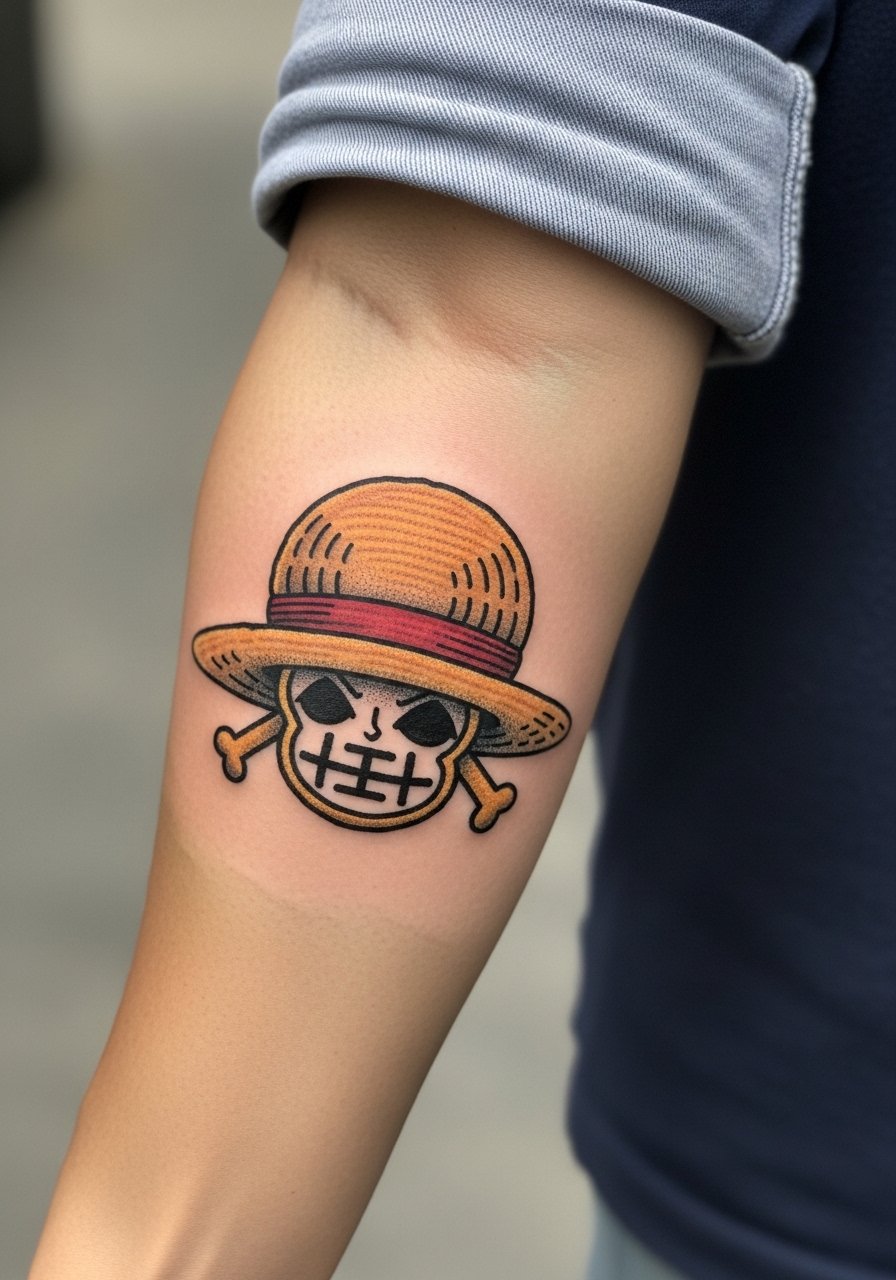
I bring this up for anyone who wants texture inside a small frame. Tell your artist you want stipple shading and slight color accents layered over a black base to emulate thread and fabric. The common mistake is requesting too much tiny texture in a 2-centimeter piece, which turns into a muddy block after a few years. The fix is to scale the "stitch" marks and let negative space read as fabric. For showing it off, rolled sleeves and a rolled sleeve shirt make the arm feel curated without covering the patch. This area tolerates a single session well and ages better than wristline fine work.
3. Simple X mark on the skin just behind the ear, below the hairline
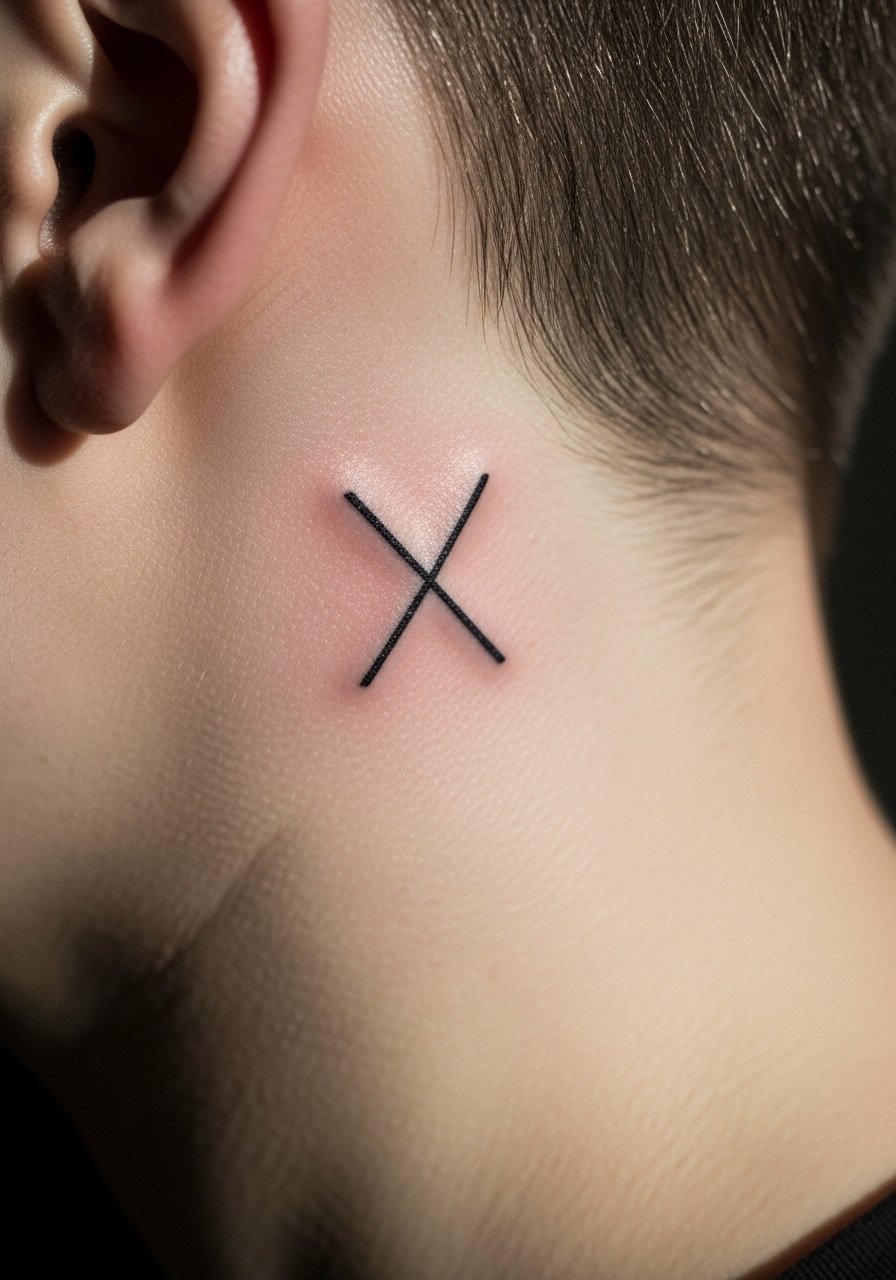
This tiny nod reads private but deliberate. Behind-ear placements are discreet and low on the pain chart compared with ribs. The usual error is asking for absolute hairline weight. Slightly bolder lines prevent early feathering. For styling, keep hair up or in a side part during the first appointment. A small stud earring works as the everyday reveal and you can snag a small stud earrings set that frames the mark without competing. Expect one short session and minimal swelling if the area is cleanly tattooed.
4. Luffy straw hat silhouette on the inner wrist
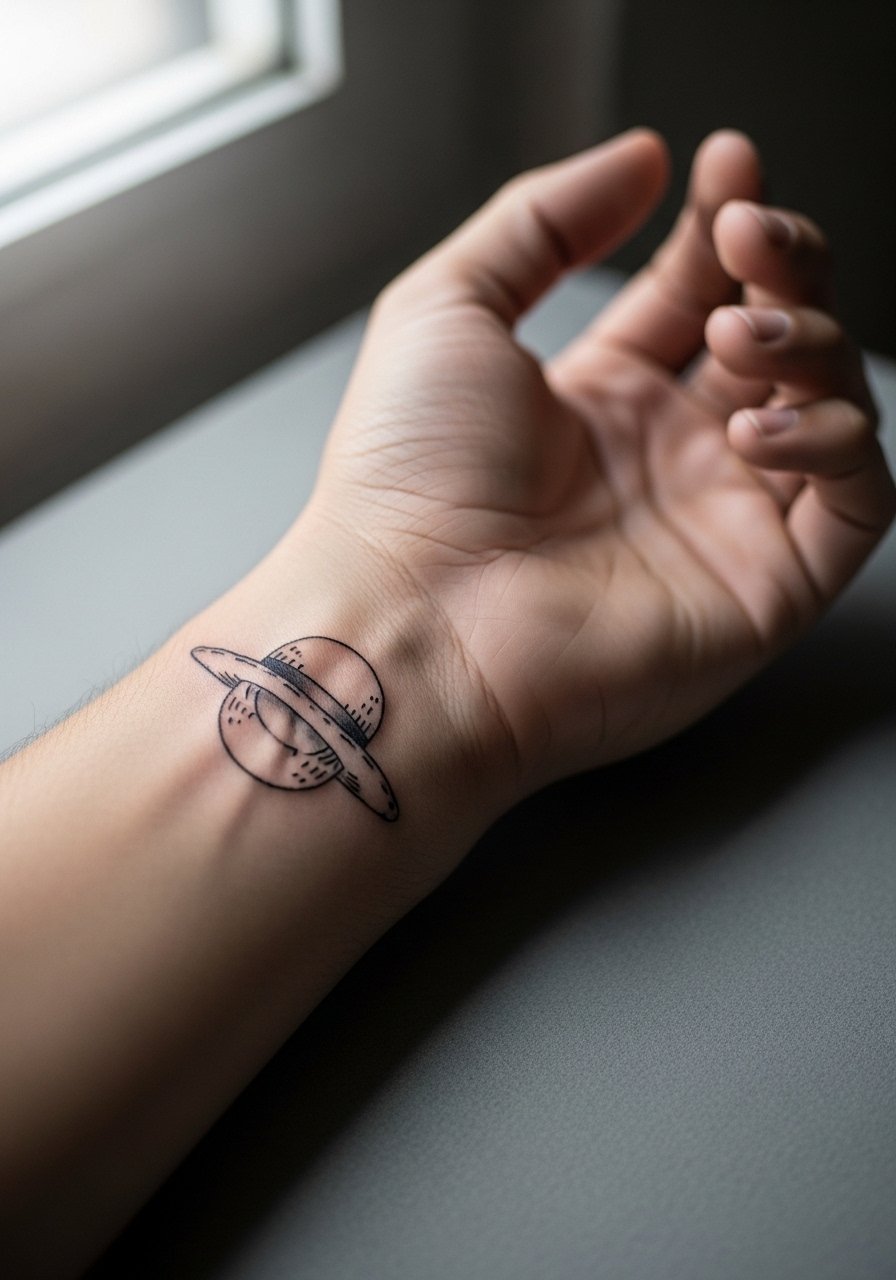
I point this out for first-timers who want a recognizable hat with minimal fuss. Tell the artist you want the silhouette filled lightly with gray wash rather than solid black so the grin on the hat reads as shape not texture. A common mistake is compressing the silhouette to under one centimeter, which removes the hat's curve and ages into a blob. The inner wrist feels sharper during the session, but healing is straightforward if you avoid tight bracelets while it settles. For session day, wear a loose short sleeve so the artist can position your arm easily. Expect a single quick pass and the need for a touch-up before year two if your skin is oily.
5. Blackwork Jolly Roger on the ankle
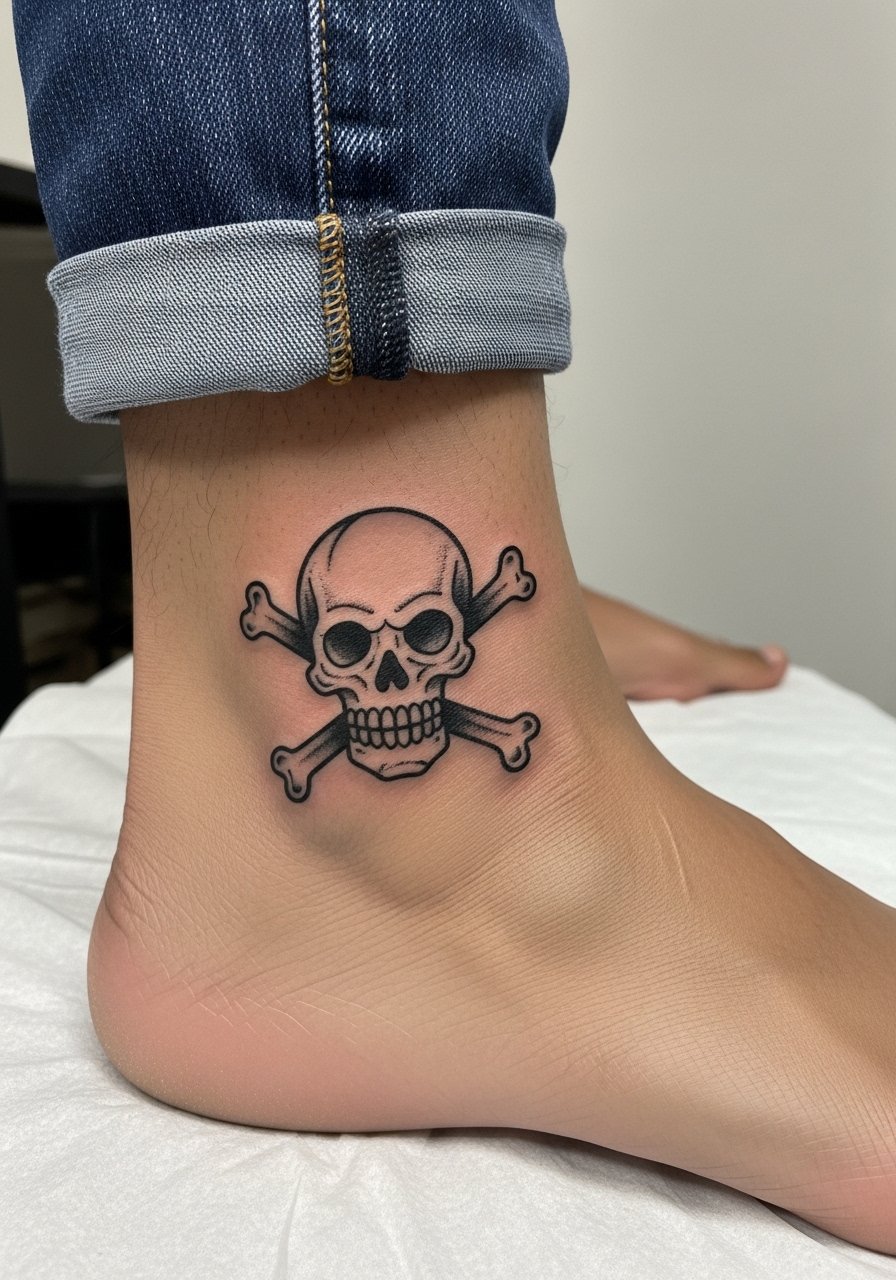
This is my go-to for longevity in tiny One Piece icons. Solid blackwork resists fading better than tiny color fills, especially on darker tones. The mistake I see is trying watercolor effects at this scale on an ankle. The skin there gets rubbed by socks and shoes, so thicker black holds. For showing it off, slip into strappy flat sandals or cropped jeans to keep attention on the ankle. Ankle sessions are short but the area can sting more than forearm work. Expect a healed look that lasts with minimal touch-up.
6. Minimalist Luffy face outline on the collarbone

Collarbone pieces read like jewelry when placed just above the bone. The typical error is asking for ultrafine detail directly over the bone. Instead, request slightly thicker contour lines and small negative space pockets to preserve expression as the skin moves. Pain is higher over the collarbone, but sessions are short for micro pieces. For outfits, an off shoulder top or a v neck blouse frames the art without forcing a cover-up. Ask the artist how their collarbone lines look after healing on medium to dark skin tones.
Studio Day Picks
The wrist, ankle and collarbone pieces above ask for different prep than a shoulder or thigh session. A few small items smooth the chair time and the first week.
-
Stencil transfer paper kit. Lets you preview the exact placement on skin before the needle hits, handy for the tiny wrist and neck pieces above.
-
Topical numbing cream. Applied per instructions it can ease collarbone and ankle sensitivity during short micro sessions.
-
Thin protective film roll. Useful for ankles and wrists that see friction from socks and watches during the initial days.
-
Fragrance free gentle body wash. Cleanses the area without stripping the skin while fine line pieces settle.
-
Aquaphor healing ointment. A thin layer during the earliest window helps keep fine line pigments from drying into flakes that pull color.
7. Watercolor Straw Hat flag splash on the shoulder blade
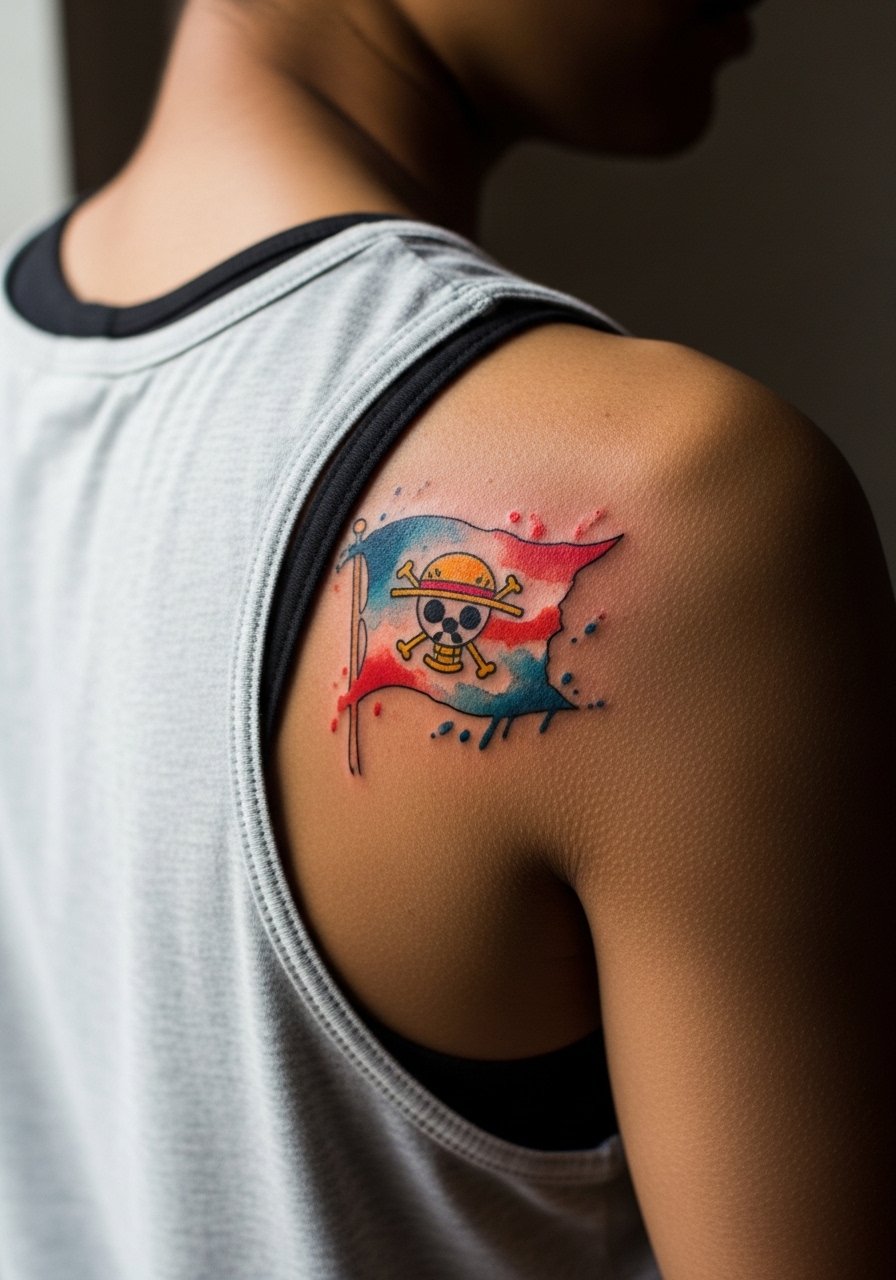
Watercolor at small scale looks dreamy when fresh. The reality is watercolor and micro scale fight for permanence. One camp favors blackwork for small anime tattoos because color can fade into a bruise over time. The other camp says carefully packed pigments and sun avoidance keep watercolor readable for years. If you want the painterly look, ask for slightly larger negative space around color blobs so the wash does not crowd the line. For sessions wear a loose tank to expose the back without straining. Pair the healed piece with a backless sundress on warm evenings to show the soft colors.
8. New school Luffy cartoon on the outer forearm
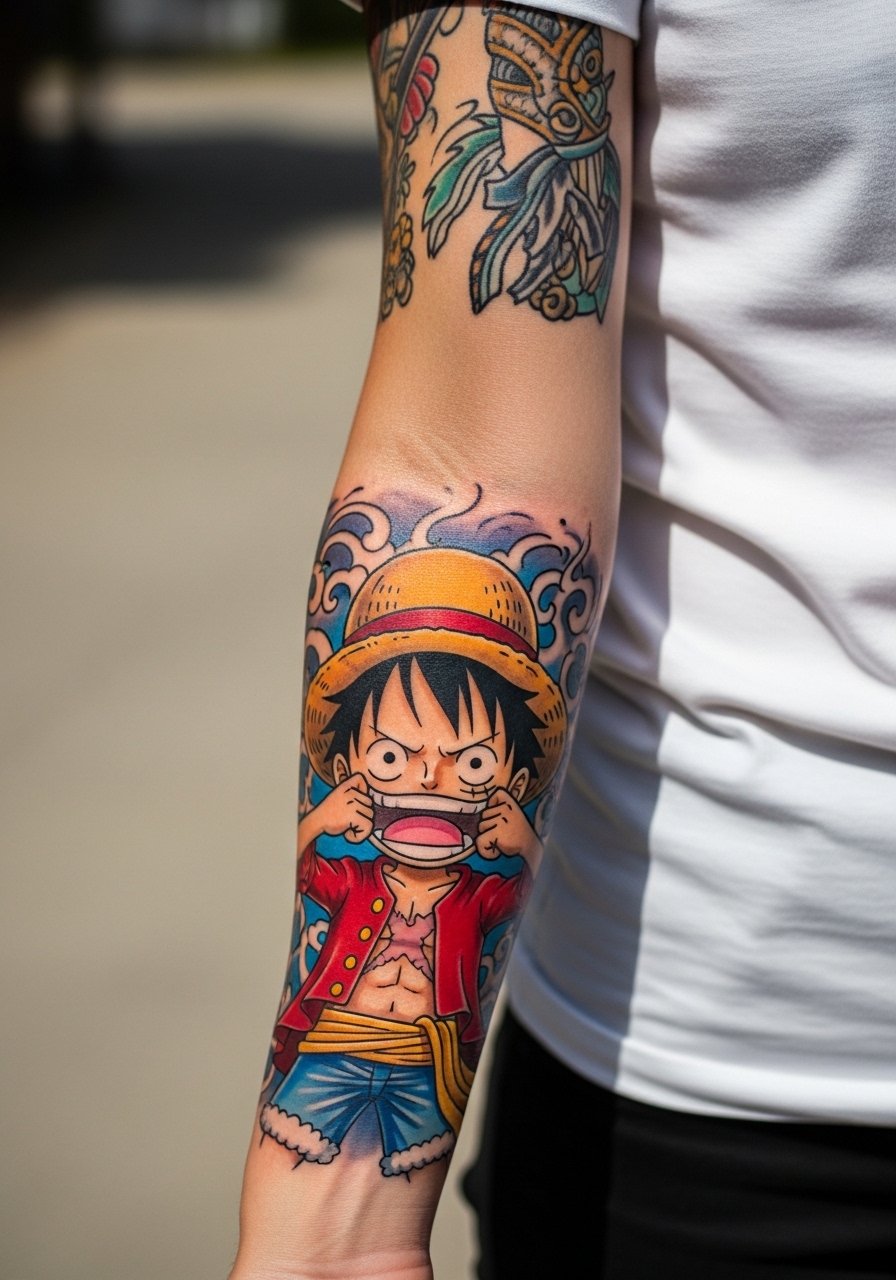
This playful approach is for visible wrists and arms that you want to read like pop art. New school needs bold outlines and saturated fills to survive at small scale. A common mistake is packing too many tiny details into a 3-centimeter panel. Tell your artist to simplify shapes and keep heavy black outlines for longevity. Outer forearm pieces age well because they avoid constant rubbing. For everyday wear, a fitted graphic tee or a rolled sleeve tee frames the art without covering it. Expect low pain and a session long enough for solid saturation.
9. Hybrid Jolly Roger with mandala elements on the upper arm
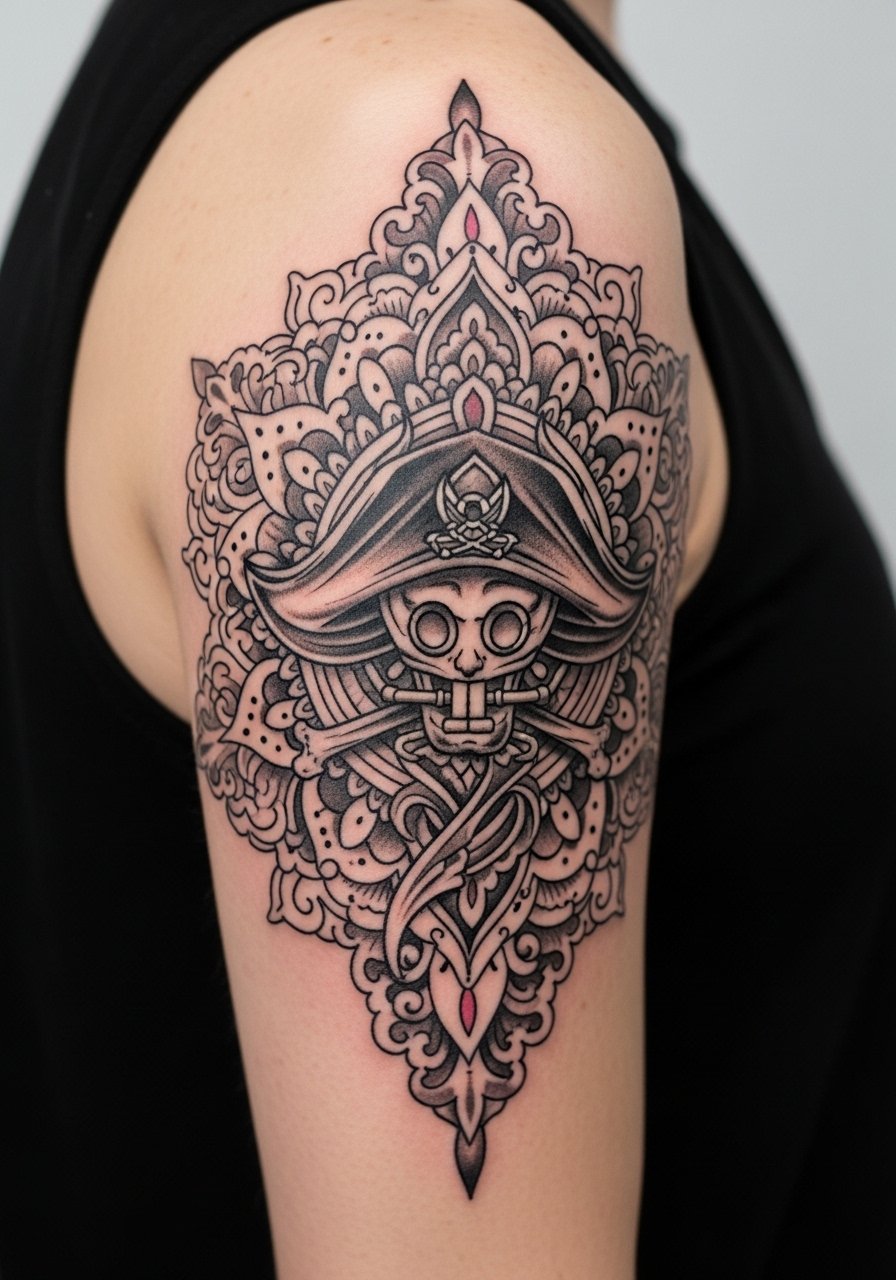
This solves the "everyone has the same flag" problem by adding ornamental geometry around the skull. For success, tell your artist you want open negative space inside the mandala rings. The common aging mistake is packing concentric lines too tightly, which merges after a few years. Upper arm skin handles density better, so you can push detail a bit more than on ribs. If your look leans boho, pair with short sleeves that stop above the design and a thin chain necklace to balance the arm. Expect a single session if kept within 4 to 6 centimeters and manageable pain.
10. Fine line Going Merry ship outline on the ribcage
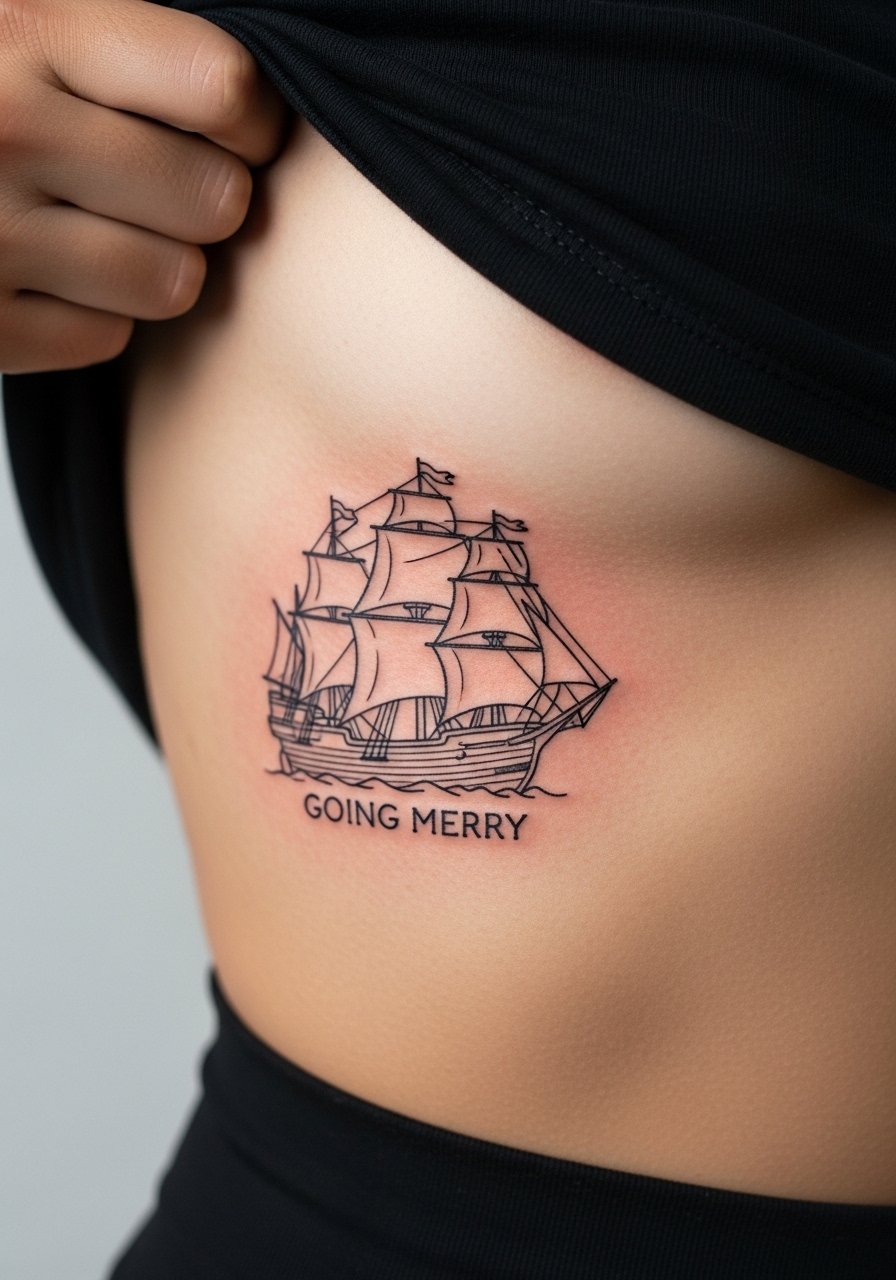
Fair warning, ribs are a high pain area but they do wonders for emotional pieces. Artists split on fine line on ribs. One group says skin stretch and breathing cause thin lines to merge after two years. The other group says correct needle depth and spacing make fine line settle well on the torso. Ask specifically how their rib work holds at year two and request slightly increased spacing between mast and sail lines. The usual mistake is insisting on ultrafine thickness to match a screenshot. For session wear, bring a cropped top that the artist can lift slightly so access is clean.
11. Black and gray Chopper silhouette on the thigh
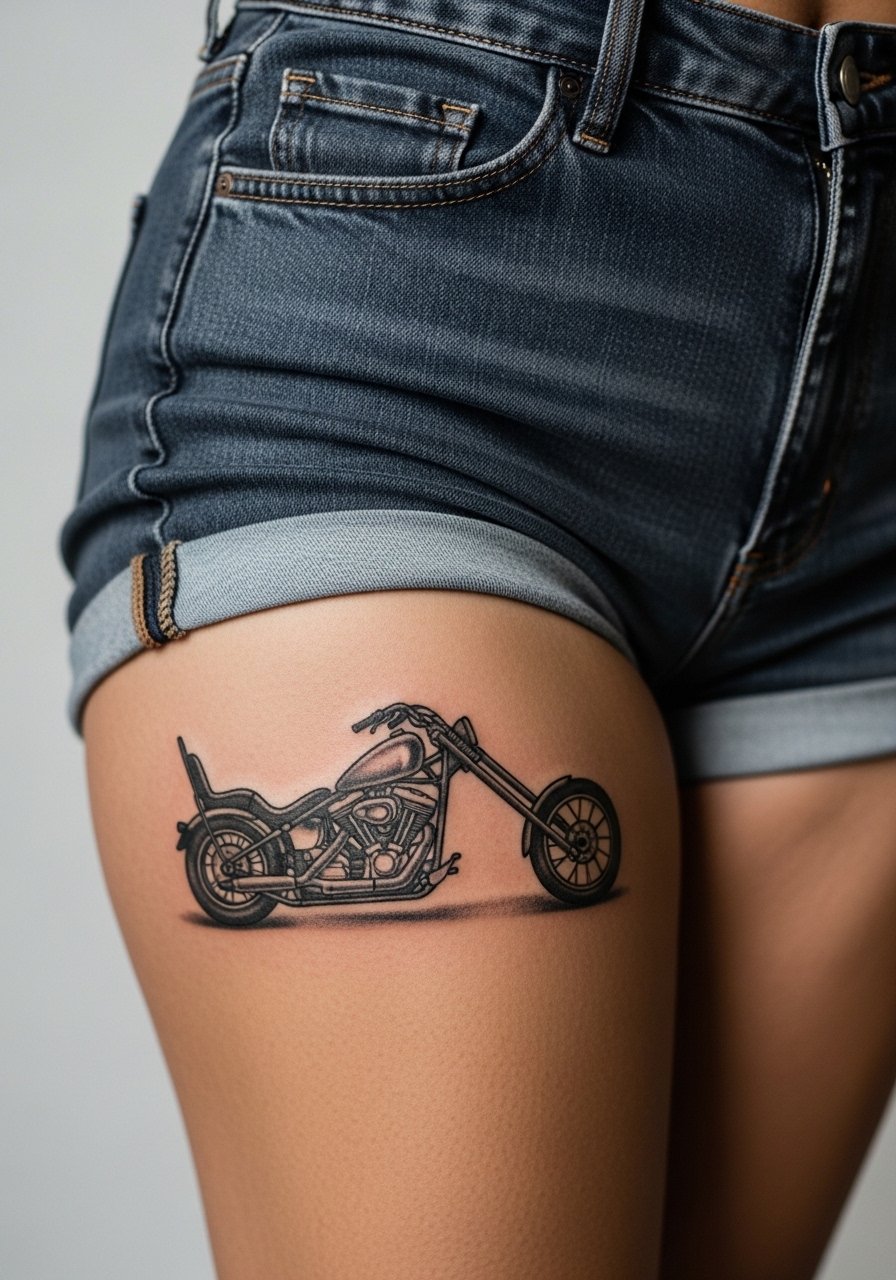
Thigh pieces give room to breathe and show shading better than micro placements. For a tiny Chopper silhouette ask for solid black contour with subtle gray fill to keep the cuteness without mush. The common mistake is compressing a character with too many facial details. Thigh skin tolerates saturation and heals well if you wear loose shorts after the session. For showing it off, a pair of high waist shorts or a slit skirt flatters the shading and avoids rubbing from tight fabrics. Expect low to moderate pain and a clean healed result.
12. Minimalist wanted poster frame on the neck
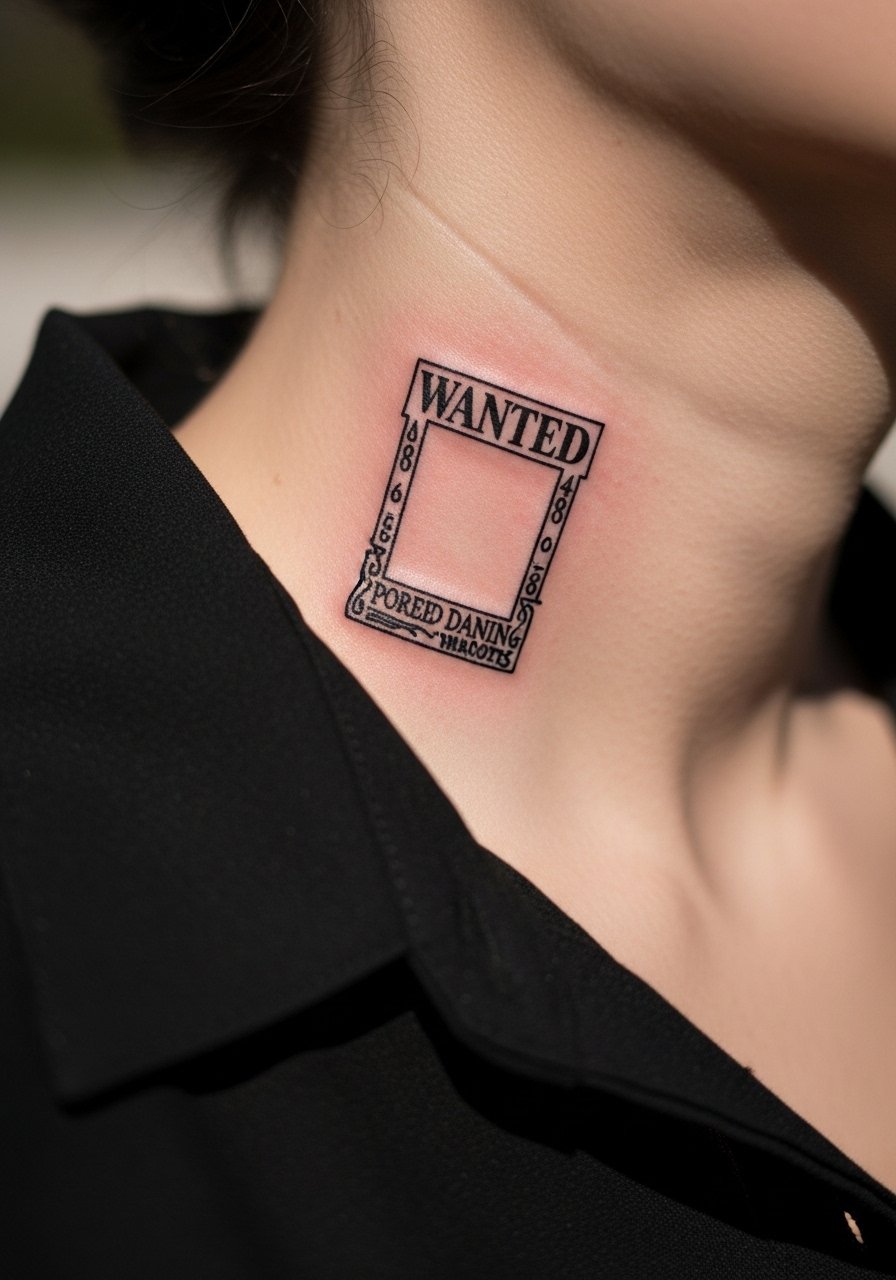
A tiny poster frame around a number or initial reads like a discrete badge when set low on the neck. Keep the frame simple and avoid internal microtext. The usual error is squeezing a photo-like portrait into a three-centimeter frame. Neck skin moves and stretches with rotation so ask for thicker border lines and a clear plan for placement relative to clothing lines. For showing it off, an off-shoulder or wide-neck top works best. Neck sessions sting more than forearms, but the visual payoff can be high for a compact statement.
13. Micro treasure chest on a finger
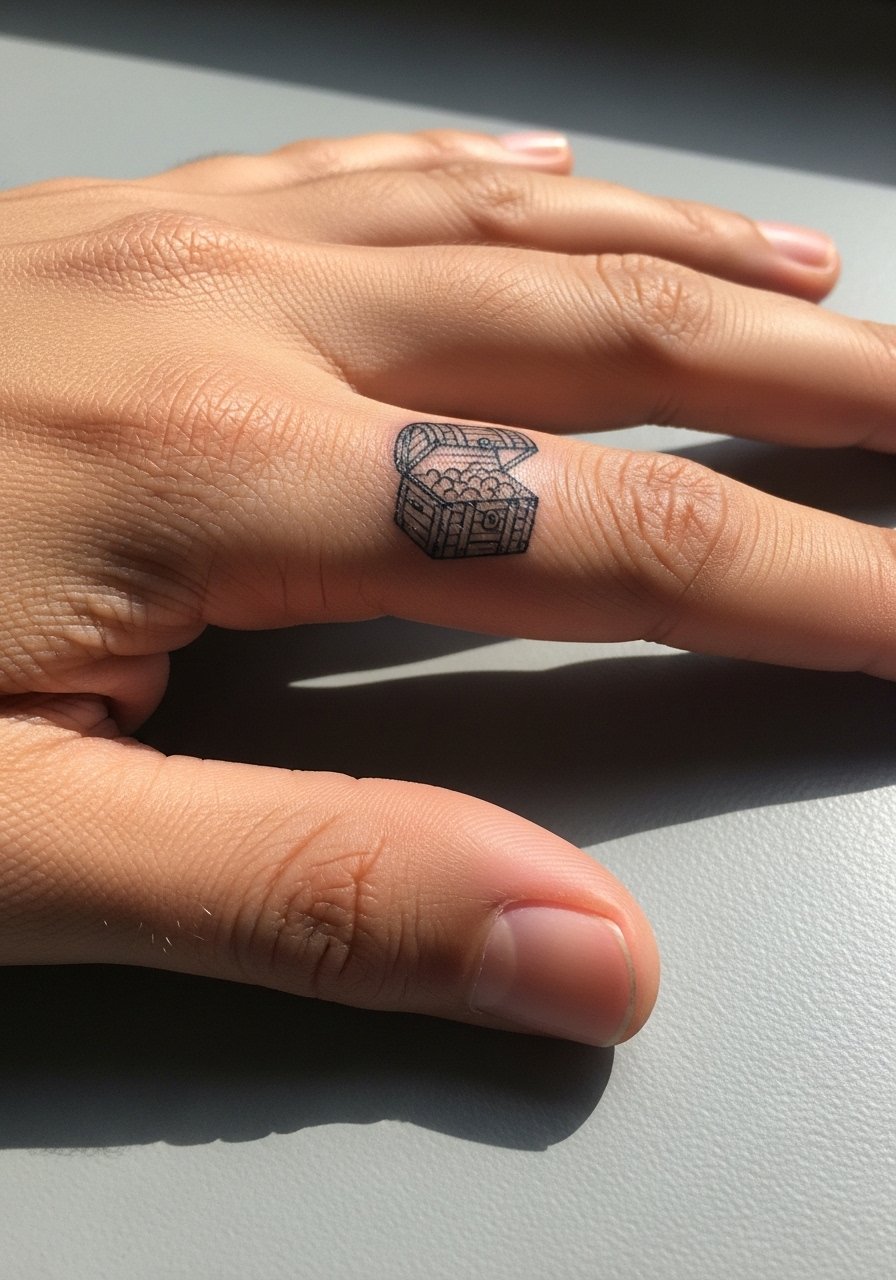
Finger pieces are charming and tricky. Expect faster fading because hands see constant washing and friction. The common mistake is asking for shaded detail inside a knuckle-sized chest. Keep it as an outline with a tiny keyhole and accept touch-ups down the line. For session comfort, skip rings that day and have clean hands. A simple knuckle or side-of-finger location lasts longer than the pad. Consider a delicate dainty bracelet stack for the opposite wrist so attention balances without taxing the new ink.
14. Micro Log Pose emblem on the inner bicep
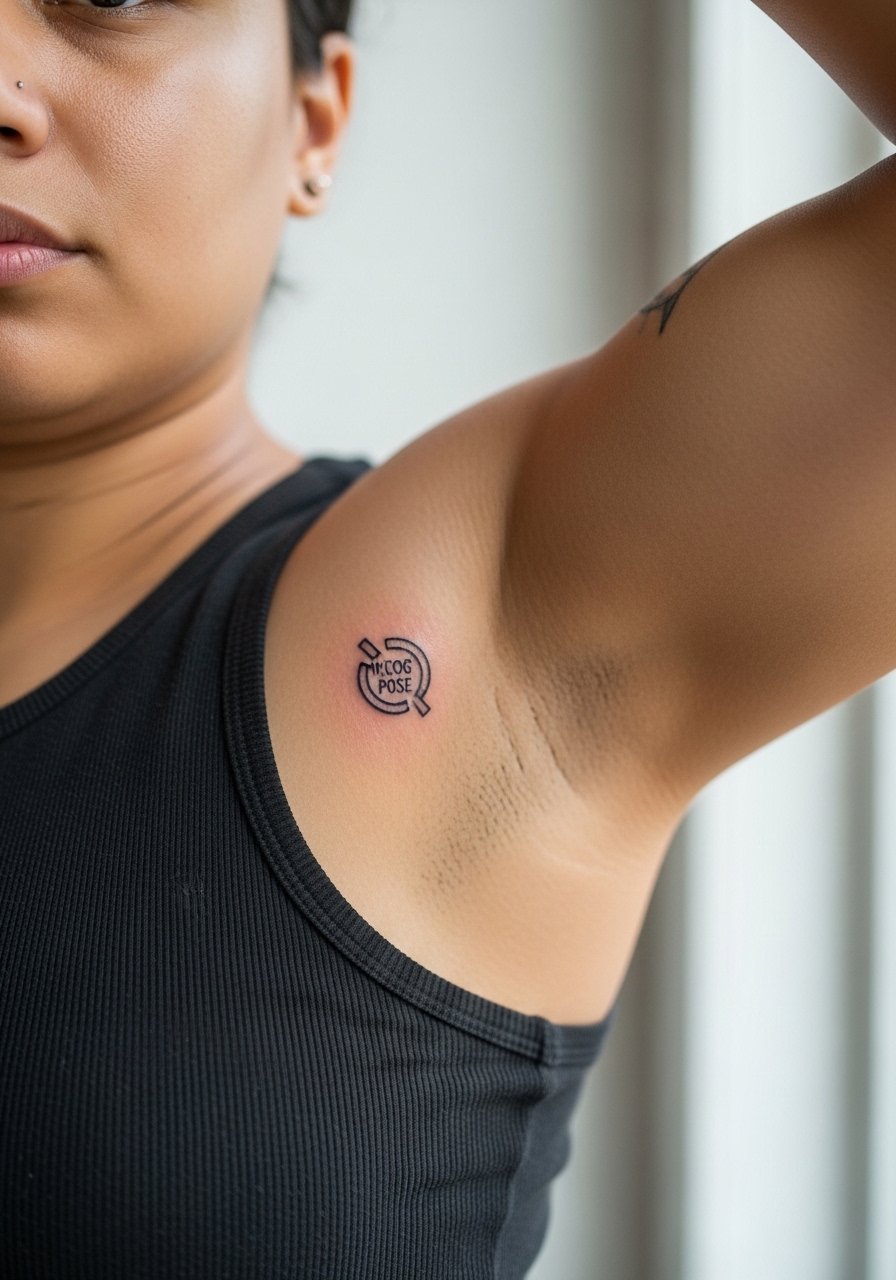
Inner bicep pieces live in a lower-friction zone and can hold fine detail longer than wrists. The typical mistake is asking for too-dense compass markings in a 2-centimeter emblem, which blurs when the arm moves. Ask the artist to prioritize the main points and leave subtle ticks as negative space. The session feels tender if you are lifting your arm for long periods, so take breaks. Inner bicep is a solid choice when you want a design that is private most days yet easy to show in sleeveless looks.
15. Mini compass rose on the ankle
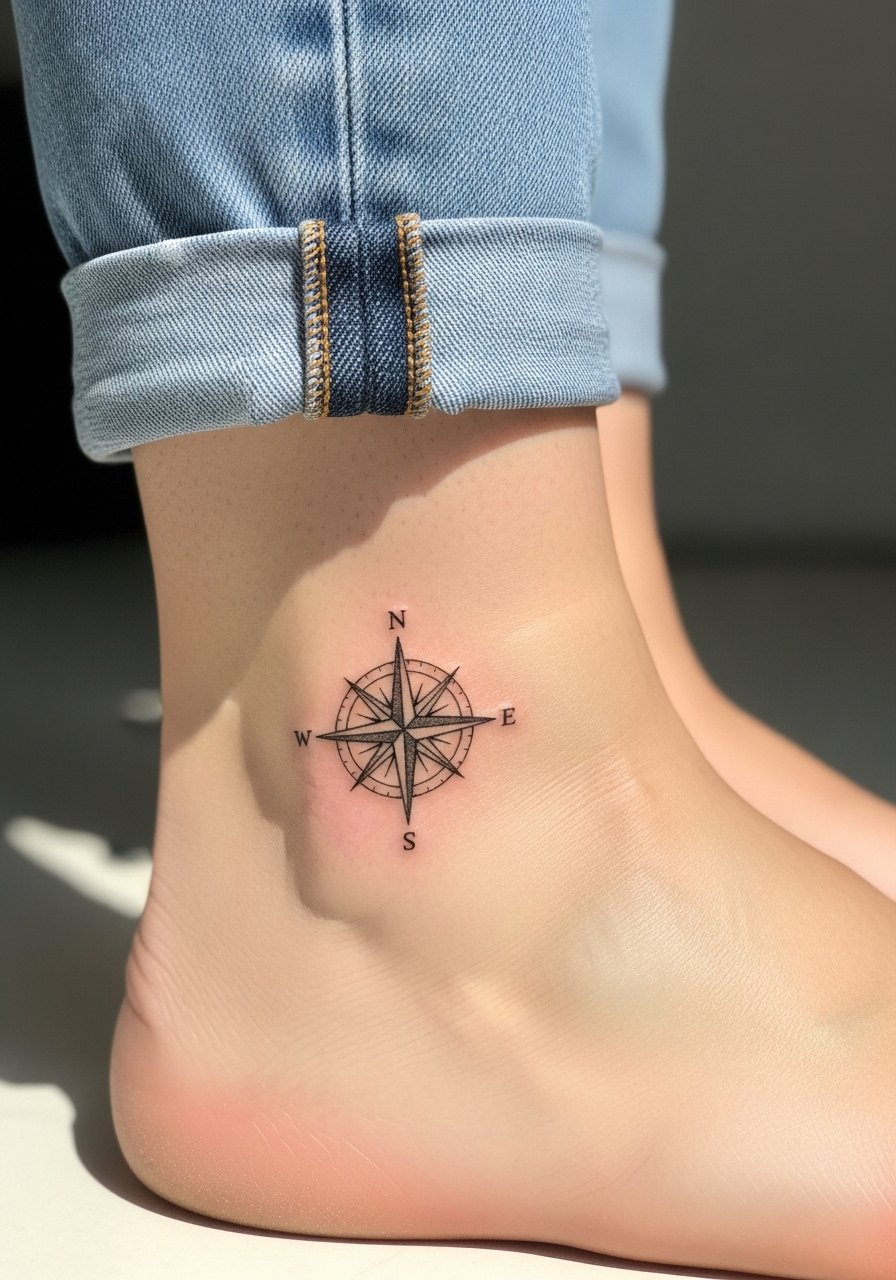
A tiny compass ties into nautical themes without needing character art. Keep the spokes bold enough to resist early feathering. The mistake is overcomplicating the interior with micro dots that disappear into the skin texture at small scale. Ankle work soaks in friction, so solid outlines work best. For show-off wear, put on minimal ankle strap sandal or roll pant cuffs to keep the area visible. Ankle sessions bite for a few minutes but heal without issue if you avoid tight socks.
16. Tiny lower back Jolly Roger with negative-space waves
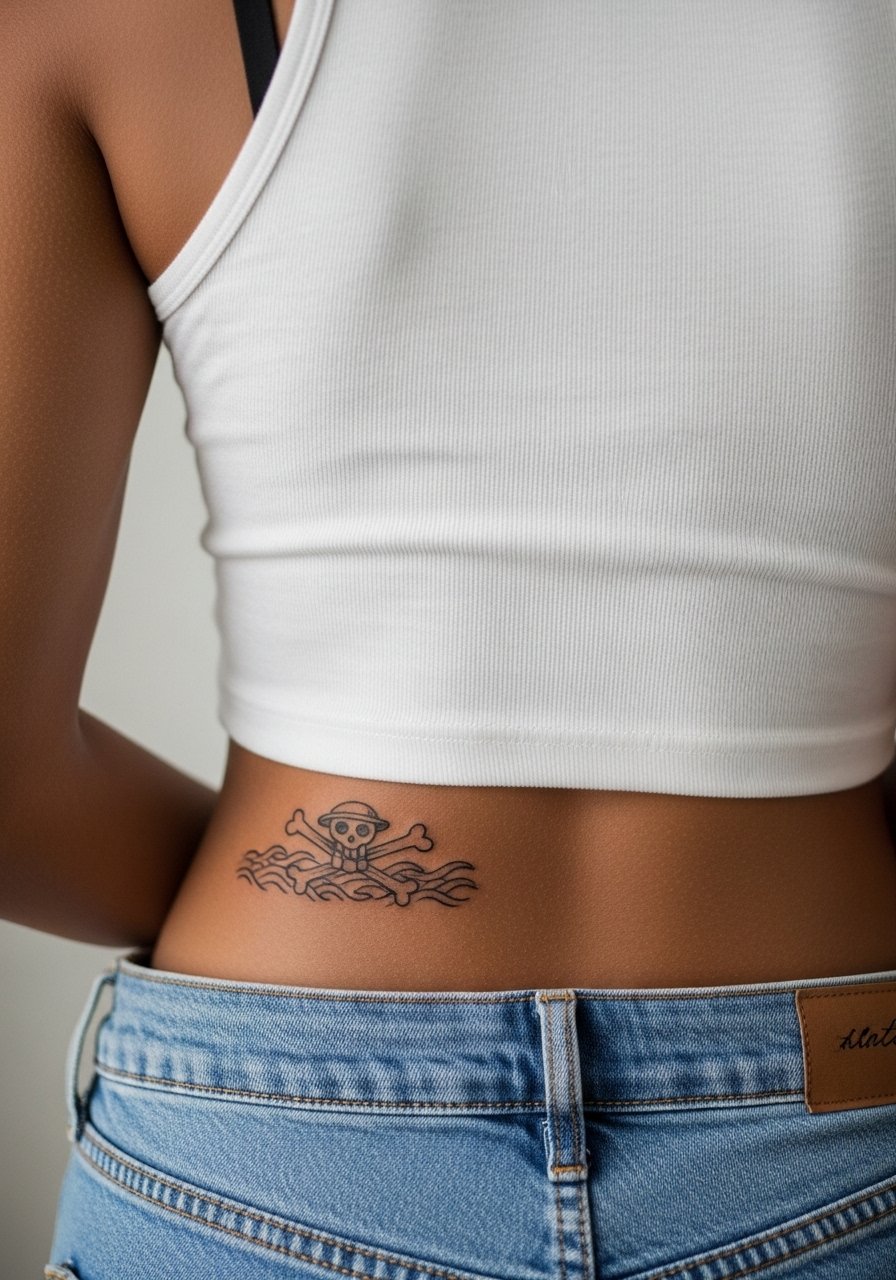
Lower back gives room to blend ornament and icon while staying subtle. A frequent error is packing decorative waves too tightly, which flattens during healing. Ask for wider wave spacing so the negative space reads as motion even when small. For the session, wear a tank top so the artist can expose the area without full torso contact. Pain is moderate and the skin there handles medium density well. This placement works if you want a piece that can be discreet under most clothing.
17. Hip micro emblem near the pant line
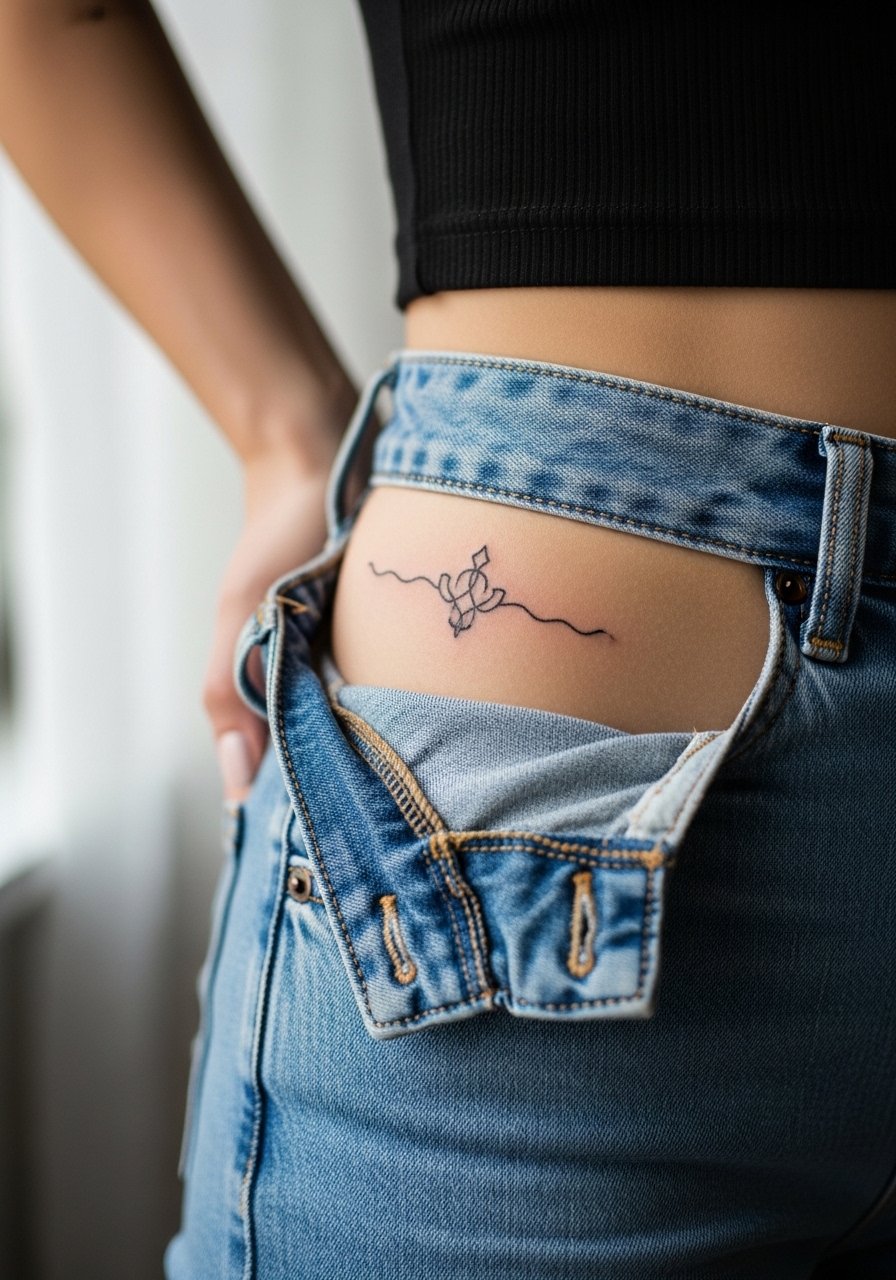
Hip placements are private and age gently because the area is low friction. The common mistake is choosing a highly detailed motif for a tiny patch, which loses clarity after healing. Opt for a simple silhouette or a small emblem with open edges. For the session, wear high-cut shorts or jeans you can shift so the artist has clear access. Expect a quieter session and a design that remains readable for years when left at modest scale.
Frequently Asked Questions
Q: Will fine line wrist tattoos blur faster than blackwork ones?
A: From what I've seen, wrists do tend to blur sooner with hairline lines because of frequent washing and friction. Blackwork with slightly heavier contours holds up better. If you love fine line, ask for modestly bolder line weight and plan on a touch-up around year two or three.
Q: Do watercolor-style One Piece tattoos need different placement choices than blackwork?
A: Yes. Watercolor needs space and less daily abrasion, so shoulder blade or upper arm is safer than wrists or ankles. Blackwork suits high-friction spots like ankles and fingers because solid saturation resists early fading.
Q: How should I prepare clothing-wise for a collarbone or ribcage session?
A: For collarbone, wear a wide-neck shirt you can pull aside easily. For ribs, a cropped athletic top works so the artist can lift it without full removal. Loose fabrics prevent rubbing after the session and make positioning simple.
Q: Are there discovery tips for finding artists who do micro One Piece work well?
A: Search hashtags like #MinimalistOnePiece and #MicroOnePieceTattoo on Instagram and filter by location. TikTok with local filters also shows guest spots. On Reddit, look for recent threads under r/tattoos and r/OnePiece for peer recs. Ask to see healed photos at the exact scale you want.
Q: How do Saniderm and dry healing compare for tiny anime tattoos?
A: There are two camps. One group favors Saniderm because it shields the area from pets and sheets during the first few days. The other group prefers dry healing to avoid trapping moisture in humid skin. The best choice depends on your lifestyle and skin type, so discuss both options with your artist before you leave the chair.
