
Fine line wings are the look everyone screenshots, and they can look incredible fresh while also blurring faster than people expect. Bold blackwork often outlives the trend posts, and small color washes need careful placement to keep their shape. Below are 21 mini angel wing takes that balance what looks good now with what still looks like a tattoo in two years, plus how to wear and manage each one.
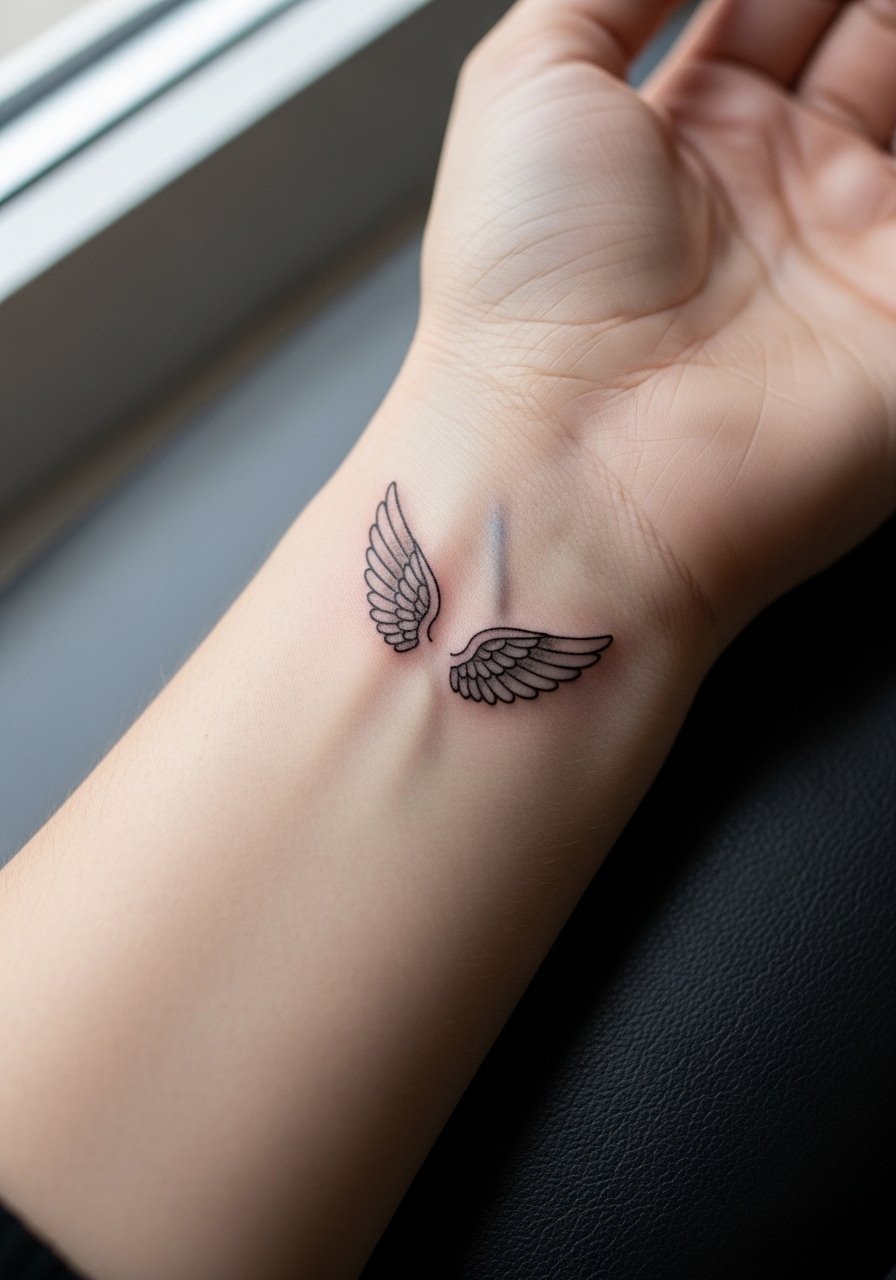
1. Mini fine line angel wing on the wrist
I've seen tiny fine line wings on wrists that looked ethereal at week one and then softened into a blur by month six. For a wrist piece ask your artist for slightly stronger anchor lines at the feather bases, not full heavy outlines. Expect moderate pain around the bone and a 20 to 40 minute session for a one-inch wing. Common mistake is asking for single-needle filigree with zero line weight; that often needs a touch-up at six to twelve months. For showing the wrist wear a rolled cuff blouse and balance the hand with a thin silver chain bracelet, both frame the linework without crowding it.
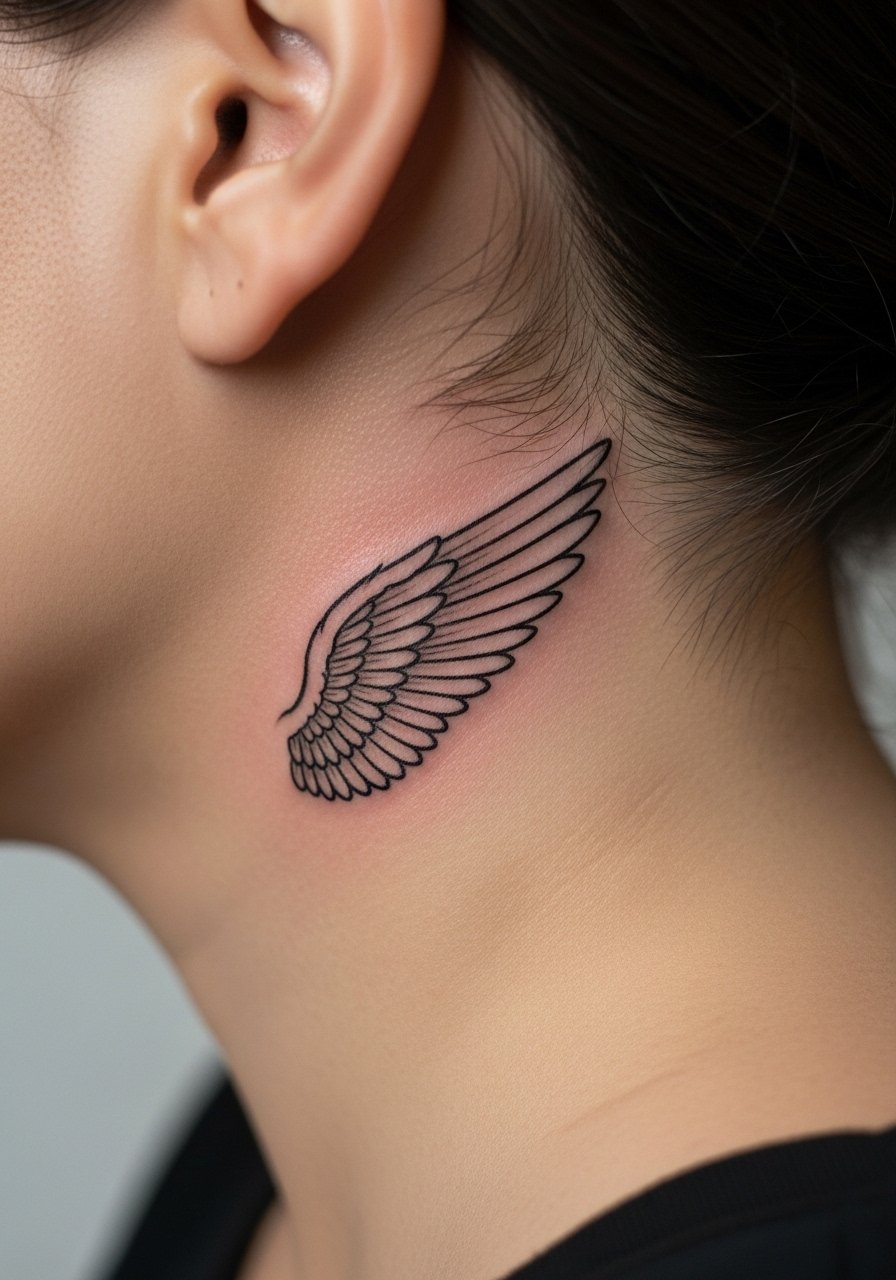
2. Minimalist single wing behind the ear
Behind the hairline this one reads as a hidden guardian that appears when you tuck hair up. Fair warning, the placement is small and the artist needs to position the stencil relative to the hairline so it does not get lost as hair moves. Session time is short, usually 15 to 30 minutes, and pain is low to moderate. A common botch is rushed linework from an artist who treats it like a flash. Ask to see healed behind-the-hairline examples on similar skin tones during consultation. This spot is easy to conceal with hair if you need to hide it for work.
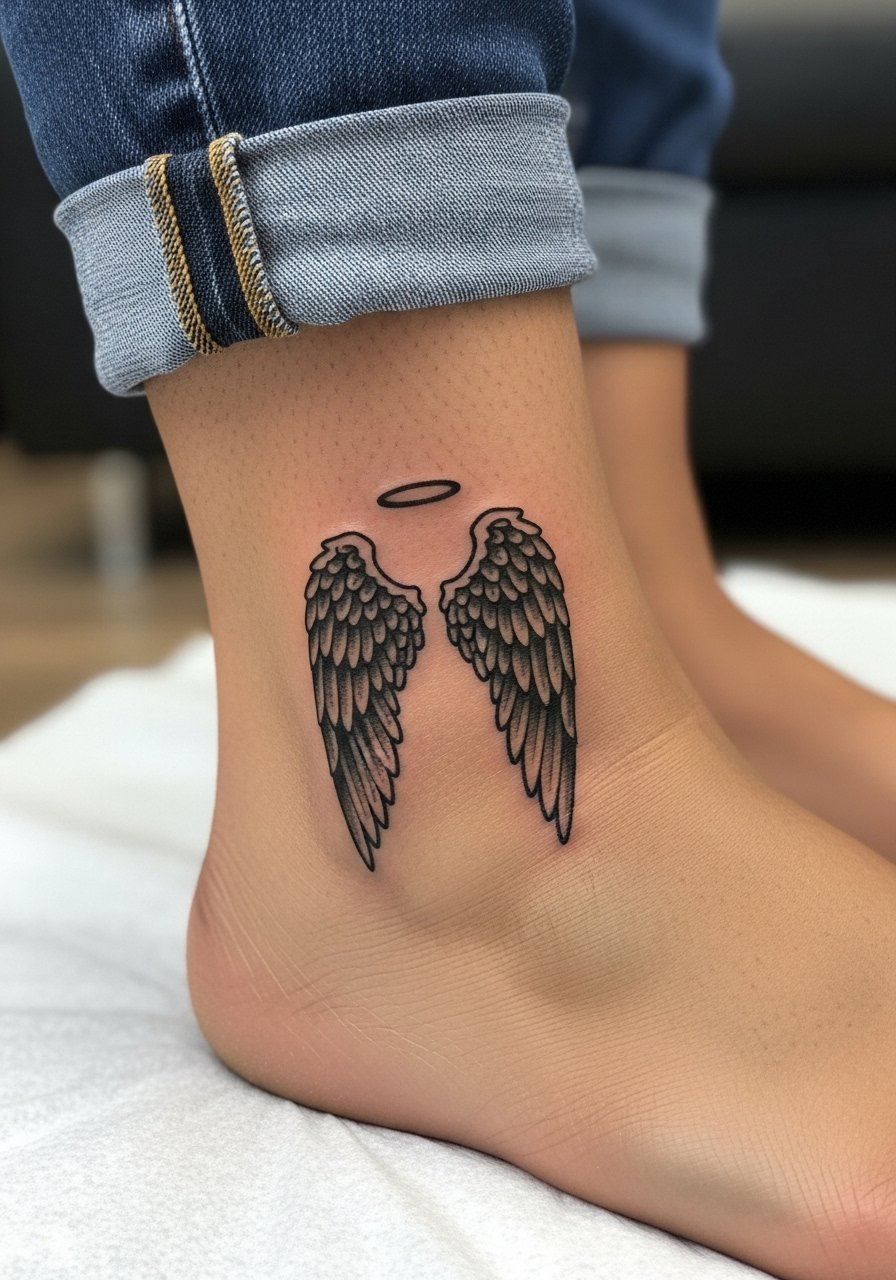
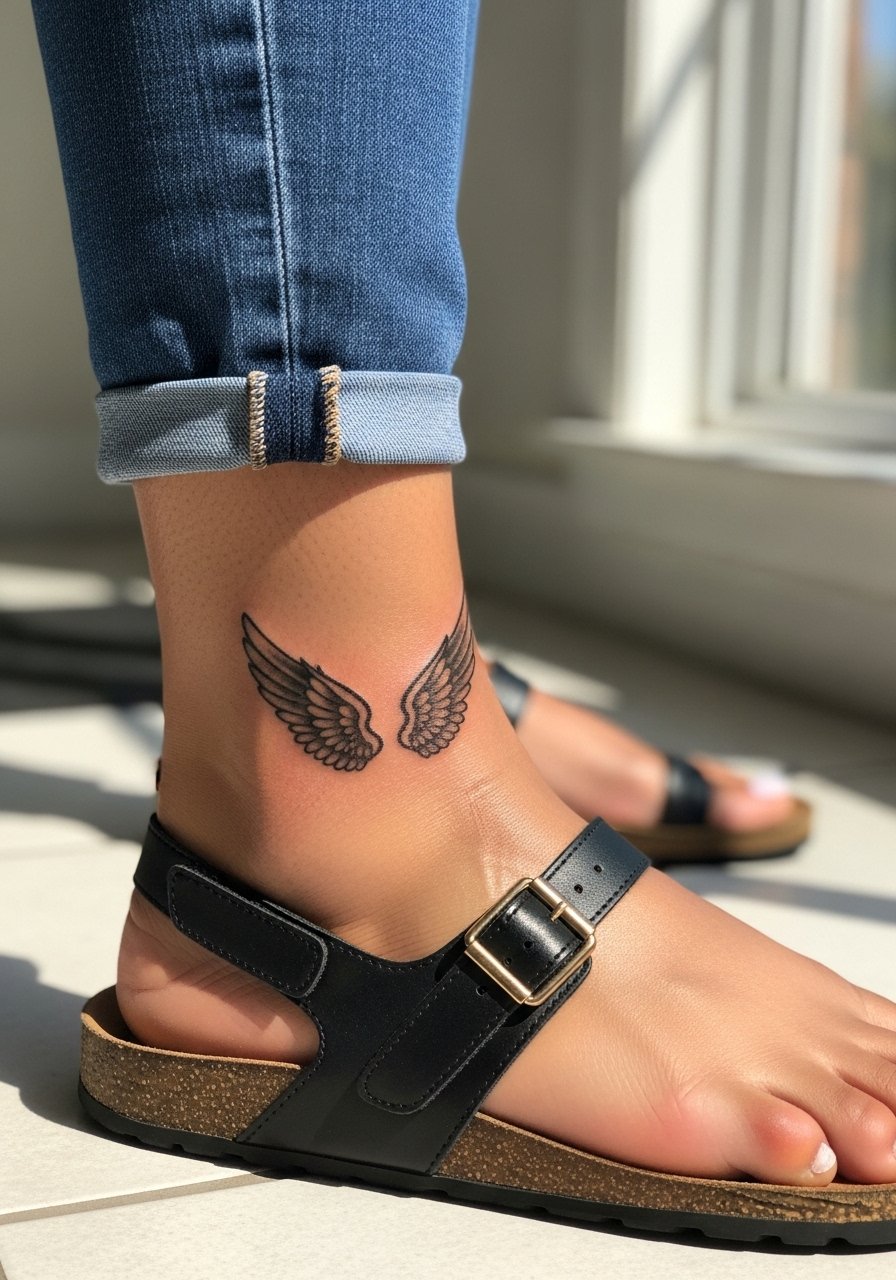
3. Blackwork geometric wings on the ankle
There is a practical reason blackwork shows up well on ankles. The heavier outline and geometric negative space lock the shape so mileage and socks do less damage. Expect a 30 to 50 minute session and lower long-term blur than fine single-needle options. The big mistake is going too small for geometric angles; the lines need breathing room to avoid merging as the skin moves. For the session roll up loose pants and then show it off with cropped denim and a statement anklet. Try a pair of cropped straight jeans and a bold anklet chain to frame the design.
4. Micro-realism tiny wing on the inner wrist
Micro-realism can read incredibly lifelike in a one-inch wrist piece when the artist uses crisp stipple shading and tiny contrasts. The trade-off is that hyper-detail needs careful spacing and sometimes a touch-up at year two. Expect 30 to 60 minutes and a sensitivity level around four out of ten. A frequent error is compressing too much feather detail into too little space, which blurs as the piece heals. If you want this look, tell your artist to prioritize contrast in the feather tips and leave negative space around the design. Keep daily sun exposure low for the first year to protect the tiny shading.
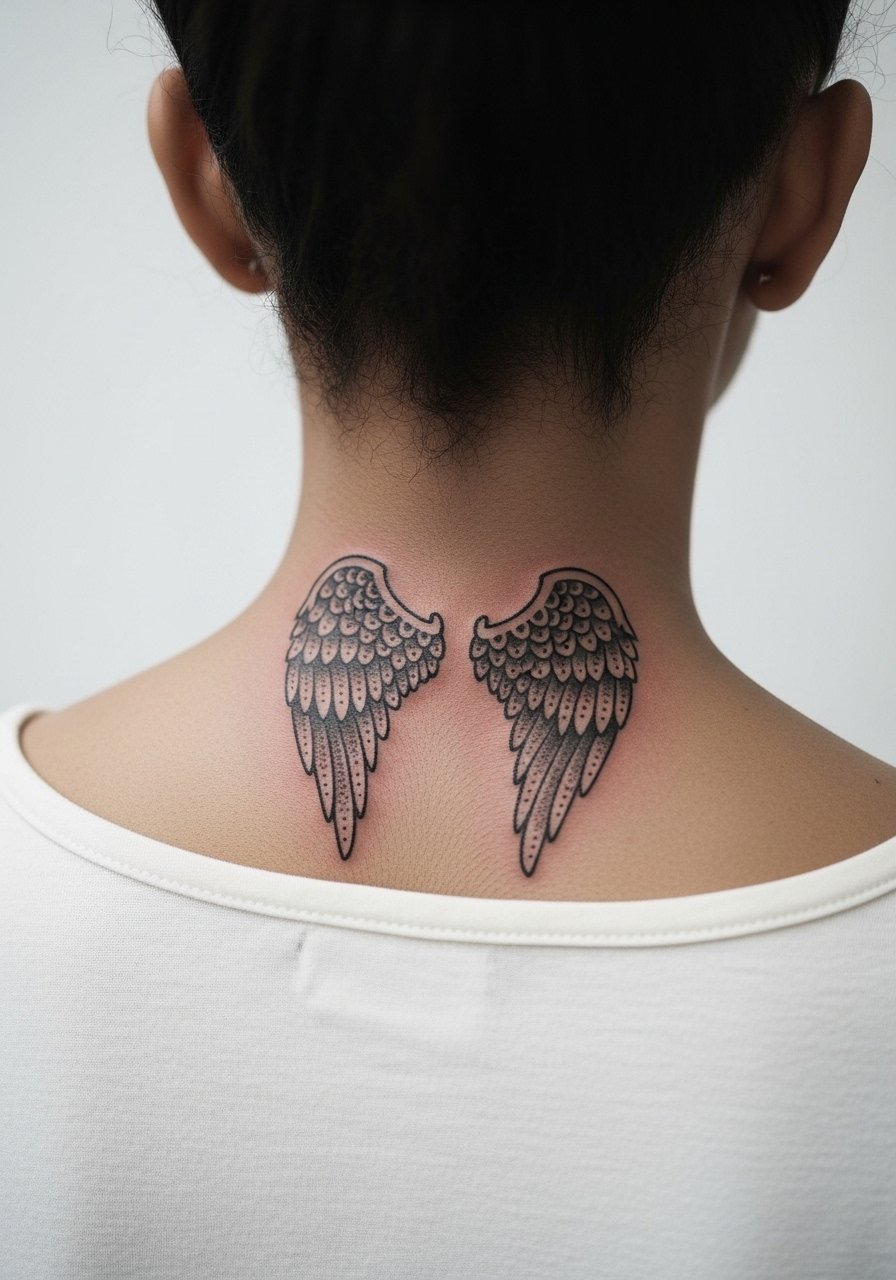
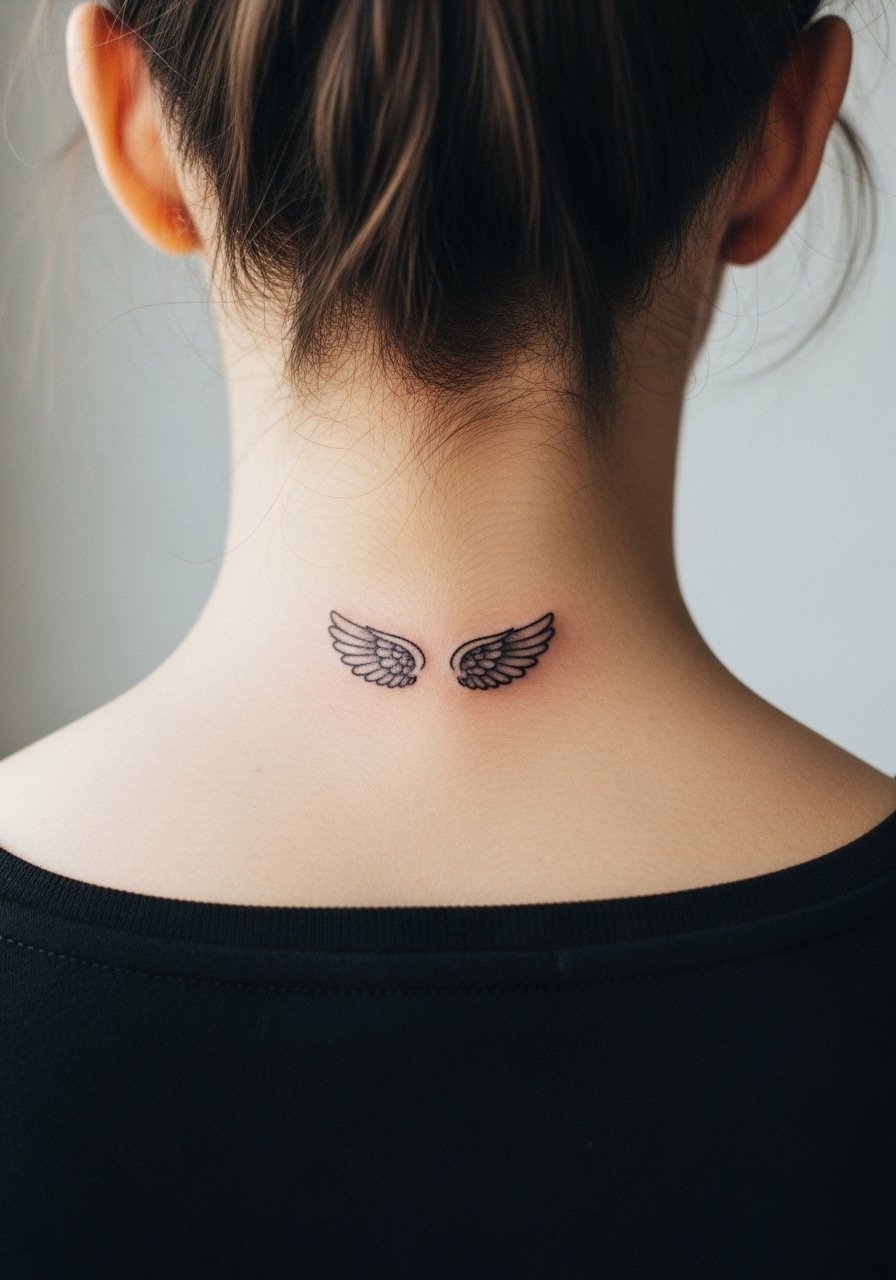
5. Dotwork mandala wings on the nape
Dotwork holds a meditative rhythm, and a nape placement is revealable with a ponytail. The session is often split into dot shading and linework, running 45 to 90 minutes depending on complexity. Pain is tolerable but the area can sting when the needle crosses bony spots near the occiput. Artists split on whether very tight dot clusters age cleanly. One camp says dotwork fades evenly and looks soft, the other camp says dense dots can merge into a smudge without proper spacing. Ask where your artist stands and request healed photos on similar skin tones. For showing it off try a high ponytail holder and a low-back dress when you want to reveal the area.
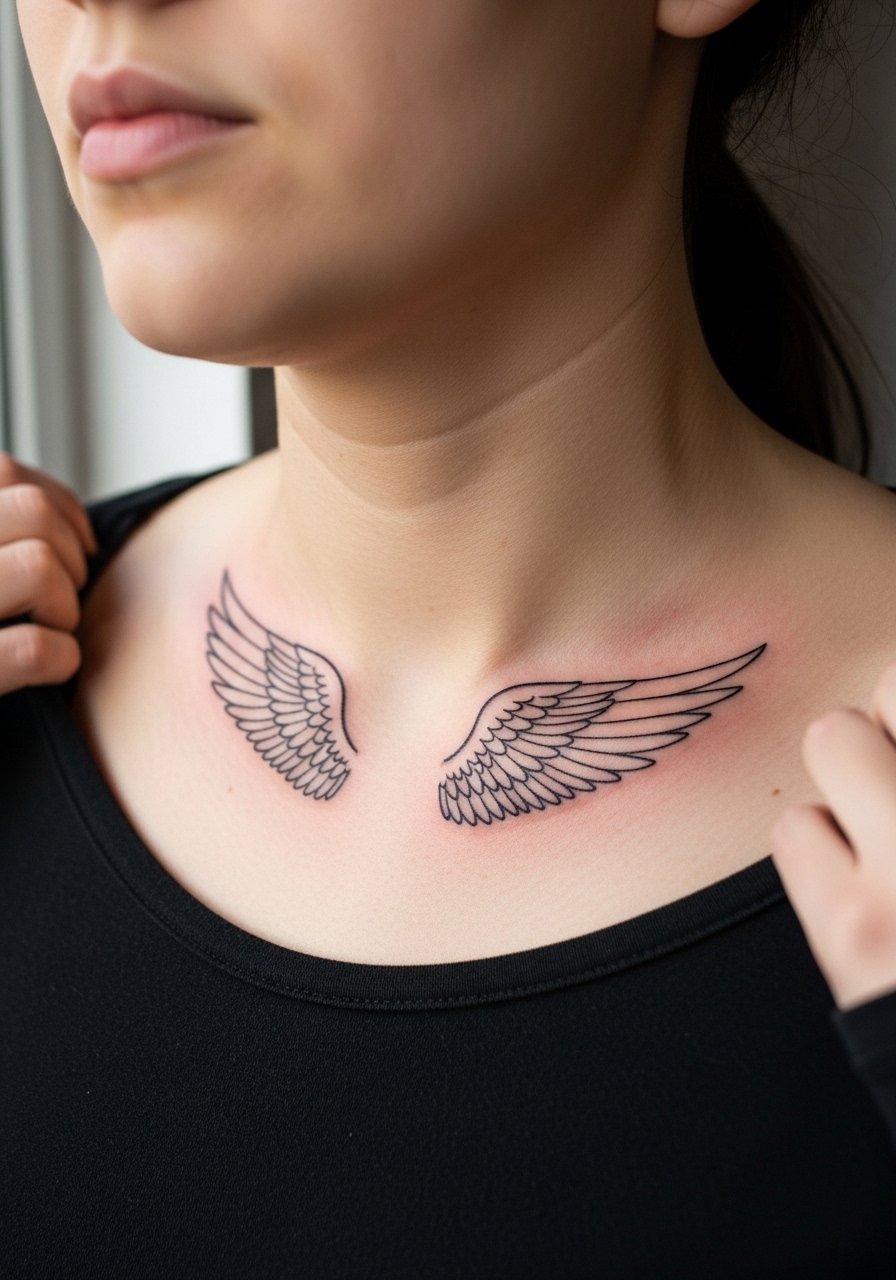
6. Minimalist outline wing with negative space on the collarbone
Collarbones are thin skinned and can stretch with weight changes, so plan for slightly more spacing than you think. A one-inch negative-space outline here reads clean when the artist keeps linework deliberate and avoids micro-feather scribbles. Expect a sharp sting on bone and a 20 to 45 minute session. A common aging issue is contour distortion after body changes, so discuss placement relative to your collarbone and muscle movement. For date-night framing wear an off shoulder blouse and a long pendant necklace that sits without overlapping the tattoo.
Pre-Session Essentials
The small spots above heal differently from larger panels, so a few targeted items make the session smoother and the first week less fussy.
-
Tattoo Goo thin balm. A lightweight balm many people use for fine line pieces because it moisturizes without clogging the needle channels during the initial healing window.
-
H2Ocean tattoo aftercare spray. Useful for dry healing on collarbone and wrist minis when you want a non-greasy spray option that helps remove surface debris.
-
Green tea balm anti-inflammatory salve. Handy for collarbone and sternum minis where swelling or sensitivity can be higher after a session.
-
Ink Fixx touch-up serum. For fading fine line details that soften after several months, this kind of targeted product can help maintain contrast before you book a proper touch-up.
-
Second Skin protective film roll. Useful for wrist or finger placements where friction from clothing or frequent washing is a concern in the first three days.
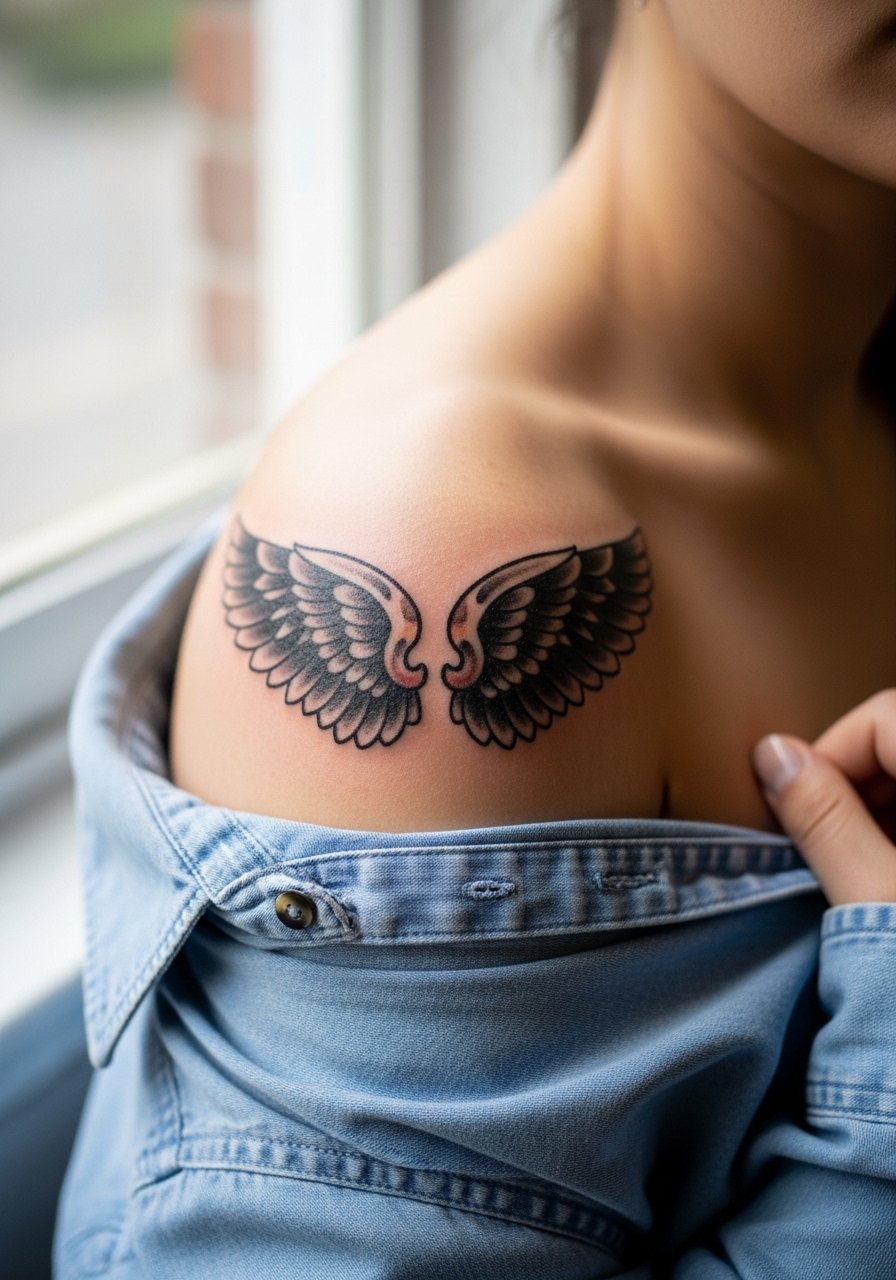
7. Neo-traditional ornate wings on the shoulder blade
Neo-traditional wings let you expand scale without losing a defined silhouette. The shoulder blade is forgiving for 2.5 to 3-inch wings and the piece often takes one to two sessions. Pain is moderate since the area has some padding. A common mistake is packing too many color accents into a tiny scale. If you want longevity ask for slightly cleaner feather separations and moderate saturation rather than glaze. For showing off pair this piece with a sleeveless black tank and a cropped leather jacket for a vintage edge when you want to reveal it.
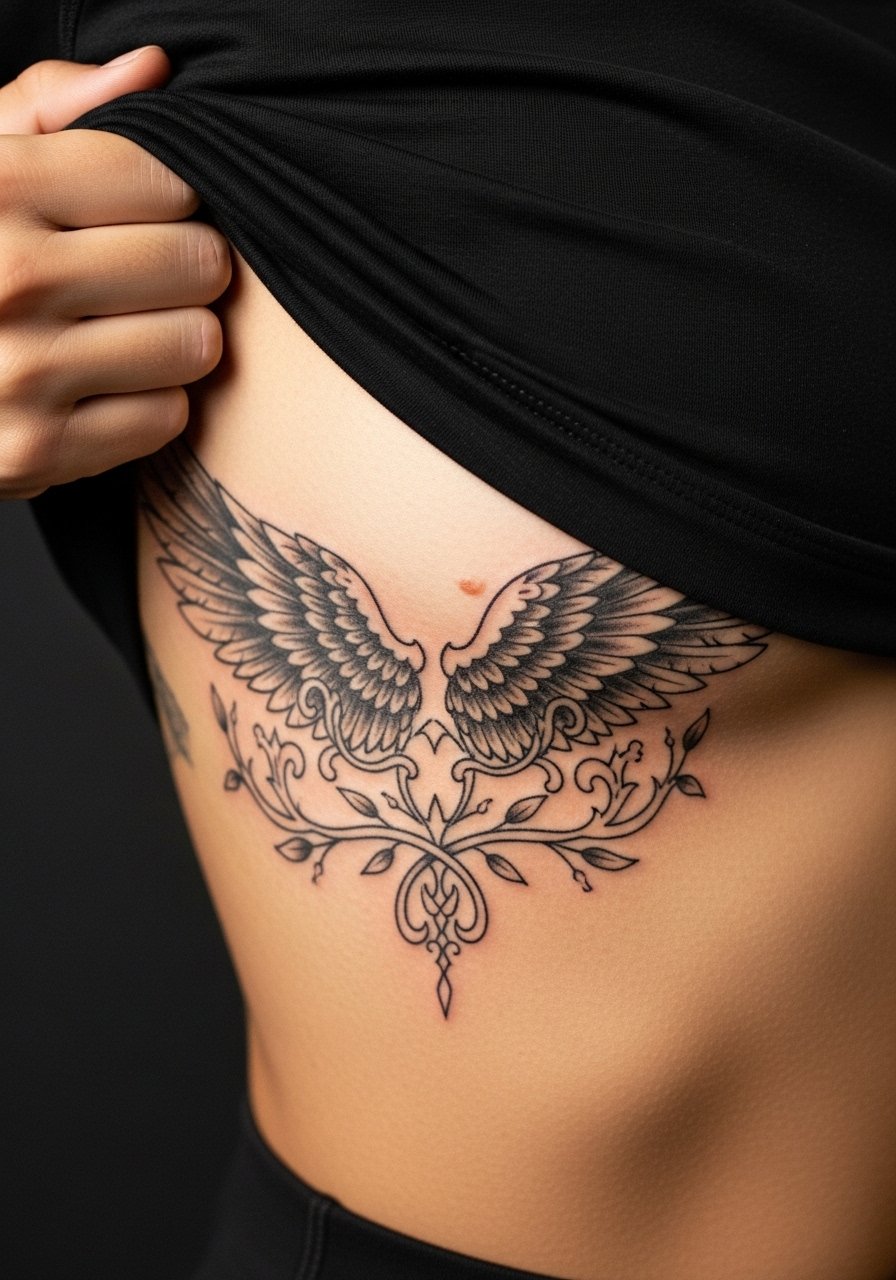
8. Ornamental wings intertwined with vines on the ribcage
Fair warning, the ribcage registers high on pain charts but it gives a dramatic canvas for ornamental detail. Most of these work best around two inches and usually finish in a single session if the artist works efficiently. The main aging risk is stretch from weight fluctuation which can distort feather flow. Artists also split on dry healing for this zone. One camp prefers protective film in humid climates to prevent infection, the other prefers dry healing to avoid trapped fluids. Tell your artist about recent body changes and plan for a longer touch-up window. For the appointment wear a cropped athletic top you can lift slightly so only the rib area is exposed.
9. Ignorant style blocky wings on the calf
Ignorant style brings raw, unapologetic block forms that read like punk badges. The calf gives room for a 2 to 3-inch bold piece that rarely needs aggressive touch-ups because saturation is heavy. Session time is typically 30 to 60 minutes and pain is moderate. The common mistake is asking for overly detailed feathers in an ignorant approach, which defeats the point. For summer visibility pair this with a midi skirt summer or cropped denim so the bold black holds the eye.
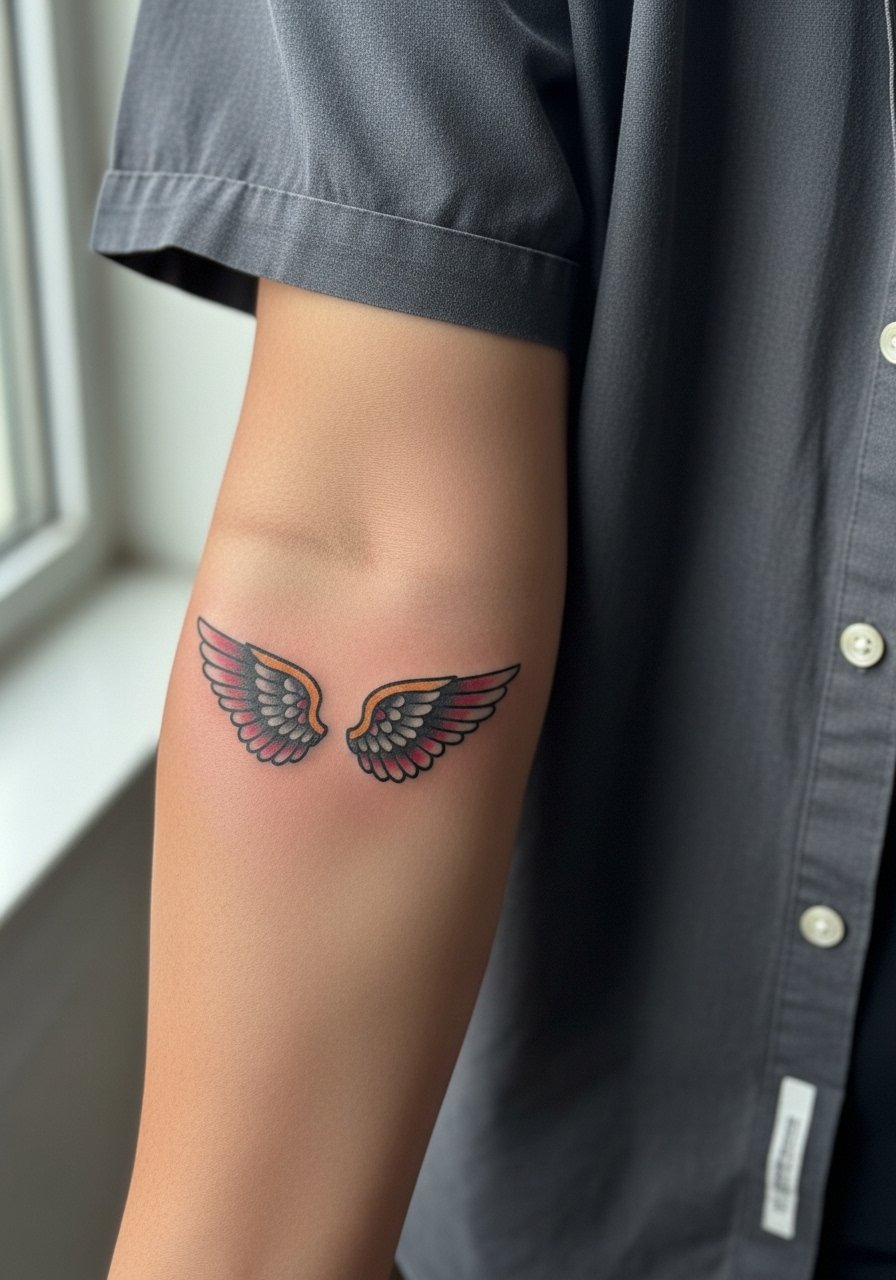
10. Traditional American mini wings with red accents on the forearm
A two-inch traditional mini with saturated color holds up visually because the bold outlines lock in the shape. Forearms are active but not as high-friction as hands or fingers. Expect a 30 to 45 minute session. A mistake is over-blending small color patches which can wash into the linework. If you want contrast, ask the artist for crisp outlines with small color blocks rather than soft washes. For showing the piece, roll sleeves and try a neutral button up shirt with sleeves rolled to draw attention without crowding the art.
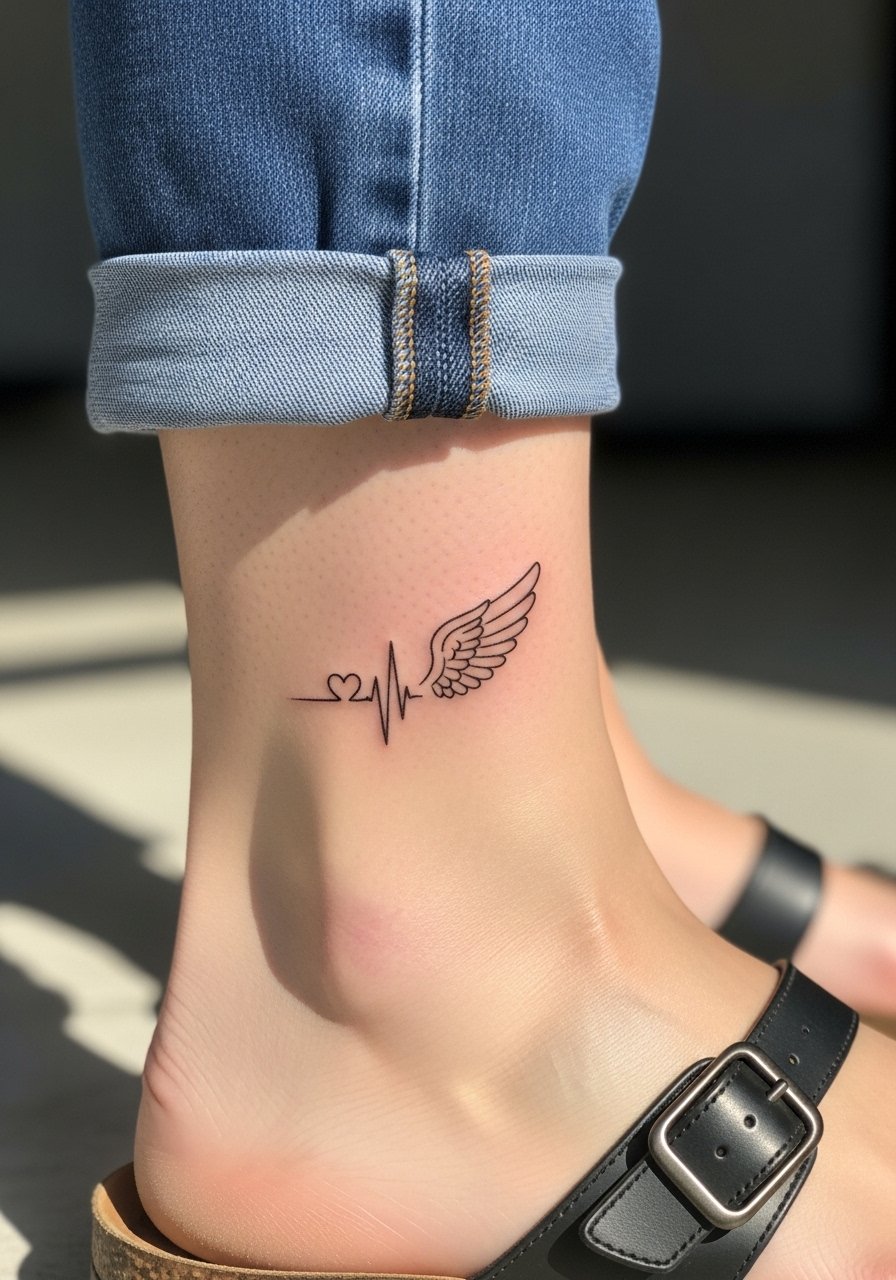
11. Fine line wing with heartbeat on the ankle
Combining a tiny wing with a heartbeat line gives a concise memorial or life-event marker. Ankle placements need slightly bolder connecting lines so the small heartbeat dots do not disappear after healing. Session time is 20 to 40 minutes and pain is low to moderate. Common mistakes include using single-needle heartbeat strokes with no anchor line, which can vanish. Ask for a slightly thicker connecting line and plan a touch-up at six to twelve months if you live in a sunny climate. For footwear season pair with sandals and a subtle anklet if you want contrast with the line weight.
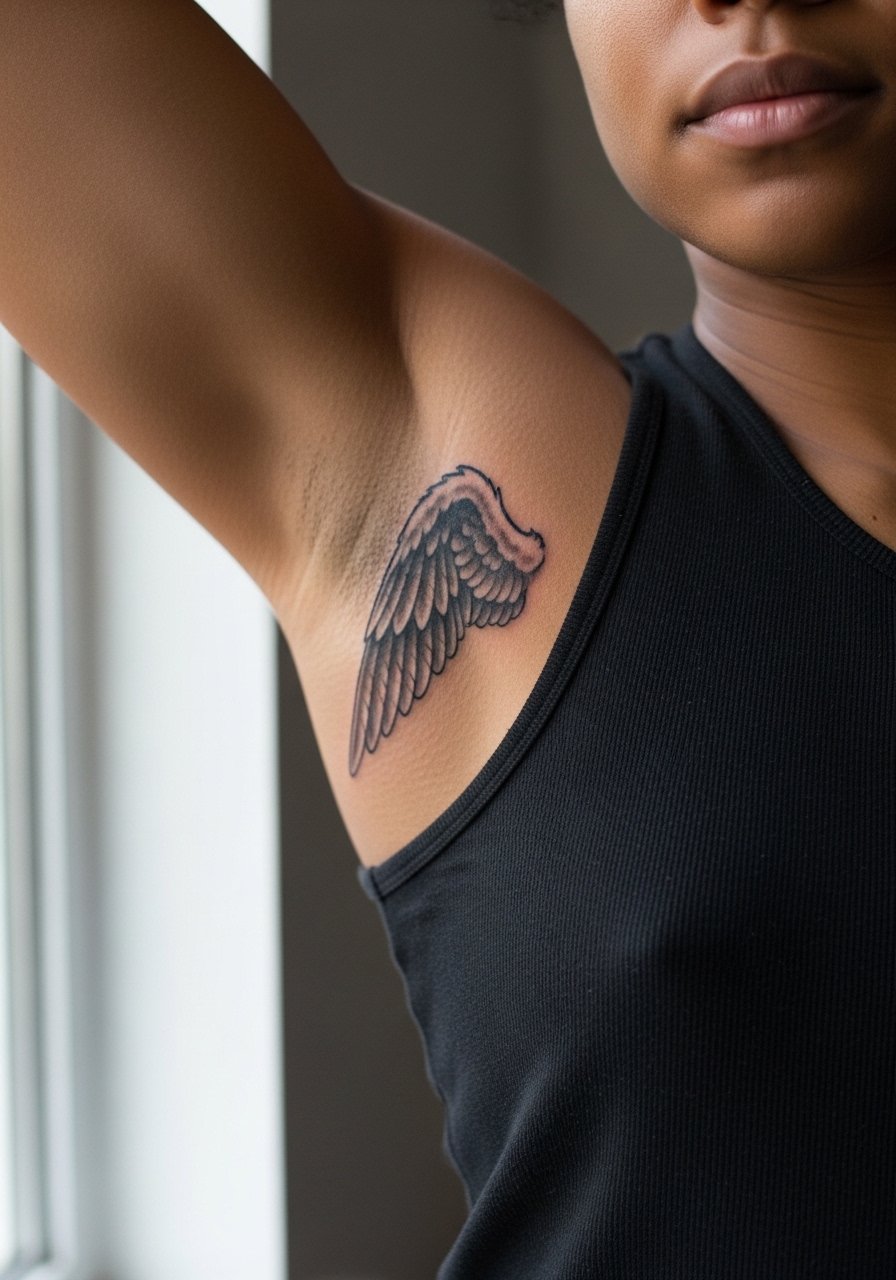
12. Black and gray realism paired wings for couples on inner biceps
Paired inner biceps let two people match but still have private placements that reveal only when arms are raised. Black and gray realism relies on soft shading and contrast, so expect one to two sessions and a higher session time than a simple outline. Matching scale and orientation is the common pitfall, so sit down with your partner and plan mirrored placement on the same muscle group. Inner biceps are more tender than outer arms and need a calm hand from the artist. If syncing placements, swap healed photos with your artist to confirm the mirror match before booking.
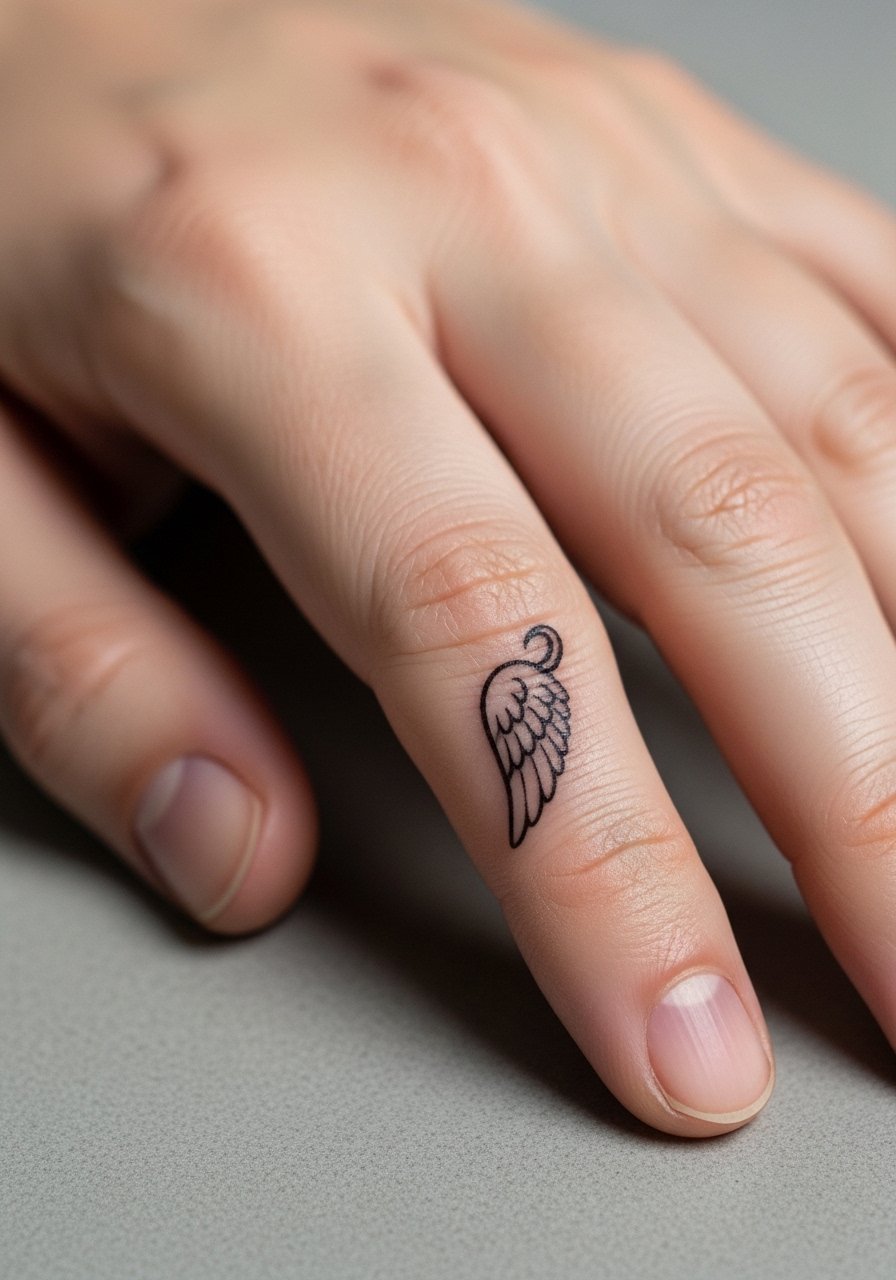
13. Micro wing on the finger with minimalist ring stack
Finger minis are show-offs but they face constant wash friction and frequent touch-ups. Expect a quick session but plan for higher fade rates and a likely touch-up within a year. The typical mistake is choosing single-needle filigree with no outline on a finger. If you want this look, ask the artist to preserve a tiny outline or bolder feather tip so the piece remains legible. For display consider a minimalist ring stack that complements without covering the tattoo.
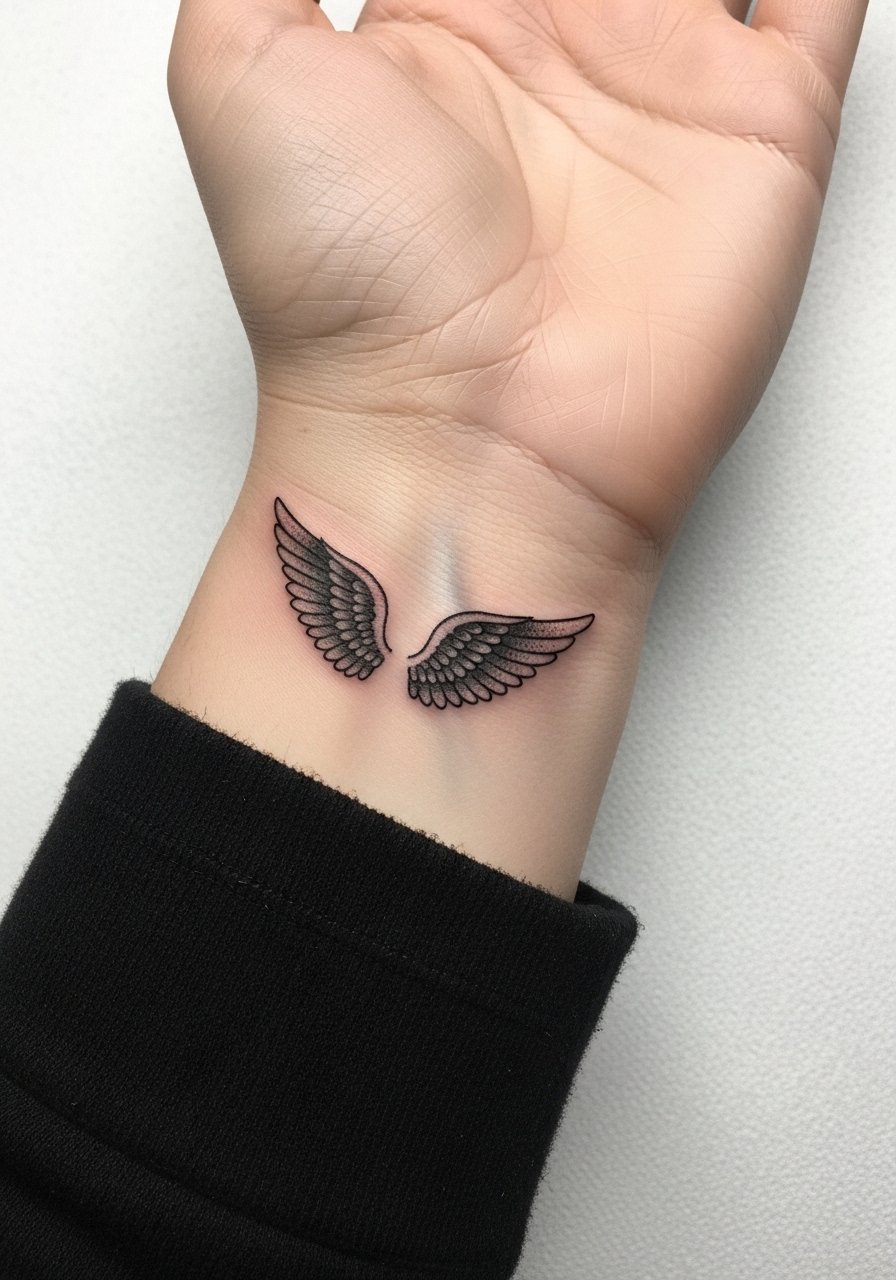
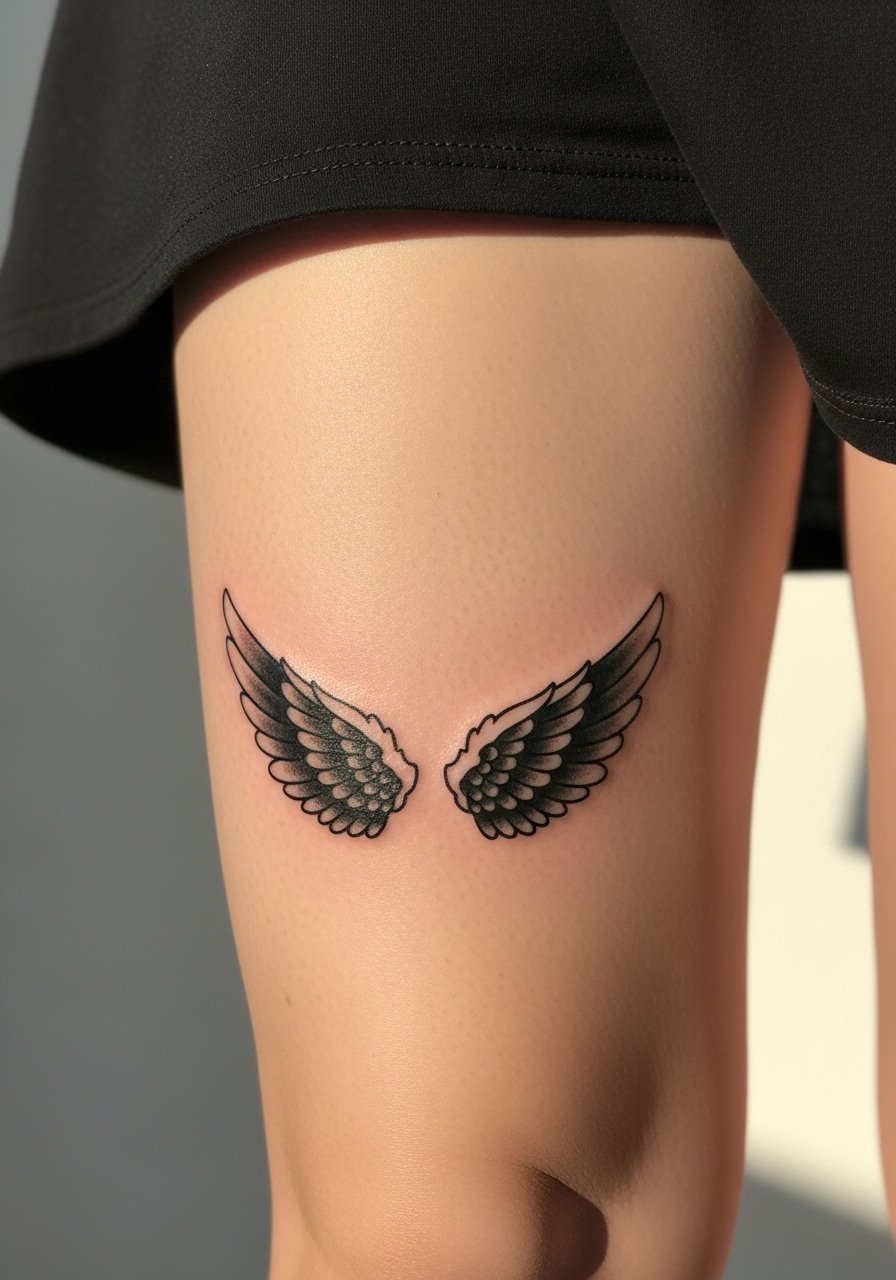
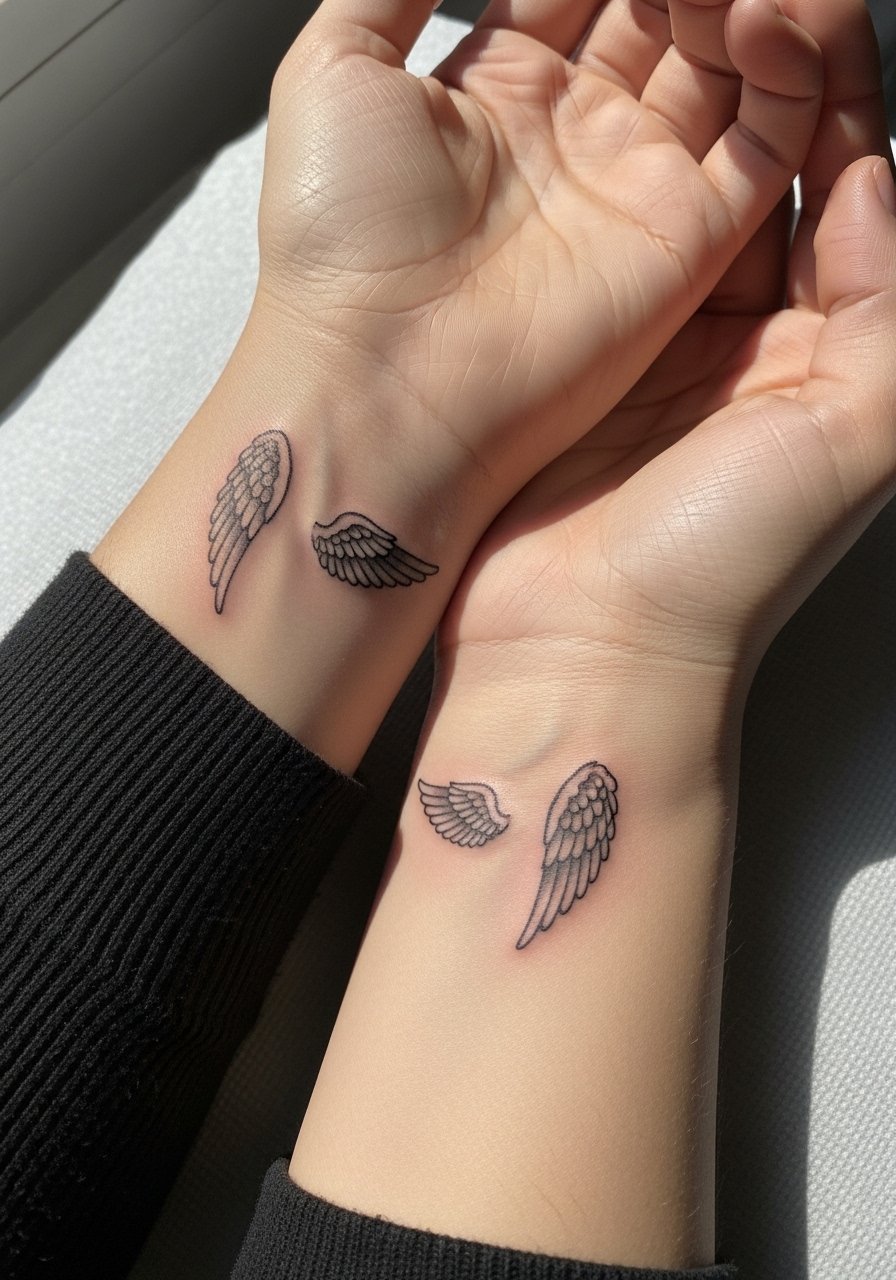
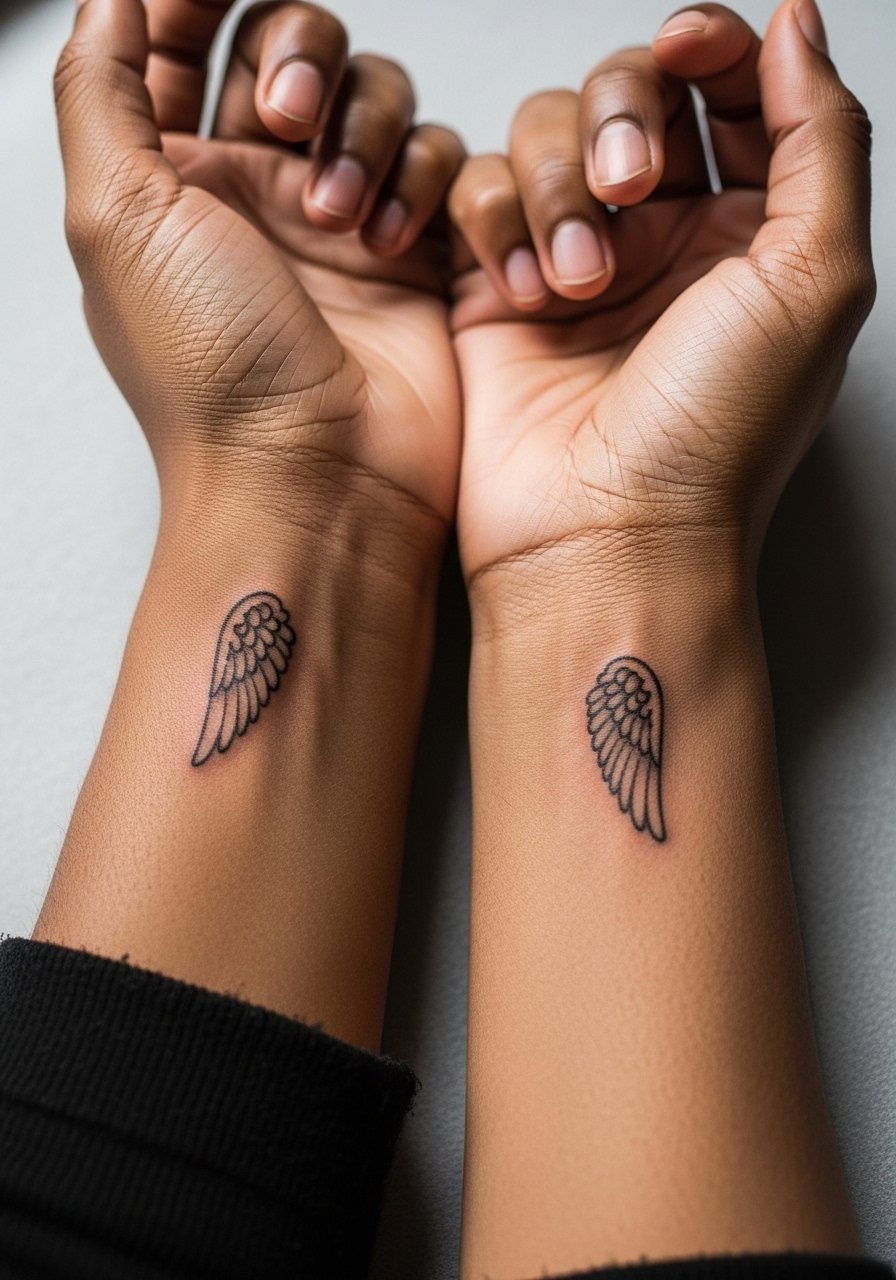
14. Asymmetrical mismatched pair on both wrists
Mismatched wings on each wrist are an Instagram trend that plays with motion and asymmetry. The idea is to let one wing be fine line and the other slightly bolder so they age differently and still read as a set. Session times are short per side and pain is moderate when over the wrist bone. A common error is insisting on identical mirror copies, which looks off once healed because each wrist ages and receives different sun exposure. Wear a thin silver chain bracelet on the non-dominant wrist for balance and consider swapping which side gets the bolder line based on your daily activities.
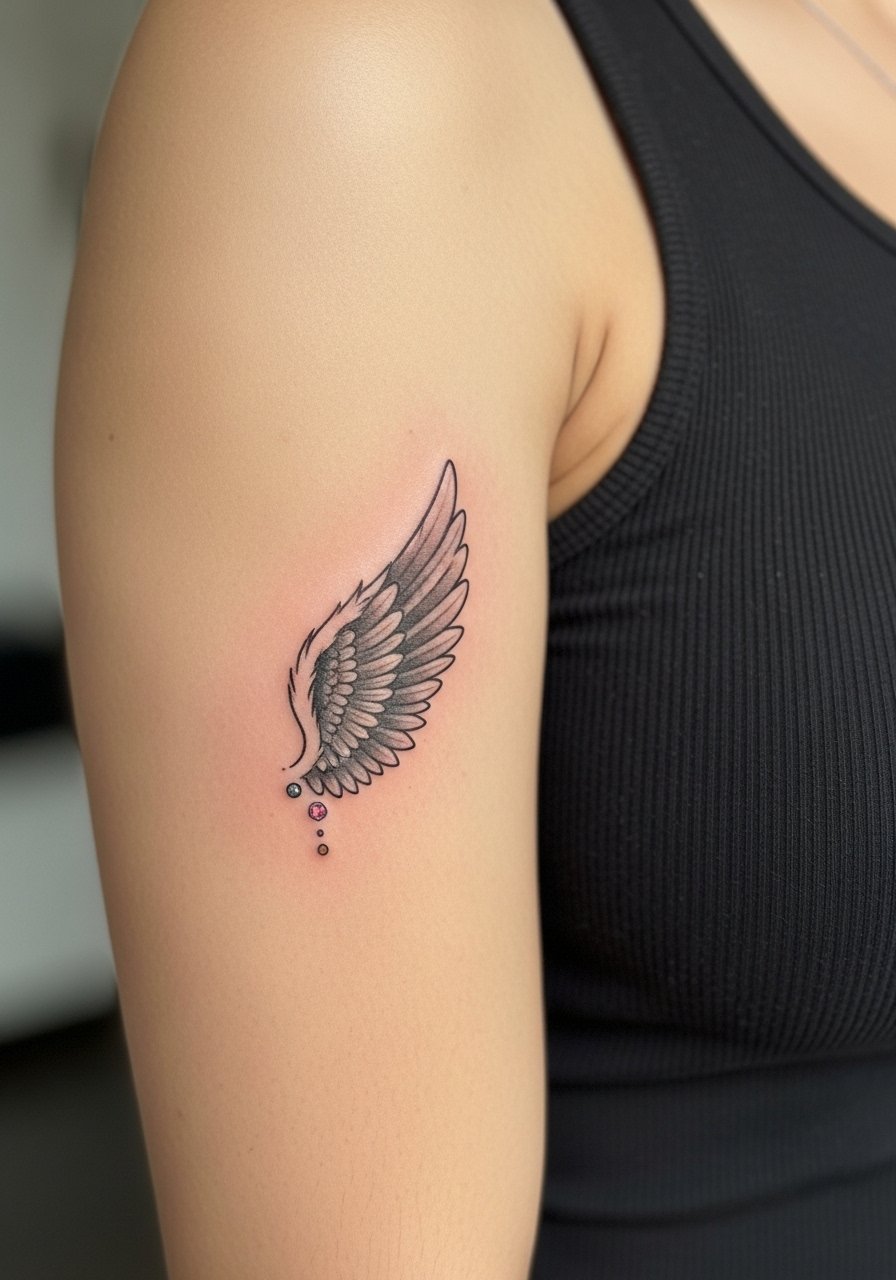
15. Tiny wing with birthstone color dots in black and gray wings
Adding a single colored dot to indicate a birthstone gives a personal note while keeping the wing primarily monochrome. Color at this scale can fade faster than black, so plan for occasional touch-ups to retain vibrancy. Session time is usually 20 to 40 minutes and the piece is ideal for forearm or shoulder areas where sun exposure is controllable. The main mistake is over-saturating the tiny dot, which can spread if placed too close to tight linework. For subtle display pair with a long pendant necklace that sits above the piece without overlapping it.
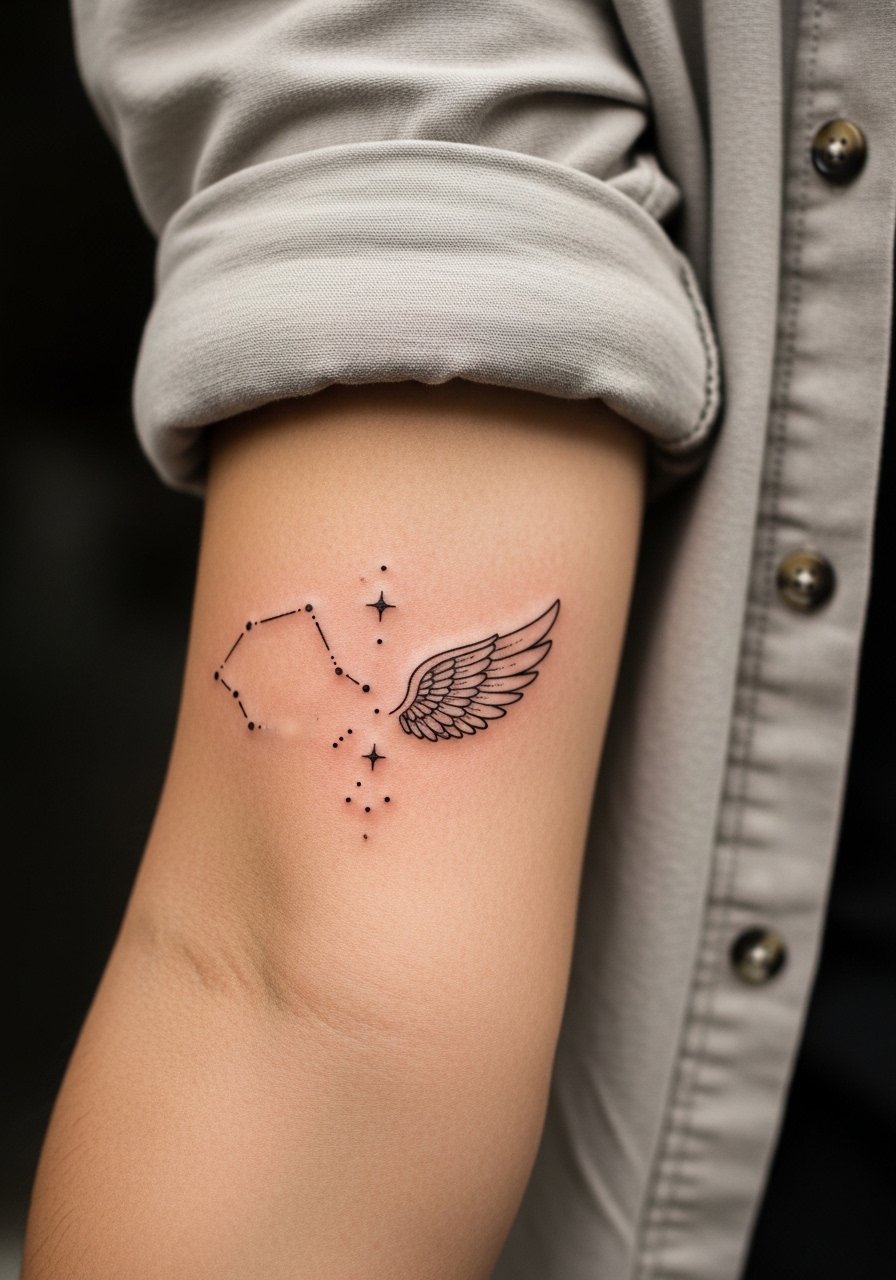
16. Constellation dots paired with a wing on the inner forearm
Pairing a small wing with constellation dots creates a custom sky map that reads intimate and deliberate. Inner forearms heal well and give the artist space to place negative space between dots so they do not merge. Expect 30 to 60 minutes, and the primary error is placing dots too densely which creates a blur later. During consultation bring the exact constellation or coordinates so your artist can plan spacing. Show it off with rolled sleeves or a neutral button up shirt with the sleeves rolled to draw attention naturally.
17. Hidden nape wrinkles: revealable mini wings for hair-up moments
Nape minis are great if you like the idea of a hidden reveal but they need hair-aware placement so the piece is not obscured by regular hair parting. Sessions are quick and pain is low to moderate. The most common oversight is placing the wing too low where it sits in the shirt collar zone. Ask for stencil placement tests while sitting and standing. For showing it off plan hair up with a simple high ponytail holder and wear low-back dresses for an occasional reveal.
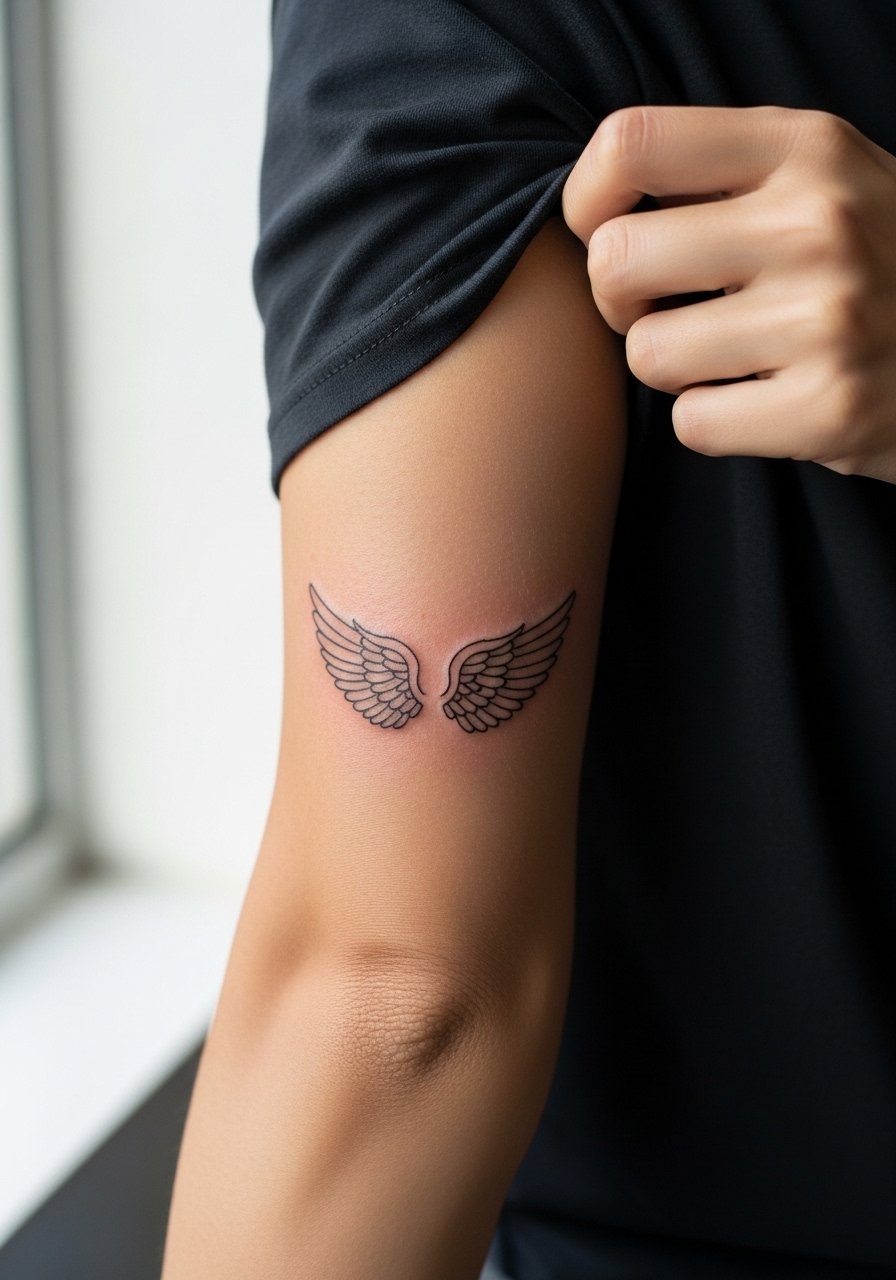
18. Fine line wing near the elbow and why aging matters
Fine line near joints is a tricky ask because the skin stretches and compresses constantly. Elbow-adjacent minis can look great fresh but often need touch-ups by year two if the spacing is too tight. Pain on or near the elbow is higher and appointments can be staccato as the artist works around bony areas. The mistake is compressing too much feather detail in the bend zone. If you want this spot, request slightly more space between feather marks and plan for a scheduled revisit at the two-year mark.
19. Matching wings for couples with placement sync tips
When two people get matching minis the placement choice matters more than the exact linework. Mirrored inner biceps, symmetrical collarbones, or matching ankles work well because the same muscle groups age and move similarly. A frequent mistake is mismatched scale or orientation, which makes a once-cohesive idea feel off as one heals differently. Book a consultation together and ask the artist to mark both stencils on each body before confirming the appointment. If you both want longevity pick slightly bolder anchor lines for the matching pieces.
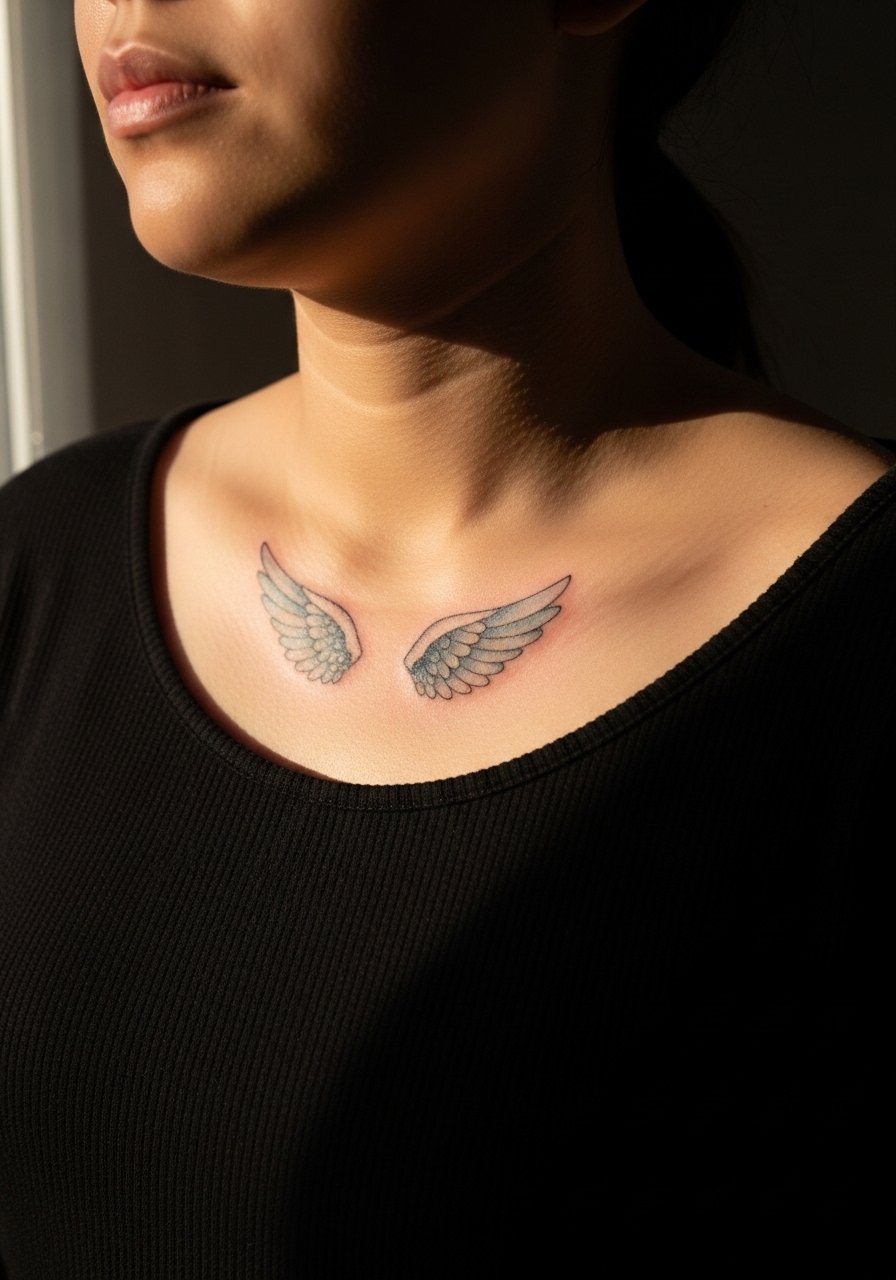
20. Watercolor mini wings with soft blue gradients on the collarbone
Watercolor wings are gorgeous for memorial or artistic vibes but color saturation at small scales tends to diffuse over time. Collarbone placement gives a framed canvas, however the shallow skin means color can look patchy if ink is overworked. Artists diverge on how to approach watercolor minis. One camp cautions that small color washes will fade into a bruise-like look without heavy pigment, the other says careful layering preserves the gradient. Ask for healed photos of similar small color pieces and plan a sun protection routine. For an off-duty look, pair with an off shoulder blouse that shows the gradient without covering it.
21. Ornamental micro baroque wings on the ankle
Tiny ornamental baroque-style wings bring ornate flourishes into a compact piece. Ankle placement keeps the piece private and shows well with summer footwear. The main mistakes are over-detailing at small scale and compressing flourishes into lines that later merge. Ask your artist to simplify ornamental elements into readable motifs and to test the stencil at full size on skin before inking. For warm-weather reveals try sandals and a cropped jean leg to keep attention on the motif.
Frequently Asked Questions
Q: Will fine line mini angel wings on the wrist blur faster than blackwork ones?
A: In my experience fine line pieces on wrists are more likely to soften because wrists see frequent movement and washing. Blackwork and slightly thicker anchor lines usually hold longer on the same spot. If you love fine line, plan a touch-up around six to twelve months and keep the area well protected from UV.
Q: How should I decide between Saniderm-style film and dry healing for a small wing?
A: Artists and hobbyists split into two camps. One camp uses protective film in humid environments to reduce infection risk and friction. The other camp prefers short open air healing to avoid trapped moisture. The best choice depends on your climate, the tattoo location, and the artist's workflow. Ask the studio what they recommend for that placement and follow their removal timing.
Q: My skin is darker, will a tiny fine line wing disappear in photos?
A: Darker skin can make single-needle fine lines less visible in some lighting. Many people with deeper tones opt for bolder outlines or blackwork to preserve contrast in photos. Ask the artist to show healed examples on similar skin tones before booking so you know how the piece will age visually.
Q: What should I wear to a collarbone or ribcage mini session?
A: For collarbone and ribcage pieces wear a wide-neck shirt, off-shoulder blouse, or a cropped athletic top you can lift so only the targeted area is exposed. Loose, easily adjustable clothing keeps the session efficient and avoids unnecessary rubbing when you leave.
Q: How often should I plan touch-ups for micro-realism or tiny colored dots?
A: Fine micro-realism and small color dots commonly need touch-ups within one to three years depending on sun exposure and friction. I recommend checking the healed piece at six months and again at year two so you can schedule a maintenance appointment before contrast is lost.
