
Fine line anatomical heart tattoos look delicate on a saved board and fragile on skin over time. The style reads clean when spacing, needle depth, and placement work together. Too small on the wrong spot and the ventricles blur into a gray smudge. Read on for 21 minimalist anatomical heart ideas, each with what to ask your artist, how it ages, and how to style and wear it so it still reads as intended years from now.
1. Inner Forearm Single-Line Heart
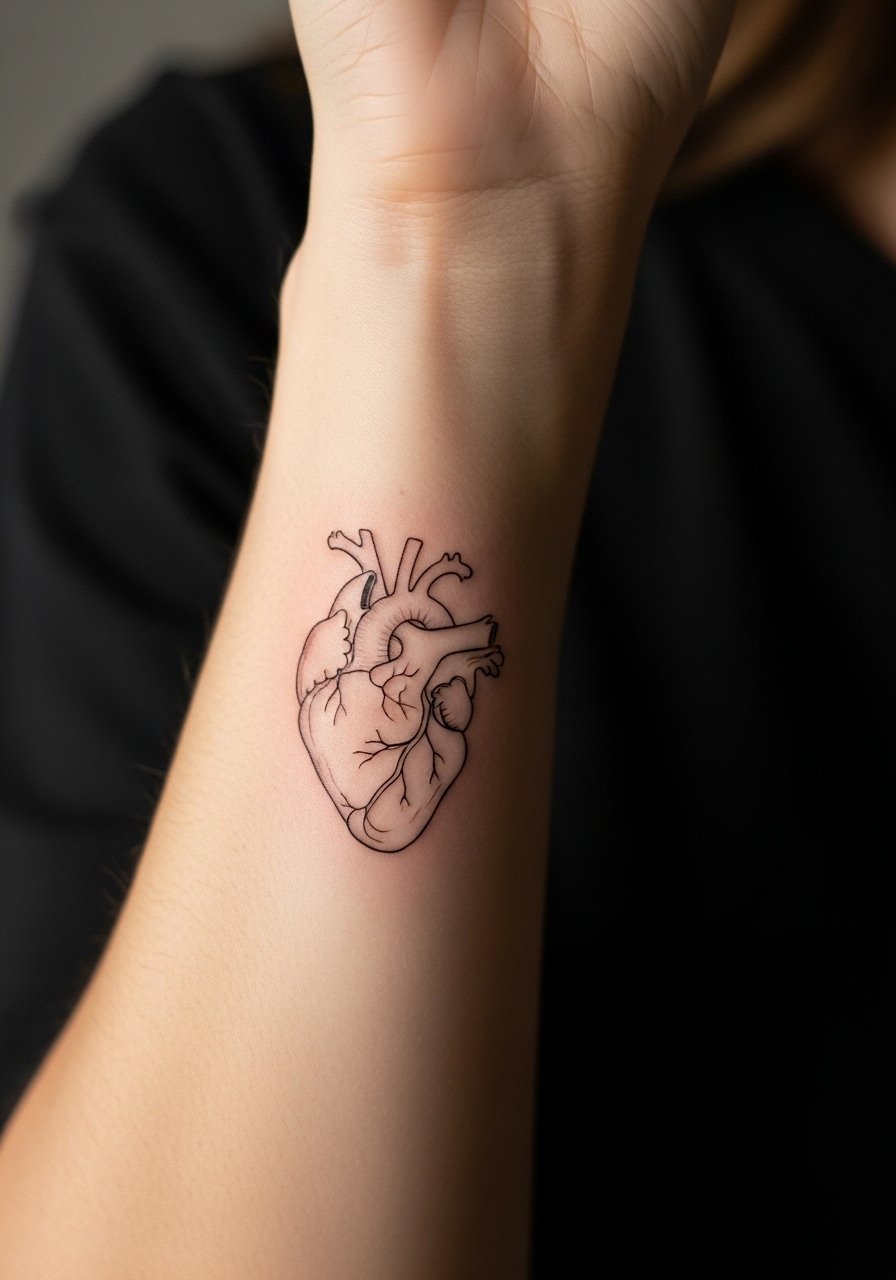
This is the obvious entry point for fine line anatomical hearts. I recommend this when you want visibility without constant exposure to sun. Tell your artist you want steady, uninterrupted linework and slightly larger internal detail so the valves do not merge as the years pass. Expect a one to two hour session and moderate pain on the inner forearm. The common mistake is asking for hair-fine lines that are too close together. For the session, wear a loose button-down shirt you can pull aside so the artist has clean access and you stay comfortable.
2. Micro-Anatomical Heart on the Wrist
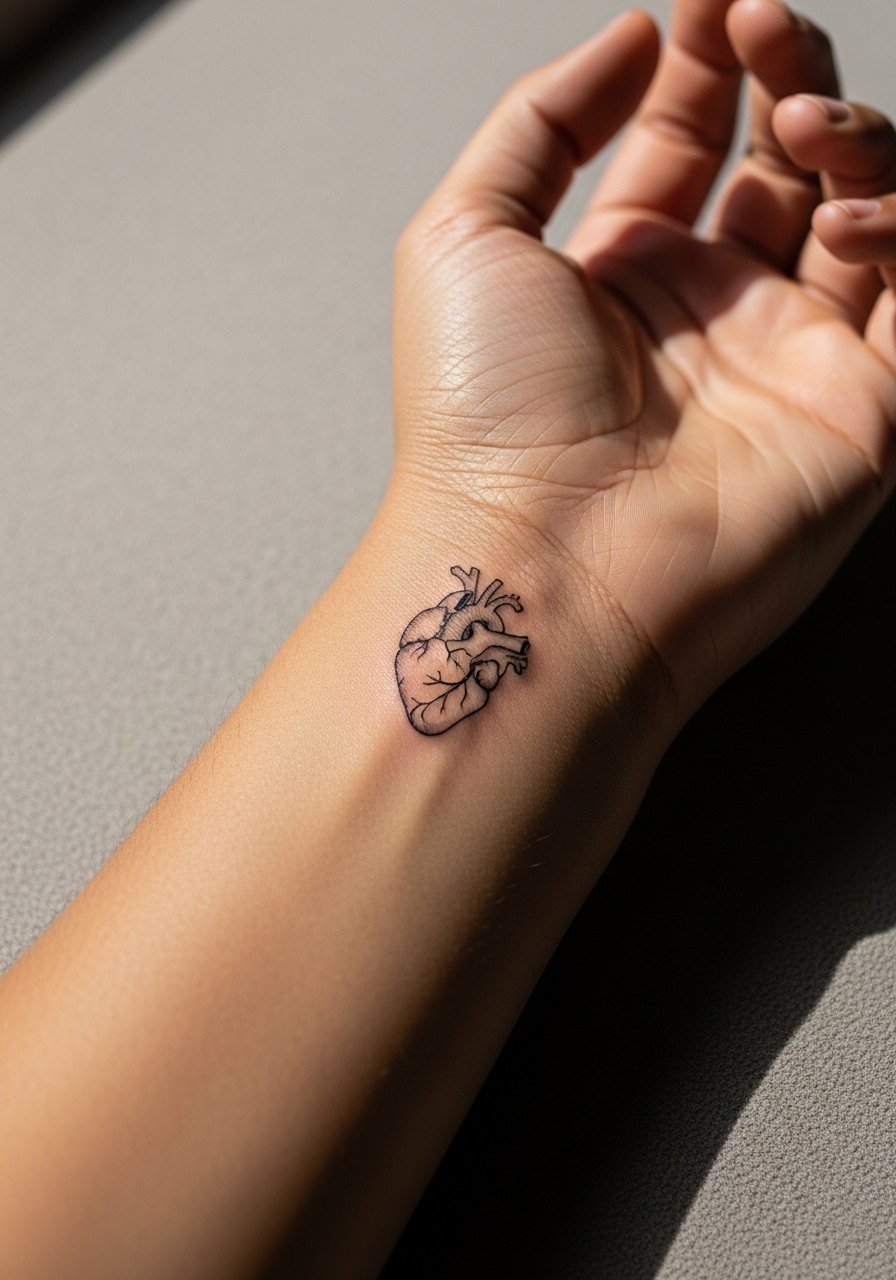
Wrist placements show off a tiny heart with daily motion and washing. Pain is mild but expect more touch-up needs because friction and soap wear affect fine line saturation. Ask for slightly bolder contour lines and spaced internal detail. At six months the outline should still read clean, but by year three thin inner lines often blur. A common mistake is placing it on the thumb side where rubbing from watches causes fading. Pair this with a minimalist watch strap when showing it off, but avoid tight bracelets the first two weeks.
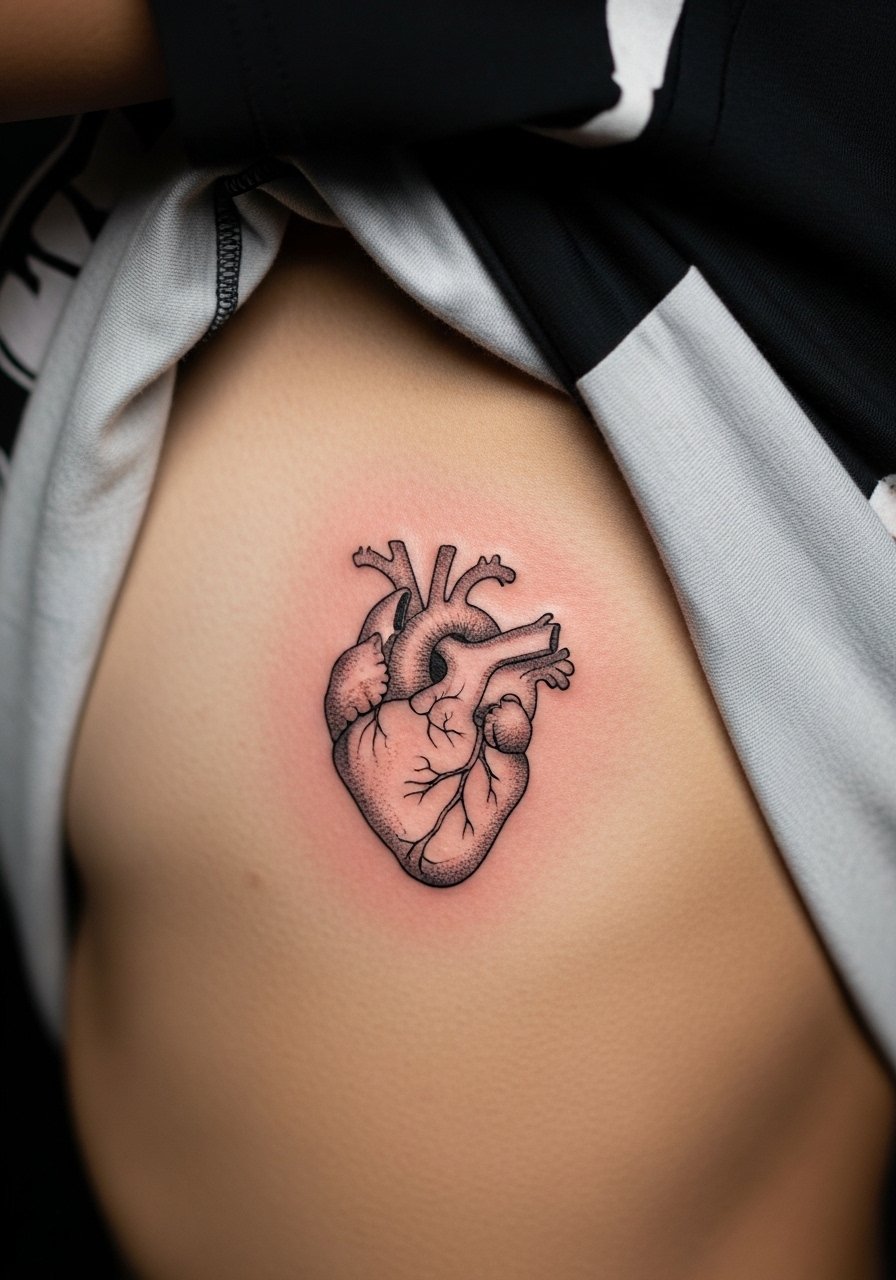
3. Anatomical Heart on the Ribcage
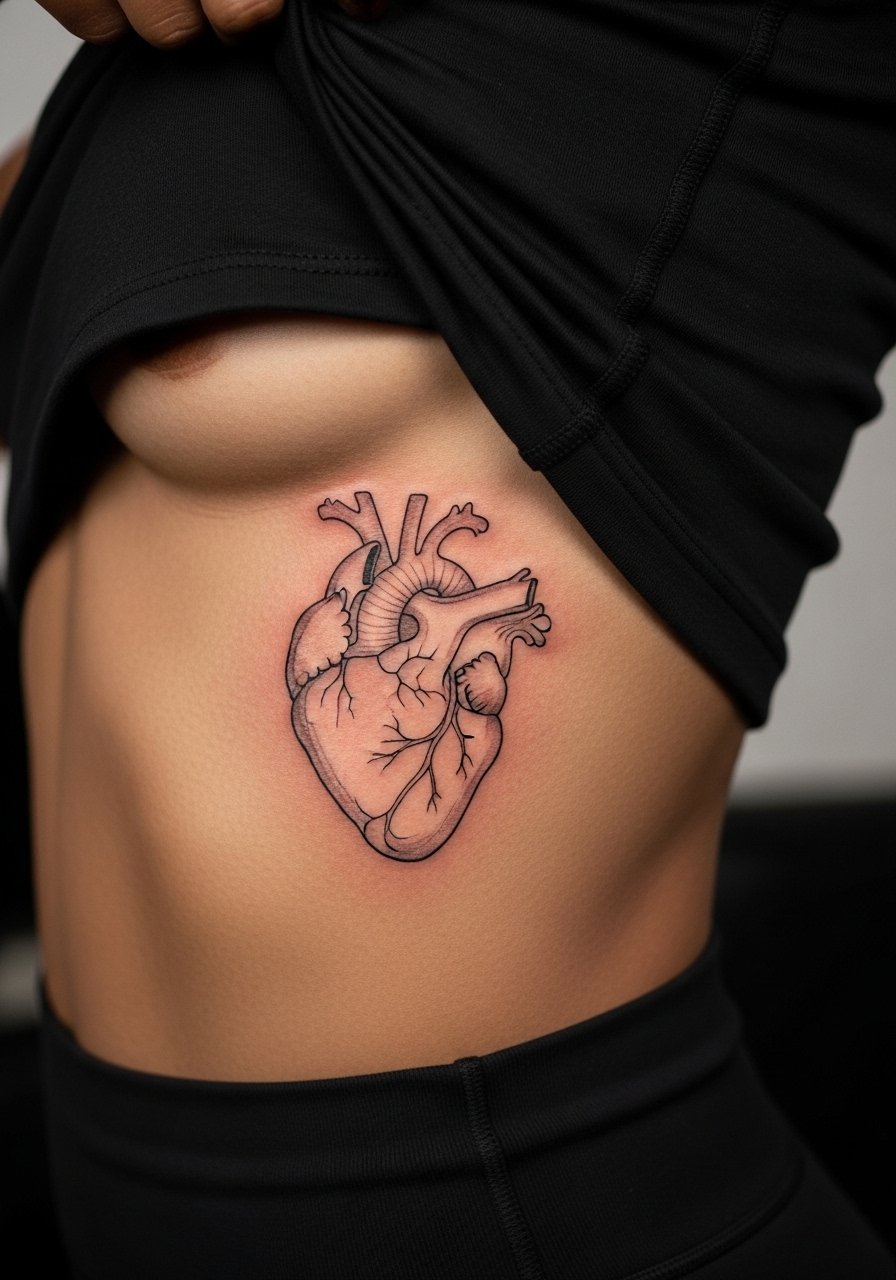
Fair warning, ribs are a higher pain zone and that affects session length. Artists split into two camps on fine line here. One camp says the skin stretch blurs lines within two years. The other camp argues that with proper needle depth and spacing, the lines settle fine. If you go for ribs, ask the artist how they adjust depth for thin lines and request extra spacing between valve details. Sessions take longer because you need breaks. Expect touch-ups around year two to three if you want factory-fresh crispness. For the appointment, wear a zip-up hoodie you can pull aside to keep the area covered before and after.
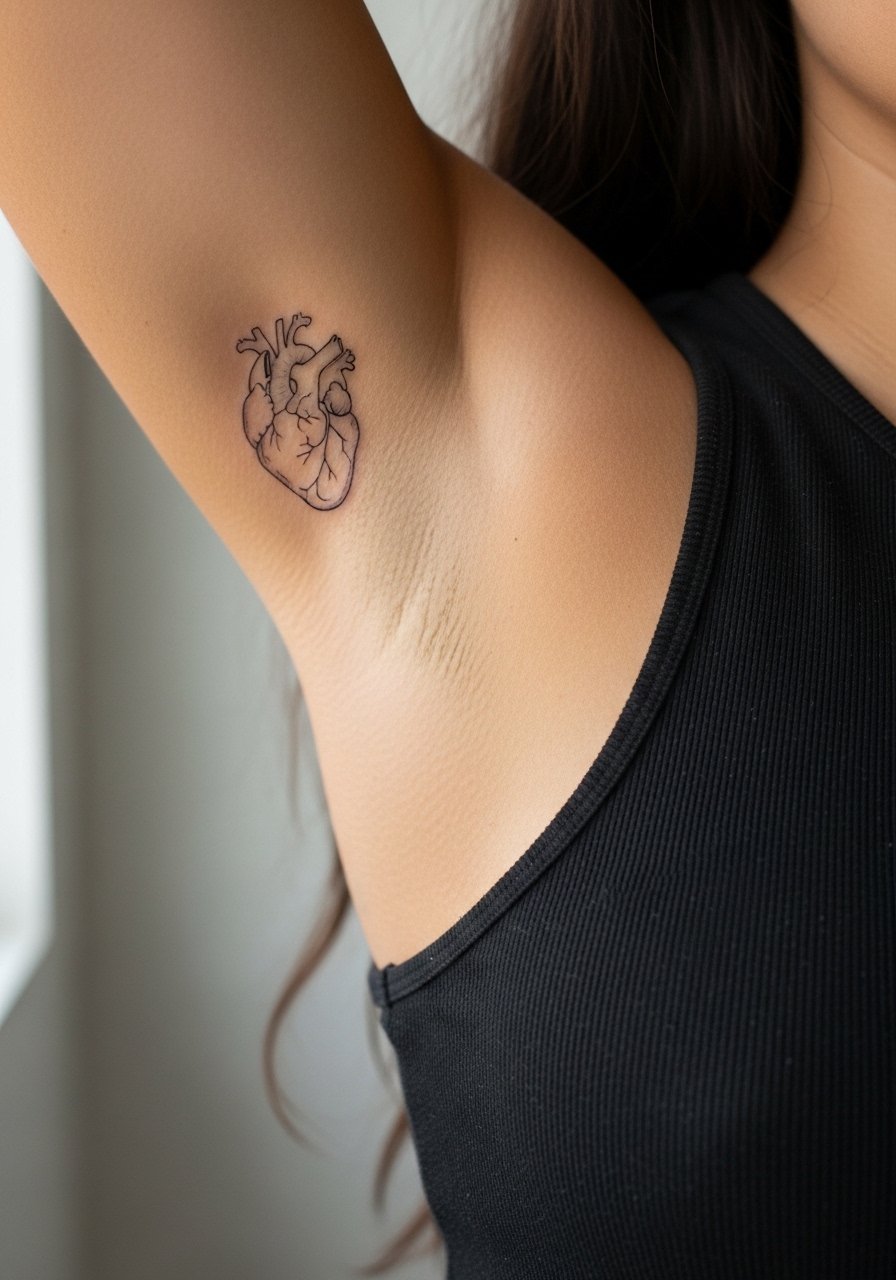
4. Collarbone Mini Heart with Negative Space
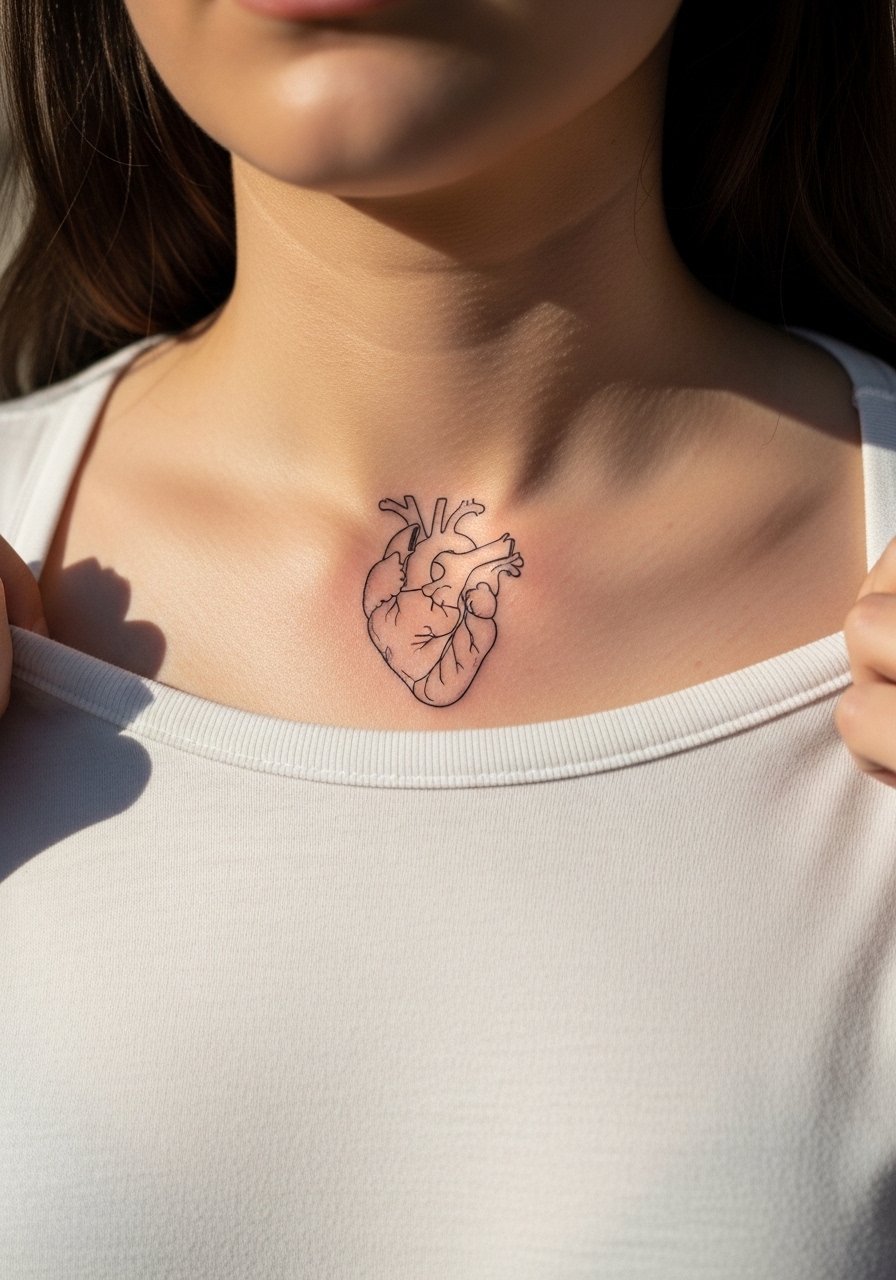
This placement reads delicate and ages well if left slightly larger than most people request. The trick is leaving negative space inside the heart so stipple shading does not merge with adjacent linework. Tell your artist you want the internal anatomicals suggested, not fully packed in. Pain is mild and sessions are short. A common mistake is compressing the internal valves into a tiny area. Showing this off pairs with open-back midi dresses or wide-neck tops that let the collarbone breathe.
5. Inner Bicep Anatomical Heart
The inner bicep offers a private but accessible canvas. Pain is moderate and sessions are pleasant if you bring breaks. Ask your artist for slightly heavier outer contour to protect against blowout from soft tissue. At two years, inner bicep linework tends to hold better than wrist pieces. A mistake is asking for ultra-fine interior veins that sit too close to the contour. For the session, wear a racerback tank so the artist can access the area without you getting cold.
6. Tiny Finger Joint Anatomical Heart
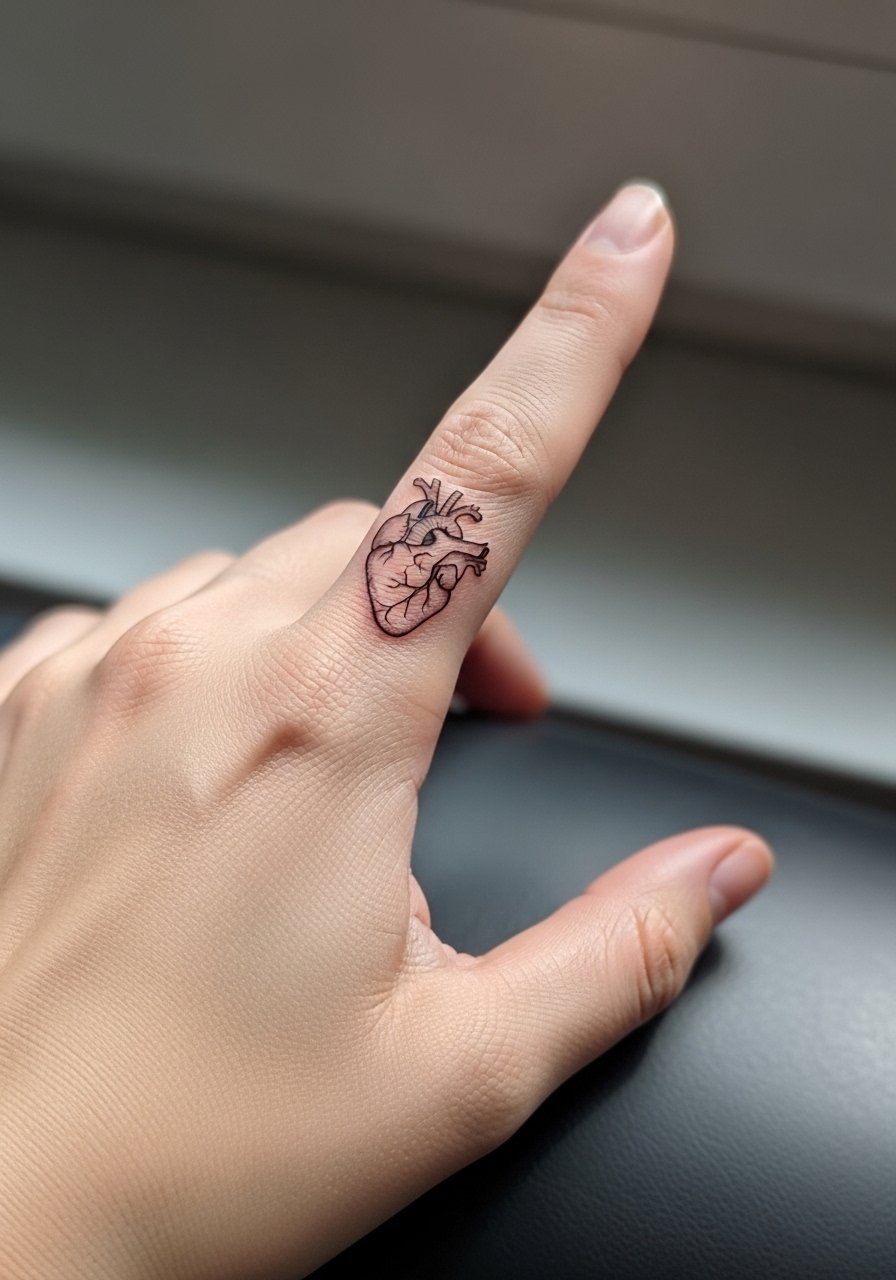
Finger tattoos are trendy and controversial. One camp accepts frequent fading and touch-ups as part of the deal. The other camp says fingers are a poor fit for detailed anatomy because constant abrasion and thin skin send lines wandering. If you still want a finger heart, ask for bolder contours and minimal internal detail. Sessions are short but touch-ups are common every one to three years. A real mistake is expecting permanence without follow-up. Keep in mind that hand and finger tattoos still affect hiring in some industries, so think about career impact before committing.
Studio Day Picks
The forearm, inner bicep, and wrist pieces above need different prep than rib or collarbone sessions. These picks smooth the session and the first week.
-
Stencil transfer paper kit. Lets you preview the line placement on skin before the needle touches down, which is helpful for precise anatomical placements in ideas one through six.
-
Topical numbing cream. Applied per instructions about 45 minutes before can take the edge off rib and inner bicep sensitivity without compromising the stencil.
-
Thin protective film roll. Keeps wrist and finger tattoos cleaner during the first week of frequent hand washing and friction.
-
Fragrance-free body wash. Gentle cleansing for delicate linework while the skin heals, especially useful for placements near the collarbone and ribs.
-
Aquaphor healing ointment. Thin layers in the first days help maintain moisture for fine line work without clogging the skin.
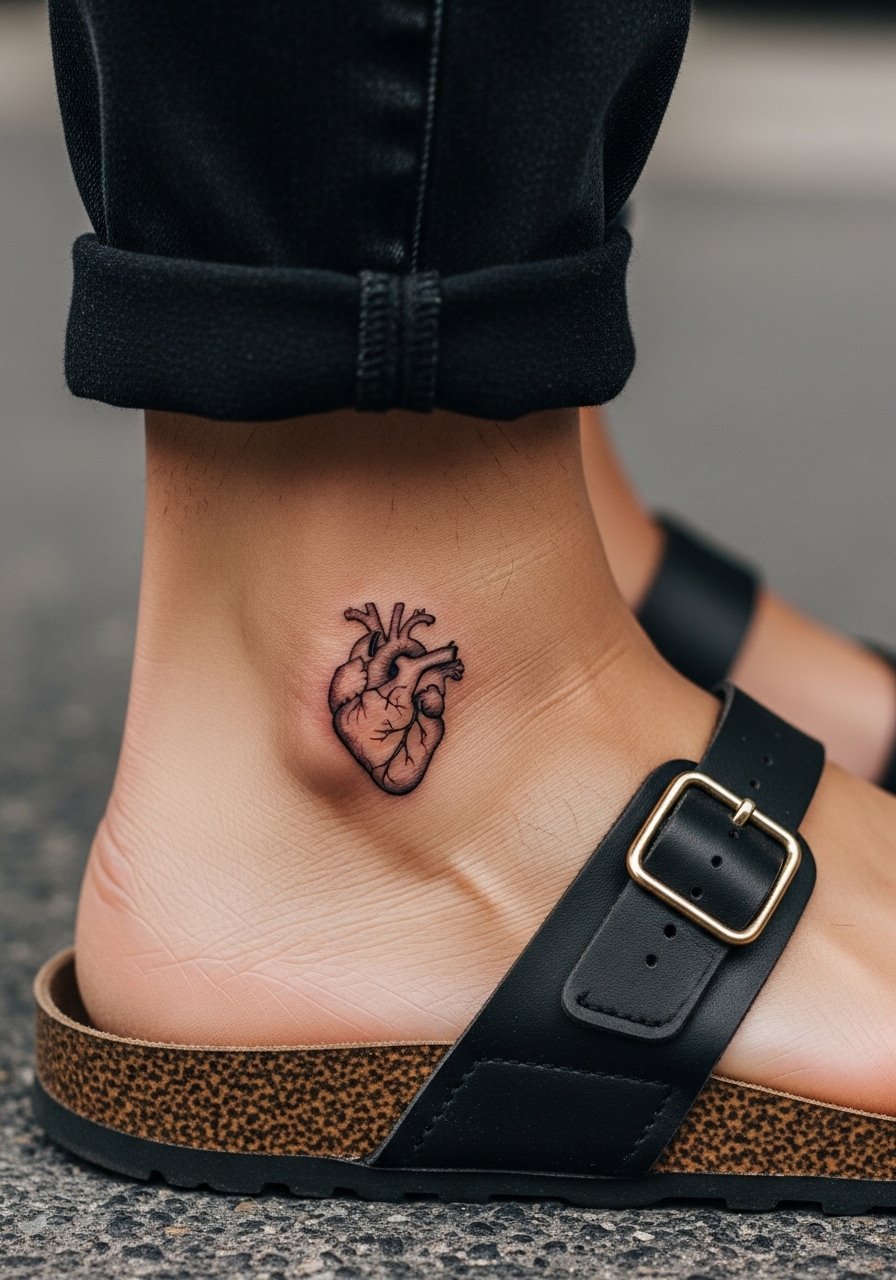
7. Ankle Tiny Anatomical Heart
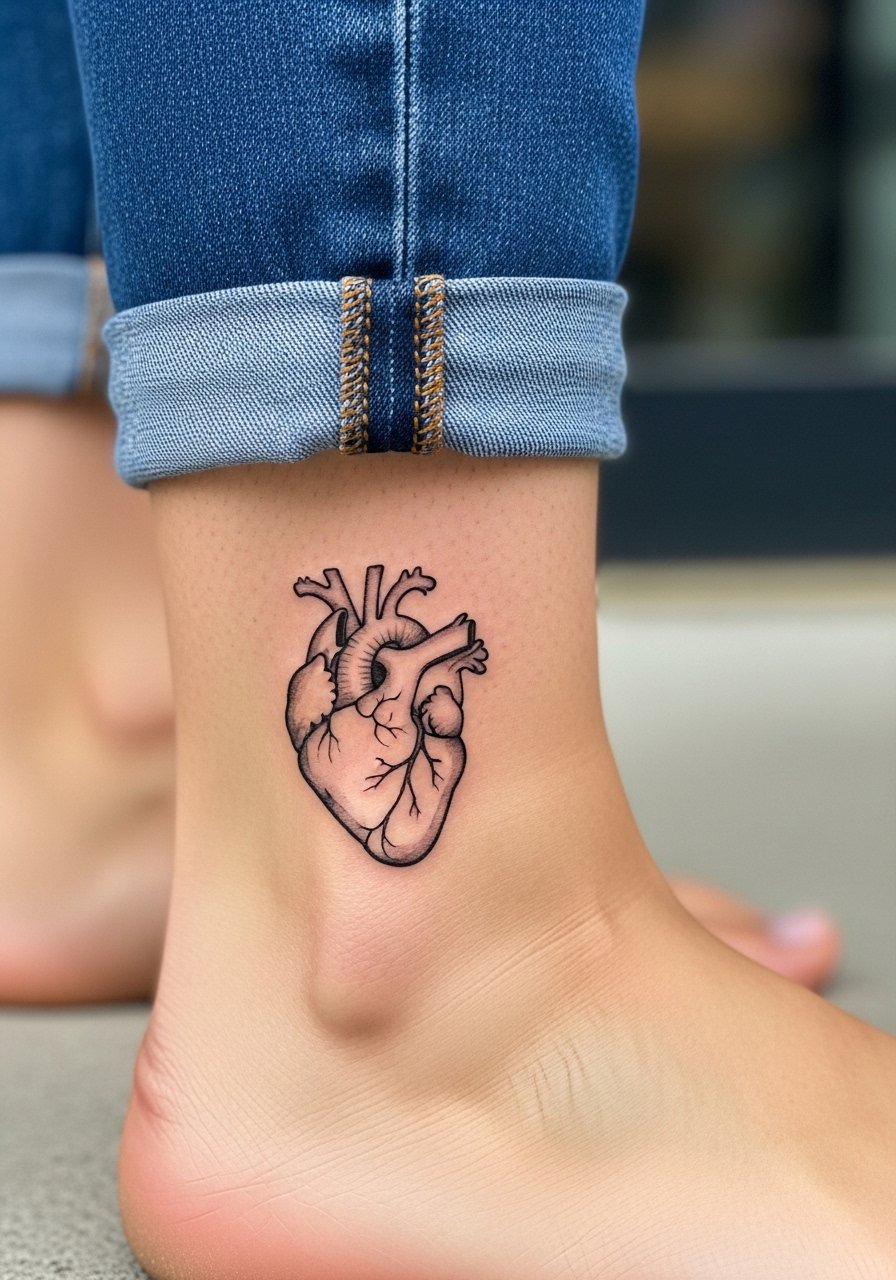
Ankle placements handle tiny hearts well but face abrasion from socks and shoes. Expect mild pain and short session time. Ask for slightly heavier outer lines and spaced interior detail. A common mistake is placing the heart on the inner ankle where shoes rub. After six months you should still see the contour but interior micro-lines often need touch-up by year two. For showing this off, pair with sandals or cropped jeans so the ankle gets visibility without constant rubbing.
8. Sternum Linework Heart
Sternum work reads intimate and symmetrical when done slightly larger than clients expect. Pain is high near the bone, and sessions can be broken up. Artists debate fine line here. One side warns of blurring from breathing movement. The other side says careful spacing and needle control prevent merging. If you book this, ask about breathing breaks and request a test stencil while standing and lying down. The mistake is insisting on very small internal veins that crowd the layout. For the appointment, wear a sports bra or bandeau so the area stays covered before and after.
9. Side Rib Cluster Heart with Dot Work
Combine minimal linework with stipple shading for a heart that reads dimensional without heavy saturation. Expect a longer session because stipple takes time and the rib area is sensitive. A big mistake is packing stipple too densely near fine lines, which accelerates merging as the skin heals. Ask for airy stipple and a buffer zone between dots and contour. At two years, stipple that was spaced holds texture while tiny dots that were too close often fade into gray. For session comfort, bring a loose crop top or shorts you can adjust without exposing more than the targeted area.
10. Chest Pocket Heart with Script Accent
A pocket heart on the chest pairs naturally with a short script date or word sitting just below. Keep the lettering minimal and spaced so the fine heart lines do not get crowded by ink. Pain is mild to moderate and sessions are brief. The common mistake is requesting tight script right against the heart. Instead, ask for clear spacing and a thin chain placement guide in the stencil. Over time the script may need touch-up separate from the heart, so plan for that. For showing it off, a thin chain pendant necklace sits above the design without competing.
11. Spine-Aligned Mini Heart
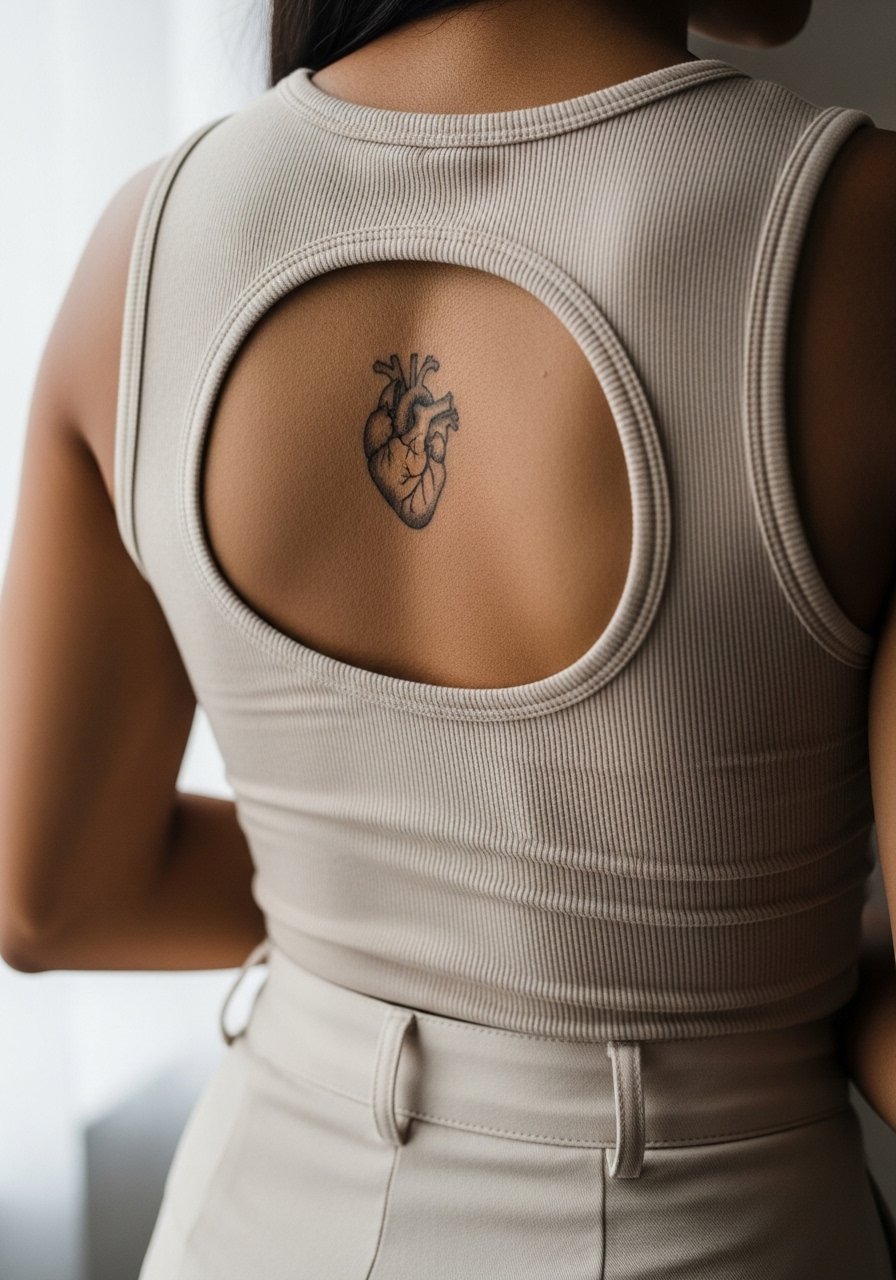
Placed along the spine, a minimalist heart reads vertically and stays protected under clothing. Sessions can be fussy because stencils must align with posture. Ask your artist to check the stencil both standing and sitting. A common mistake is centering by eye rather than measuring. Over time, spine placements age well if not exposed to constant rubbing from backpacks. If you want it visible, pair with open-back tops or a halter dress when you plan to show it.
12. Calf Anatomical Heart with Line Pairing
The calf is forgiving for small anatomy because the skin is thicker and less prone to blowout. Pain is low and sessions are quick. Ask for a slightly larger scale than you think you need so the internal valve lines keep distance. The common mistake is miniaturizing the interior until it reads like a single shape. Calf linework tends to hold longer than wrist or finger pieces. Wear loose drawstring linen pants to the appointment so the artist can access the area without tugging.
13. Behind-the-Ear Tiny Heart Accent
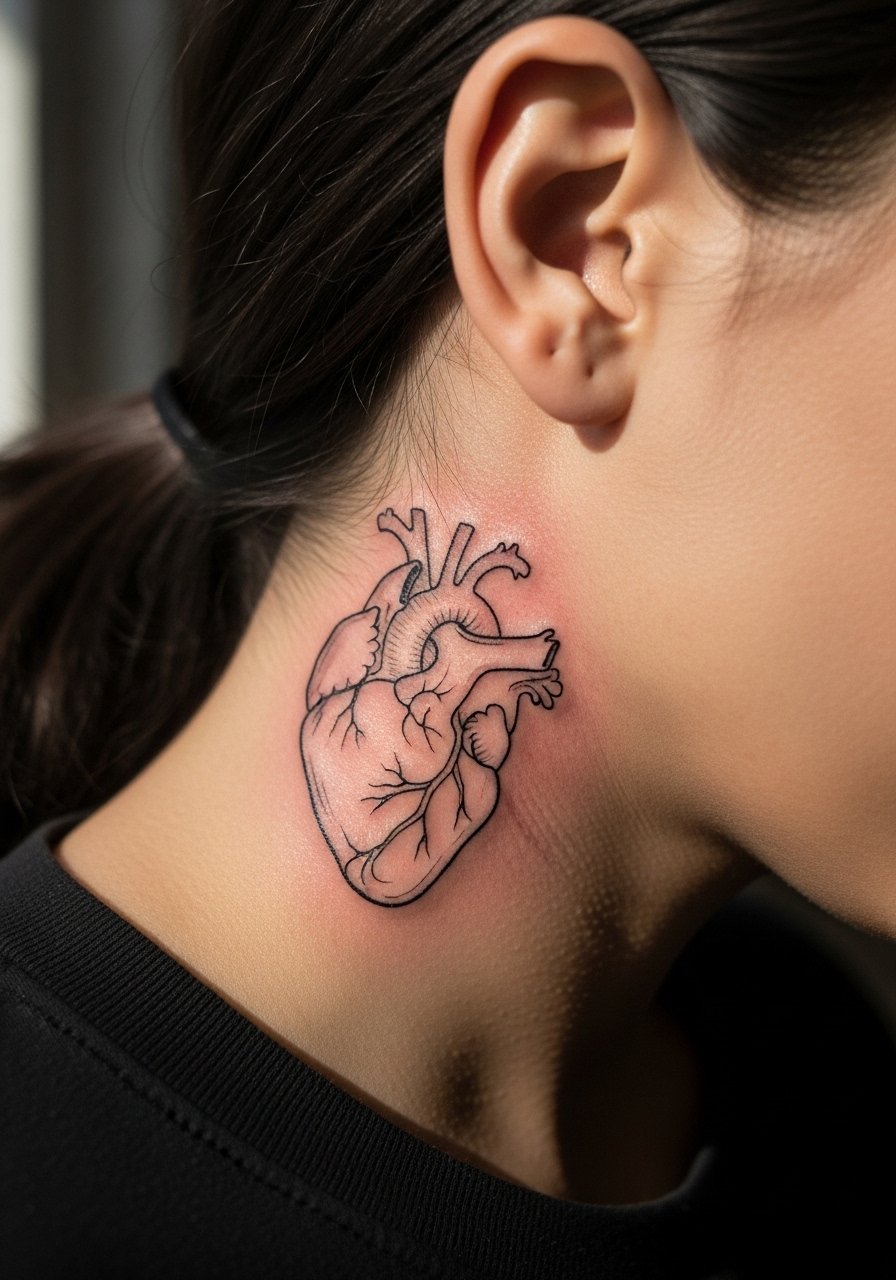
Behind-the-ear placements are tiny and discreet. They require a careful stencil because the curve changes how the heart sits. Pain is mild but the area limits session time. One mistake is packing interior detail into a very small zone. If you want detail, go slightly bigger and keep contour bold. This placement is best for a quiet accent that reads from close range. For discovery, search local convention portfolios, curated directories, and fine line hashtags to find an artist who has steady micro work.
14. Hip Bone Mini Anatomical Heart
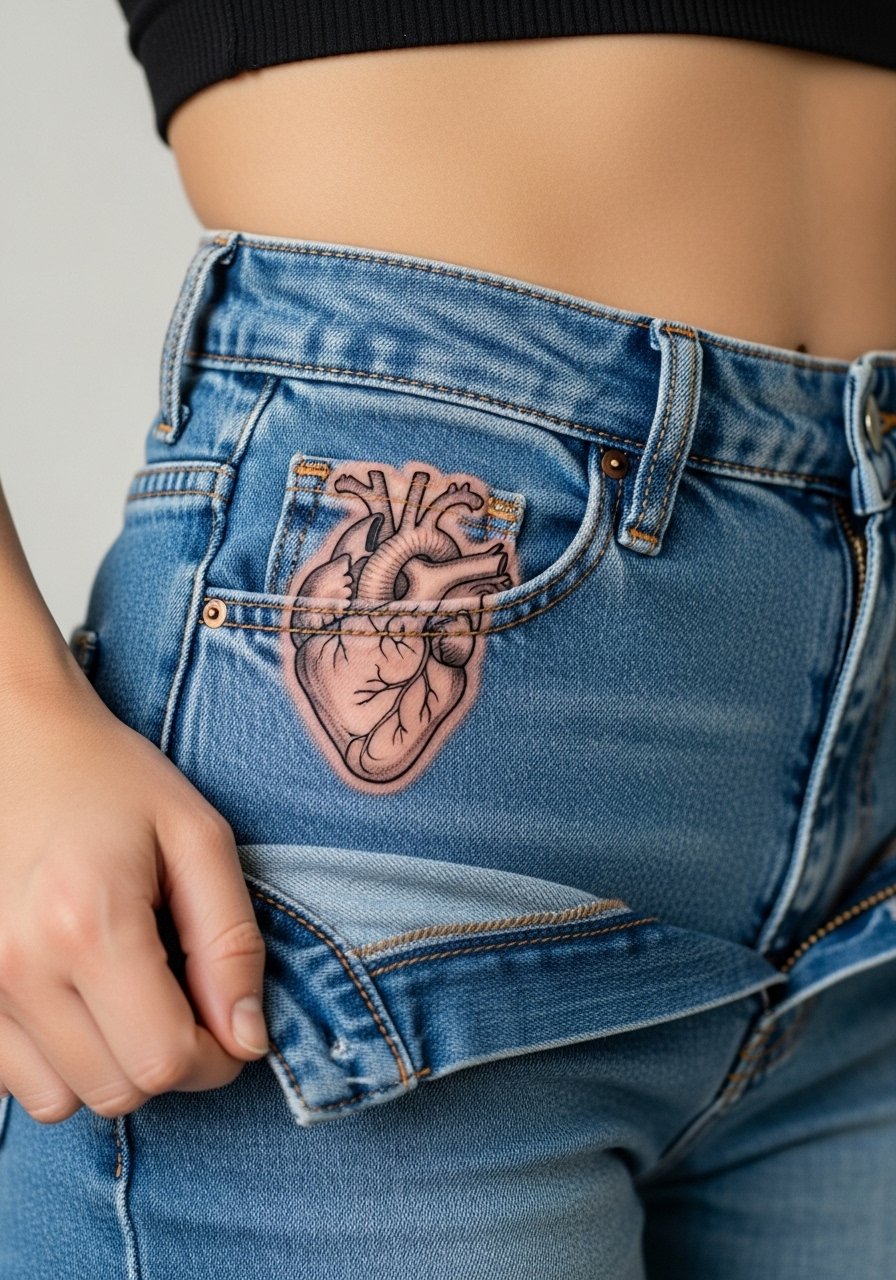
Hips are a moodier spot for small anatomy because clothing can rub the area. Pain is moderate. The session is quick but requires careful aftercare to avoid friction from waistbands. A common mistake is positioning too close to the waistband. Ask for the stencil placement while wearing your usual bottoms. Over time hips can retain crisp contours if you avoid tight waistbands during the first two weeks. For showing off, pair with high-cut shorts or swimwear so the heart gets a moment without constant pressure.
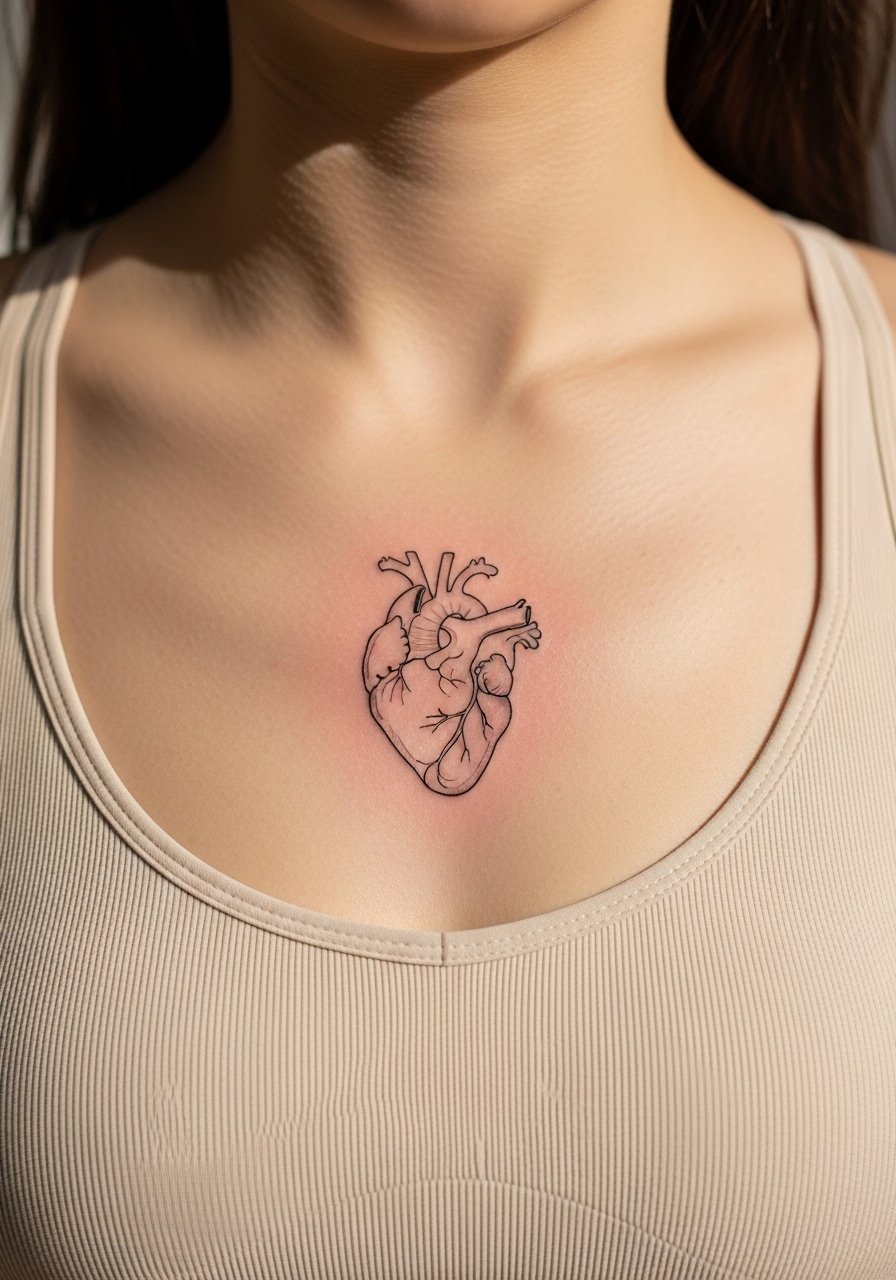
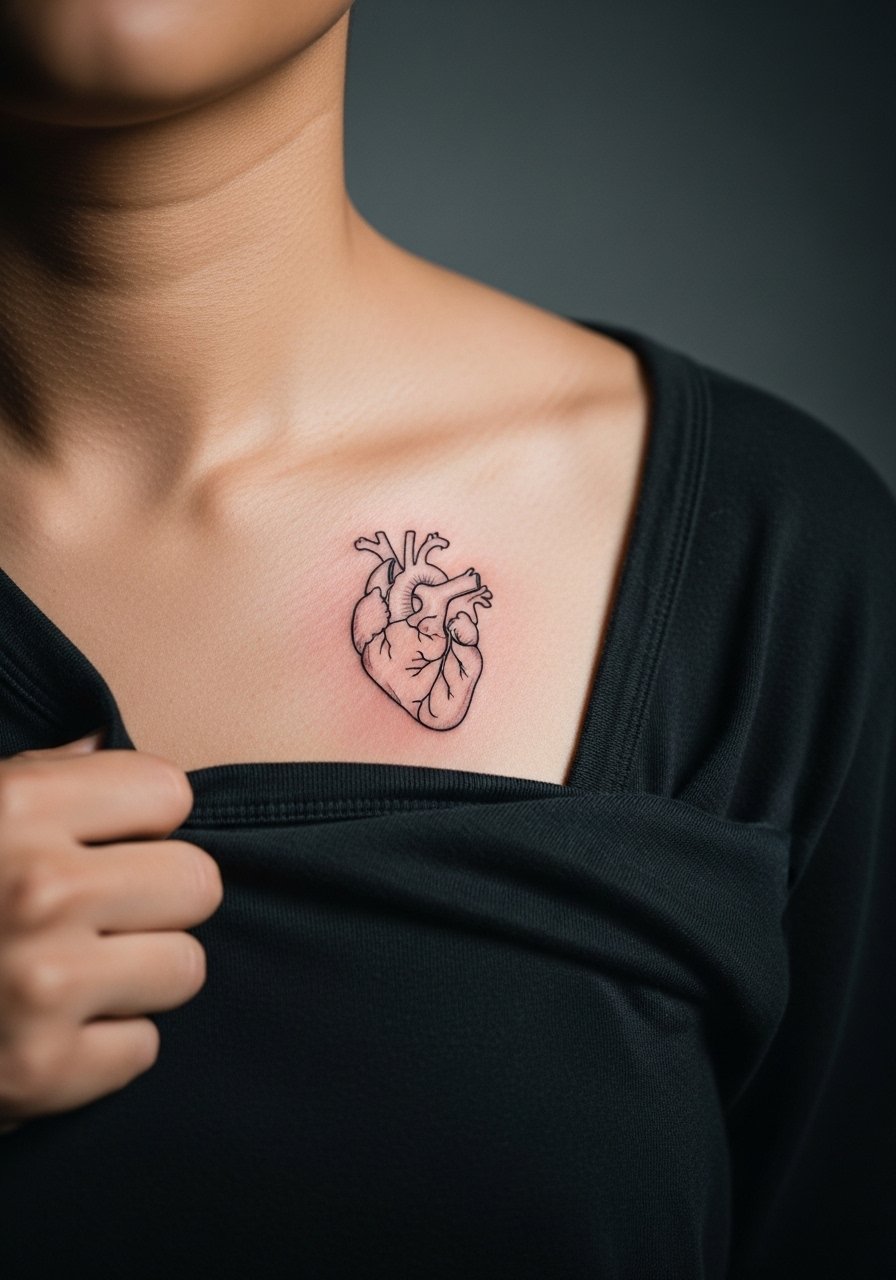
15. Minimal Heart Over the Heart (Left Chest)

Choosing the literal "over the heart" spot is symbolic and visible in certain clothing. Pain varies with muscular tension and sitting upright helps. The mistake people make is cramming in tiny valves that do not age well under chest movement. Request clear spacing and a slightly stronger outer line. Expect a touch-up within a few years if you want perfect crispness. For sessions, wear a button-down or a wide-neck shirt you can shift aside without being fully exposed.
16. Tiny Anatomical Heart on the Back of the Neck
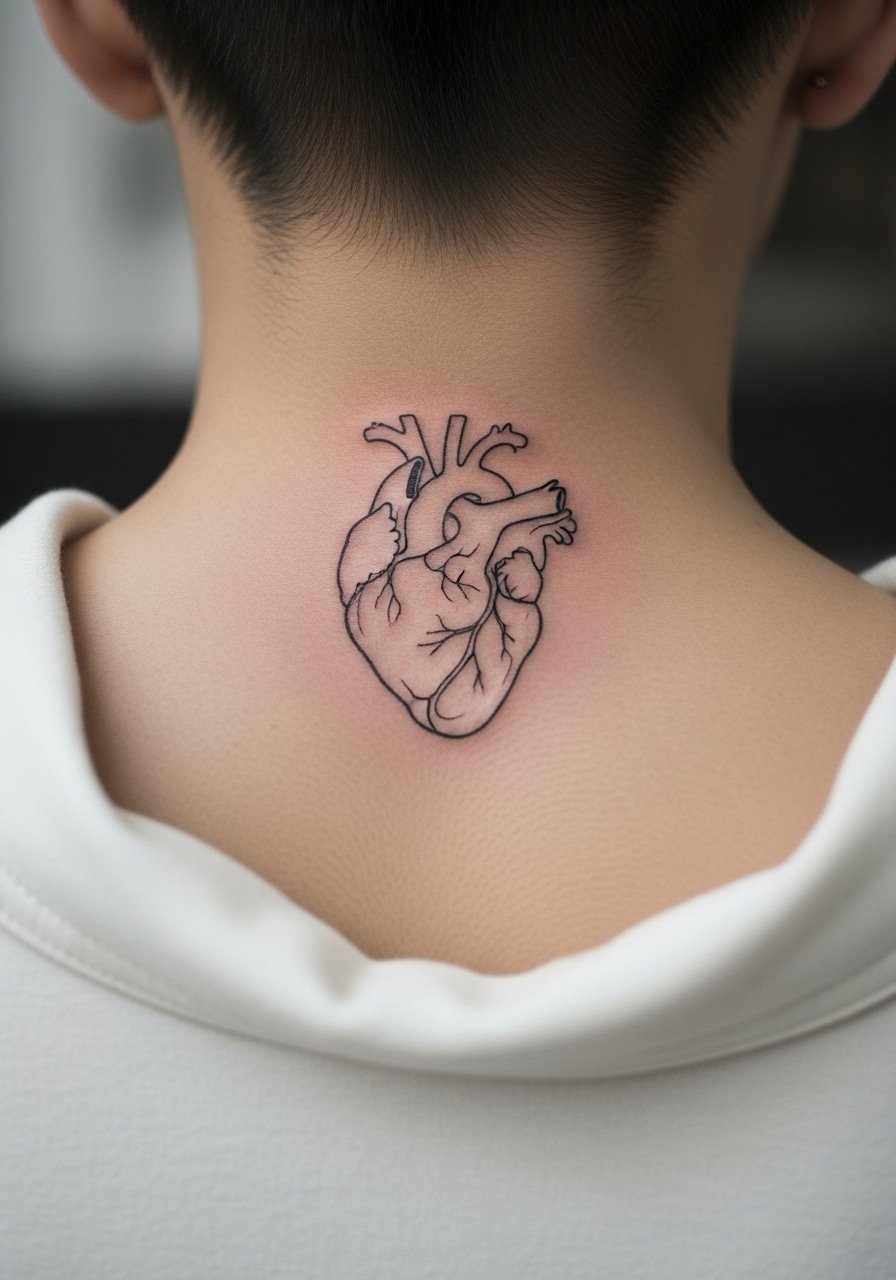
The back of the neck gives a small canvas that is visible with short hair or updos. Pain is mild and sessions are short. Stencil placement must be checked with hair up and down. A common error is picking a design that is too detailed for the small area. Such detail loses clarity after a year or two. If you plan to keep this visible, wear hairstyles that reveal the area carefully. When searching for artists, use local studio pages, convention lists, and community forums to vet micro-line portfolios.
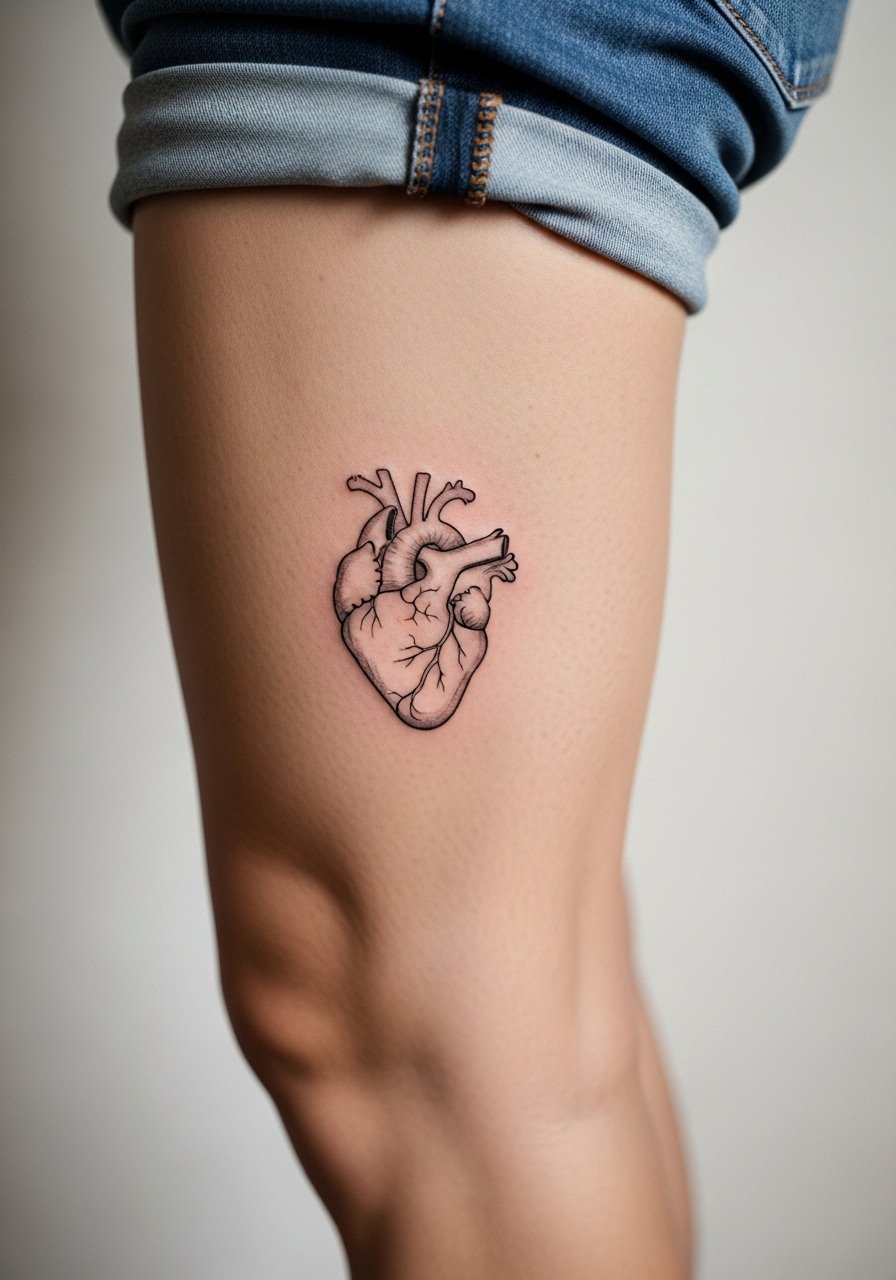
17. Thigh Inner Anatomical Heart
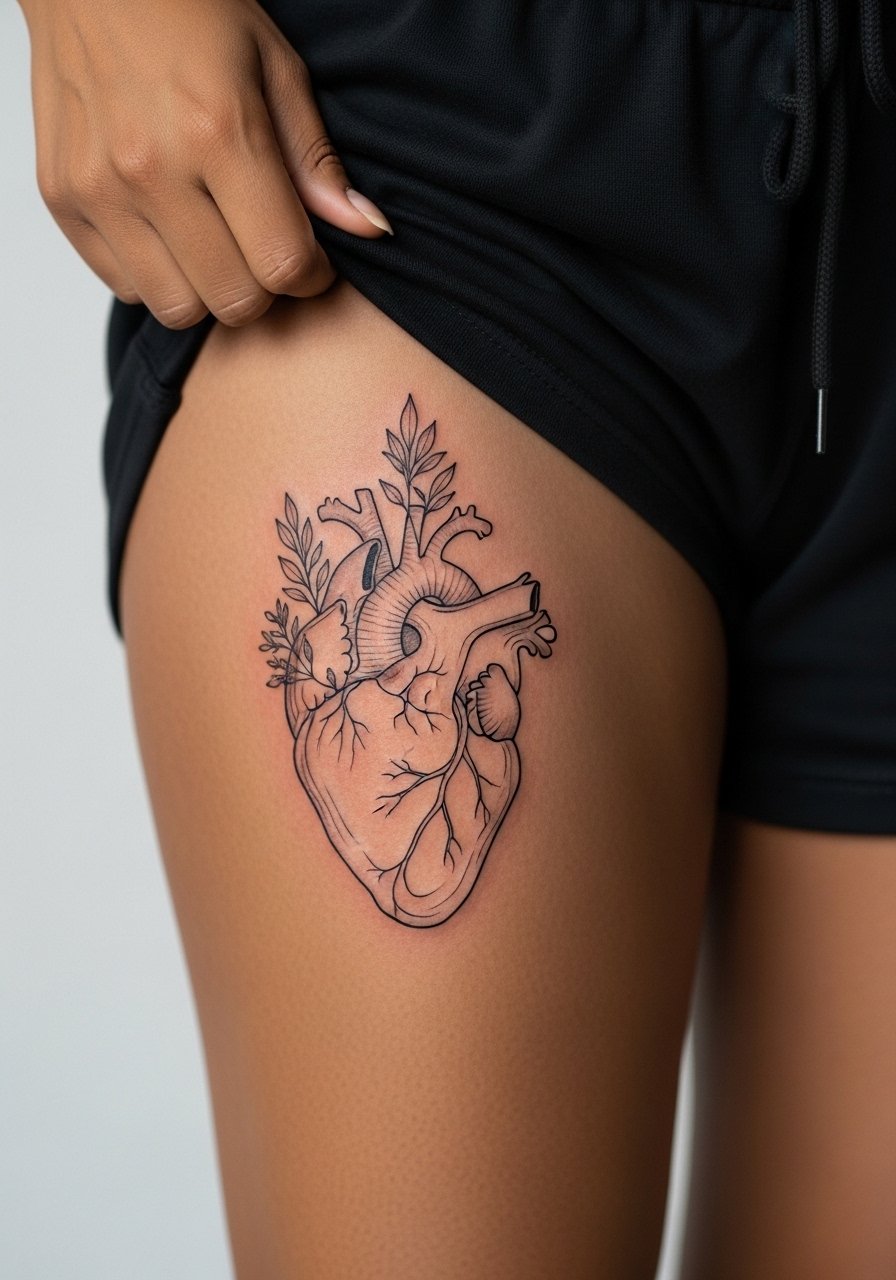
Inner thigh tattoos sit privately and age well because they avoid sun and friction. Pain can be higher in certain spots, but many people tolerate it for the clean canvas. Ask for needle depth that accommodates soft tissue and request the stencil while relaxed. Overly fine internal lines on the thigh rarely blur quickly, but crowded detail still risks softening. For the session, wear loose shorts so the artist can expose just the zone and you do not irritate the area afterward.
18. Minimal Heart on the Upper Arm Outer Side
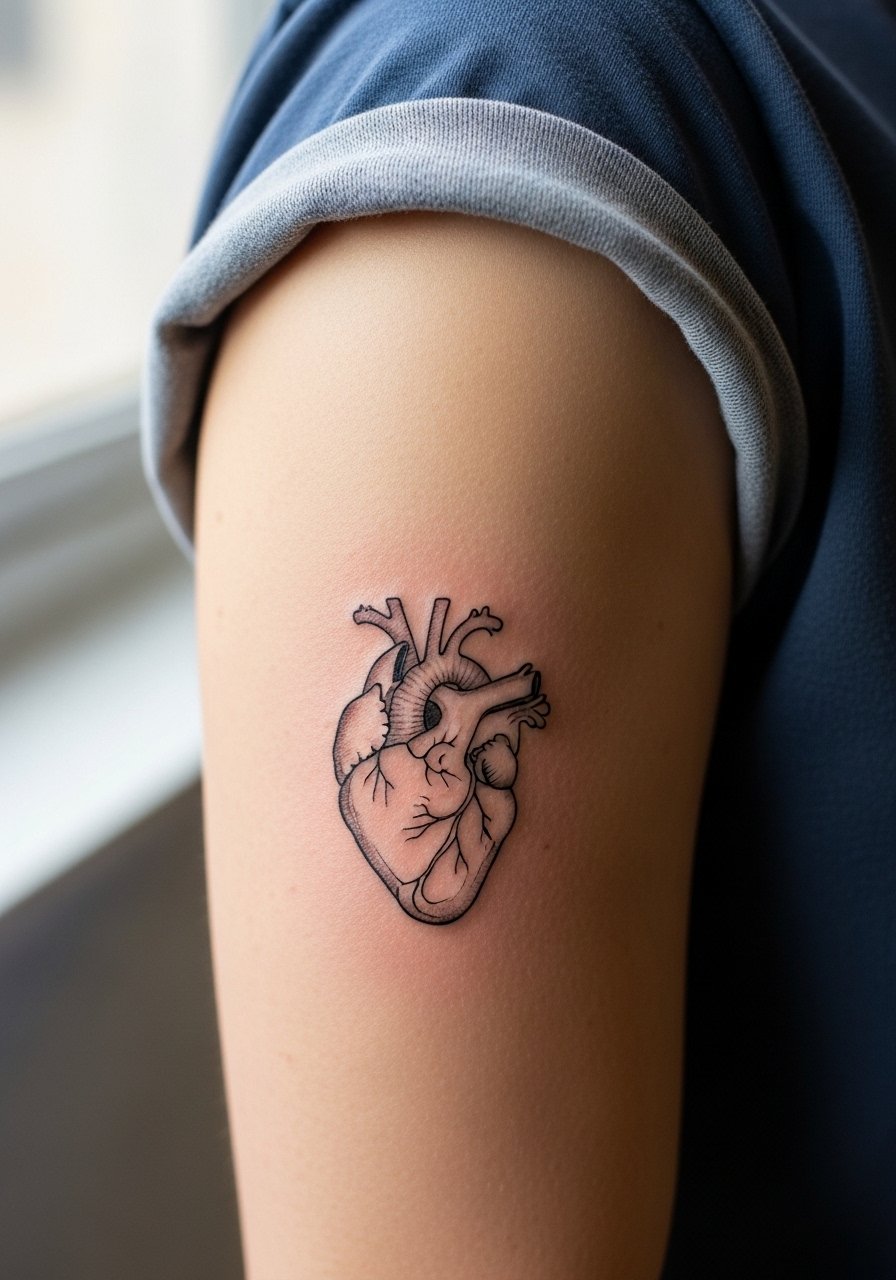
The outer upper arm is a reliable spot for long-term line clarity. Skin is thicker and blowout risk is lower. Pain is low and sessions are short. The typical mistake is shrinking the scale too much for the area. Ask for the same design scaled up slightly to maintain internal spacing. At five years the contour usually reads very clearly. For daily wear, rolled sleeves or short sleeve linen shirts frame the piece without competing.
19. Tiny Anatomical Heart Near the Ankle Bone
Ankles are similar to the outer ankle idea but closer to bone. Expect short session time and more sensitivity. A common mistake is placing too close to the bone where touch-ups are harder. Request a test rubbing motion while the stencil is on to ensure the placement will not sit under constant pressure. Over time expect the contour to soften if shoes or straps rub. For showing it off, slip into sandals or cropped trousers that avoid constant friction.
20. Micro-Realism Anatomical Heart on the Forearm Wrap

A forearm wrap uses the curve to give dimension without heavy saturation. Expect a longer session due to curves and subtle shading. Tell your artist you want micro-realism suggestions but not heavy fill so the lines breathe. The mistake is asking for too much detail in a tight wrap that ends up merging after a couple of years. For the session, wear a loose long sleeve button-down you can roll up without tugging the stencil.
21. Minimalist Minimal Line Anatomical Heart on the Hand Edge
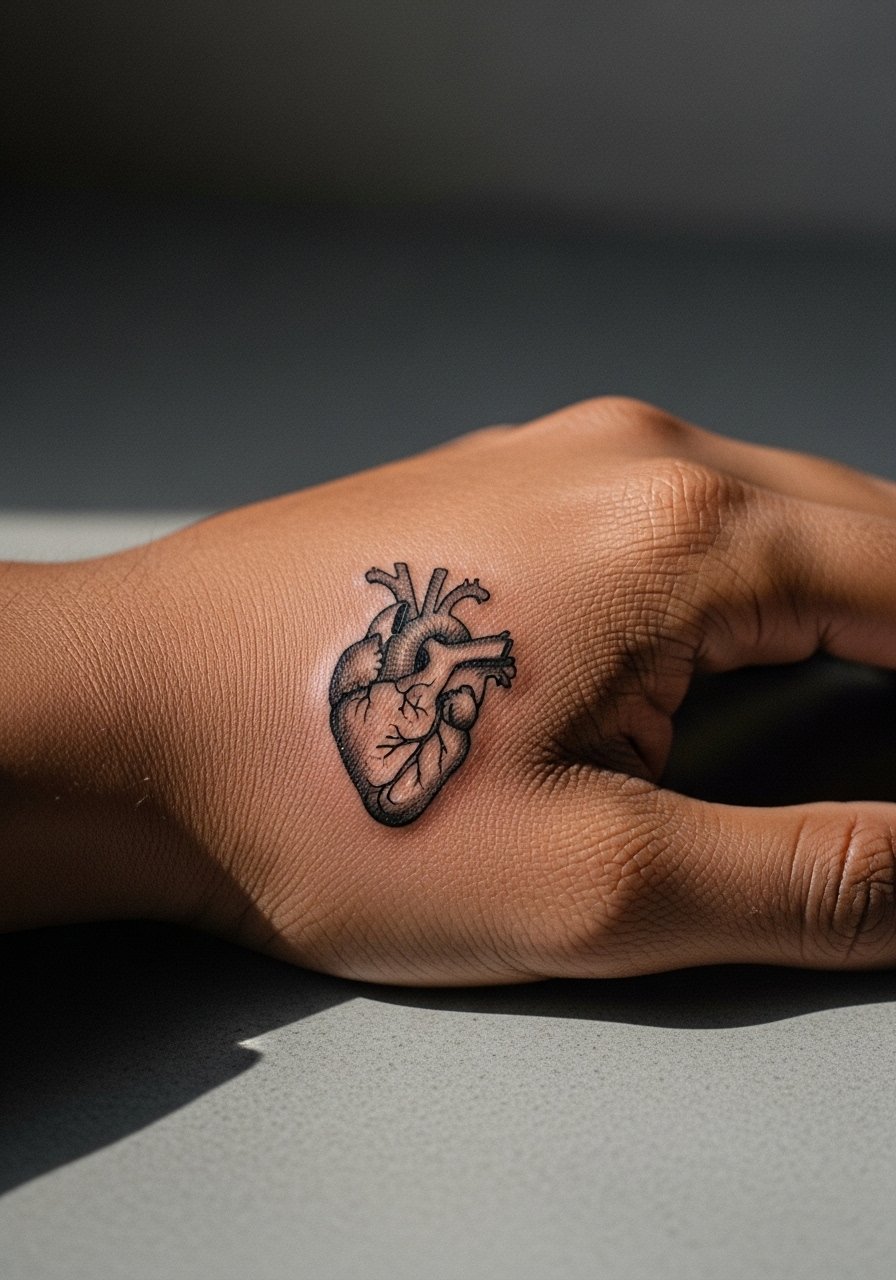
Hand-edge placements are bold and weather quickly. Expect frequent touch-ups when you select this area. Artists debate whether hand linework for anatomy is realistic long-term. One camp accepts periodic retouching. The other camp discourages detailed anatomy on hands because constant exposure and washing wash the pigment and cause softness. If you proceed, ask for heavy contour, minimal interior lines, and a realistic touch-up plan. Wear gloves for heavy work for the first week and avoid tight rings that sit near the linework. Be aware of visible placement consequences for professional settings.
Frequently Asked Questions
Q: Will a fine line anatomical heart on the ribs blur faster than one on the forearm?
A: Yes, ribs tend to blur faster because the skin moves with breathing and is thinner in places. The solution is asking for spacing, slightly stronger contour, and a staged session if needed. From what I've seen, touch-ups at year two or three are common for ribs if you want crisp internal detail.
Q: How do I ask an artist for internal anatomical detail without risking blowout?
A: Ask them to show healed photos of similar scale work, and request a stencil preview in the exact spot and posture you will have during daily life. Also ask how they adjust needle depth for thin skin. Use directories and community forums to find portfolios that show healed micro-line anatomy.
Q: Are finger and hand anatomical hearts worth it if they need frequent touch-ups?
A: It depends on how you weigh visibility versus maintenance. If you accept periodic touch-ups and understand industry implications, go for heavier contour and minimal interior lines. If low maintenance matters, choose a forearm or calf placement instead.
Q: What should I wear to the studio for a sternum or rib heart session?
A: Wear a fitted sports bra or a cropped top you can lift slightly so only the target area is exposed. That keeps everything modest and gives the artist clean access. A sports bra is usually the easiest option.
Q: How long do these minimalist hearts usually take and when might I need a touch-up?
A: Most pieces here take from twenty minutes up to two hours depending on scale and placement. Expect touch-ups anywhere from one to five years depending on exposure, friction, and skin type. Fingers and hands trend toward the shorter end of that range.
