
Fine line teddy bear tattoos are everywhere on saved boards, and the reality is that the ones that still read clean a few years from now are rarely the ones that looked the crispest on day one. Placement, spacing, and how you ask for line weight matter more than the initial photo. Read on for small, practical ideas that start with an eye for longevity and end with clear notes to bring to your consultation.
1. Tiny Teddy on Inner Forearm
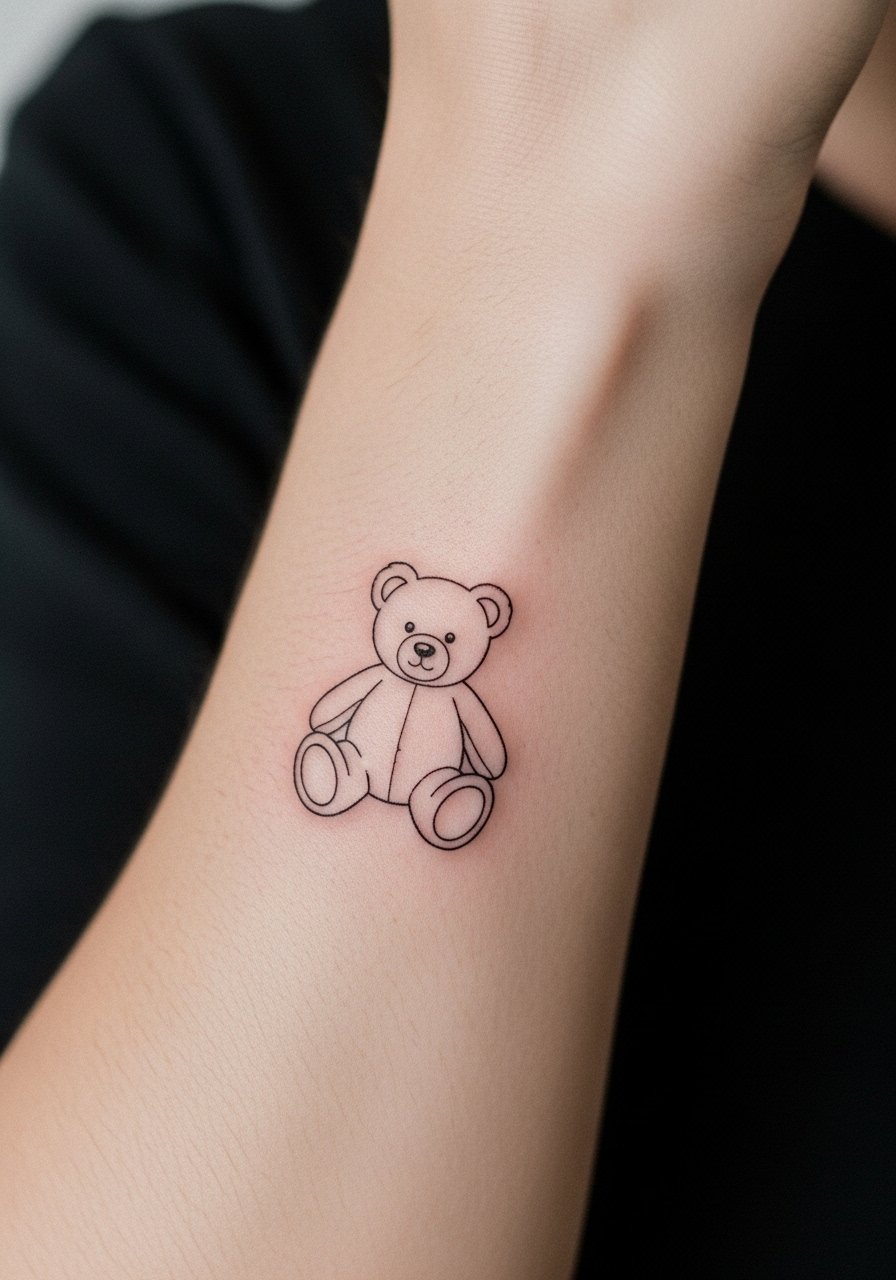
I recommend the inner forearm when you want a tiny yet visible teddy that you can show without raising a sleeve. Tell your artist you want single-needle linework with a tiny negative-space eye and minimal dot shading. The common mistake is asking for the lineweight seen in a fresh photo and then scaling the whole thing down. That makes lines merge at year two. Expect a low pain level and a short session that can be completed in under an hour. For touch-ups, fine line here usually needs attention around year three, depending on sun exposure. For showing it off, pair the piece with a rolled-sleeve linen shirt so the tattoo sits cleanly against neutral fabric.
2. Wrist Wrap Teddy, Micro Knot Detail
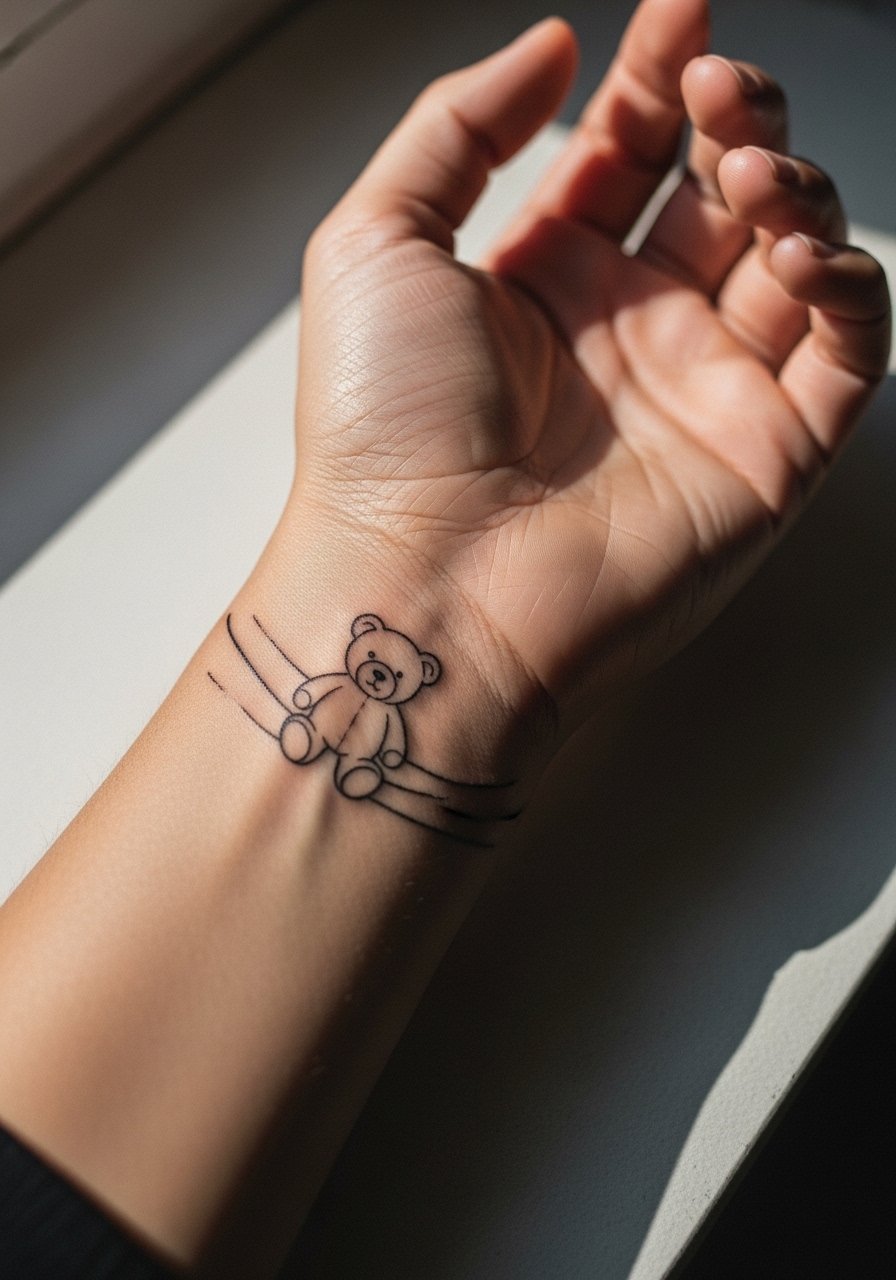
The wrist reads larger than you think. Use a slightly bolder single-line contour so the shape keeps definition after healing. In consultation, ask for a tiny negative-space break at the wrist crease so motion and washing do not blur the silhouette. This placement has higher friction from bracelets and hand washing, so expect the first week to need careful care. The session is short but sensitive. A frequent mistake is placing the teddy too close to the crease; that area tends to soften faster. Pair this with a thin chain bracelet that frames rather than covers the linework.
3. Ankle Teddy in Minimal Outline
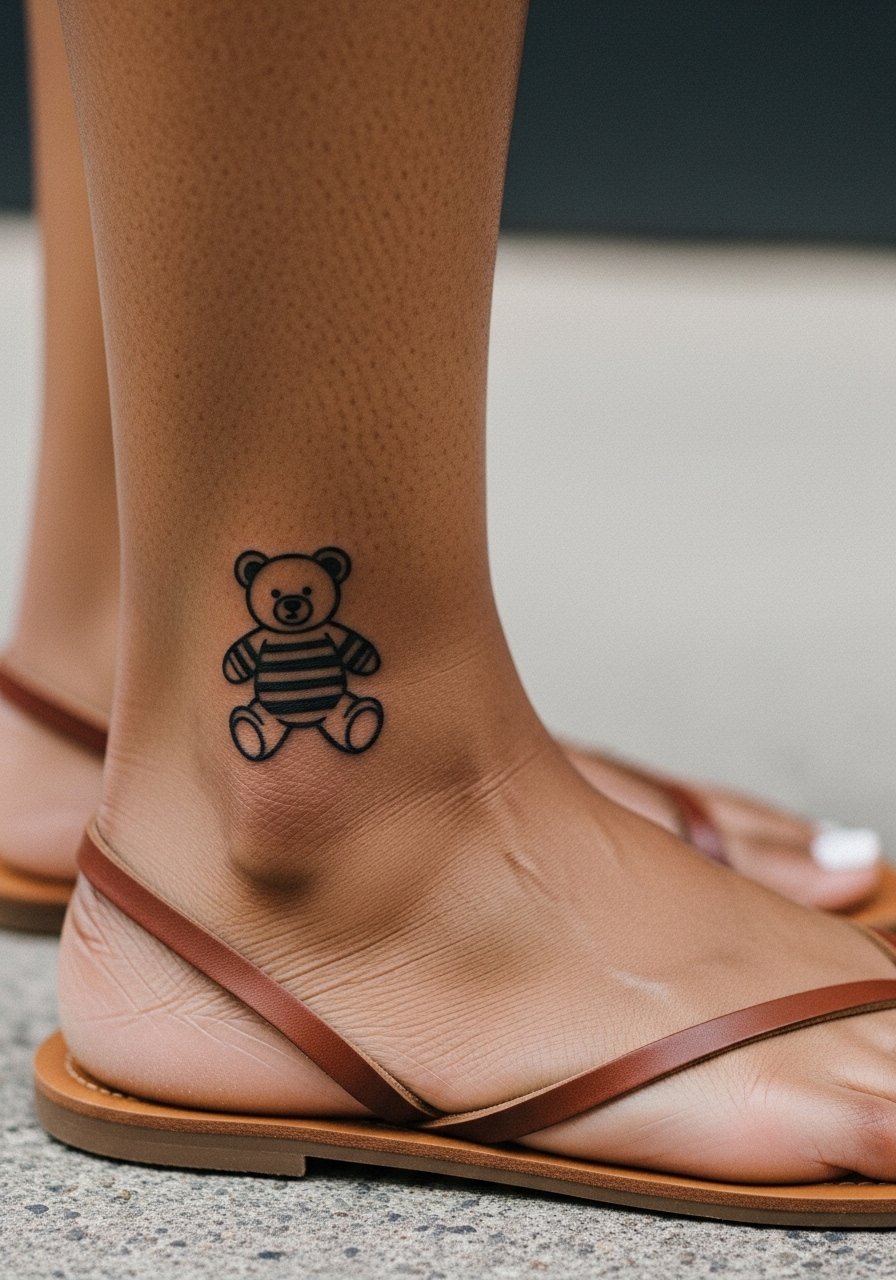
Ankle placements handle tiny designs well because they sit away from constant stretching. The downside is rubbing from socks and shoes. Ask the artist to place the main body just above any shoe line and to keep the outline slightly open at one point to avoid a sealed ink edge that can blur. That small trick helps the design age cleaner at year two and five. Session discomfort is moderate; sitting still helps. For the appointment, pull on loose ankle socks so you can take them off without tugging the fresh tattoo.
4. Behind-the-Ear Teddy, Micro Silhouette
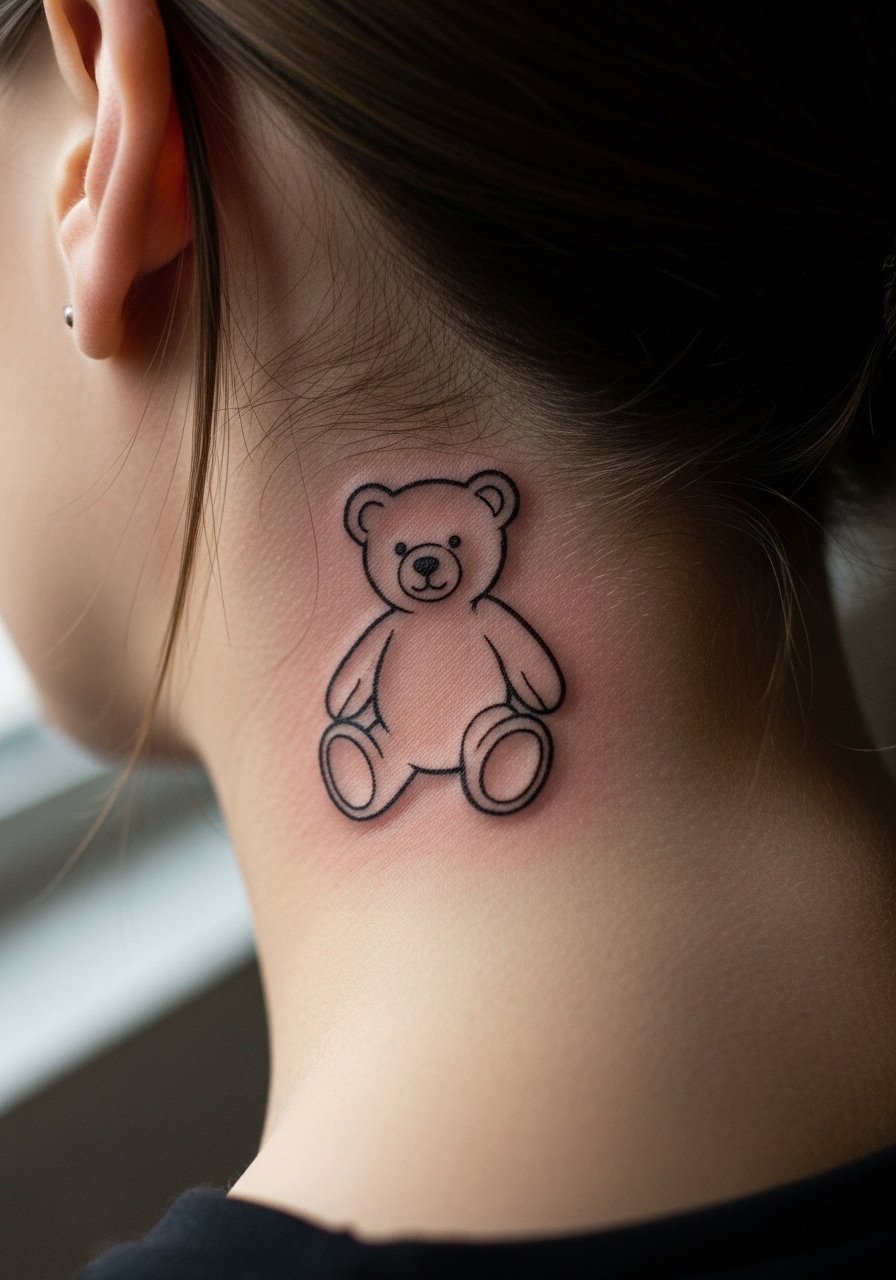
This spot is great if you want a secretive, peek-a-boo teddy. When you bring references, show the exact scale so the artist avoids overworking the thin skin near the hairline. The controversy here is not technical but social. One group treats behind-the-ear pieces as purely personal accents that stay private. The other group warns about visibility in professional settings once hair changes. If career concerns matter, plan for placement slightly lower or hidden under hair. The procedure is quick and stings more than an arm tattoo. For the session, tie hair back and wear a wide-neck shirt so the artist has clear access.
5. Collarbone Teddy with Tiny Script Tag
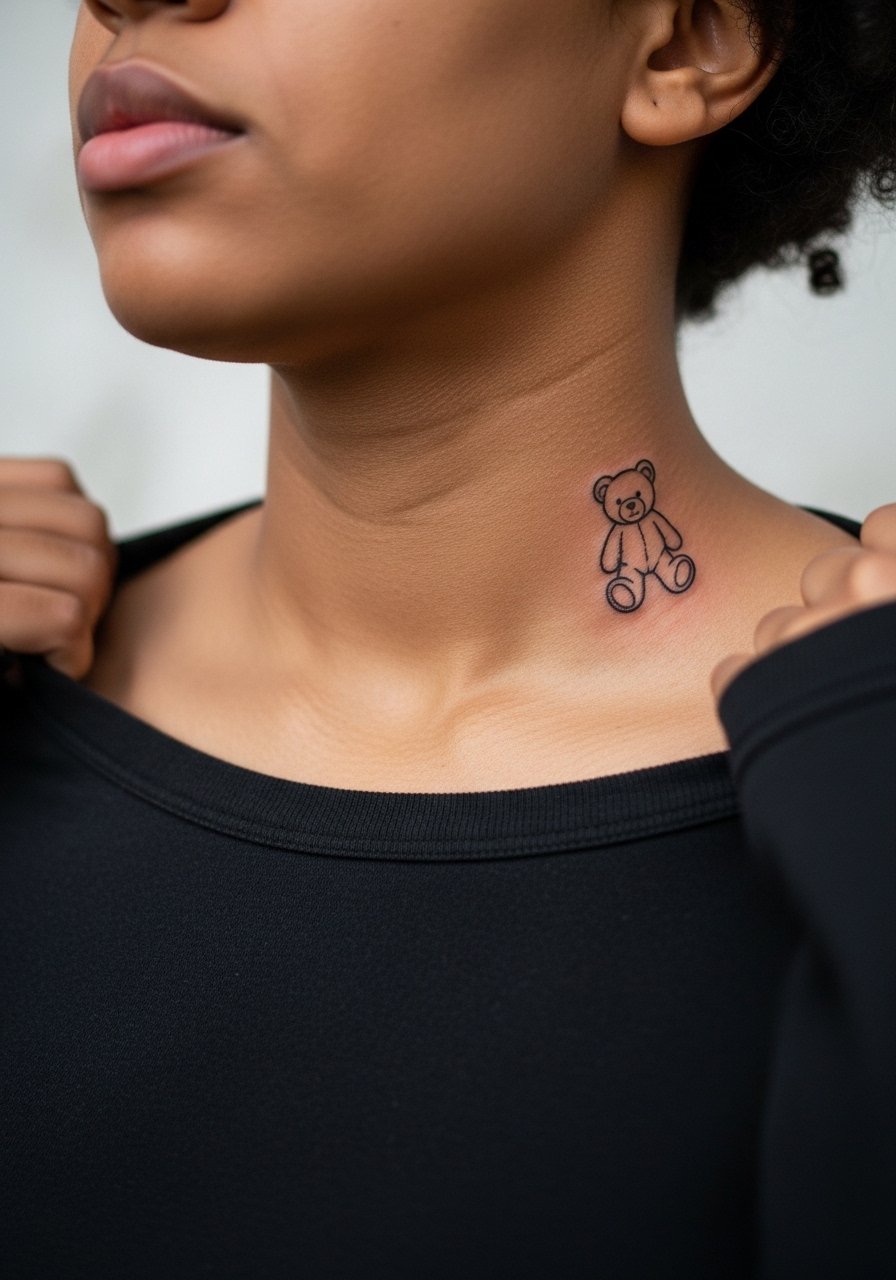
A collarbone teddy reads elegant when the lineweight is balanced with the body contours. Ask for the teddy to sit just off the bone so the skin movement does not distort the outline. Adding a tiny script initial under the teddy requires that the letters be spaced for longevity. The mistake is shrinking script to fit under the motif; tiny script on chest can blur. Expect sensitivity over bone and a session under an hour. For showing it off, a thin chain pendant necklace sits above the piece without competing.
6. Ribcage Teddy, Curved Linework for Movement
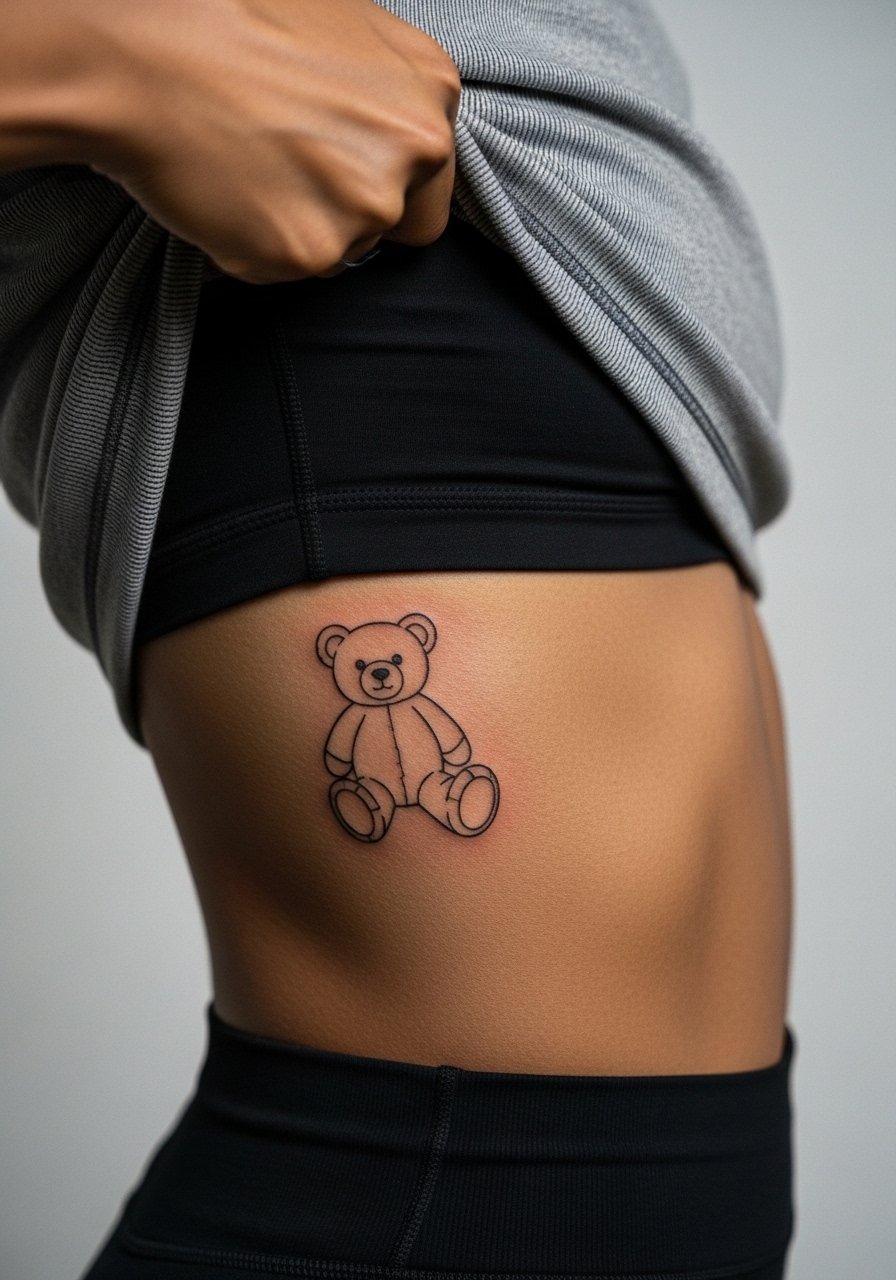
Fair warning: ribs are high on the pain scale but excellent for pieces that stay private and stretch with the body. Artists split into two camps on fine line here. One argues the skin's movement blurs tight lines within two years. The other says proper depth and space let fine line settle well. Ask your artist which camp they fall into and request slightly more breathing room around dense features. The session can be longer and needs careful breathing control. For the appointment wear a cropped athletic top so the artist can expose only the side and keep you comfortable during long sittings.
Pre-Session Essentials
The chest, wrist, and rib pieces above ask for different prep and first-week handling. A few targeted items make the session smoother and protect fine line work while it heals.
-
Stencil transfer paper kit. Lets you try the exact scale on skin before the needle touches, which is crucial for the collarbone and wrist placements.
-
Topical numbing cream. Applied per instructions about an hour before can ease the ribcage sensitivity without interfering with linework.
-
Thin protective film roll. Useful for ankle and wrist pieces that see a lot of friction in the first few days.
-
Fragrance free gentle body wash. Cleans the area without stripping the thin needle channels fine line work depends on.
-
Aquaphor healing ointment. Thin layers in the first 48 hours keep the skin supple around delicate outlines without clogging.
7. Tiny Teddy on the Back of the Hand
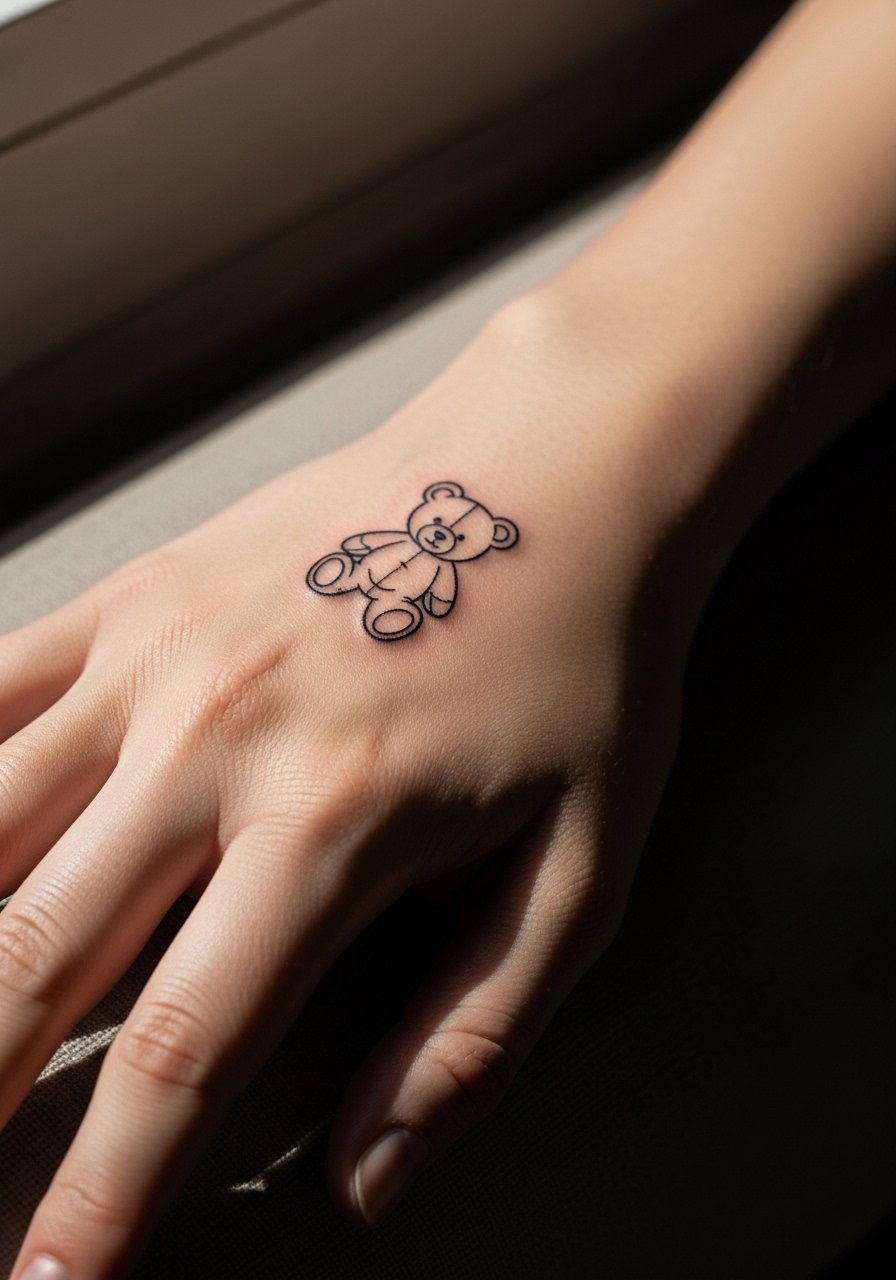
Hand tattoos age differently because skin is thin and repeatedly washed. Expect visible softening quicker than forearm work. The common mistake is requesting the same lineweight used on an arm. Ask for slightly heavier main contours while keeping internal details minimal. Discuss career implications honestly because some workplaces still view hand tattoos as taboo. The session is painful and may require a touch-up at year one or two. For showing it off, choose a minimalist ring set that frames the hand without covering the tattoo.
8. Calf Teddy in Subtle Contour
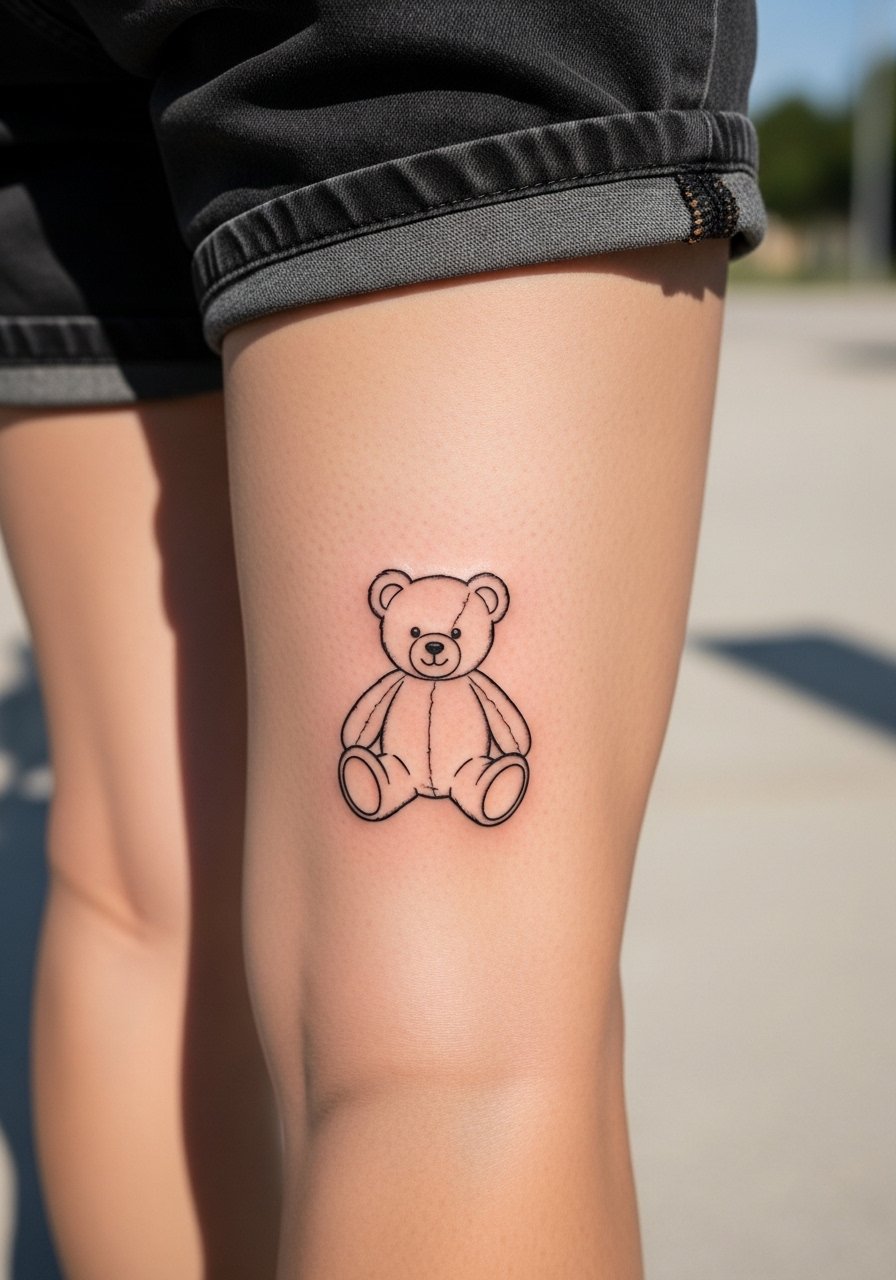
The calf is forgiving for slightly larger minimalist bears because skin is thicker and does not shift as much. Tell your artist you want a steady single-outline with a bit of negative-space texture in the paw pads. A mistake is overcomplicating the interior with stipple shading that can look patchy after healing. Expect moderate pain and a session that fits into a single appointment. This placement pairs well with a pair of casual shorts for summer shows.
9. Tiny Teddy Finger Outline
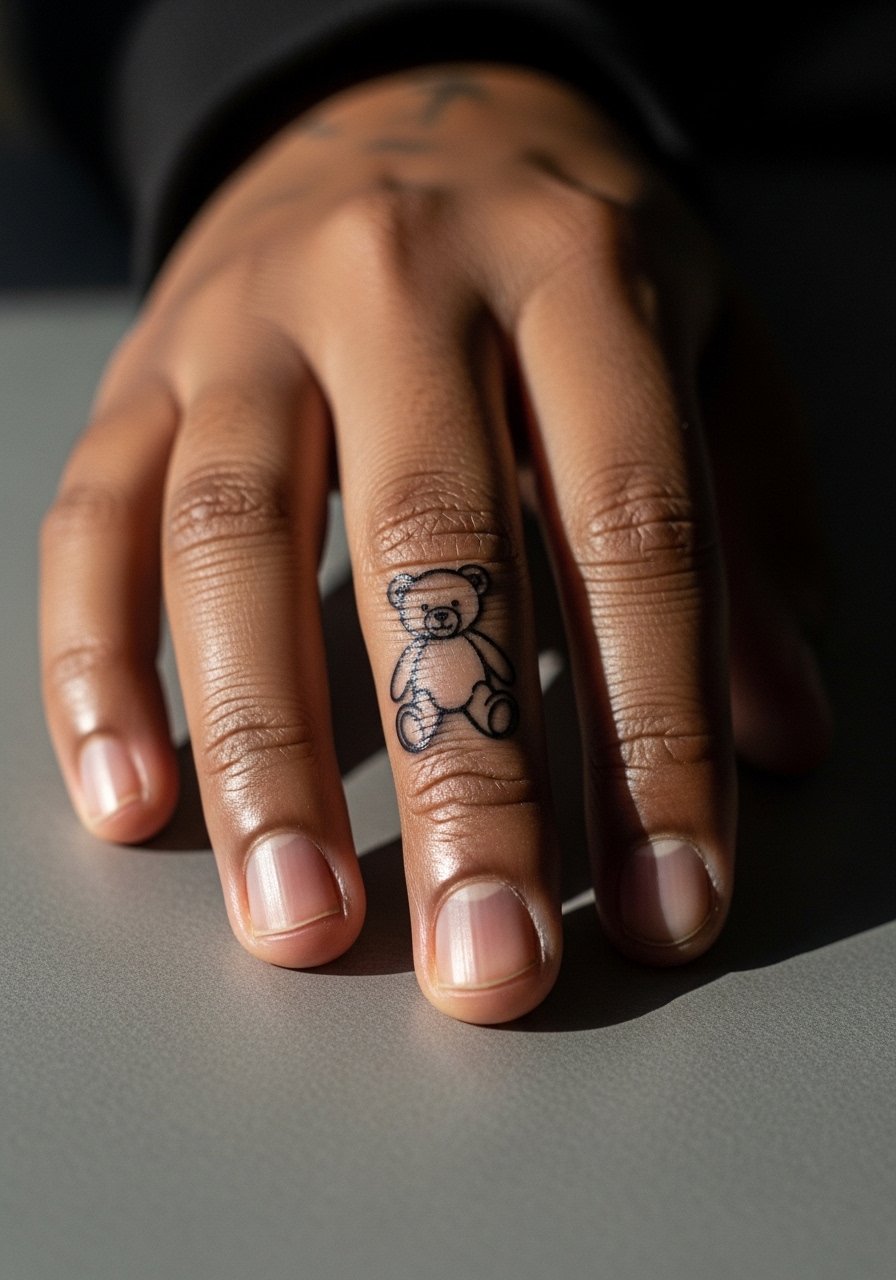
Finger tattoos face heavy friction and frequent washing, which accelerates fading. Pick a design with open negative spaces and tell your artist you prefer a slightly bolder contour that can stand up to touch-ups. The most common error is insisting on ultra-fine internal detail. Expect a touch-up within 6 to 18 months, often sooner than other placements. Sessions are quick but sting. If you work in an environment where hands are visible, consider placement on the side of the finger instead. For the appointment, roll up sleeves and wear a thin ring guard or band if you need to protect jewelry from ink.
10. Tiny Teddy on the Upper Arm Sleeve Edge
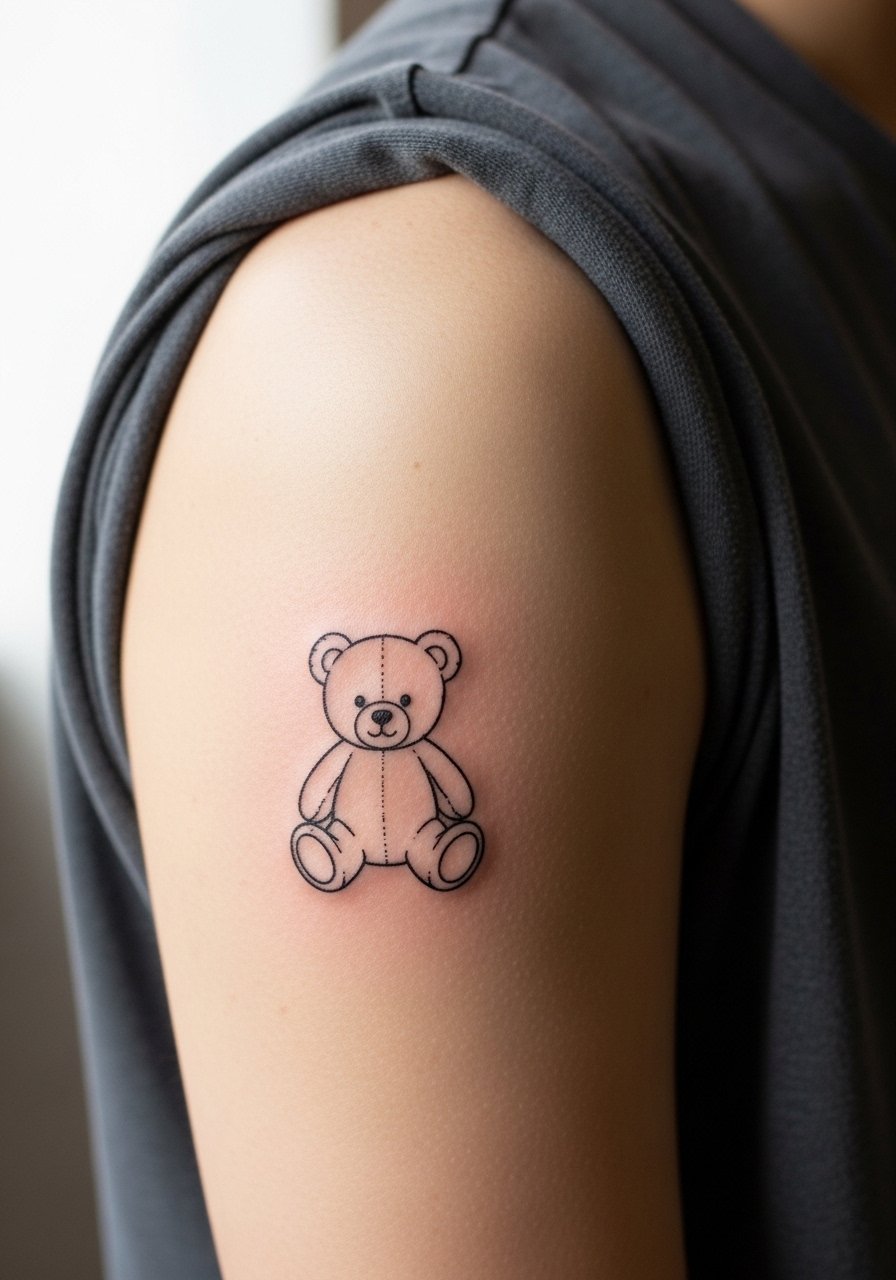
Placed at the edge of a sleeve, a small teddy can act as a linking motif for future pieces. Mention to your artist that you plan for expansion so they leave spacing for connecting linework later. The upper arm is low pain and ages well. A mistake is requesting too-dense dot work that competes with potential future pieces. Expect minimal touch-ups and clean line longevity if you protect from sun. For showing it off, a sleeveless linen top keeps attention on the artwork.
11. Minimal Teddy on the Side Rib (Small Cluster)
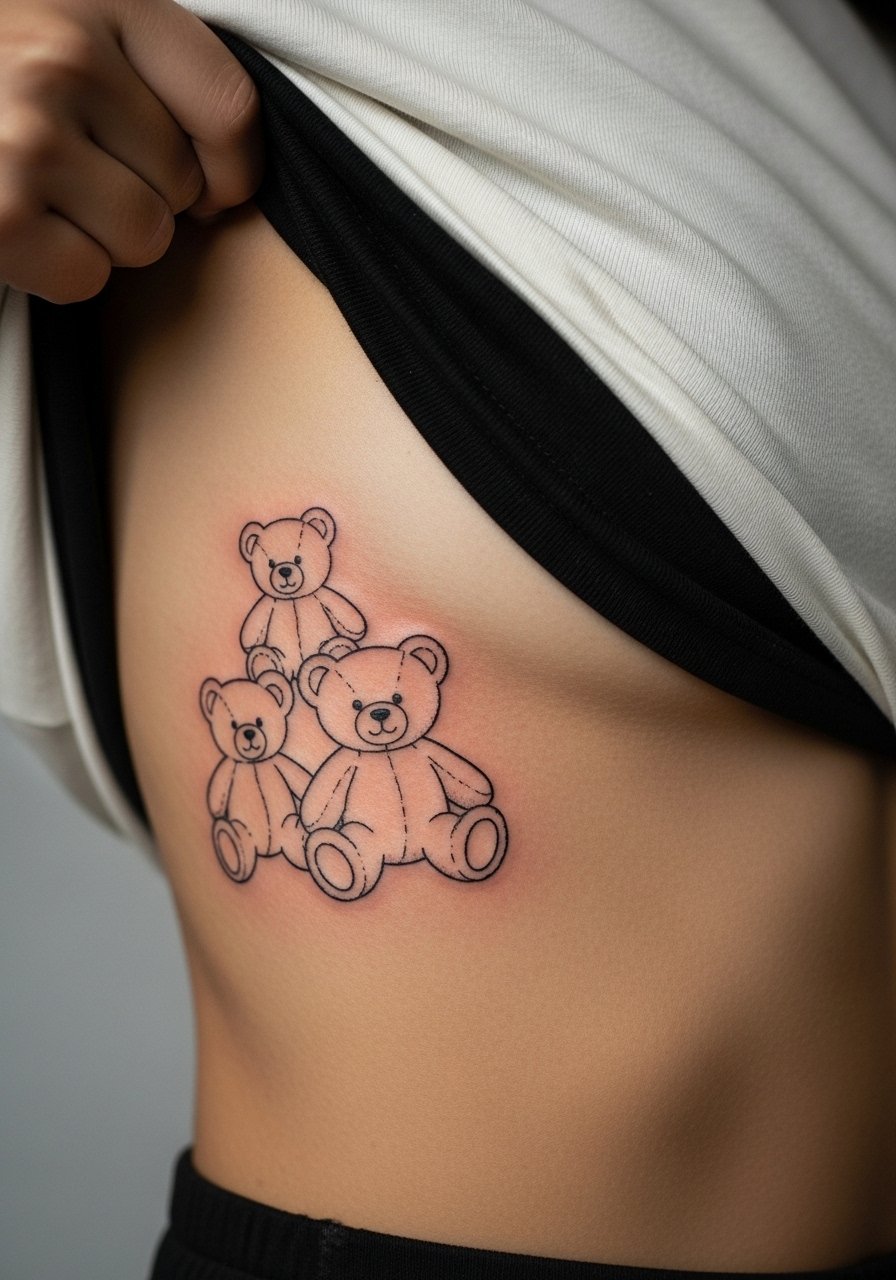
Small clusters along the side rib read intimate and can wrap with body curves nicely. The trade-off is movement and breathing during the session. Tell your artist you want spaced elements and to avoid dense cross-hatching. One mistake is packing motifs too close together, which causes merging at two to three years. Sessions here are longer and higher pain. For the session, wear a crop top you can lift easily so the artist has clean access without exposing more than needed.
12. Minimal Teddy on the Sternum
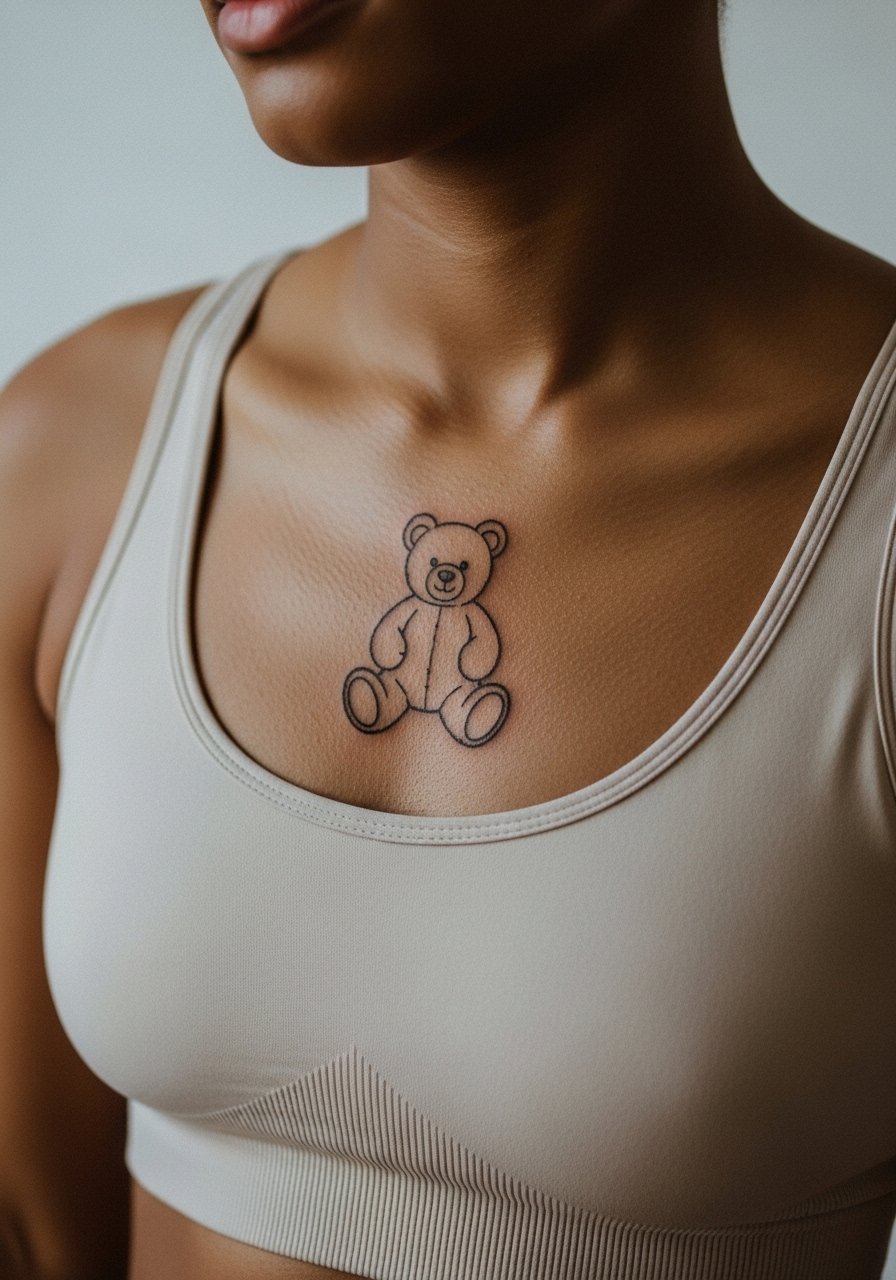
Sternum placements are sensitive and require an artist experienced with chest contours. Some artists avoid dense fine line here because of the skin stretch and healing pattern. Ask for slightly thicker primary lines and minimal internal detail. Sessions are painful and may need short breaks. For showing it off, a bandeau top reveals the piece cleanly without needing constant adjustment. Be aware that healing can take longer near areas that rub against clothing.
13. Tiny Teddy on the Hip
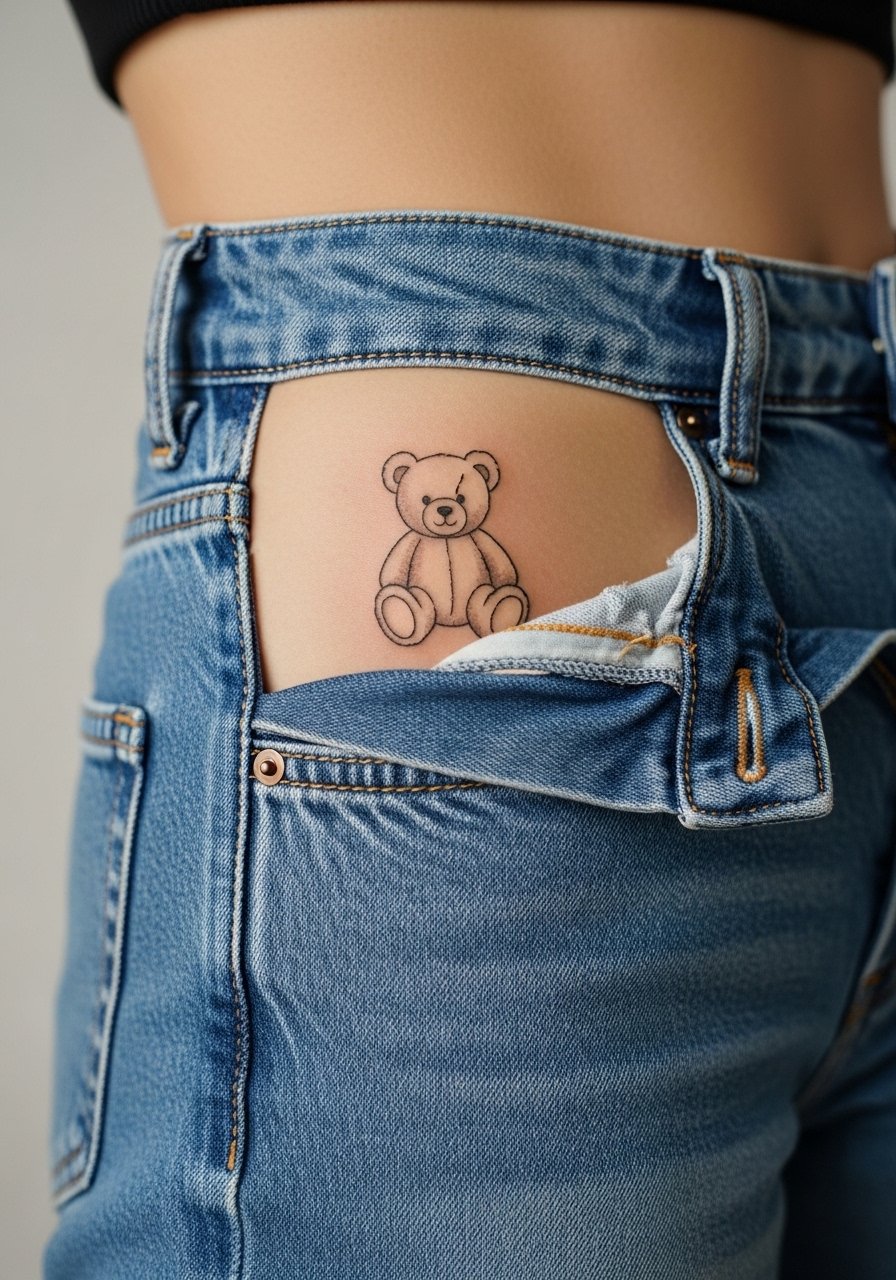
Hip placements let you hide or reveal art seasonally. The common error is putting too much micro-detail that friction from clothing will erase. Request an outline with one small internal dot or two for personality. Pain is moderate to high depending on location. Expect touch-ups later if you wear tight waistbands. For the appointment, choose high-waisted jeans you can lower slightly so the artist accesses the area without fully undressing.
14. Tiny Teddy Behind the Knee, Subtle Curve
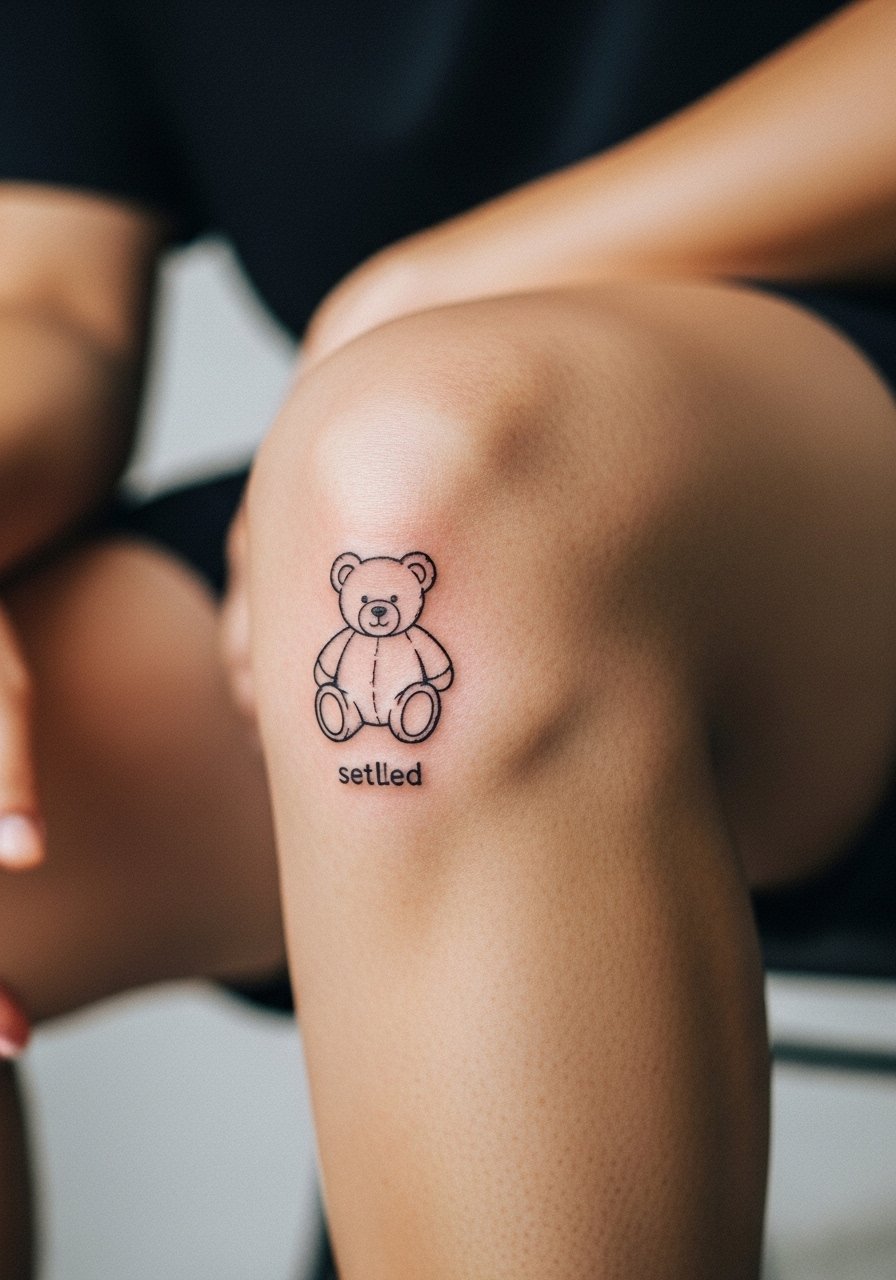
Behind-the-knee tattoos require precise placement because the skin folds a lot. Ask the artist to stand while placing the stencil so they see how the design moves. The mistake is centering a symmetrical motif where it will distort when you walk. Sessions involve awkward positioning and a moderate pain level. For the session, wear loose shorts so the artist can access the area without tugging clothing.
15. Collarbone Mini Teddy with Subtle Shadow
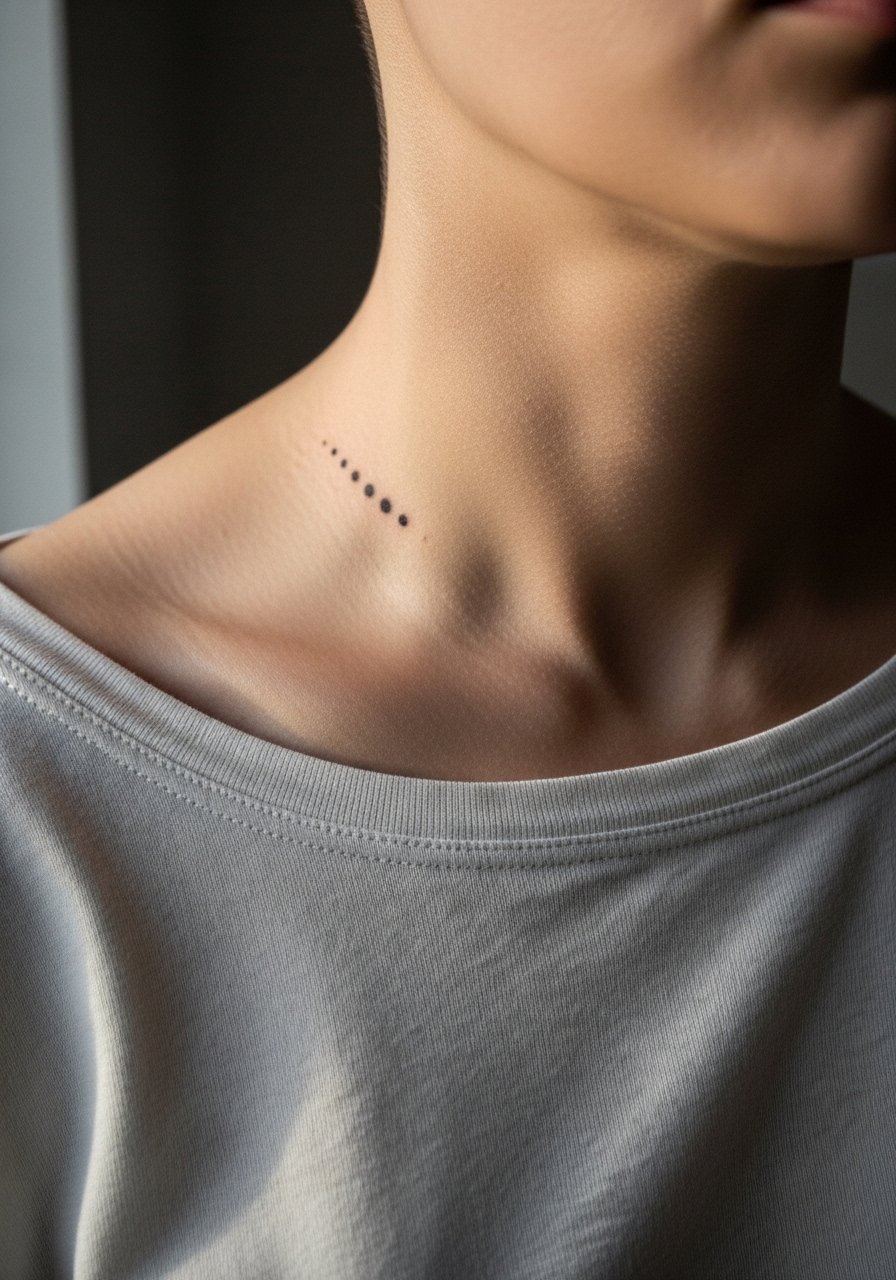
This variant adds a tiny stipple shadow under the teddy to lift it off the skin. Stipple holds better than dense shading in this region. Tell your artist you want airy dot work, not packed shading. The risk is over-packing which can age into a muddy patch. Expect a sensitive session over bone and a possible touch-up after a year if you sunbathe often. For showing it off, opt for a wide-neck blouse that complements the area.
16. Tiny Teddy on the Inner Bicep
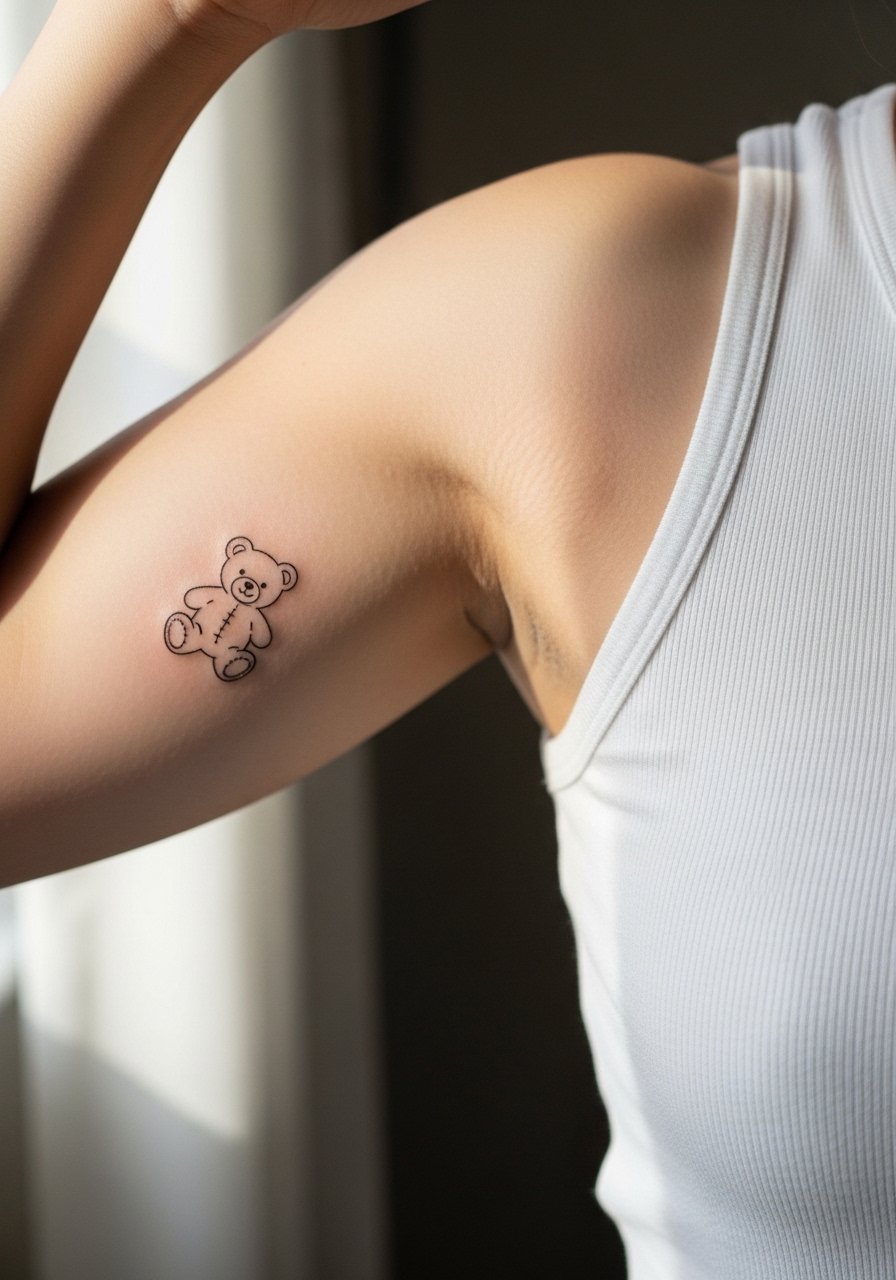
The inner bicep is softer and sees less sun, so fine line can last if spaced properly. During consultation, ask the artist to test a small anchor dot to judge how the needle settles there. Common mistakes are over-detailing and placing the teddy too close to armpit fold. Pain is moderate and the session short. For the appointment, wear a tank top you can raise easily so the artist can reach the area without adjusting sleeves.
17. Tiny Teddy on the Nape of the Neck
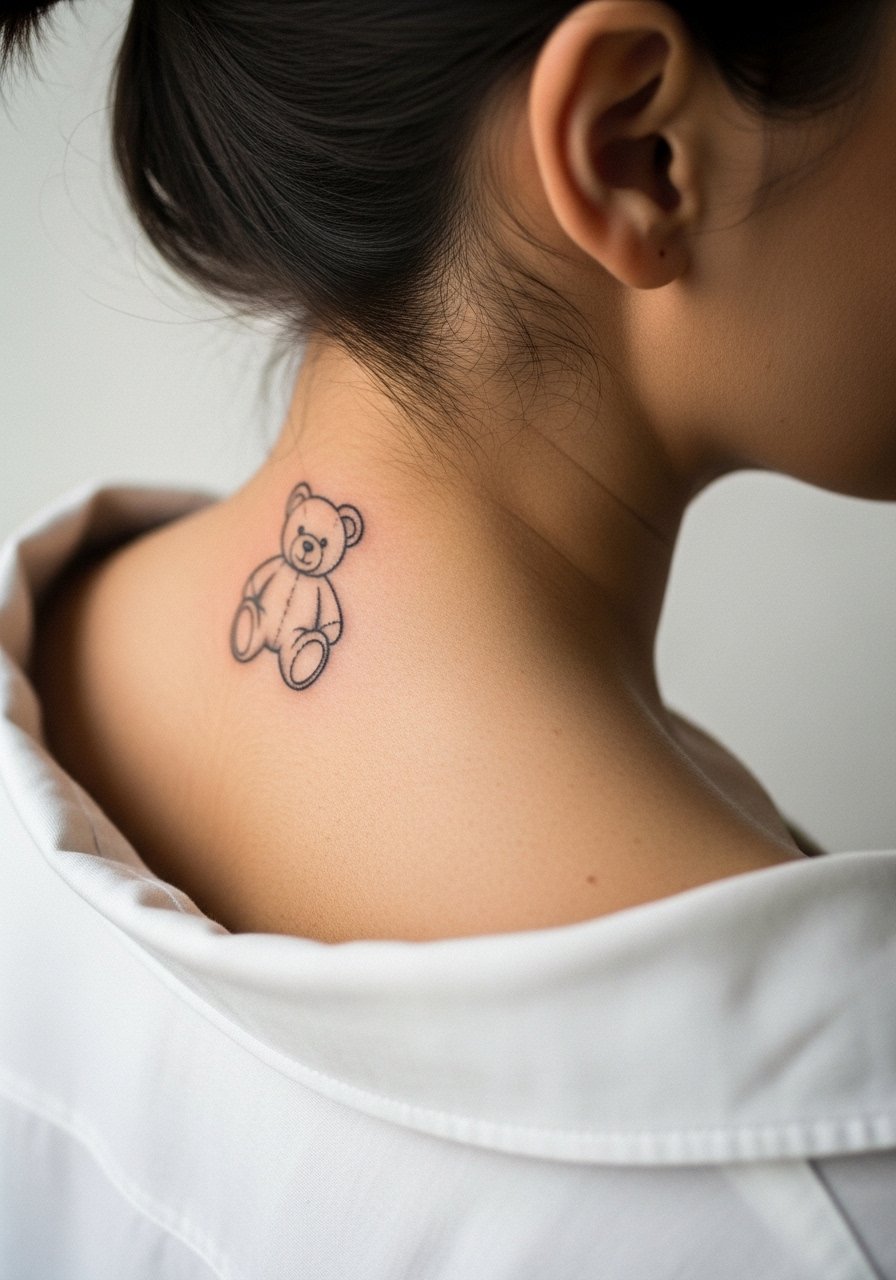
Nape tattoos are small and intimate but visible with certain hairstyles. Tell your artist whether you want it hidden by hair or purposely exposed. The debate here is visibility. One camp believes neck tattoos should be bold because they live in a high-traffic area. The other camp prefers small accents that can be covered. Decide before booking to match long-term lifestyle choices. Sessions sting more than arm pieces. For the appointment, wear a wide-neck tee so the artist can expose the area cleanly.
18. Tiny Teddy on the Thigh Outer Edge
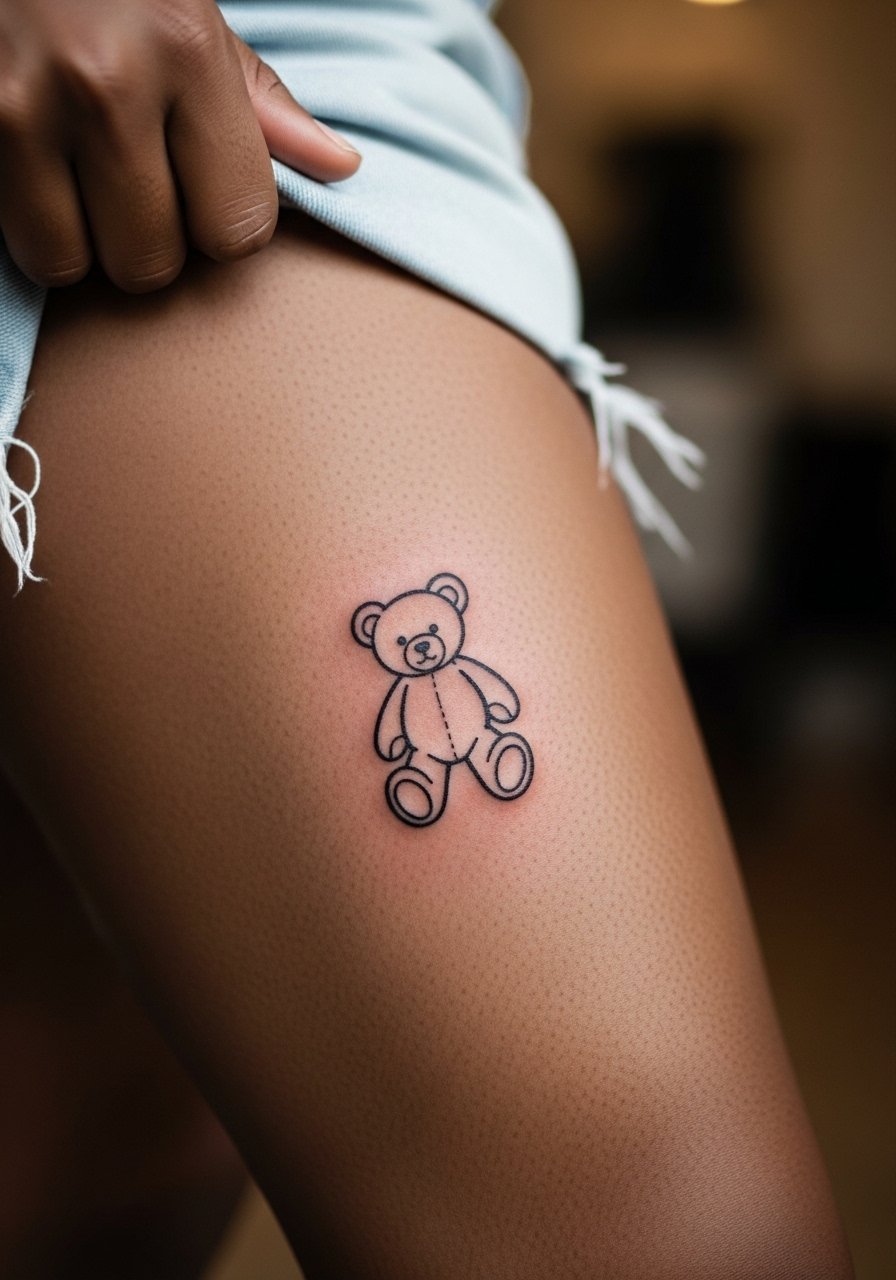
Outer thigh placements are forgiving and let you go slightly larger without losing clarity. The main mistake is adding tiny inner detail that will not read from a distance. Tell your artist you want clean outer line with minimal interior marks. Pain is low to moderate, and sessions are comfortable. For the session, wear loose shorts or a wrap skirt so the artist can access the spot without exposing more than necessary.
19. Tiny Teddy on the Lower Back
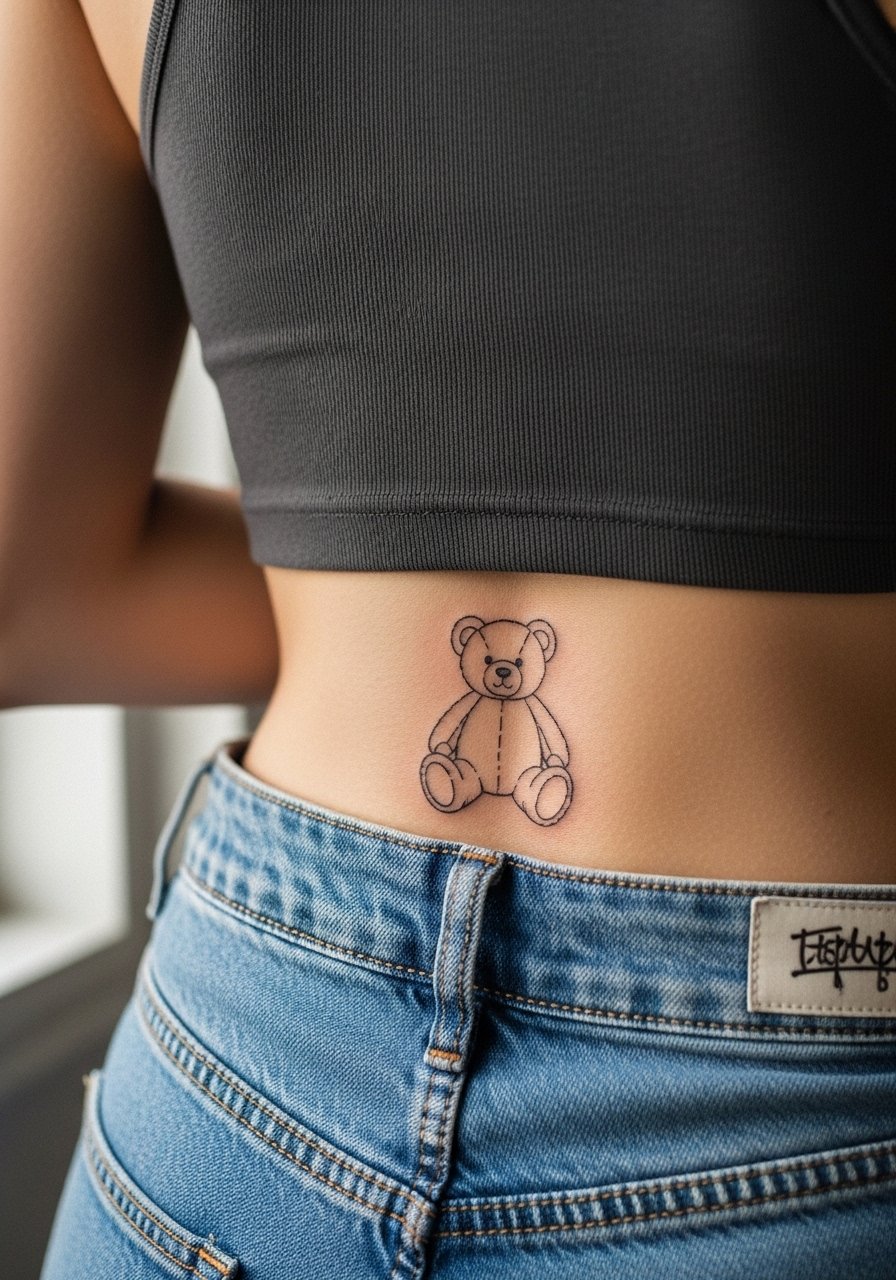
Lower back pieces sit well under clothing and age steadily if placed on the flatter part of the lumbar area. Avoid the spinal curve and request the artist to center the teddy on the flank for even healing. A common mistake is putting the design too low where waistband friction accelerates fading. Sessions are moderate in pain and short in time. For the appointment, wear a tank top you can lift so the artist sees only the tattoo zone.
20. Tiny Teddy Behind the Elbow Crease
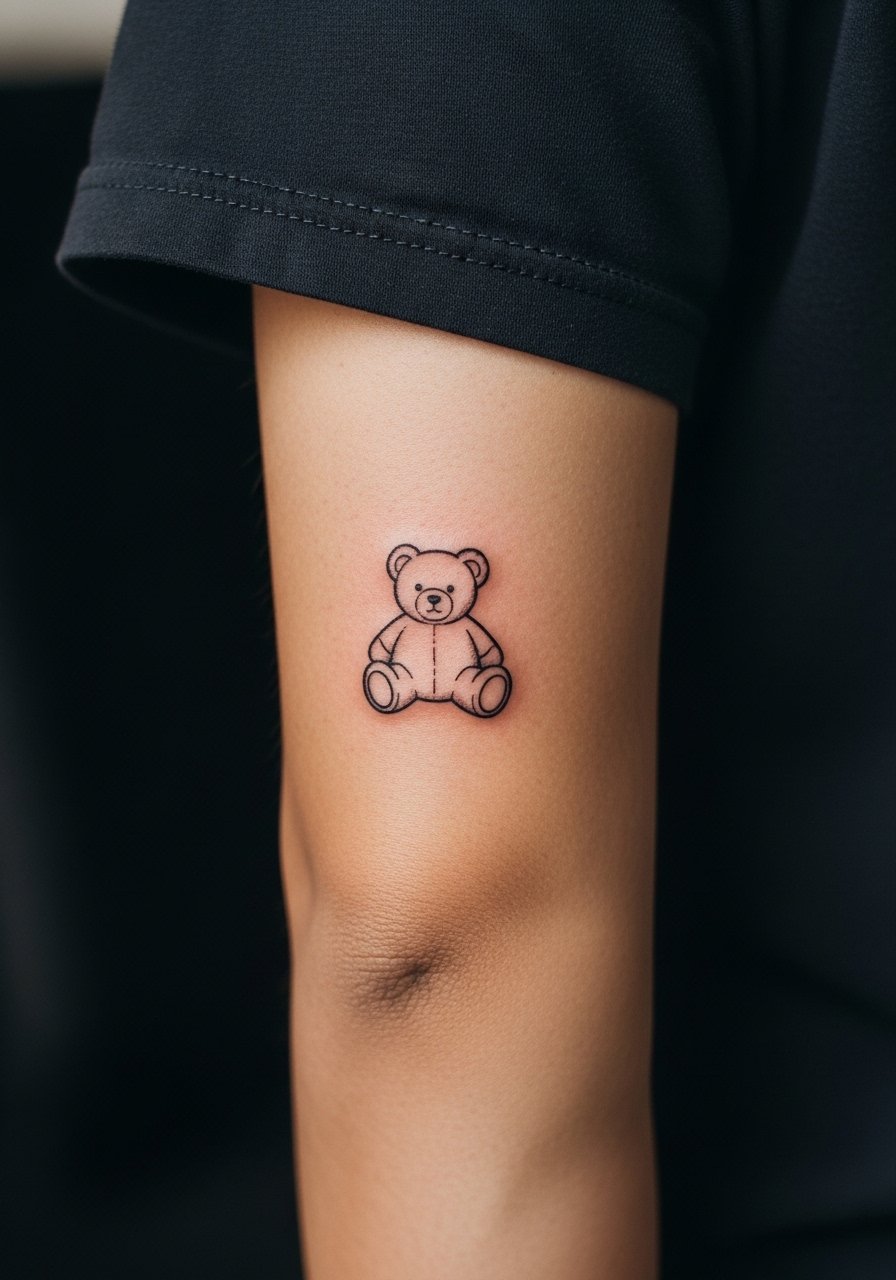
This placement is tricky because the skin folds constantly when you bend your arm. Ask your artist to place the motif slightly off the exact crease and to avoid tight internal lines. The most frequent error is centering symmetrical features on a moving fold, which causes distortion. Pain is moderate and the session may require repositioning. For the session, wear a short-sleeve button-down so you can roll or pull the sleeve without tugging.
21. Tiny Teddy Near the Collar of a Shoe, Minimal Anklet Placement
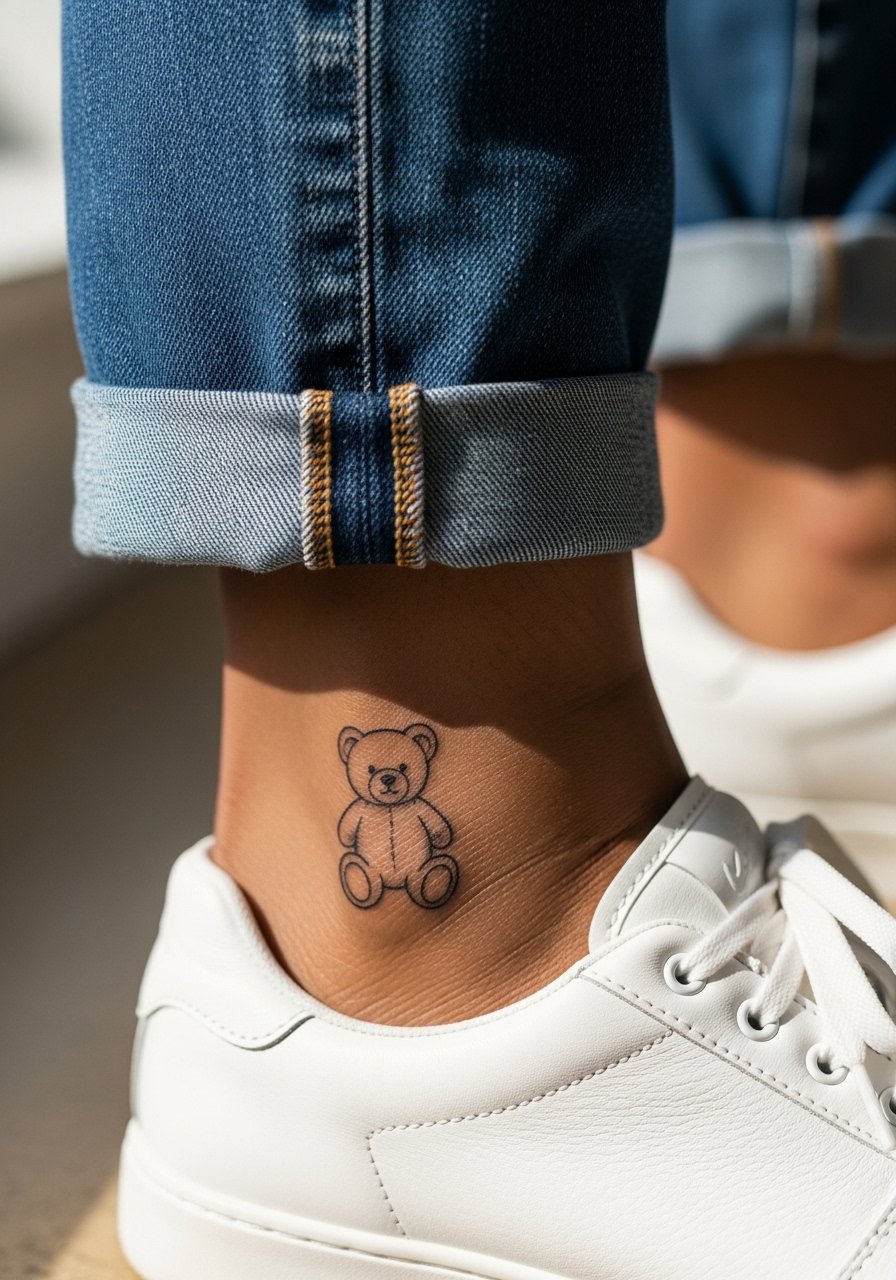
Placing a teddy near the shoe line can peek out when you sit, which is a playful choice. Make sure the artist places the design above any rubbing zone from laces or shoe seams. A common mistake is sitting too low on the ankle where shoes abrade the first healing days. Sessions are short and moderately sensitive. For the appointment, pick shoes you can slip off easily and wear jeans you can roll up so the area is accessible without pressure.
Frequently Asked Questions
Q: Will a fine line teddy bear blur faster on ribs than on forearm?
A: From what I have seen, ribs and forearm behave differently. Ribs move with breathing and can soften tight lines faster. The forearm gets more sun but stretches less. If you want fine line on the ribs, ask your artist to increase spacing and slightly reinforce the main contour so the silhouette keeps reading over time.
Q: How often should I expect touch-ups for tiny finger and wrist teddy tattoos?
A: Expect touch-ups sooner for fingers and wrists because of friction and washing. Many people plan on a touch-up within 12 to 24 months for finger pieces and around three years for wrist pieces. Protecting the area from sun and using gentle cleansers in the first weeks helps delay fading.
Q: Are there styling tips to make a small teddy on the collarbone look intentional with outfits?
A: Yes. A delicate collarbone piece sits best with open-necklines and fine jewelry that do not compete. A thin chain pendant worn slightly above the tattoo draws the eye without overlapping the art.
Q: Do artists agree on single-needle linework for sternum and neck placements?
A: Not entirely. One camp argues single-needle is fine if the artist spaces lines and accounts for skin tension. The other camp prefers slightly heavier contour lines in those zones to maintain legibility. Ask your artist which technique they favor and why, then match that to your long-term goals.
Q: What should I wear to a ribcage or sternum session to stay comfortable and covered?
A: Pick something easy to adjust and that keeps other areas covered. A fitted sports bra or a cropped top you can lift slightly usually works best. That way the artist has access without you feeling exposed.
Q: Is there any placement I should avoid if I work in a conservative office?
A: Visible spots like hands, lower neck, and face still carry more professional risk in some workplaces. If your job is conservative, consider placements that can be hidden by sleeves, collars, or hair until you know the culture.
