
Fine line Hunger Games motifs are all over feeds right now, and the gap between trend and longevity is real. Fresh tiny Mockingjays photograph beautifully, but placement and line weight dictate whether they still read crisp at year three. I keep an eye on what ages well and why, and in this list I focused on minimalist options you can live with daily, plus what to ask your artist in the consultation.
1. Minimalist Mockingjay Silhouette on the Wrist

This is the go-to for discreet fandom. Expect low session time and mild wrist sensitivity. Tell your artist you want a single continuous silhouette with slightly increased line weight compared with ultra-fine pins so the black holds for years. A common mistake is making the bird too small and thin, which invites early fading and possible touch-up by year two. For the session wear choose a sleeveless tank so sleeves do not rub the fresh ink, and pair the healed piece with a thin chain bracelet on the opposite wrist to balance attention.
2. Fine Line Mockingjay Pin Outline on Inner Forearm

The inner forearm gives room for a 2 to 3 inch fine line pin without crowding. Pain is low to moderate and the forearm is forgiving when it comes to touch-ups. When consulting, ask for slightly increased spacing in feather detail to avoid merging after two years. This design splits artists into two camps about longevity. One camp prefers bolder contour for long-term clarity. The other camp defends ultra-fine work if placed shallowly and spaced well. If you want easy show-off styling, roll up a linen button down shirt and stack a dainty ring stack.
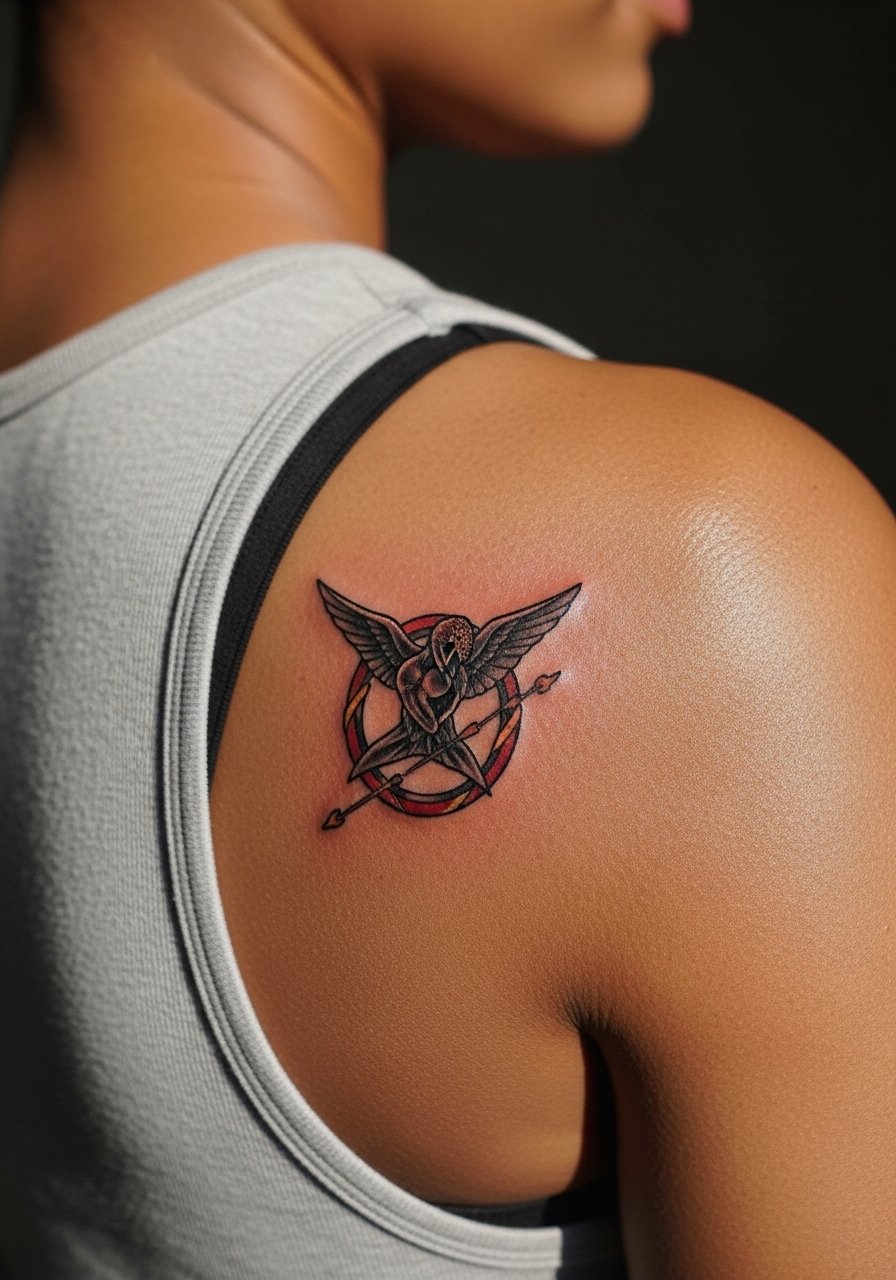
3. Blackwork Mockingjay With Arrow on the Shoulder

If you want visual punch and longevity, blackwork holds up better than ultra-fine ink in many cases. Shoulder sessions are moderate in pain and usually finish in one long visit. Tell the artist you want dense saturation in the bird body and a crisp negative space arrow to avoid feather muddiness later. A common error is over-detailing in a 3 inch piece, which looks busy after healing. For session ease wear a loose vest top so the shoulder is accessible and the artist can angle the needle cleanly.
4. Minimalist Peeta Bread Loaf Motif on the Ankle

This small symbol reads as an intimate nod to the Mellark story line and makes for a gentle ankle piece. Ankle sessions have higher friction during healing, so expect slower scab formation and a slightly longer visible healing window. Ask for a compact, slightly bolder outline so daily socks and shoes do not abrade the linework into patchiness. A frequent mistake is placing it too close to the Achilles where stretching and rubbing increase blowout risk. Show it off with strappy sandals and cropped ankle pants.
5. Watercolor Mockingjay Burst on Upper Back

Upper back pieces allow larger bursts of color for fans who want more drama. Watercolor needs attentive aftercare to keep pigments bright, and expect a two-session setup for saturation. Tell the artist which palette you prefer and ask for darker anchor lines so the silhouette survives color fade. Most watercolor fans accept that touch-ups may be needed sooner than blackwork. For evenings pair the piece with a backless dress so the color reads against skin.
6. Fine Line Bow and Arrow on the Collarbone
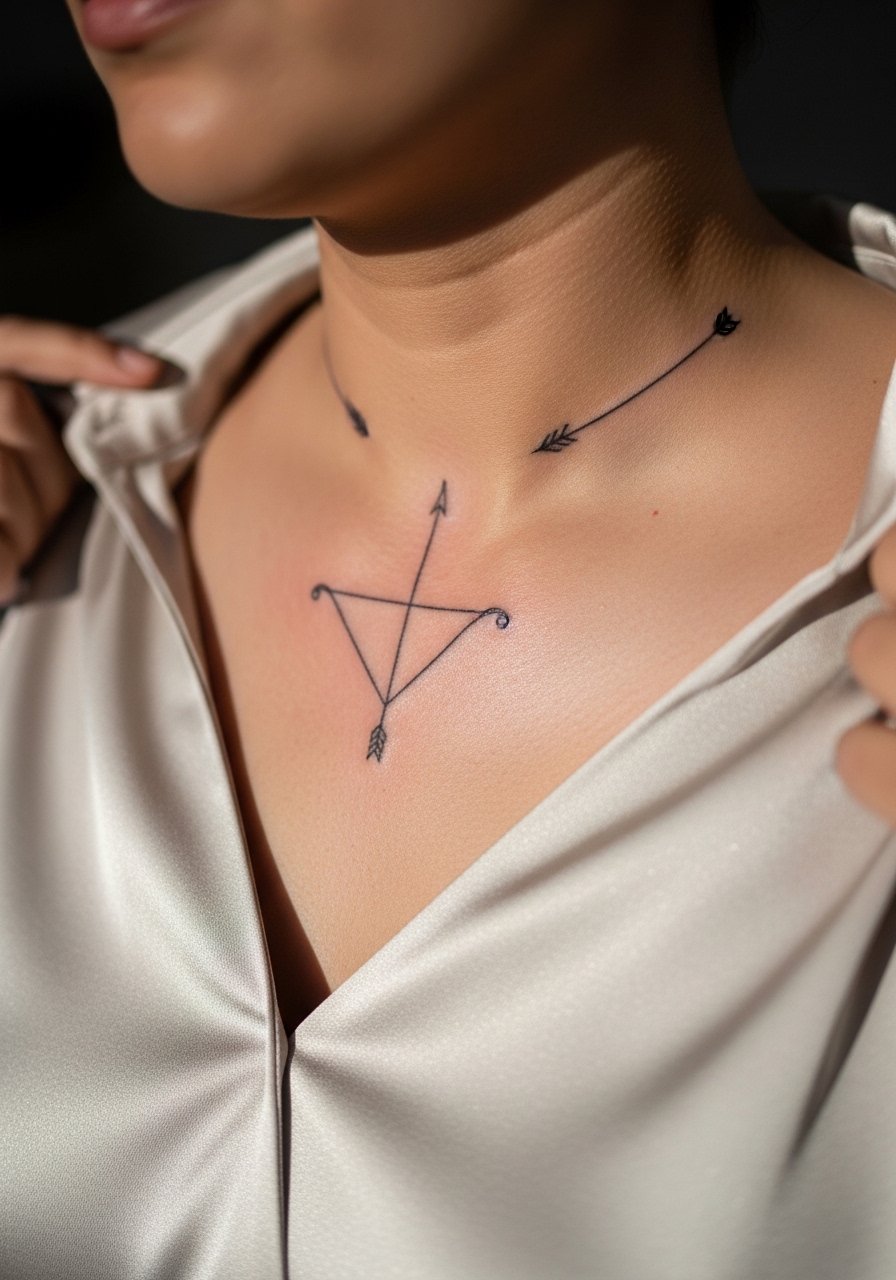
Collarbone placements can be sharp visually and sharp in pain. The skin there is thin and the sensation is brisk. Ask for controlled linework with slightly thicker main contours and delicate interior detail. A typical mistake is cramming too much script or ornament into the two-inch space. If you want to show it off, a v neck silk blouse and a delicate necklace chain sit beautifully above the bow without competing.
Studio Day Picks
The wrist, ankle, collarbone, forearm, and upper-back pieces above each have different prep needs. These five items smooth the session and heal window for small to medium minimalist work.
-
Stencil transfer paper kit. Lets you preview placement and scale on skin before the needle touches down, which matters for wrist and collarbone designs.
-
Topical numbing cream. Applied per instructions it eases the edge for bony areas like the collarbone and ankle without dulling the artist’s feedback.
-
Thin protective film roll. Shields wrist and finger pieces from friction and water for the first 24 to 72 hours.
-
Fragrance-free body wash. Gentle cleansing during showers helps fine line pieces avoid irritation while the skin repairs.
-
Aquaphor healing ointment. A thin layer in the early days keeps fine line grooves hydrated without suffocating the channels.
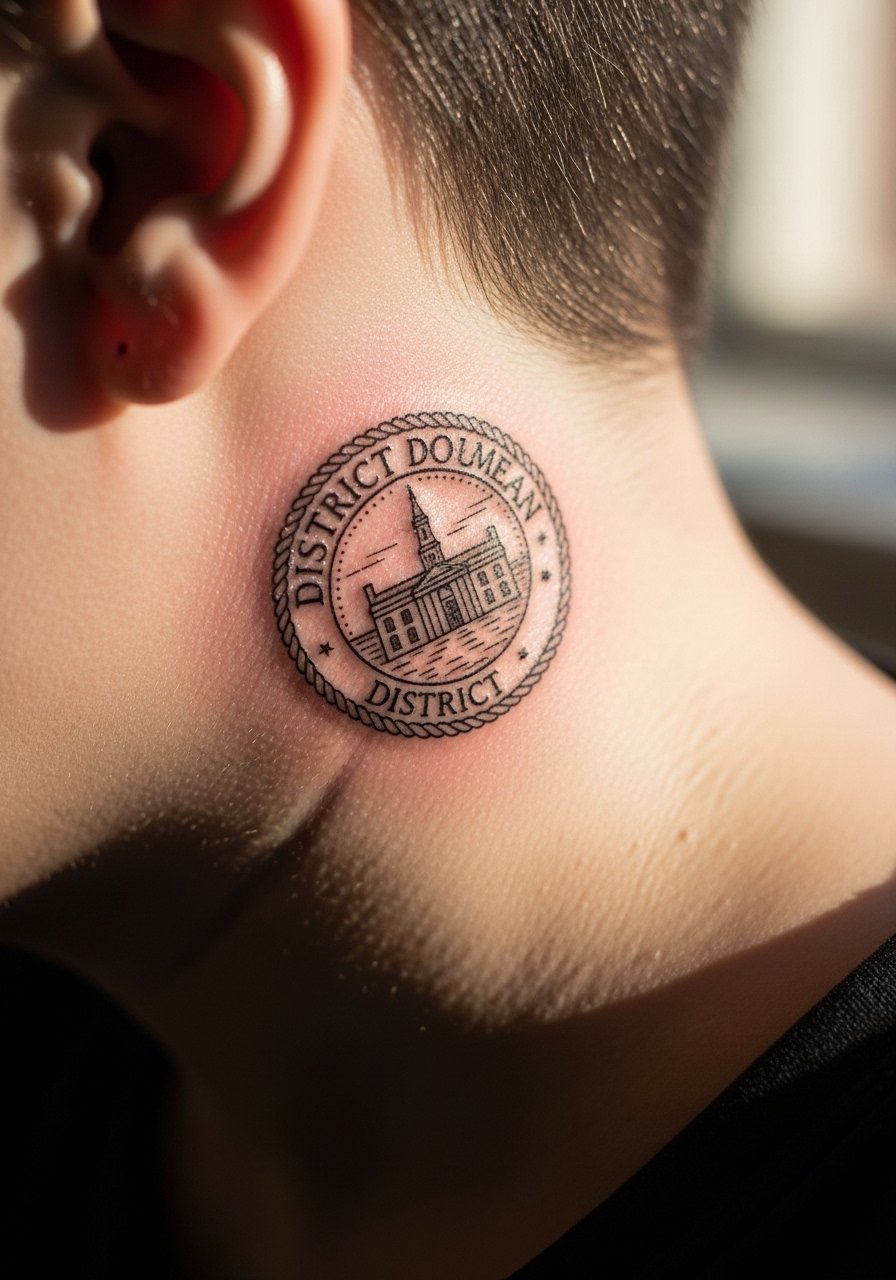
7. Micro-Realism District Seal on the Inner Bicep

Inner bicep work sits where touch-ups are easy and visibility is private. Expect moderate pain because the skin flexes when the arm moves. For micro-realism request high-contrast grays and simplified negative space so tiny elements do not blur into each other. A rookie move is asking for a district seal with the original full-detail crest shrunk below one inch. That compresses detail and ages poorly. For the session wear a loose tank top you can lift without tugging.
8. Minimalist Hunger Games Logo Arc on the Inner Bicep
The inner bicep gives a neat canvas for geometric arcs. Aging on this skin depends on movement and weight fluctuation, so plan for a slightly larger radius than you might on paper. A common mistake is requesting ultra-tight spacing. That invites early merging when the skin stretches. Tell your artist you want negative space between the arc lines so the geometry reads at three and five years healed. Session time is short and pain is moderate.
9. Neo-Traditional Mockingjay With Flames on the Forearm

Forearm pieces let neo-traditional motifs breathe, and flame accents are a classic way to add motion without heavy detail. Expect mild pain and often two sessions for color saturation. In consultation specify which elements you want in color and which in black to prevent overwork. A mistake is squeezing too many colors in a small forearm space which leads to muddy patches. For easy access on the day wear a rolled sleeve linen shirt you can push up.
10. Ornamental District Tribute Knot on the Ribcage
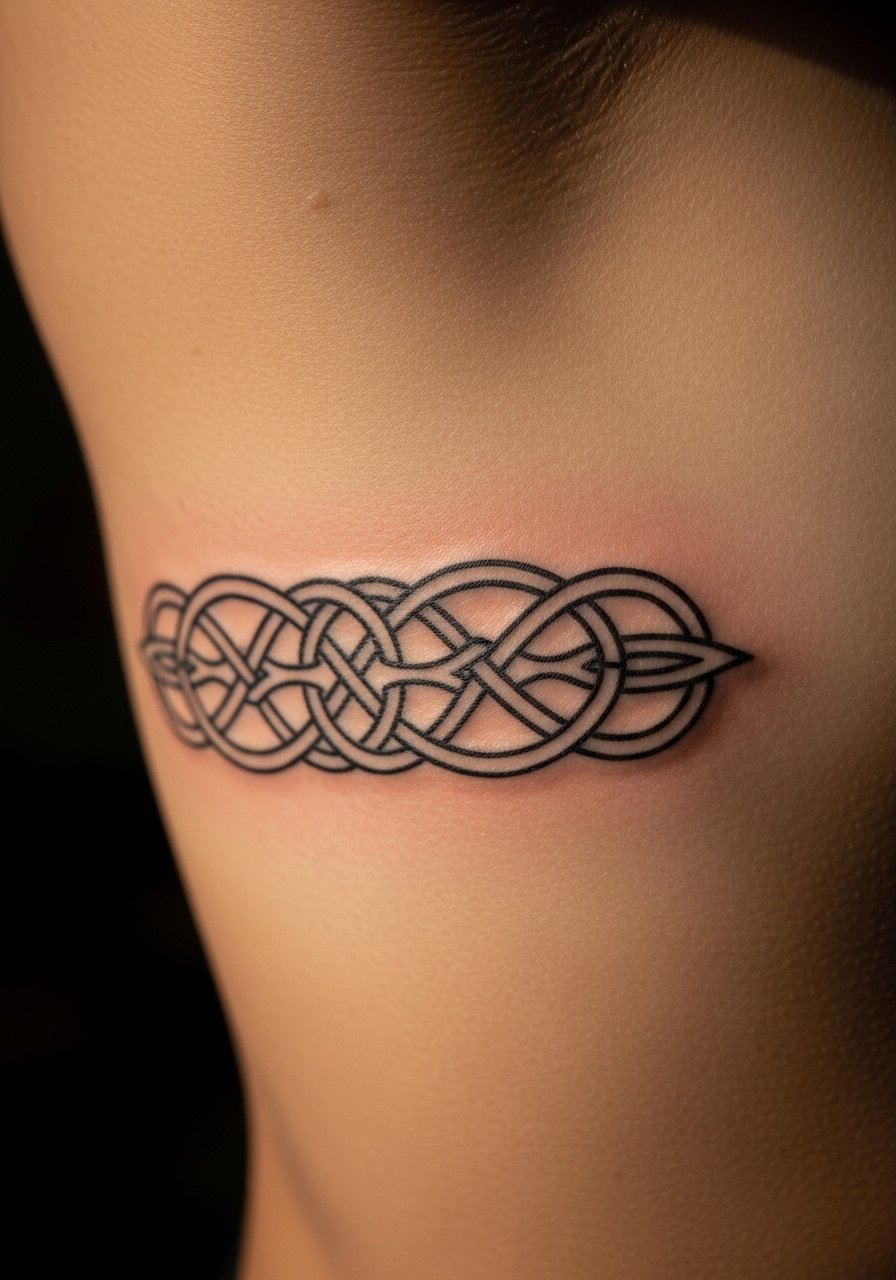
Ribcage work ranks high on pain scales, but it provides a dramatic, private canvas. Artists split on fine line there. One camp warns that skin stretch and breathing blur dense knot work within two years. The other camp says with proper spacing and conservative needle depth the lines can remain crisp. If you pick this zone, ask specifically how they handle rib stretch and expect to book a touch-up around year two to three for intricate knots. Wear a cropped top so the artist can lift fabric without exposure.
11. Ignorant Style Mockingjay Scribble on the Calf

Calf placements heal predictably and tolerate bolder, expressive work. Ignorant style looks improvised by design, but avoid asking for “scribble” without references because you risk a messy composition. Say you want raw ink energy but with intentional negative space around the bird so the form remains readable at six months. Sessions are comfortable and most clients return for no touch-up unless they desire deeper saturation. Pair with casual shorts or a skirt to show it off.
12. Fine Line "May the Odds" Script Arc on the Neck

Neck lettering reads strong but requires careful font selection to age. Thin scripts can blur on this mobile area, so request a slightly heavier main stroke while keeping elegant letter spacing. One common mistake is choosing a trending font that becomes illegible after a year. Discuss touch-up expectations with the artist and expect quicker fading than a forearm script. For session comfort wear a wide-neck shirt you can pull aside easily.
13. Behind-Ear Mini Mockingjay for Concealable Rebellion

Behind-ear tattoos are small and surprisingly intimate. The area is sensitive and often needs a steady hand for crisp hairline strokes. Tell your artist you want the bird placed just below the hairline and ask to preview the stencil while the hair is pinned up. Mistiming the stencil or letting the design creep too close to the ear cartilage invites uneven healing. This spot is great for concealable fandom if you plan for minimal visibility in professional settings.
14. Minimal Arrow Stack Along the Outer Forearm
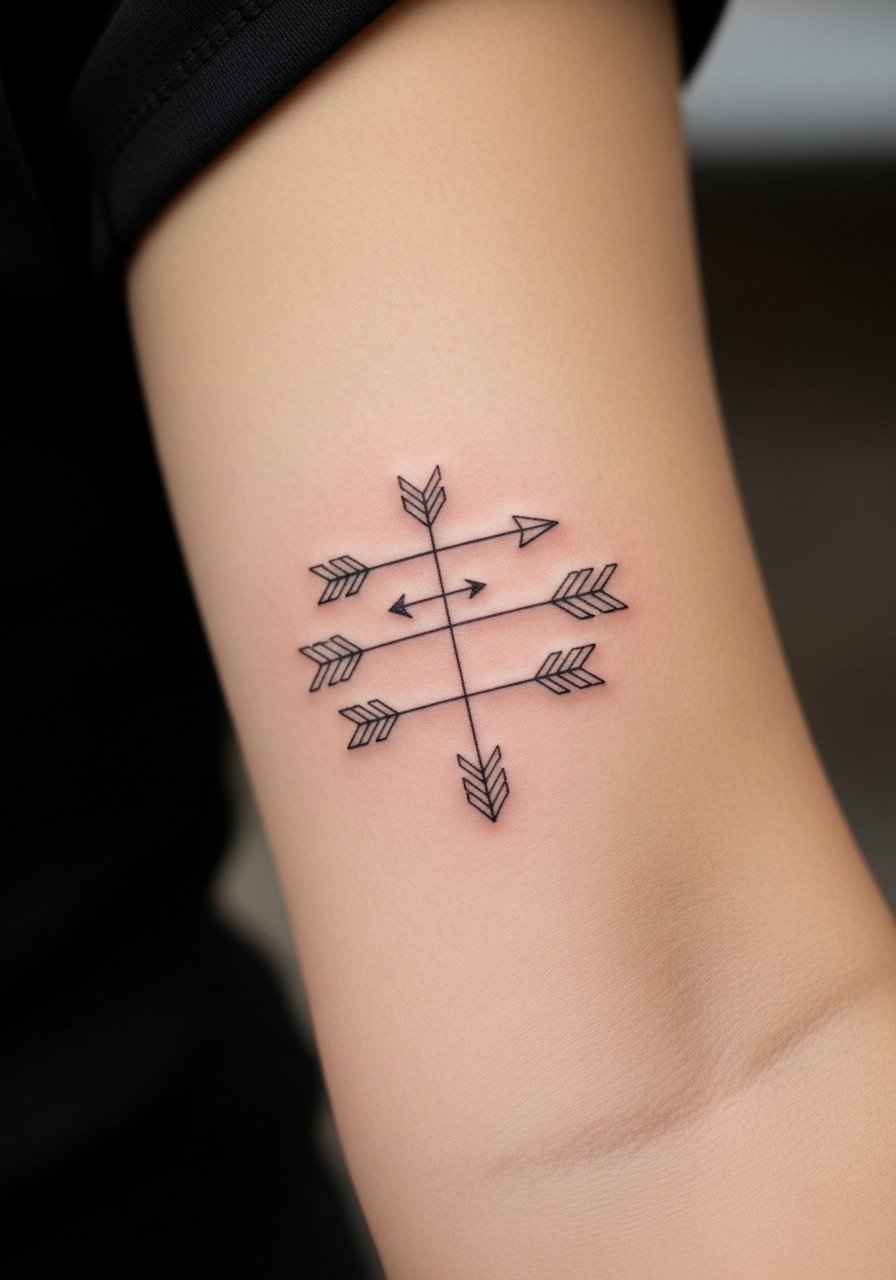
Outer forearm arrows are modern and low maintenance. They handle modest line weight increases well and are resilient to everyday sun exposure compared with inner arm placements. A common mistake is making the arrows too frequent and close together, which causes them to read as a dark band after several years. Tell your artist you prefer equal spacing and ask for a small test line to check ink saturation. For easy session access wear a short-sleeve tee you can roll up.
15. Micro District Symbol Wrist Stack

Stacked wrist seals are subtle and tailored. The wrist is high-motion and frequently washed, so request slightly bolder edges in each tiny seal to prevent early softening. A common error is requesting micro detail below one centimeter which then blurs. Expect touch-ups around year two if you want crisp seals. For showing the set try a linen cuff bracelet on the opposite wrist so the stack reads intentionally placed.
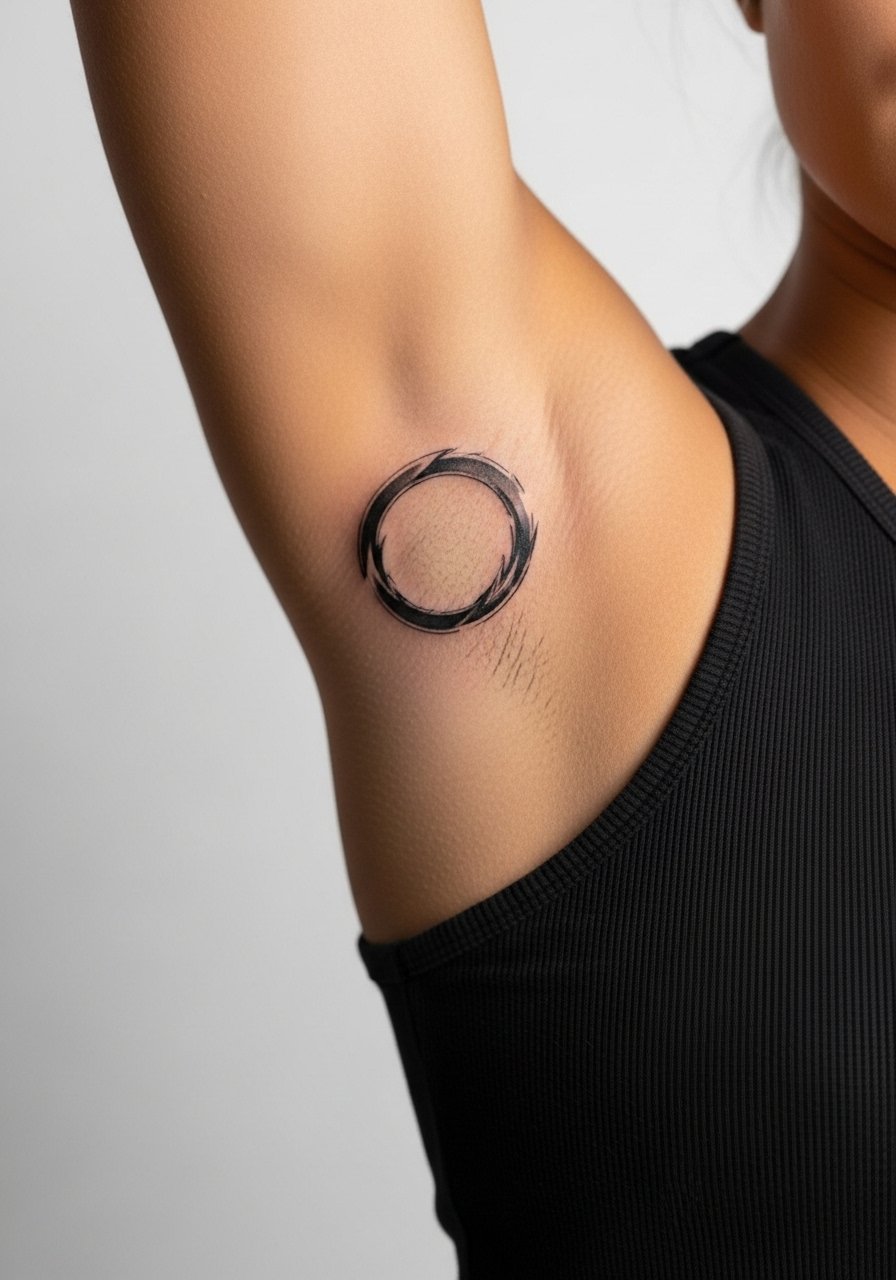
16. Minimalist Arena Wire Arc on the Inner Bicep
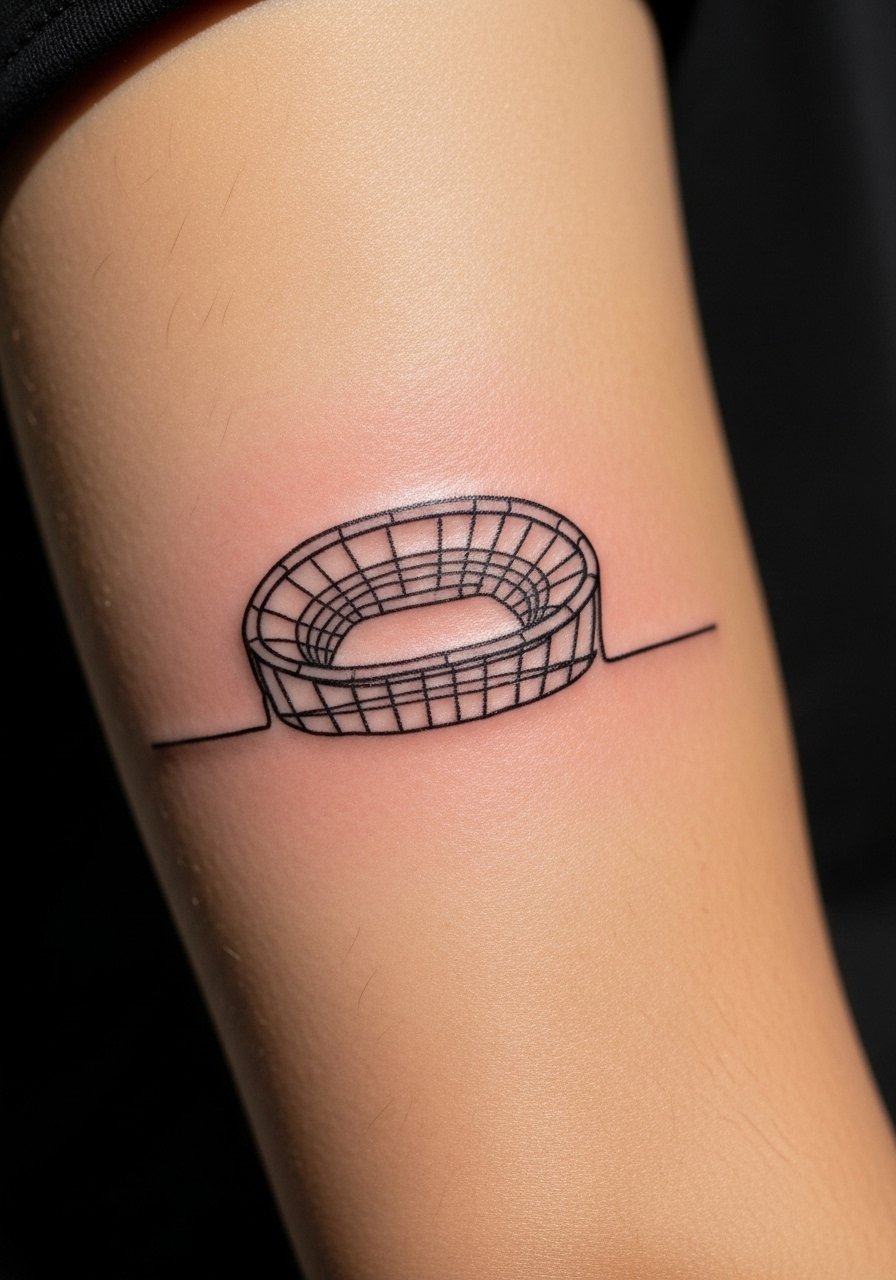
Inner bicep arcs make for an understated wrap that only shows when you flex. This area handles thin lines better than hands, but avoid pin-thin wire if you want longevity. Ask the artist for a slightly stronger anchor line and light shading to give the arc presence. Mistakes happen when clients try to compress long arcs into tiny spaces which results in distortion as the skin moves. Wear a loose button-down for the appointment.
17. Small Neo-Flash Mockingjay Behind the Shoulder
Behind-shoulder spots are discreet and pair well with off-shoulder tops. The area is tolerant of color and bold lines while remaining easy to conceal. Ask for clear negative space between feathers so the bird does not merge into a block after a few years. Session pain is low and most people book a single appointment. For showing off try an off shoulder top that frames the bird without exposing too much skin.
18. Minimalist Constellation Mockingjay on the Ankle

Ankle constellations look delicate but endure constant abrasion. Ask for slightly stronger dot work and thicker connecting lines than you would for a collarbone piece to resist early fading. Ankle placements are susceptible to blowout if placed too low near bony areas, so check the stencil position carefully. Wear loose pants that can be rolled up for the session and use sandals during healing to avoid shoe pressure.
19. Stipple-Shaded Mockingjay on the Upper Thigh

Upper thigh work tolerates detailed stippling and remains private if you prefer low visibility. Pain ranges moderate and the fleshy area helps saturation settle evenly. For stipple shading request defined dot density so midtones do not turn into flat gray after healing. A mistake is asking for ultra-fine stippling too close to the hip bone where movement can blur the dots. Wear high-waisted shorts you can adjust without rubbing.
20. Minimal Script Wrap Around the Wrist
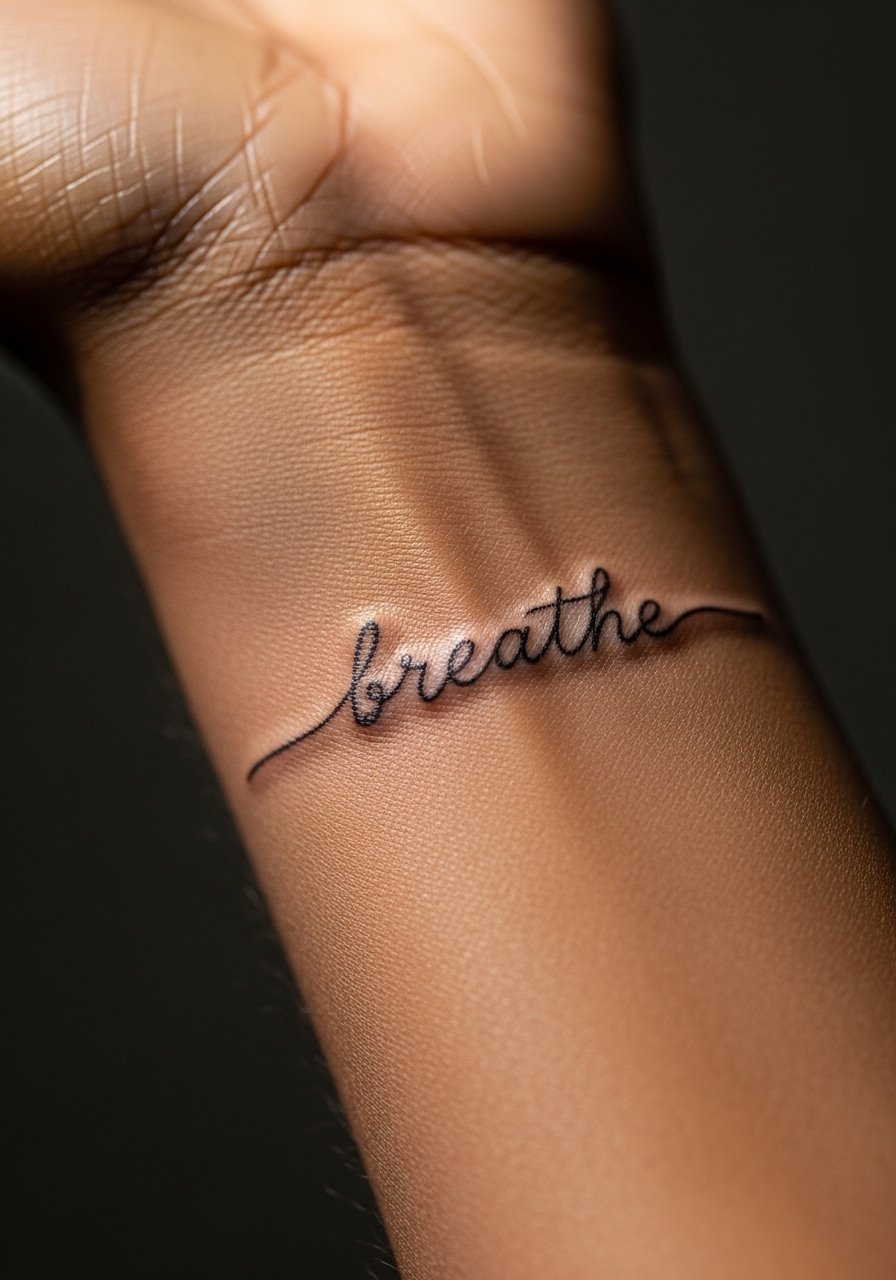
Wrap scripts are intimate but the wrist invites frequent washing which accelerates fading. Choose a slightly heavier script than the thinnest cursive to improve legibility in two years. Ask to see a full-size stencil wrapped around your wrist before the needle. Many pick fonts online without checking how they sit on cylindrical skin which leads to cramped letters. For showing off, stack dainty bracelets sparsely so the script remains the focal point.
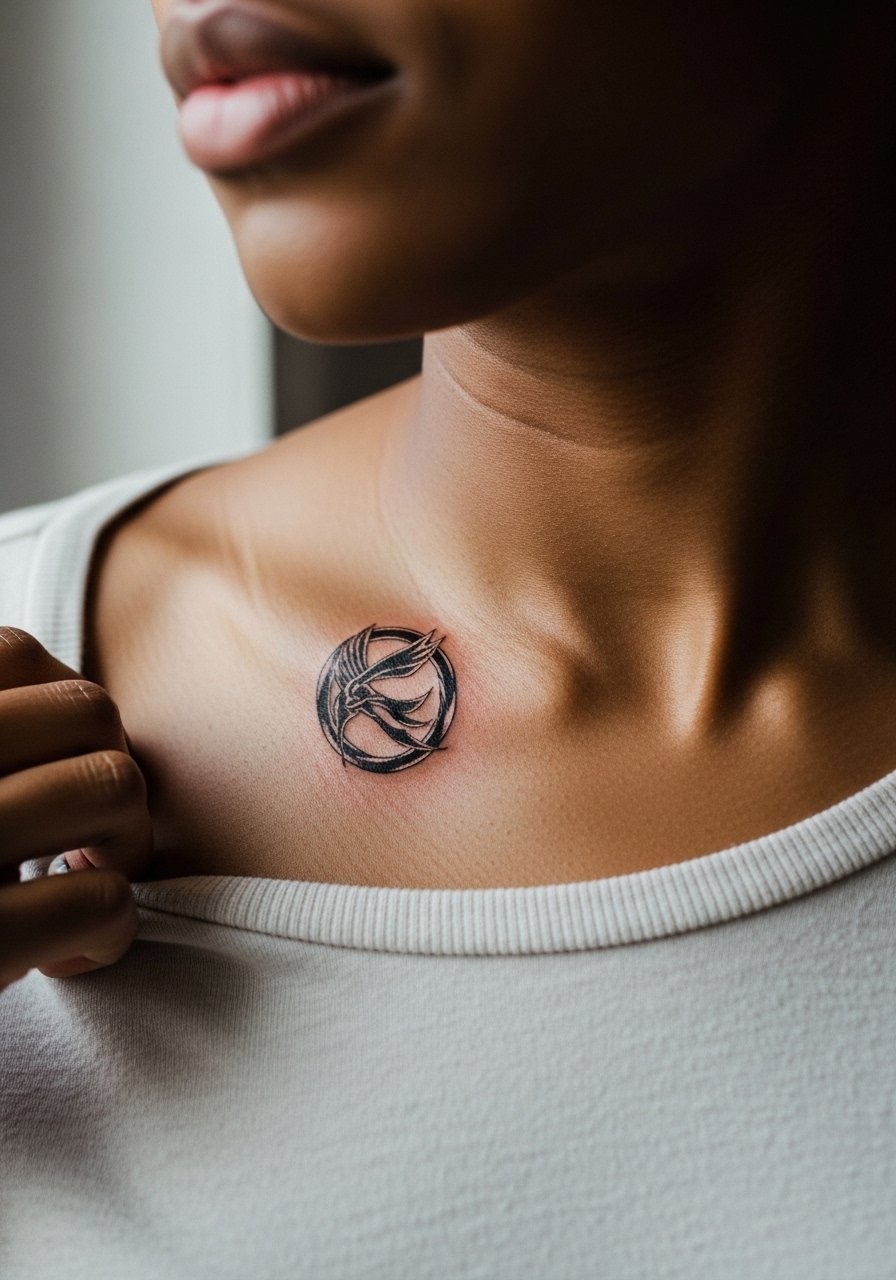
21. Minimalist Matchstick Fire on the Collarbone

Small, iconic motifs on the collarbone read editorial but demand careful placement. Thin shafts are vulnerable to early fading in collarbone skin, so ask for a defined main shaft and a delicate flame tip. Pain will be pronounced for people sensitive to bony contact. A common mistake is asking for additional tiny ornaments that clutter the two-inch zone. Pair this with a delicate necklace chain that sits under the script line.
22. Minimalist Arrow Along the Rib Side
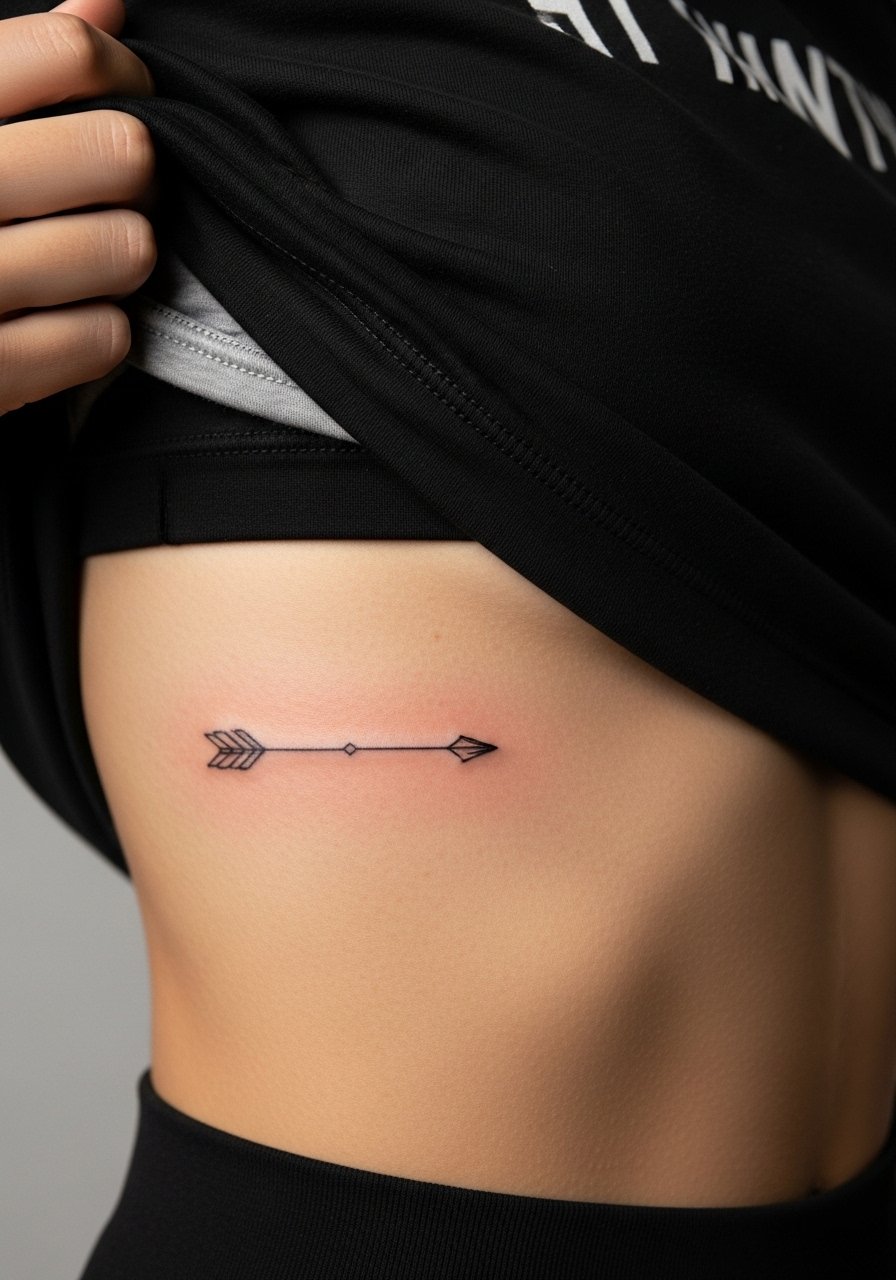
Side ribwork is high on intensity but low on daily visibility. The skin moves a lot when breathing so artists often recommend slightly more space between line elements. Avoid choosing microscopic arrows that the body will reshape with movement. Expect a touch-up down the line if you want razor-sharp edges. For the session, a fitted sports bra lets the artist lift fabric without full exposure.
23. Micro-Fine District Seal Behind the Ear Lobe Line
This tiny placement is clever for fans who want their district discreet. It is sensitive and requires a meticulous stencil preview because hair will often cover it. Ask for simplified negative space and bolder outer rings so the seal reads as a symbol even if the inner detail softens over time. Keep expectations realistic about intricate text inside the seal. This area heals quickly but can show early fading if shampooing is too aggressive.
24. Minimalist Hunger Games Logo as a Collar Arc
A collar arc sits flatter than a shoulder piece and shows well with open necklines. Ask for a clean geometric arc with consistent spacing so the logo does not turn into a shadow over time. A frequent error is compressing logo geometry too much which makes it illegible after a few years. For the session wear a wide-neck shirt you can adjust easily.
25. Minimalist Peeta Bread Loaf as a Ring on the Finger

Finger and ring tattoos are trend-forward but fast to fade because of constant washing and friction. If you want a loaf motif here, opt for a bolder outline and accept that yearly touch-ups may be necessary. The biggest mistake is demanding intricate internal shading on such a tiny canvas. Discuss realistic longevity with your artist and consider placing the loaf on the side of the finger instead of the pad to reduce wear.
26. Minimalist Neo-Flash Mockingjay on the Lower Back

Lower back pieces give a broad canvas and tolerate heavier lines for longevity. The area has low daily sun exposure which helps preservation, but avoid overly tiny feathers that will soften. A mistake is compressing a large design into a narrow horizontal band which forces detail loss. For session access a tank top with high-waisted pants adjusted slightly gives the artist clean reach.
27. Minimalist Bow and Arrow Anklet Curve
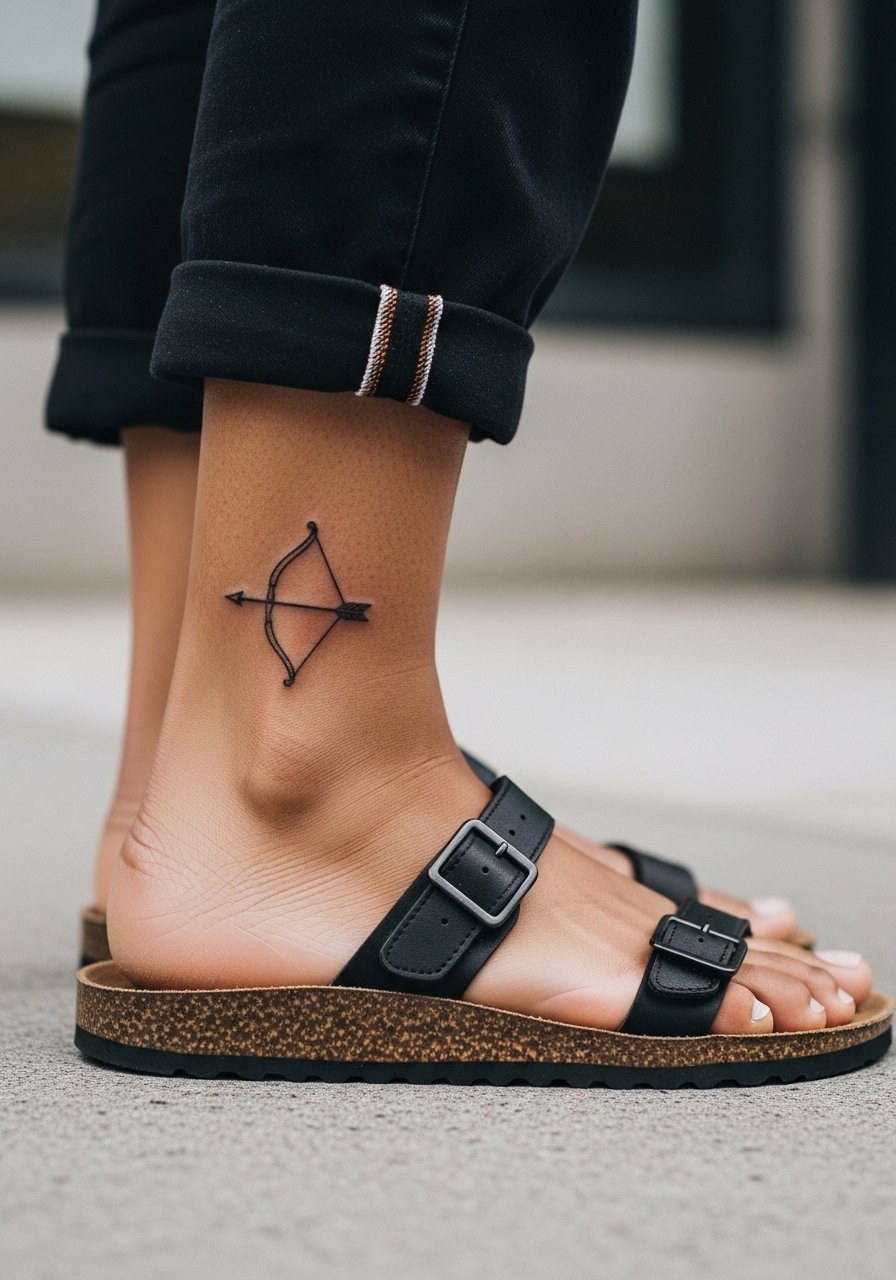
Anklet curves are playful and functionally similar to wrist wraps in terms of wear. Expect abrasion from shoes and socks, so request an outlined curve with reinforced points at the ends rather than a single whisper line. Common mistakes include placing the curve where shoe straps chafe which accelerates fading. For showing off choose cropped pants and strappy sandals so the anklet motif reads as an accessory.
Frequently Asked Questions
Q: How long will a fine line Mockingjay on my wrist stay crisp before needing a touch-up?
A: It depends on your daily routines and sun exposure. In my experience a wrist fine line can look great for one to three years before a subtle softening appears. Opting for slightly heavier primary contours and limiting sun will push that window longer.
Q: Are fine line scripts better on the collarbone or the neck for longevity?
A: Collarbone scripts usually age a bit better because the skin is less mobile than the side of the neck. Neck scripts can blur faster. If you favor neck placement ask for increased letter spacing and a stronger main stroke to improve legibility over time.
Q: Should I pick blackwork instead of fine line if I want my Mockingjay to last without touch-ups?
A: Artists split on this. One camp says bold blackwork resists fading and looks cleaner after five years. The other camp says well-executed fine line with proper spacing can hold up too. Ask how your artist approaches line depth and spacing and decide based on their portfolio.
Q: I have darker skin tones. Do certain Hunger Games symbols photograph or heal better on darker skin?
A: High-contrast elements like solid black silhouettes and bold outlines tend to read more consistently across skin tones. Micro-realism requires a very experienced hand for contrast control. Ask to see healed work on similar skin tones before booking.
Q: If I want a minimal bread loaf on the ankle, what should I wear to the session and afterward?
A: For the appointment wear loose pants you can roll or pull up so the artist can work without pressure on the area. During healing choose sandals or open shoes for the first week to avoid friction from sneakers and socks.
Q: Do watercolor Mockingjay pieces need different aftercare than blackwork pieces?
A: Watercolor often needs gentler sun avoidance and sometimes a second color session for saturation. Blackwork depends more on saturation during the session. Both benefit from gentle cleansing and short-term protective film, which are covered in the Studio Day Picks above.
Q: How do I find artists who specialize in fine line Hunger Games work without naming anyone directly?
A: Search hashtags like #MinimalistMockingjay and #FineLineTattoo on social platforms, check convention listings for fine line guest spots, and use studio directories to filter by style. Also review healed portfolios rather than only fresh work so you can judge longevity.
