
Fine line teddy bear tattoos are everywhere on feeds right now, and the trend gap is obvious. What looks flawless on a phone can soften on skin after a few years if line weight, placement, or aftercare were wrong from the start. These 17 designs focus on minimalist approaches that photograph well fresh and also give you realistic expectations for how they heal, what to ask your artist, and what to wear to the appointment.
1. Single-line sitting teddy on the inner wrist
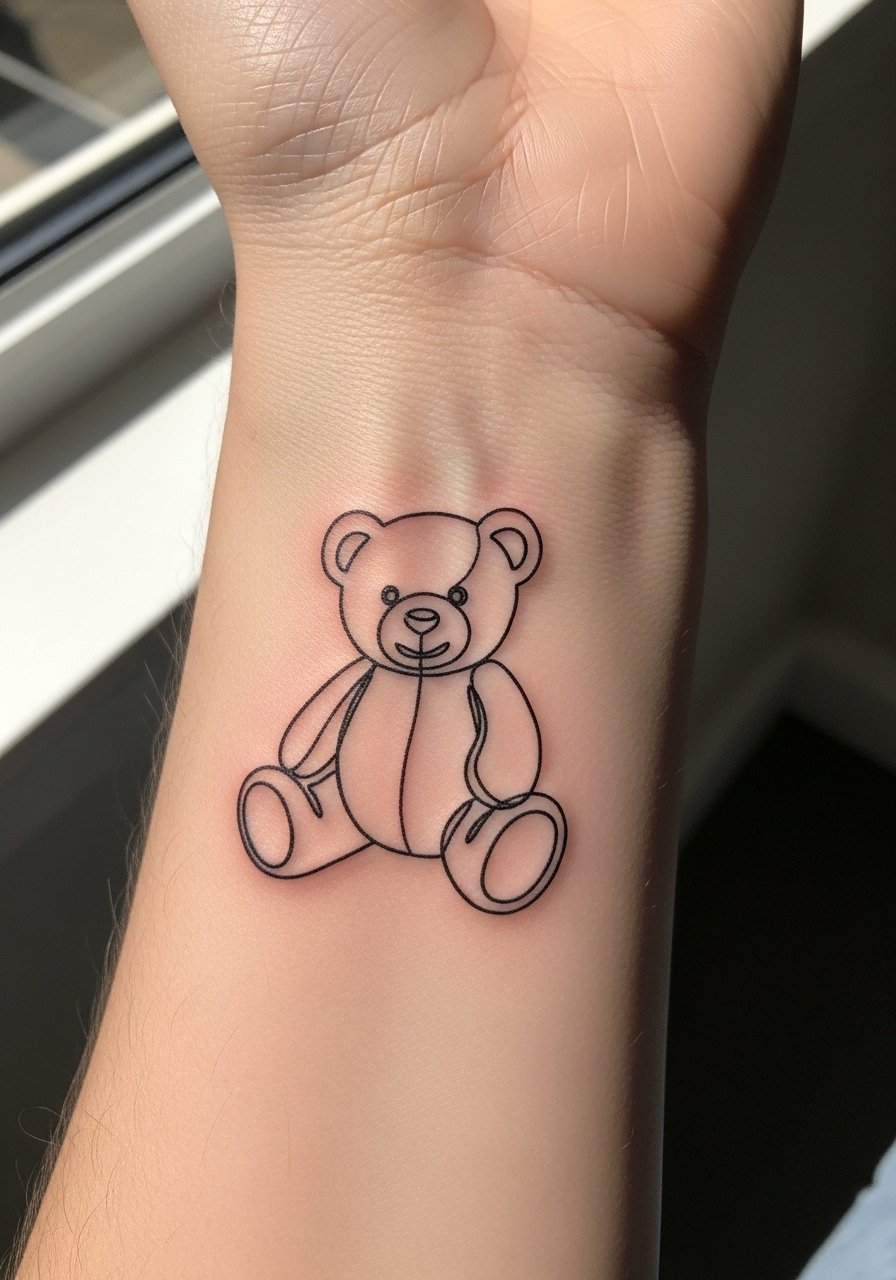
I recommend this when you want a recognizable symbol without fuss. Ask for one unbroken line with a slightly bolder start and stop so the silhouette reads from a distance. The inner wrist is easy to show off but takes more sun exposure than you might expect, and very thin lines can soften after two to three years. For the session wear short sleeves and leave watches off the tattoo wrist. For showing this design, try a minimalist watch on your other wrist so the tattoo still reads as intentional rather than crowded. Expect a quick 20 to 40 minute session and a touch-up around year three if you live in the sun a lot.
2. Micro teddy head with dot eyes behind the ear

This tiny face looks charming tucked behind the ear and is ideal if you want a mostly private piece. Tell your artist you want crisp spacing between the dots and the snout curve so the features do not merge while healing. Keep in mind placement visibility depends on hairstyle, and behind-the-ear skin can be prone to small scabs if you sleep on that side. Because it is micro, the session is short and the blowout risk is low if the artist uses shallow, consistent passes. This placement does not lend itself to visible outfit pairings during everyday wear, so think of it as intermittently revealed by hair-ups.
3. Geometric outline teddy on the outer forearm
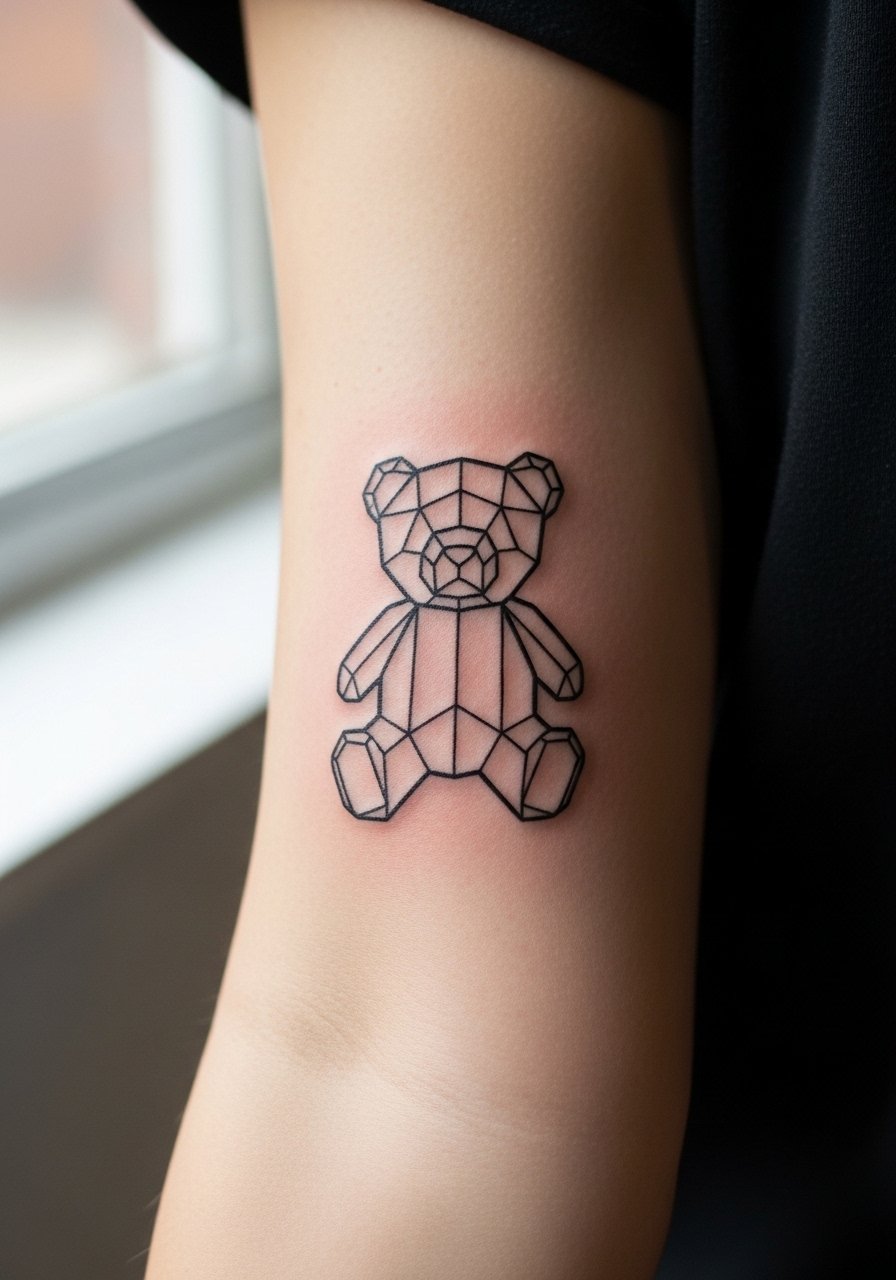
Geometric lines give a modern, slightly abstract take. The main consultation note is spacing. Ask your artist to leave breathing room in each angle so lines do not run together as the tattoo ages. The outer forearm is forgiving for minimalist geometry. For showing the piece, rolled sleeves or a linen button down shirt pushed up one cuff frames the forearm without distracting from the linework. Expect a 30 to 60 minute session. The most common mistake is asking for too many tiny interior angles, which tend to blur into a block after a few years.
4. Silhouette bear holding a tiny heart on the ankle
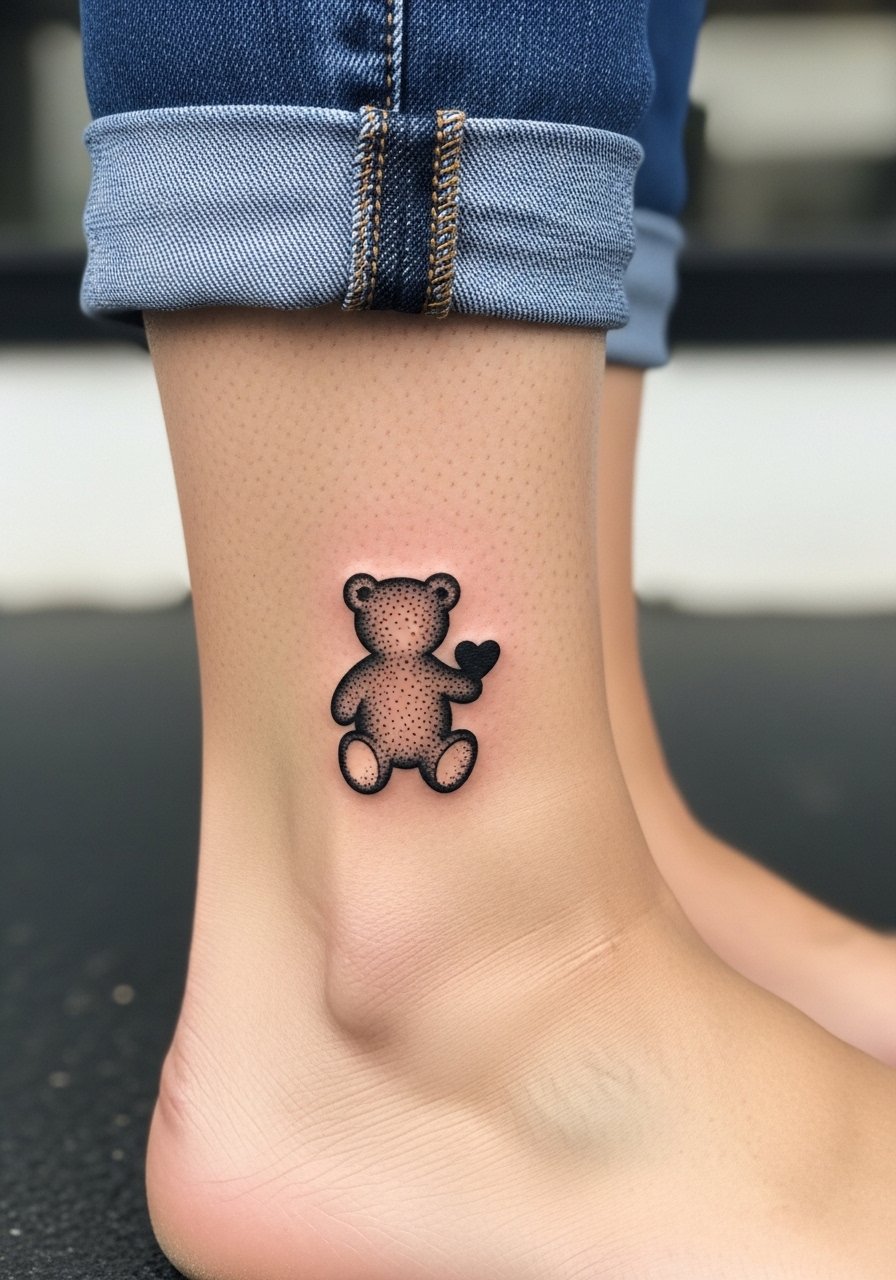
A silhouette is a forgiving option if you want solid shape rather than fragile linework. The ankle sees a lot of friction from socks and shoes while healing, so plan session wear accordingly. For after sessions and show-off styling, pair the tattoo with strappy sandal women looks in warm weather and cuffed jeans otherwise. Expect some tenderness during the day after your session since the ankle has thinner skin over bone. If you want a slightly softer edge, request micro shading inside the silhouette rather than a single heavy fill. That gives dimension while still reading as minimalist.
5. Continuous-line teddy face behind the earlobe
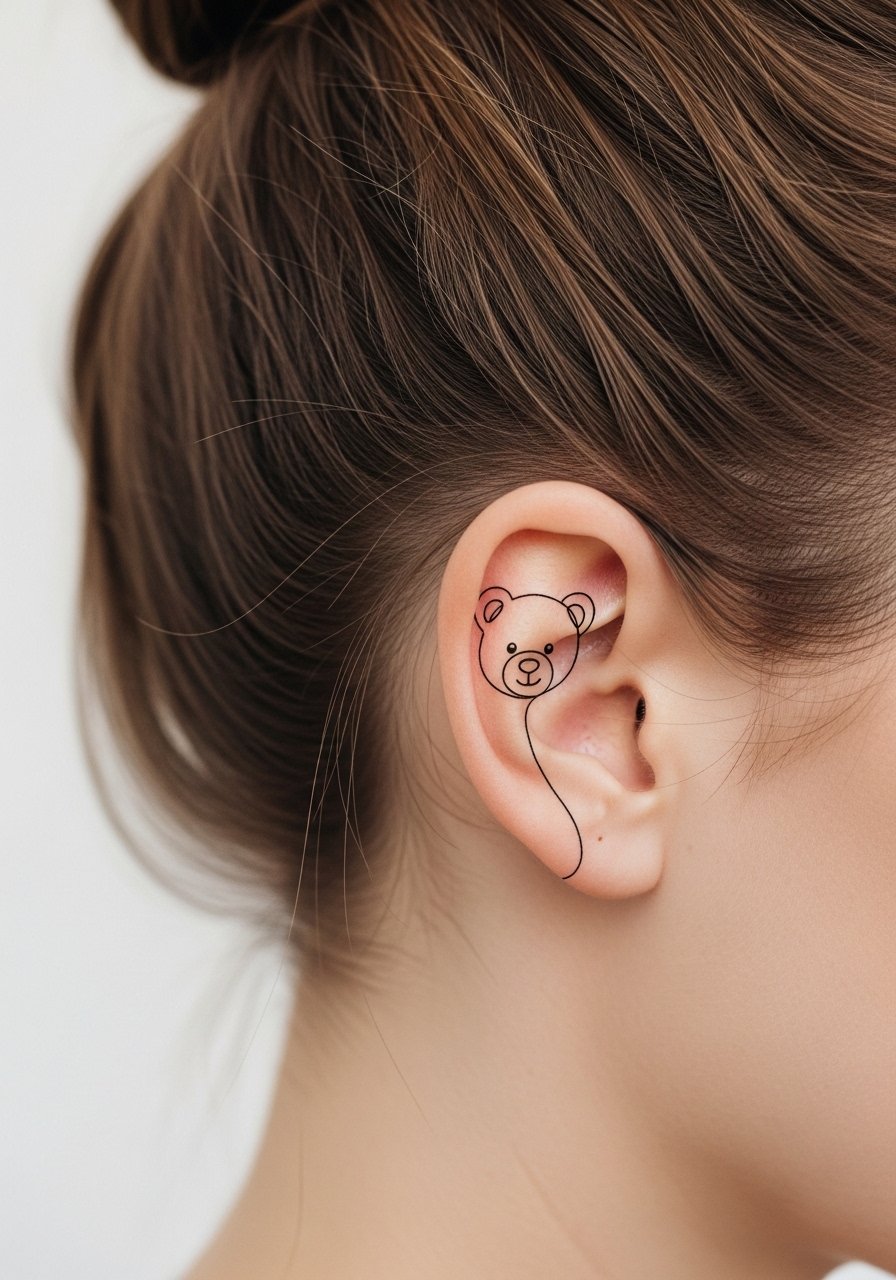
This style emphasizes one clean gesture that forms the whole face. The trick is to agree on where the line thickens slightly so eyes and snout remain visible after healing. Because this is a single-curve approach, any wobble in the stencil will be obvious. A good consultation includes a preview stencil so you can see how it follows your ear curve. Behind-ear pieces often show better in person than in photos, so temper expectations for how it will appear in social images. Session time is short, and touch-ups are common for micro continuous lines at the two to four year mark.
6. Stippled three-quarter teddy with dotwork texture on the upper arm
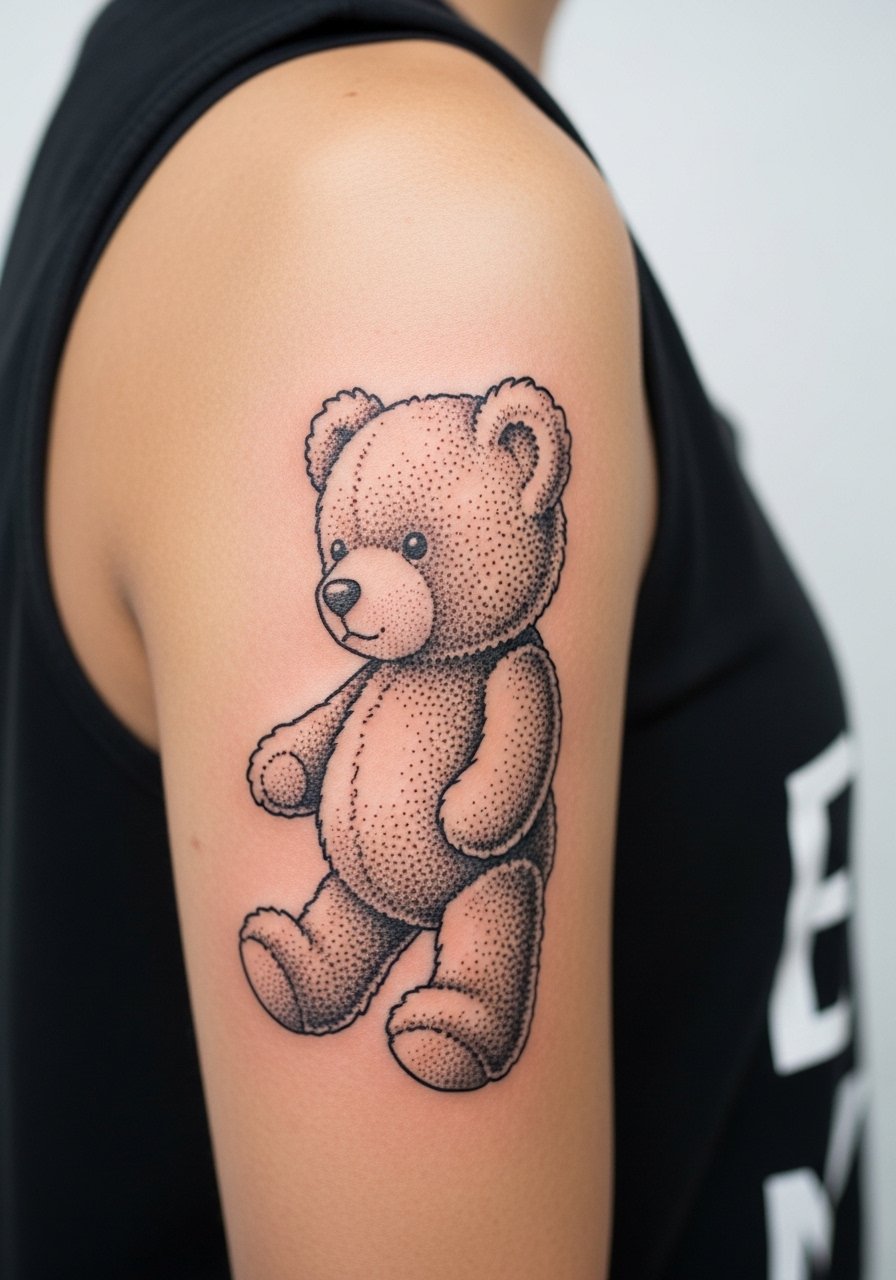
Dotwork gives texture without heavy lines, which helps the design age gracefully if you want subtlety and depth. Dot density and placement matter. Ask for dot spacing that reads as texture rather than solid shading, and note that denser dots can need a second pass if you want long-term saturation. The upper arm is a low-blowout zone and tends to keep detail better than the wrist or hands. For showing and for the session wear, a sleeveless tank top women gives your artist full access while letting you preview how the piece sits with your everyday wardrobe. Sessions run 45 to 90 minutes depending on density. Expect a touch-up at three to five years if you like crisp dot contrast.
Pre-Session Essentials
The designs above include wrists, ankles, and upper arm work, so a few targeted items make the appointment and first week easier.
- Stencil transfer paper kit. Lets you preview placement on skin before needles touch the area, which is especially useful for small wrist and collarbone pieces.
- Topical numbing cream. Applied 30 to 45 minutes before can help with ankle or inner forearm sensitivity without changing the artist's linework when used correctly.
- Thin protective film roll. Keeps small foot and ankle tattoos cleaner during the first week of washing and movement.
- Fragrance-free gentle body wash. A mild wash reduces irritation around delicate fine line details during showers.
- Aquaphor healing ointment. A thin layer in the first couple of days can protect fine line work while the skin seals.
7. Teddy paw print with a hidden mini face on the top of the foot
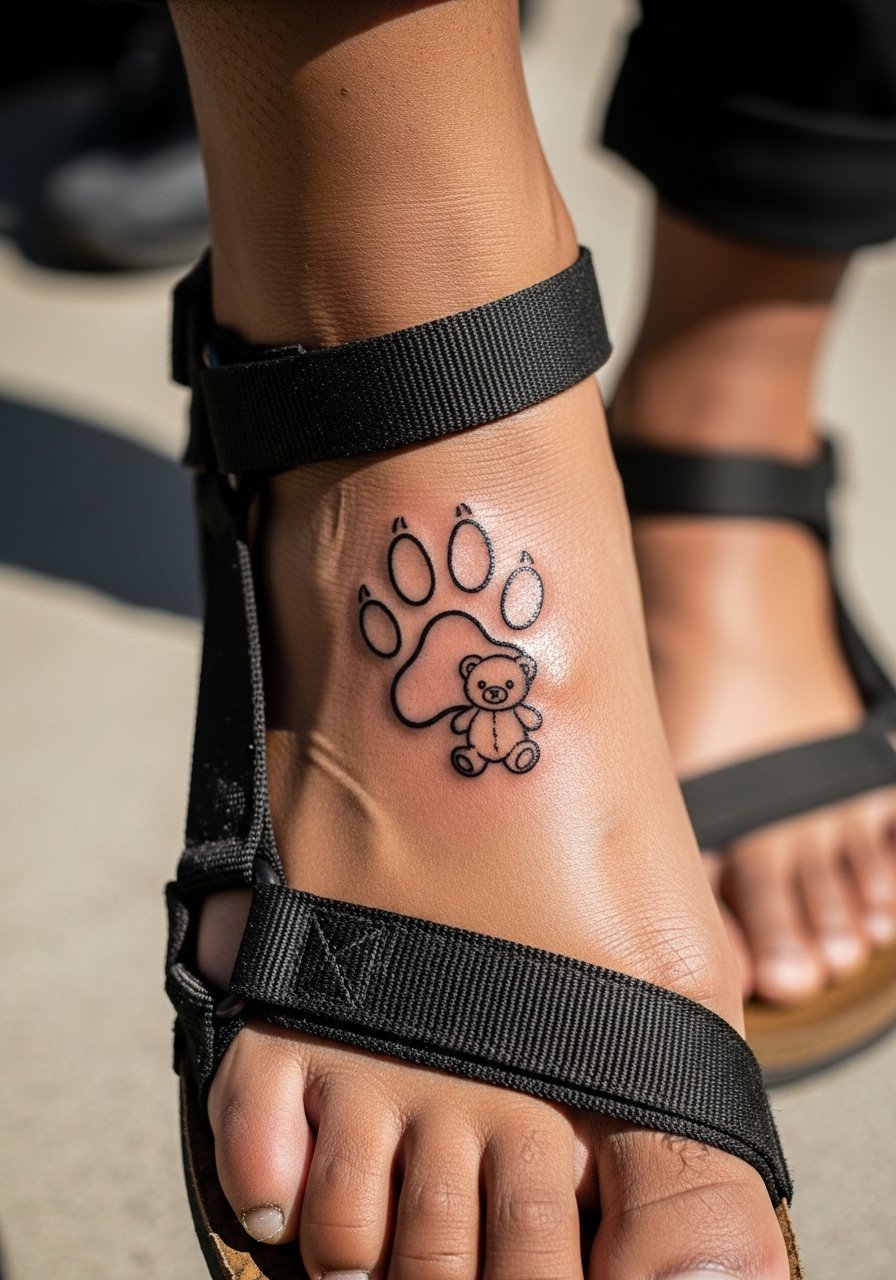
A paw print that hides a face inside is a clever, subtle approach for people who want symbolism without obvious imagery. Foot tattoos heal under a lot of movement and friction, so expect slower scabbing and take care with footwear in the first two weeks. During consultation, ask the artist to preview how the tiny face sits within the print so the elements do not blur together later. The session is short but the area is sensitive, and swelling can make laces uncomfortable for a day or two. This design reads well when tucked into sandals and cropped pants.
8. Minimal teddy with an oversized bow on the shoulder
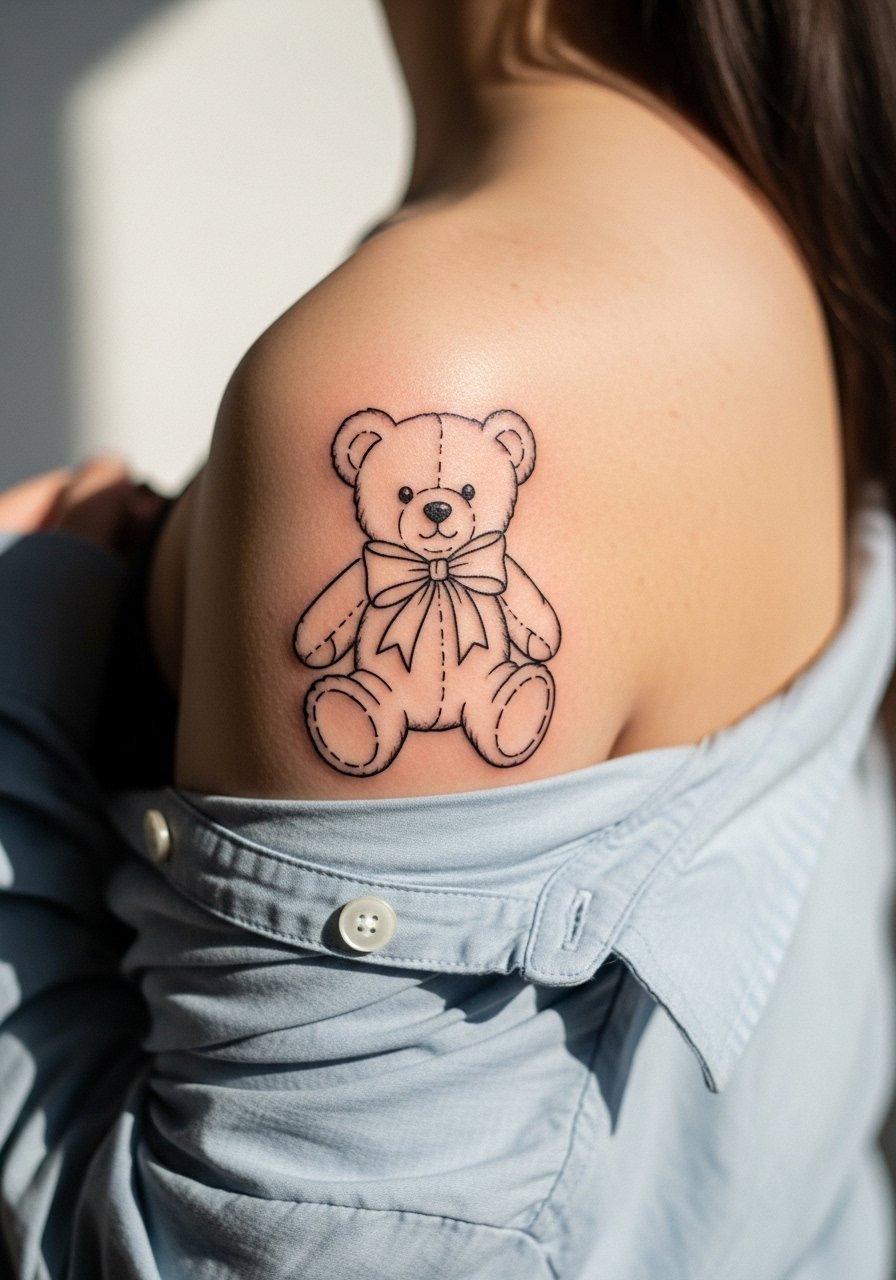
The oversized accessory lets the bear keep character without extra line complexity. On the shoulder, the piece sits cleanly with good longevity so long as the bow loops are spaced. Tell the artist you want bold outline on the bow and slightly lighter linework on the bear so the accessory reads at a glance. For the session, wear a loose button-down shirt you can slide off one shoulder. The area takes 30 to 60 minutes and usually needs only standard aftercare and a single touch-up down the line.
9. Arms-up sitting teddy for a small forearm scene
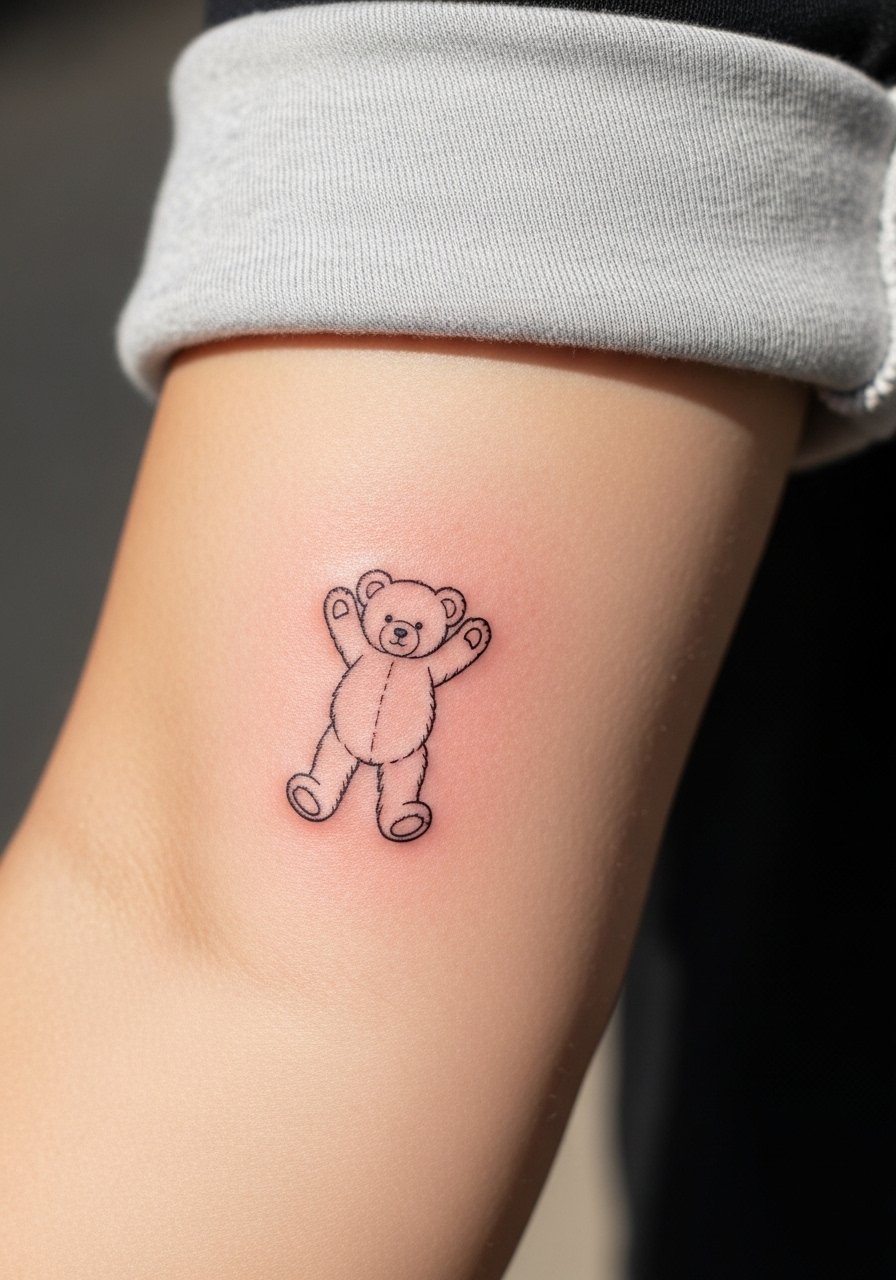
A paws-up pose gives the bear personality while staying very minimalist. Inner forearm placement keeps the piece visible and easier to photograph. The biggest mistake is packing too many tiny gestures into the pose. Ask the artist to prioritize clear contours over extra small marks. For showing the tattoo, a rolled-sleeve tee or a casual linen top frames the forearm nicely. Sessions are generally 30 to 45 minutes. Expect touch-ups earlier than on the outer arm if you frequently expose the area to sun.
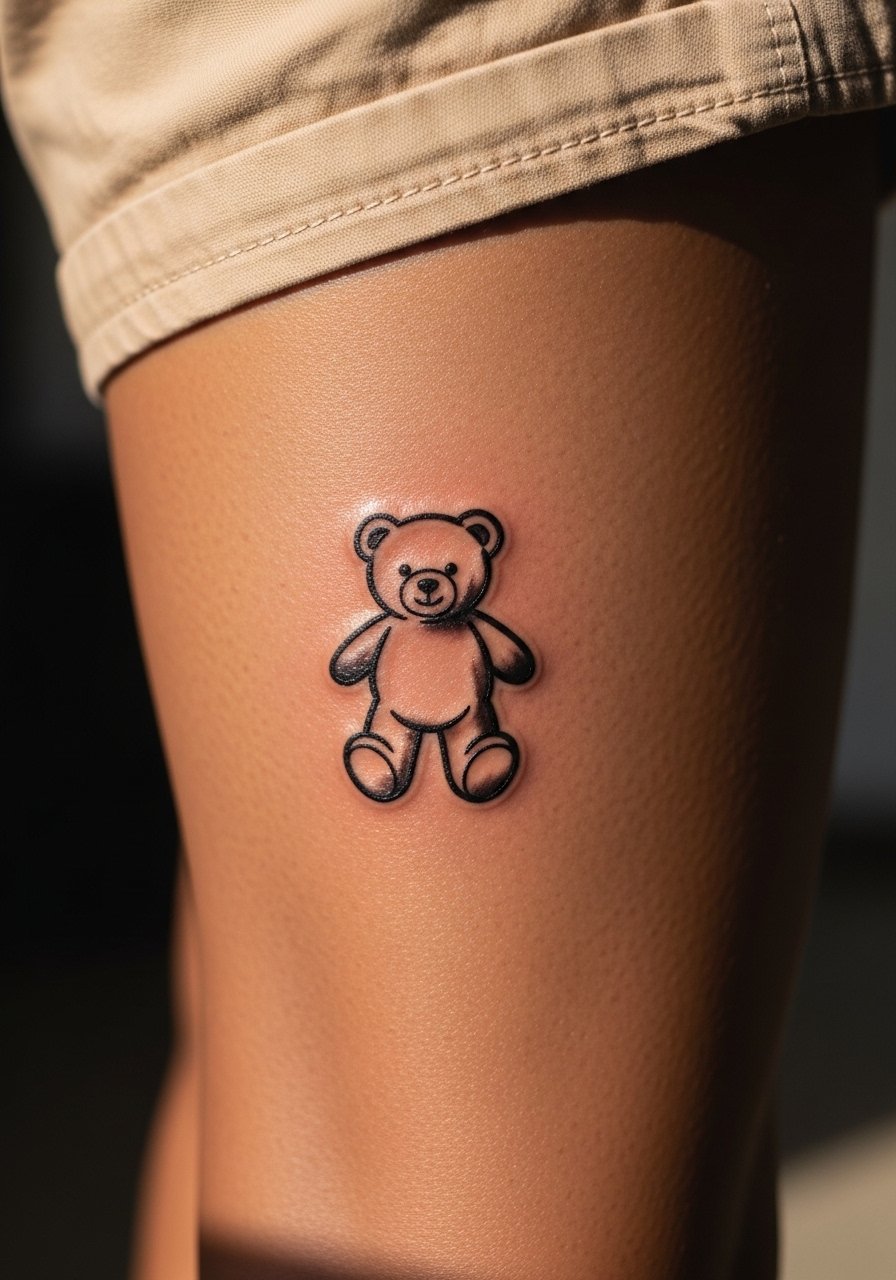
10. Sticker-style teddy face with bold outline on the calf

Sticker style swaps ultra-fine lines for slightly bolder outlines and small fills so the design reads longer in photos. On the calf, that extra weight helps the image keep shape as skin shifts. Ask your artist for a medium-weight outline rather than a heavy block, and request touch-up-friendly spacing in hair or fur lines. This placement handles slightly thicker lines better than the wrist or ankle. Pair with shorts or swimsuits during warm months. Session time is 40 to 60 minutes, and touch-ups are optional depending on your activity and sun exposure.
11. Teddy with tiny floral crown at the inner forearm
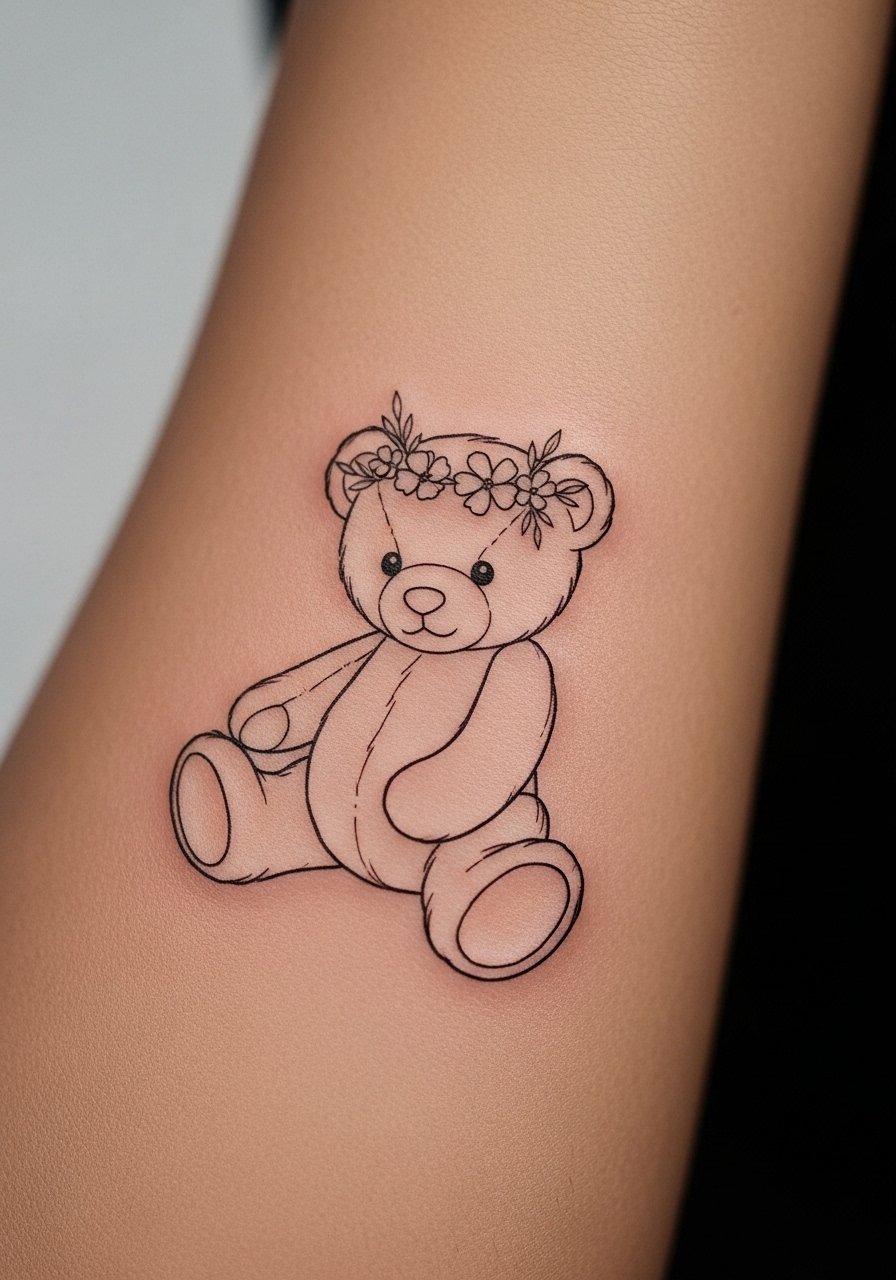
A floral crown adds a soft botanical note without overcrowding the bear. The inner forearm gives room for the crown to curve naturally along the limb. The consultation should cover scale so the flowers remain legible after healing. A common misstep is making the petals too detailed, which can merge in two to three years. For showing this look, roll up a linen button down shirt or wear short sleeves in neutral tones so the crown reads against skin. Expect a 30 to 50 minute session with a routine touch-up window at three to five years.
12. Micro teddy under the clavicle, near the collarbone
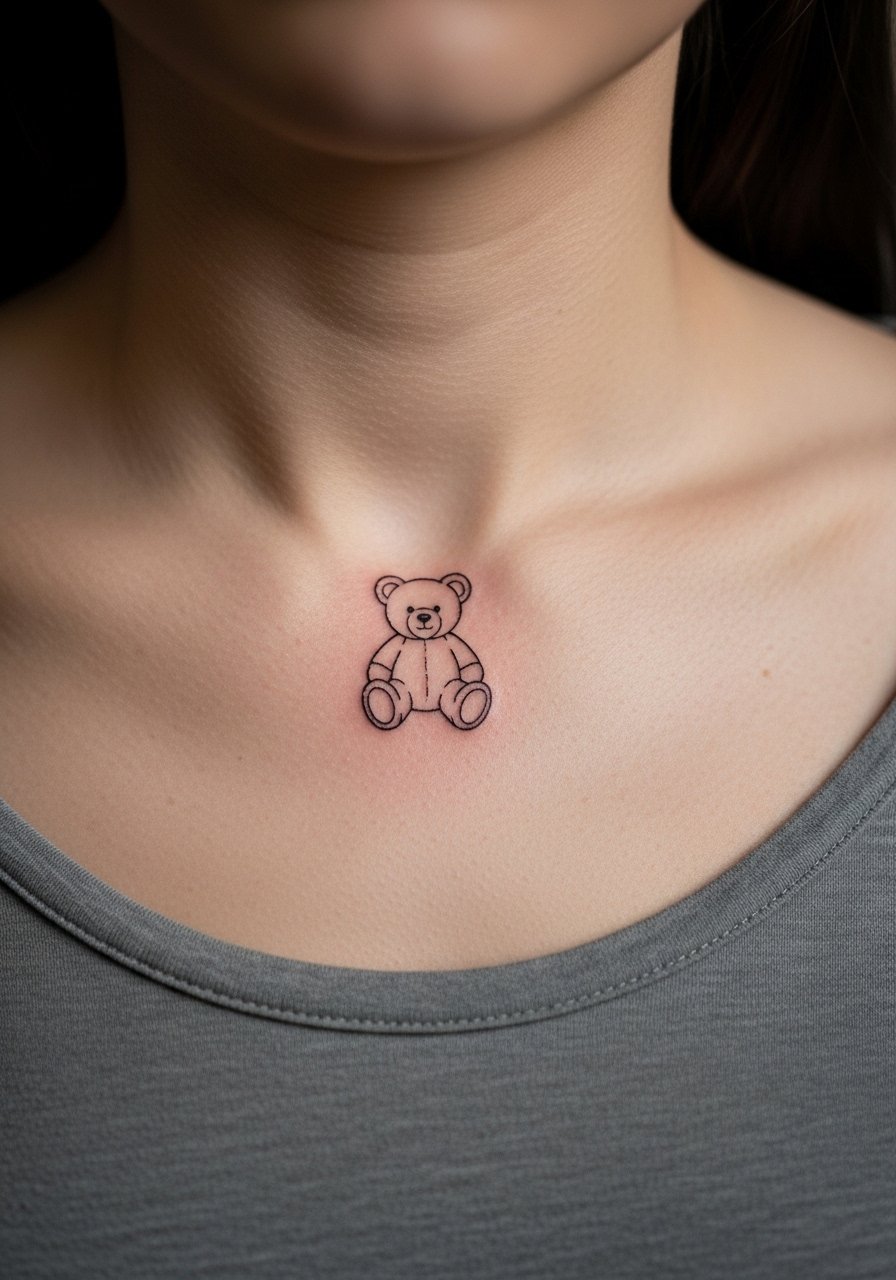
Collarbone placements are flattering but sensitive to clothing friction. This micro version reads intimate and is best executed with slightly stronger line starts to prevent disappearing after a few years. Ask your artist to position the stencil so necklace pendants will not sit directly over the ink. For showing the tattoo, a scoop neck tee or off-shoulder top highlights the area without rubbing. Sessions are short and the area may sting more than the arm due to thinner skin. Keep sun protection in mind as UV accelerates fading.
13. Teddy head with constellation fill on the outer bicep
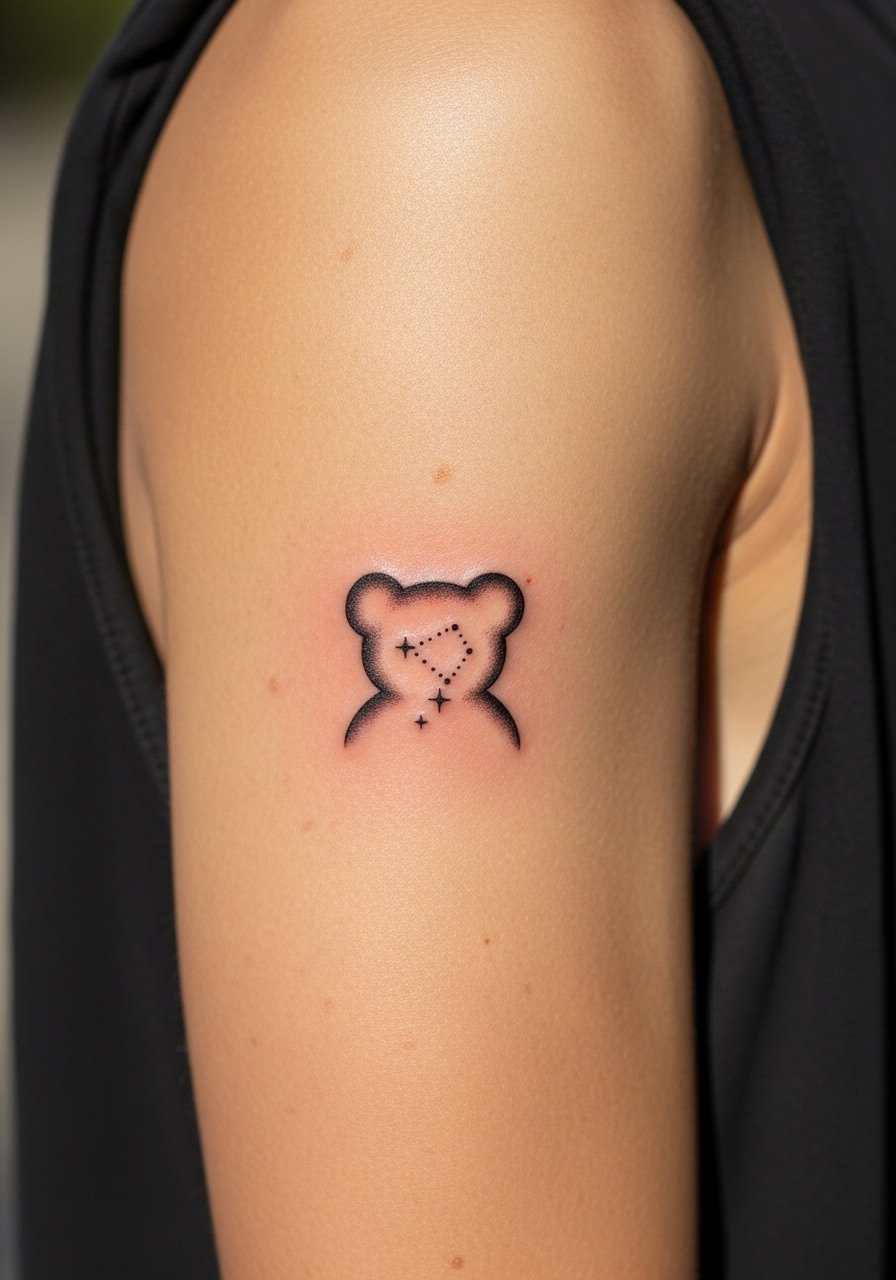
Combining celestial motifs with a bear gives a personal twist that stays minimalist. The outer bicep is stable for line clarity and handles small star dots well. When consulting, specify star sizes and spacing because tiny dots can soften into a grainy blur over time. The session is about 30 to 50 minutes. For showing the design, sleeveless tops or tank dresses frame the bicep nicely, and an understated pendant on the opposite side balances the look. If you want the constellation to remain distinct for years, budget for a light touch-up three to five years out.
14. Three-line sticker teddy on the calf with slight fill
This pared-back sticker approach uses three confident lines and a small fill block. It reads well on the calf where there is more surface area and less stretching from joints. The mistake to avoid is asking for hairline details inside the fill, which frequently merge. Sessions are quick and rarely require multiple visits. For summer styling, try cropped pants or a short shorts women look to show the design. Expect the bold outline and small fill to look sharper longer than ultra-fine single-needle options.
15. Minimal bear with a single paw holding a date on the inner wrist
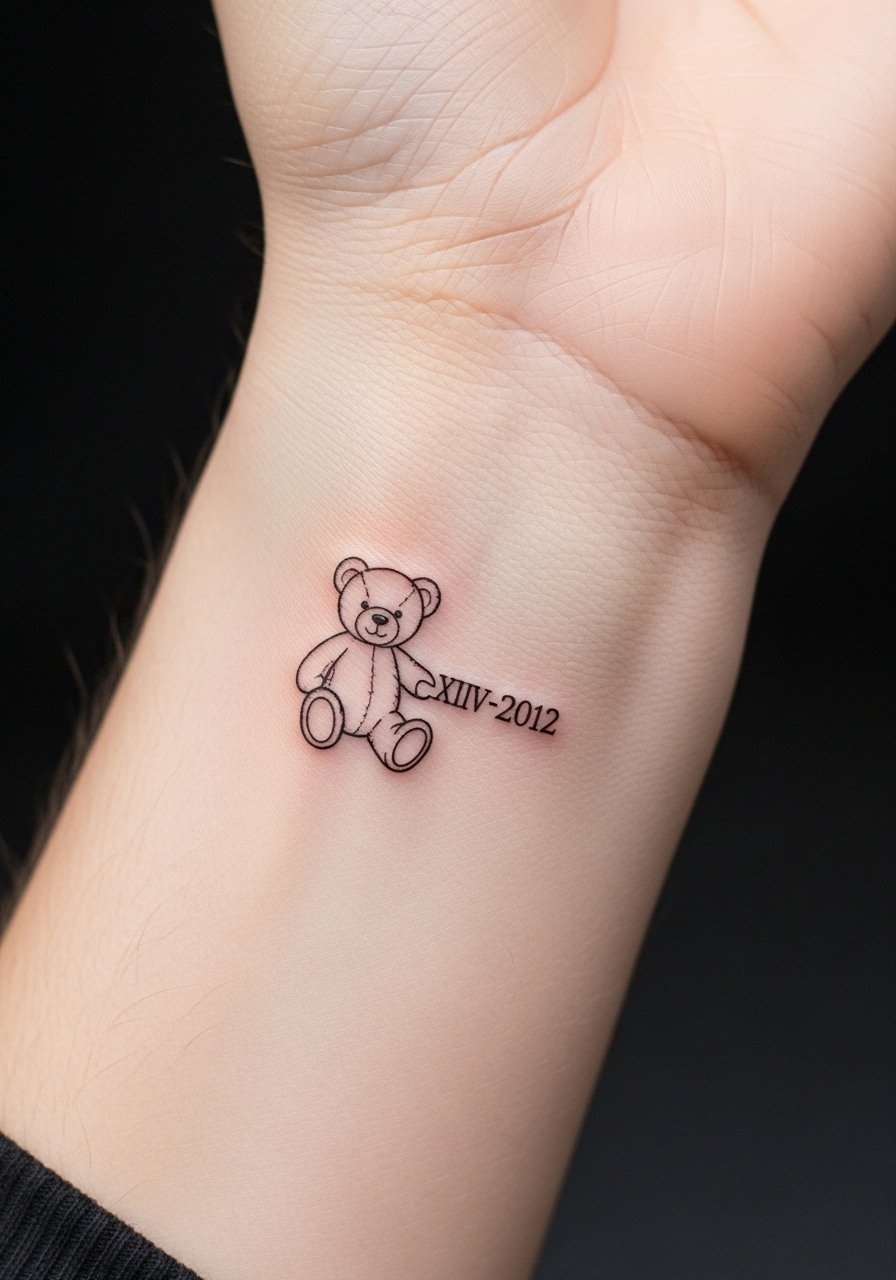
Adding a tiny date inside a paw or on a ribbon personalizes the piece without crowding it. For wrists, the trade-off is visibility versus longevity. Very tiny numerals can blur, so choose slightly larger Roman numerals or simple digits and ask your artist about line thickness for longevity. For the session wear, short sleeves and easy access are best. A thin dainty wrist watch on the other wrist pairs well for photographed symmetry. Expect a 20 to 40 minute session and a likely touch-up within three to five years depending on exposure.
16. Teddy outline with internal starfield on the shoulder blade
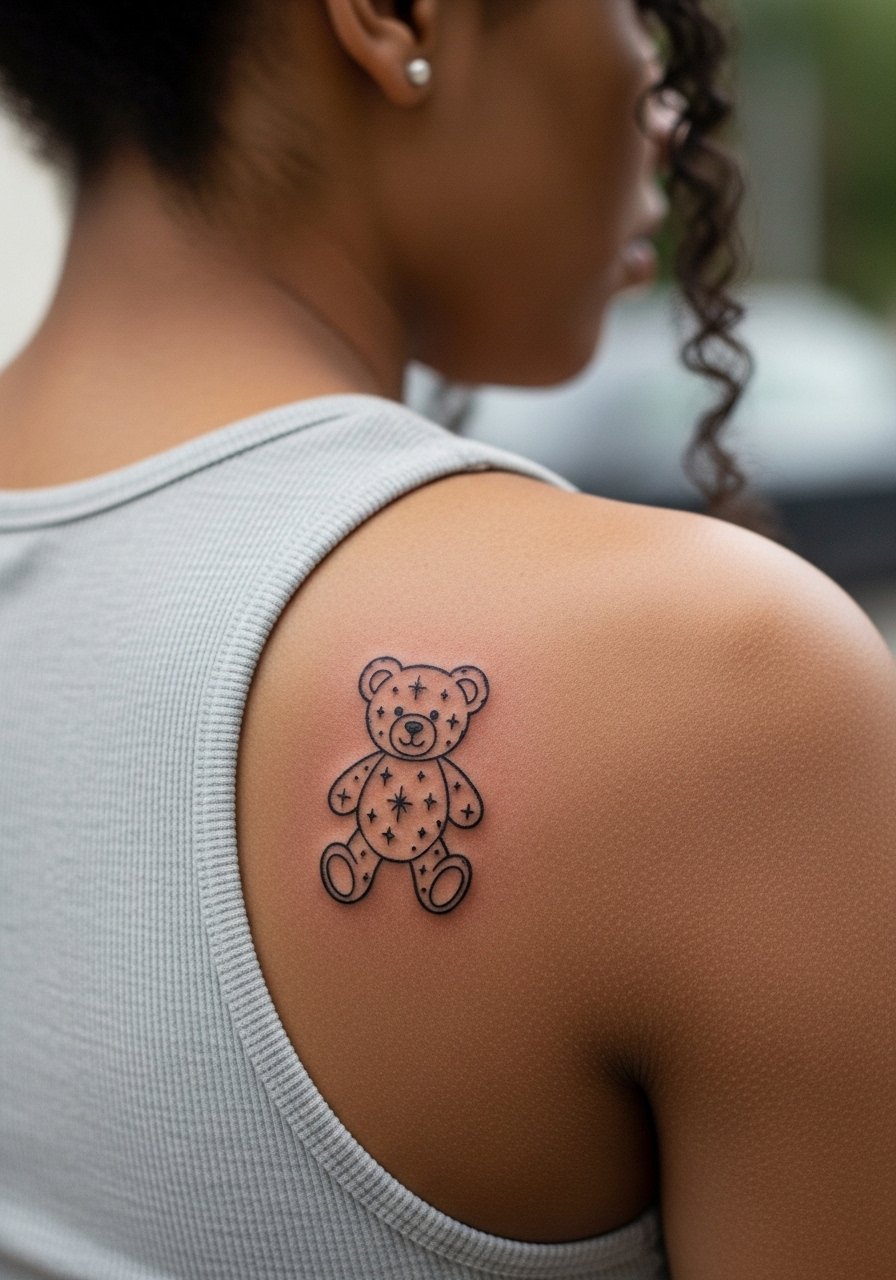
Shoulder blade placement is a nice balance between concealment and reveal. The internal starfield needs spacing to avoid merging into a gray patch over time. One camp of artists argues fine dots here settle well. Another camp warns that shoulder blade skin stretches with movement and can soften detail. Both points have merit. Ask how the artist spaces dots and whether they recommend slightly larger stars for durability. For showing, backless or open-back tops look great when you want to reveal the piece. Sessions are moderate in length and healing is straightforward.
17. Tiny sticker teddy near the ankle bone, visible from the side
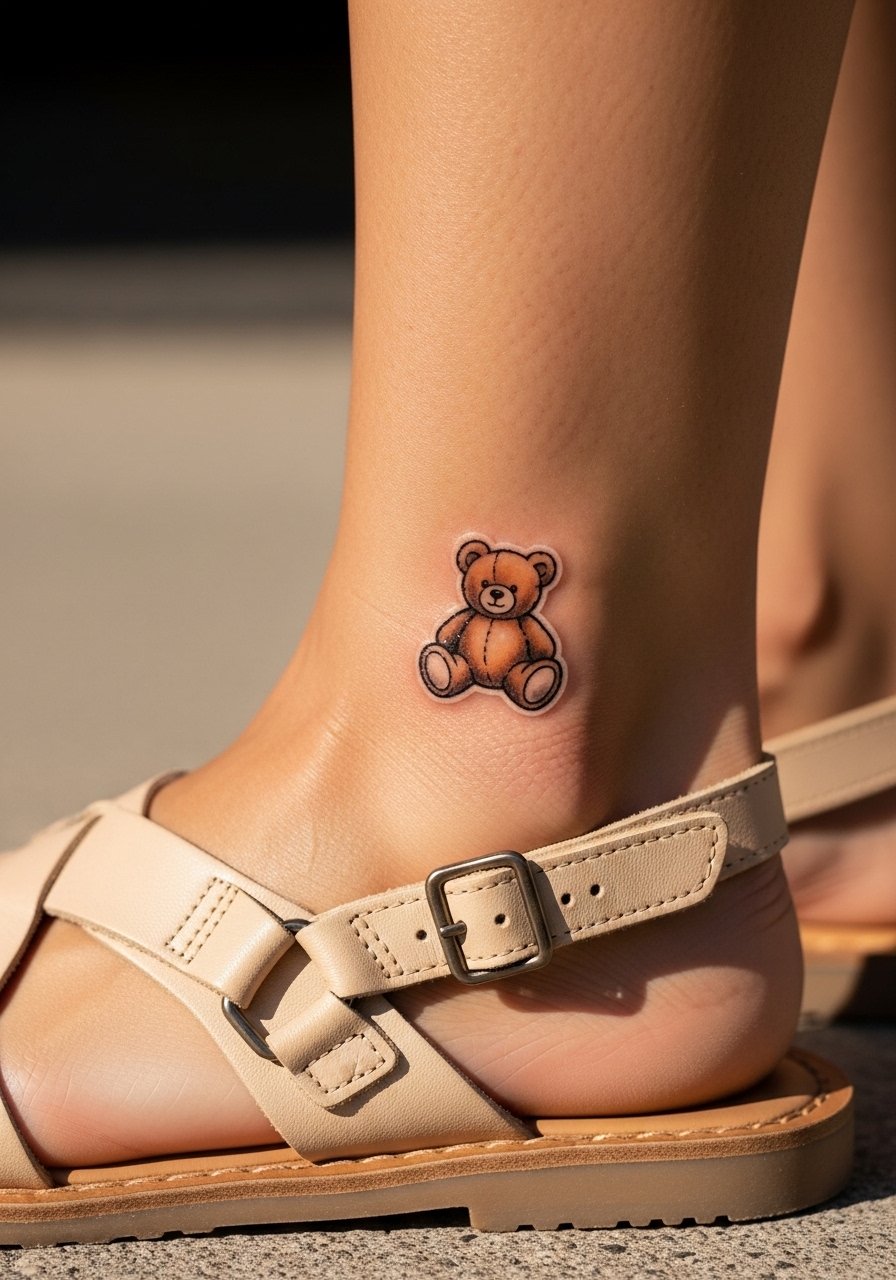
A side-ankle placement reads delicate and pairs well with low-cut footwear. Keep in mind the ankle rubs against socks and shoes during the first week, and the skin over bone is more sensitive. The common mistake is placing the design too close to seams or shoe collars. For the session, bring easily removable shoes and pants that can roll. The piece takes 20 to 40 minutes and tends to keep shape if you avoid heavy friction early on. Strappy sandals reveal the area best once healed.
Frequently Asked Questions
Q: Will fine line teddy bear tattoos fade faster than bolder outlines?
A: Fine line pieces often soften sooner than bold blackwork, especially in high-movement or sun-exposed spots. One reason is spacing and ink density. If longevity matters, ask your artist for slightly heavier line starts and plan a touch-up around year three to five.
Q: Can a minimalist teddy be used to cover an old small tattoo?
A: Yes, in many cases a minimalist silhouette or sticker-style design can hide a small faded spot if the new lines are placed strategically. Larger cover-ups sometimes work better, so bring clear photos of the old piece during consultation. The artist will advise if reworking the area first is necessary.
Q: How do I choose line weight for darker skin tones so the teddy still shows up in photos?
A: On medium to dark skin tones, slightly stronger line starts and moderate spacing usually photograph and heal better. Very thin single-needle lines can disappear over time on darker skin. Mention your skin tone during booking so the artist can recommend a tailored line weight.
Q: Are ankle and foot placements particularly high risk for healing complications?
A: They are prone to more movement, swelling, and friction from footwear, which can prolong scabbing. Plan to wear sandals and avoid tight socks for the first week. Keep cleaning gentle and expect a slightly longer healing window than for an arm tattoo.
Q: Should I expect to budget for touch-ups on a minimalist teddy?
A: Yes. Fine line and micro designs commonly need touch-ups sooner than solid blackwork. A reasonable expectation is a minor refresh every three to five years depending on placement, sun exposure, and how you care for it.
Q: Does using topical numbing cream harm the linework for fine single-needle designs?
A: Numbing cream can be helpful for sensitive spots but some artists prefer not to use it when they rely on skin feedback for depth. Ask your artist about their preference during booking and follow their instructions if they allow it.
Q: How should I describe exactly what I want in a consultation to avoid the artist "adding more"?
A: Bring a clear reference that shows the exact line weight and negative space you want, and say plainly "I want this minimal, no extra filler." Request a stencil preview and confirm you want the artist to stick to it. That direct language helps avoid scope creep in the session.
