
Fine line One Piece inks behind the ear keep surfacing at cons and on feeds, and the truth is the placement hides better than people expect and also ages differently than a forearm piece. Pick a design with breathing room, tell the artist you want slightly thicker primary lines for longevity, and plan to keep hair off the area for two weeks. Start with these 27 small ideas and the practical notes you actually need.
1. Straw Hat Jolly Roger, tiny and centered
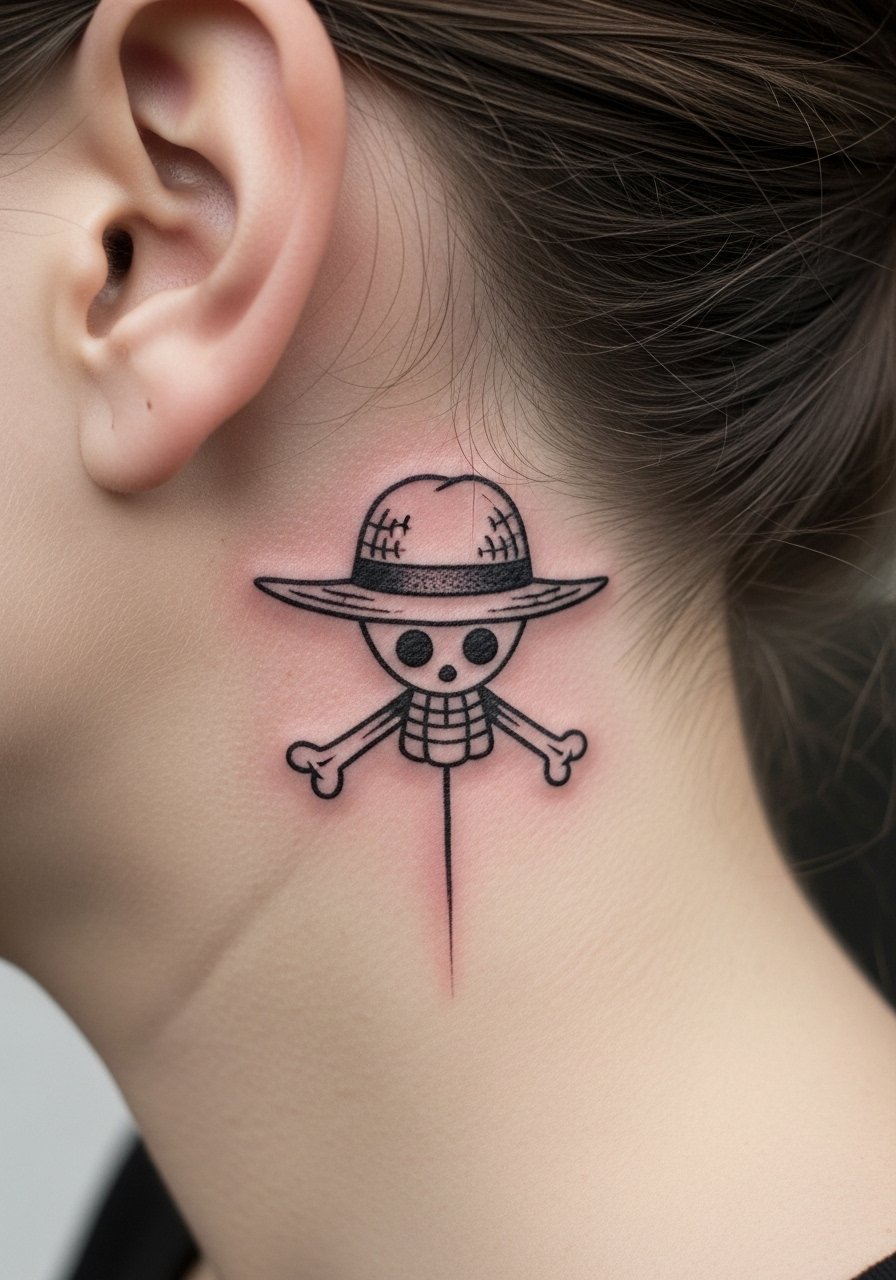
The tiny Straw Hat crest is the go-to for fans who want an instantly recognizable mark that mostly hides under hair. Ask for a 1.5–2 cm size and a single-session black-only version, and request the primary outline at 2-3 needle passes so the line has resilience. Pain is low for the lobe area and a session runs under 30 minutes. Common mistakes are shrinking the design too small and using hairline-thin single strokes, which can blur faster with friction. When you want it visible, pair it with a high ponytail and a small gold hoop earrings look for evenings out.
2. Fine-line Luffy silhouette tucked under hair
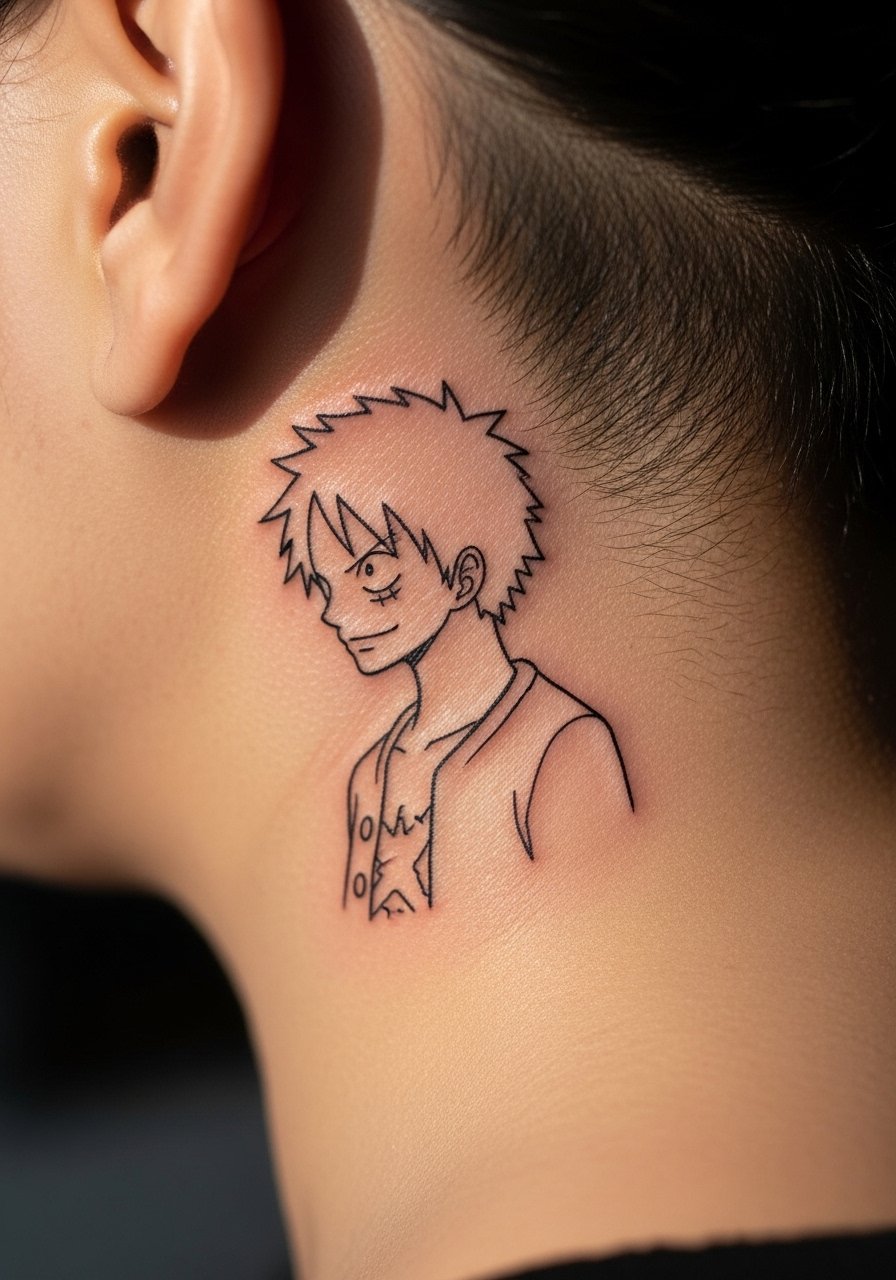
This silhouette reads like an anime nod without shouting. For the consultation, say you want 2–3 line weights so the main contour holds up instead of one fragile line. Artists split on fine line here. One camp warns that hair friction and sun send delicate ink fading faster. The other camp says correct depth and minimal dot work keep it stable. Expect a 30–45 minute session and a likely touch-up window at year one to two. For the appointment wear, keep hair pinned and bring a hair pins set so the artist has clear access.
3. Micro-realism Chopper eye on the earlobe curve
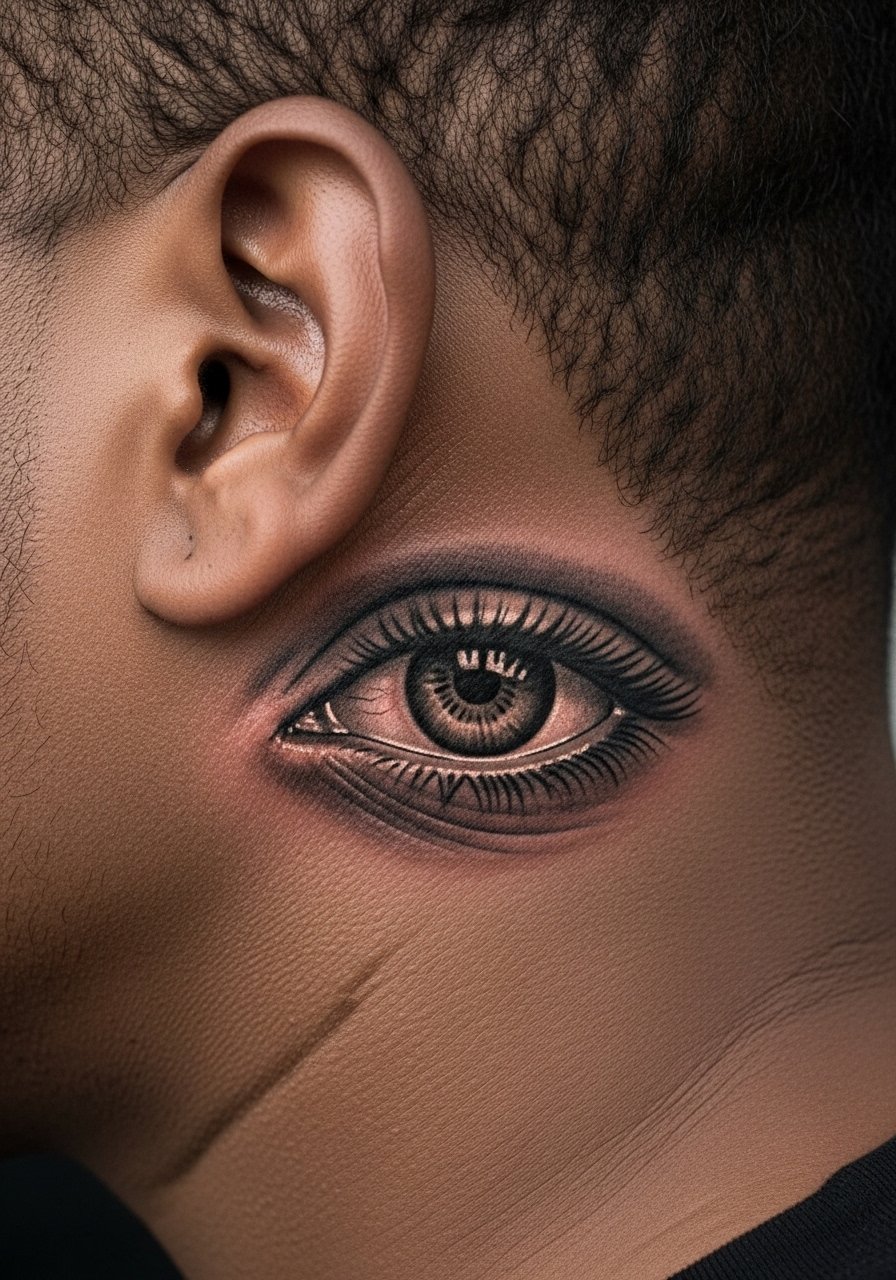
Micro-realism lets you carry Chopper's eye without a big color splash. This sits low on the earlobe curve and needs precise shading to read at 1.2–1.8 cm. Tell the artist you want black-and-gray shading with soft stipple rather than solid washes so the tiny gradations age more evenly. Expect moderate session time because micro realism demands patience despite the small size. A typical mistake is asking for too much tiny contrast, which can look muddy after healing. Show-off tip: balance it with a dangle earrings gold accessory on the opposite side.
4. Minimalist "X" mark at the upper behind-ear
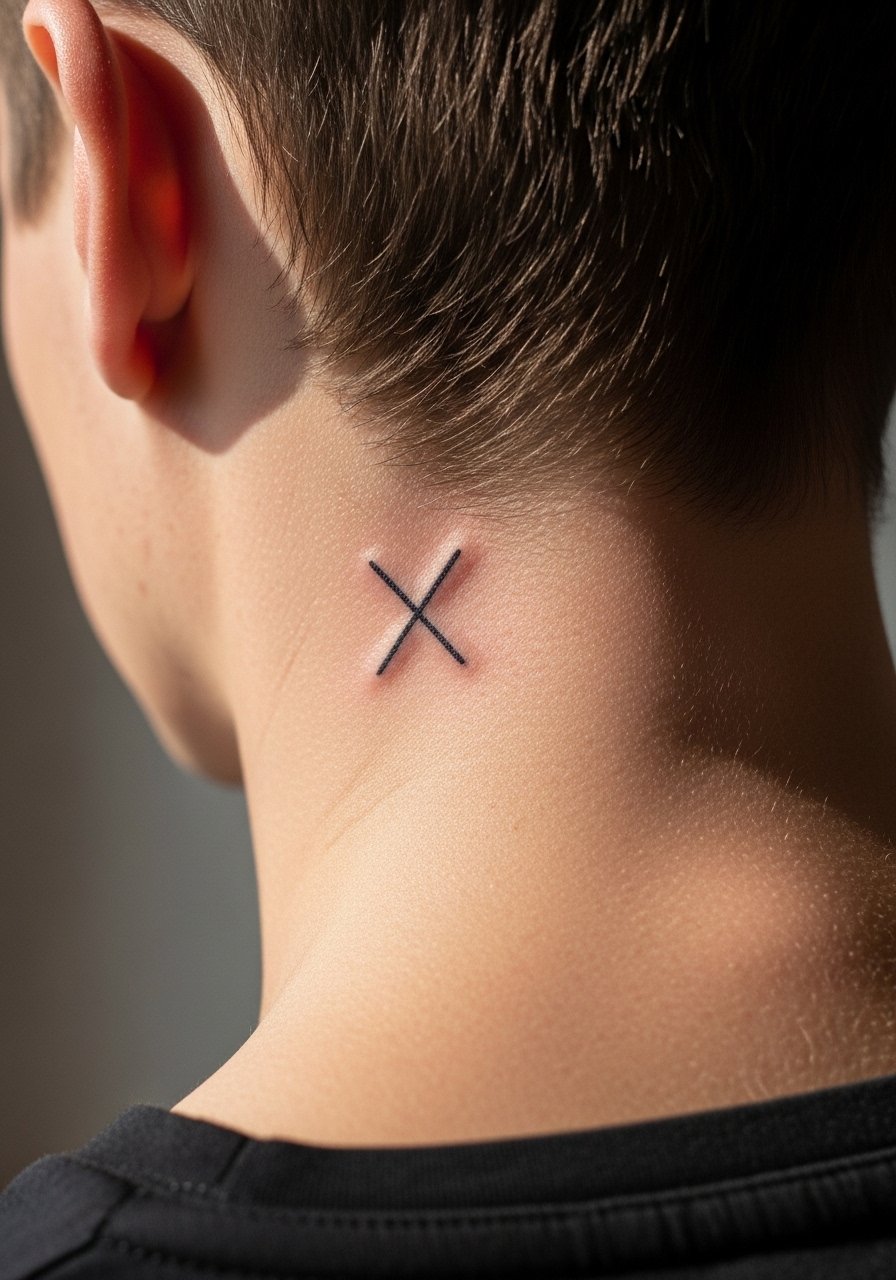
The tiny X is deceptively versatile and quick. Keep it around 1 cm and request a single confident stroke rather than a hairline cross that needs multiple touch-ups. Pain is mild and a walk-in flash session is common for this scale. A common error is asking for an ultra-fine X when the skin in that upper zone rubs against collars and hair. For showing it off, pair with a side braid and minimalist studs and try a linen top like a linen shirt women for casual reveal.
5. Bold blackwork anchor at the base of the ear
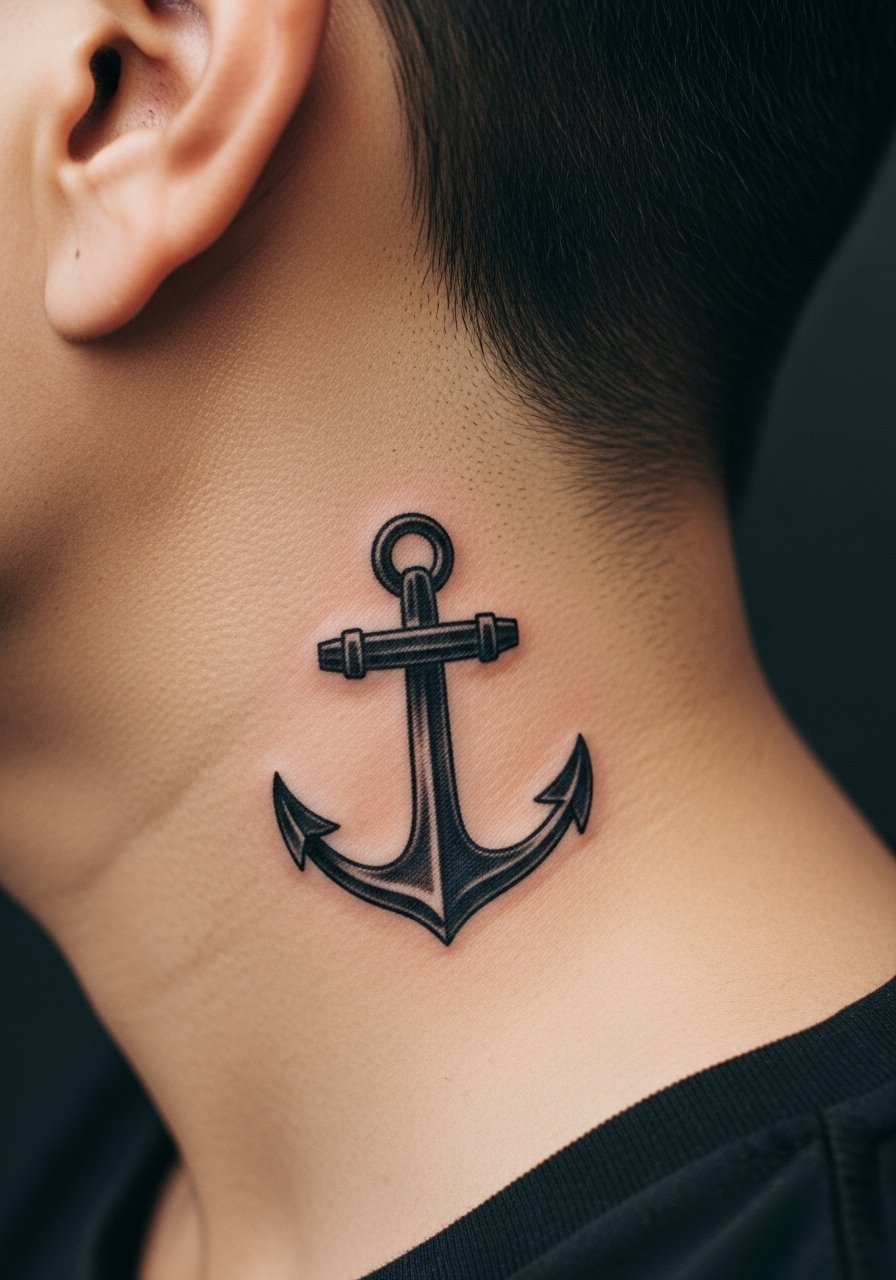
Anchors age well because saturation holds where thin lines fail. Ask for crisp edges and a slightly reduced scale so it does not wrap into the neck crease. This one reads high-contrast when hair is up and is perfect for someone who wants bold visibility. Pain is moderate where the mastoid meets the head. Expect a single session that may run 45 minutes to an hour. When showing it off, a black leather jacket or a plain crewneck tee amplifies the contrast. Try a black leather jacket for nights out.
6. Neo-traditional Nami tangerine with tiny color accents
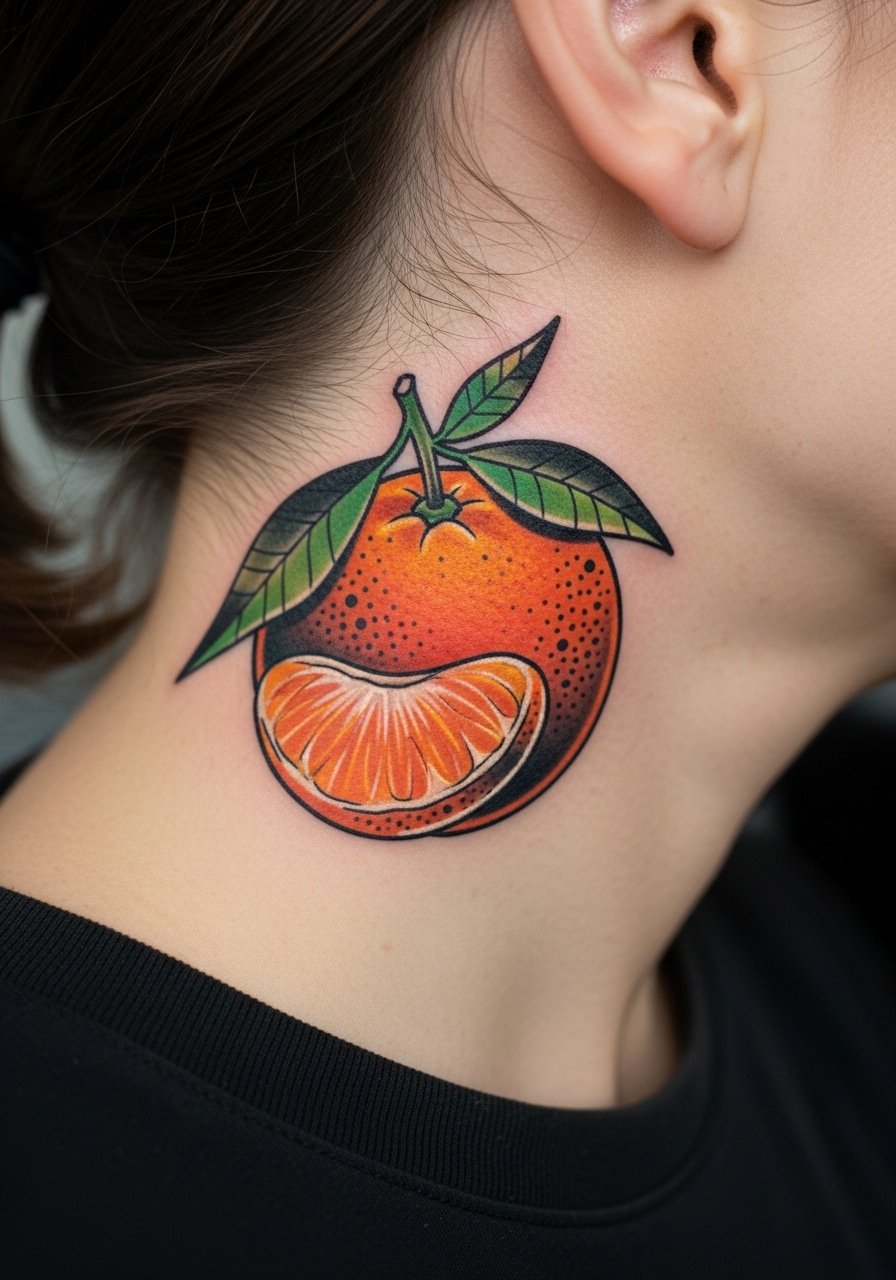
A small neo-traditional tangerine gives personality and color while keeping the design tight. Request bold outlines and restrained washes so color settling does not bleed into linework. Color behind the ear fades faster than on limbs, so ask about a touch-up plan. This will take longer than pure blackwork because of color layering. For wardrobe, off-shoulder tops and gold chokers make the little orange pop. Consider an off shoulder top for summer reveals.
Before You Book
The cluster above includes both fine line symbols and more saturated small pieces, so these items smooth out the session and the first week for behind-ear work.
- Tea tree salve, indie AU-style. Lightweight itch control without heavy greasiness helps when hair brushes the healing skin behind the ear.
- UK tattoo foam cleaner. No-rub foam for curved zones keeps the area clean without dragging on delicate linework near the mastoid.
- Japanese rice bran oil balm. Hydrates dark and medium skin tones without a shiny finish that ruins photos, handy for blackwork contrast.
- Indie mushroom extract anti-inflammatory spray. Small spray reduces swelling on tiny behind-ear sessions without heavy ointments.
- Fragrance-free CeraVe lotion. Thinner than greasy balms and safer for humid regions while the area settles.
7. Ignorant-style Zoro swords stacked vertically
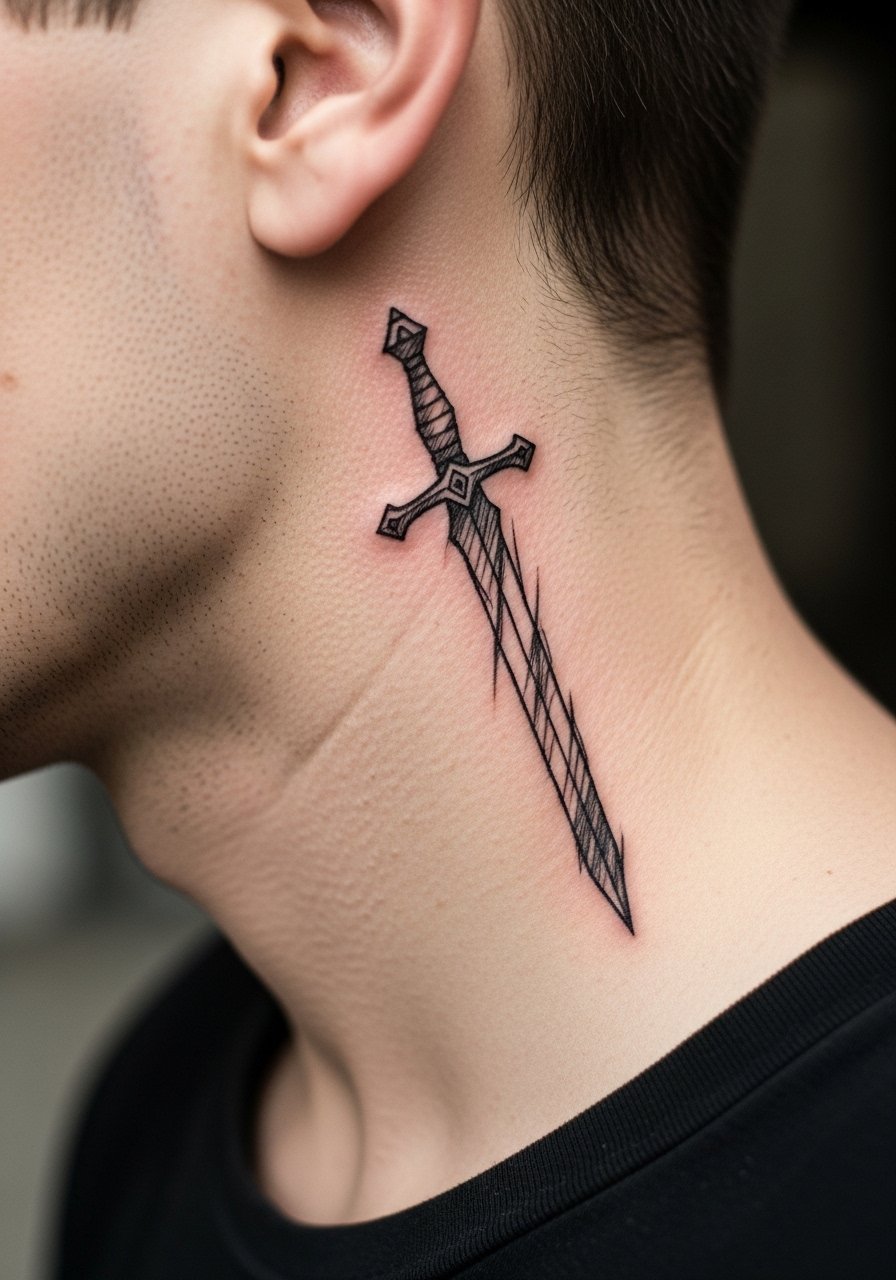
The sketchy, raw sword look reads energetic in a 2 cm stack. Tell your artist you want rough, expressive strokes rather than tiny blended shading. Pain is moderate and the mastoid curve can make stencil placement tricky, so expect the artist to ask you to tilt your head during application. A common mistake is over-detailing the scribble; the charm is its economy. Pair with a denim jacket or a bandana for the pirate vibe. Pack a cotton bandana if you plan to style it into an outfit.
8. Ornamental Going Merry figurehead wrapping to neck
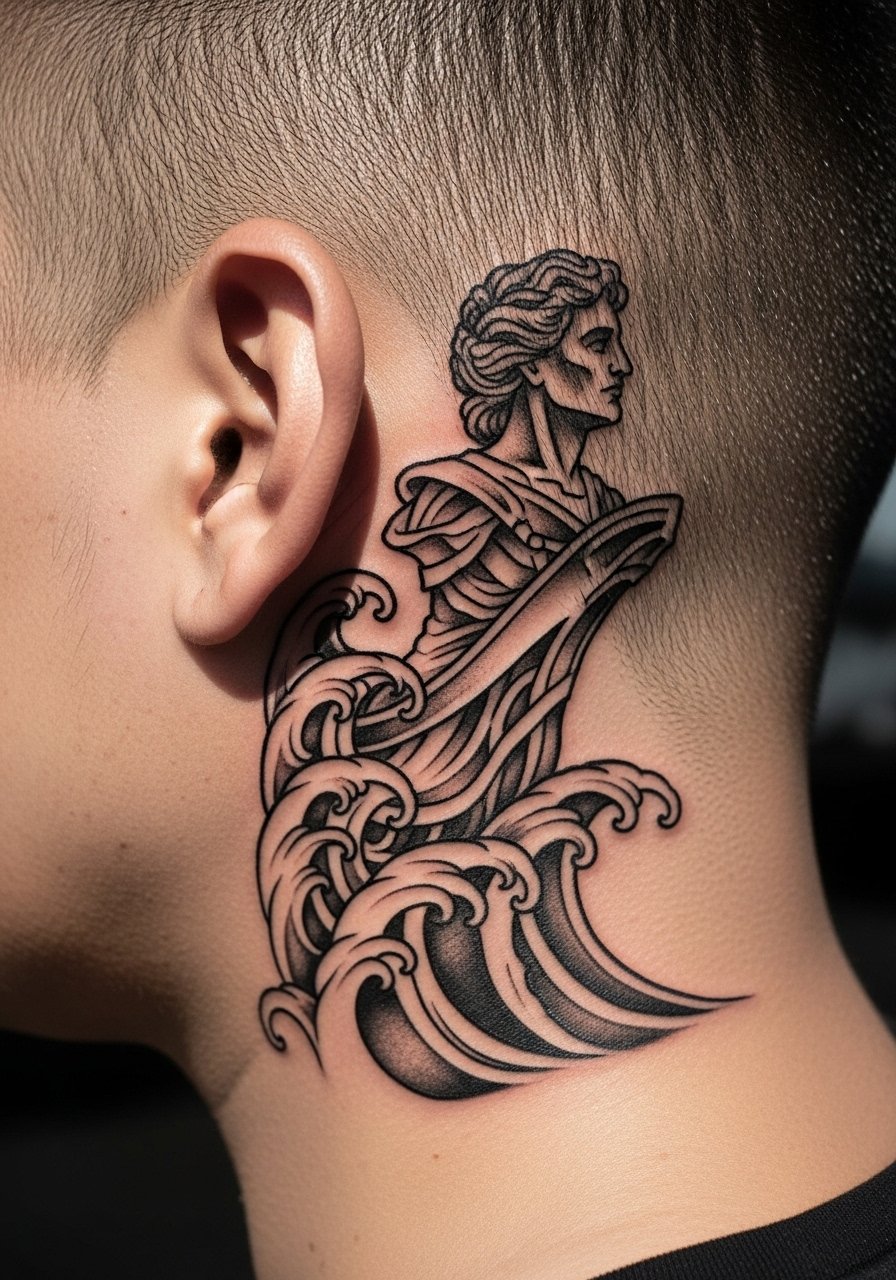
A small figurehead that wraps to the mastoid creates a three-dimensional curve illusion. This is a design that benefits from a longer stencil review so the flow matches your ear-to-neck contour. Expect a longer single session because of the wrap and the need for consistent line weight around the curve. Watch for blowout where lines cross the tighter neck skin. For outfits, boatneck tops and layered short necklaces frame the artwork without covering it. Try a boatneck sweater for cool-weather reveals.
9. Watercolor Sanji flame, soft washes
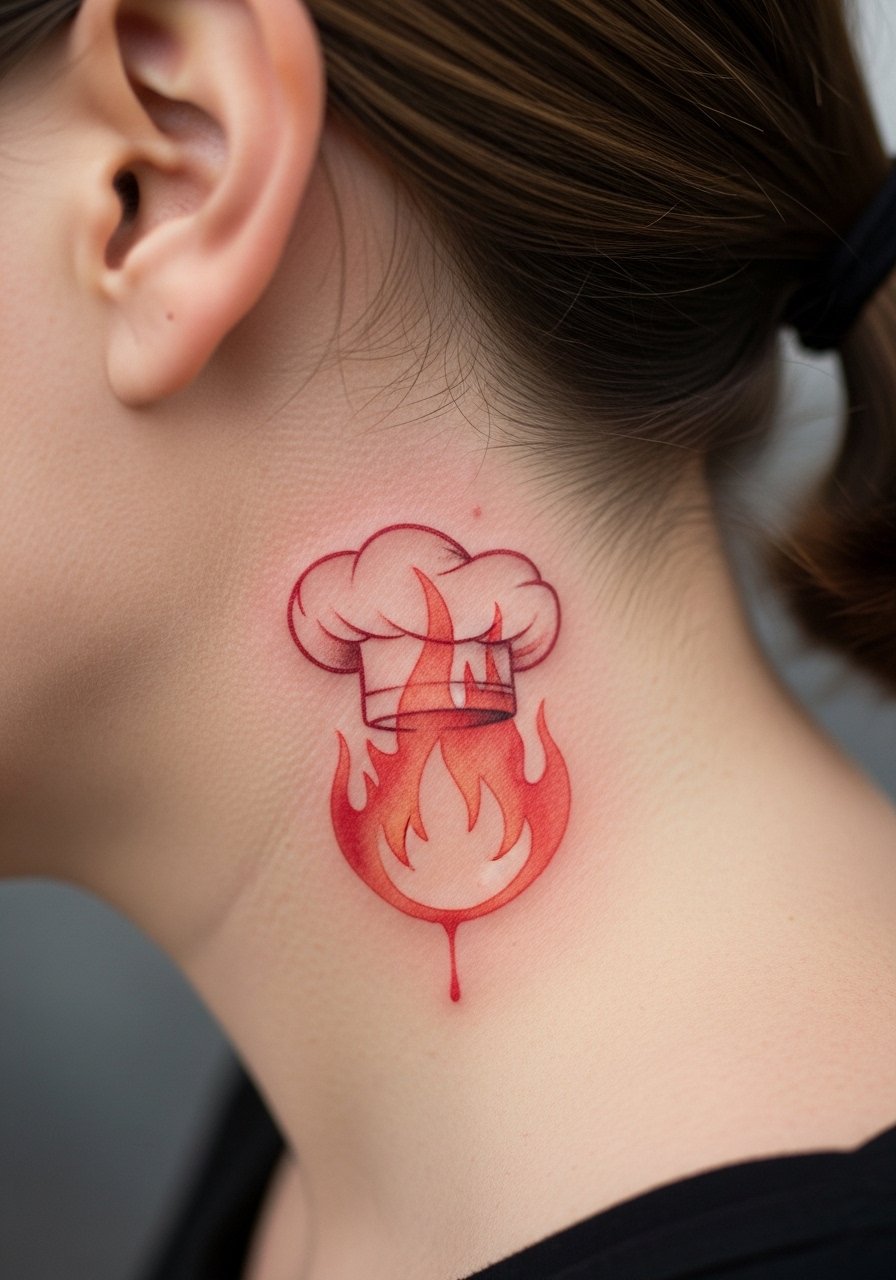
Watercolor behind the ear looks airy but is a gamble for longevity because tiny washes can soften into unintentional bruising over years. If you want color here, ask for a stronger outline or a micro dot-saturation anchor so the shape remains clear as pigments fade. Sessions take a little longer than black line micro pieces because of blending. A common regret is picking full saturation with no plan for touch-ups. For subtle reveals, pair with neutral tops rather than busy patterns so the color reads against skin.
10. Traditional One Piece skull, bold and compact
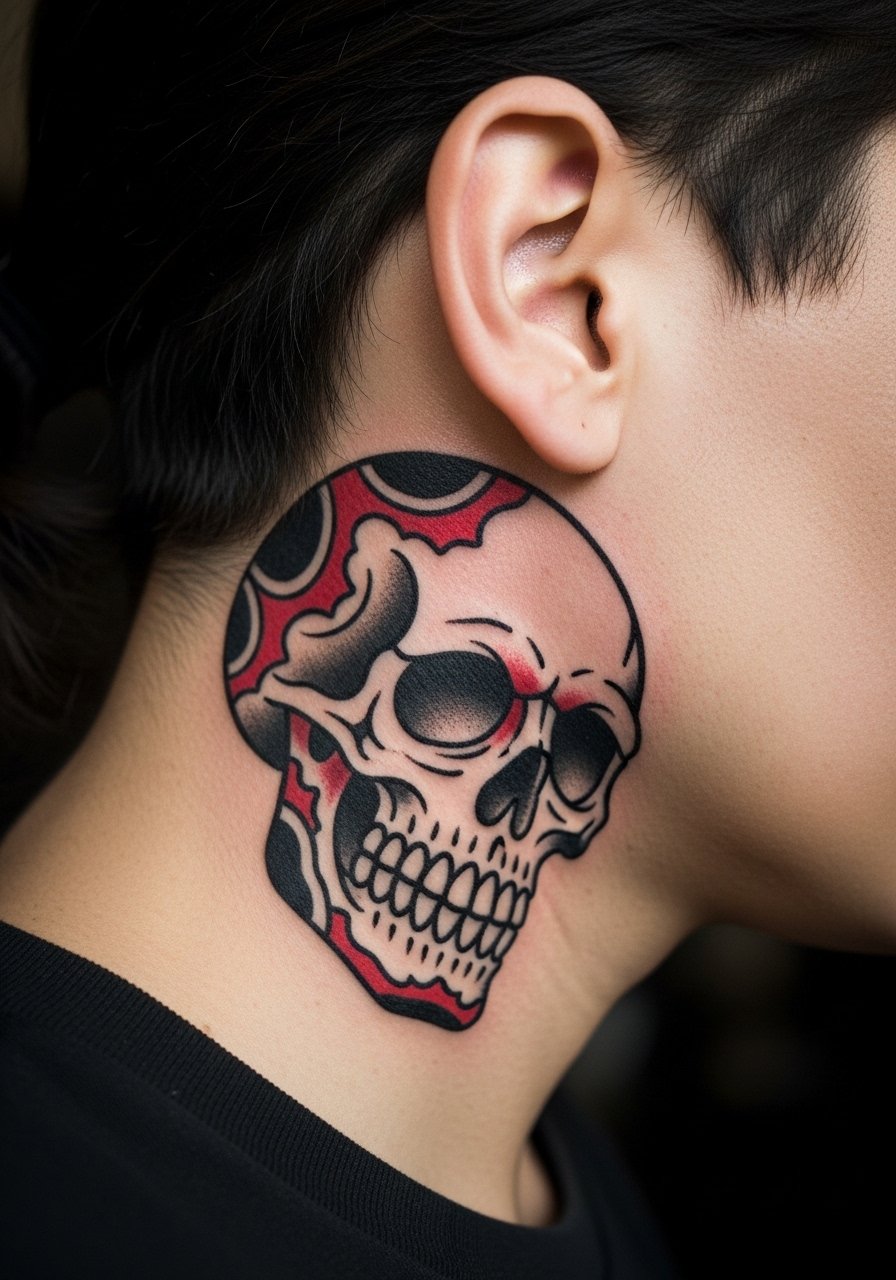
Traditional skulls use heavy outlines and saturated fills that last relatively well in high-friction zones. Ask for slightly more spacing between interior elements so the black fill does not ring and blur into the linework over time. Pain is manageable and a single session usually suffices. The mistake to avoid is adding delicate filler inside the skull that will lose crispness. Wear a crewneck tee or stud earrings to contrast the bold shape. A stud earring set pairs cleanly.
11. Fine-line Usopp nose profile, cheeky small nod
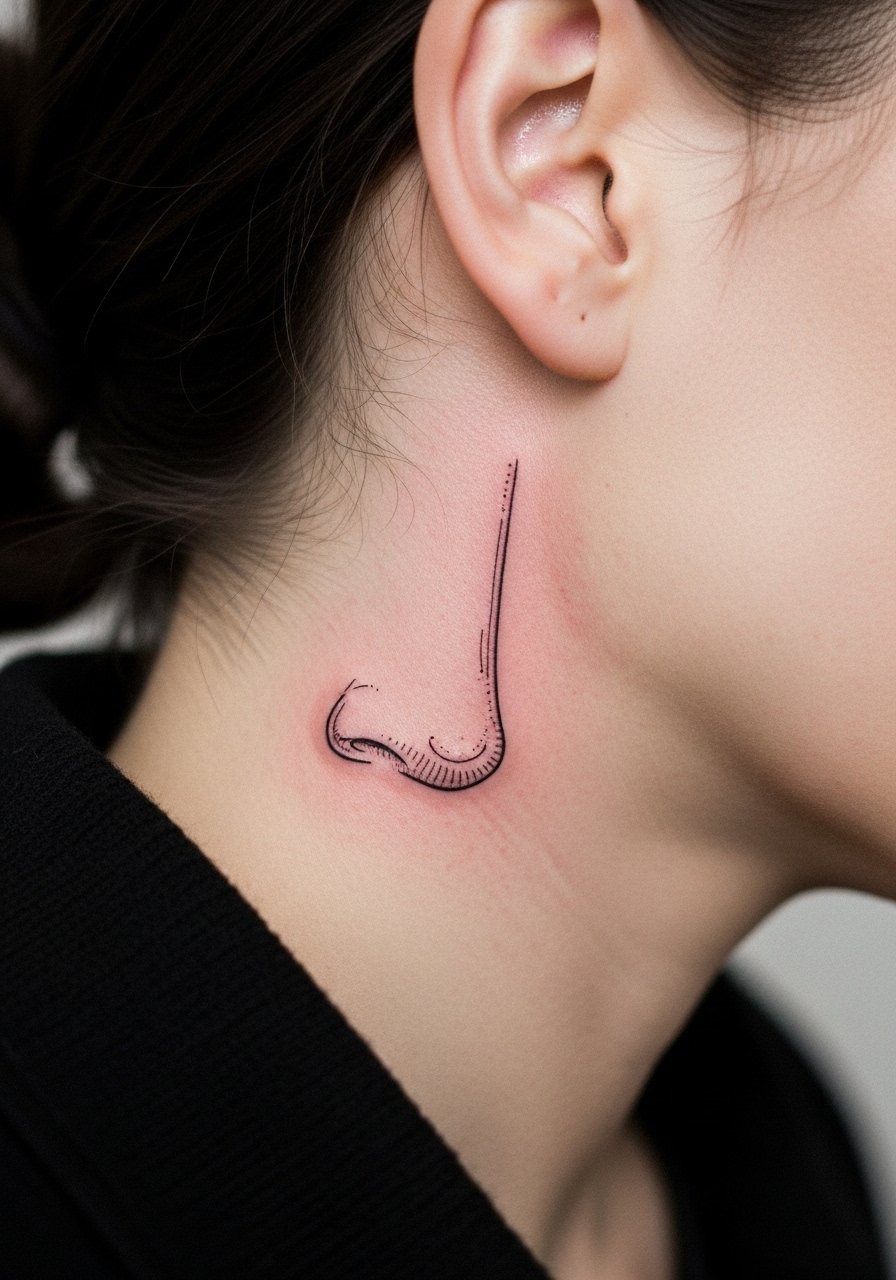
This tiny profile is playful and best at about 1.8 cm so the negative space around the nose keeps it readable. Fine line here competes with hair and product residue. Ask for 2 line weights and a plan for a touch-up at year one if needed. Sessions are quick and low pain. People often make the nose too detailed for the canvas and then regret fading. Styling-wise, side parts or braids frame the area and a hair braid tool helps keep hair tidy while it heals.
12. Micro blackwork Franky starburst
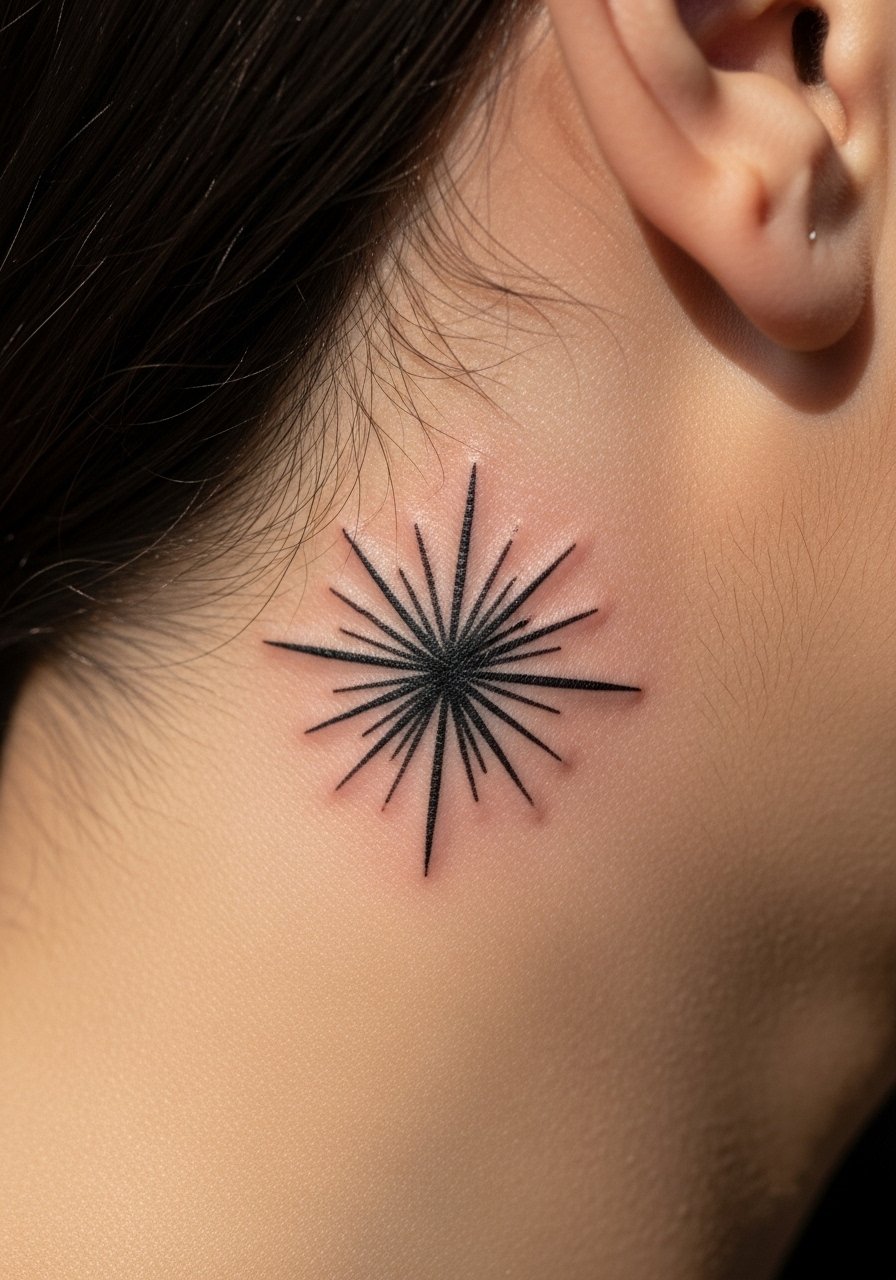
Geometric black fills hold up well and are forgiving on darker skin tones if contrast is considered. Request a compact 1.2–1.5 cm star with solid negative space so the burst reads from a short distance. Pain is low; the session is fast. A frequent error is packing too many tiny rays which can join as the skin ages. For jewelry, a minimalist stud or small hoop keeps attention localized. Try minimalist stud earrings to avoid crowding the look.
13. Minimalist Robin hands, tiny sprouting fingers
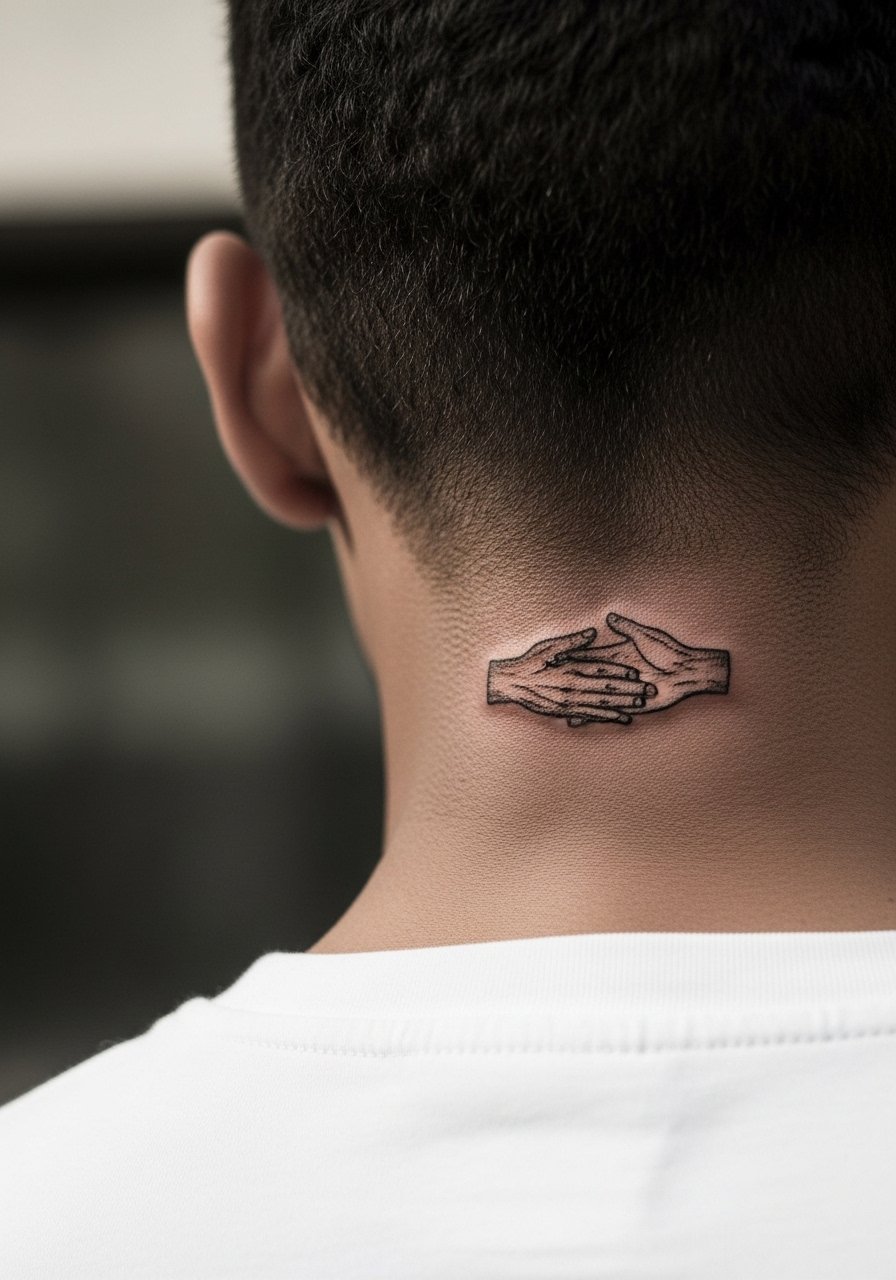
Delicate sprouting hands are elegant when made with simple, slightly heavier key lines and thin secondary strokes. Ask for two main stroke weights so the primary hands remain visible after a year. Expect a short session and low pain. The common misstep is requesting ultra-fine strokes only, which often fade first. If you want a discreet reveal, tuck it behind the ear and let scarves or small necklaces provide frame without rubbing.
14. Miniature wanted poster folded at the mastoid crease
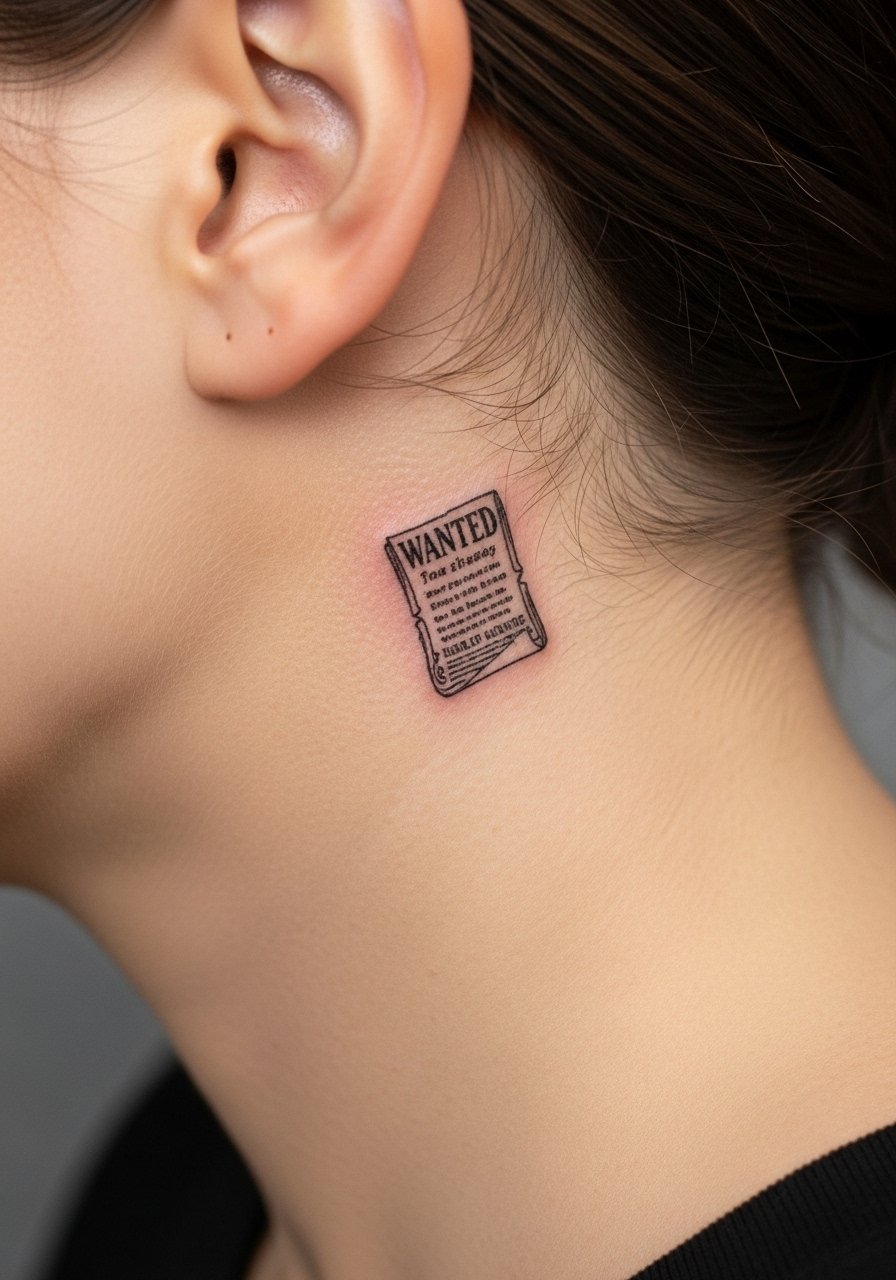
A folded tiny wanted poster is a clever, meta nod that fits the ear curve. Keep text minimal or use a single year or set of initials because readable lettering is tough at this scale. Tell the artist you want high contrast in the frame and single-stroke lettering. Sessions run short but precise stencil placement is essential. For session wear, keep hair pinned and consider a small gold hoop earrings look to balance the vintage vibe.
15. Micro Devil Fruit slice, symbolic bite
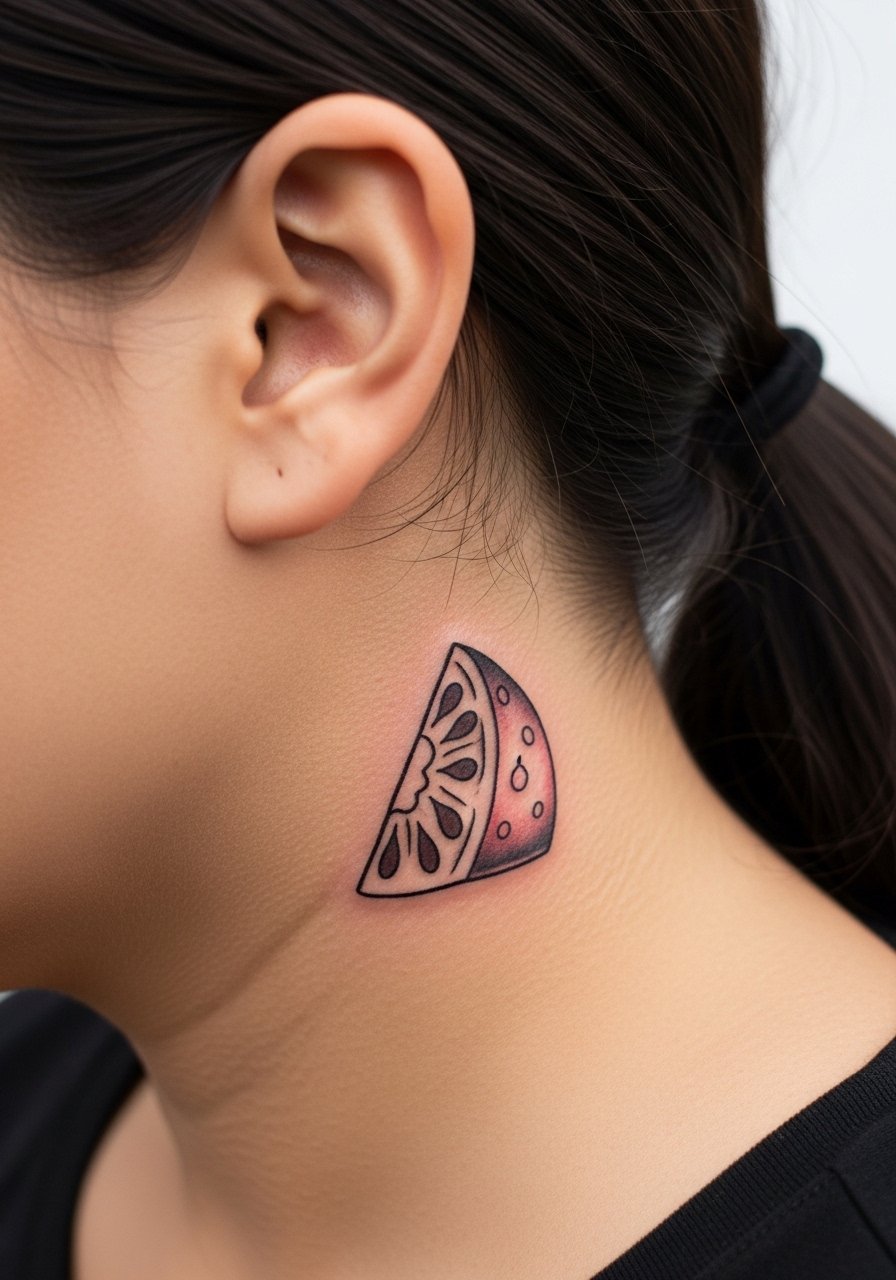
A tiny Devil Fruit slice gives an obvious lore nod without character faces. For longevity, favor a bold outline with color accents rather than soft watercolor fills. Session time is short but color near hair can fade faster. A common mistake is asking for complex texture inside the slice that cannot hold at this size. Keep it compact and let the outline do the storytelling.
16. Poneglyph glyph, rune-style fine line
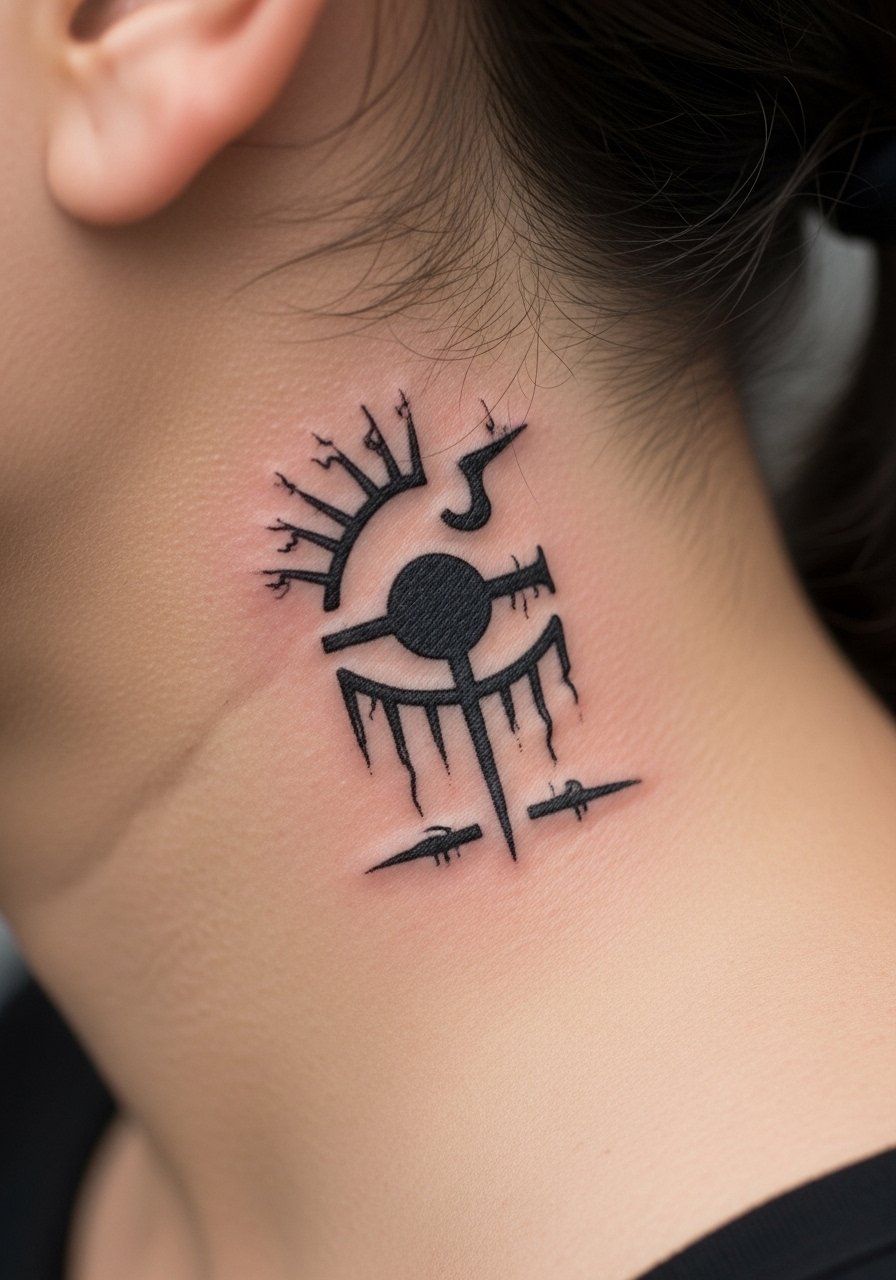
Glyphs benefit from spacing and bold primary strokes to prevent merging as the area ages. Specify the exact symbol you want and insist on slightly stronger main lines. Pain is low and sessions are quick. A mistake is cramming multiple runes into a 1 cm patch. For outfits, the glyph pops against neutral linen shirts like a linen shirt women which keeps the field clean.
17. Tiny Log Pose charm, directional dot and arrow
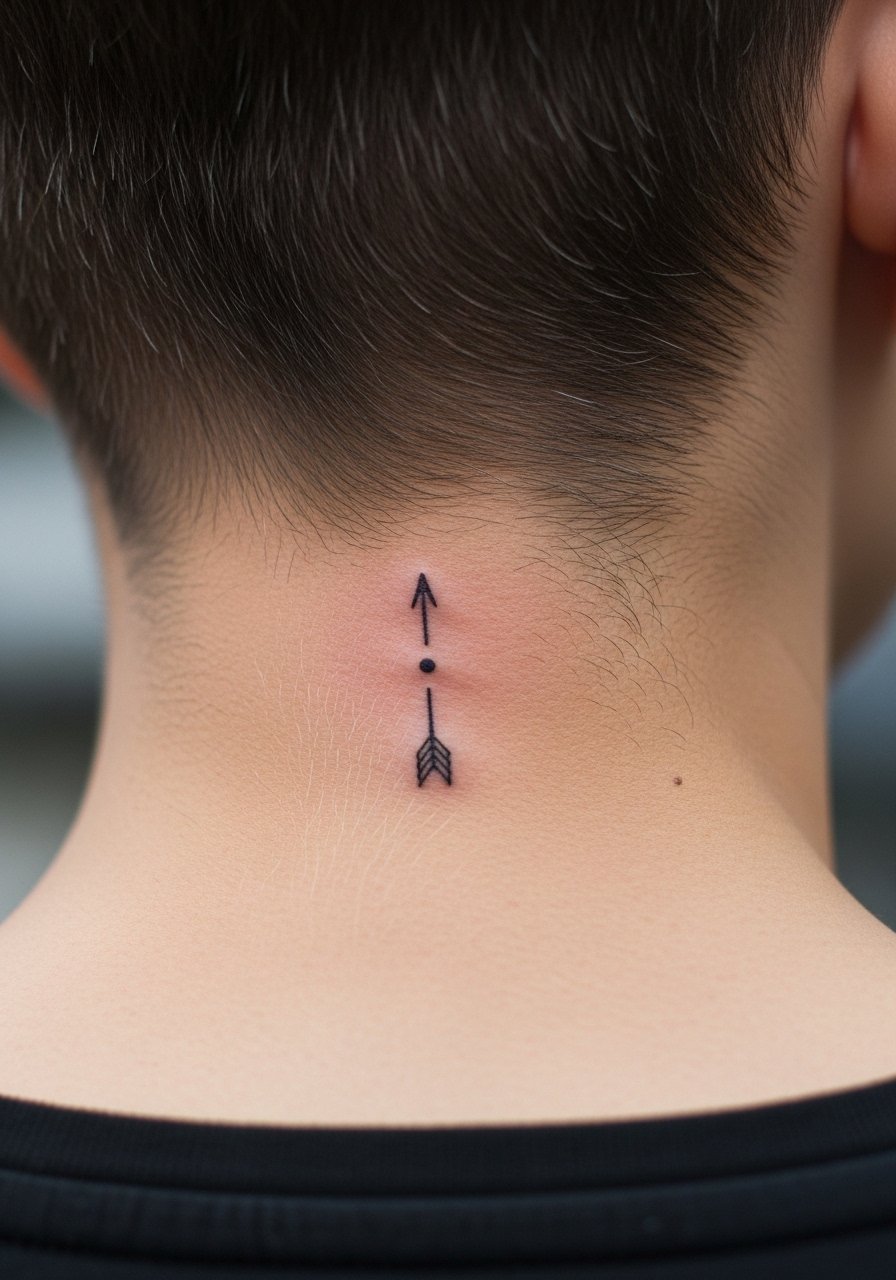
Log Pose motifs read well as minimal directional marks. Ask for a clear dot anchor and a slightly bolder arrow shaft. This is perfect if you want a maritime hint without characters. Sessions are under 20 minutes and pain is low. People sometimes ask for micro lettering beside this and end up losing detail. For the session, wear a loose tank top so the artist can reach the neck without fabric tugging.
18. Tiny compass north-star, nautical anchor point
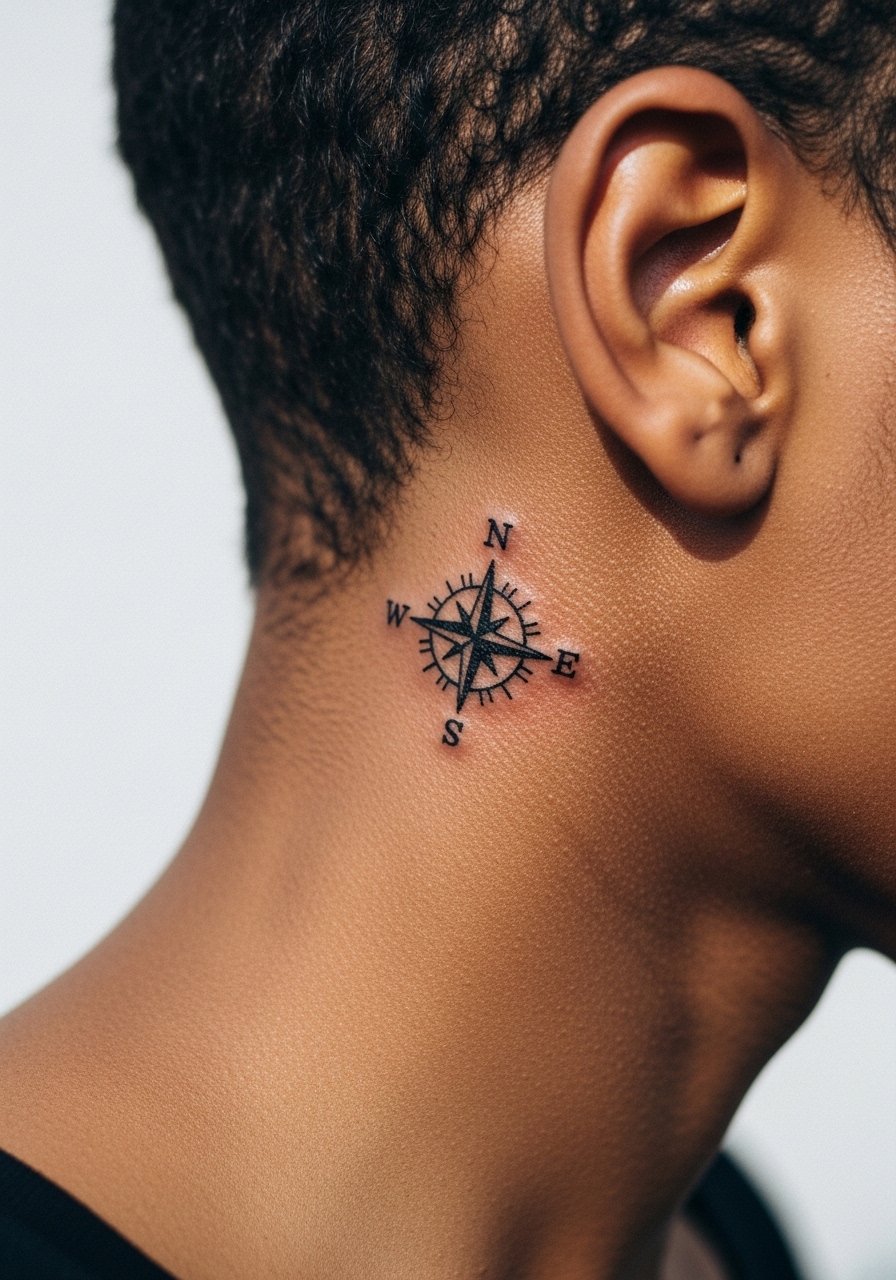
A compass benefits from a dominant north point and fewer ticks on the dial so the shape keeps reading as it heals. Tell your artist to favor radial spacing and a thicker main axis. Expect a short session and low pain. A common error is over-detailing the cardinal points at tiny scale. When styling, a simple pendant or minimalist studs complement the tiny geometry.
19. Mastoid wrap illusion swords for 3D curve
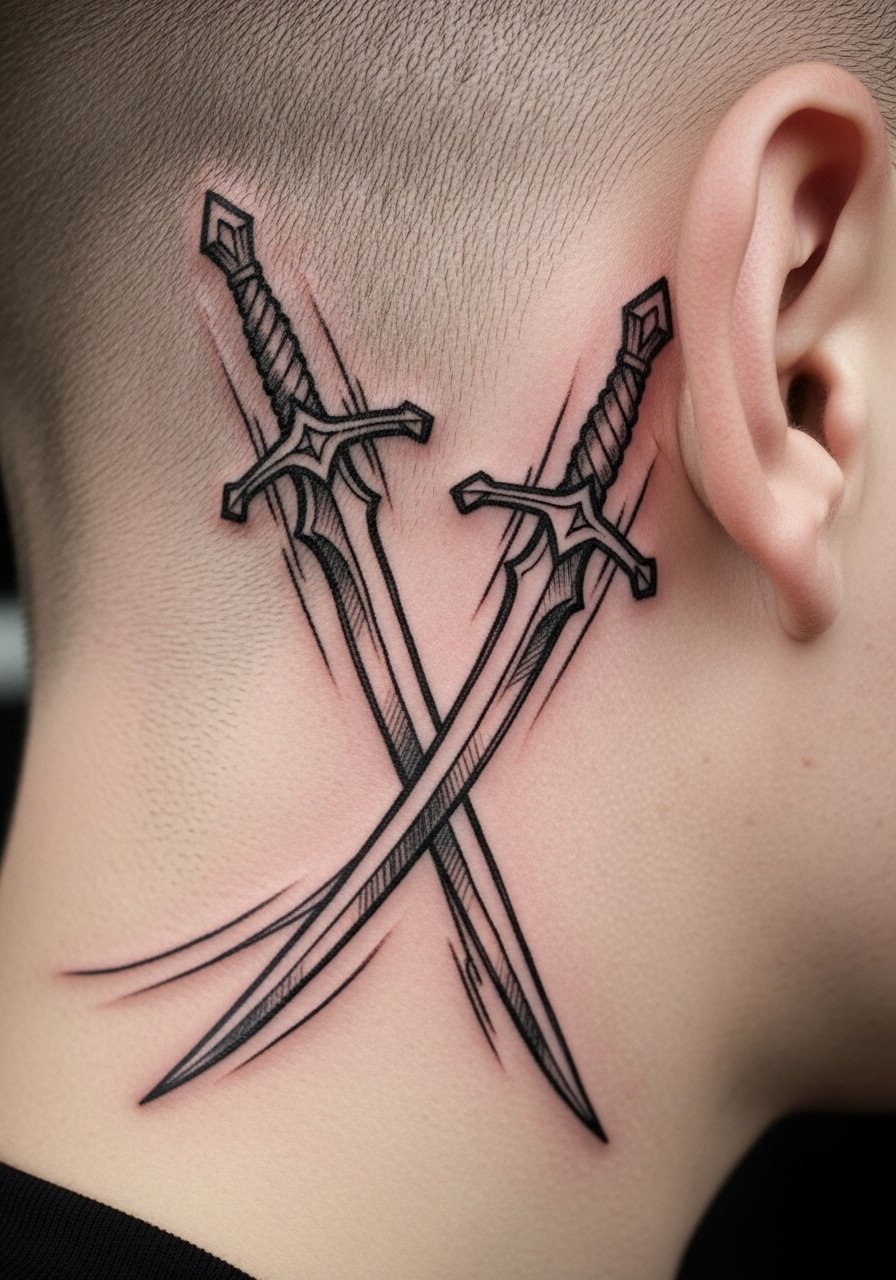
A wrap that leans into the mastoid curve gives a 3D motion illusion. This needs careful stencil placement and a conversation about how the design flows when you turn your head. The session might run longer because of contour adjustments. A mistake is forcing straight-line motifs onto a curved canvas without tapering. For aesthetic pairing, a denim jacket keeps the raw edge visible and complementary. Try a denim jacket for layered looks.
20. Dark-skin optimized blackwork with white-ink highlights
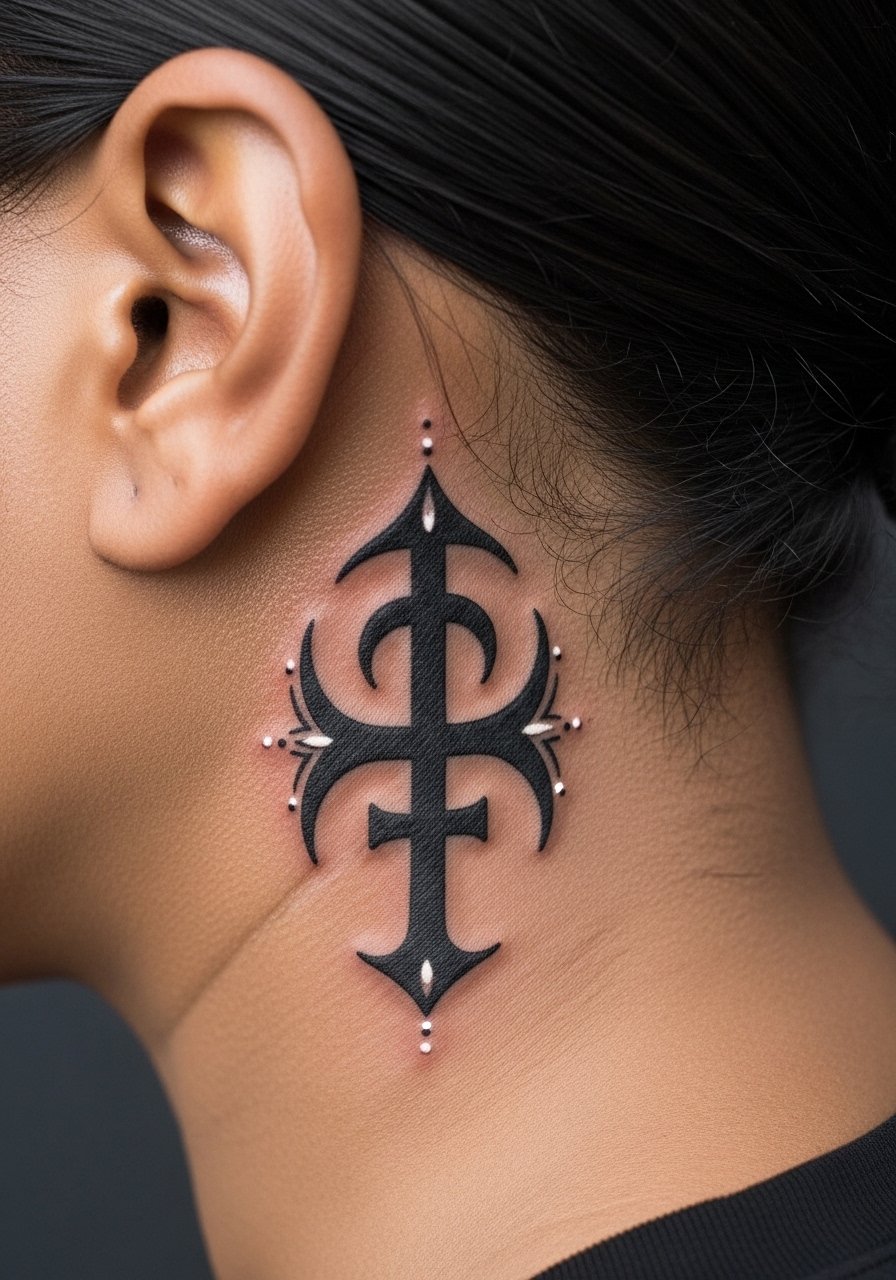
On darker skin tones, strategic white-ink highlights can lift blackwork without overusing color. Be realistic with artists about how white heals on your skin. The debate exists: some artists avoid white in small zones because it can fade or turn chalky. The other perspective is careful placement of white can create contrast that photographs better. Expect a slightly longer single session for layering. For photos, high-contrast lighting helps; for outfits, a simple high ponytail or hoop earrings brings the piece forward. A small gold hoop earrings look is useful here.
21. Tiny map coordinates to the Grand Line
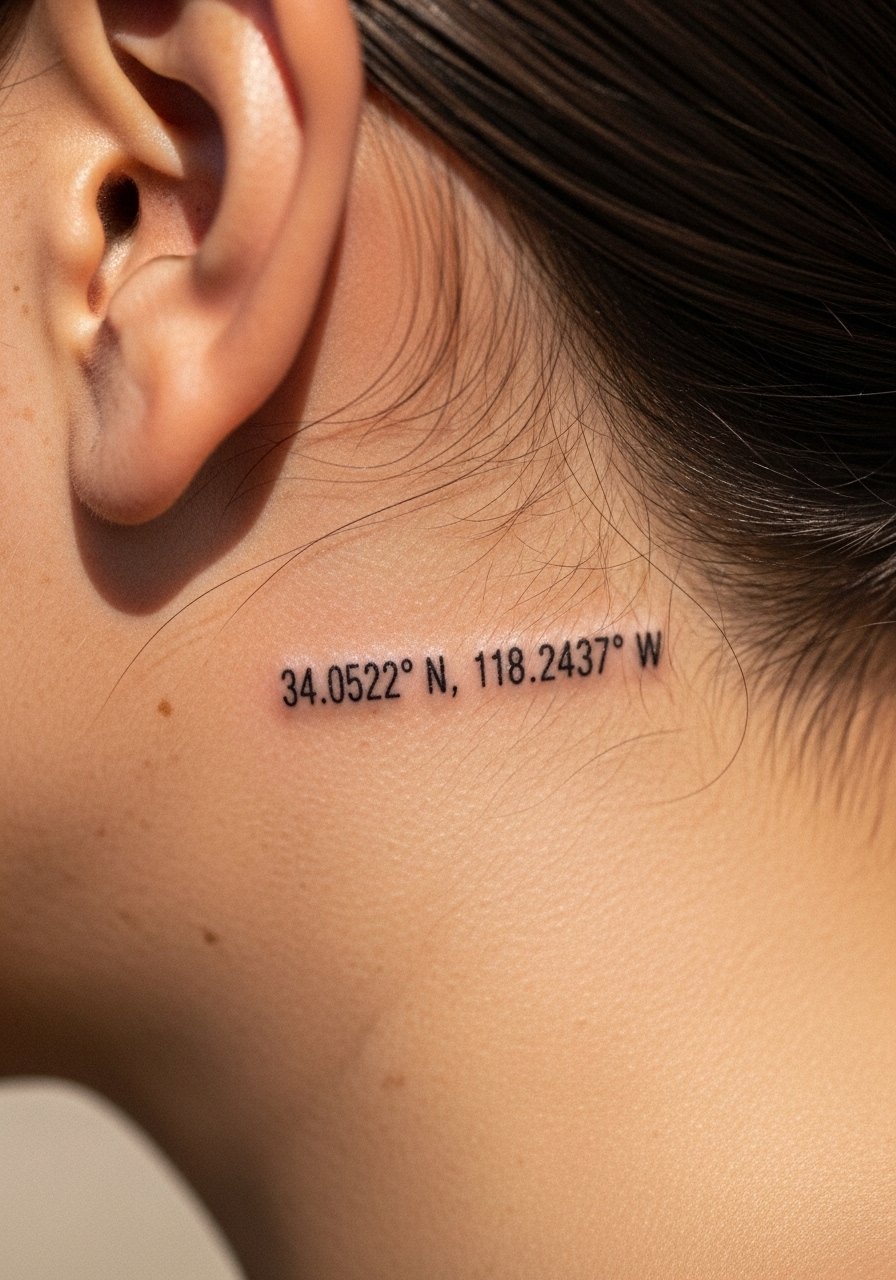
Coordinates are clean and personal while remaining minimal. Use a simple monospace or thin serif to keep the numbers legible at 1–1.5 cm. The trap is wanting full GPS precision in tiny type which becomes unreadable. Sessions are quick and pain is low. Wear a loose tank or crew tee on session day so the artist can reach the area without fabric rub.
22. Straw Hat silhouette with a discreet X overlay
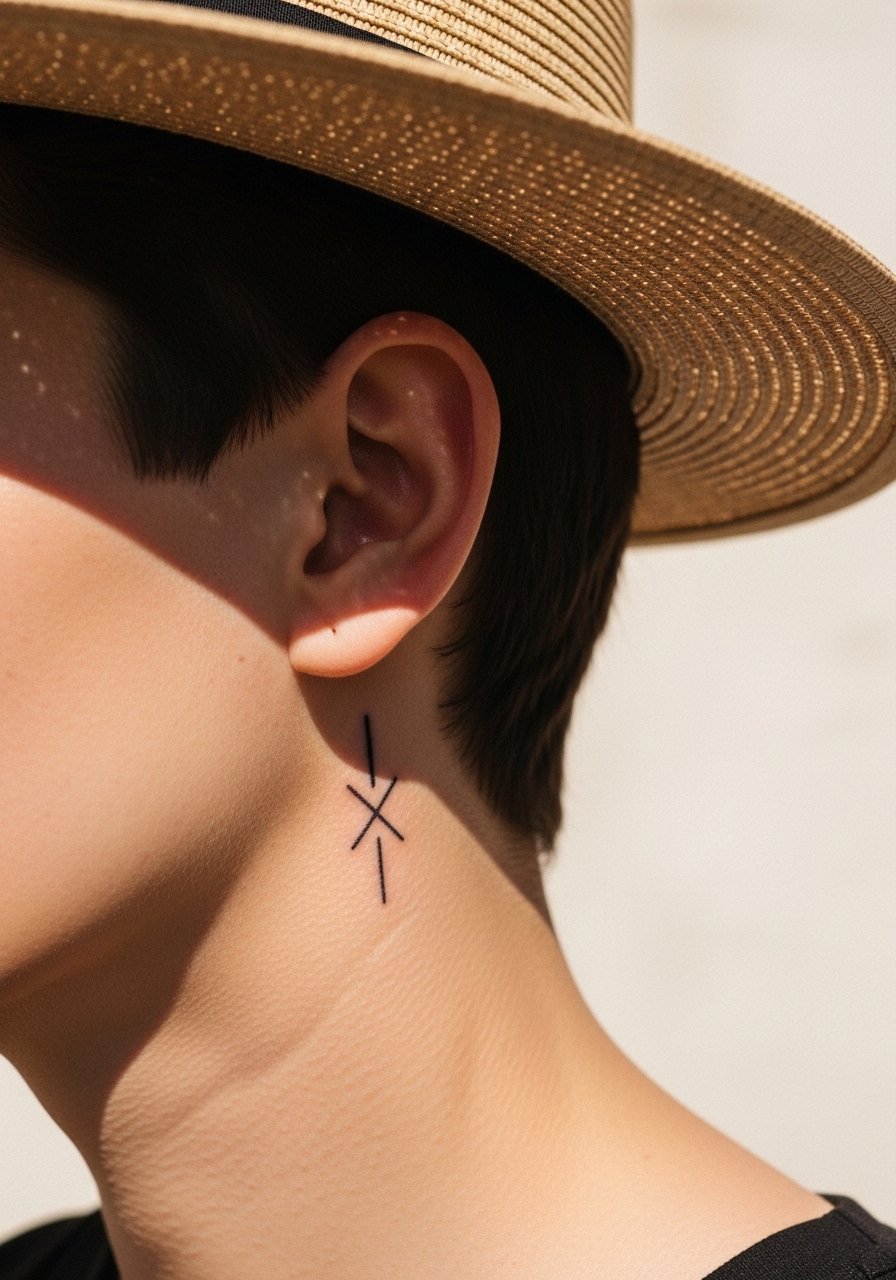
Combining a straw hat outline with an X creates layered meaning and still reads compact. Ask for two weights so each element holds its space. The mastoid curve can make alignment tricky so expect a little stencil repositioning. A common mistake is letting the X sit too close to the hat rim which blurs definition later. For session wear, pin your hair up high and bring a few spare hair pins set.
23. Micro script catchphrase tucked beside the ear
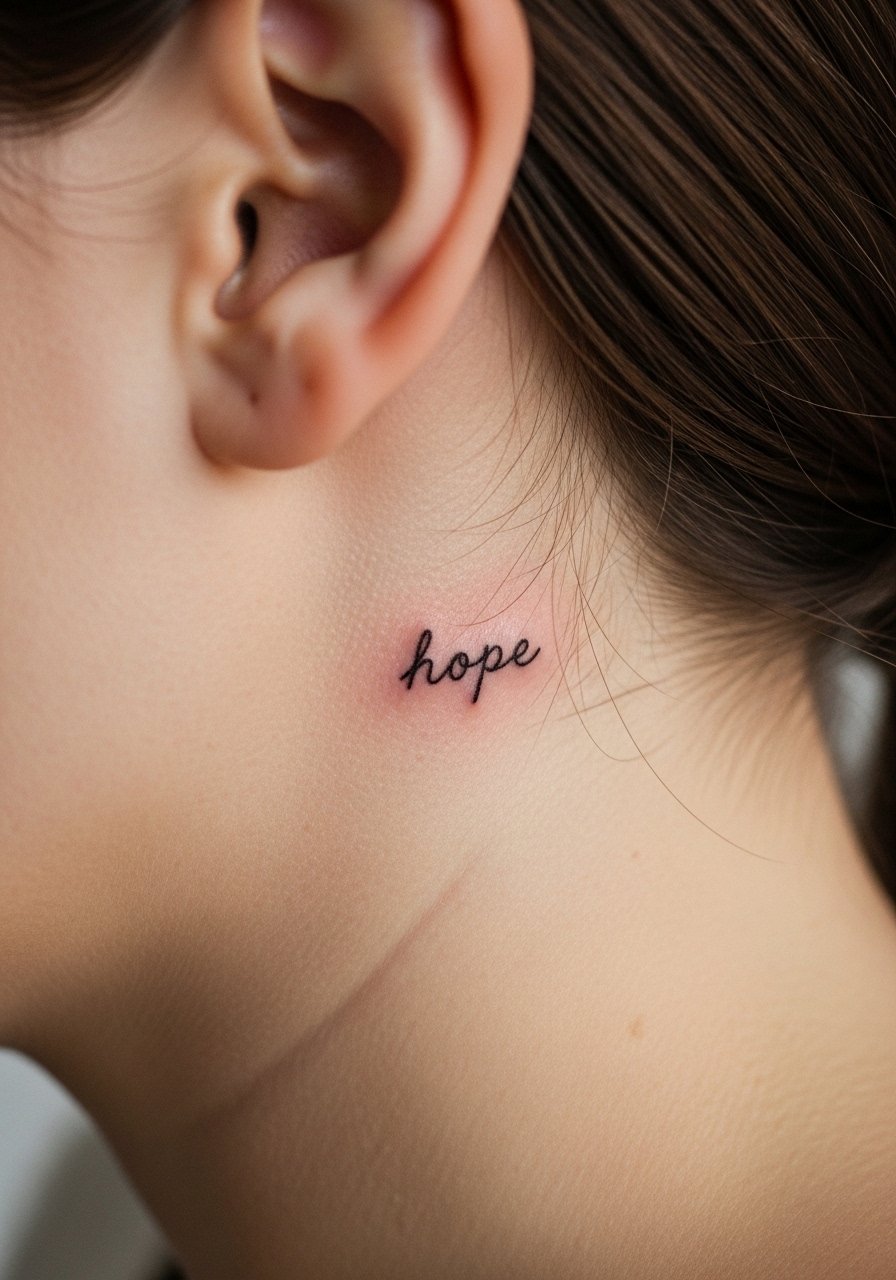
If you want text, pick one short word or initials and specify the exact lettering. The image generator rule applies here: give the artist the exact text. Lettering under 2 cm risks turning into a line after a few years so ask for a slightly bolder main stroke. Sessions are brief and pain is low. A simple pendant or scarf can frame the word for reveal.
24. Heart Pirates emblem micro, blocky bold
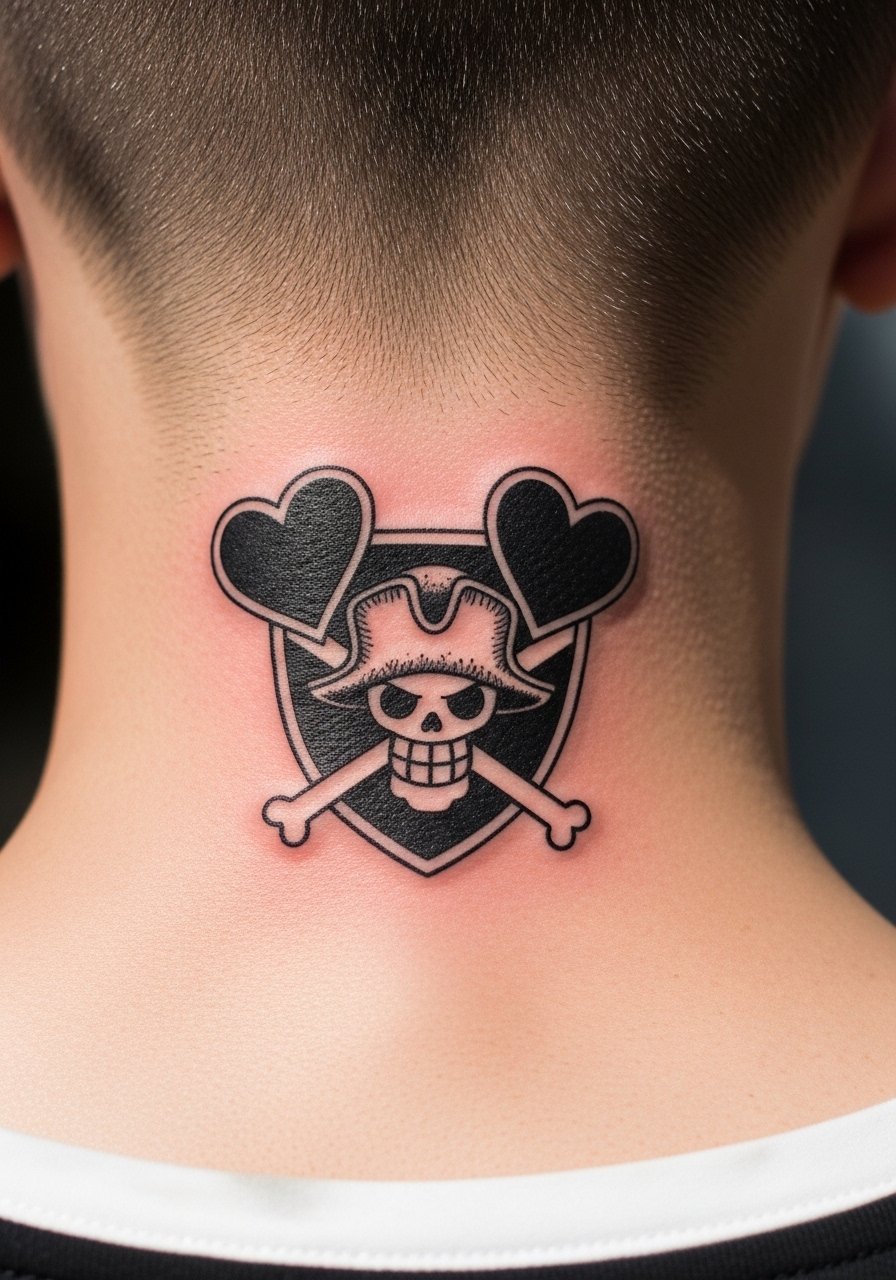
Blocky emblems benefit from solid fills and clear negative space. Ask for consistent saturation so the emblem reads across light and shadow. This style is forgiving of minor blowout because the silhouette remains legible. A single session often finishes it. For pairing, a dark crewneck or leather jacket pushes the emblem into focus.
25. Behind-ear earlobe micro-eye with turtleneck reveal
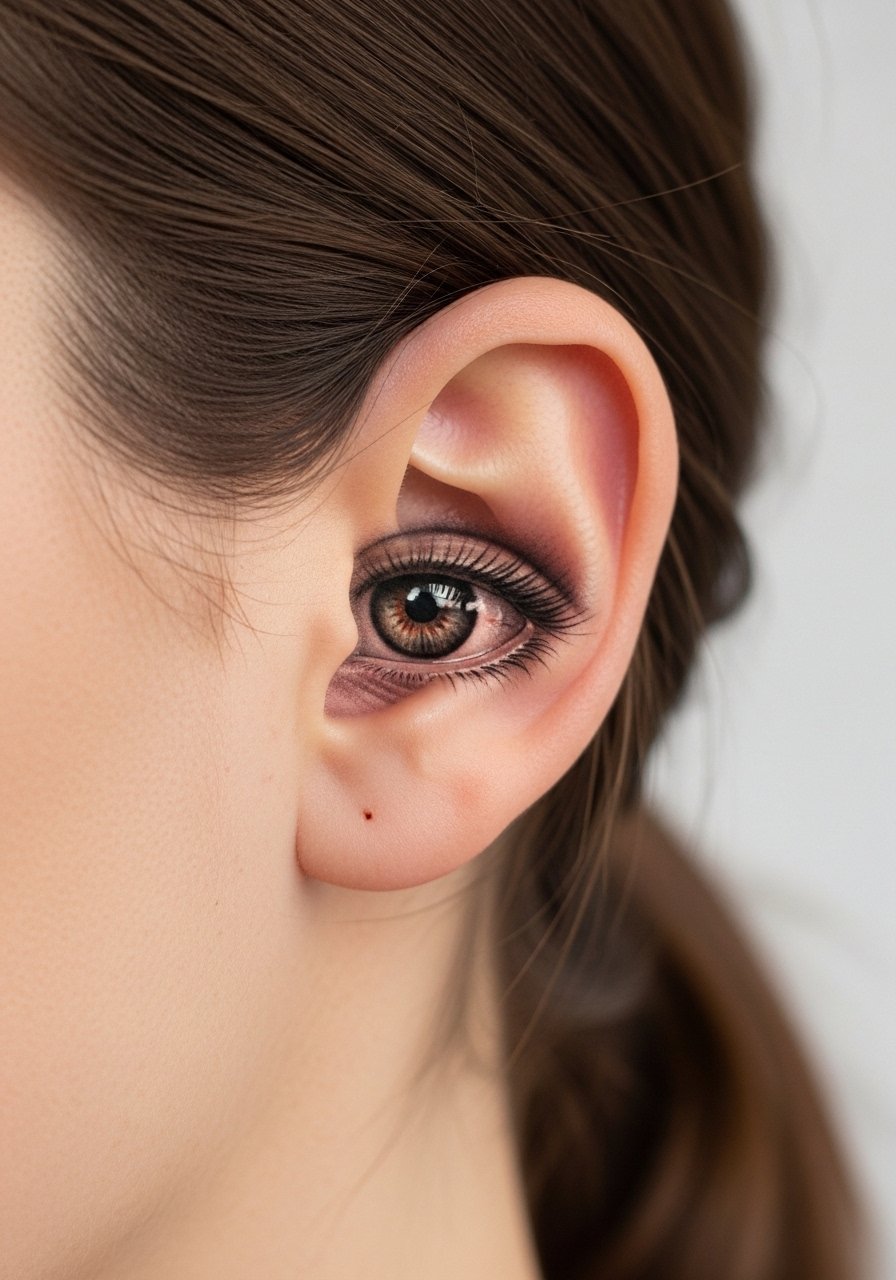
Placing a tiny eye near the lobe uses the curve to add dimension. Ask for stipple shading and soft contrasts instead of heavy washes. The area is low pain but can snag on earrings while healing. A styling tip is to use a cashmere turtleneck when you want a dramatic reveal that pulls the other side of the neck into frame.
26. Headphone-safe micro design for music fans
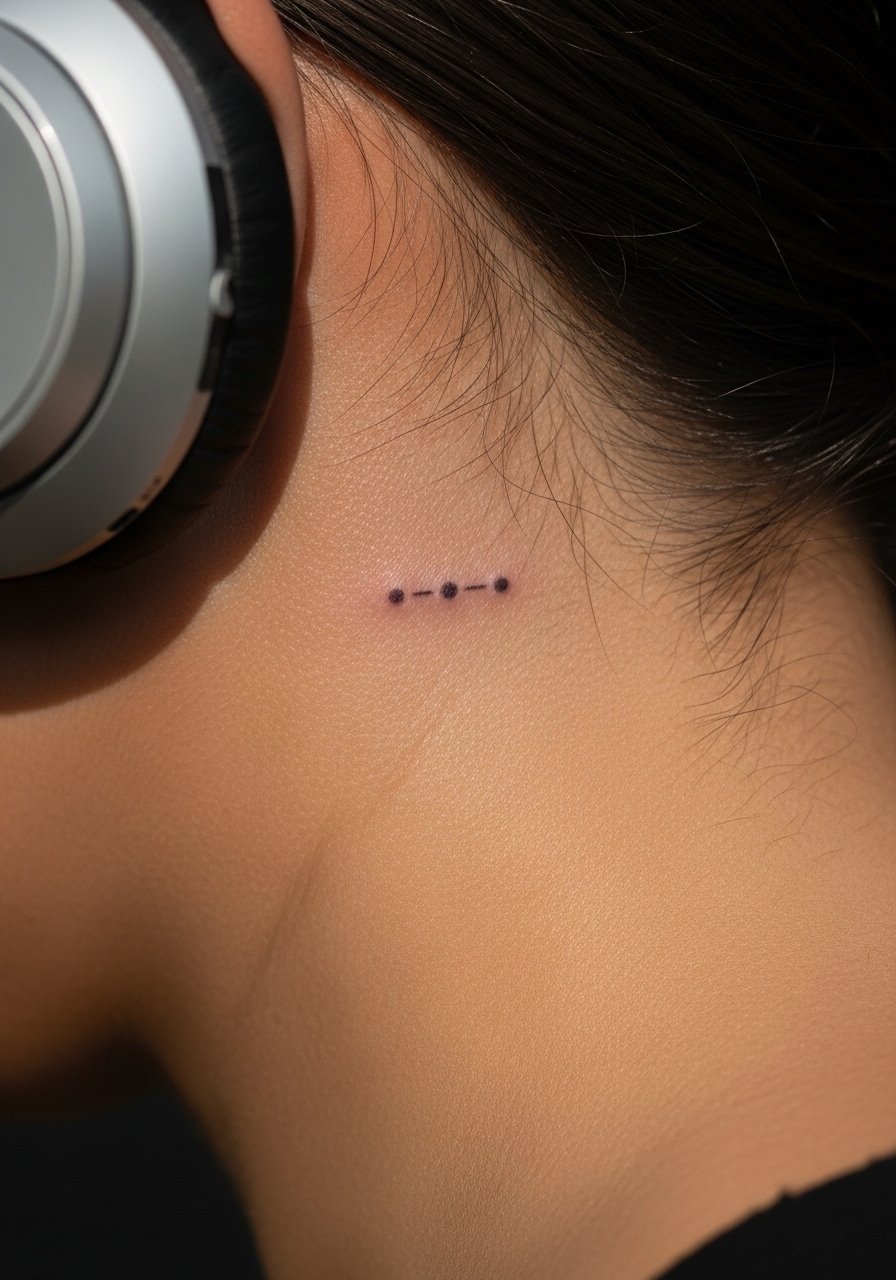
If you wear headphones a lot, tell your artist where the band sits and move the design slightly out of that zone. This prevents constant pressure and itch during healing. Session time is short but alignment matters. A common pain point is headphone irritation; consider using a light cotton headband or a cotton bandana in the first week to keep pressure off while commuting.
27. First behind-ear starter piece for beginners
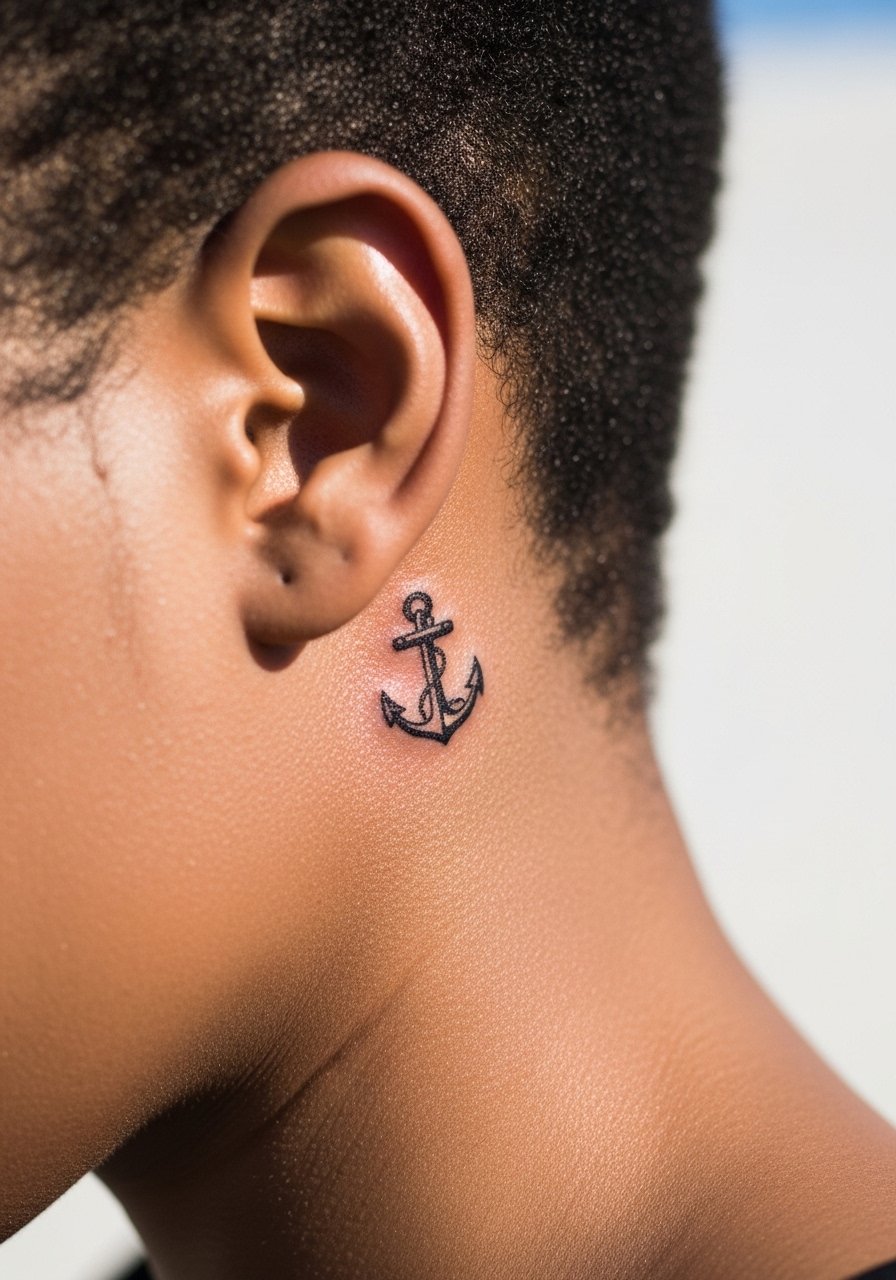
For a first one, pick a compact stencil that can be previewed on the skin and ask for minimal filler. Tell the artist you are nervous about placement and request a slow stencil check with the head in natural positions. Pain is low and sessions often run under 30 minutes. Booking a guest-spot or searching local filters like "behind ear" on Tattoodo or Booksy can score fair rates and more ear-specific experience. Wear a loose tank top so the artist can access the neckline easily.
Frequently Asked Questions
Q: How long will a fine line One Piece tat behind the ear stay crisp?
A: It depends on line weight and daily friction. From what I have seen, fine line pieces with very thin single strokes often soften in 12 to 24 months, while designs punched up with one stronger outline hold clarity longer. Schedule a touch-up at year one if you want to keep lines sharp.
Q: Can color tattoos like Nami's tangerine hold up behind the ear?
A: Color is possible, but pigments in tiny washes tend to fade faster behind the ear. Ask for bold outlines and plan on a color refresh at year one to two. If you prefer less maintenance, choose black with minimal color accents.
Q: Will headphones ruin a behind-ear tattoo while healing?
A: Pressure and sweat from headphones often irritate fresh ink. Avoid tight bands for 7–10 days and use a thin cotton band or headband if you must listen. I have seen the most problems come from daily pressure combined with hair product residue.
Q: How do I find artists who specialize in behind-ear One Piece references?
A: Search hashtags like #OnePieceTattoo and #BehindEarTattoo on Instagram, filter by location on Tattoodo or Booksy, and check community threads on Reddit for recent guest spots. Look for portfolios with 50+ behind-ear examples before booking.
Q: Are white-ink highlights a good idea for dark skin behind-ear pieces?
A: Artists are split. One camp advises caution because white can fade or appear chalky. The other camp uses tiny, strategic pinpoints to lift blackwork successfully. Discuss real healed examples with your artist and consider a conservative approach.
