
Fine line cowboy hats are everywhere online right now, but the pieces that actually look good in year three are not always the ones people save to their boards. Thin lines on tan skin, guest-spot no-shows that force long drives, and summer color scabbing are all real headaches. Pick placements and line weights that match your life, and the first six ideas below will help you narrow choices before you book.
1. Traditional Cowboy Hat with Lasso on the Forearm
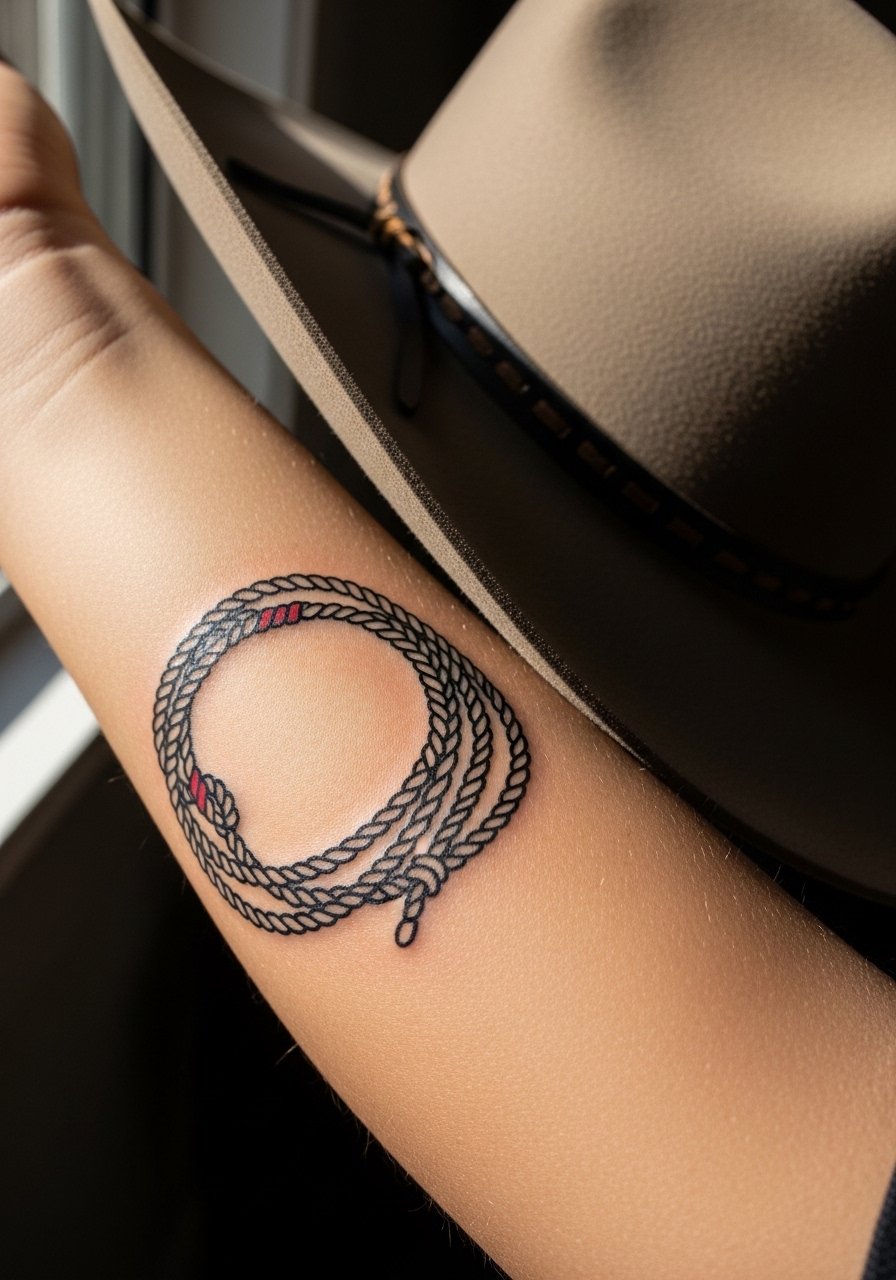
I see this composition on forearms a lot because it reads immediately and ages predictably when done right. Ask your artist for bold linework and measured saturation so the lasso does not bleed into the brim over time. Fair warning, forearms take constant sunlight and friction, so expect touch-ups earlier than on a covered area. For the session wear a rolled sleeve chambray shirt you can push up without tugging the stencil. A common mistake is asking for very thin lasso lines to save space. Give the lasso room and stronger lineweight and it will still read well at year three.
2. Black and Grey Realistic Cowboy Hat on the Upper Arm
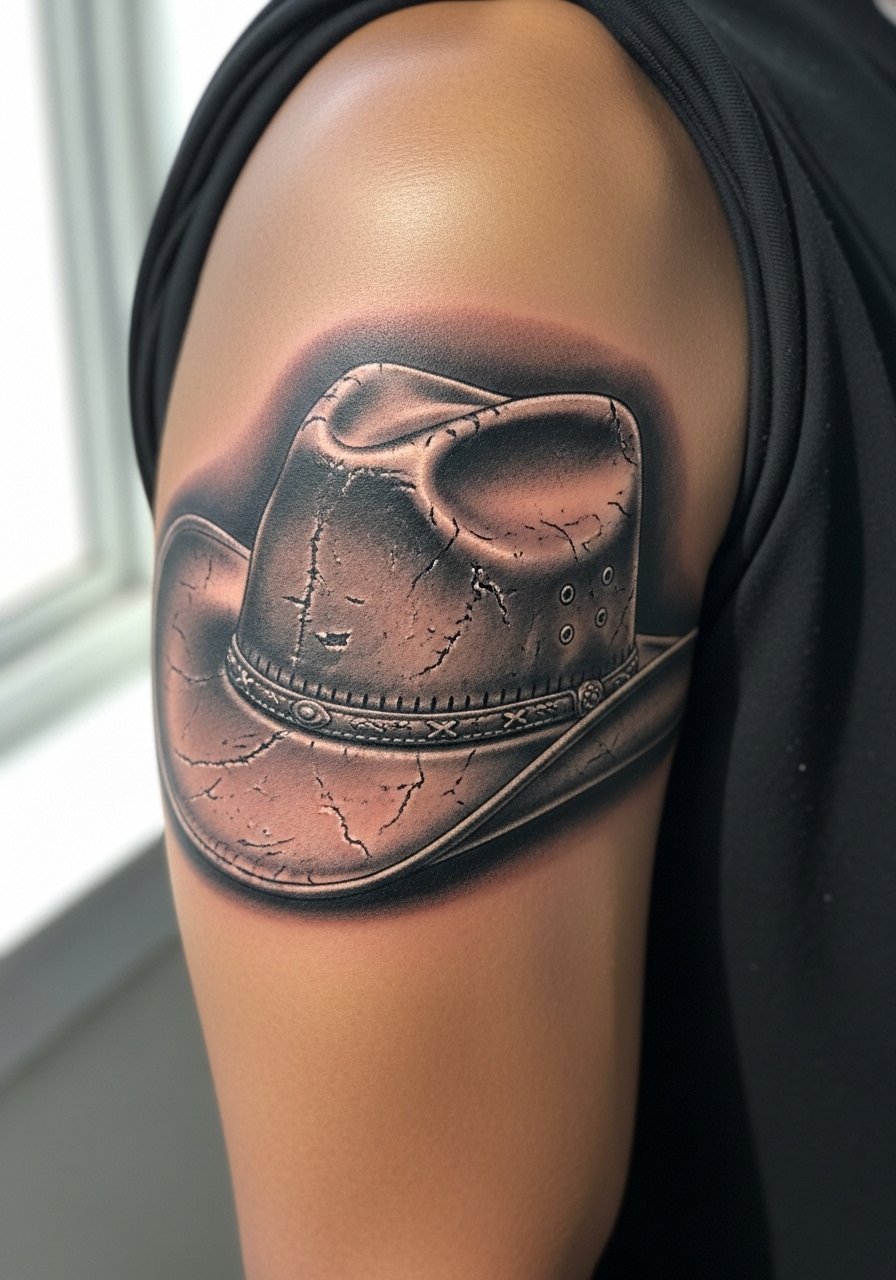
Upper arm gives the shading room to breathe and is a safer place for realism. The pain is mild to moderate and a single longer session usually does the job if the artist builds saturation carefully. Tell the artist you want layered grayscale, not one-pass wash shading, so the leather texture keeps depth over time. Watch blowout risk if the design is too small. At six months the leather grain should still read clearly, and at two years the contrast holds if saturation was prioritized. This placement pairs well with sleeveless tops on warm days. A smart consultation question is whether the artist plans stipple shading or whip shading for the texture.
3. Neo-Traditional Cowboy Hat with Horse Silhouette on the Shoulder
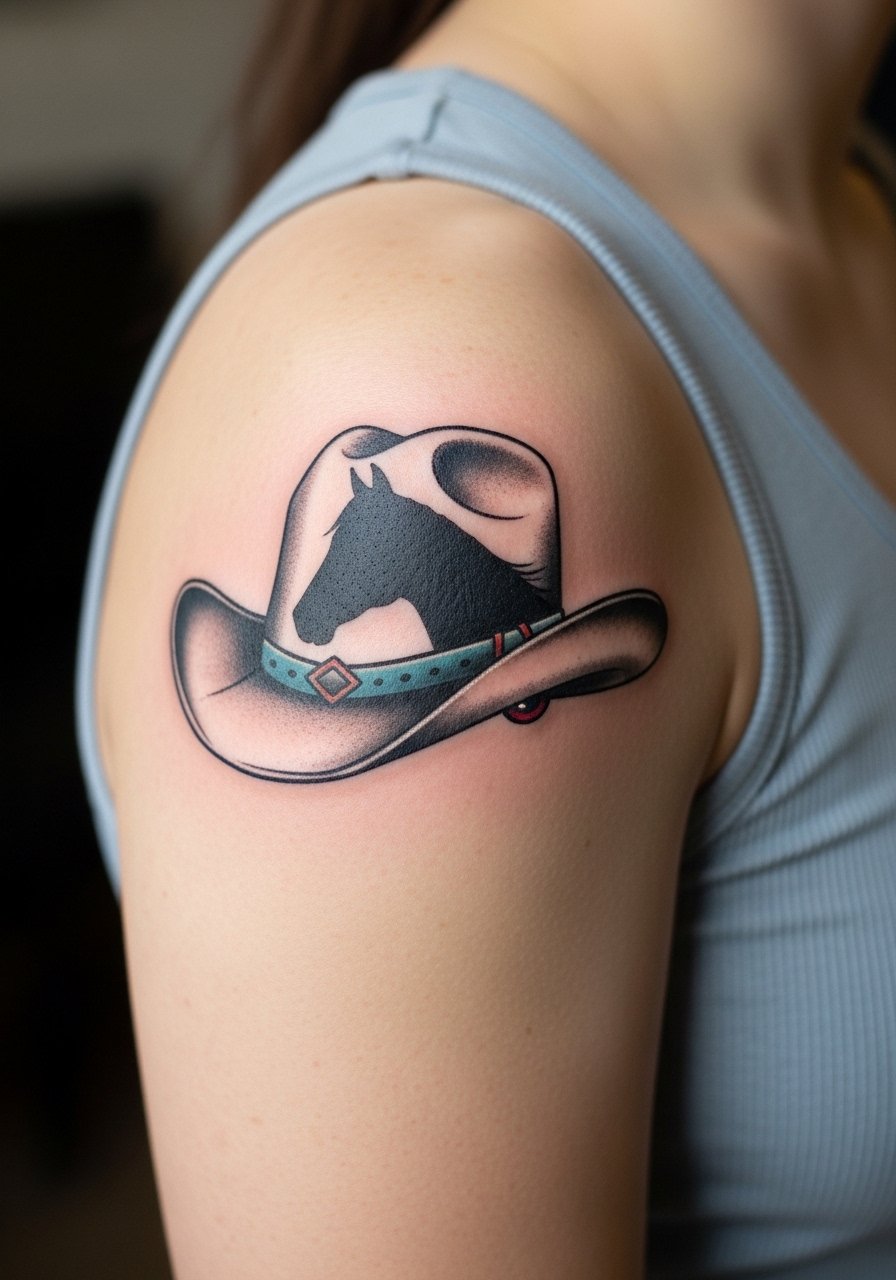
Shoulder pieces let neo-traditional elements like floral trims and negative space breathe. Expect a two-session plan if you want color pops and crisp linework around the silhouette. Ask for heavier outer linework to preserve the shapes in movement and avoid tiny internal details that merge later. For the session, wear an off shoulder blouse or a tank so the artist has clear access. This design reads well at year one and stays legible at year five when outlines are bold and colors are saturated. A common mistake is crowding the horse silhouette with small dots that confuse the negative space.
4. Fine Line Outline Cowboy Hat at the Wrist
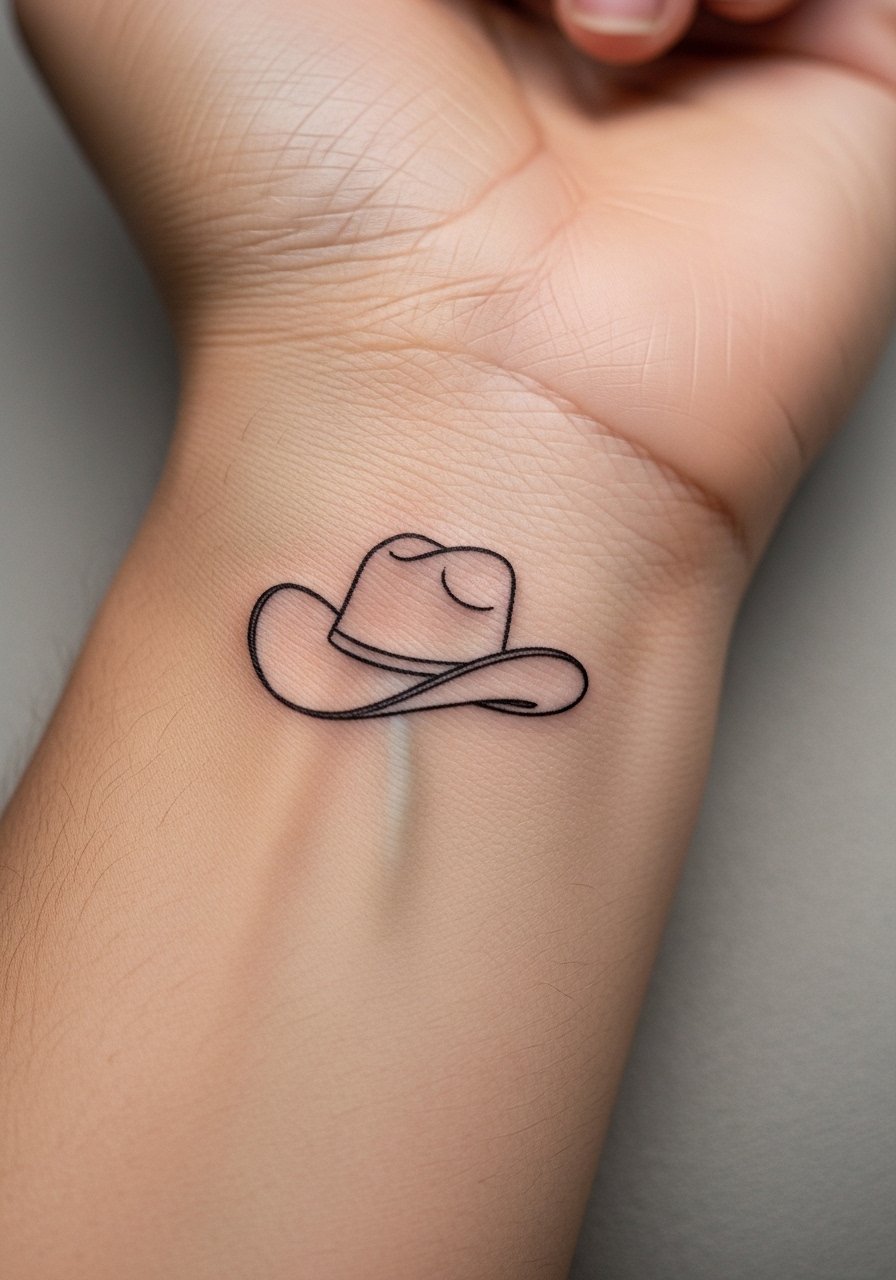
Wrist placements show quickly but they are a commitment. Fine line works here for a subtle look, but expect touch-ups sooner than on the upper arm. If you work with your hands or spend a lot of time in sun, tell the artist to slightly thicken outer strokes so the silhouette holds. Session time is short and pain is mild. For showing it off, pair with a thin leather cord bracelet or a single turquoise bead strand. The mistake I see most is asking for hairline detail in the brim. Scale the detail up so the linework does not merge into a smudge at year two.
5. Ornamental Cowboy Hat with Floral Band on the Collarbone
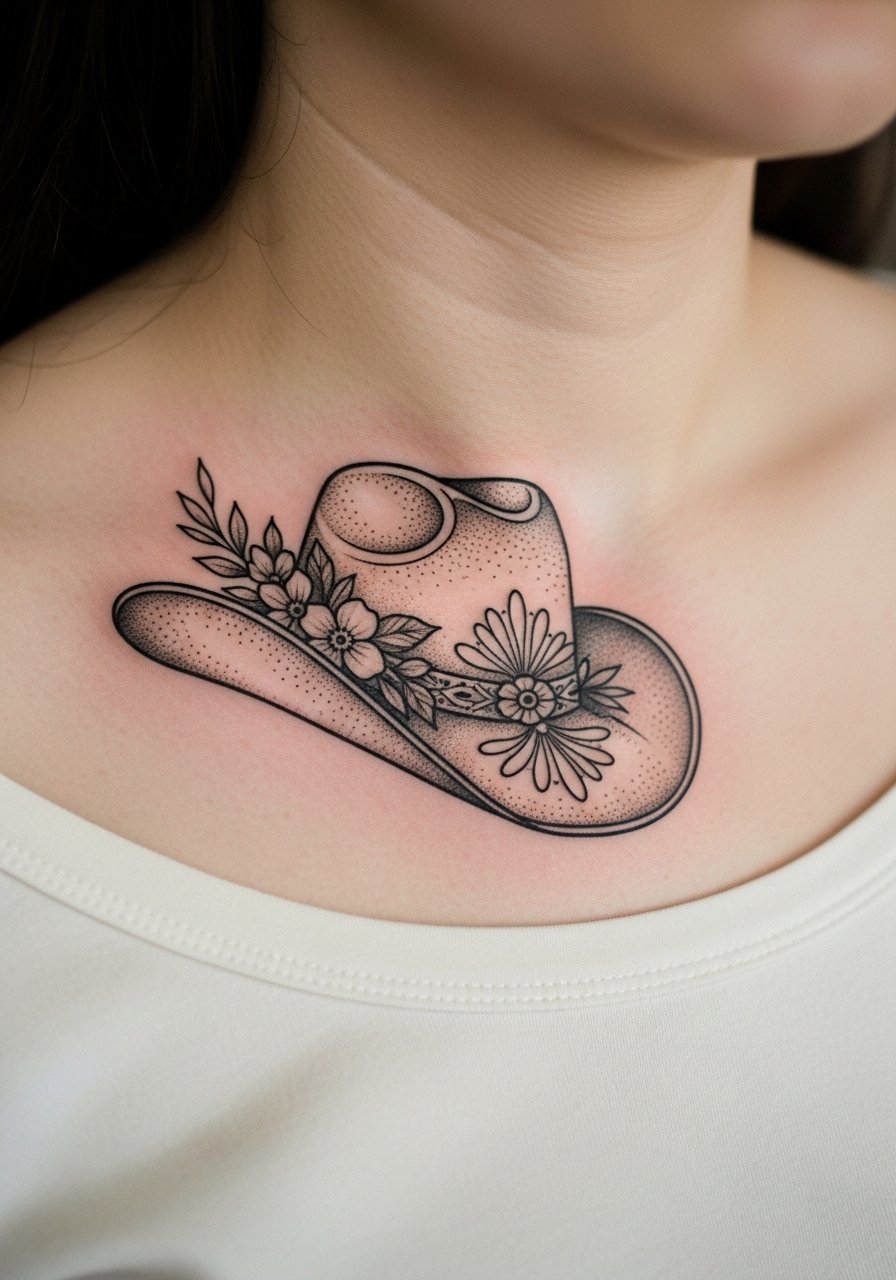
Collarbones are flattering for ornamental work that leans feminine. Pain is moderate and sessions can be split for dotwork banding and soft grey shading. Tell your artist you want the floral band in stipple shading and avoid heavy color in the immediate collar area to prevent prominent scabbing in summer. For showing it off, a v neck linen dress or a delicate chain sits well above the hat without crowding it. Hands down, the worst mistake is packing too many tiny petals into a four-inch band. Give the motif negative space so it stays readable at year three.
6. Micro-Realism Lone Star Cowboy Hat on the Inner Bicep
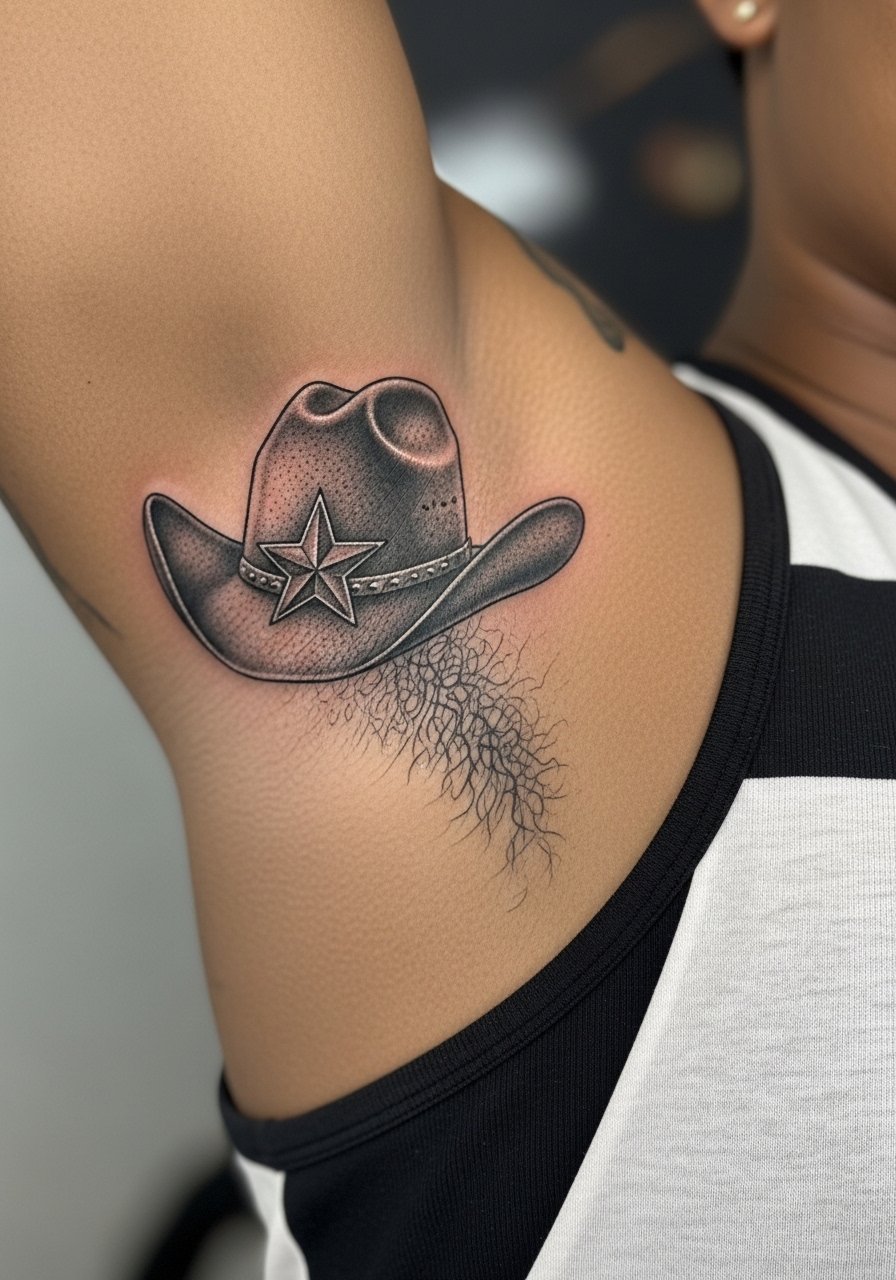
Inner bicep micro-realism looks terrific when scaled to three inches, but it is a delicate area. The skin there moves with the arm and can distort lines if the piece is too tight. Expect a single focused session and moderate pain. Artists are split about fine line depth here. One camp says micro depth works if you build saturation slowly. The other camp warns that the inner bicep stretches and blurs thin work within a couple of years. Ask your artist which side they take. For the session, wear a tank so the artist can raise your arm easily. A realistic finish will hold better with careful layering rather than one-pass feathering.
Studio Day Picks
The first six designs above include wrists, forearms, and an inner bicep, so a few targeted items make the session and first week easier.
- Frida Aftercare Spray. A light mist helps keep detailed shading from feeling clogged right after a session, which is useful for micro-realism and ornamental bands.
- Tattoo Goo Original. A thinner balm that works well in dry climates and on blackwork areas without sitting heavy on textured shading.
- Green Sheep Balm. Recommended by users for summer heals on colored pieces, it absorbs faster than thicker ointments.
- Unscented Jojoba Oil. A budget-friendly option that keeps fine lines from drying out overnight without leaving a greasy film.
- Aquaphor Healing Ointment. Use a thin layer in the very first days for high-motion wrist or forearm work when the skin needs sealed protection.
7. Traditional Smoking Skull in a Cowboy Hat on the Calf
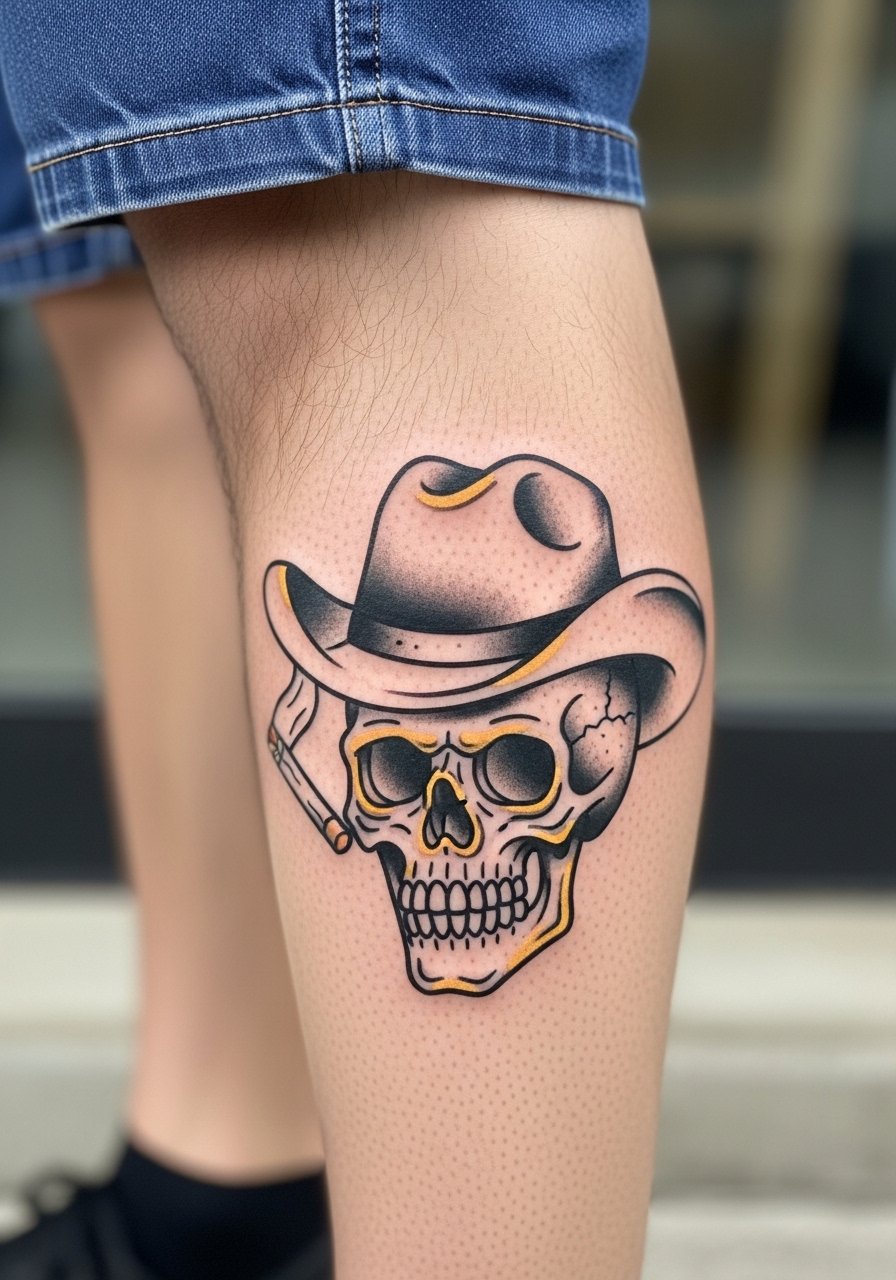
Calf pieces let bold traditional motifs breathe and not crowd into muscle folds. Pain is low and sessions tend to be comfortable. If you want the skull detail to age well, ask for solid outlines and keep high-contrast fills rather than tiny shaded teeth. For show-off seasons, rolled slim jeans or cowboy boots frame calf tattoos perfectly. The main mistake for calf work is underscaling the skull. These pieces need width to keep teeth and hat brim readable at year five.
8. Watercolor Cowboy Hat with Boots on the Thigh

Thigh placements are forgiving for painterly watercolor styles because they do not face constant sun or abrasion. Expect two to three sessions for layered washes and to let color settle evenly. A common complaint with watercolor is early scabbing that pulls color, especially in summer. Consider a protective second skin for the first days and be careful with tight clothing. For summer shows, a high waisted denim shorts pairs naturally with a thigh piece. The error I see most often is asking for washed edges too close to where clothing rubs. Give the washes breathing room.
9. Ignorant Style Blocky Cowboy Hat on the Outer Forearm
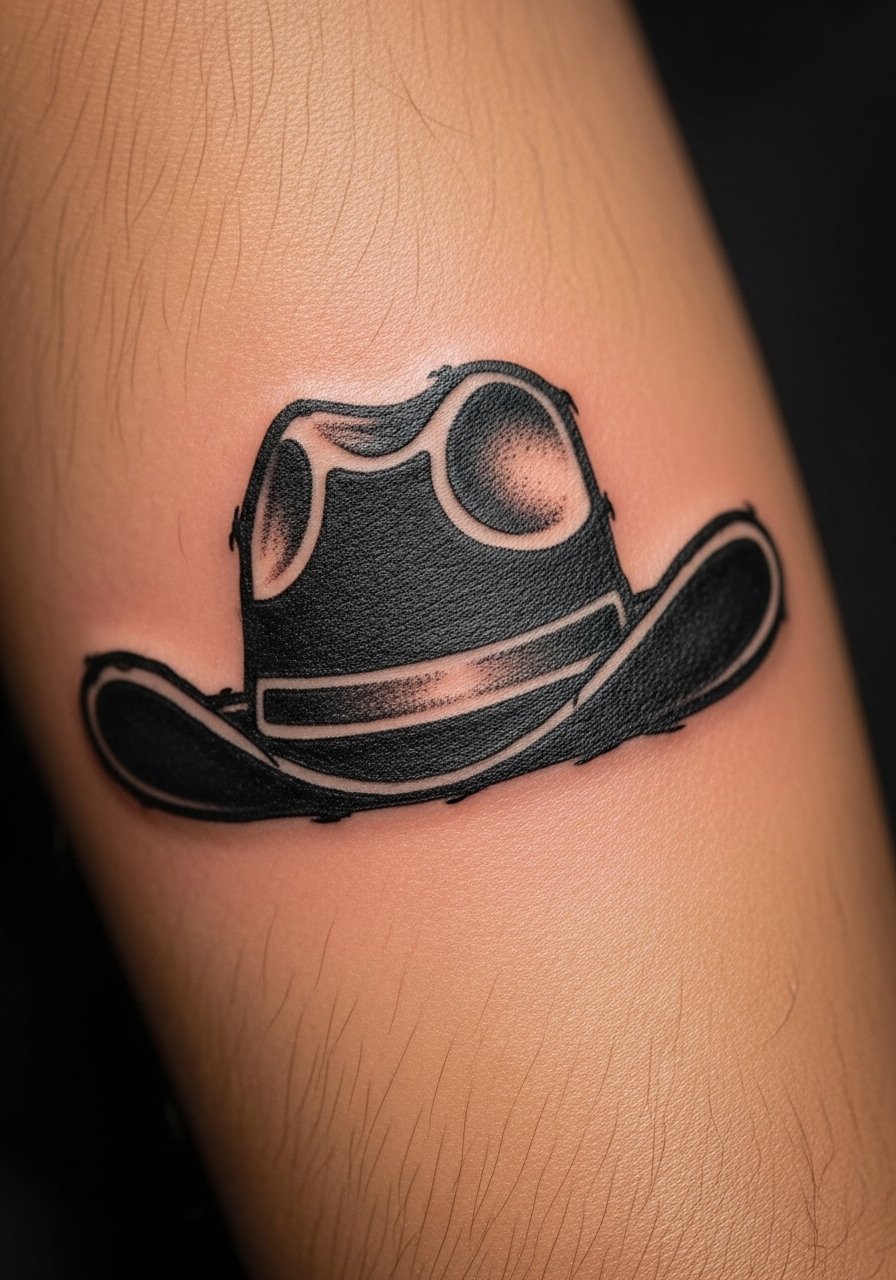
Ignorant style is raw by design and perfect for a bold anti-polish statement. Outer forearm keeps it visible and accessible for a one-session bold black fill. Tell the artist you want hand-drawn imperfections preserved so the piece reads punk and honest rather than sloppy. Expect low to moderate pain. Avoid tiny internal lettering or fine textures because the bold fills are what carry this style forward. The usual mistake is overcomplicating an ignorant style reference with micro-detail. Let the black fills do the talking.
10. Blackwork Geometric Cowboy Hat on the Upper Back Shoulder Blade

A shoulder blade canvas suits geometric and blackwork treatments where crisp negative space matters. Expect two sessions if you want perfect fills and clean negative shapes. Pain is moderate. Tell your artist you want clear spacing between shapes to avoid merging in a few years. For casual wear, a fitted cotton tank or racerback shows the shoulder without stretching the piece. The common mistake is shrinking the geometry too small. These patterns need scale to remain striking after healing.
11. Minimalist Hat Silhouette with Spur on the Side Neck
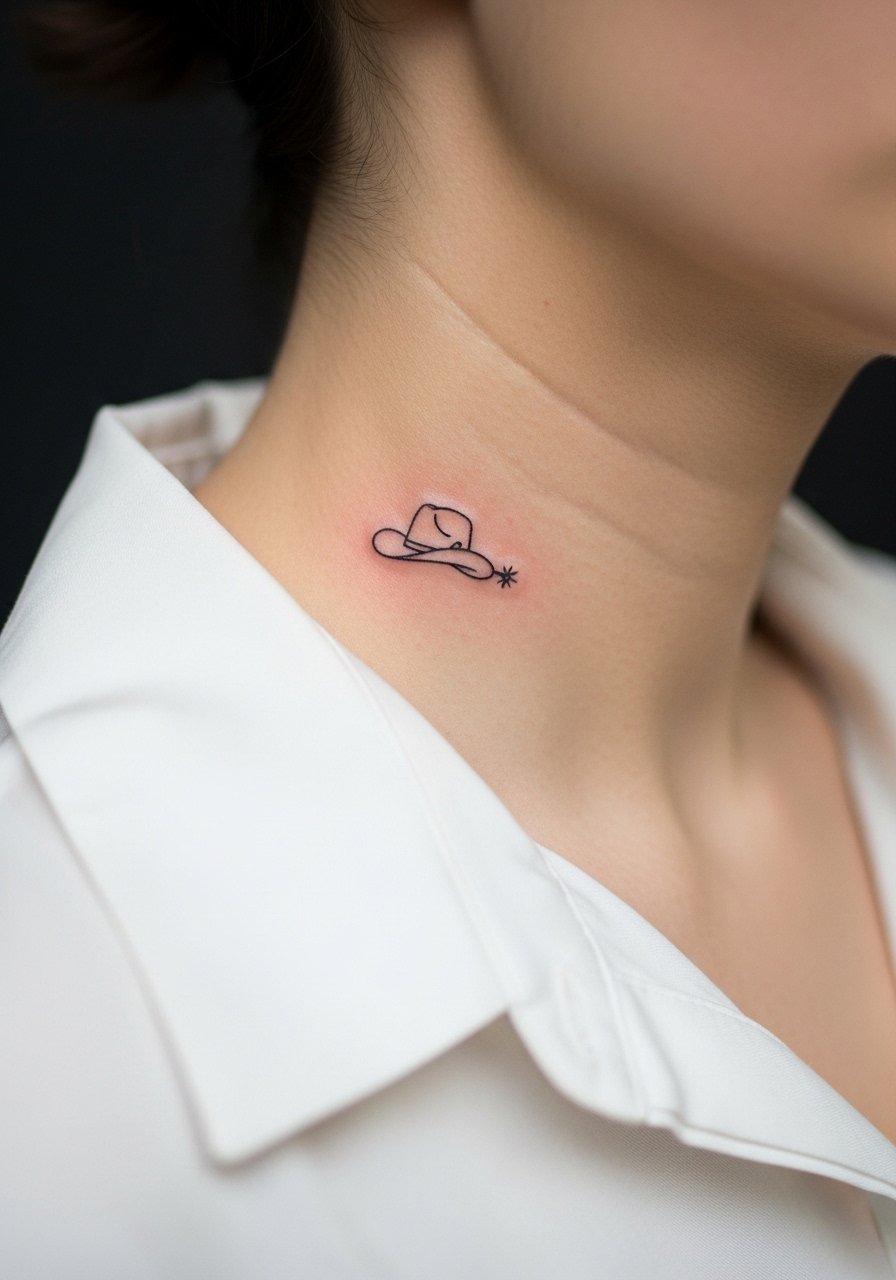
Side neck pieces are discreet but very visible in certain outfits. Pain is higher here and touch-ups are more likely because the skin is thin and exposed. Ask for a slightly bolder silhouette than you might request elsewhere, because very thin lines can break down faster on the neck. Consider workplace visibility before committing. For the session, wear a wide-neck shirt you can pull aside without exposing the chest. The mistake people make is insisting on hairline strokes for such a mobile spot. Add a little weight to the outline so the spur and brim stay readable.
12. Neo-Traditional Hat with Roses on the Ribcage
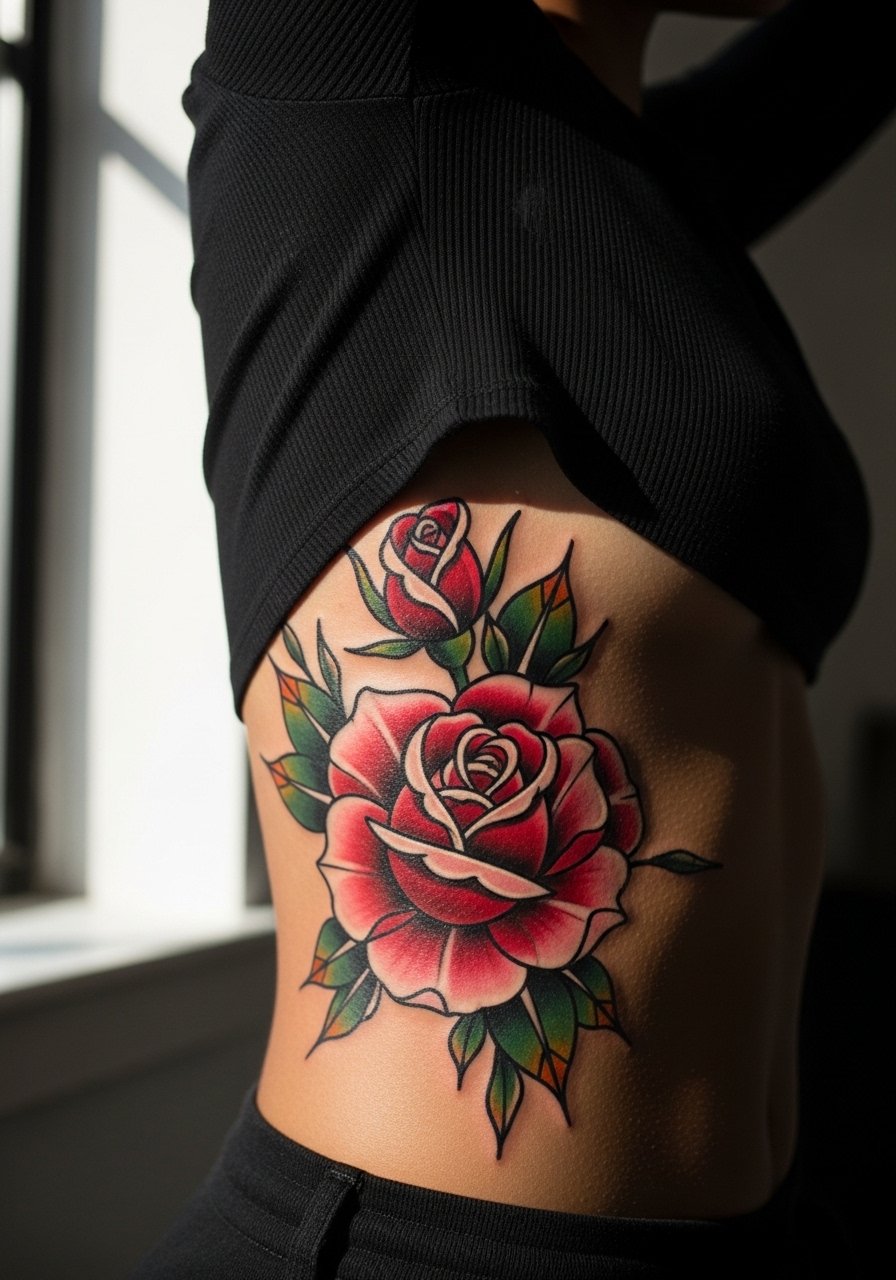
Ribcage placements are dramatic but demand patience and clear planning. Pain is high for many people and sessions may be split to keep saturation crisp. There is a real debate around aftercare for color here. One camp insists on protective films like Saniderm for detailed color, while another camp prefers dry healing to avoid trapping moisture in dense colorwork. Name both camps to your artist and ask how they handle colored ribcage pieces. For the session, bring a strapless or cropped top you can move easily. A frequent mistake is packing too many tiny color dots into a curved area. Let petals breathe and use layered shading for longevity.
13. Micro Lone Star Inside a Fingerprint for a Hidden Accent
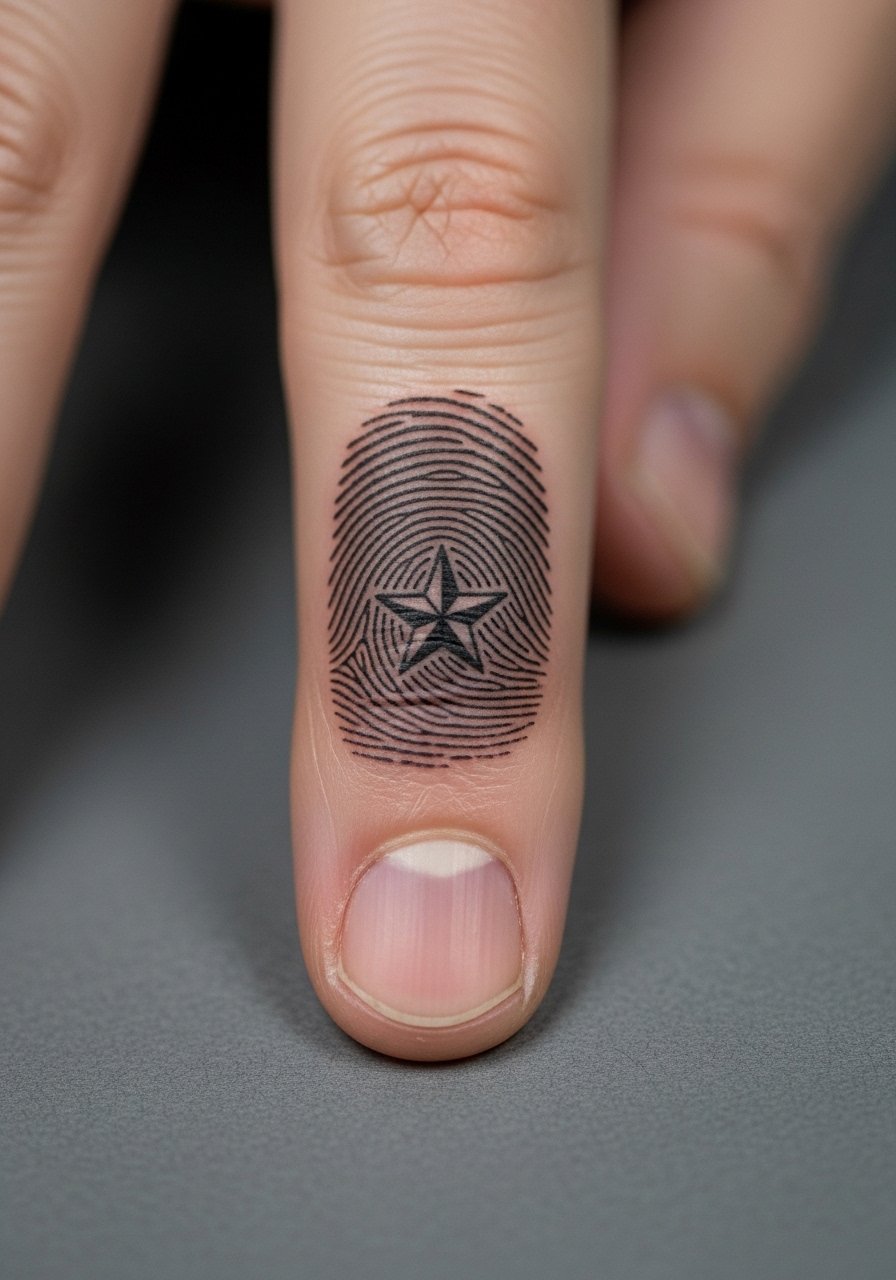
This ultra-personal idea plays with scale and secrecy. Micro work on fingertips is challenging because skin texture there is dense and healing is fickle. Expect a high chance of early fading and potential touch-ups. If you want longevity, ask the artist about placing the micro element on the side of a finger or the proximal phalanx rather than right on the pad. The session is short but repeated touch-ups are common. A real mistake is expecting a tiny, stable star on the pad to behave like other micro-realism spots. Treat it as collectible work that may need revisits.
14. Curved Brim That Follows Collarbone Contours
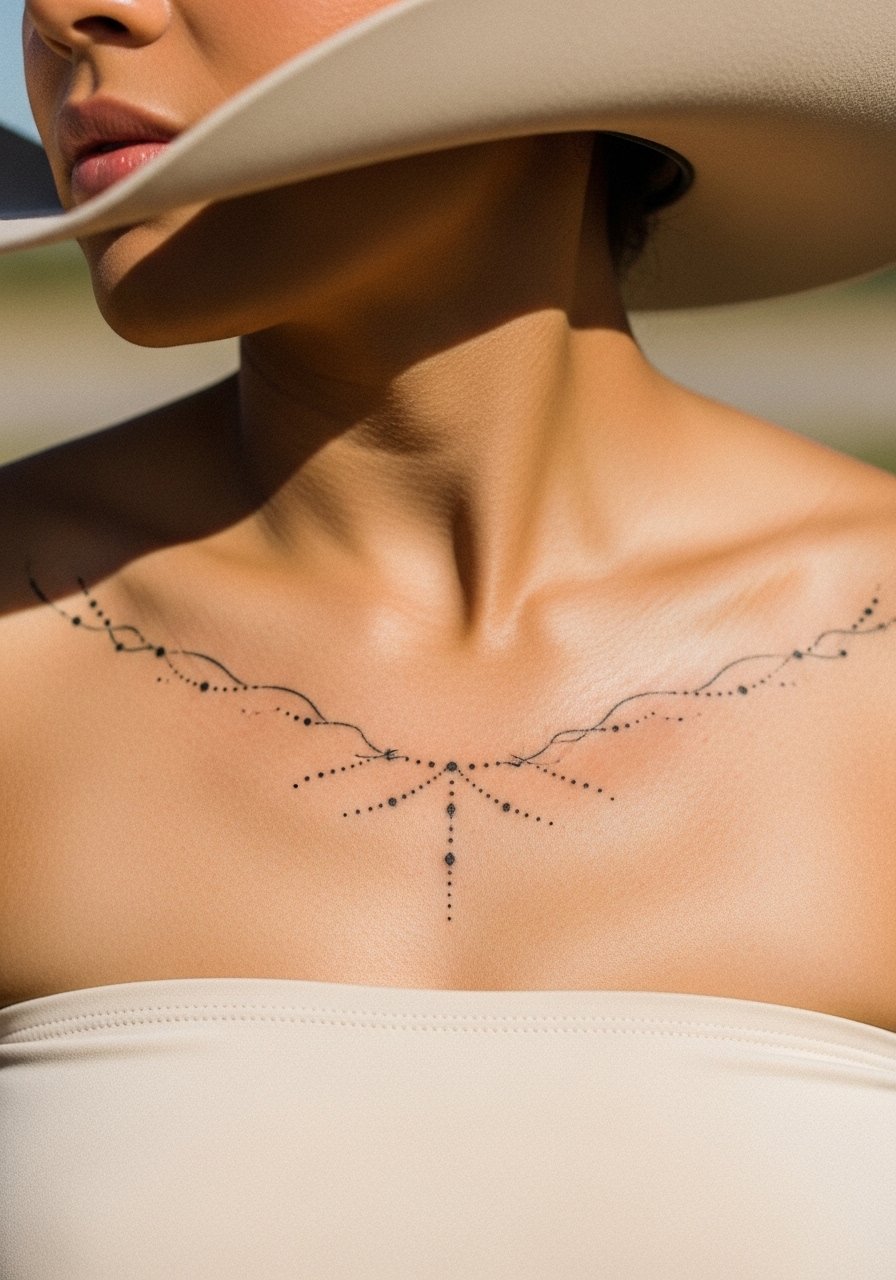
Designing a brim to echo the collarbone curve is a subtle anatomical trick that looks tailored rather than pasted on. Pain is comparable to other collarbone spots and dotwork helps the band sit elegantly with the bone. In consultation, request a stencil test in the exact garment you plan to wear so you can see how the curve interacts with necklines. For evening wear, a v neck linen dress or low-cut bodysuit frames the curve without hiding the band. Avoid forcing a straight brim across a curved collar area. Let the artist bend the brim to match your anatomy.
15. Hat with Embedded Birth Year in the Spur on the Upper Arm
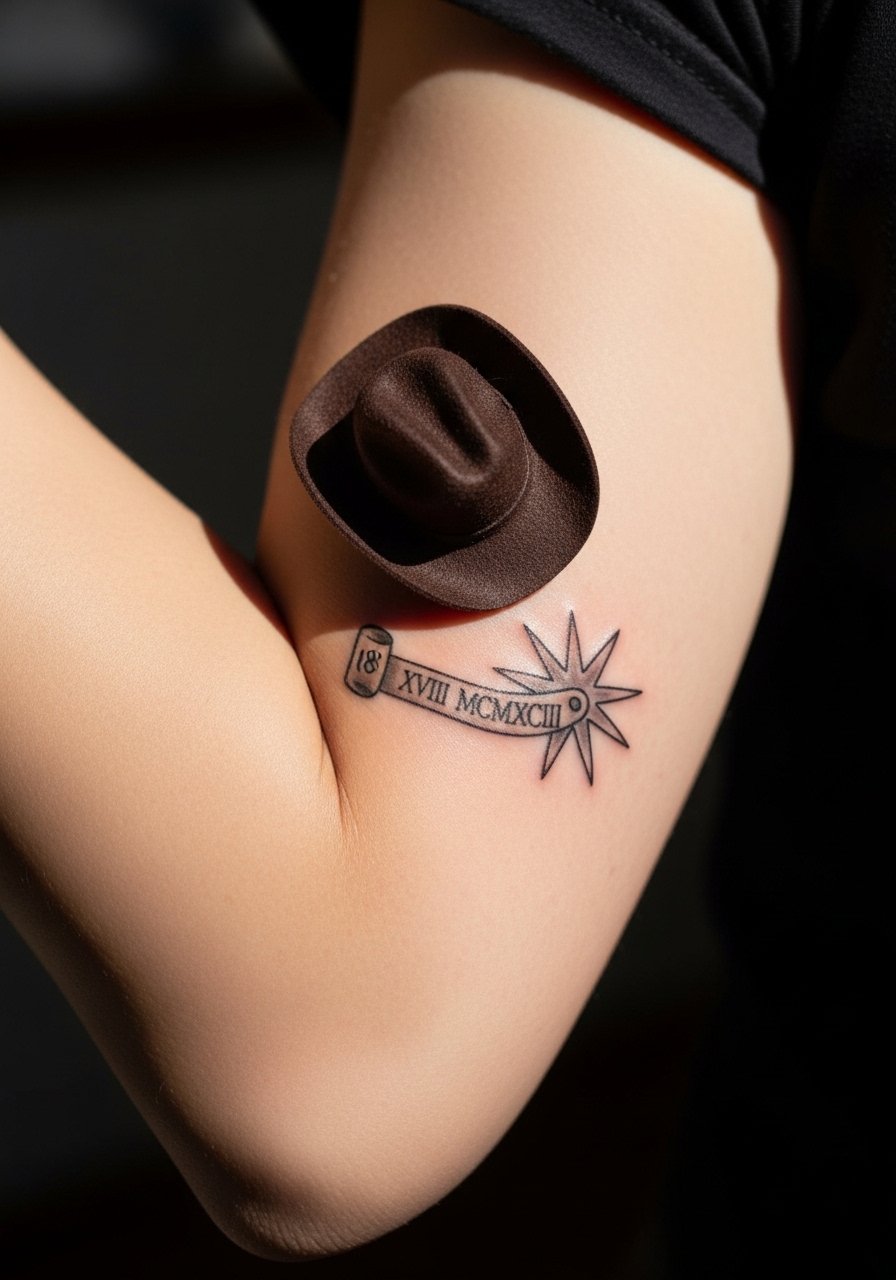
Embedding a year inside a spur is a clever personalization that reads well on the upper arm. This spot tolerates a little more detail than the forearm and is easier to hide under sleeves. Ask the artist to set the numerals in a simple, readable font and to test the scale on a printed stencil. Expect one session and moderate pain. For everyday wear and showing it off, a sleeveless muscle tank frames the bicep without rubbing the spur detail. A typical mistake is cramming four-digit text into too small a spur. Let the spur open up so the numbers stay crisp.
16. Tiny Micro-Hat Hidden in a Thumbprint Line
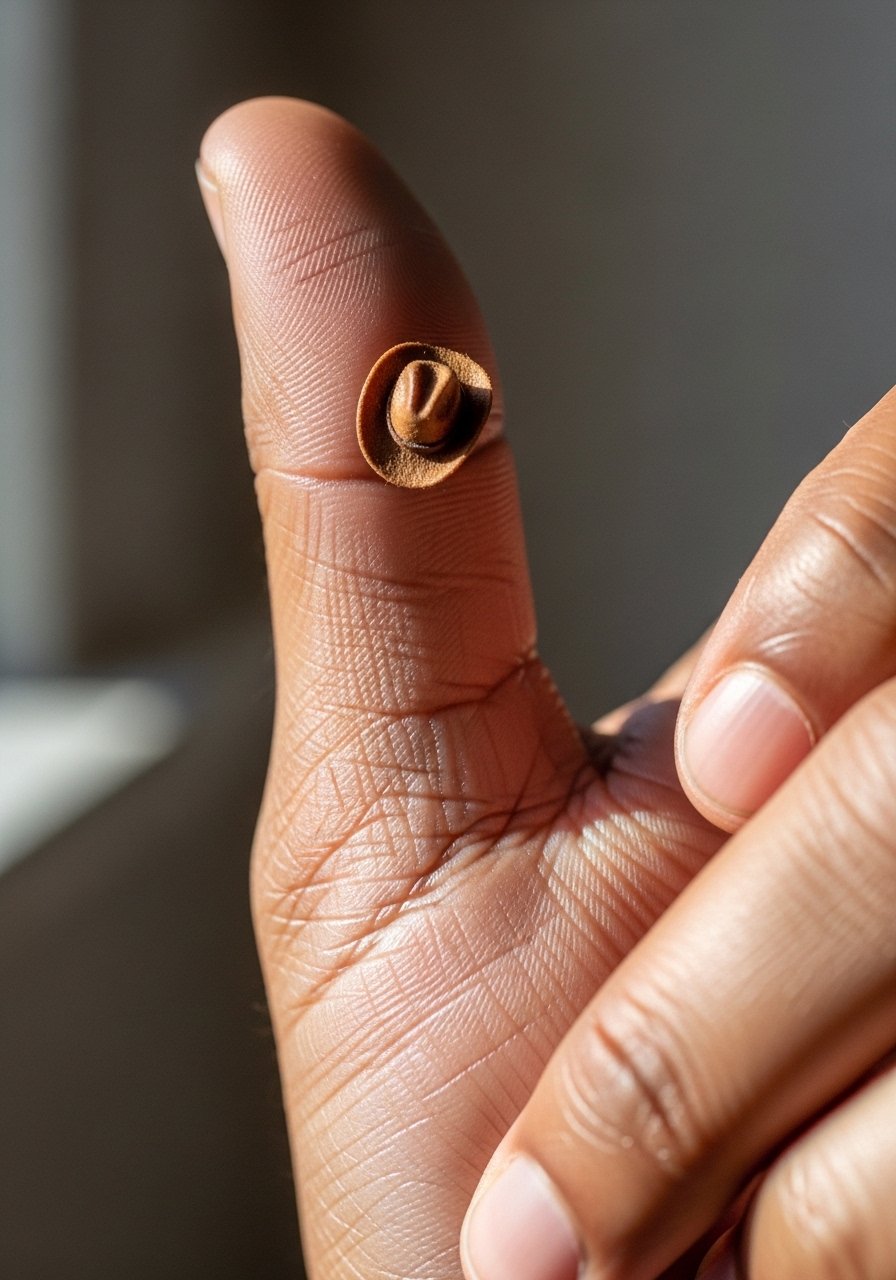
Hiding a micro-hat inside a fingerprint is a private and playful idea. The downside is durability. Thumb and fingertip skin exfoliates quickly and tiny pieces often fade faster than expected. Plan for touch-ups and consider placing the micro element on a less abrasive part of the hand if you want longer life. The session is quick and the pain is minimal. The common oversight here is underestimating how much daily hand use affects pigment. Treat it like a tiny charm that may need reconnection work over time.
17. Small Minimalist Hat for First-Timers on the Ankle
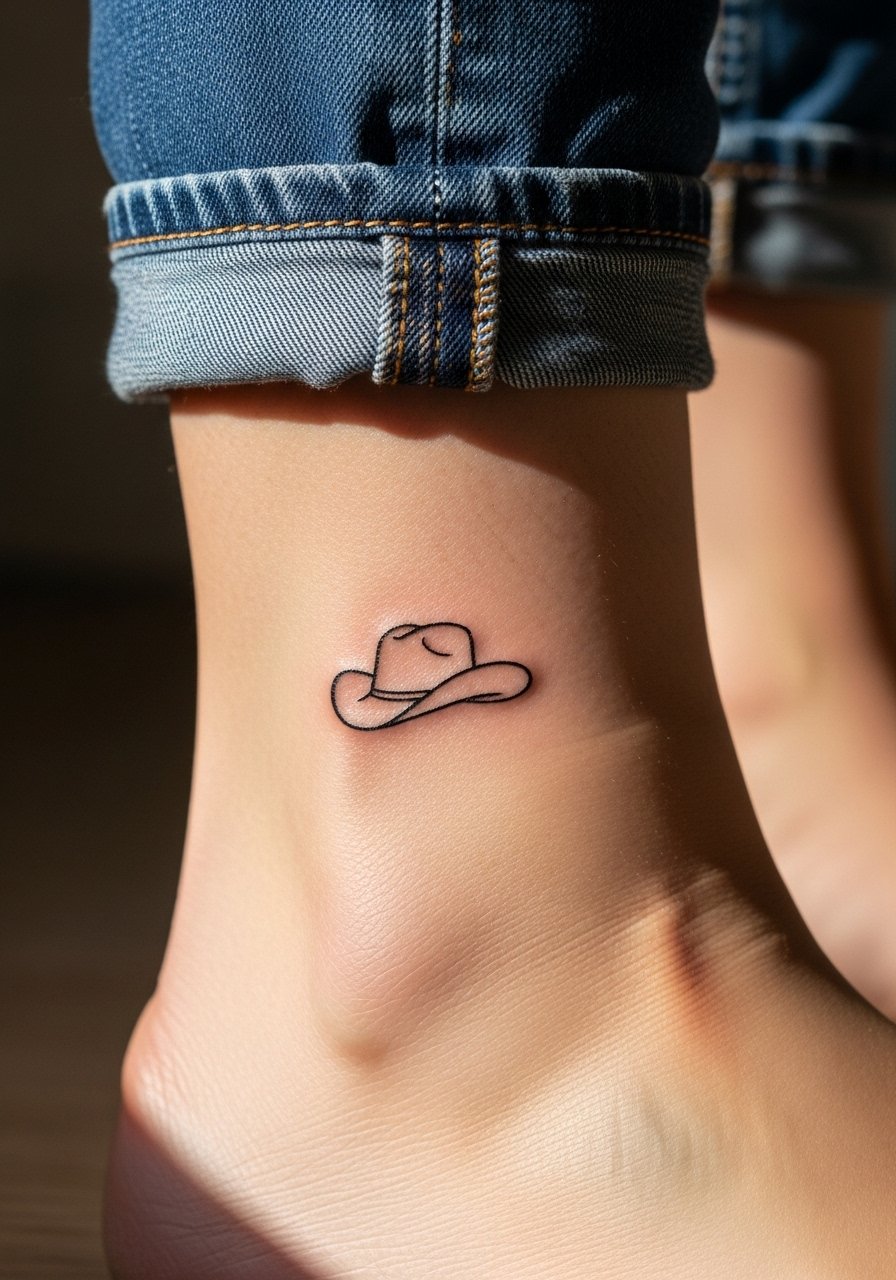
Ankle spots are beginner-friendly for small tattoos, but they face friction from socks and shoes. Pain varies but is usually moderate. If you want a small hat that still reads as intentional, aim for at least two inches and ask for slightly thicker exterior strokes. For showing it off, a minimalist leather bracelet around the ankle or rolled jeans work well. The mistake I see is choosing hairline strokes to save space. Give the shape a little weight and it will endure better under daily wear.
Frequently Asked Questions
Q: Will fine line cowboy hat tattoos blur faster on darker skin tones?
A: Fine line pieces can be more vulnerable to early softening on any skin that has more natural melanin, but it really comes down to line weight and placement. I recommend slightly bolder outer strokes and asking your artist about needle depth and spacing. If you want a delicate look, plan on touch-ups at year two or three.
Q: How should I prepare clothing-wise for a ribcage or chest cowboy hat session?
A: Bring items you can move without fully undressing. For ribcage work bring a cropped top or high-waisted bottoms, and for collarbone or sternum pieces bring a strapless or wide-neck top that can be shifted. A fitted top that exposes only the area helps keep the rest of your clothes clean. If you want ideas, a strapless bodysuit or a loose button-down pulled aside works well.
Q: Does watercolor need different aftercare than traditional blackwork?
A: Watercolor can be more sensitive to scabbing because the pigment sits in softer washes. Keep the area clean, avoid heavy balms that trap moisture, and ask your artist whether they prefer a protective film or a thin ointment during the first two days. Color can fade faster with sun exposure, so plan to protect the area long term.
Q: What placement choices help hide a hat tattoo if my body changes with weight gain?
A: Upper arms, shoulders, and back shoulder blades handle changes better than forearms and inner thighs. The collarbone and ribcage will shift with weight changes too, but they tend to keep shape if the tattoo scales larger than two to three inches. If you expect body changes, pick a placement with flatter surface area and talk about how the design can be simplified for longevity.
Q: If I want a neo-traditional cowboy hat with roses, should I use protective film or dry heal?
A: Artists are divided. One side swears by protective films that keep the area clean for detailed color. The other side prefers dry healing to reduce moisture trapping on dense pigments. Ask your artist how they handle colored neo-traditional pieces and follow their protocol for the best results.
