
Fine line realism looks incredible fresh and on camera, but the real test is how a trio of sibling pieces behaves after sunscreen, sleeves, and time. Longevity, placement surprises, and touch-up rhythm matter more than the initial photo. Read these realistic trio ideas with practical notes on pain, aging, consultation cues, and wardrobe choices so the pieces still read clean in year three and beyond.
1. Micro-Realistic Trio of Wildflowers on Inner Forearm
I've seen wildflower trios age nicely on forearms when spacing and needle depth are correct. Ask your artist for slightly heavier linework on the stems and soft stipple shading inside the petals so the petals do not merge over time. Pain here is a 3 out of 10, session time for all three about 60 to 90 minutes. The common mistake is shrinking each flower too small to fit in a bracelet gap, which creates blurring by year three. For showing it off, roll sleeves or wear a short-sleeve linen shirt that keeps attention on the forearm without crowding the composition.

2. Three Tiny Portrait Medallions on Upper Arm
Personal observation: small portrait medallions read more like keepsakes than showpieces when placed on the outer upper arm. Tell your artist to keep the faces at a scale where eyes are suggested not hyper-detailed so shading holds instead of smudging. Expect a 4 out of 10 pain level and two short stencil checks in a 90 to 120 minute session. A common error is overdoing contrast that looks harsh after healing. For sessions pick a loose button-down shirt you can pull aside so the artist has clear access to the upper arm.

3. Matching Realistic Wave Trio Around the Ankle
Fair warning: ankle work lives in a high-friction zone from socks and shoes, so expect touch-ups sooner than on the arm. For three tiny waves wrap the composition around the ankle band so each wave reads from different angles. The session is quick, about 45 minutes, but it stings more than a forearm tattoo. Avoid placing lines where shoe collars rub. For showing it off, roll jeans or wear minimalist sandals that leave the ankle visible and protect the area from tight footwear.

4. Triplet Constellations Behind the Ear
This placement looks delicate and private, and for behind-the-ear pieces the trick is tiny dots and thin connecting lines that stay spaced. For safety describe it as on the skin just behind the ear, below the hairline on the neck so the artist frames the area correctly. Pain is low but the area is tricky to bandage. The most common mistake is trying to cram star clusters too dense for the canvas. If you want to keep hair options open, plan the spacing with gravity and hairline in mind. Small studs or a thin chain pendant sit nearby without competing with the tiny stars.

5. Three Little Bird Flight Line on the Collarbone
This placement is visible and photographs well when the line follows collarbone contour. For siblings pick three birds in slightly different poses and push the shading into micro-realism so each bird has a sense of movement. Pain here is a 4 out of 10 and a session can be 60 minutes. A mistake I see is straightening the natural curve, which makes the birds look stiff once you move. Pair this with an open-neck top for evenings and a wide-neck blouse during sessions so the artist can work without you fussing with clothing.

6. Realistic Three-Seed Dandelion on the Ribcage
Artists split on fine line on ribs. One camp argues the skin stretch and breathing make lines blur within two years. The other camp says with correct depth and spacing fine line settles fine on ribs. My take is to choose slightly heavier outline and open negative space between the seeds so the design survives movement. Pain is high, usually 7 to 8, and expect multiple short breaks in a 90 to 150 minute session. Wear a cropped athletic top you can lift slightly for the session. Note that small, dense versions tend to blur; keep the seeds airy and spaced.

7. Interlocking Rings Rendered in Micro-Realism on the Finger
Controversy comes up often with finger work. One group says fingers are unforgiving, they lose detail fast and need touch-ups. The other group points to dense saturation and careful placement as ways to keep detail longer. Expect both truths. Finger skin moves and washes a lot so plan for touch-ups at year two or three. For interlocking rings, ask for a tiny bevel of shadow to keep the rings readable. Sessions are short but painful, more like a 6 out of 10. For showing it off, keep to delicate stacking with a thin band ring rather than chunky jewelry that crowds the ink.

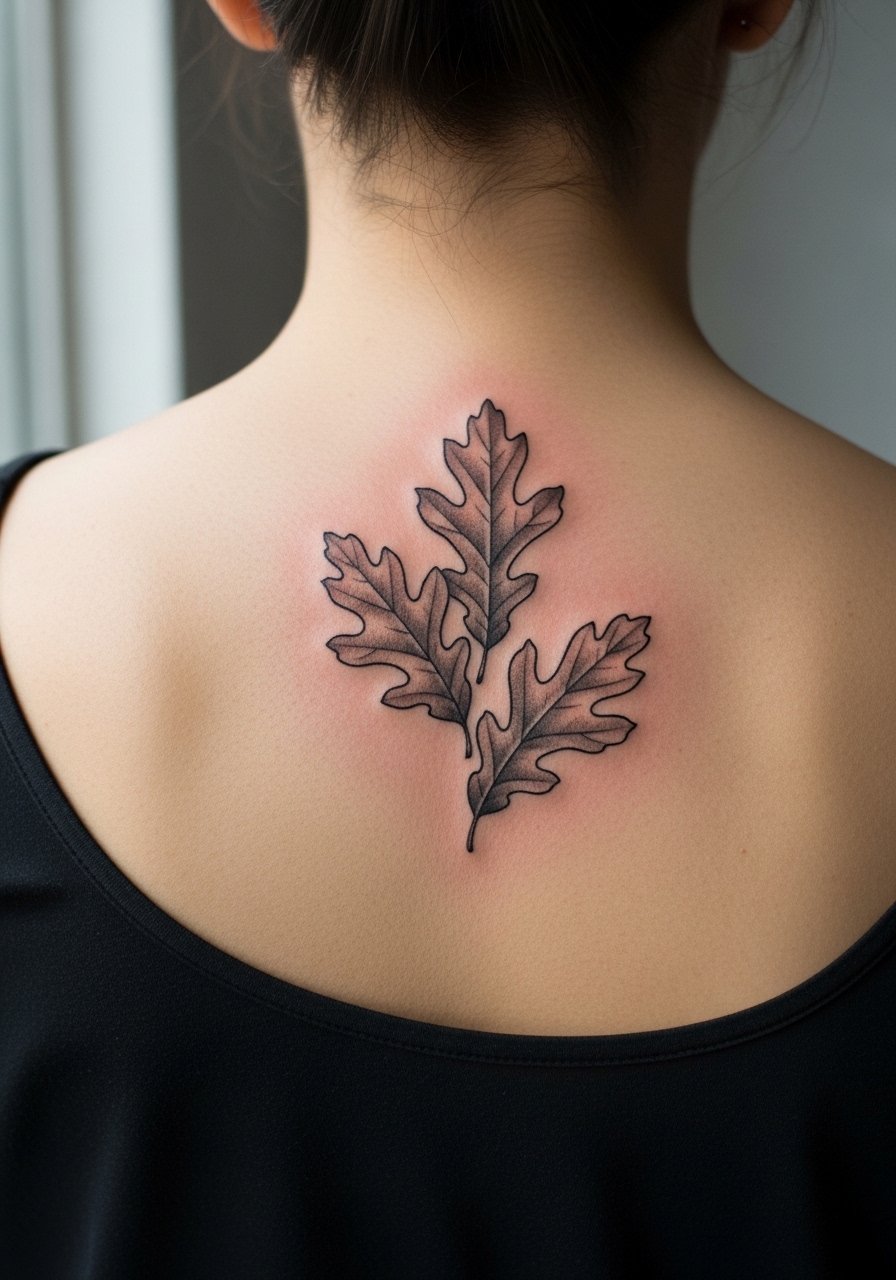
8. Three Oak Leaves Along the Spine
There is a quiet visual impact when three leaves are staggered down the spine. When placed slightly off center you avoid the highest motion plane and let shading sit well. Pain for spine-adjacent work is a 6 out of 10 and this takes about 90 minutes depending on detail. The common mistake is making the leaves identical; give each a unique vein pattern to reflect siblings' individuality. This placement pairs with open-back dresses when you want it visible. For the session choose a button-down you can lay flat across the shoulders.
9. Triptych of Mountain Peaks on the Calf
I've seen calf pieces last with good saturation and breathing room between peaks. The calf holds ink well because the skin is thicker and less prone to fine-line blowout. Expect moderate pain, around a 5, and a one to two hour session if you want texture in each peak. Avoid compressing the peaks into one narrow band which can blend after healing. For show-off outfits, wear rolled-up jeans or a wrap midi skirt so the tattoo reads in movement without being cramped by pant seams.

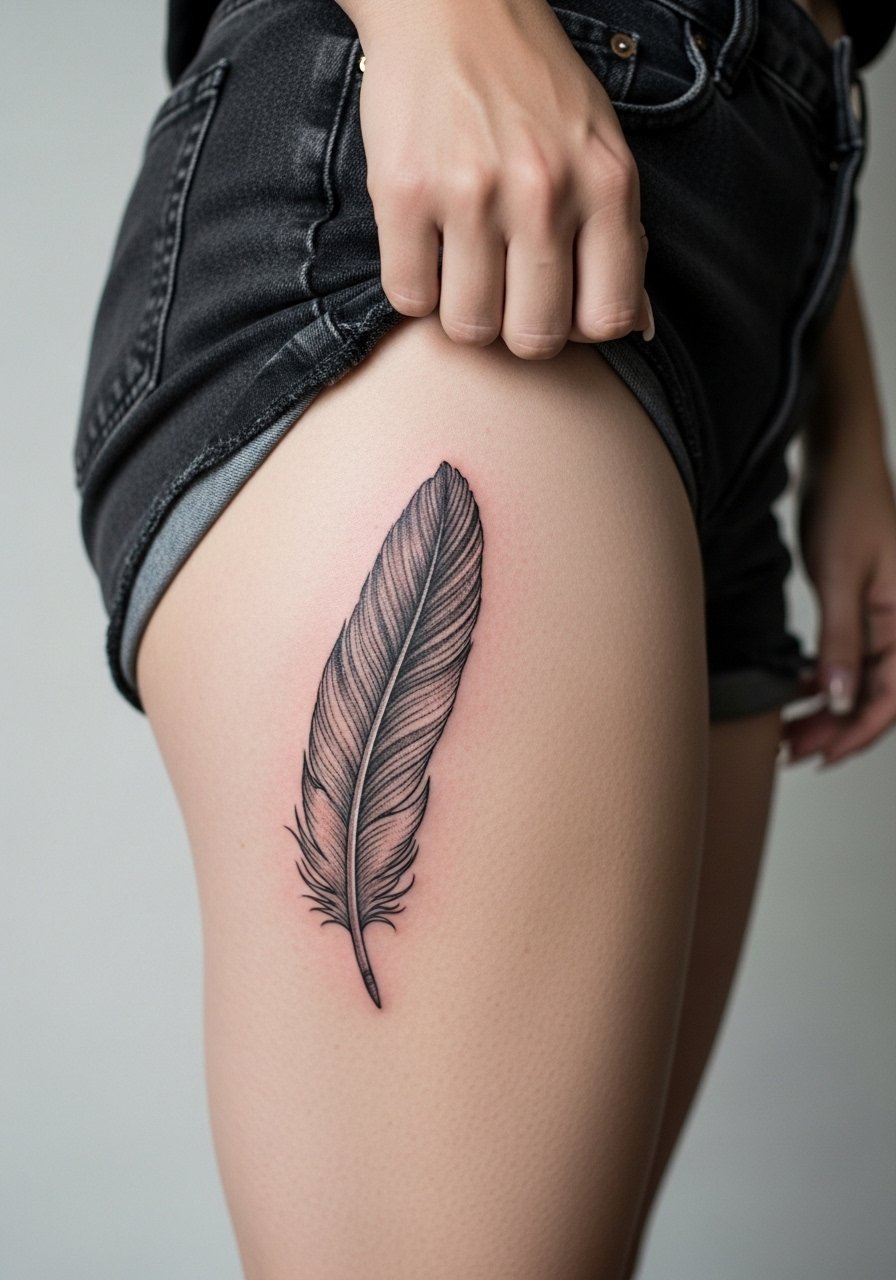
10. Three Feather Progression on the Side Thigh
Aging lead: side thigh skin keeps detail longer than inner thigh as long as you avoid too dense dot work. For three feathers vary size and angle so they look like a progression rather than repeats. Pain is moderate to high depending on sensitivity, usually 5 to 7, and sessions can be 60 to 120 minutes. A common error is getting tiny barbs that vanish; ask for slightly stronger barb contrast that heals into fine texture. For the session wear high-waisted shorts you can pull slightly down to expose only the side thigh.
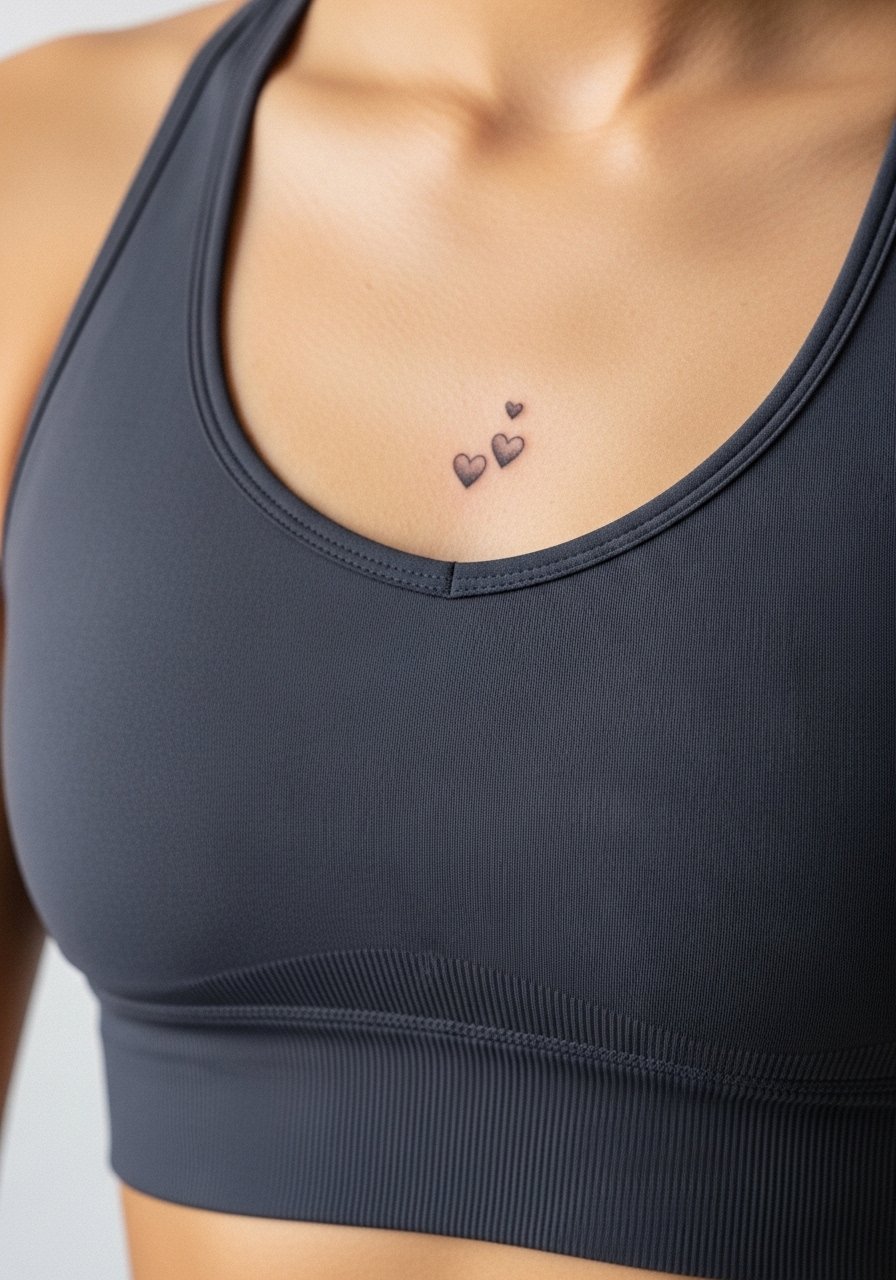
11. Trio of Tiny Realistic Hearts on the Sternum
Artists disagree on sternum fine line durability. One side says the motion and sweat zone erode tiny lines fast. The other side finds that slightly bolder tiny hearts placed just above the fabric line heal cleaner. For sternum pieces wear a fitted sports bra or bandeau for the session so only the immediate area is exposed. Pain is high, usually 7, and plan for a single longer appointment. The usual mistake is placing the hearts too low under the bra band where friction accelerates fading. Keep the trio subtle but framed with soft shading.
12. Three Coordinates in Fine Script on Inner Bicep
Consultation lead: bring the exact coordinates you want engraved so the spacing and font match the body curve. Inner bicep is sensitive so count a 6 out of 10 on the pain scale and a short session that includes testing the stencil. Common mistakes are tiny script and tight kerning that smudges after a year. For sessions wear a tank top you can lift the shoulder of so the artist can access the inner arm without stretching the skin.

13. Triplet Paw Prints in Realism on the Foot
Visual impact lead: three tiny paw prints along the outer foot read like a line of small moments when done with subtle shadowing. The foot is a high-wear area so expect touch-ups. Pain is 5 to 7 and sessions are quick but sensitive. A common slip is placing the prints where shoe edges grind the lines. Plan the trio where sandals or barefoot time will expose the prints. During sessions wear slides or a skirt you can adjust so the artist has clean access to the ankle and outer foot.

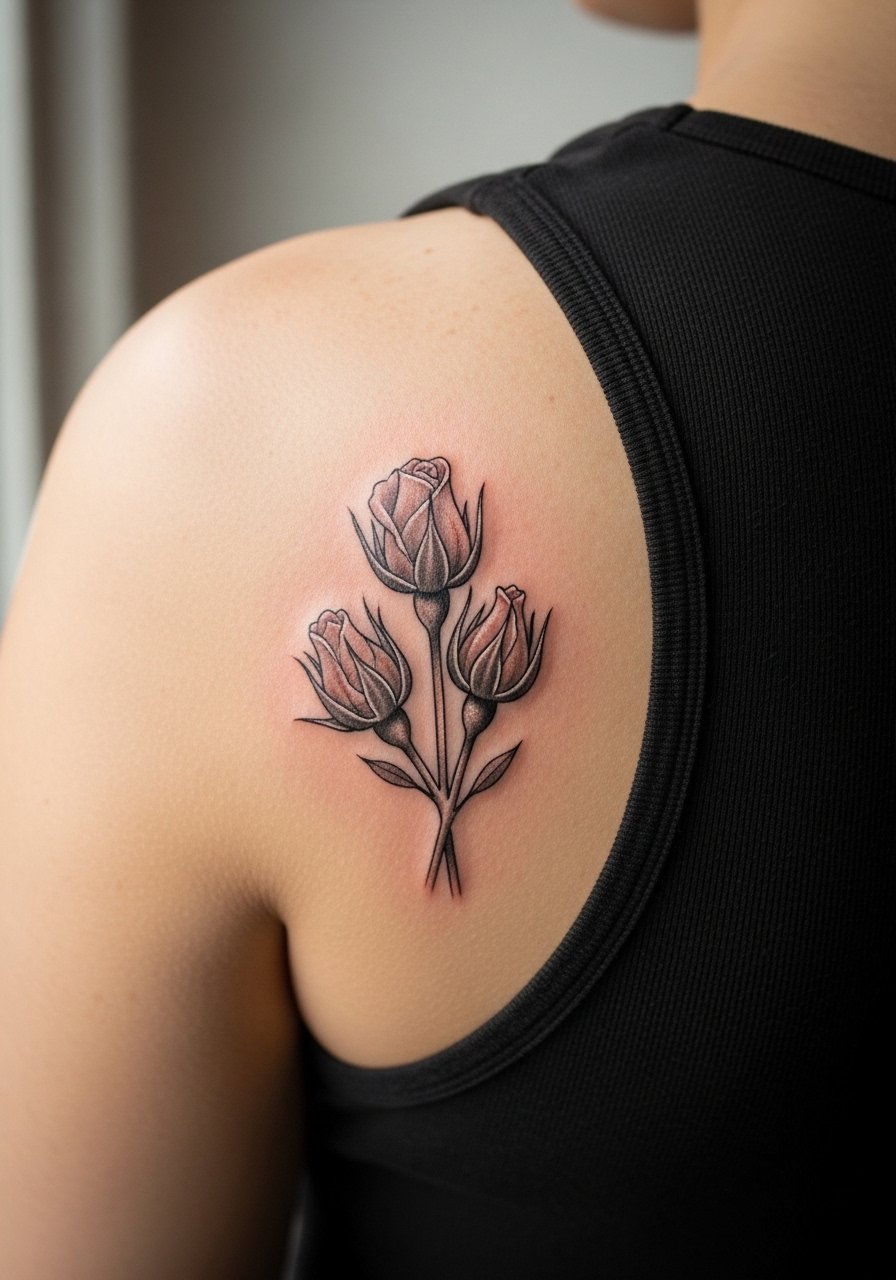
14. Three Petal Rose Buds on Shoulder Blade
Personal observation: shoulder blade skin gives enough room to vary petal texture, which helps the trio read as three distinct markers not one strip. Pain is moderate, about a 4, and a full shading session for three buds can be 90 minutes. The mistake is compressing petals into thin outlines instead of soft shading that stands up to UV exposure. For evenings out wear an open-back top and for the session pick a tank you can lower slightly across the shoulders so the artist can access the blade.
15. Mirror Trio of Hands in Micro-Realism on the Forearm
Styling lead: hands clasped or mirrored look compelling down the forearm when each hand is slightly different. Tell the artist you want soft shadow between fingers so the negative space holds over time. Pain is low to moderate, around a 3 to 4, and this can be a two-hour session for the texture work. Mistake to avoid is making the hands too small for the forearm width. Pair this with rolled sleeves or a short-sleeve linen shirt that frames the forearm without covering the piece.

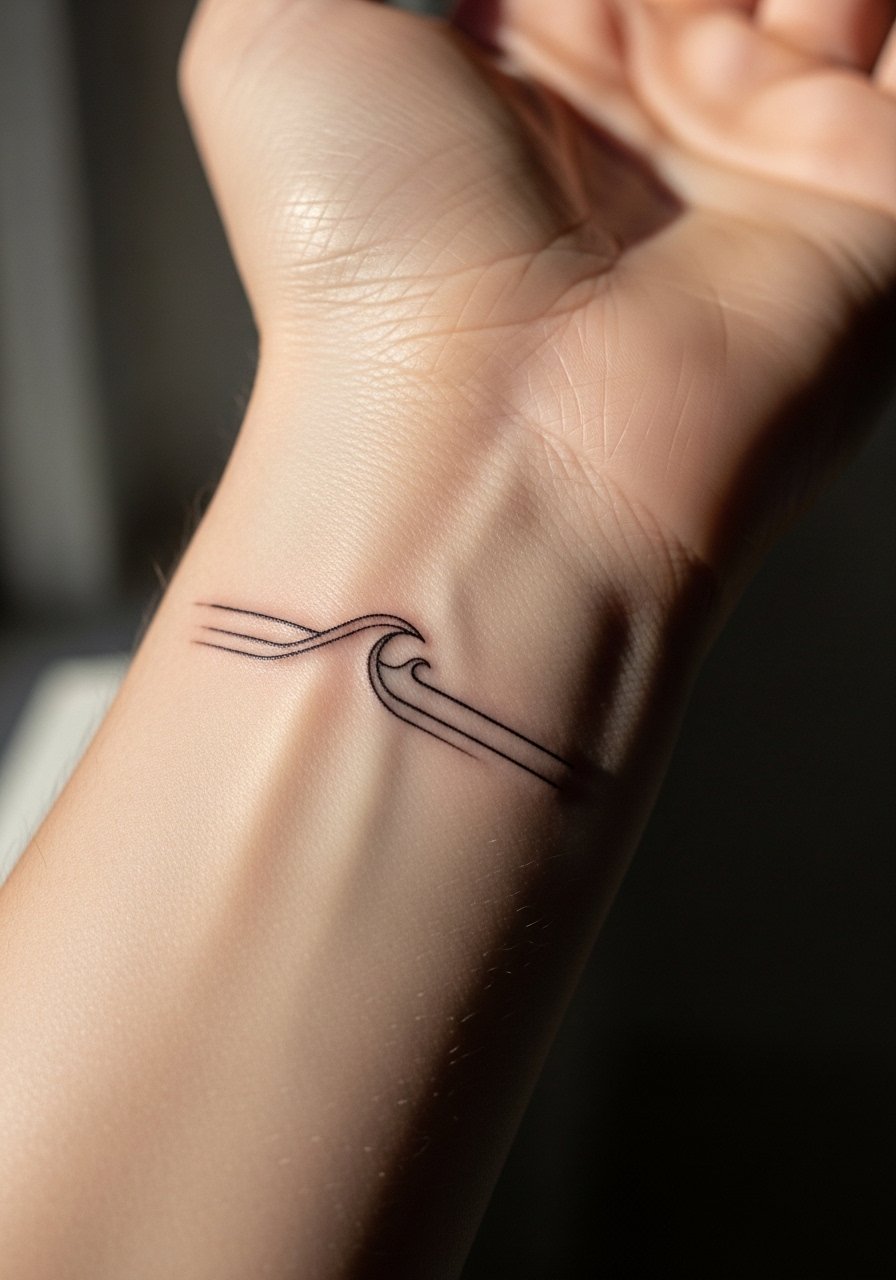
16. Three Waves Around the Wrist
Mistake lead: the wrist has little room for detail so three waves are best rendered with negative space and a touch of micro shading rather than dense texture. Expect higher visibility and faster fading due to sun and washing. Session time is short and pain moderate, about a 4 to 5. The common error is tight curls that merge; keep the waves simple and allow breathing room. For showing it off try stacking with a minimalist bracelet rather than a cuff that rubs against the ink constantly.
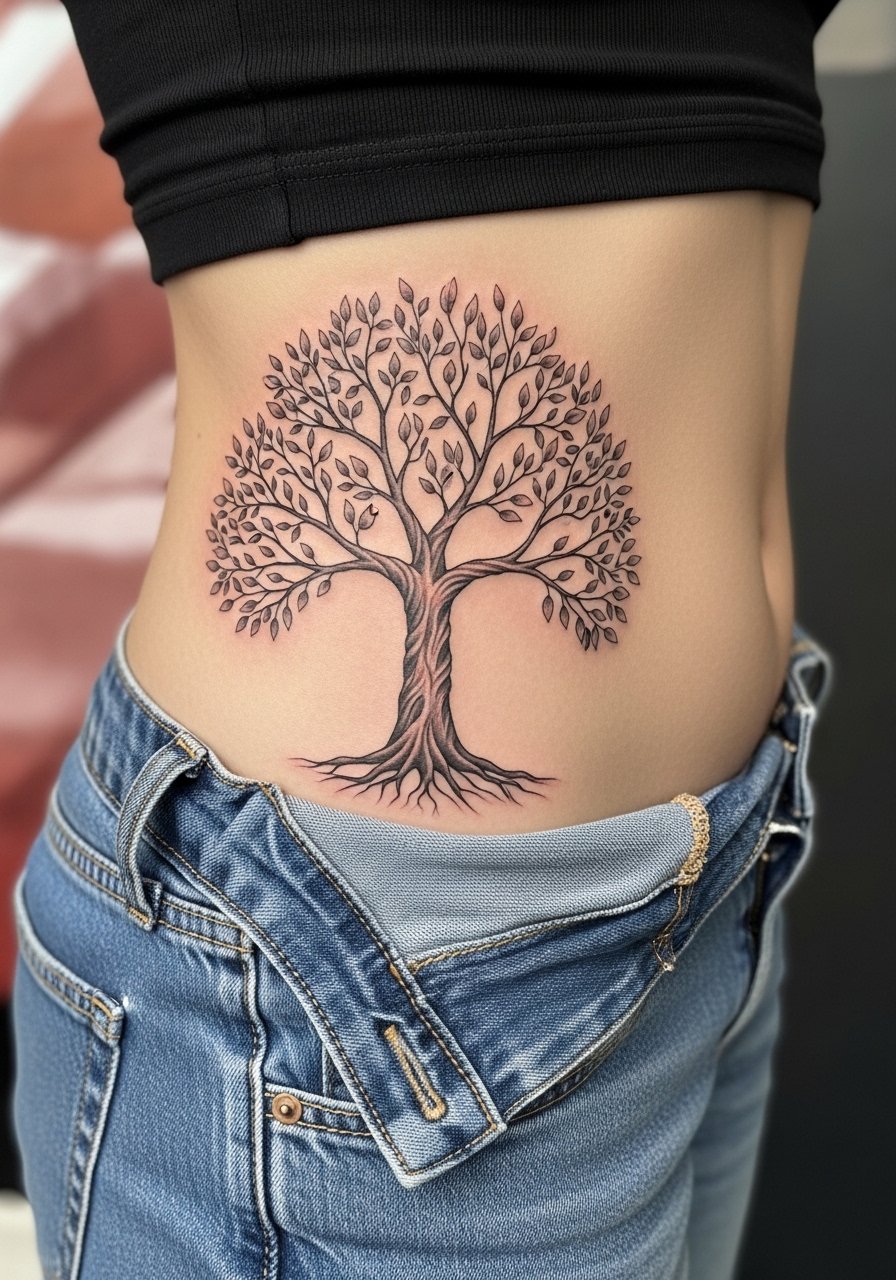
17. Family Tree with Three Branches on the Upper Thigh Hip
Consultation lead: the hip and upper thigh area is great for a larger micro-realism tree with three distinct branches representing each sibling. For the session wear high-waisted jeans you can shift or a swimsuit bottom to expose only the hip zone. Pain is variable, usually 5 to 7 depending on proximity to the bone, and a detailed tree can be a longer appointment. A common misstep is crowding small leaves; give each branch its own negative space so the structure reads even as saturation softens.
Studio Day Picks
The forearm, collarbone, wrist, and ankle pieces above all involve visible zones or high-friction areas, so a few targeted items make the session and first week smoother.
-
Stencil transfer paper kit. Lets you preview placement on skin before ink, which helps with the trio spacing on forearms and collarbones.
-
Topical numbing cream. Useful for ribcage or sternum appointments to reduce the initial sting while keeping the artist's work visible.
-
Thin protective film roll. Keeps ankle and foot pieces cleaner during the first week when shoes and socks usually rub the area.
-
Fragrance-free body wash. Gentle cleansers protect delicate linework on collarbone and inner bicep while you shower.
-
Aquaphor healing ointment. Thin layers lock in moisture during the initial healing window without clogging the fine needle channels on small realistic pieces.
Frequently Asked Questions
Q: How long will a realistic trio of tiny portraits stay crisp before needing a touch-up?
A: It depends on placement and daily friction. On forearms and calves many realistic small portraits hold until year three or four before a subtle touch-up. On fingers, wrists, and feet expect earlier touch-ups because of washing and rubbing.
Q: Are ribs and sternum really a bad idea for fine line sibling tattoos?
A: Artists are split. Some find the constant stretch and sweat lead to faster blurring. Others will accept the work if you agree on slightly bolder spacing and realistic shading. If longevity matters, pick a version with more negative space and plan for a touch-up conversation.
Q: What should I wear to a session for an upper arm trio so the artist has the best access?
A: A loose button-down shirt you can pull aside or a tank top works best. The goal is easy access without excessive arm tension.
Q: Do three small tattoos need to match exactly to feel like a set?
A: Not necessarily. Slight variations in size, shading, or orientation make each piece read as a sibling reference rather than a repetitive pattern. That also helps long-term readability as ink settles differently in each spot.
Q: Will finger and wrist trios affect job prospects?
A: Some workplaces still have conservative views, especially for hand and prominent wrist tattoos. If career visibility is a concern, place the trio on the inner forearm, upper arm, or thigh where it is easier to cover.
