
The sketch sleeve trend looks gorgeous on feeds, but the pieces that age well are not always the ones that score the most likes. Fine line sketches and guest-spot flash can fade on hairy arms, session reschedules derail momentum, and inner-arm placements often bite during long sittings. Below I map 27 sketch sleeve ideas that factor in line weight, placement, session wear, and wardrobe so you get a sleeve that still reads clean after a few summers.
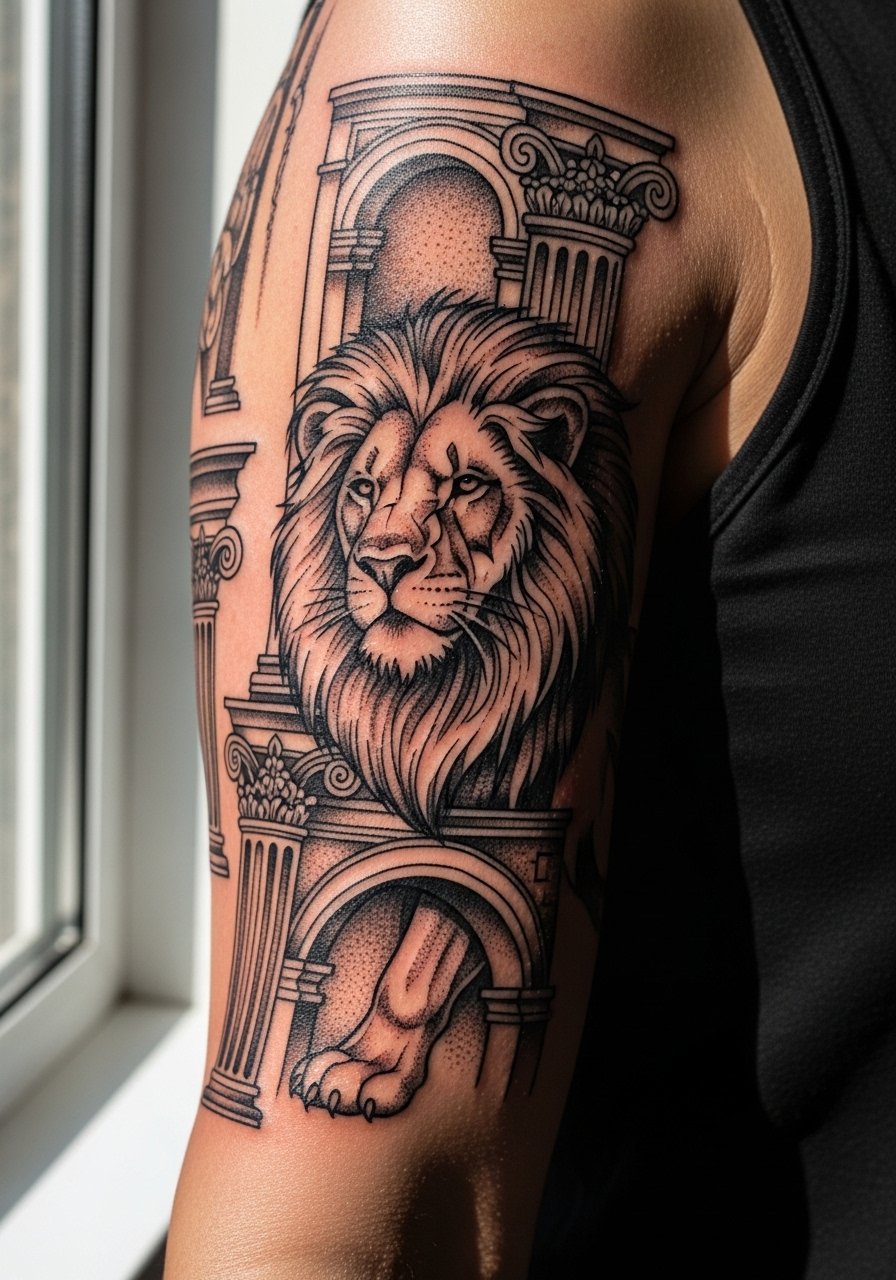
1. Bold Line-Art Lion Sleeve
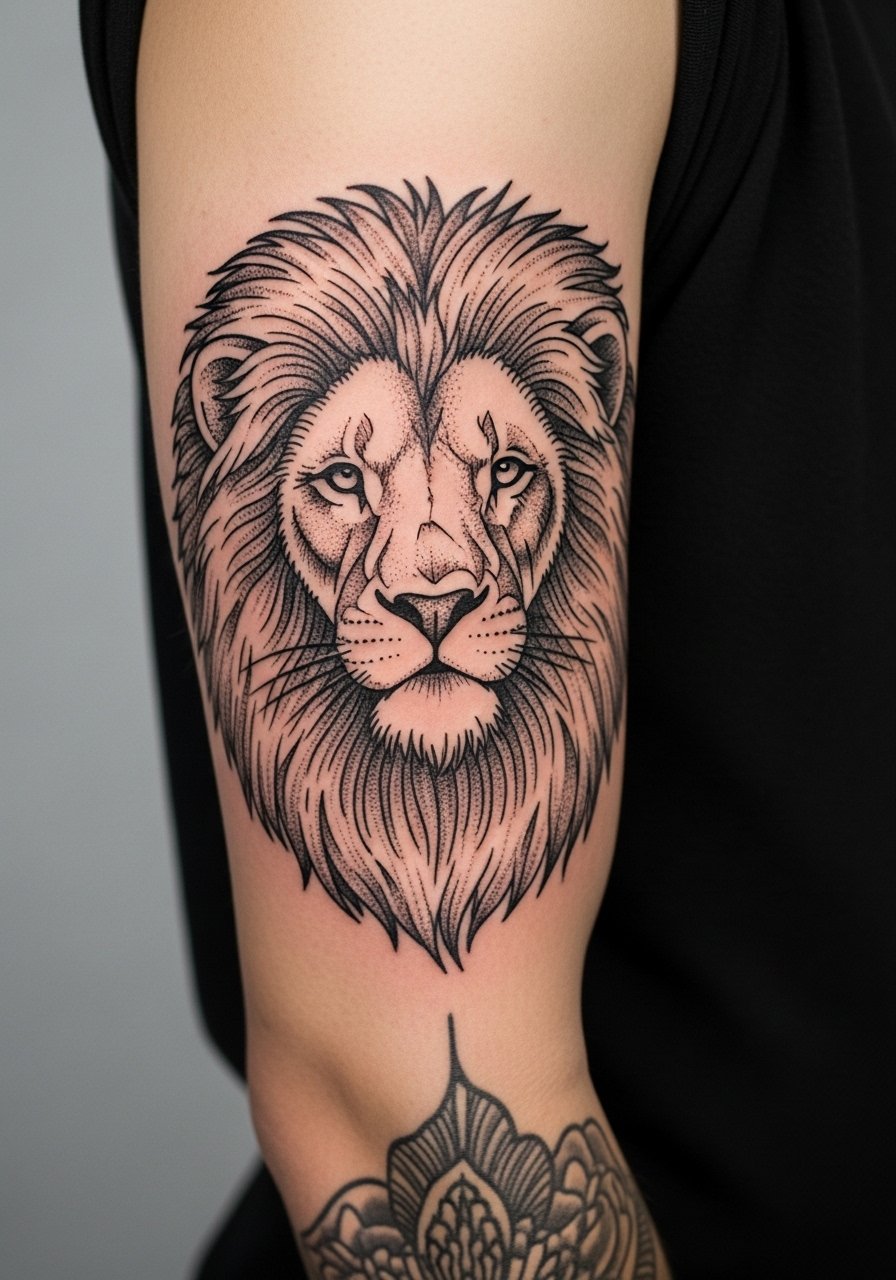
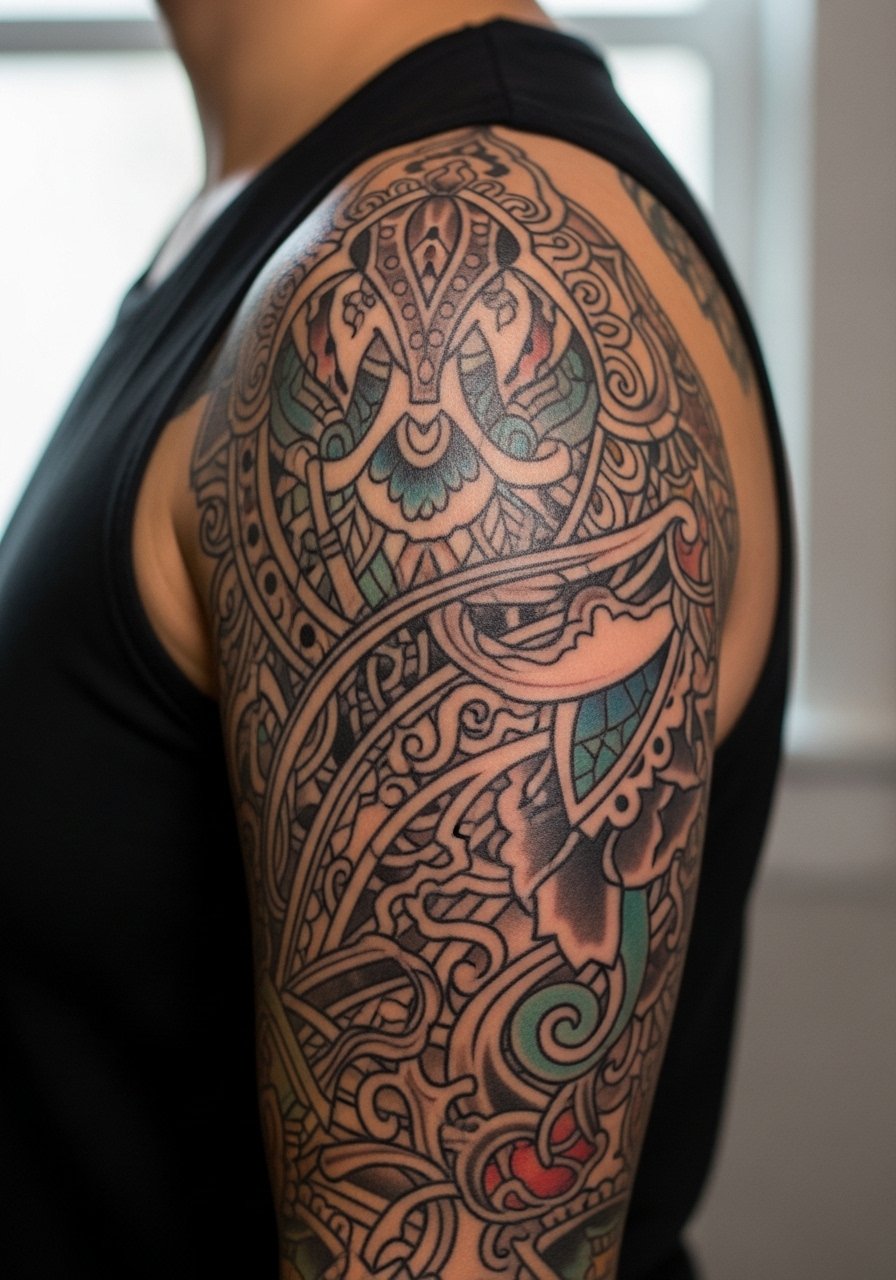
A lion executed with bold linework works best when you want sketch energy that holds up on active skin. I recommend telling your artist to fatten the primary contour lines and use stipple shading rather than tiny cross-hatching. The common mistake is asking for ultra-fine sketch lines that merge after a year on hairy or sun-exposed arms. Expect session times of multiple visits totaling several hours and plan touch-ups around year two to three. Pain is moderate on the outer arm. For showing it off, pair the piece with a fitted black henley rolled to the elbow so the mane reads bold against dark fabric.
2. Wolf Pack Forearm-to-Elbow Sketch
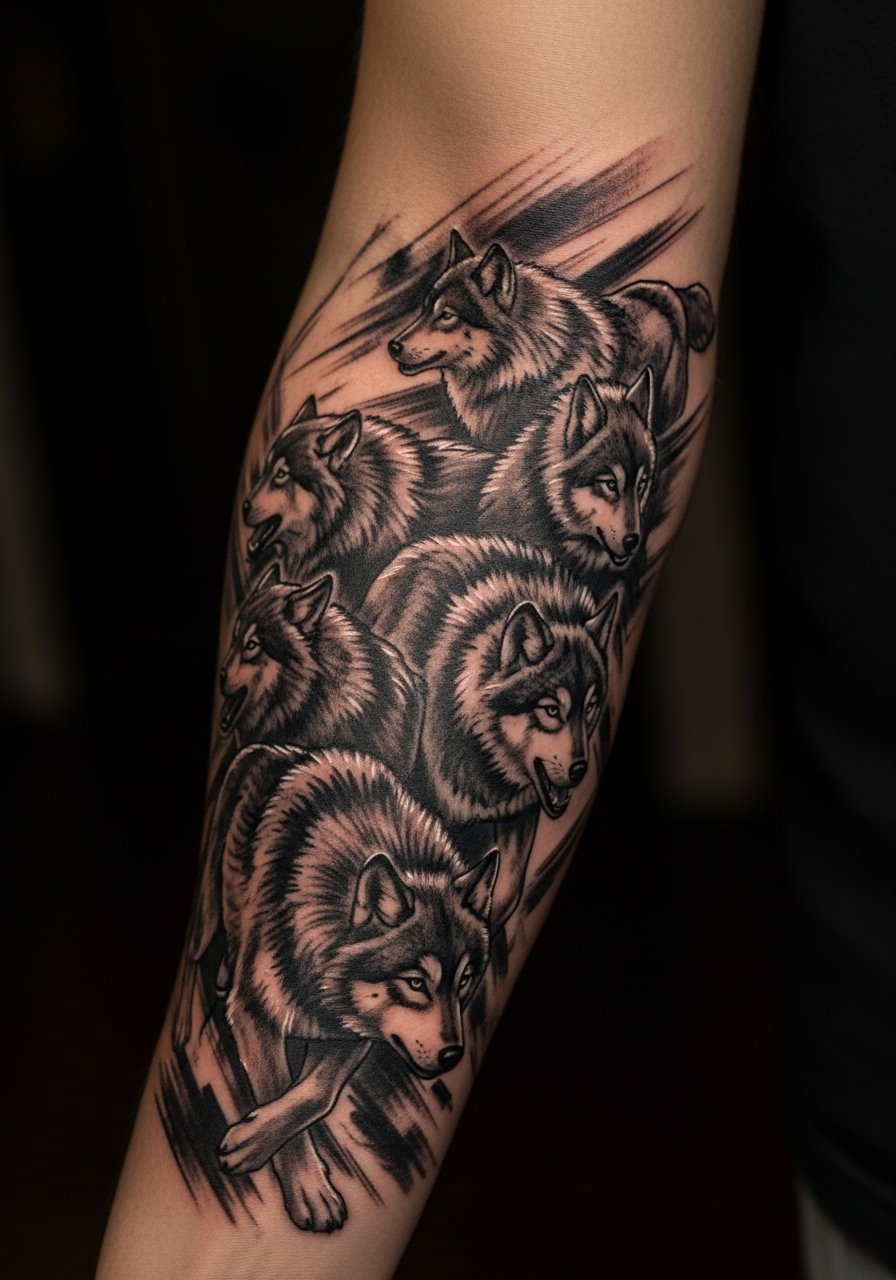
This forearm sleeve starter reads rugged when you ask for charcoal texture and slightly broken lines. In consultation, specify that you want a layered pack look with negative space between wolves so each silhouette keeps separation as it ages. Fine line versions often blur on the forearm after heavy sun exposure. Expect a 2 to 4 hour session for a dense forearm piece and light-moderate pain. Touch-ups at 12 to 18 months are common. For show-off wear, roll a chambray shirt sleeve up and keep the opposite wrist accessorized with a slim metal watch to balance the look.
3. Eagle in Flight Full Sleeve

An eagle in motion benefits from varied line weight to convey wings and motion. Tell your artist to plan wide negative-space gaps between overlapping feathers so the piece keeps clarity at two and five years. A common aging issue is too many thin hatch marks near feather edges, which turn to blur. Full-sleeve work here often takes 5 to 8 sessions. The shoulder is lower pain, the inner arm higher. For session comfort, wear a plain white tank or a loose button-up you can pull aside so the artist has full access.
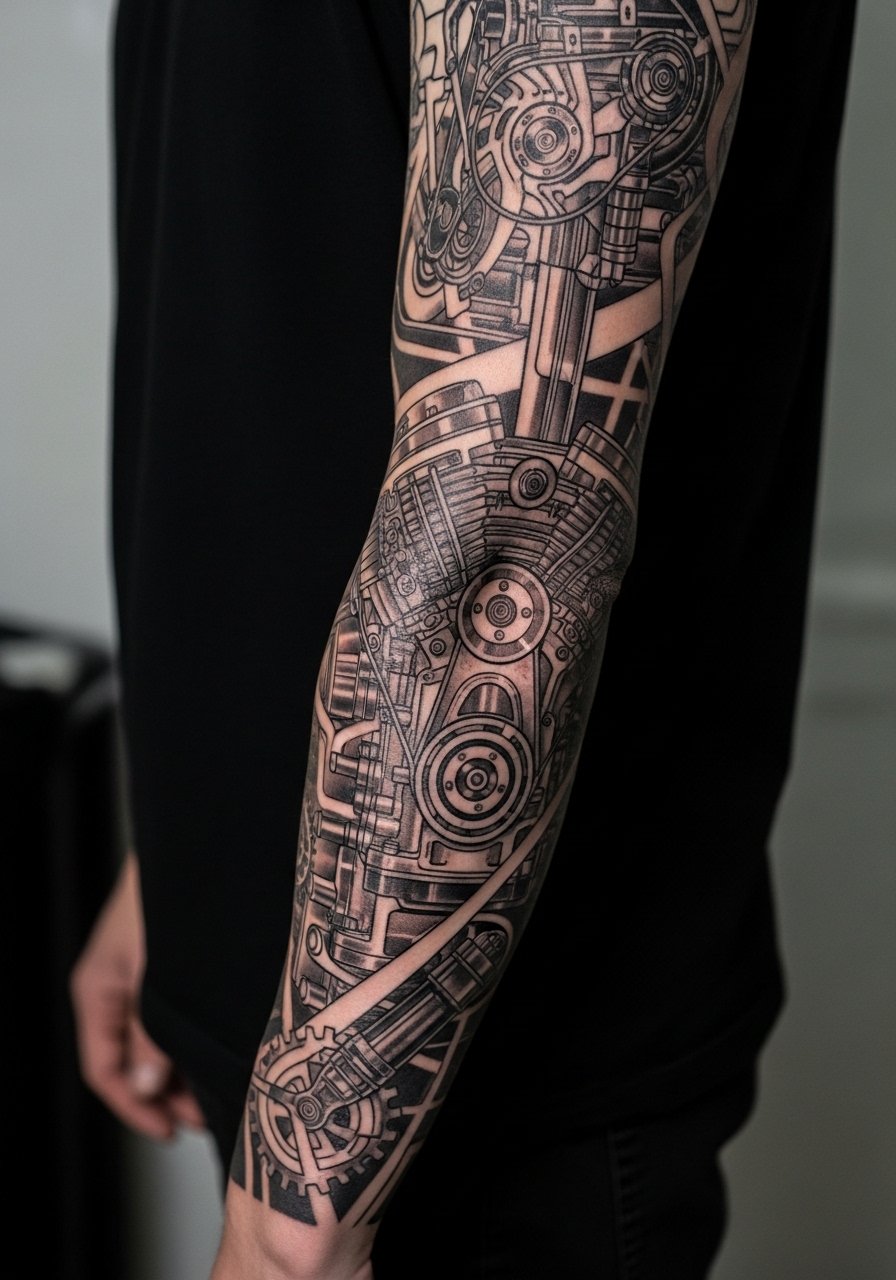
4. Mechanical Gear Bridge Sleeve
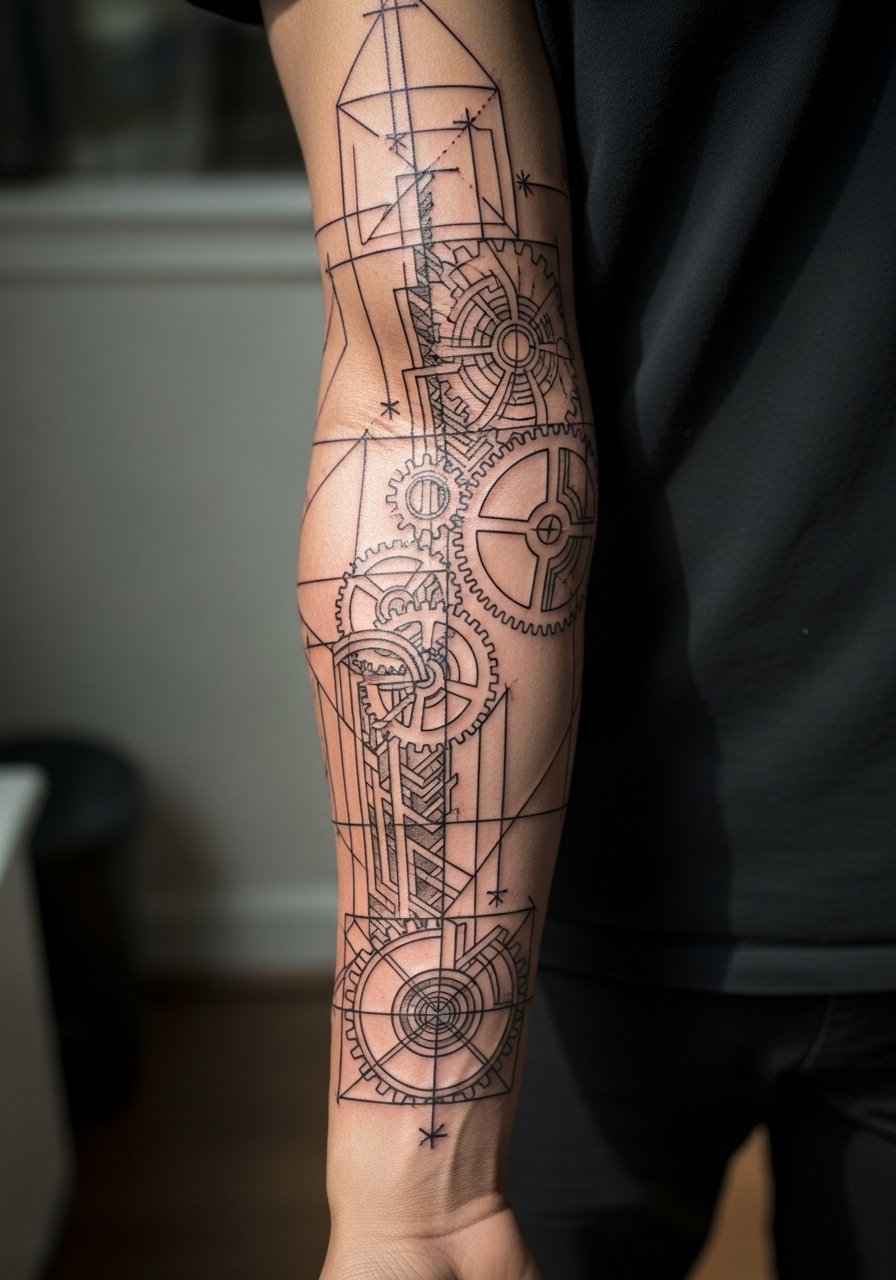
Mechanical sleeves are patience rewards and require precise consultation. Ask for a structural grid or geometric frames that "lock" the sketch elements so the engine reads legible even when lines soften. A mistake is over-detailing tiny gear teeth in small areas, which blend into a grey patch after healing. Sessions usually span 3 to 5 sittings with fine linework bursts. Expect moderate pain near the elbow joint and lower pain around the outer arm. For showing the piece off, a vintage band t-shirt or a plain white tank keeps attention on the technical lines.
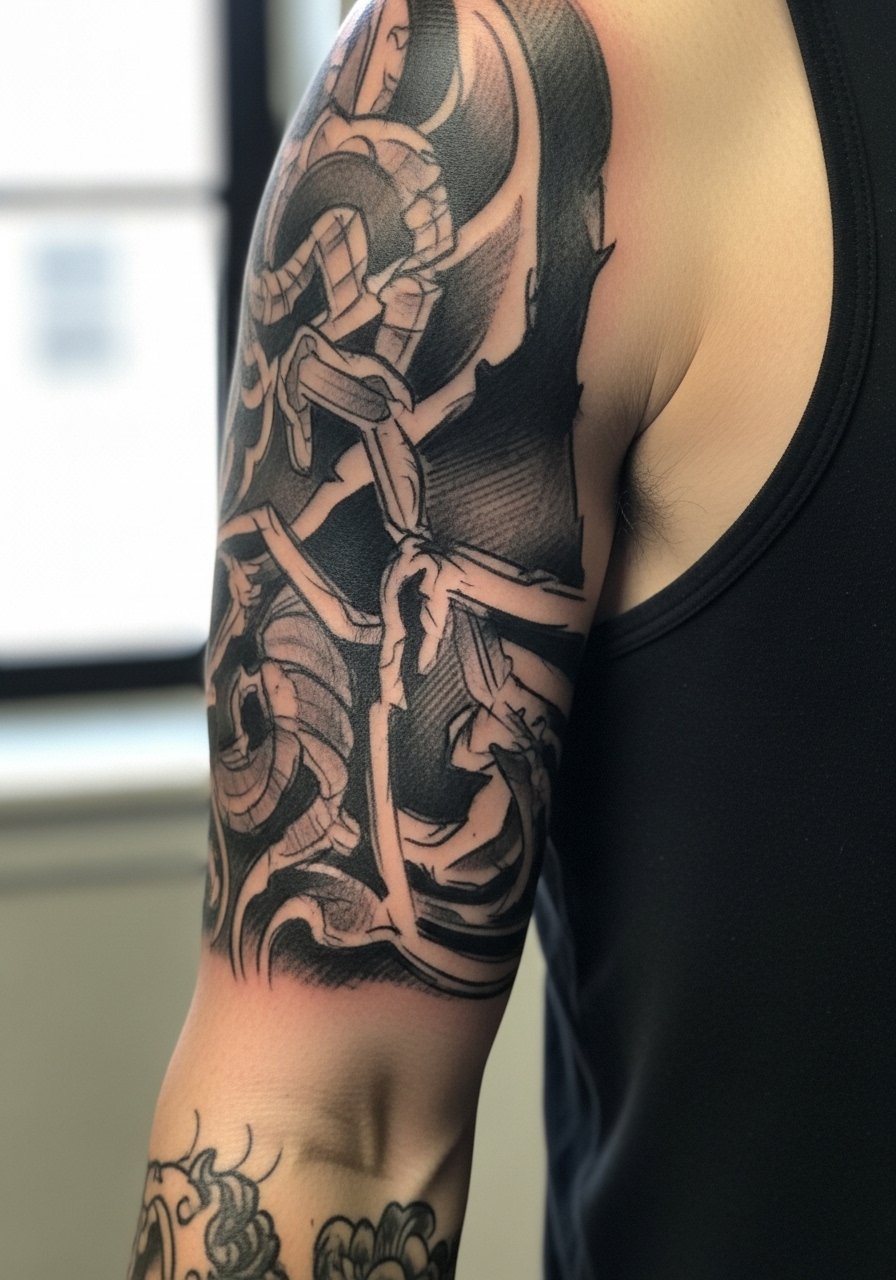
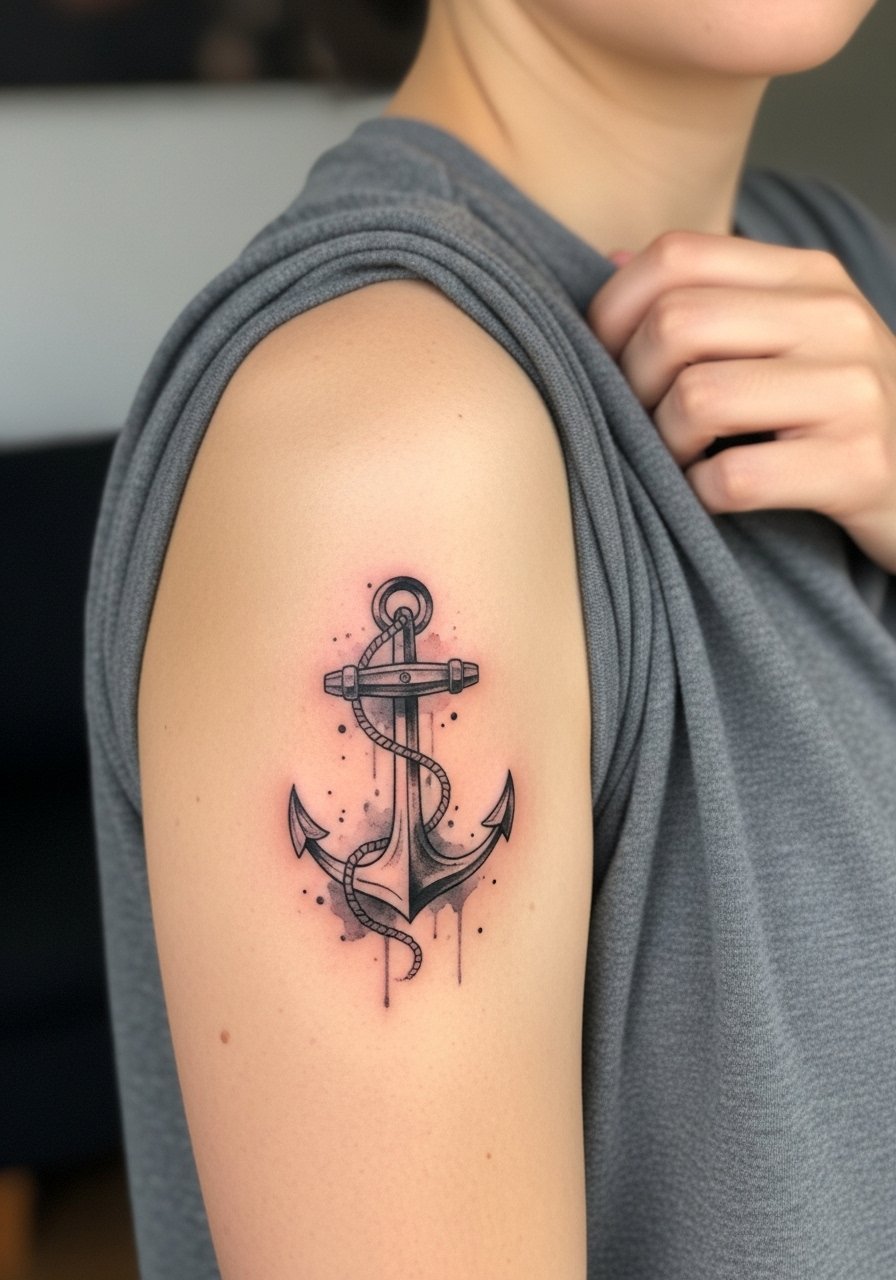
5. Anchor and Dagger Sketch Half-Sleeve

Traditional motifs translated into sketch style need bold anchors and simplified dagger shading to age cleanly. Tell your artist to keep the anchor lines thick and the dagger contrast high so the shapes read at distance. Small decorative flourishes can fade into noise over time, so pick one focal element. Sessions run 2 to 4 hours. Pain on the upper arm is low to moderate. This half-sleeve pairs with a fitted muscle tank for summer show-off, and the tank also makes the appointment easy since the shoulder remains uncovered.
6. Dark Realism Portrait Sleeve
Portraits in sketch style live or die on tonal control. For inner bicep placement, warn your artist you want the portrait rendered with dark realism techniques and loose contour lines, not tiny dot work across the face. A common mistake is overworking facial detail with ultra-fine strokes that blow out on the soft inner arm. This area hurts more during long sessions, so break work into 90 to 120 minute sittings. Touch-ups may be needed at year two, especially where motion causes stretch. For the appointment, wear a flannel shirt open over a crewneck so you can expose the inner arm without stretching the skin.
Studio Day Picks
The upper-arm and inner-arm pieces above need different prep than forearm starters. These picks smooth session day logistics and the first healing window for ideas 1 through 6.
-
Stencil transfer paper kit. Lets you preview line placement on skin so a lion mane or portrait sits where you expect it, which matters on curved biceps.
-
Topical numbing cream. Applied before work it reduces discomfort during long inner-arm portrait sessions without changing the artist's linework.
-
Thin protective film roll. Keeps upper-arm and shoulder work clean during the first showers and prevents friction on fresh stencil edges.
-
Fragrance-free body wash. Gentle cleansing matters for dark realism sections where heavy shading needs careful cleaning during healing.
-
Aquaphor healing ointment. Thin layers in the first days lock in moisture for dense blackwork without suffocating the skin.
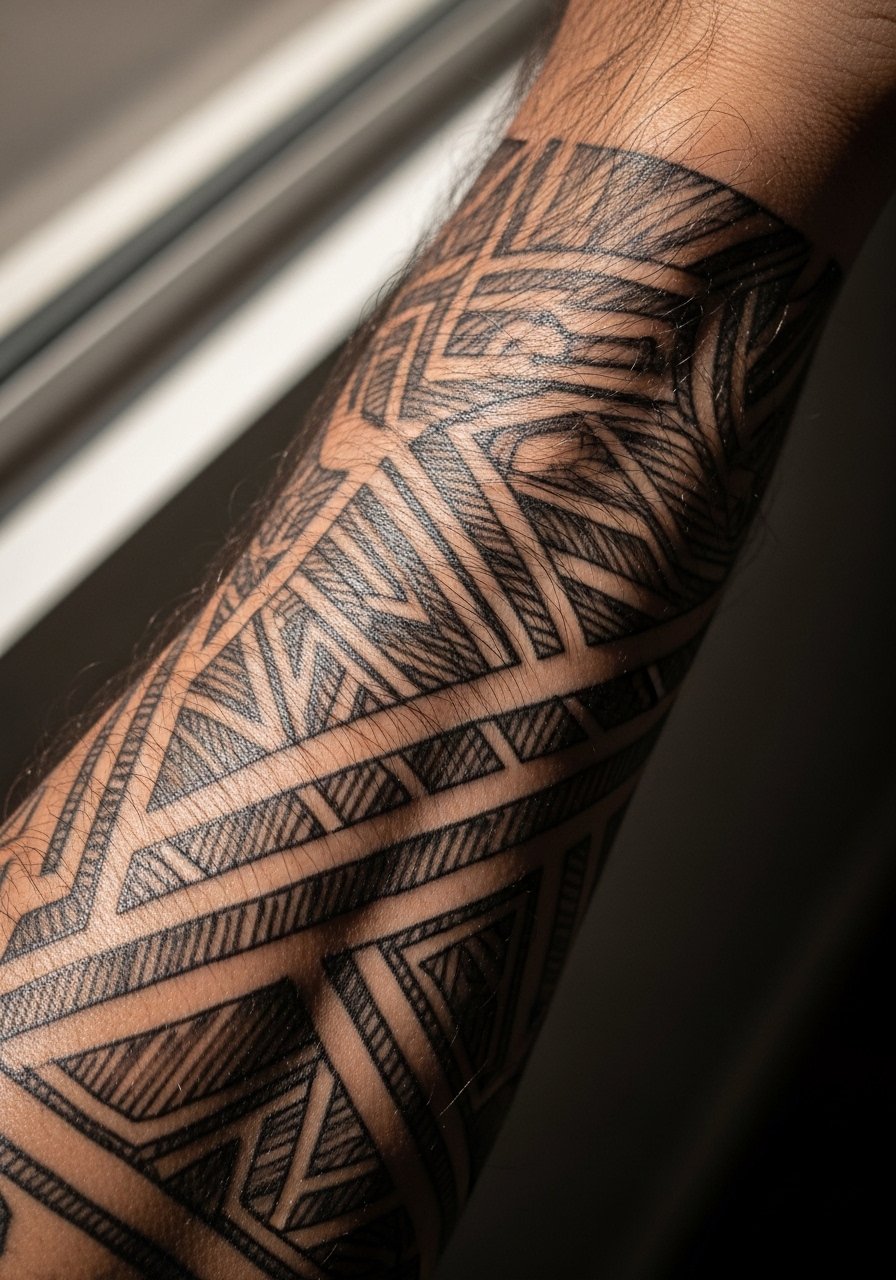
7. Geometric Wolf Head Forearm Starter
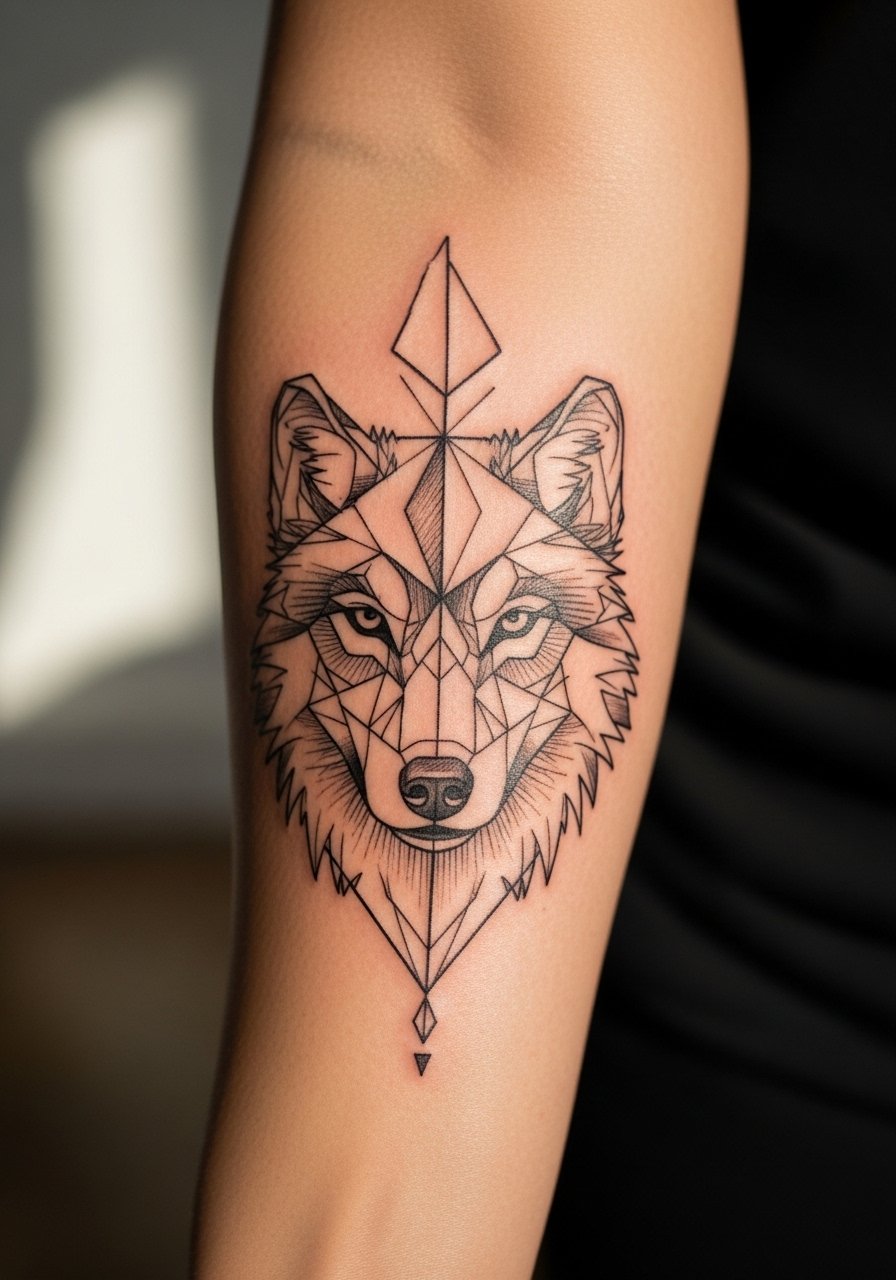
Geometric hybrids work well for professionals who want edge without full sleeve commitment. Ask for bold frame lines around the wolf so the geometric areas maintain separation as negative space changes over time. The biggest mistake is shrinking the geometry too small, which loses definition when healed. Expect three sessions and low-moderate pain on the outer forearm. For showing the design, cuff a chambray shirt and keep the opposite wrist free of chunky accessories so the geometry reads clean.
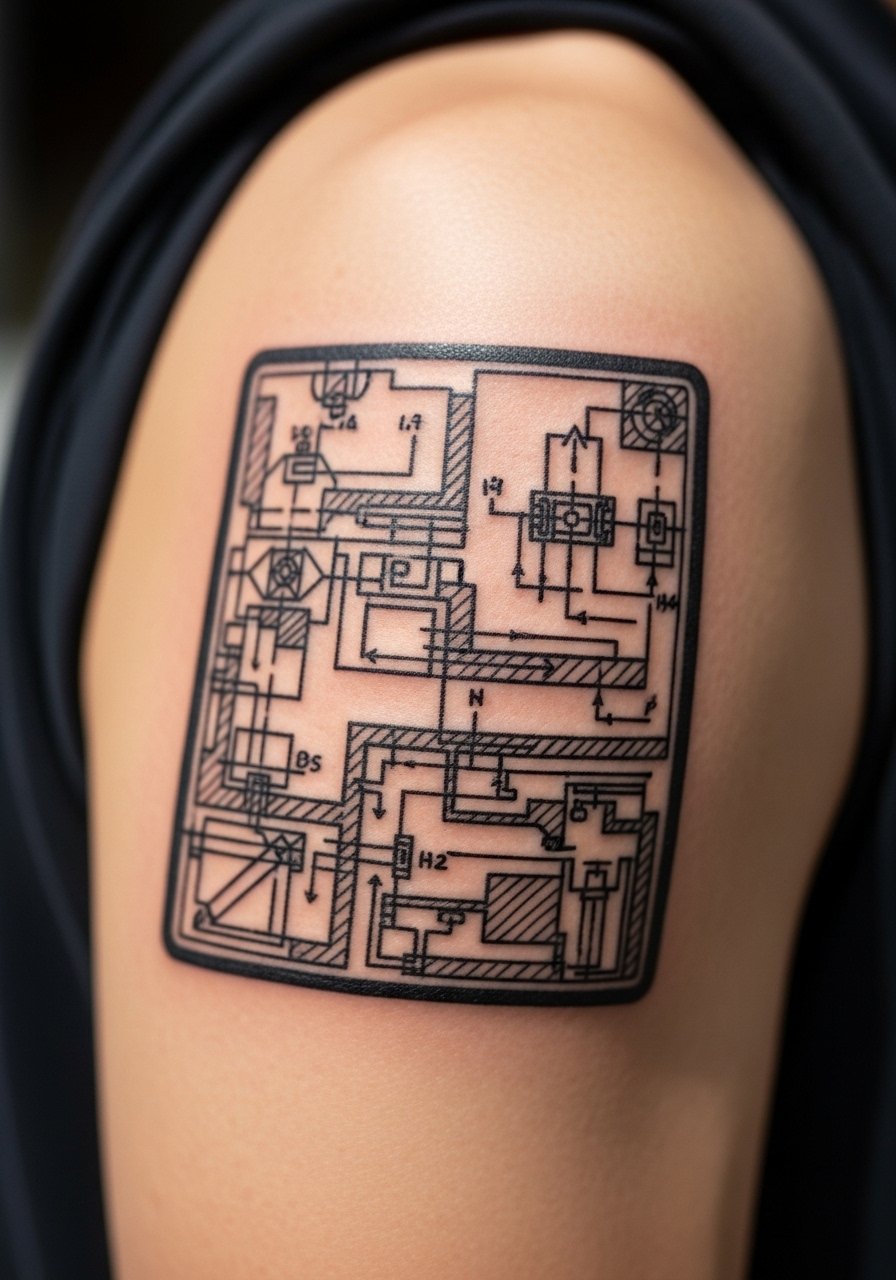
8. Engine Blueprint Full Arm Sketch
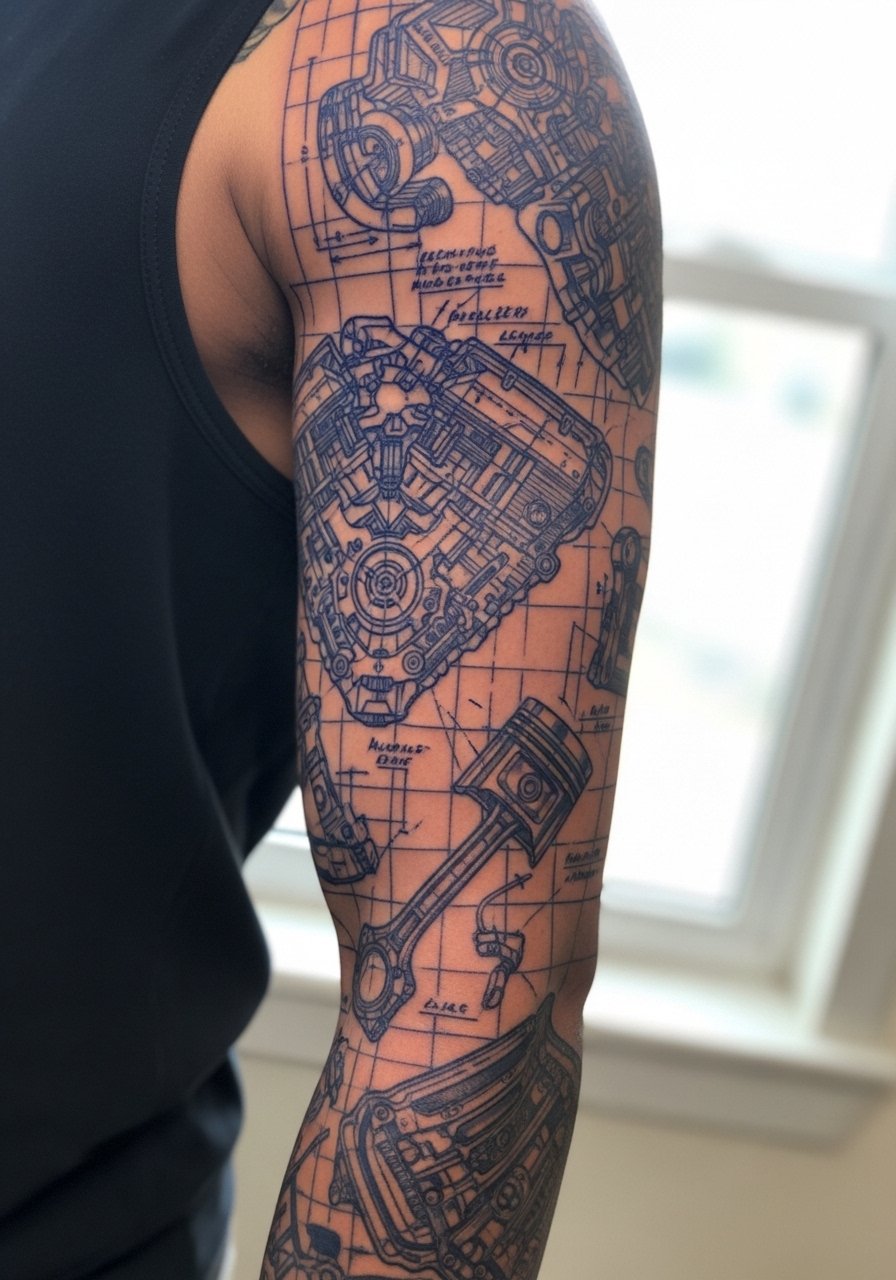
Blueprint sleeves shine when you let technical lines breathe. Tell your artist you want clean negative-space grids and larger mechanical components rather than infinite tiny details. Over-detailing small cogs is a common pitfall because those areas quickly muddy. Sessions often span 4 to 7 sittings. Outer arm areas are easier on pain, inner elbow and wrist more sensitive. This style is ideal as a patchwork starter that you can add to over years while keeping each module legible.
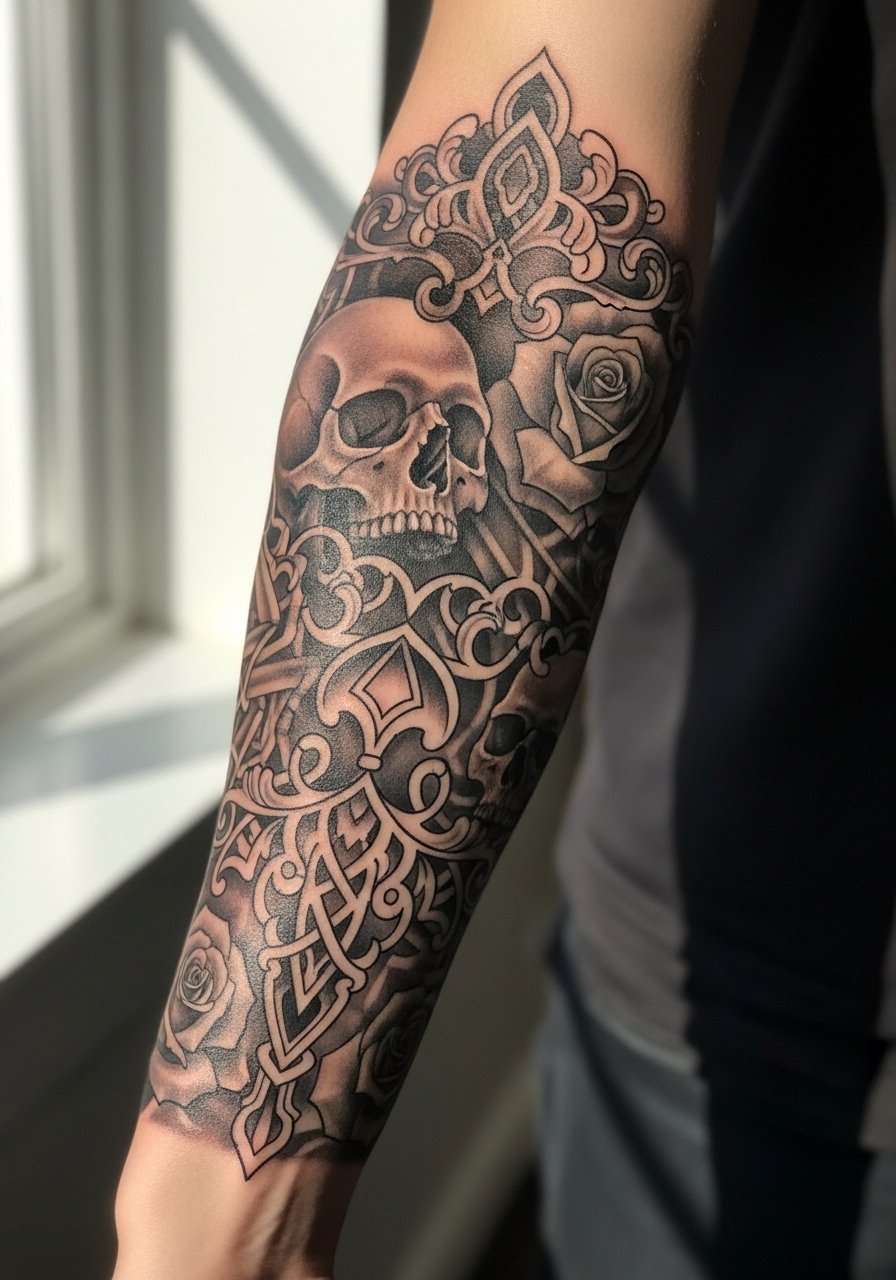
9. Black and Grey Shaded Skull Sleeve
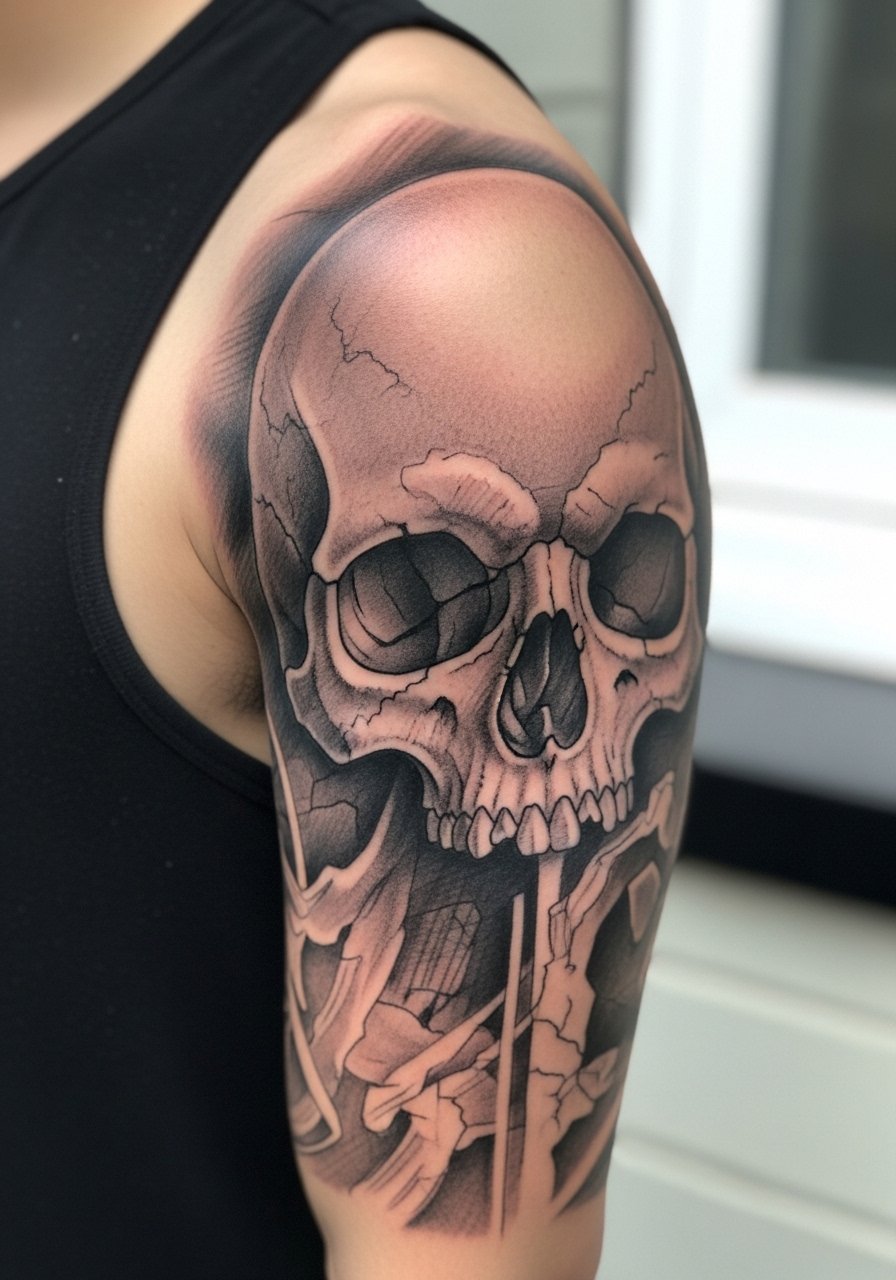
Skull sleeves with charcoal-style shading read like a charcoal drawing when done with controlled saturation. Ask for broad grey washes and stipple transitions rather than tight, high-contrast hatching. The common aging problem is tiny high-contrast textures near the jawline that blur. Expect 4 to 6 sessions. Shoulder areas tolerate saturation well while inner arm zones need more conservative saturation. For casual show-off, push up a long sleeve thermal gray and let the cuff sit below the most detailed zones.
10. Watercolor Sketch Eagle Half-Sleeve
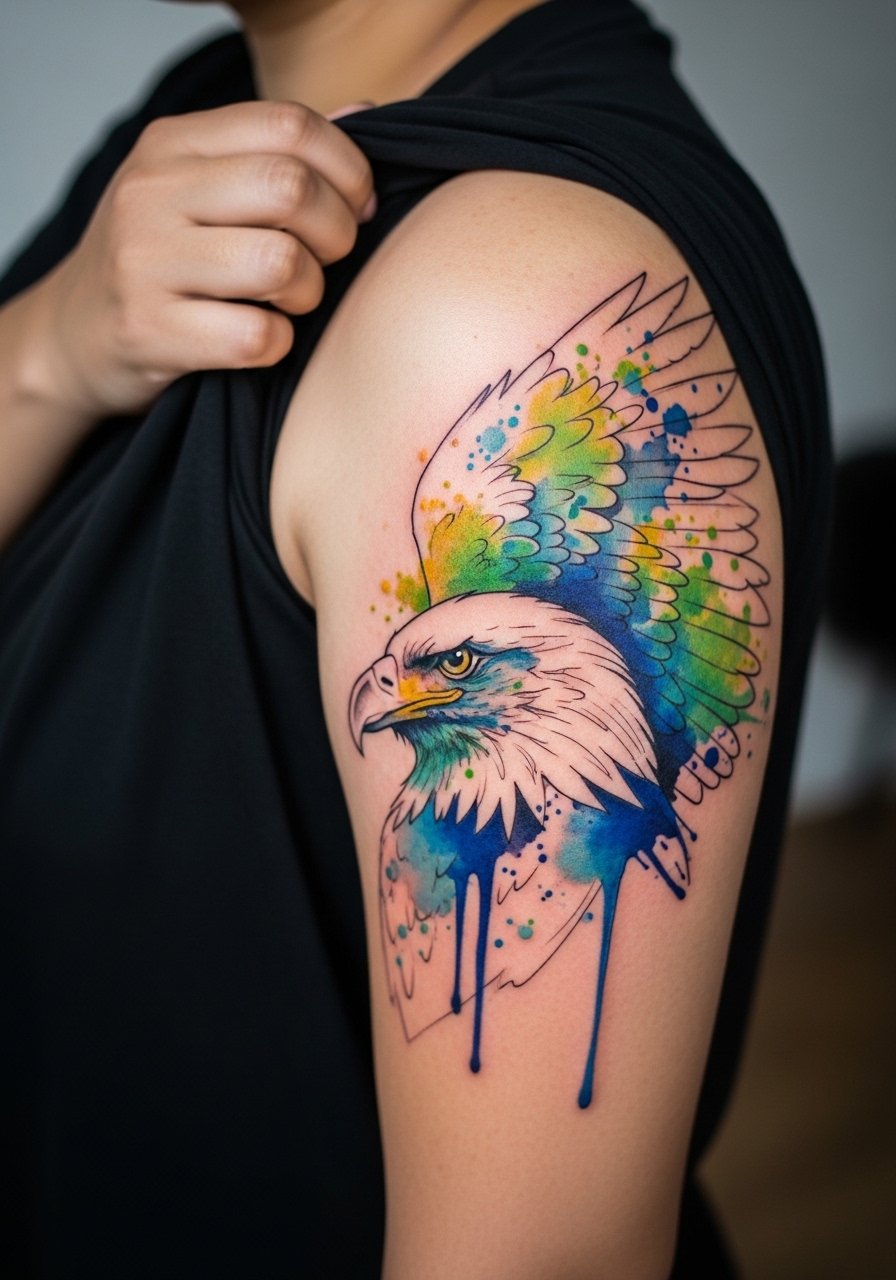
Watercolor accents can be stunning but they fade faster than black and grey. If you want color, ask for restrained splashes and anchoring black lines so the composition keeps form as pigments soften. The debate around color longevity matters here because pigments and wash techniques vary widely in results. Sessions are moderate length and the upper arm is forgiving. For showing the piece, a men's henley shirt black rolled to the elbow lets the color pop while the black lines keep readability.
11. Minimalist Script and Illustration Wrap
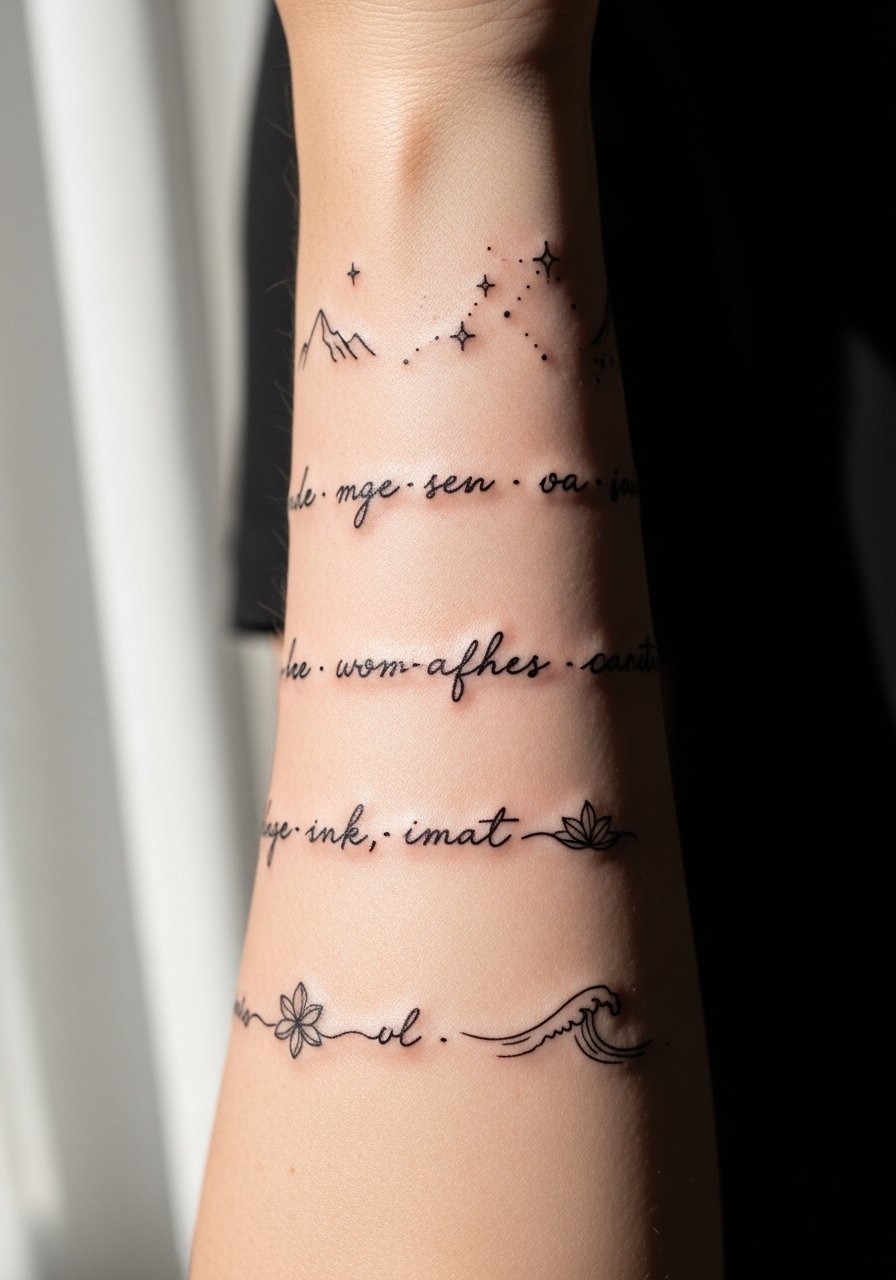
Small script and tiny illustrations in a sketch sleeve must be spaced deliberately. I tell clients to pick short phrases and to scale letters slightly larger than they want so they do not merge. The mistake is crowding multiple scripts within the same circumference. Expect short sessions for each cluster and touch-ups at year one. The forearm tolerates text well if you avoid hair-bearing zones. For session wear, a plain white tank keeps access easy.
12. Architectural Predator Fusion
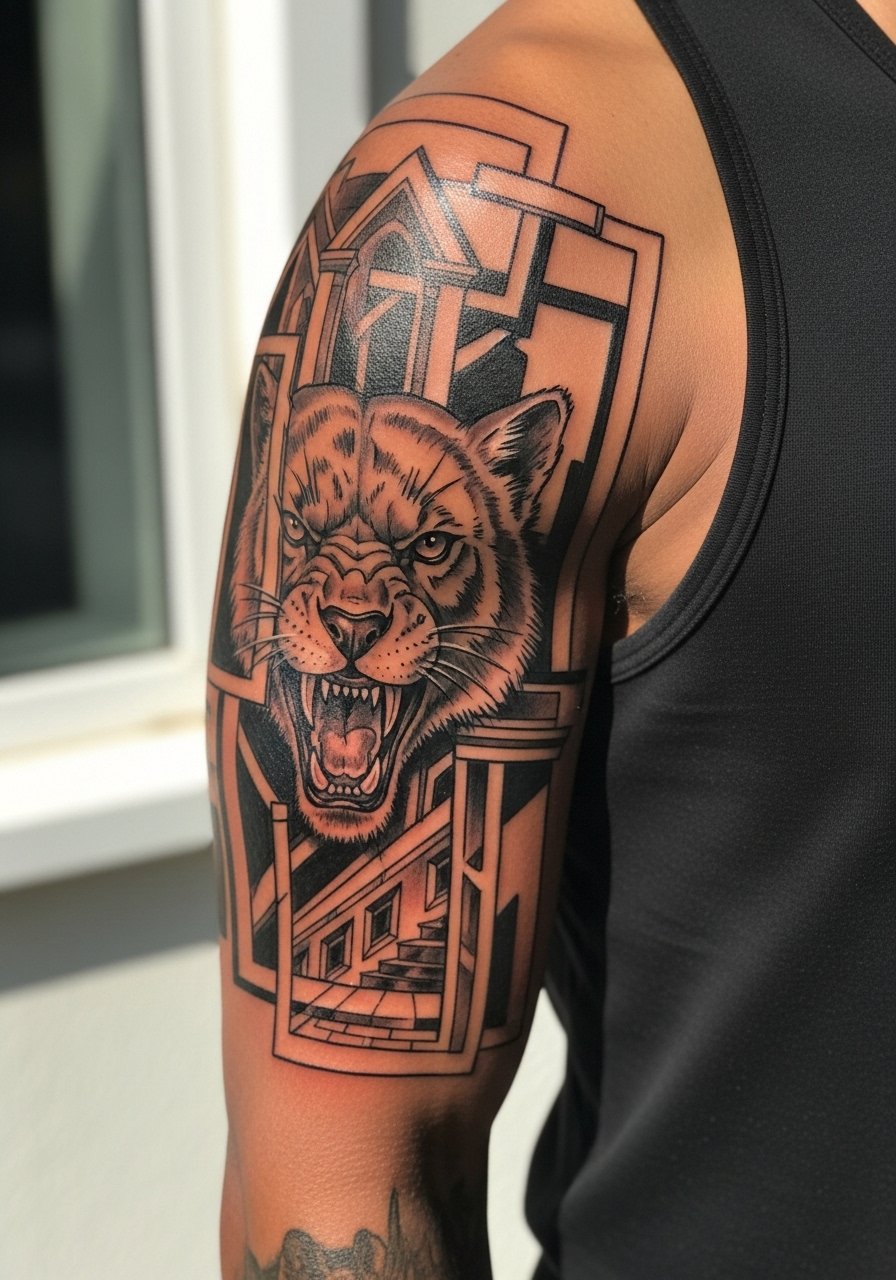
Combining an animal with architectural frames gives a modern masculine edge. For curved biceps, ask your artist to orient the architectural lines along muscle flow so arches do not warp when you flex. A typical error is ignoring how the bicep bulge stretches faces and columns, which can misalign composition at different arm positions. Break sessions into shorter blocks to test alignment. For showing it off, an open flannel shirt over a neutral crewneck frames the fusion without competing.
13. Mechanical Blueprint Patchwork Starter
If you plan to build a sleeve across years, start with modular blueprint patches that interlock later. Tell the artist you want clear margins around each module so future additions have registration points. The error I see is artists drawing patches that overlap too closely and leave no room for breathing. Sessions are shorter and less painful on the outer arm. This approach solves for life changes because you can add elements without reworking existing saturation.
14. Predatory Animal with Architectural Frames
This hybrid reads dramatic if the architecture follows the limb's curve. Ask for the arch lines to be slightly thicker so they do not disappear as the animal's fine strokes soften. One mistake is packing both detailed animal fur and dense masonry textures in tight proximity. Expect 3 to 5 sessions depending on coverage. For showing the piece, a crewneck tee neutral works well and keeps attention on the sleeve composition.
15. Geometric Mandala Wrap for Upper Arm
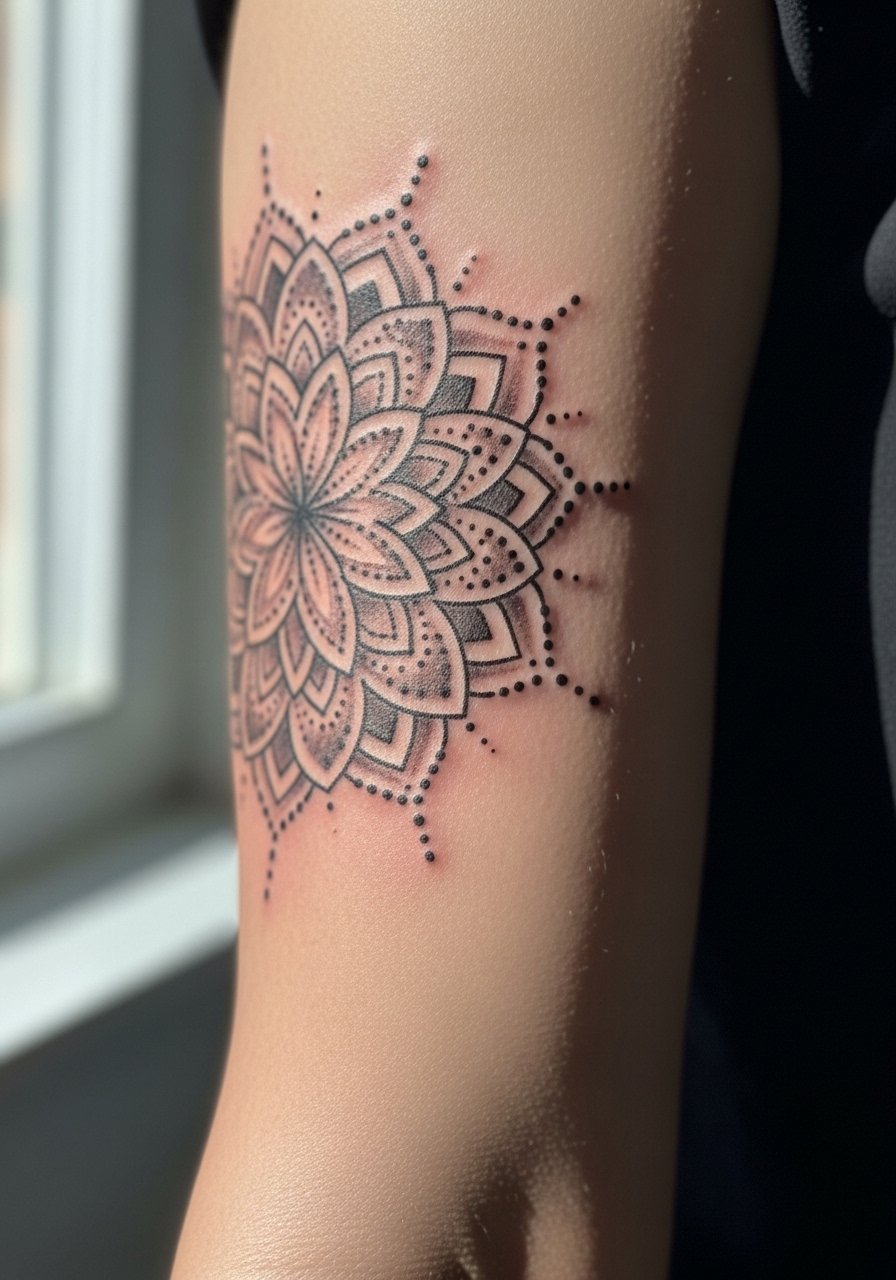
Mandala work in sketch style needs scale. The common error is shrinking the mandala too small which causes center details to compress over time. Tell your artist you want broader gaps between spokes and stipple shading instead of dense fill. Pain is low on the outer upper arm. For session ease, wear a plain white tank so the shoulder remains accessible. Expect touch-ups at two to three years where dot work may soften.
16. Sleeve That Works on Hairy Arms
If you have hairy arms, plan the design to incorporate hair patterns. I often recommend a slightly thicker primary line and strategic negative space so hair does not mask detail. A common complaint is that delicate sketch lines vanish against hair. Tell your artist to map stroke flow around hair whorls and consider a low clip for sessions. For showing it off, a leather cuff bracelet men or a rolled henley sleeve accentuates texture without fighting it.
17. Sleeve for Career-Conscious Professionals
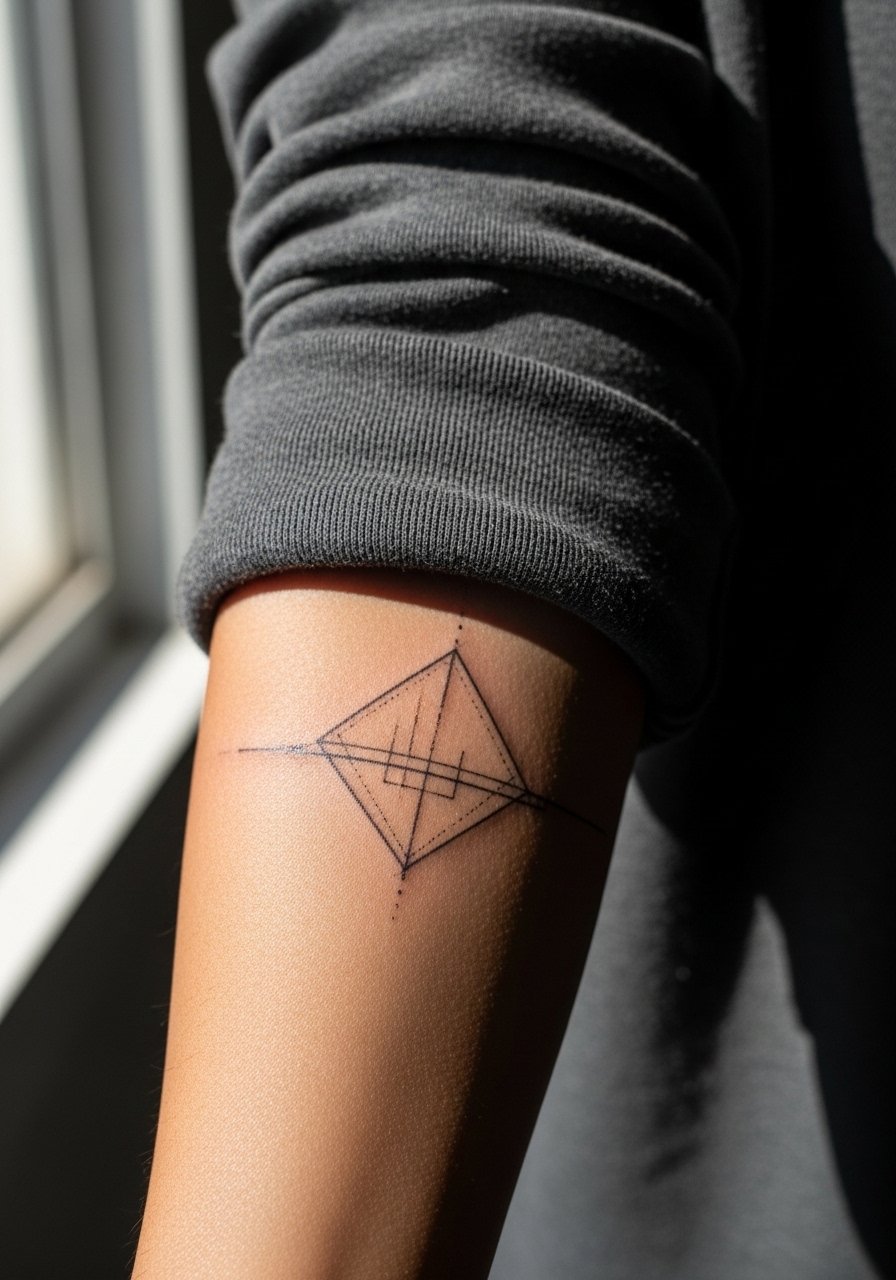
For office settings, think structured geometry that reads tidy under shirts. Request framed modules rather than sprawling freeform sketches so the piece looks composed when partially covered. The mistake is choosing gaudy watercolor or tiny chaotic hatching. Sessions are manageable and pain is low. Show it off with a charcoal work shirt and rolled sleeves to keep the sleeve visible without overexposure.
18. Full Sleeve Engine with Blueprint Negative Space
When you plan a full arm engine, negative space becomes your best friend. Ask the artist to draft larger mechanical elements spaced with blueprint margins so the overall reading stays crisp. Overfilling the negative areas is a common aging issue because everything turns to grey. Sessions span multiple days and pain fluctuates by placement. For session wear, a plain white tank keeps the arm accessible and prevents sleeve bunching.
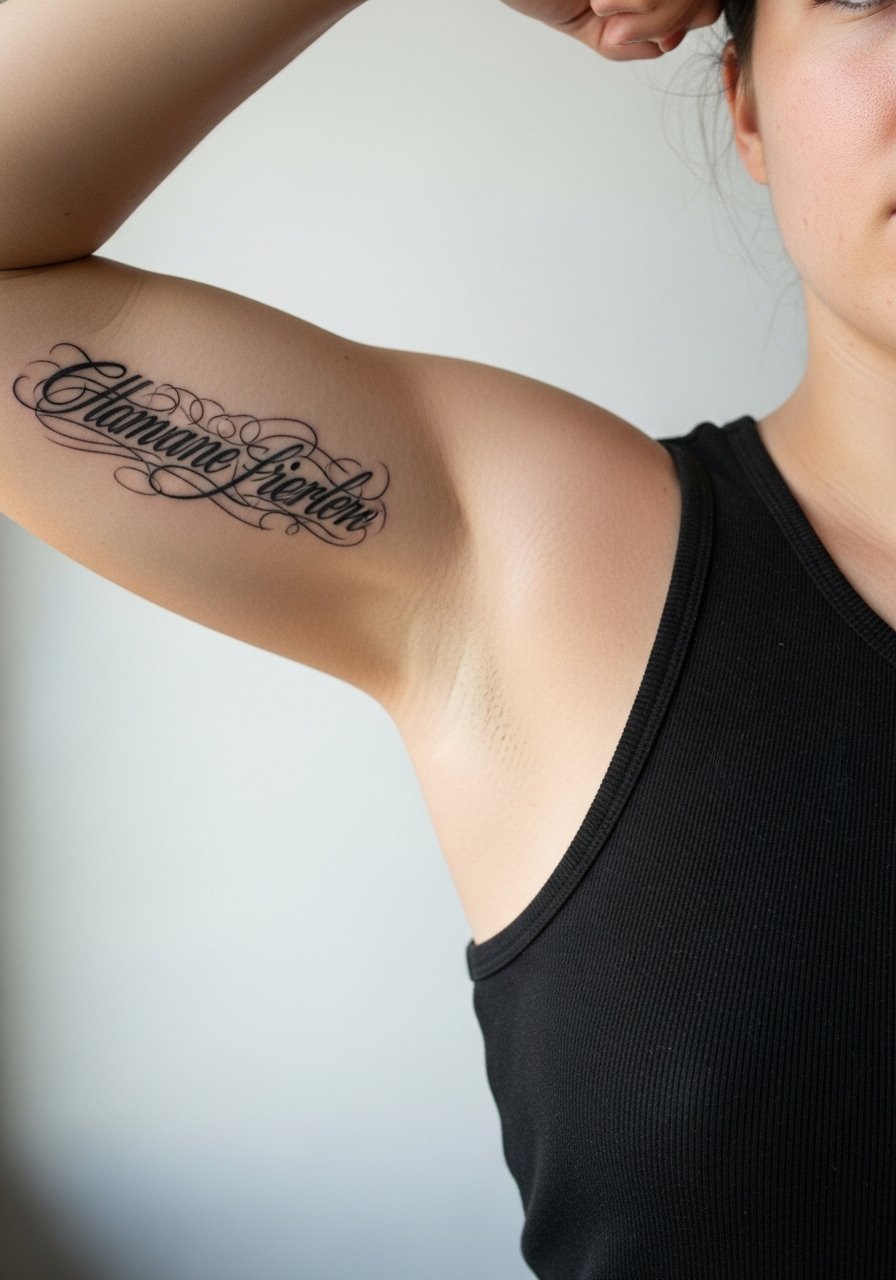
19. Blackwork Script and Symbol Sleeve
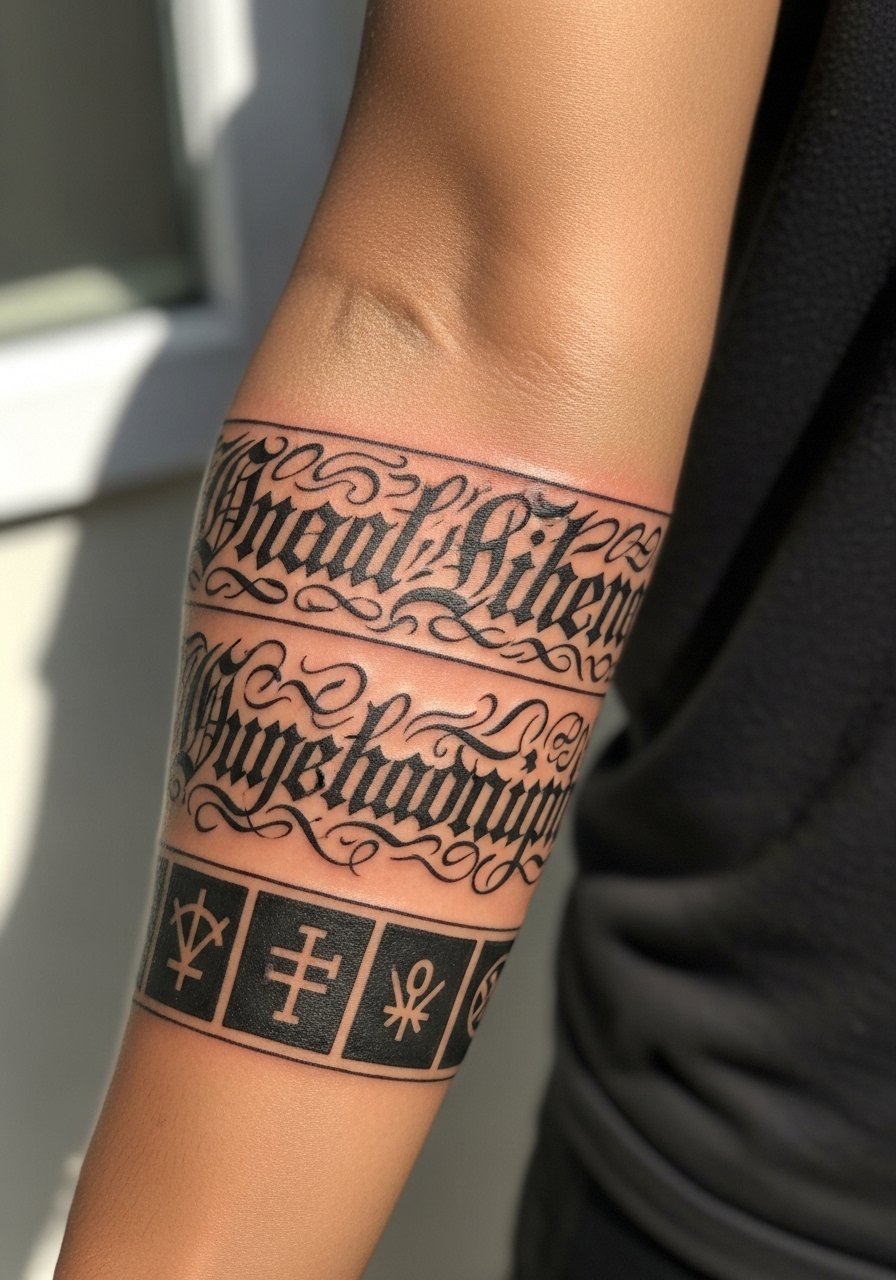
Blackwork text panels need breathing room. I advise clients to scale lettering up and to pick one typeface for consistency. A common misstep is mixing three fonts which creates visual clutter as ink settles. Sessions are short for each panel and pain is low to moderate. For showing this style, a slim metal watch opposite the script balances the arm and keeps attention on the words rather than on accessories.
20. Ribcage Geometric Sketch Panel
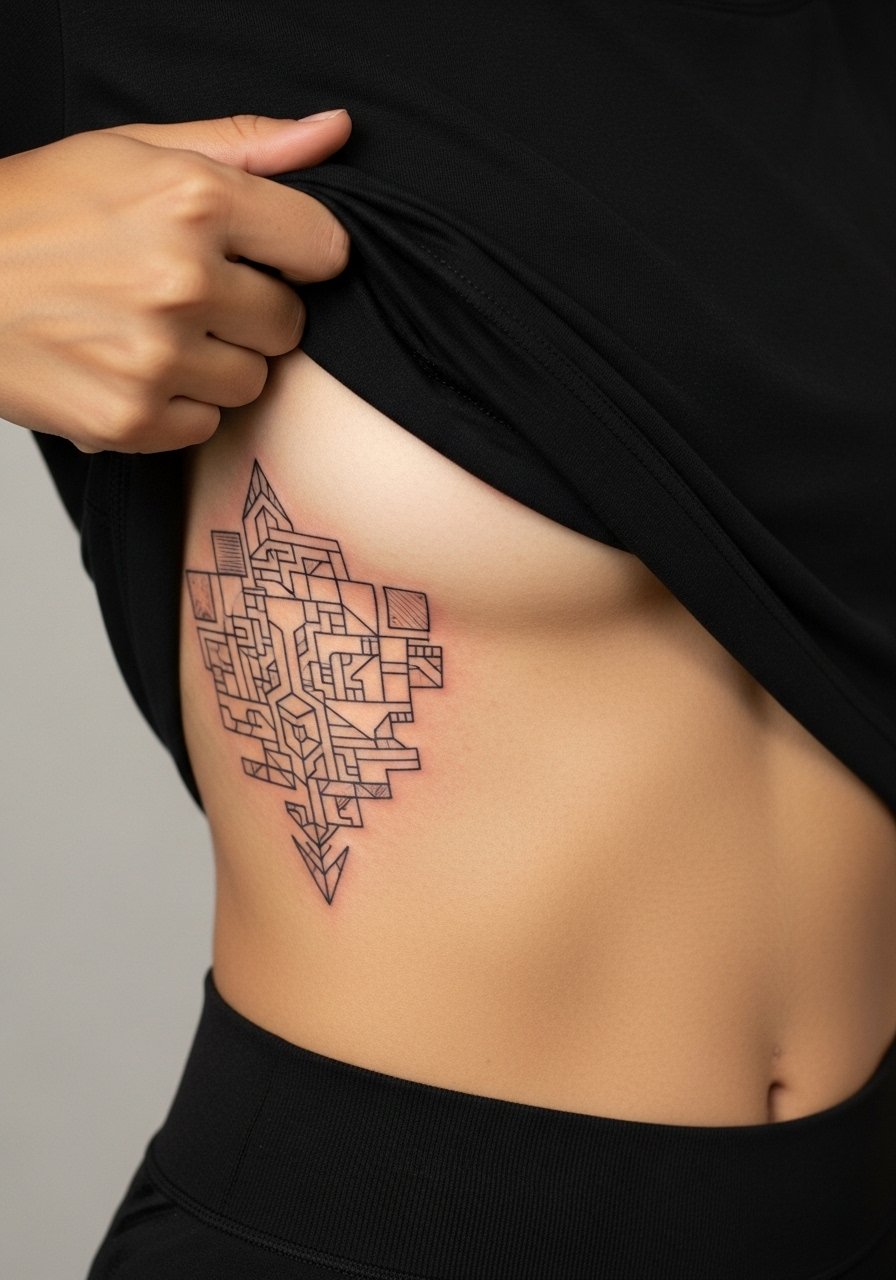
Ribcage work demands respect for movement and breathing. The controversy about fine line on ribs applies here. One camp argues the skin stretch blurs lines in two years. The other camp says proper depth and spacing makes fine line settle fine. Ask your artist where they stand and plan larger spacing if you want longevity. Pain is high on ribs so split sessions into shorter blocks. For the appointment, wear a cropped athletic top you can lift slightly to expose only the area.
21. Inner Bicep Portrait and Script
Inner bicep work is intimate and sensitive. Ask the artist to limit saturation near the crease to reduce blowout risk. A typical error is heavy stipple near the armpit which migrates into shadowed smudges. Sessions should be shorter and scheduled with breaks. Pain on the inner bicep can be intense for long sittings. For session wear, a loose button-down shirt you can pull aside helps with access and reduces skin stretching.
22. Sleeve That Anticipates Weight Changes
If you expect significant muscle or weight change, place main motifs on outer arm and avoid high-stretch zones. I advise clients to avoid tightly packed vertical faces on biceps for this reason. The mistake is centering a portrait on a spot that expands widely with muscle gain. Tell your artist you may bulk and to keep focal points on areas that shift less. Sessions are staged to test how the piece reads at each stage. This planning reduces the chance you need a large rework later.
23. Watercolor Accents with Strong Black Anchors
Watercolor looks great but the trick is anchoring it with black sketch lines. Tell your artist you want saturated black anchors so the color wash can fade and still read. A common problem is that abstract color floods swallow shape. Sessions are moderate, upper arm is forgiving, and touch-ups for color often come sooner than for black. For showing, a men's henley shirt black or rolled sleeve keeps the contrast strong.
24. Forearm Patchwork: Mix-and-Match Modules

Patchwork allows you to build a sleeve over years. Tell your artist to leave consistent margins and matching negative space so the modules feel intentional when added. The error I see is random placement without a tying element, which reads chaotic as pieces age. Sessions for modules are short and healing is quick on the forearm. For show-off, a rolled chambray shirt keeps each patch visible without exposing the whole arm.
25. Elbow-to-Wrist Black/Grey Shaded Sleeve
Lower-arm sleeves need special attention near the wrist where friction and washing accelerate fade. Ask for tapered saturation and slightly thicker lines near the wrist so small details do not vanish. A usual mistake is keeping the same tiny textures down to the wrist. Session pain varies by area and touch-ups around the wrist are common after a year. For everyday wear, push up a long sleeve thermal gray to mid-forearm to show the shading gradient.
26. Hip-to-Thigh Mechanical Sketch Panel
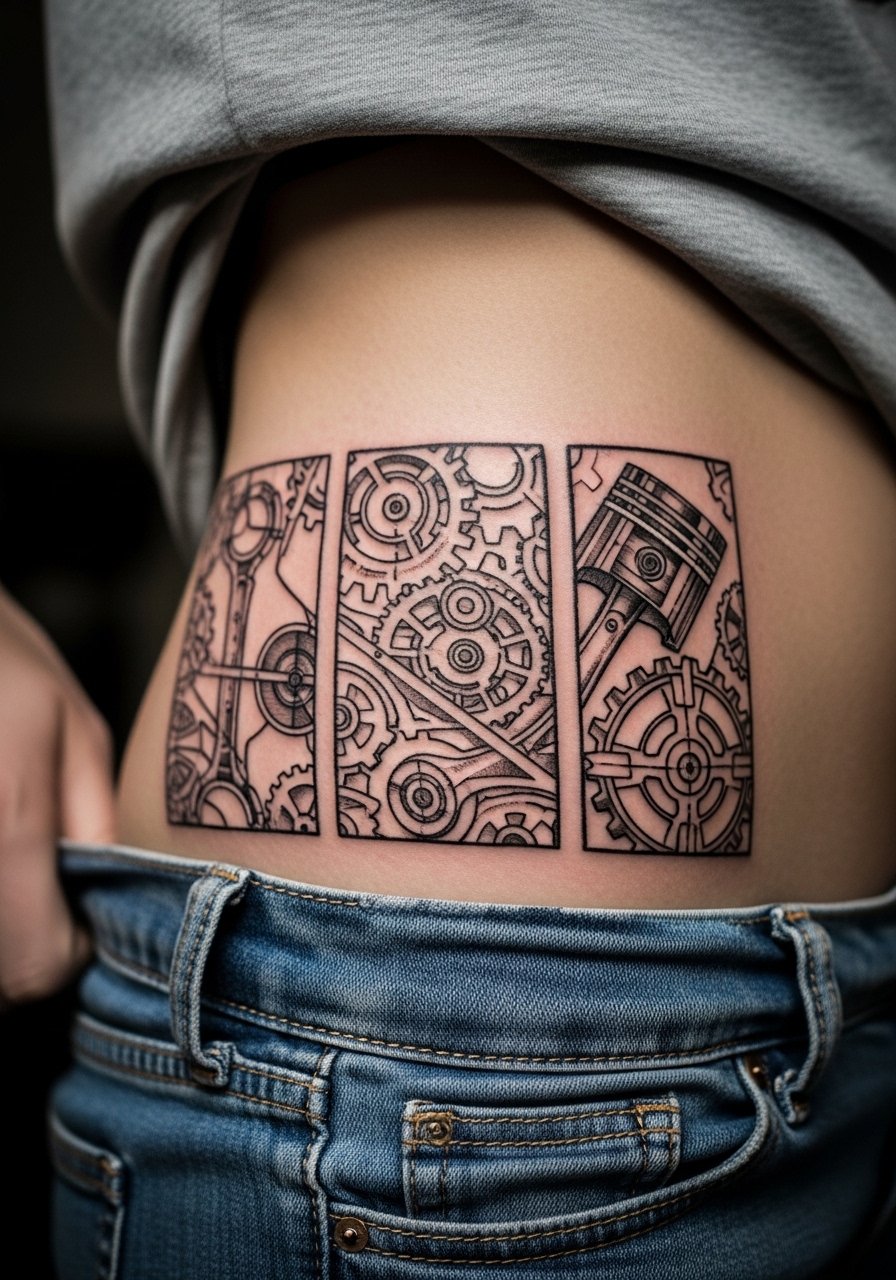
For hip or upper-thigh panels, the key is to plan fabric contact and motion. Tell the artist you wear low-rise jeans often so they can orient heavy detail away from waistband friction zones. The common mistake is placing fine cross-hatching where clothes will rub. Sessions are moderately painless because the thigh tolerates saturation well. For the appointment, wear high-waisted bottoms or jeans you can shift to give clean access.
27. Inner Thigh Botanical Sketch
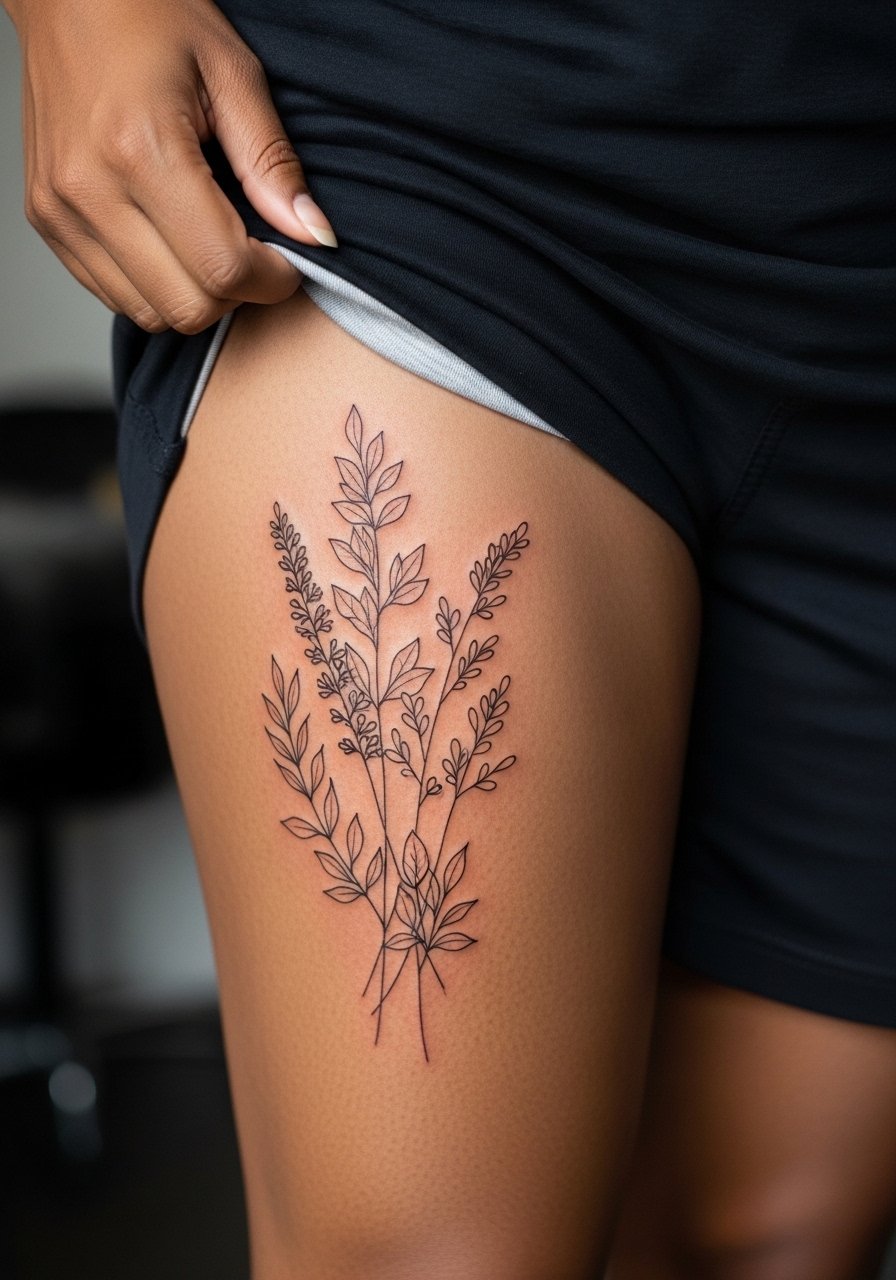
Inner thigh pieces look intimate and they need careful shading choices. Ask for stipple shading and avoid dense black fills near the crease to reduce migration. A frequent error is choosing heavy saturation too close to friction areas which creates smear. Pain can be moderate to high depending on proximity to nerves. For session wear, pick shorts you can shift slightly so the artist accesses the area without stretching the skin.
Frequently Asked Questions
Q: How much does a sketch sleeve usually cost and how do sessions break down?
A: Costs vary by artist and location, but expect a full sleeve to fall roughly between $1,500 to $5,000 depending on complexity and black versus color work. Most full sleeves are built over multiple sessions, commonly 4 to 8 visits, with each session lasting anywhere from 90 minutes to 4 hours. Budget for at least one touch-up in the first 12 to 18 months.
Q: Will fine line sketching blur faster than bold line-art on hairy or dark skin?
A: Fine line tends to lose definition faster on hairy arms and on some darker tones if the line weight is too thin. One camp insists bold line-art is the safer longevity play. The other camp says precise depth and spacing make fine line work viable. If you have dark or hairy skin, ask the artist to show healed examples on similar tones and consider slightly thicker primary lines.
Q: How should I prepare for long inner-arm or ribcage sessions to manage pain and logistics?
A: Break long sessions into shorter blocks and book at times you can rest afterward. Wear loose session clothing like a loose button-down shirt for inner-arm work or a cropped top for ribcage pieces so the artist has access without stretching the skin. Some clients find topical numbing helpful, but check with your artist first.
Q: Do sketch sleeves on forearms need special care to avoid early fading from friction and sun?
A: Yes. Forearms face constant washing and sun exposure. Plan for slightly heavier linework in high-friction zones and expect touch-ups at year one or two. For daily wear, roll sleeves or use sun protection on exposed areas to extend crispness.
Q: How do guest-spot reschedules affect sleeve projects and what can I do to avoid them?
A: Guest-artist cancellations disrupt continuity and can stall momentum. I recommend booking local artists for foundational modules, and if you want a guest, confirm dates two months out and have a contingency slot with your local artist. Staged modular plans help because you can build around scheduling hiccups.
