
Fine line dream catcher tattoos are everywhere in saved folders, but what keeps a tiny piece readable for years is spacing, needle depth, and where you put it. Trends push smaller and more intricate, but longevity lives in simple choices you make at the consult. Below are 21 small dream catcher ideas that prioritize how they age, what to ask your artist, and practical styling so you can actually show the work off.
1. Tiny Fine-Line Dream Catcher on Inner Wrist
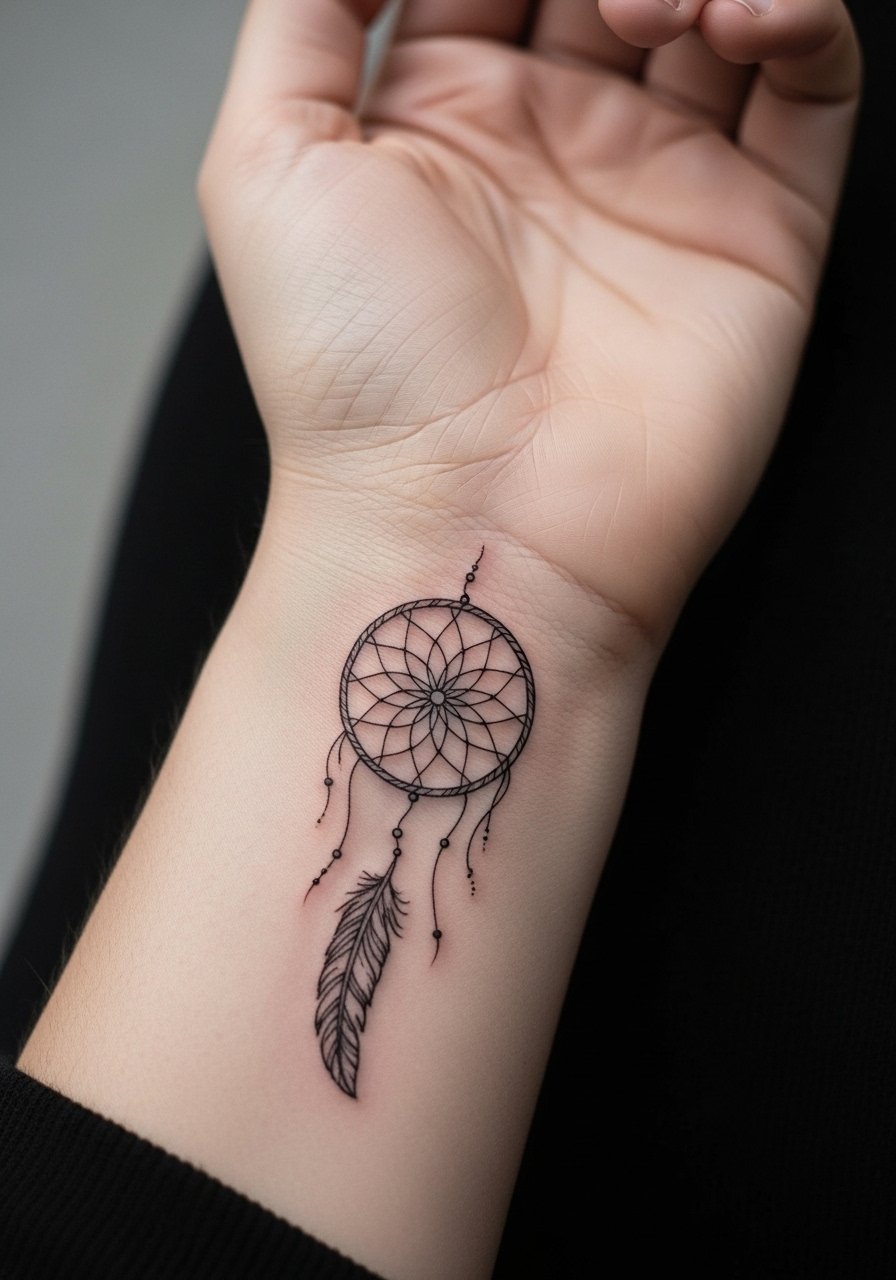
A wrist dream catcher reads intimate and readable when the hoop stays about the size of a dime. Tell your artist you want slightly heavier outer ring linework with lighter interior webbing so the outer shape holds over time. The common mistake is making the web too dense for such a small hoop, which causes the details to merge after a year or two. Expect a light touch-up around year two for fine-line pieces in high-movement spots. Pain is mild to moderate on the inner wrist, and the session is under an hour. For showing it off, pair with a thin chain bracelet that sits below the tattoo so the hoop remains the focal point.
2. Micro Mandala Dream Catcher Behind the Ear
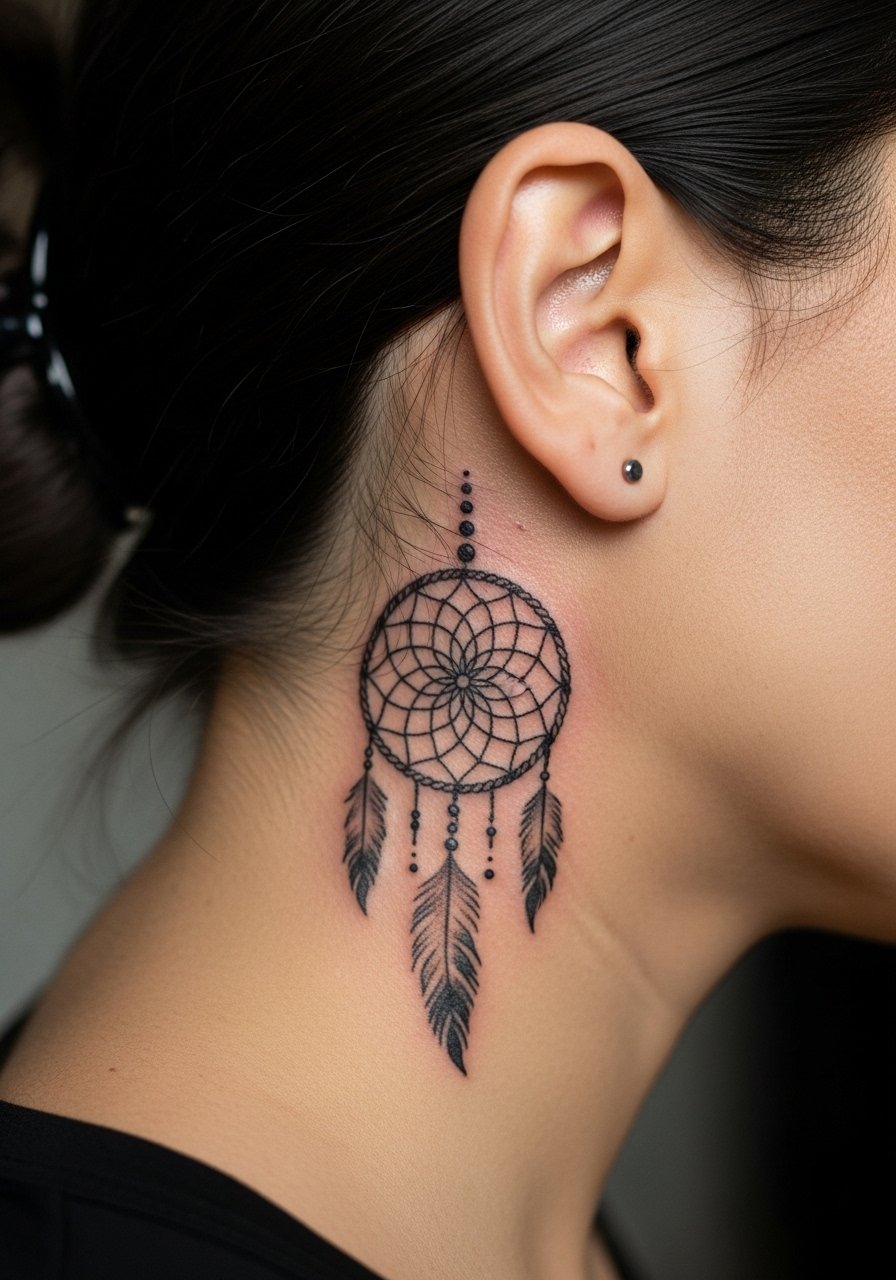
Behind-the-ear placements make small mandala dream catchers feel secret and delicate. For sessions, wear hair up and a wide-neck shirt so the artist can access the area cleanly. The biggest mistake is asking for extreme micro detail in a space that moves with hair and neck motion. Some artists warn of faster blur here, others say proper line depth prevents it, so ask where your artist stands before booking. Healing is quick but scabbing can pull at tiny lines, so expect a touch-up by year two for ultra-fine work. This spot is low-visibility day to day, which is perfect if you want something private.
3. Feather-Focused Tiny Dream Catcher on Ankle
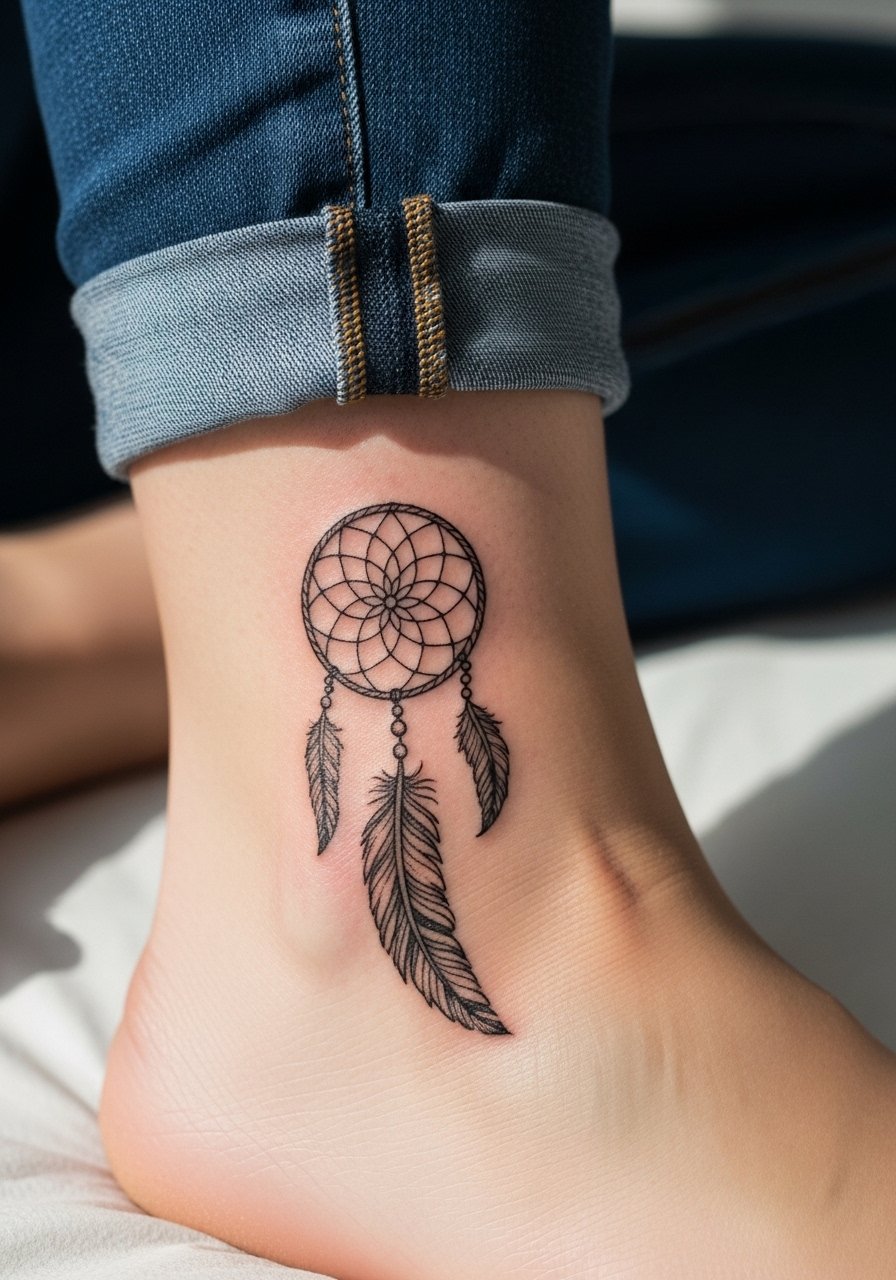
An ankle dream catcher with an emphasized feather reads elegant while staying compact. Mention during the consult that the feather should have open negative space between barbs, not tiny filled strokes, to avoid clogging as the skin stretches. The ankle takes thin needle passes well but is close to bone so the session can sting more than on a fleshy part. For the appointment wear slip-on shoes and low-cut socks so the artist can roll pant cuffs without fuss. Showing the piece with cropped trousers or sandals highlights the feather without competing with footwear.
4. Watercolor Accent Dream Catcher on Shoulder Blade
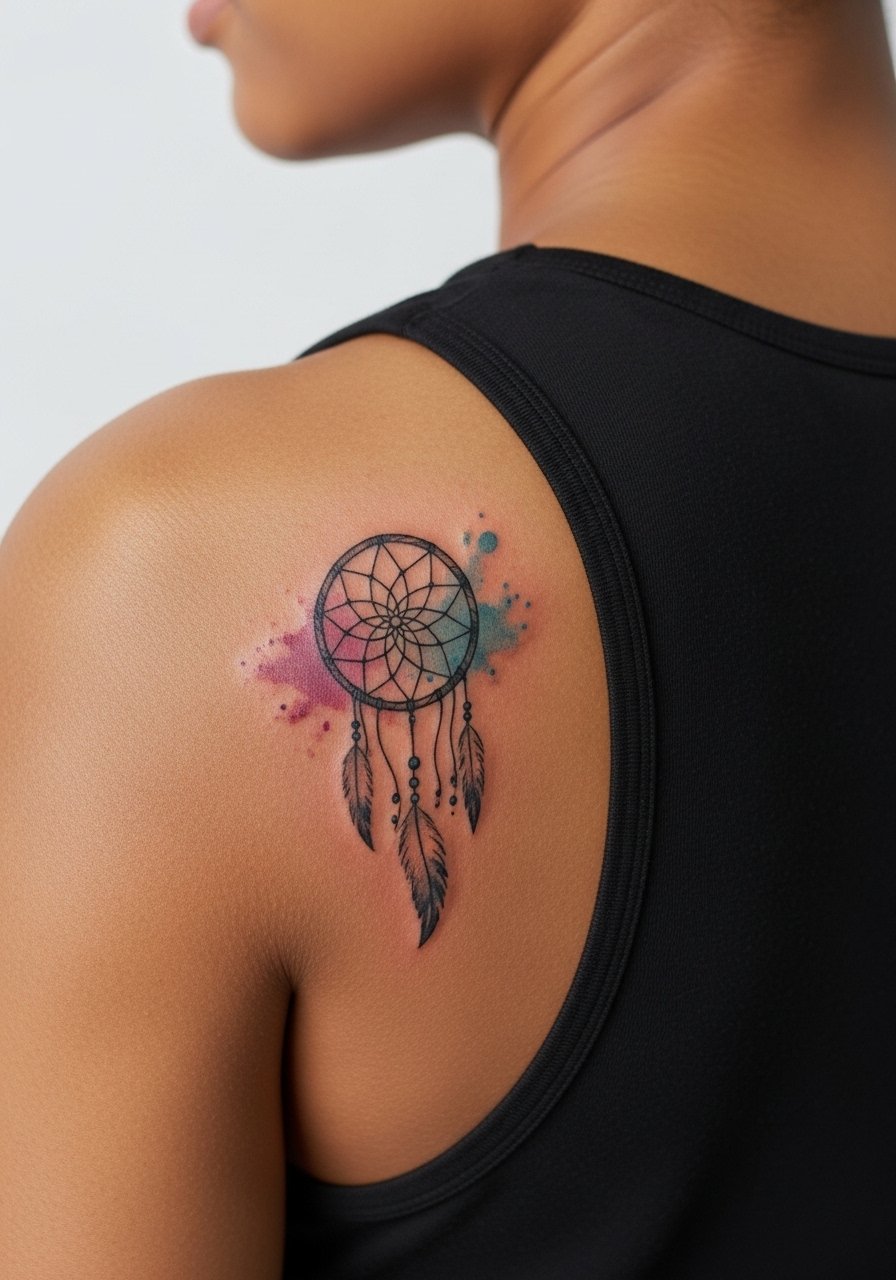
Adding watercolor washes behind a fine-line hoop softens the contrast and gives the design presence from across the room. Ask for the color to be applied in a painterly wash rather than dense saturation so it fades naturally and does not compete with the linework. The shoulder blade is forgiving for pigment but touch-ups for the wash may be needed at year three if you want the colors vivid. Wear a loose tank top to the session so the artist can work without fabric tugging. The most common mistake is asking for dense, bright blobs that end up looking muddy as they age.
5. Geometric Hoop with Dot Work on Outer Forearm
Geometric hoop structures paired with stipple shading feel modern and hold detail when you give each element room. During consultation, specify line weight for the outer circle and ask for larger gaps between dots in the center. The main mistake is compressing too many geometric elements into a small hoop, which reads messy over time. Forearm placement sees sun and friction so expect a touch-up around year three if you spend a lot of time outside. For showing off, roll sleeves and wear a linen shirt with the sleeves cuffed so the geometry sits cleanly against neutral fabric.
6. Crescent Moon + Mini Dream Catcher at the Collarbone

A collarbone placement gives a small moon-and-hoop design an elegant horizontal read. Ask the artist for a shallow arch in the web to match the clavicle curve so the piece does not distort with movement. Collarbone tattoos can be more painful because the skin is thin, and sessions usually run under an hour. A common mistake is lining the web too tightly across the bone which causes lines to blur faster. Show this piece with a low-scoop or wide-neck top and a thin chain pendant that sits just above the design for a balanced look.
Studio Day Picks
The wrist, collarbone, ankle, forearm, and shoulder blade pieces above each ask for different session prep and first-week care.
-
Stencil transfer paper kit. Lets you preview the exact placement for tiny hoops and make small alignment fixes before the needle hits skin.
-
Topical numbing cream. Applied per instructions about 30 to 45 minutes before the appointment eases the sting on collarbone and ankle work without affecting linework when used properly.
-
Thin protective film roll. Useful for wrist and finger pieces that rub against clothing during the first few days.
-
Fragrance-free gentle body wash. Keeps healing areas clean without irritating the delicate lines and color washes of small work.
-
Aquaphor healing ointment. Thin layers during the initial phase help lock in moisture for fine-line hoops without suffocating the skin.
7. Tiny Constellation Dream Catcher on a Finger
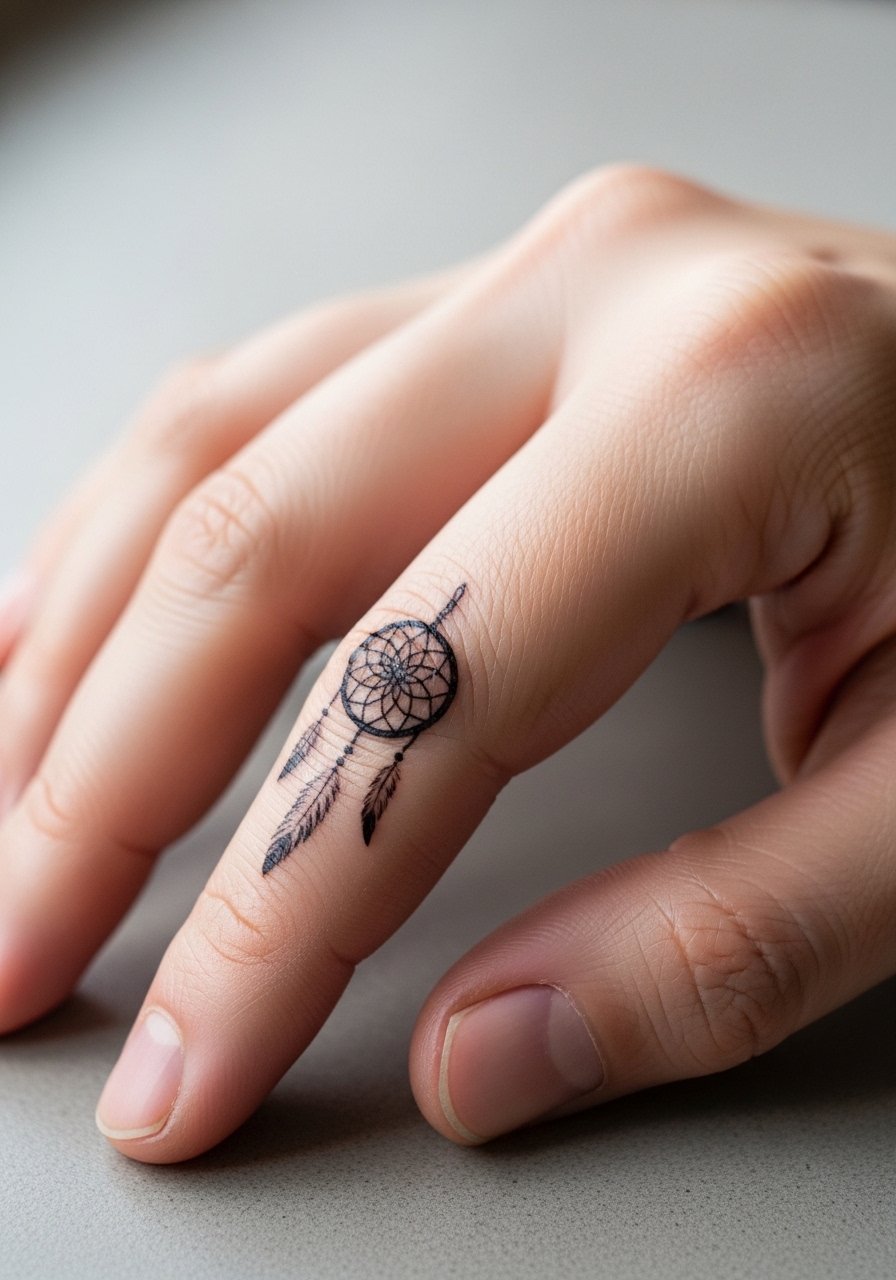
Finger tattoos are notoriously high-maintenance but a micro dream catcher can work if scaled for longevity. Ask the artist for bolder anchor lines around the hoop and minimal interior detail. The big mistake is requesting intricate webbing in a space that sees constant washing and friction. Expect fading and possible touch-ups as soon as year one for finger work. For the session wear short sleeves and bring gloves or a small wrap. To show the tattoo without over-accessorizing, try a single thin stackable ring that complements the hoop.
8. Sternum Micro Dream Catcher with Floral Accents

Sternum placements add intimacy and scale to small dream catchers when paired with subtle florals. The sternum skin moves with breathing so insist on slightly larger spacing in the web to prevent lines merging. There is debate among artists about fine-line on the sternum. One camp says thin lines blur quickly with motion. The other camp says careful depth and spacing keep lines crisp. Ask your artist which side they take and see healed photos of similar placements. Sessions can sting more here and healing needs gentle clothing choices to avoid friction.
9. Ribcage Fine-Line Dream Catcher That Ages Cleaner
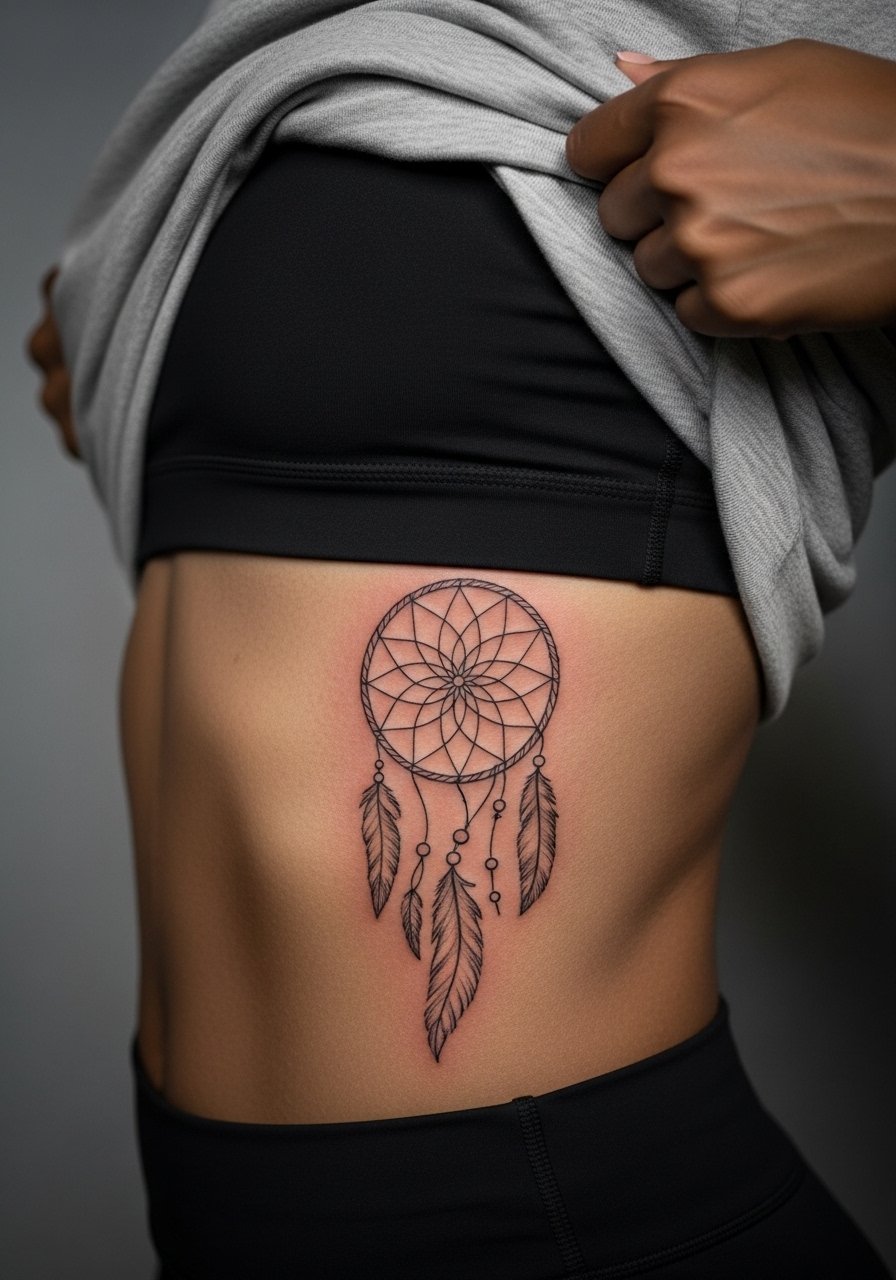
Ribcage dream catchers look striking but they are the classic controversy spot. One group of artists warns that the skin and constant expansion cause fine lines to migrate within two years. The other group says that with precise needle depth and extra spacing the design can hold for years. My recommendation is to size up the hoop slightly, prioritize a clean outer ring, and avoid dense inner detail. Sessions hurt more on ribs and you will need breaks. Expect a touch-up window around year two to three for fine-line rib work.
10. Tiny Blackwork Dream Catcher Behind the Knee
Behind-the-knee placement gives a hidden, playful spot for a small blackwork hoop. Because the area creases when you bend the leg, ask for simpler inner webbing and a robust outer line to prevent distortion. Pain varies with mobility during the session, and the skin there is thinner than the calf so expect sharper sensations. For the appointment wear loose shorts or athletic shorts that can be shifted without rubbing. The most common mistake is overcomplicating the web for a zone that folds repeatedly, which forces early touch-ups.
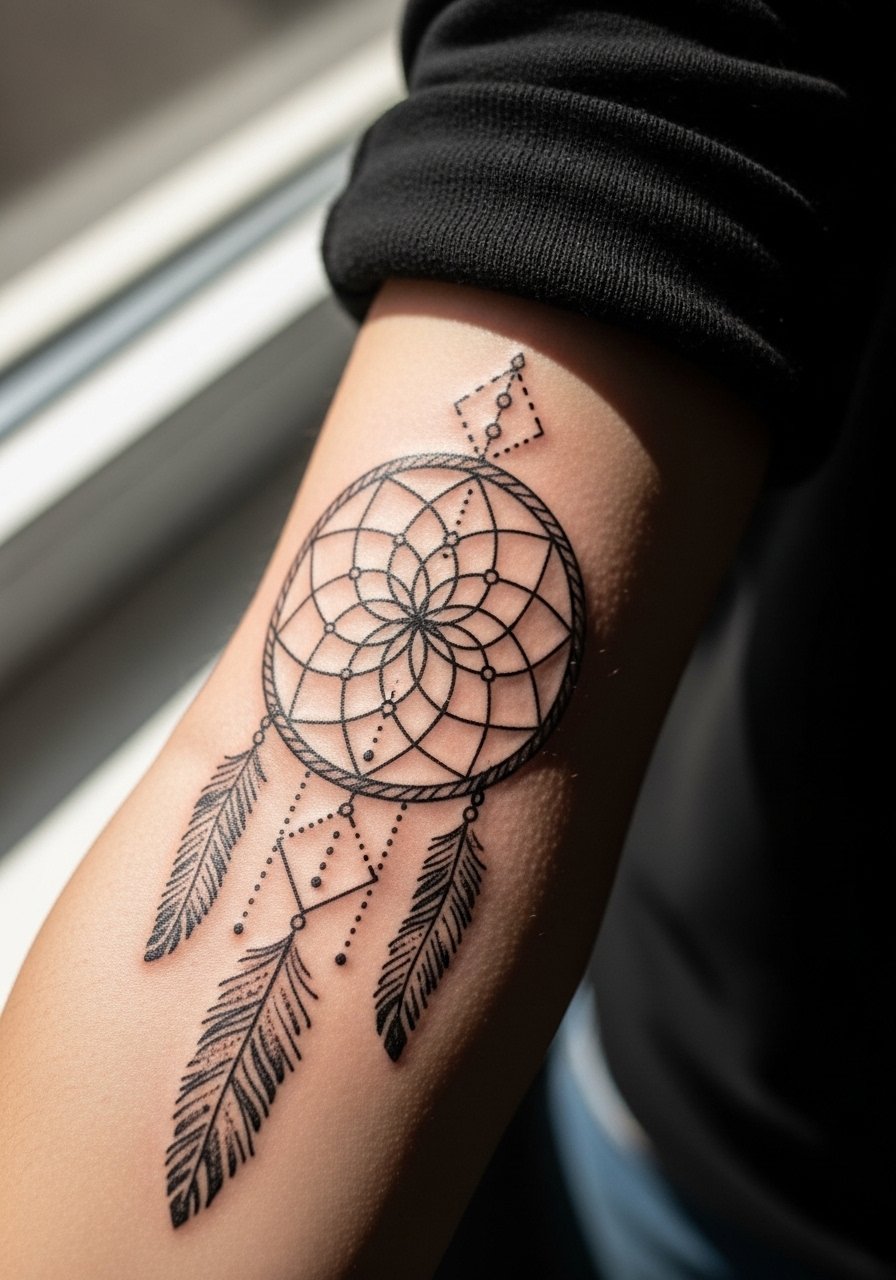
11. Single Feather Dream Catcher on Inner Bicep
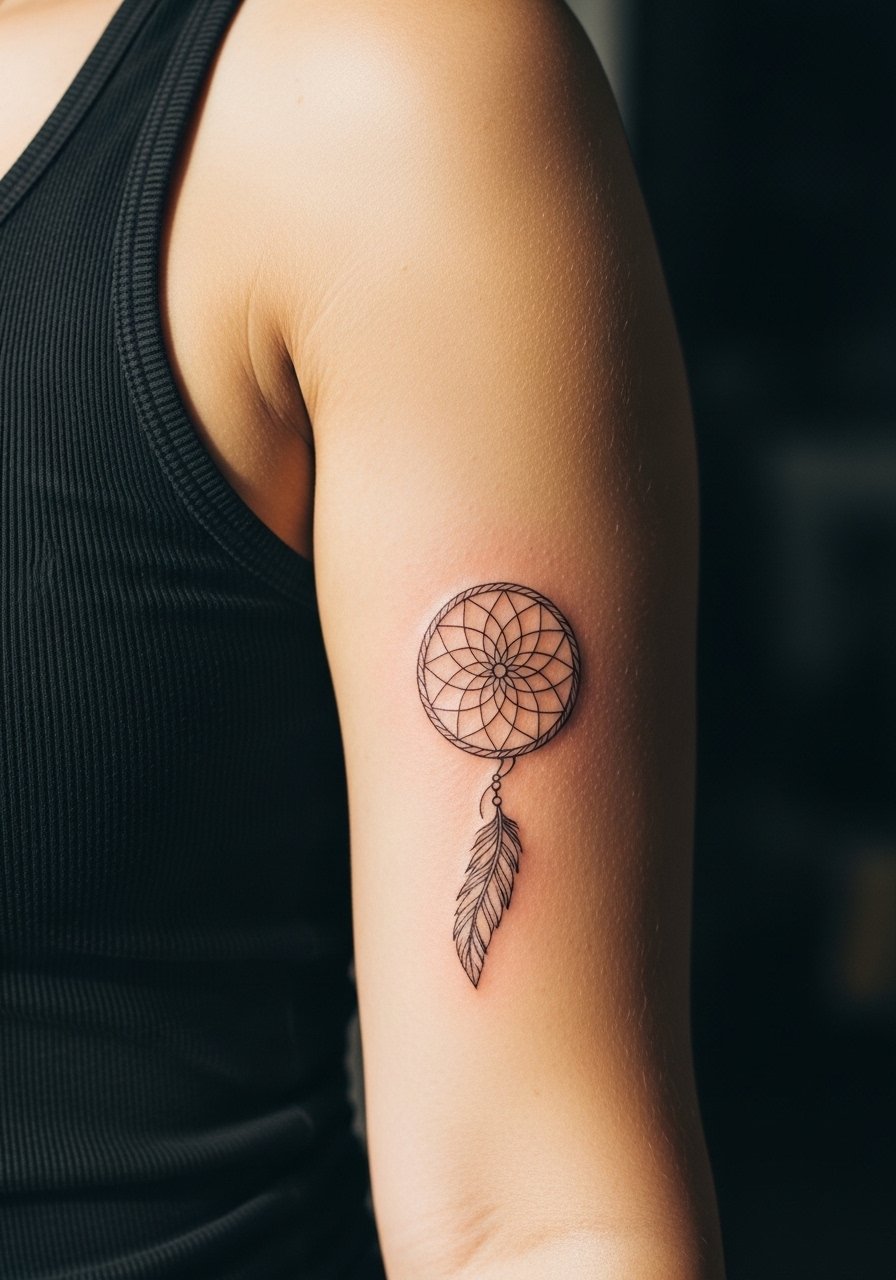
The inner bicep holds detail well because the skin is softer and stretches less in everyday use. During consults I suggest asking for stipple shading inside the hoop rather than heavy black fills, which keeps the piece airy and less likely to clog. Sessions here are moderate pain and usually under an hour for small hoops. For the appointment wear a loose tank and bring a zip-up hoodie to throw on after without pulling fabric across the fresh ink. Expect solid longevity with touch-ups around year three if you want the feather crisp.
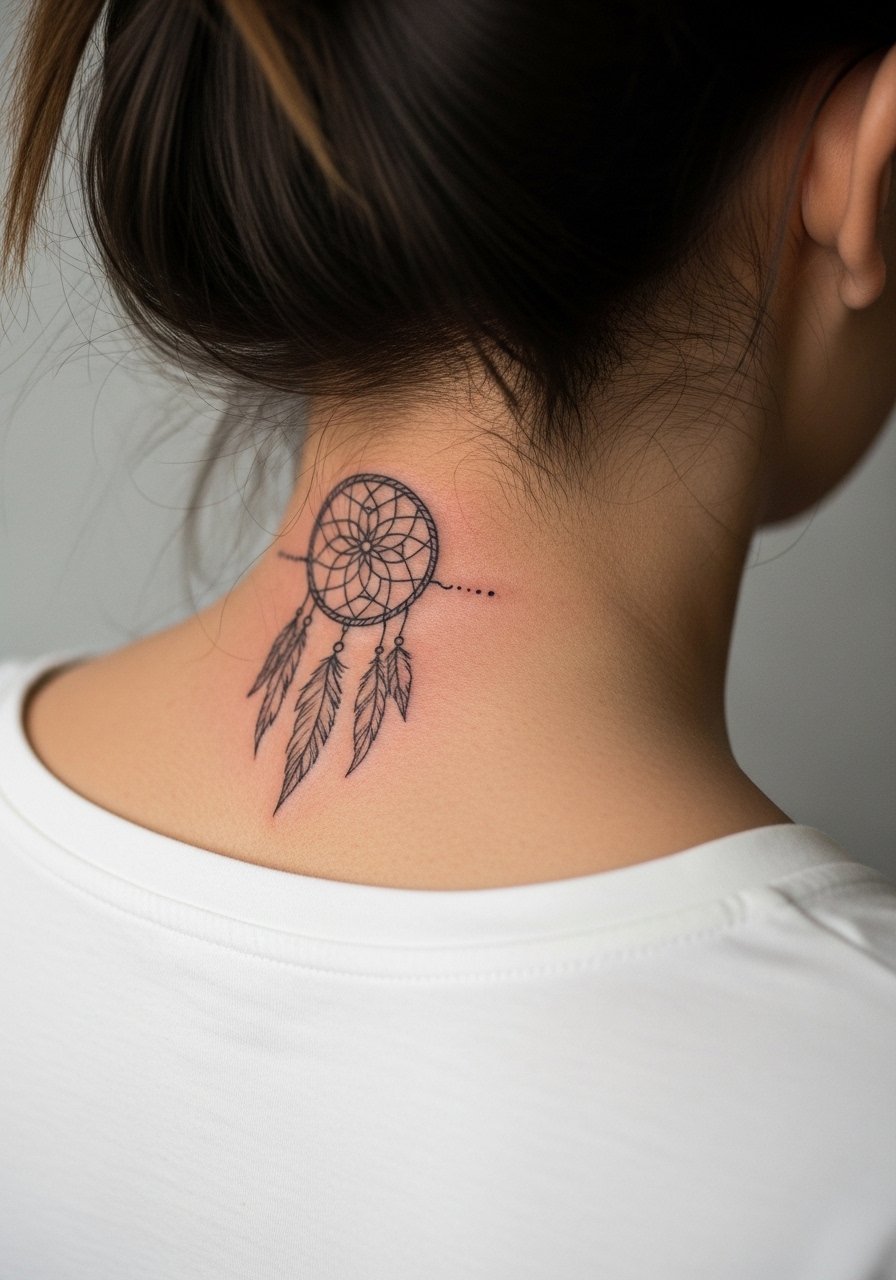
12. Delicate Chain-Link Dream Catcher at the Side Neck
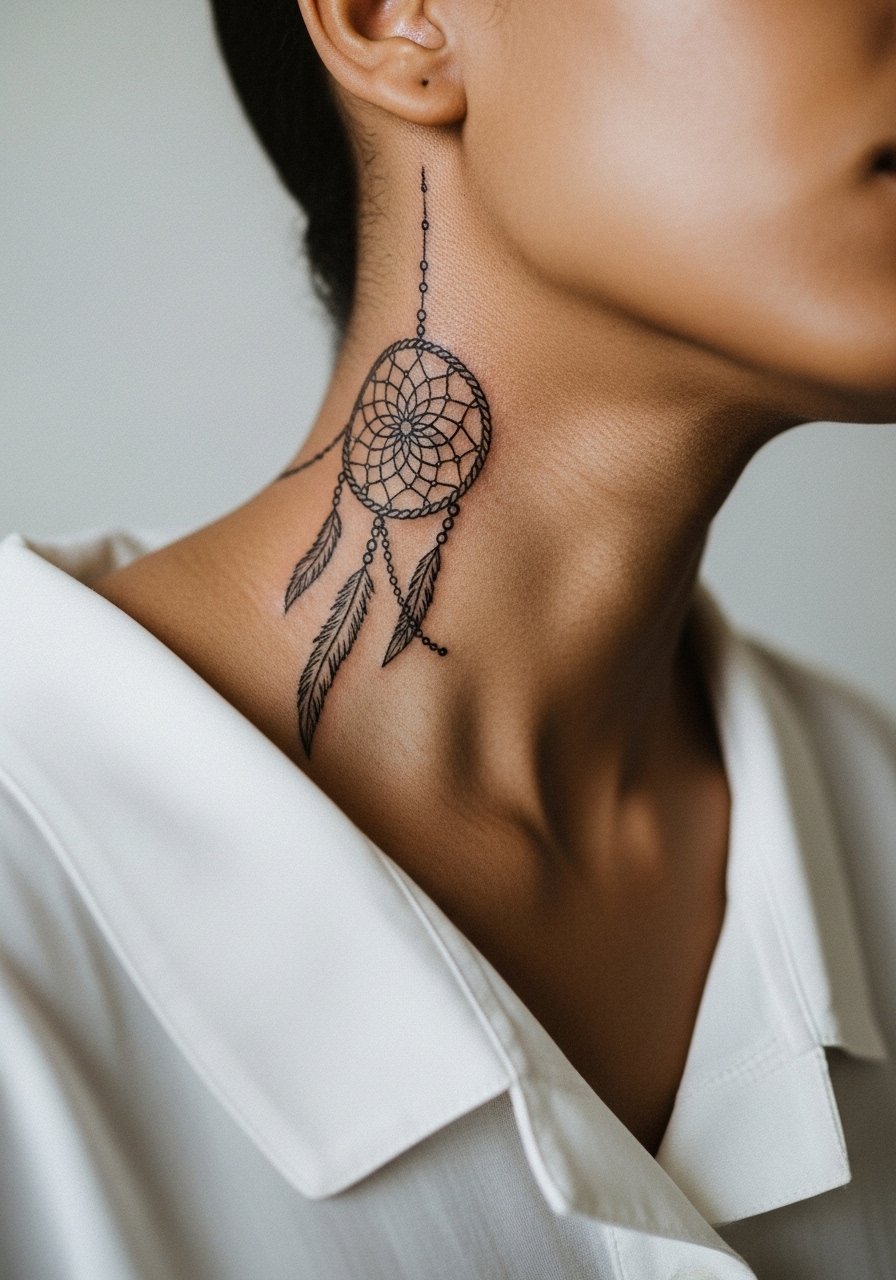
Neck placements read bold even when the tattoo is small. For a chain-link hoop at the side neck, ask the artist to slightly thicken the outer circle and avoid micro hairline webbing. There is real debate about tiny neck lines. One camp says they blur with skin movement and sun exposure. The other camp says if you respect spacing and depth, neck lines hold. If your job tolerates visible ink this can be a great small piece. For sessions wear a button-down you can pull aside easily and expect higher sensitivity around the area.
13. Tiny Mandala Wrap Dream Catcher Around the Ankle
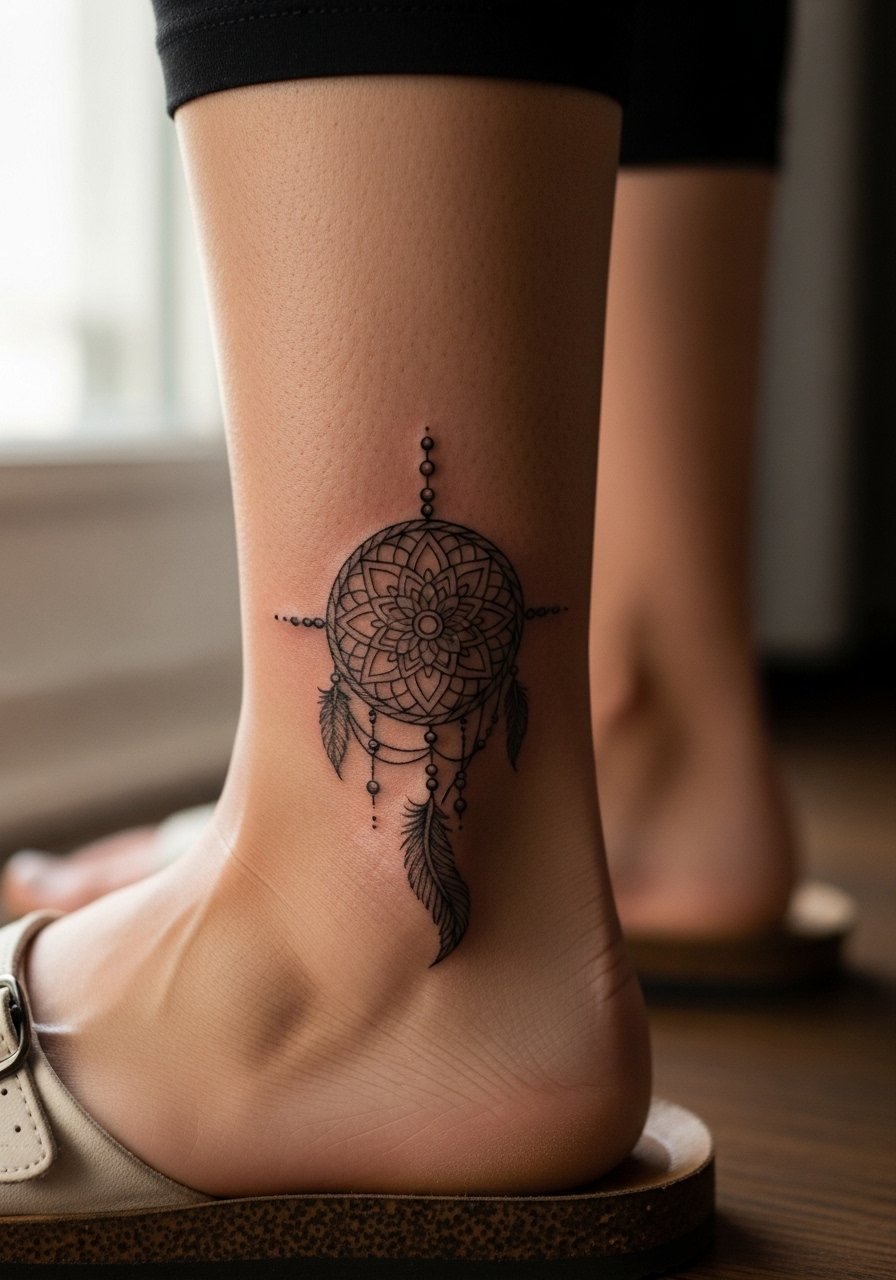
A wrap-around mandala dream catcher gives the illusion of a band without heavy saturation. Ask for consistent spacing and a slightly bolder outer ring to read clearly from different angles. Ankles face friction from socks and shoes, so plan for a conservative size and expect fading faster than on the forearm. For the session wear slip-on sandals and bring a pair of no-show socks to keep your shoe choice simple during healing. Touch-ups often happen between year one and two for ankle pieces that see a lot of wear.
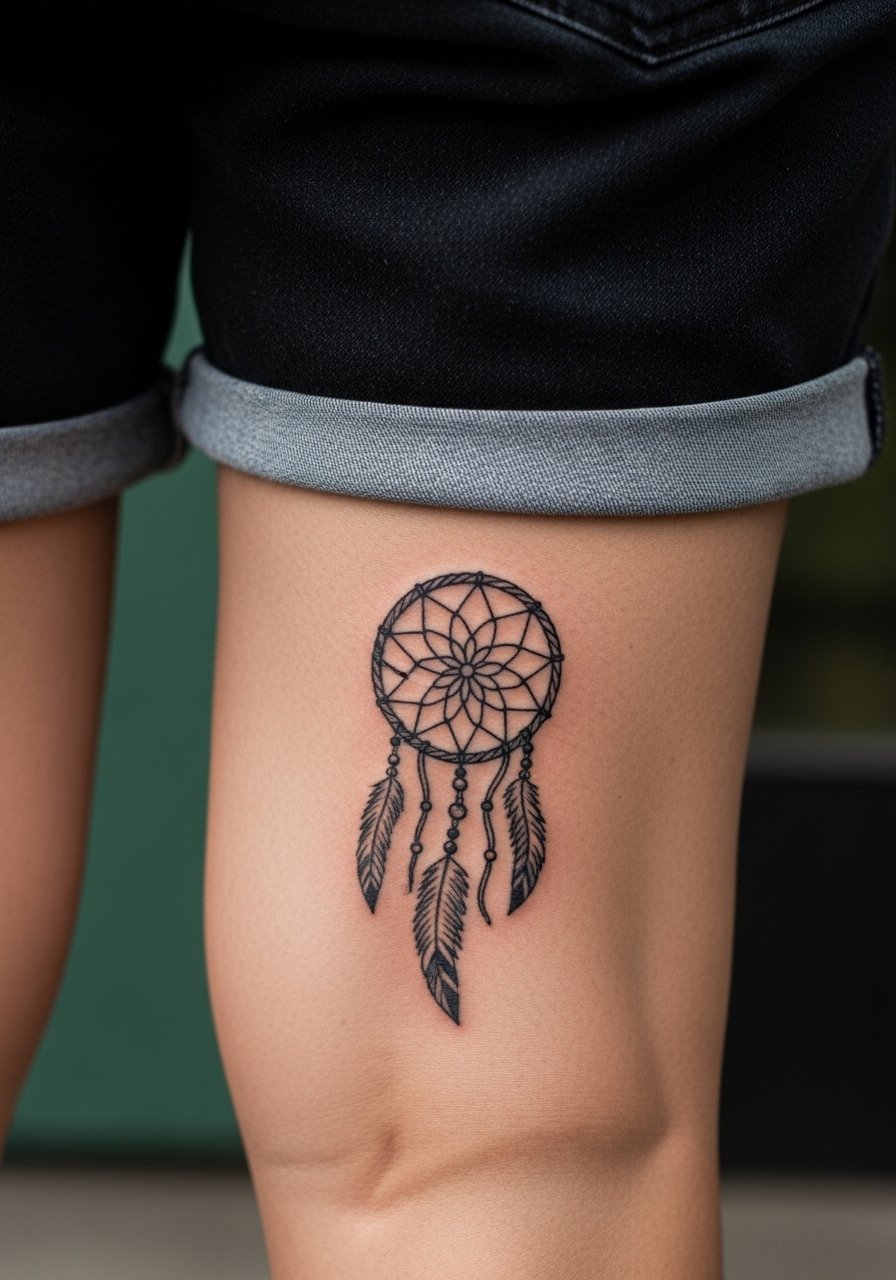
14. Dotwork Half-Moon Dream Catcher on Calf
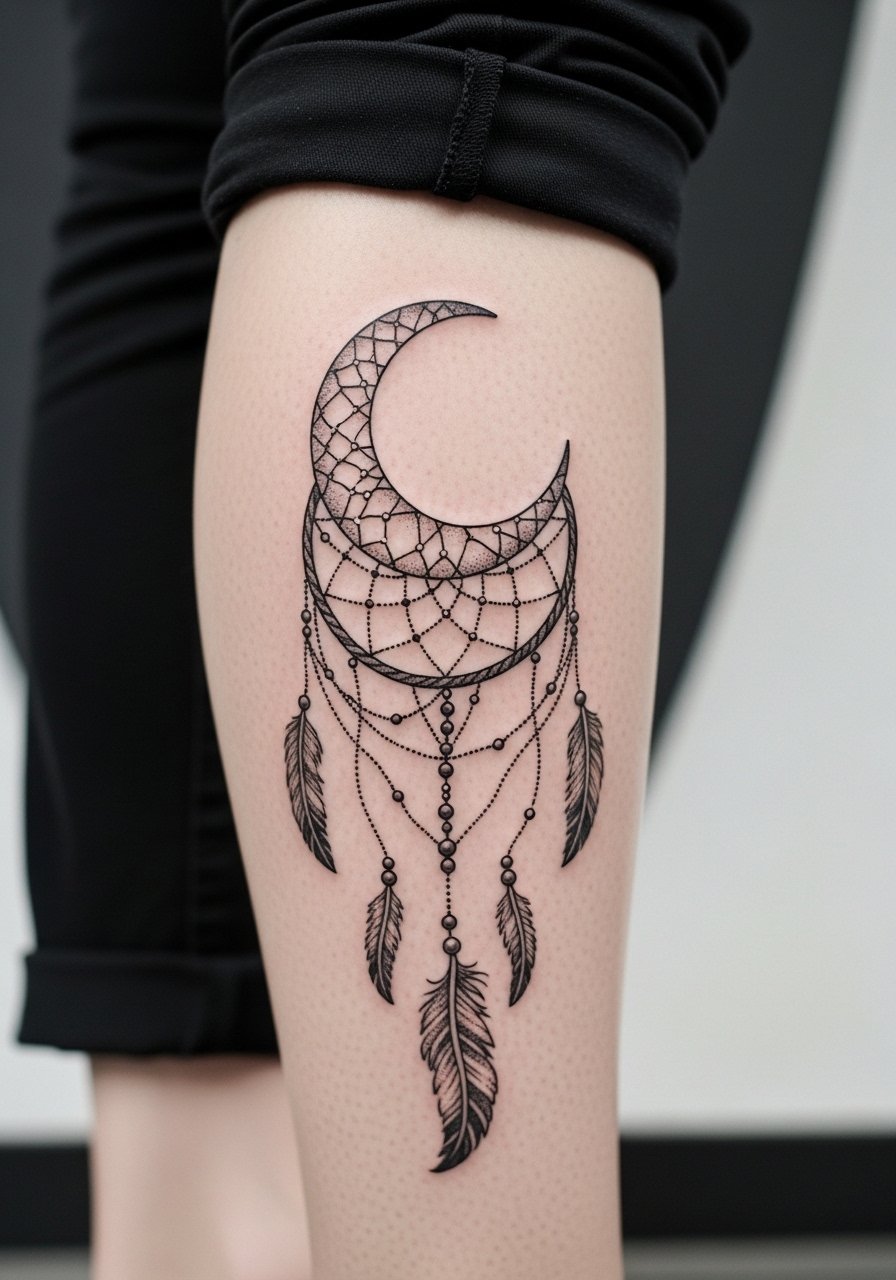
Calf placements let dotwork breathe and display nicely in shorts. For this half-moon variant, ask the artist for graduated stippling density so the center never becomes a heavy mass. The calf is a forgiving canvas and pain is usually low to moderate, which helps you sit through a slightly longer session if needed. To show the piece, pick cropped or rolled pants and pair with a low-top sneaker or sandals. The worst mistake is compressing heavy dot clusters into a small area which flattens as it heals.
15. Micro-Realism Dream Catcher with Tiny Beads on Shoulder Cap
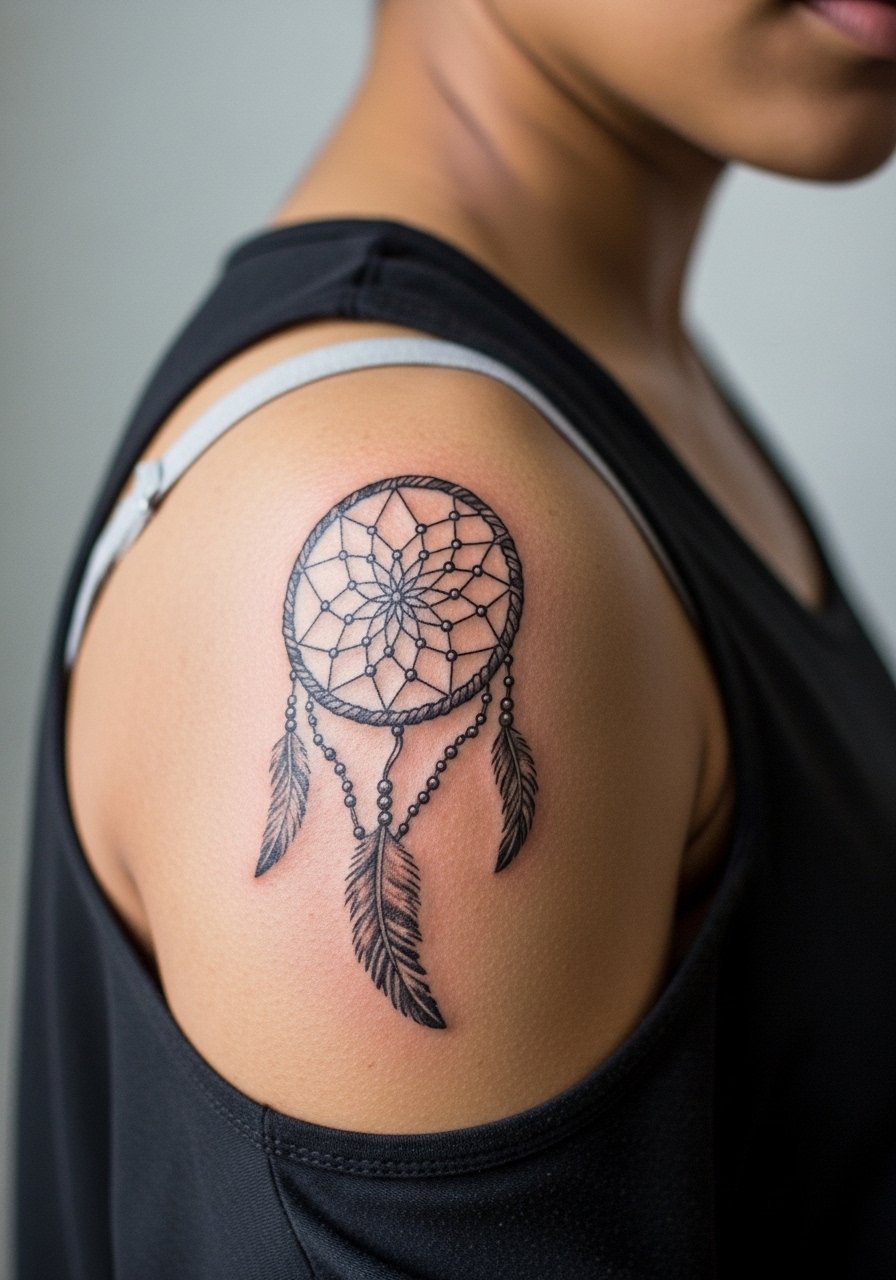
Micro-realism dream catchers translate well on the shoulder cap because the area allows slightly larger scale while remaining wearable. Ask for reference photos that show bead reflections and insist on a sample of healed work in a similar size. The session is low to moderate pain and the area heals predictably. For the appointment wear a loose button-down shirt you can slip off without dragging across fresh ink. The common mistake is pushing too much tiny contrast into a small piece which can end up looking muddy once healed.
16. Script Anchor with Tiny Dream Catcher on the Rib Side
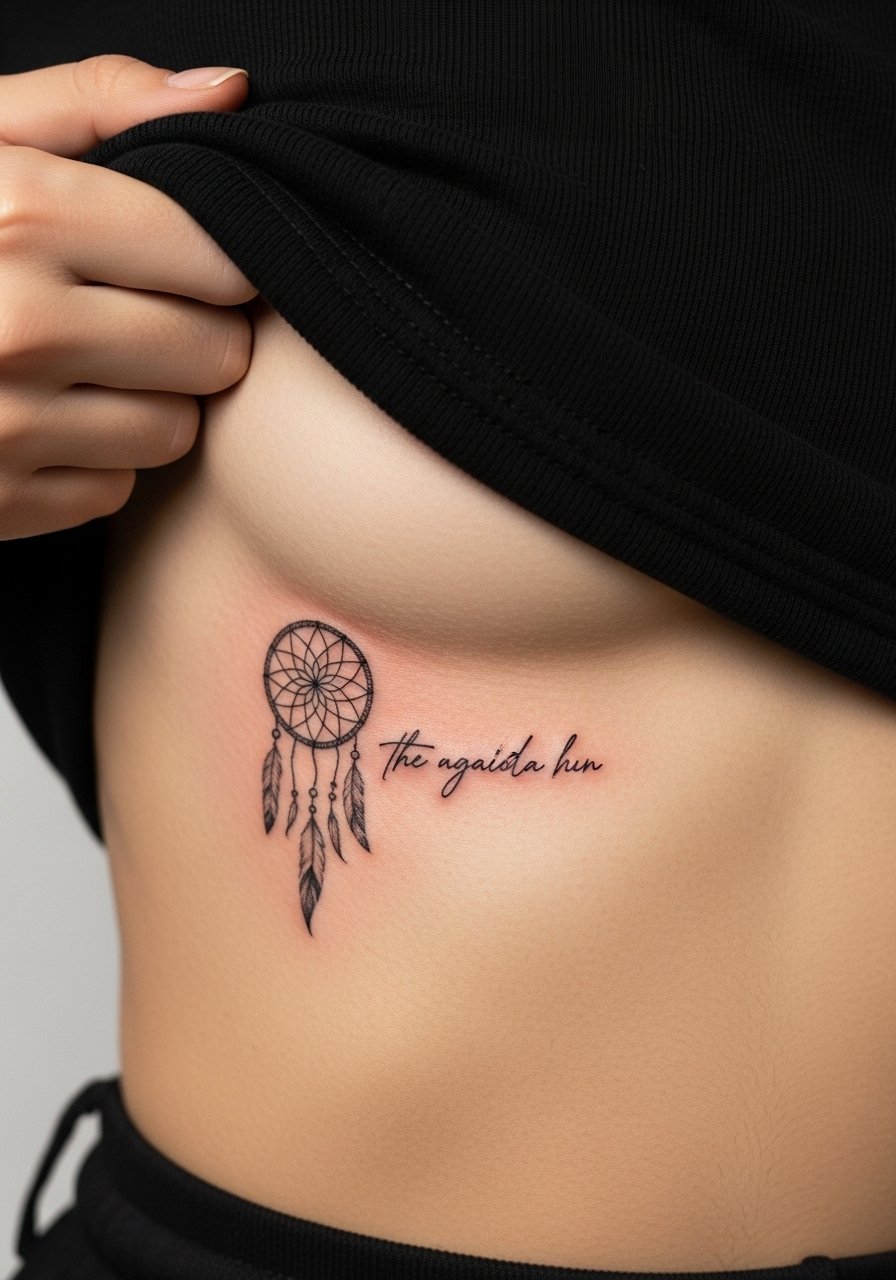
Pairing a short word or date with a small dream catcher works on the ribs when you keep each element simple. Script near the hoop needs generous spacing to avoid the letters eating into the web. The same rib controversy applies here. One camp says fine script and web on ribs blur quickly. The other camp says scaled spacing and precise depth make it viable. The session is uncomfortable for most and healing needs loose, soft clothing. A realistic plan is to expect a touch-up in two to three years if you want the lettering and web tight.
17. Wrapped Wristband Dream Catcher
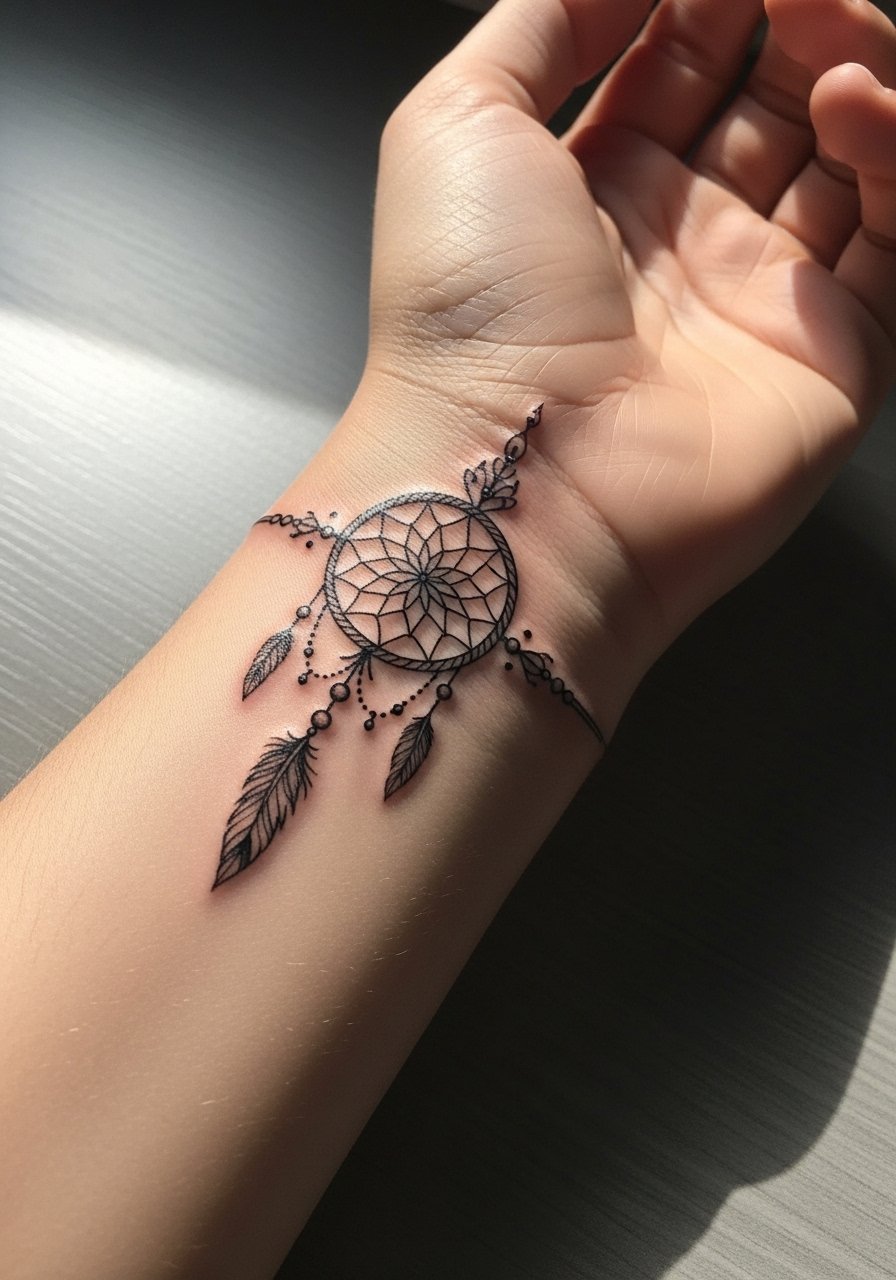
A wristband wrap reads like jewelry and makes a tiny dream catcher feel intentional. For longevity ask for a slightly thicker outer band and avoid tiny internal flourishes. The wrist sees a lot of movement and washing so friction is the main enemy. Plan for a short session under an hour and expect a light touch-up by year two if you wear watches or bracelets that rub the area. To show the piece without crowding it, try a minimalist watch or a single slim cuff bracelet that sits above or below the tattoo.
18. Open-Back Shoulder Blade Dream Catcher with Longer Feathers
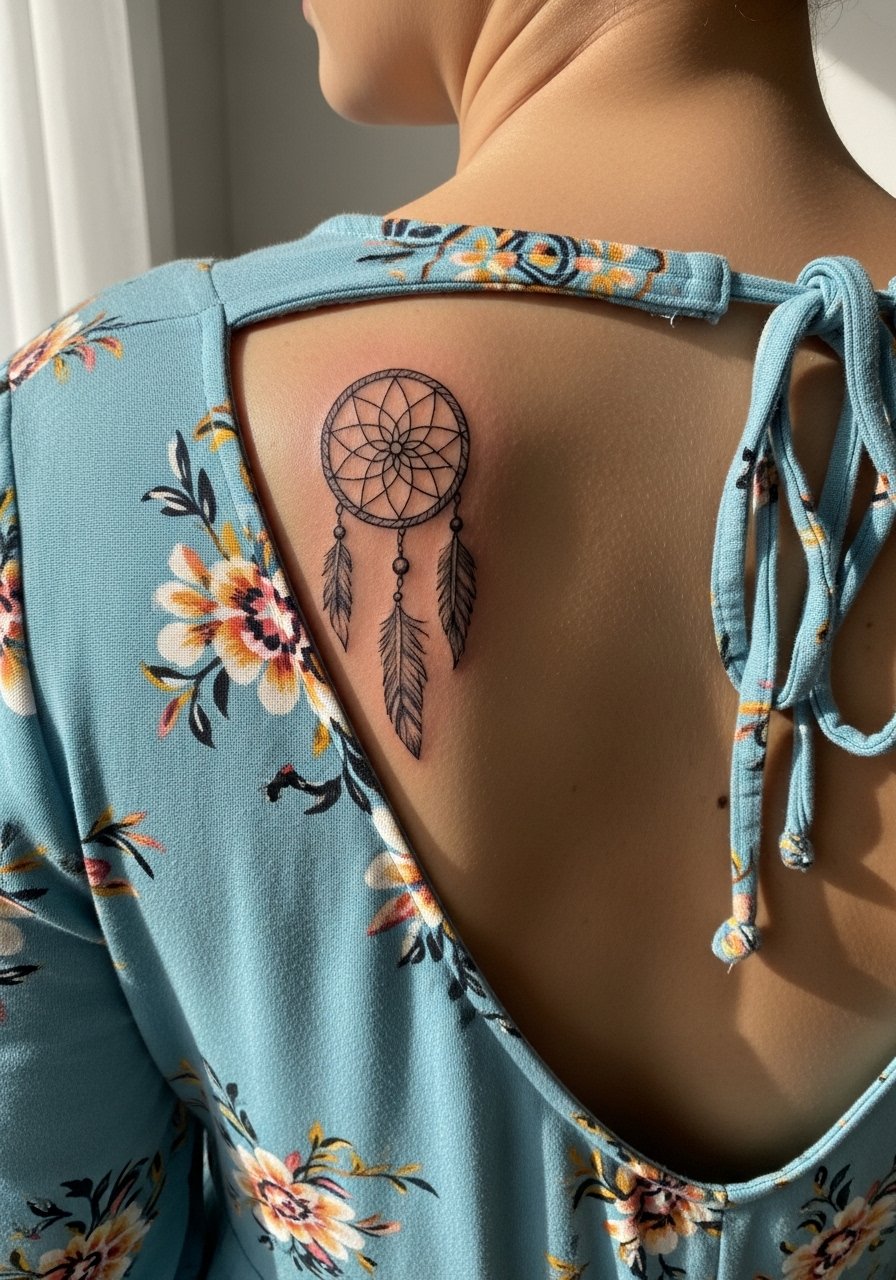
An open-back friendly placement lets longer feather details show without interfering with clothing. Ask the artist to anchor feather barbs with small negative space gaps so they do not blend during healing. Shoulder blade work is relatively low pain and holds detail well because the area does not see daily friction. For evenings out wear open-back dresses or tops and consider a simple strappy midi dress that frames the tattoo. The common error is overloading the feather with tiny linework that disappears after a year.
19. Edge-Hand Mini Dream Catcher on the Side of the Palm
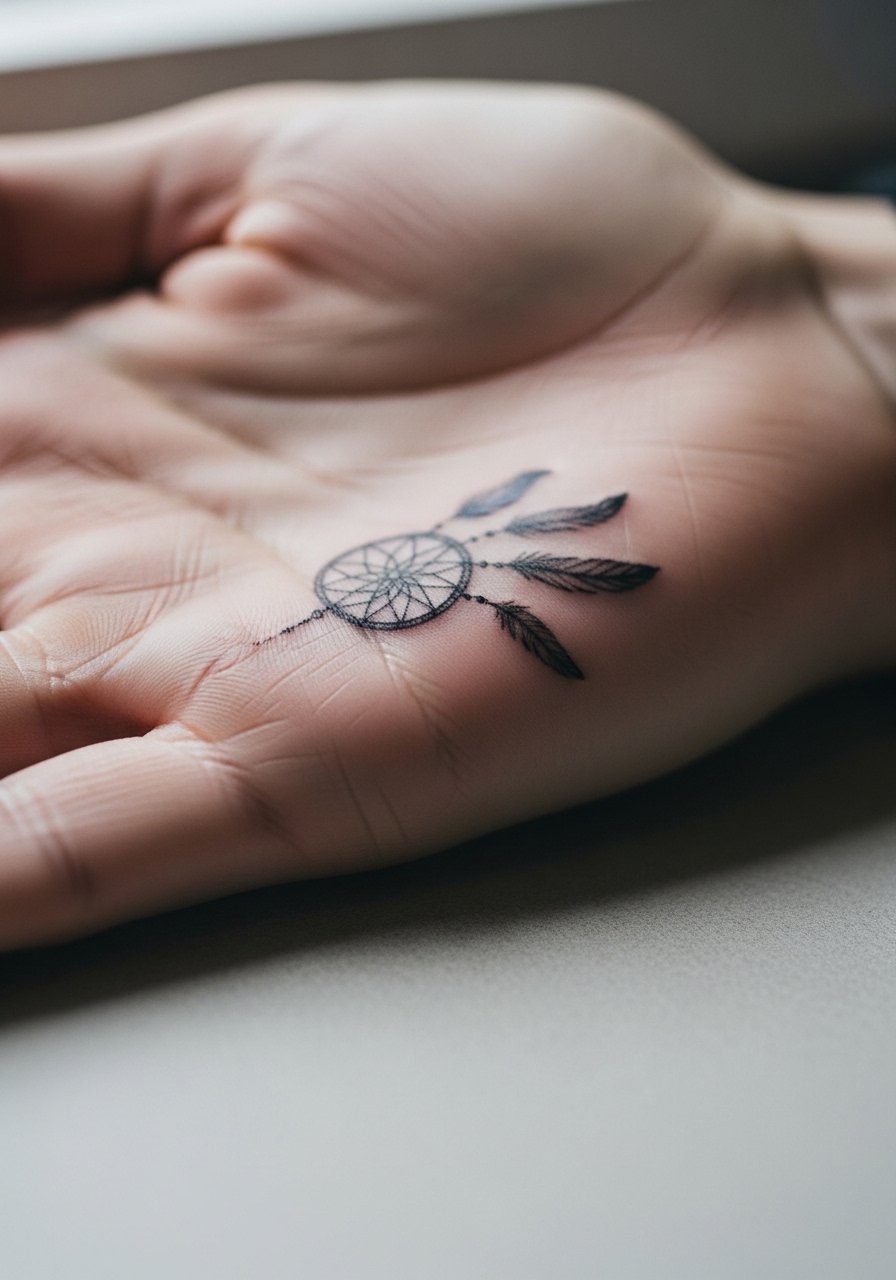
Hand-edge placements are visible and practical for tiny designs but they carry faster wear. Ask your artist for bolder anchor lines and expect the interior web to soften quickly. The frequent mistake is treating this like forearm work and requesting hairline details that are impossible to keep crisp. Sessions on the hand are more painful and many shops limit hand work for that reason. Consider this a high-touch area and budget mentally for touch-ups within one to two years.
20. Inner Thigh Small Dream Catcher with Lace Accent
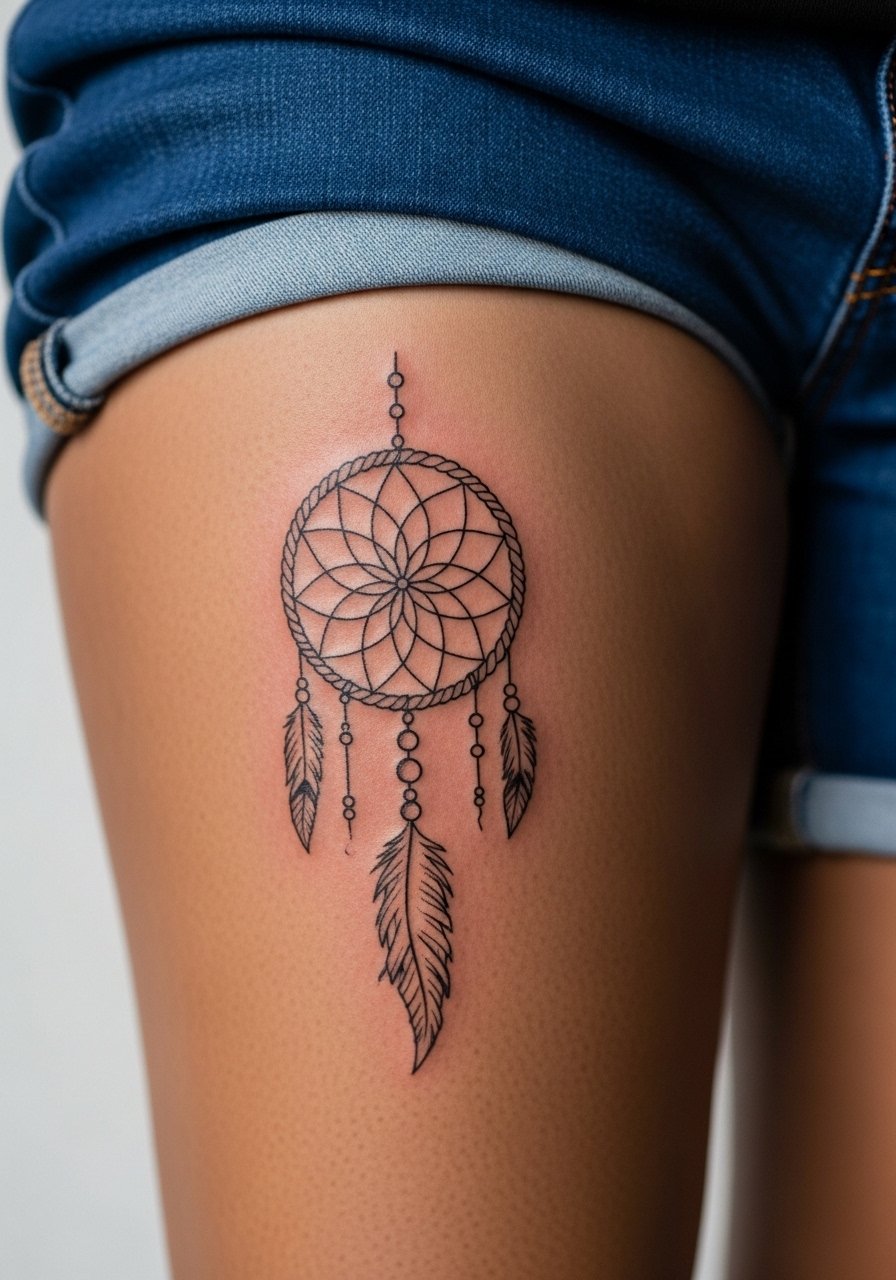
Inner thigh is a great canvas for privacy and slightly larger scale. For small lace accents around the hoop ask for open negative spaces so the pattern does not compact as the thigh moves. The skin here tends to keep ink well but sessions can be sensitive depending on proximity to the adductor. For the appointment wear loose shorts you can shift easily and avoid tight waistbands afterward. The main mistake is over-detailing in the lace which can flatten into a smudge when compressed against fabric during healing.
21. Tiny Hairline Dream Catcher Just Below the Hairline
Placed just below the hairline the dream catcher reads like a secret accessory when your hair is up. During consults ask for slightly bolder structural lines in the hoop so the interior can be airy without losing shape. Keep in mind that sun exposure at the nape is lower, which helps longevity, but washing hair can tug at scabs so adjust your hair-washing routine for the first week. Expect the session to be short and to require careful clothing choices so fabric does not rub the fresh ink.
Frequently Asked Questions
Q: How long will a small fine-line dream catcher on the wrist stay readable?
A: It depends on your sun exposure and daily friction. In my experience a cleanly spaced wrist hoop can look sharp for one to three years before you consider a touch-up, and thicker outer ring lines extend that window. Protect it from direct sun and avoid abrasive bracelets during healing.
Q: Are ribcage dream catchers worth the pain given the risk of blurring?
A: The trade-off is real. One camp says ribs distort fine lines quickly. The other camp says careful spacing and depth keep the design intact. If you want ribs, size up slightly and ask to see healed photos of similar work from your artist, then plan for a touch-up in a couple of years if needed.
Q: What should I wear to a collarbone or sternum session to make the artist's life easier?
A: Wear a wide-neck top that you can pull aside without removing. For sternum work a fitted sports bra lets the artist work while keeping you covered. A wide-neck shirt that is easy to adjust is a simple, practical choice.
Q: Do finger and hand dream catchers heal differently than forearm ones?
A: Yes. Fingers and hands face constant washing and friction which accelerates fading. That means more frequent touch-ups and acceptance that the lines will soften faster than on the forearm.
Q: What are three questions to ask in my consult for a tiny dream catcher?
A: Ask to see healed photos in the same size and placement, ask how they space interior webbing for longevity, and ask about their touch-up policy for small work. Those specifics tell you more than general portfolio shots.
