
Fine line work is everywhere on fan boards, but the tattoos that still read clear after five years are often the ones planned with aging in mind. Trend pieces can look amazing fresh and then soften. If you want a Thorne of Glass inspired tattoo that keeps its character, think placement, spacing, and how you’ll show it off—start with the forearm piece below to see what I mean.
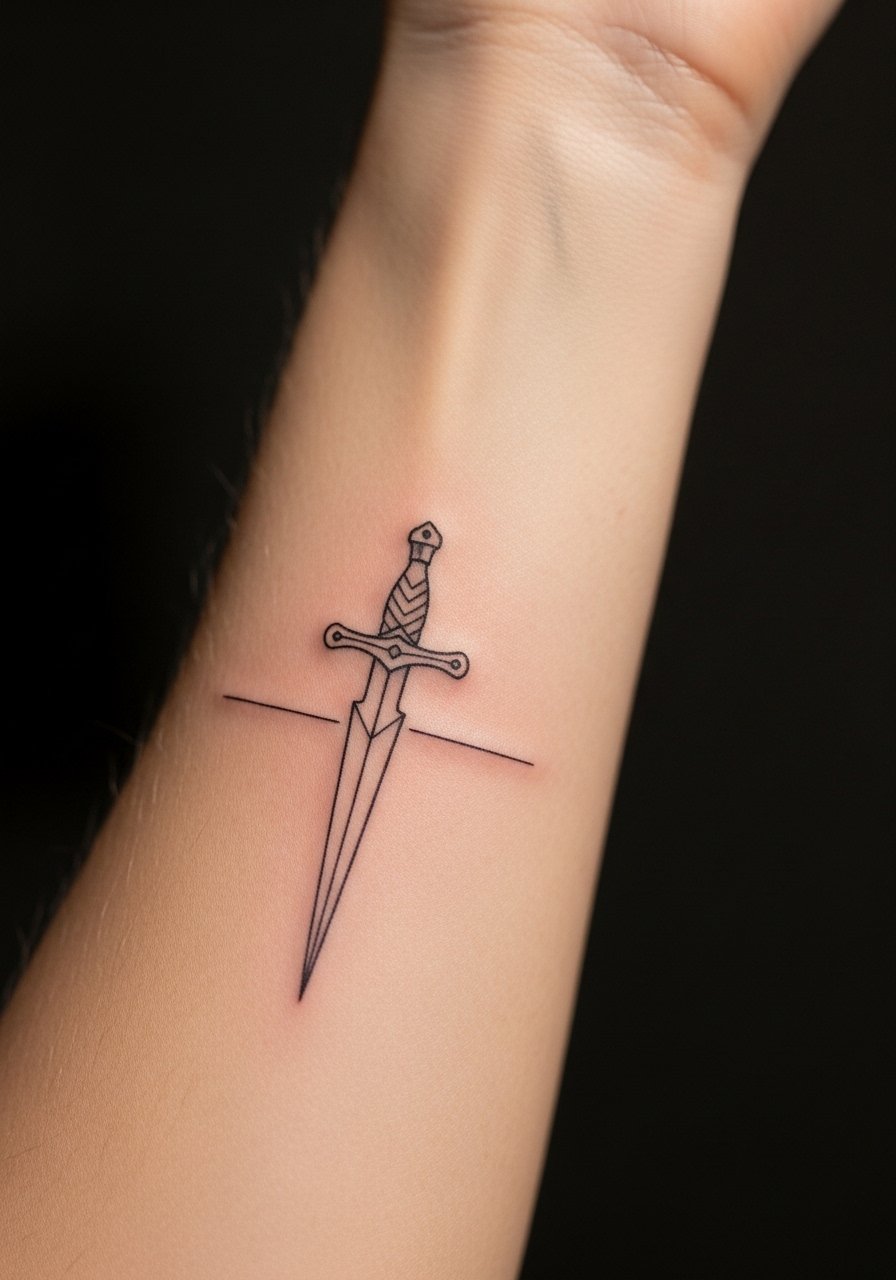
1. Slim Blade on Inner Forearm
A slim dagger or ceremonial blade in fine line reads elegantly on the inner forearm. I recommend slightly bolder main contour lines with delicate internal dot work, because razor-thin outlines can disappear into the skin over time. Tell your artist you want one clean outline with stipple shading inside, not a cluster of micro strokes. Expect a 3 to 4 on pain and a single 90 to 120 minute session depending on size. Avoid placing the point too near the wrist where daily friction from cuffs and watches speeds fading. For showing it off, pair with a rolled-up linen shirt so the forearm sits visible without sleeves crowding the piece.
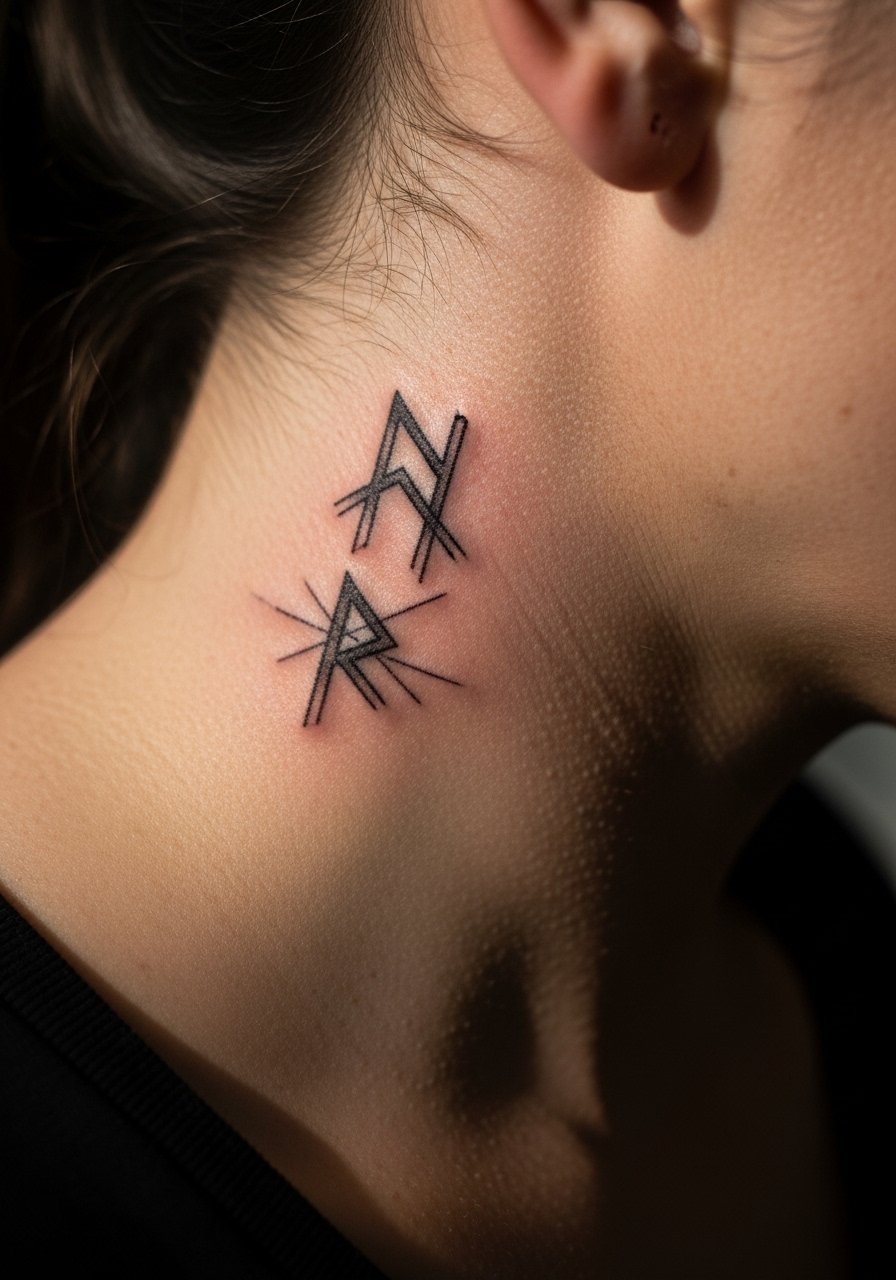
2. Wyrdmark Cluster Behind the Ear and Neck
Tiny runic or wyrdmark clusters that continue behind the ear work best when they wrap slightly onto the side neck. For safety in imagery, show them on the skin behind the ear, below the hairline on the neck. Keep symbols spaced and avoid cramming multiple glyphs in a tiny area, or the details will merge by year two. This placement is a 4 on pain scales for most people and often done in single short sessions. Artists are split about very fine script that close to the hairline. One camp says skin stretch ruins precision quickly. The other camp says careful spacing and consistent depth keeps it legible for years. Follow the conversation in consultation and decide which side the artist sits on.
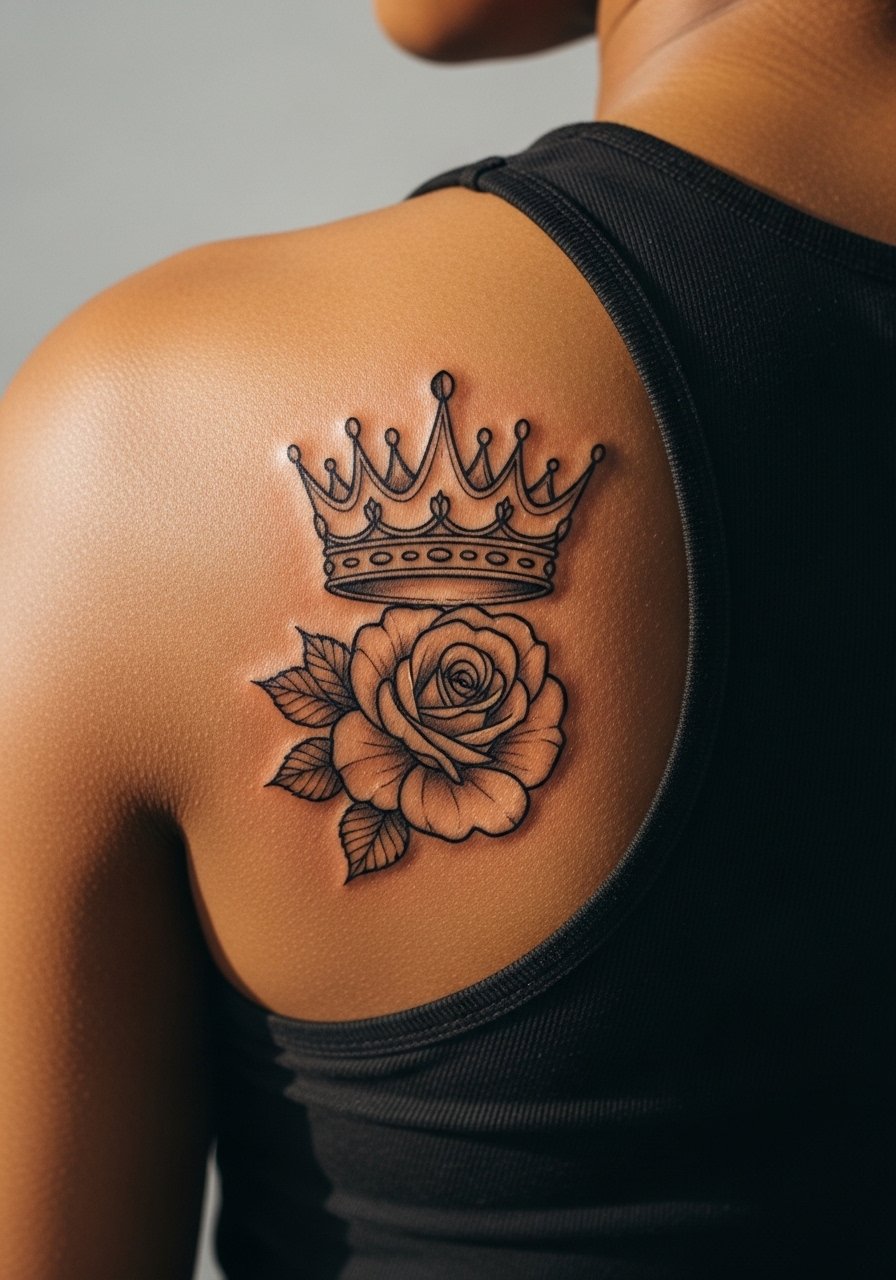
3. Crown and Rose on the Shoulder Blade
A small crown paired with a rose reads classic when placed on the shoulder blade. The area gives the artist room for slightly larger spacing, which helps saturated black hold longer than the same piece on a wrist. Pain is usually low to moderate and sessions run 90 minutes for a compact design. Ask for slightly heavier linework on the crown rim and stipple shading in the petals instead of soft watercolor fills that tend to blur. When showing a shoulder blade piece, an open-back top frames the work well. Try an open-back midi dress for evenings out.
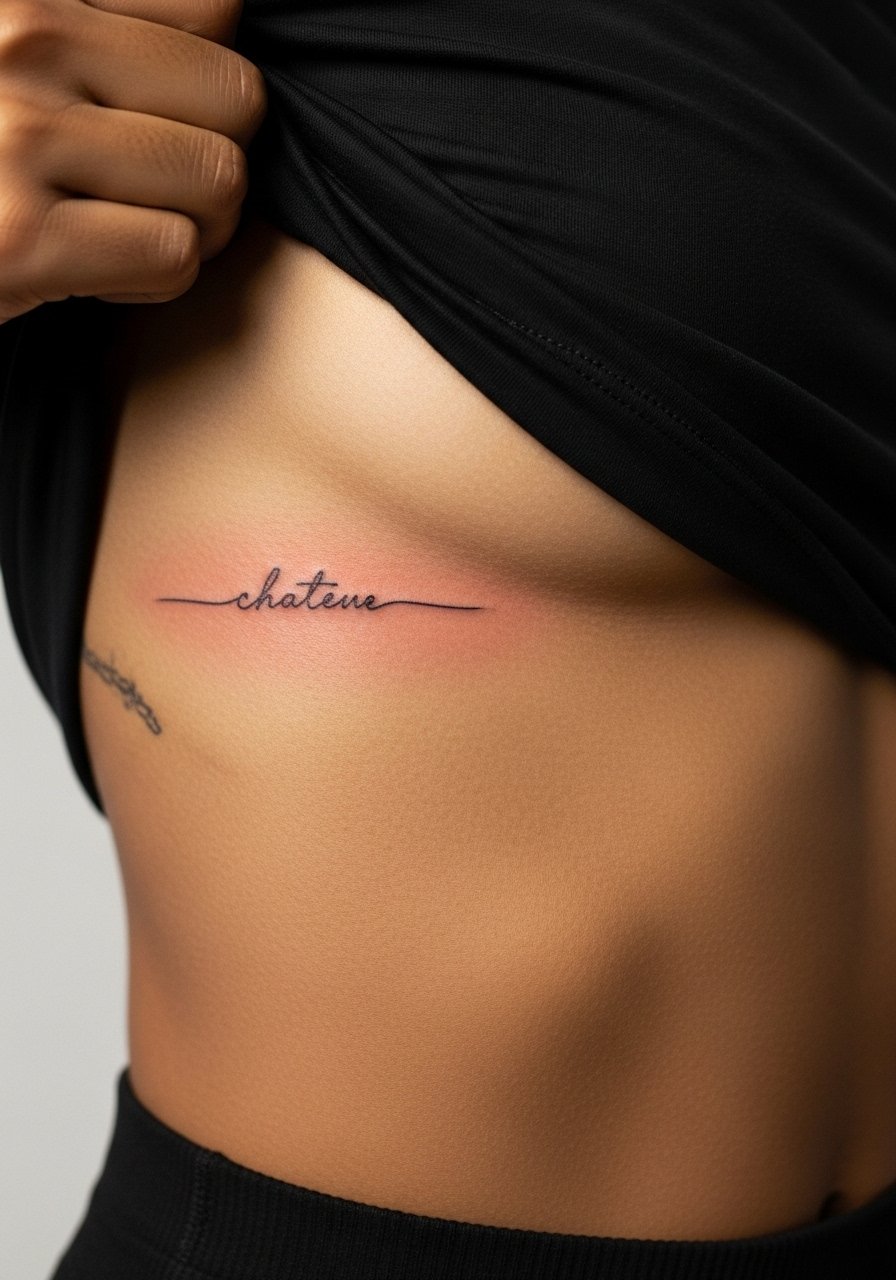
4. Thin Script Along the Ribcage
A short quote or meaningful word along the ribcage looks intimate, but the skin there shifts and breathes differently. Fair warning, the ribcage is often a 7 out of 10 on pain scales. For longevity, keep letter spacing generous and the lettering weight slightly fuller than typical fine script. One common mistake is requesting a hairline type size that blurs within two years. Two camps argue about fine line on ribs. One says the skin stretch blurs lines in short order. The other says experienced hands with deliberate depth can make it settle fine. During consultation ask where the artist stands and request a slightly larger size to preserve legibility.
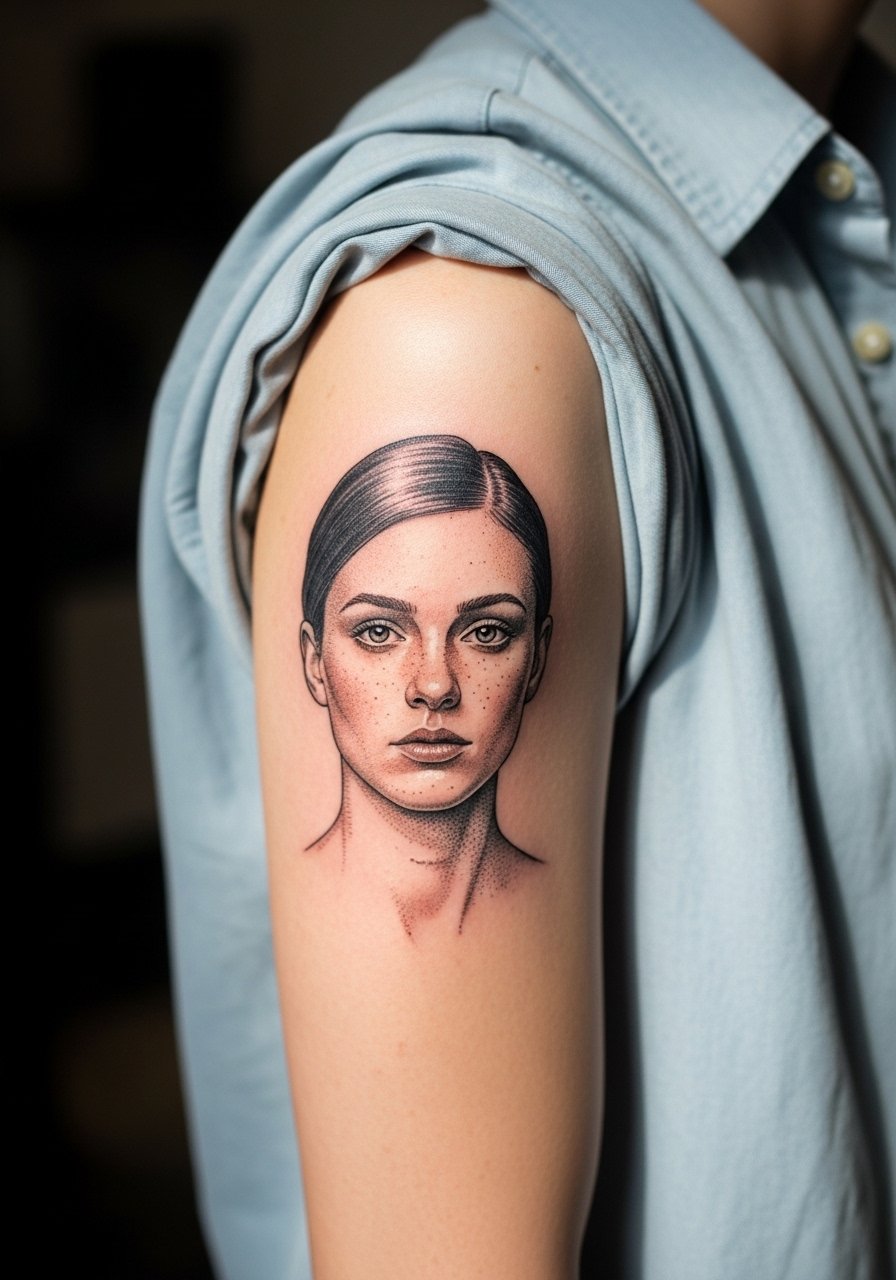
5. Miniature Portrait on the Upper Arm
A micro-realism portrait of a favored character or scene works well on the outer upper arm. This placement tolerates more detail than fingers or wrists, and it ages better because the skin is thicker. Expect a 2 to 3 hour session for a small portrait and a touch-up at year two is common for saturation. Tell your artist you want selective contrast, not an ultra-fine grey wash across the whole face. The mistake I see most is asking for maximum micro detail at very small scale. Scale up slightly and keep the darkest points defined for staying power. For easy session access, wear a loose button-down shirt you can roll or pull aside.
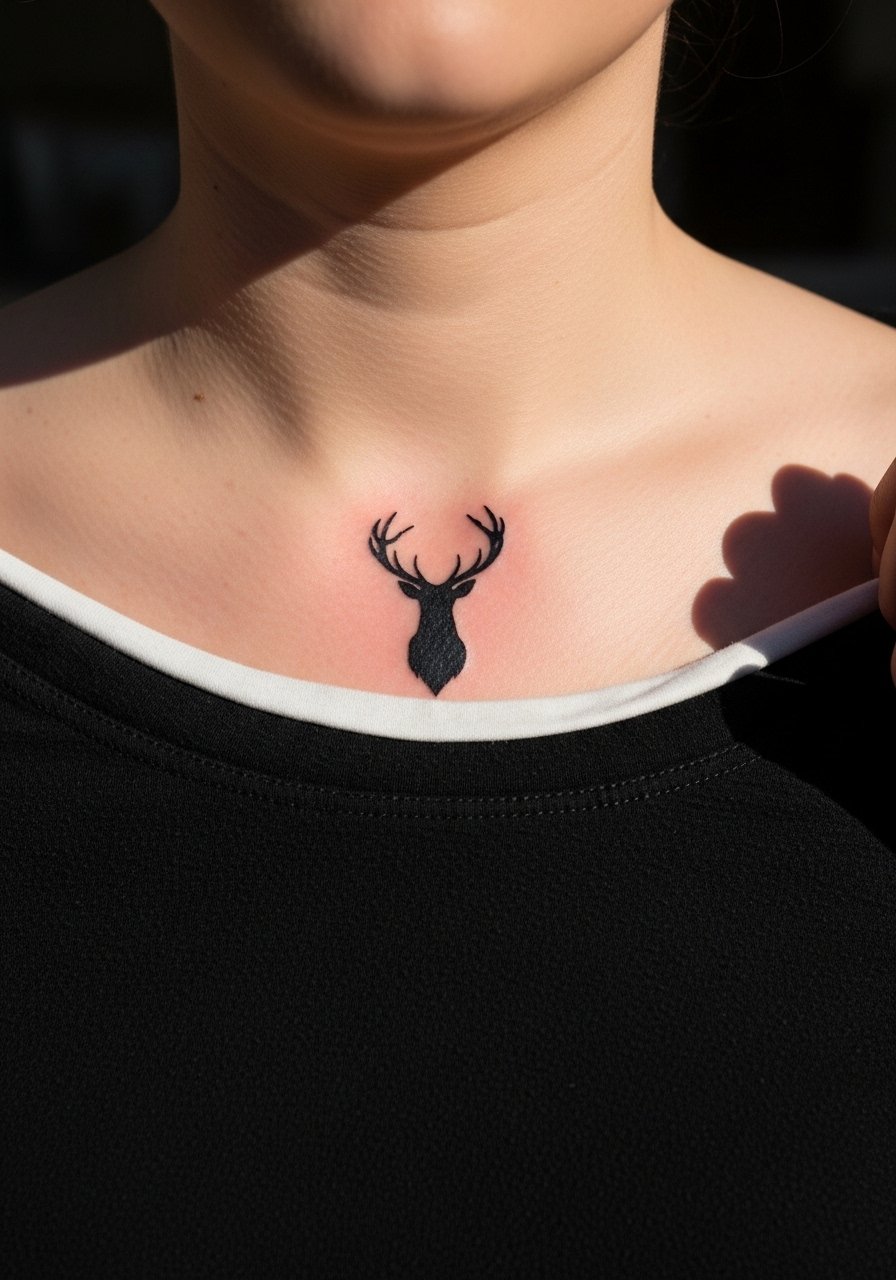
6. Stag Silhouette Over the Collarbone
A bold black silhouette of a stag placed just above the collarbone uses negative space to stand out. Collarbone work reads differently on different bodies. Ask for slightly heavier outlines so the silhouette keeps its edge when skin movement smooths softer fills. Pain is moderate and sessions are usually under two hours. A common mistake is centering the design too close to the throat or the shoulder joint. For wearing it casually, a thin chain pendant necklace sits just above the shape without competing for attention.
Studio Day Picks
Those first six designs include sensitive and high-friction areas like wrist, rib, and collarbone, so a few studio-day choices make the session easier and protect the piece in the first week.
- Stencil transfer paper kit. Lets you preview placement on skin, which is helpful for the collarbone and forearm layouts above.
- Topical numbing cream. Applied an hour before can ease wrist and ribcage discomfort without changing the artist's linework.
- Thin protective film roll. Useful for finger and wrist tattoos that rub against clothing the first few days.
- Fragrance-free body wash. Gentle cleansing keeps delicate linework from irritation during showers.
- Aquaphor healing ointment. A thin layer in the earliest phase helps lock in moisture for fine line work without clogging.
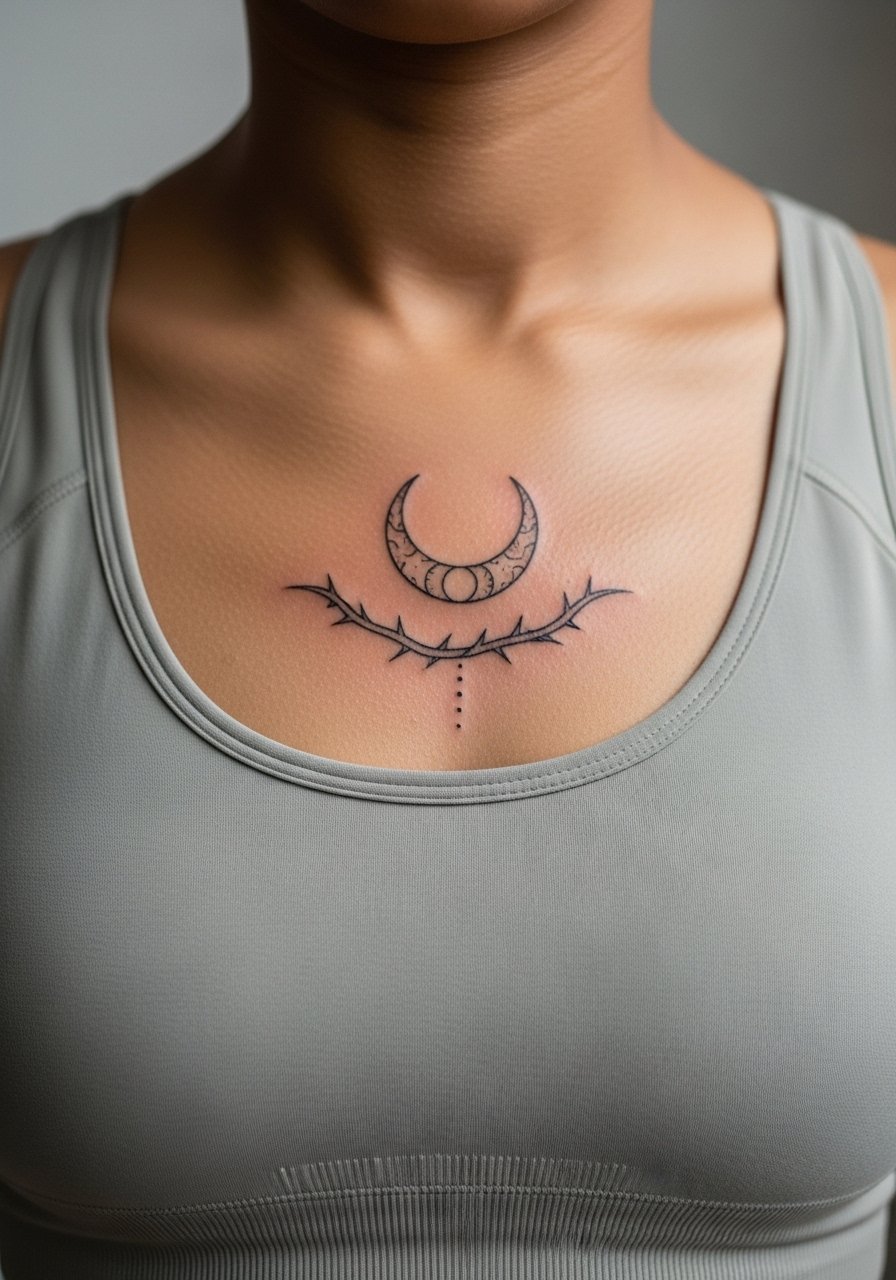
7. Crescent Moon and Thorn on the Sternum
A small crescent moon with thorn detail centered on the sternum reads intimate and dramatic when framed by clothing. For image safety, show this with a fitted sports bra or bandeau so only the area near the sternum appears. Sternum skin can be more reactive and sessions often include breaks. The common mistake is packing too much detail into a narrow vertical space. I recommend broader negative space and dot shading for contrast rather than soft washes that migrate. Session pain tends toward 6 to 8 depending on your sensitivity. For the appointment wear a fitted top you can easily pull down or a zip hoodie you can open.
8. Heraldic Emblem on the Upper Back
A compact heraldic crest or emblem across the upper back sits well under shirts and looks striking in open-back garments. The area tolerates heavier saturation which helps with long-term contrast. Pain is generally low and sessions vary from one to three hours. Tell the artist you want clear negative space between crest elements so the shield and banners do not join when the ink settles. For show-off occasions, an open-back cami frames the emblem without overexposing skin.

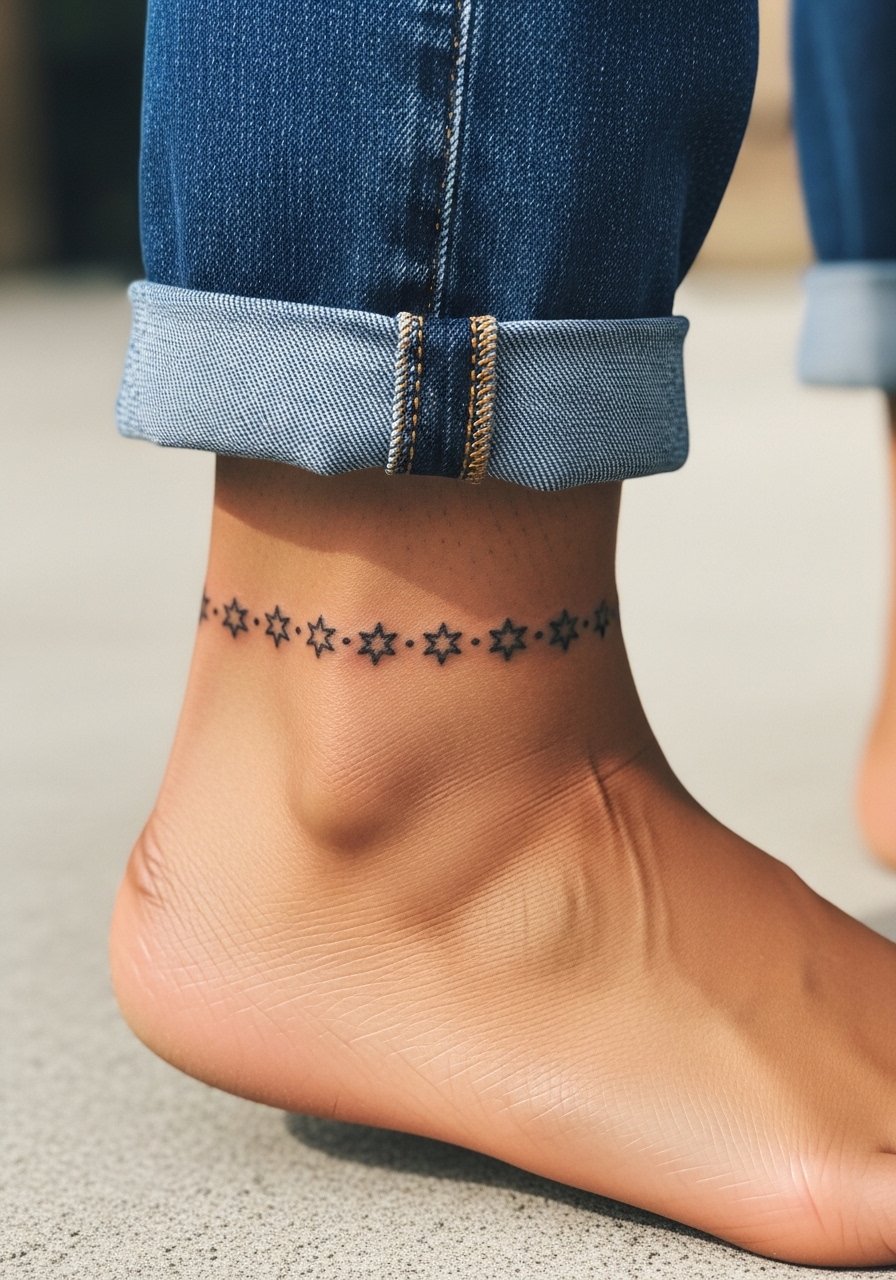
9. Chain of Stars Around the Ankle
Tiny linked stars wrapping around the ankle read delicate but can suffer from constant rubbing inside shoes. The ankle is a low to moderate pain spot and sessions are short. To keep the pattern readable, ask for slightly larger star points and more spacing than you think you need. A common mistake is choosing a micro scale that blurs after regular walking and sock friction. For the session and the first week wear sandals or rolled-up jeans so the area breathes and avoids abrasion.
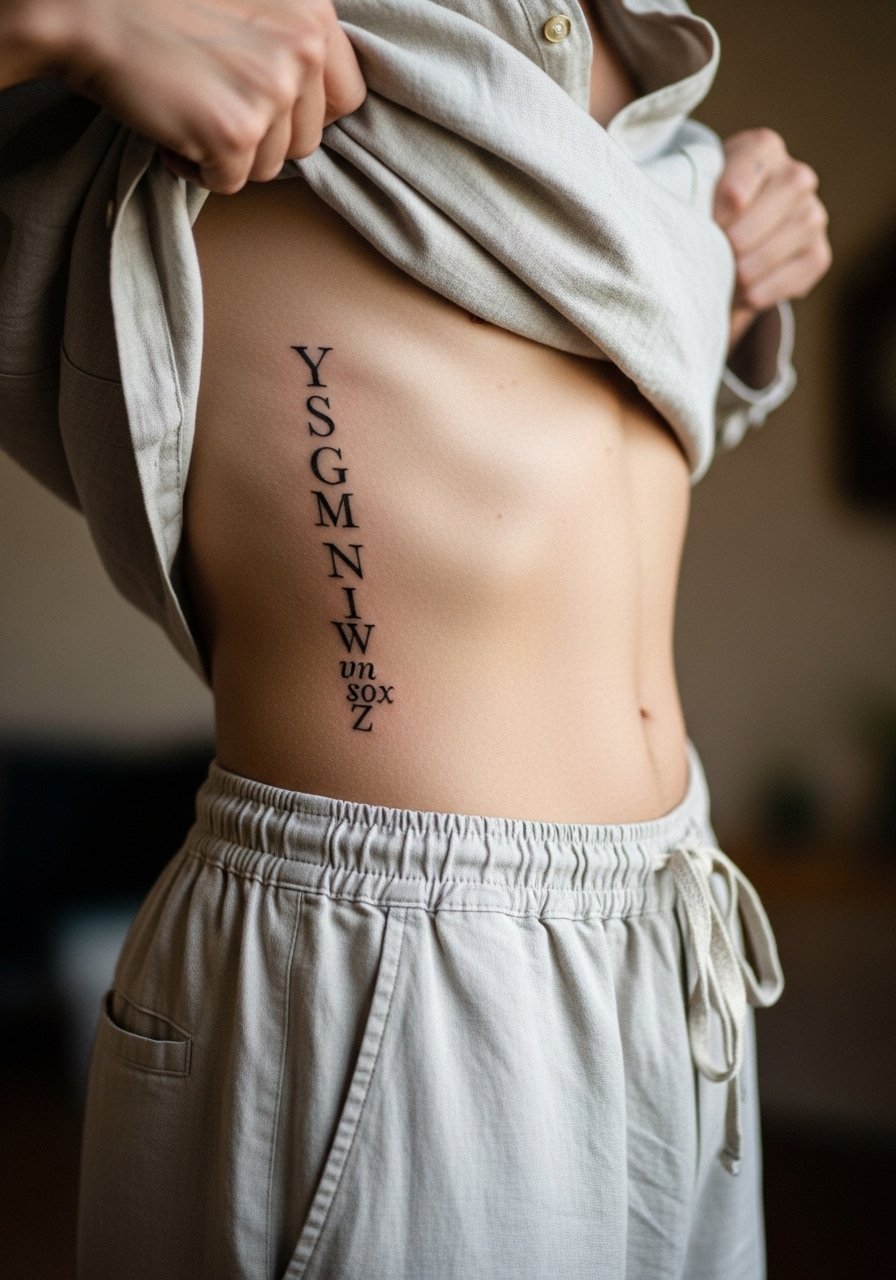
10. Page Fragment Script on the Side Rib
A fragment of text styled like a torn page works along the side rib when given room and slight serif weight. The rib will demand breaks during the session and touches at year two are common for thin lettering. Avoid dense lines of text. Keep it to a few words with intentional spacing and ask the artist for clear leading between lines to prevent merging. This placement is best booked for a calm day and loose clothing. For the appointment pick a loose drawstring linen pant so you can shift clothing without compressing the area.
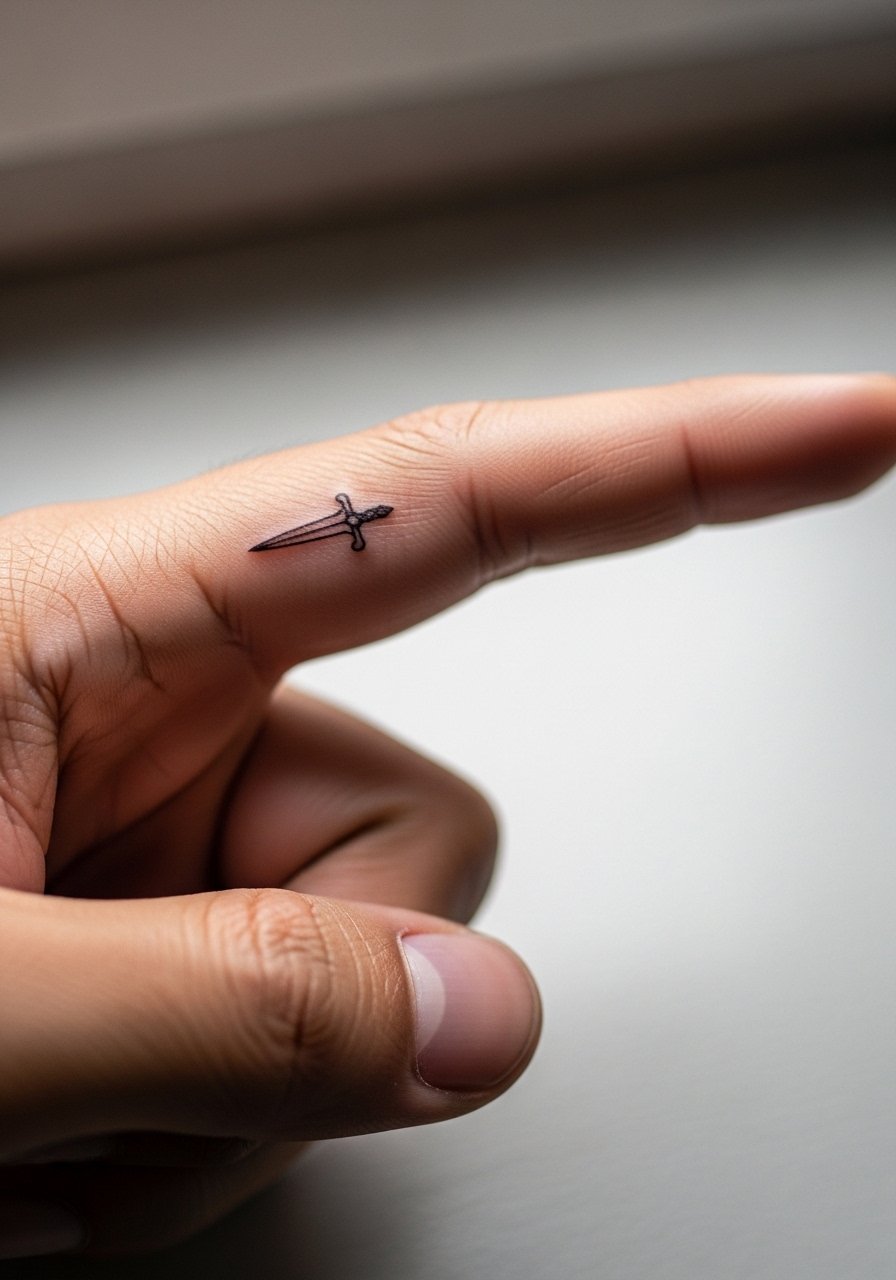
11. Tiny Dagger Between the Fingers
Finger and side-of-finger work can look striking immediately but it fades faster because of constant washing and skin turnover. Expect frequent touch-ups, often year 1 to 2, and accept that blowout risk is higher here. The common mistake is asking for solid fills at tiny scales. Opt for crisp outline and minimal internal shading. Because finger pieces face workplace rules in some industries, think about career considerations. For session comfort wear a thin cotton glove to keep the area clean between appointments if you need protection.
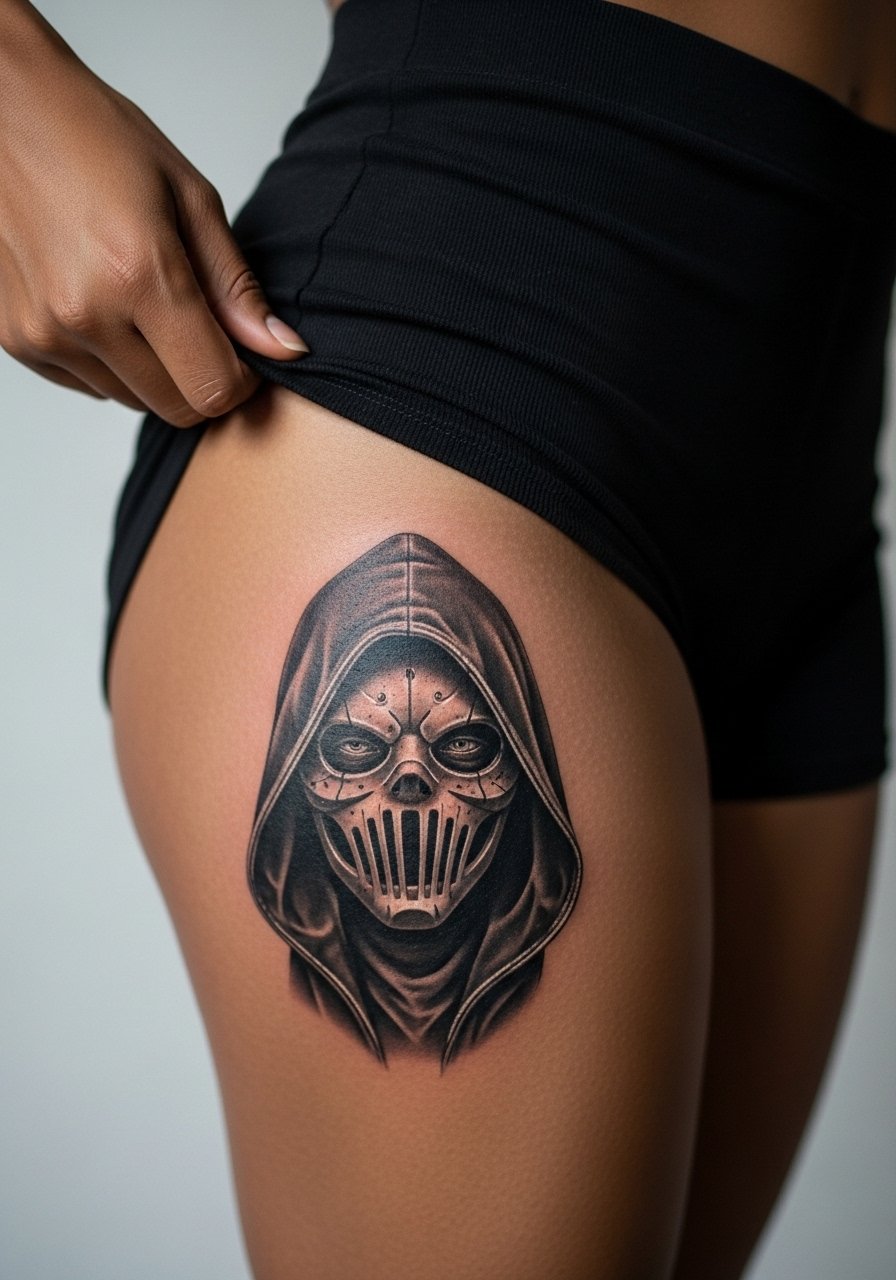
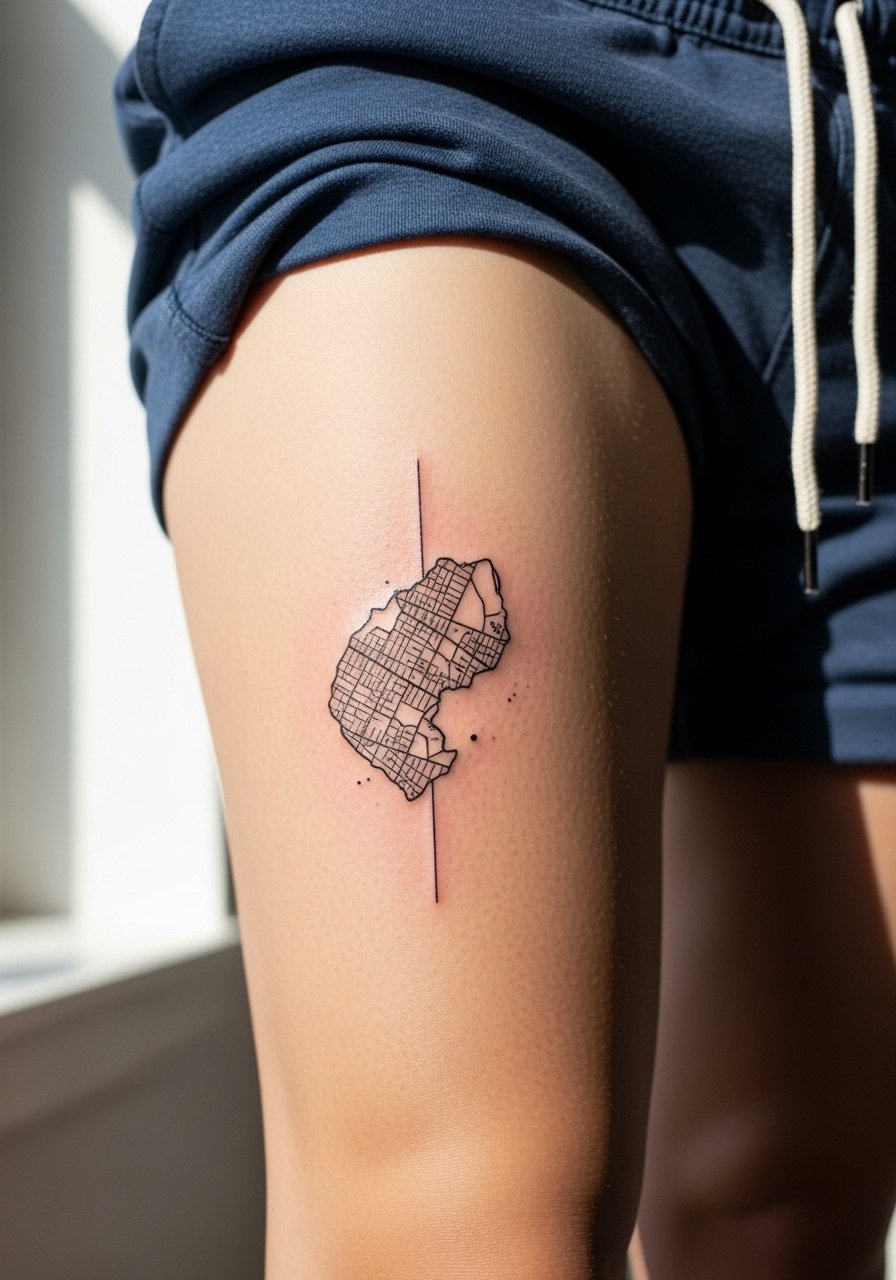
12. Illusionary Mask on the Thigh
A theatrical mask or hooded portrait on the upper thigh benefits from size and hides well under clothing. Thigh skin ages nicely and tolerates richer shading, which aids longevity. Sessions can be longer, often two to four hours, with a likely touch-up at year two depending on saturation. For the appointment wear high-waisted shorts or a wrap skirt so the artist can access the area without compressing it. The inner thigh is more sensitive, so plan clothing for comfort during travel home. If the piece includes cultural or theatrical motifs, note the origin and opt for respectful variation rather than direct replication.
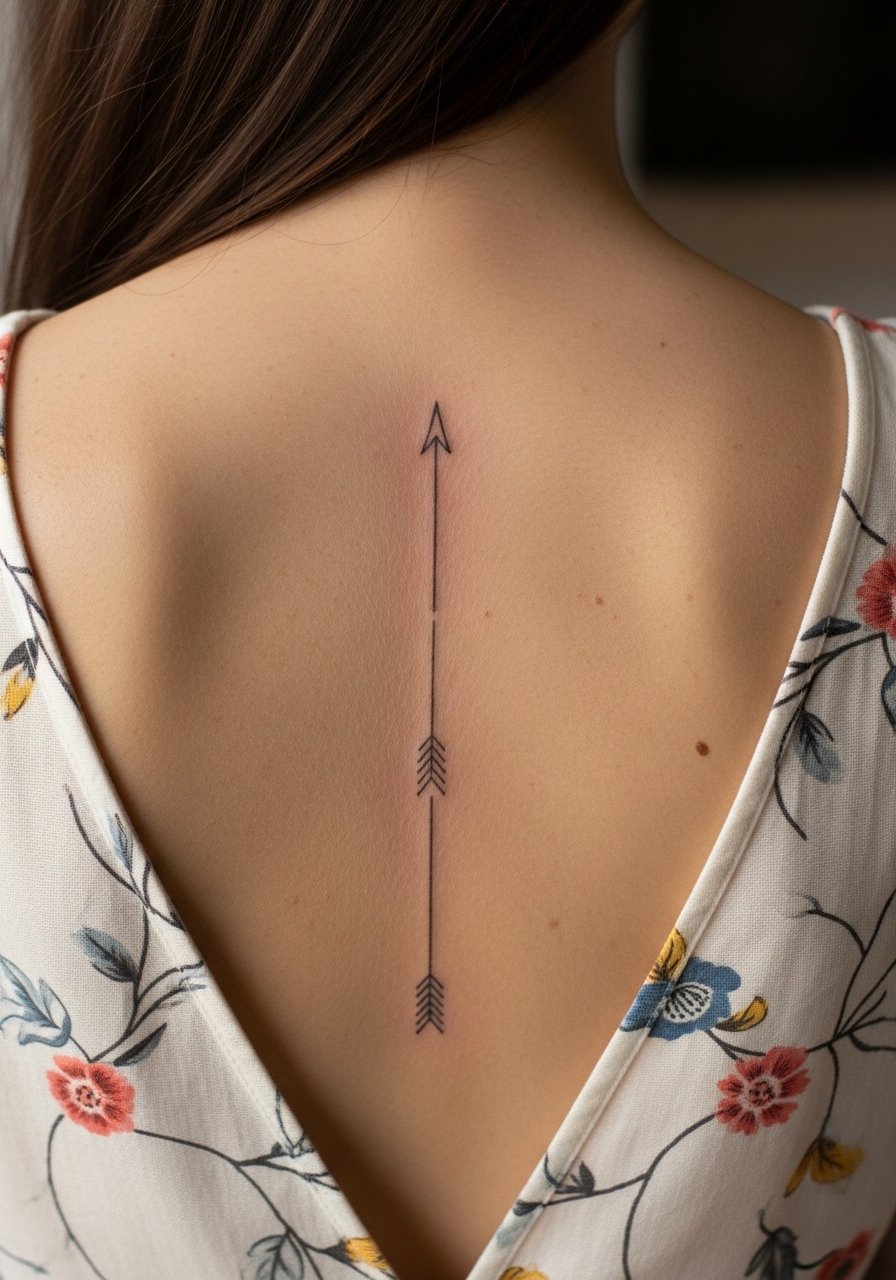
13. Herald’s Arrow Along the Spine
A vertical arrow or chained symbols along the spine reads dramatic when centered. Spine work demands careful spacing and tends to be a 6 to 8 on pain scales depending on bony prominences. Ask for a mix of bolder anchor points and thinner connecting linework so the piece keeps its direction as the skin moves. A common error is too many tiny links that merge; give the artist permission to scale the connecting elements up slightly. For evening wear, an open-back dress shows the line without exposing more skin.
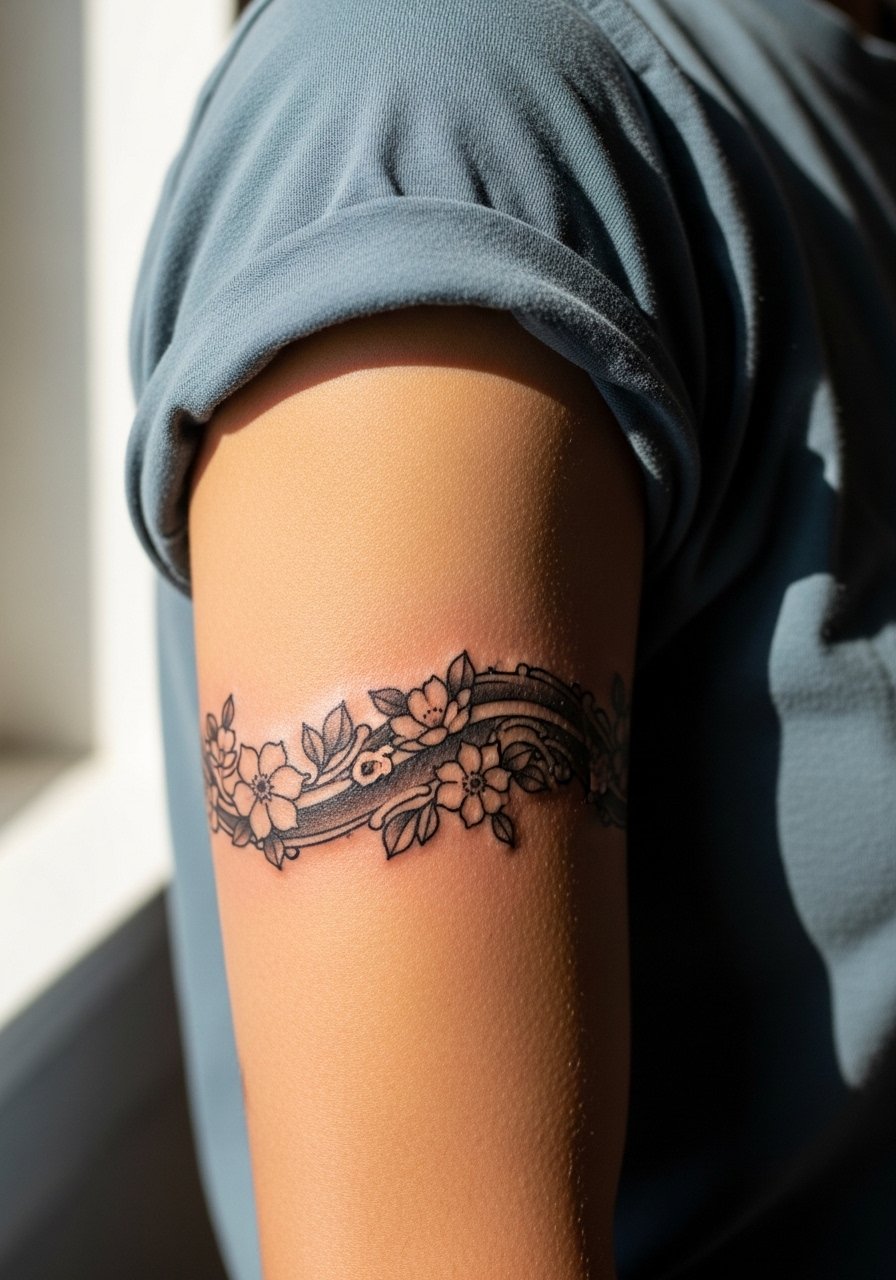
14. Floral Band on the Upper Arm
A horizontal band of stylized blooms wrapping the upper arm is forgiving of minor blowout and reads well with modest saturation. Upper arm placement is lower on the pain scale and sessions are generally manageable. The aging benefit here is scale and contrast; bold outlines inside the band help the shapes maintain definition. A mistake is overly thin petal veins across the band which can blur into a gray wash. For casual wear pair the band with a rolled-up short sleeve tee so the work peeks out comfortably.
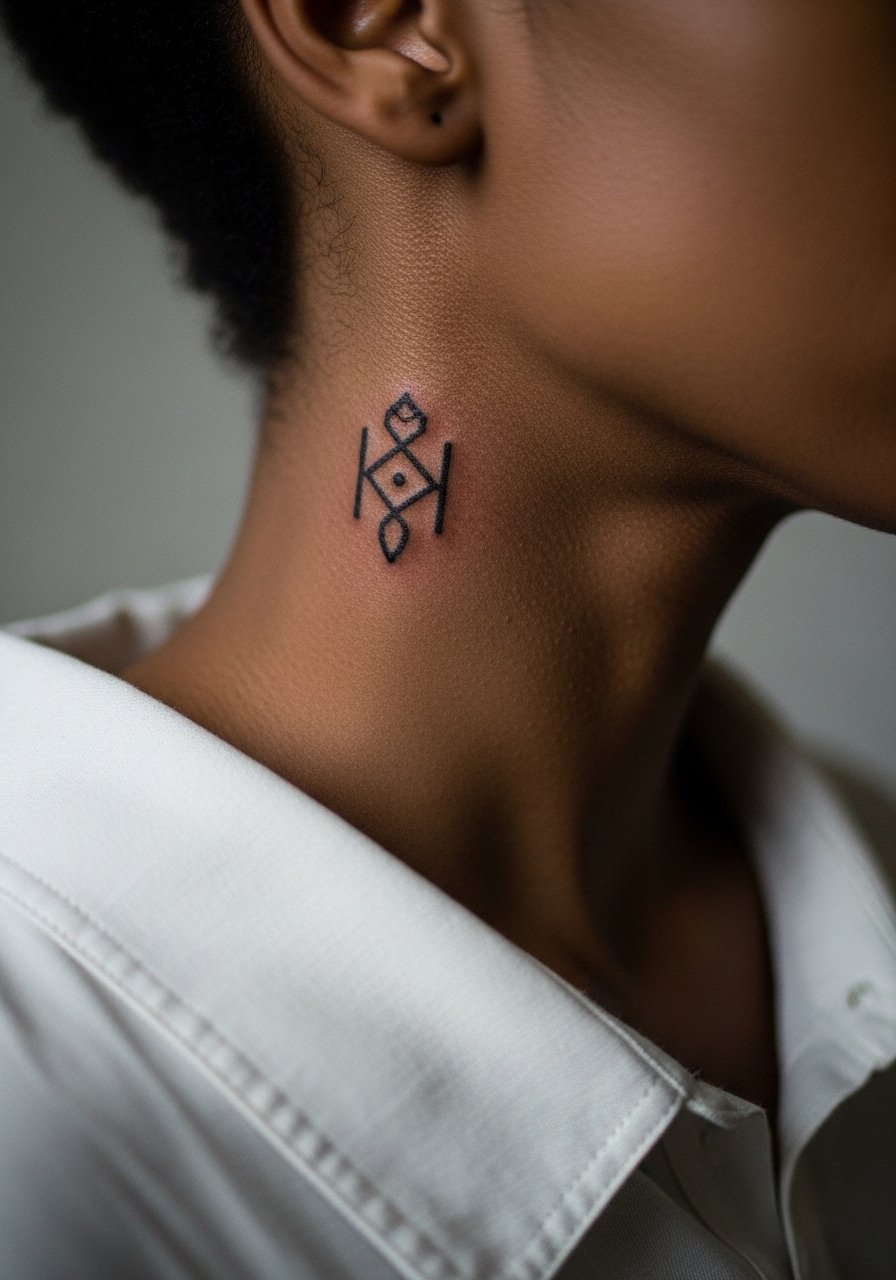
15. Single Glyph on the Back of the Neck
A single emblem or character at the base of the skull can be discreet and meaningful. For safe imagery, show this with a wide-neck shirt or collar pulled to one side so only the neck area is visible. Neck skin can be more exposed to sun which accelerates fading, so plan for yearly sunscreen attention. Pain is moderate and sessions are short. One common mistake is selecting a script too intricate for such a small zone. Keep the glyph bold and isolated. If concerned about workplace implications, consider making the mark slightly lower so hair can conceal it when needed.
16. Map Fragment on the Calf
A small map fragment, coordinate set, or route line looks great on the outer calf. Calf skin takes ink well and tolerates more saturation, which helps detail in lines and tiny symbols. Sessions are moderate and healing is straightforward for most people. When asking for coordinates, specify the exact text so the lettering renders cleanly in the stencil. Avoid placing tiny numerals that are only legible up close. For the session wear loose pant options like drawstring shorts that you can pull up without pressure on the area.
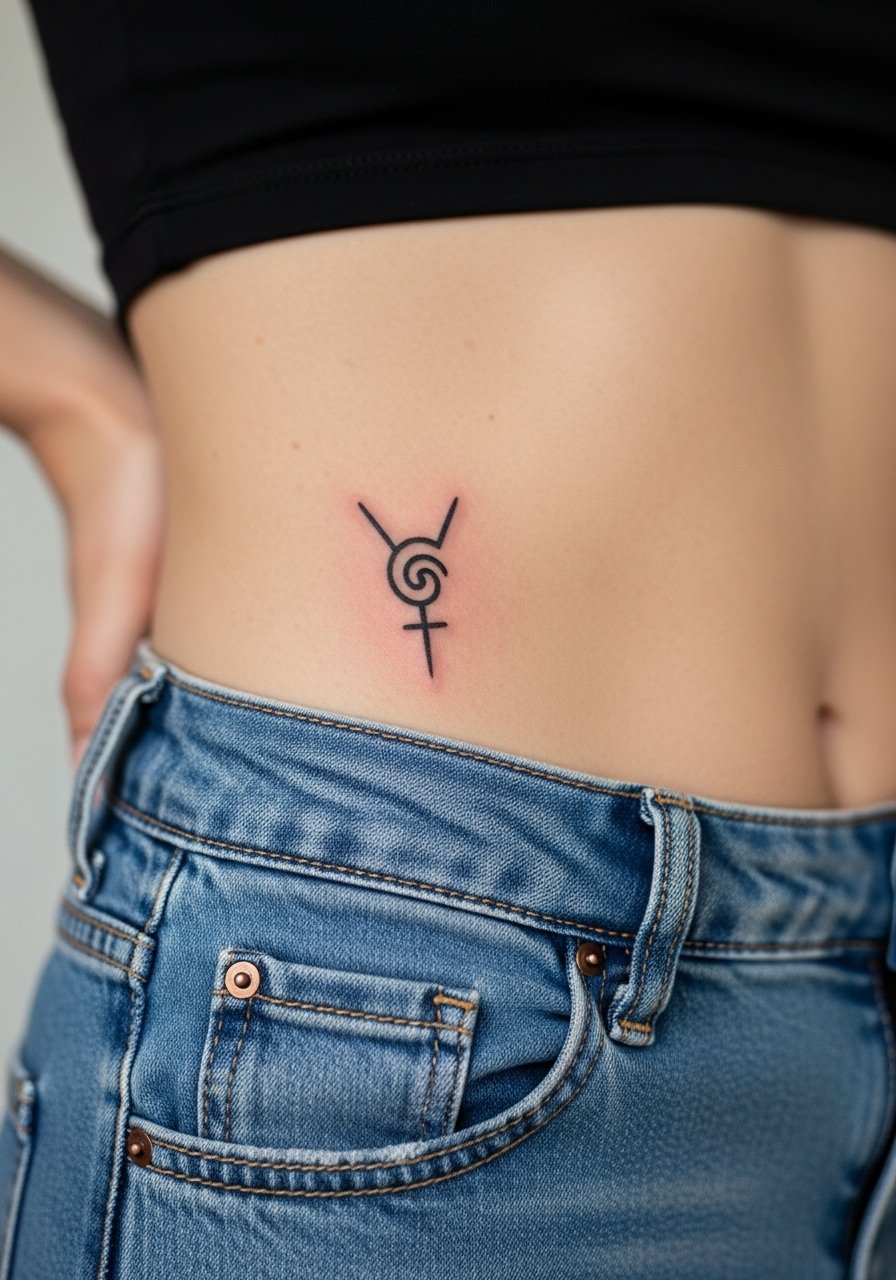
17. Petite Sigil on the Hip
A small sigil or emblem on the hip reads private and can be easily hidden or revealed. For safe imagery describe the subject in high-cut shorts or jeans pulled slightly down at the hip so only the tattoo is visible. Hip skin stretches with weight change more than some areas, so ask for simplified shapes rather than intricate filigree. Pain there is variable and often a 5 to 7. Session time is typically short. If you choose cultural or mythic symbols, acknowledge origin and consider bespoke adaptation rather than a direct copy.
Frequently Asked Questions
Q: Will the fine line forearm blade blur faster than a bolder version on the same spot?
A: In my experience, very thin outlines on the forearm can soften sooner than slightly bolder contours. The fix is simple at the consultation. Ask the artist to keep the outer contour a touch stronger and use stipple inside. That approach preserves the silhouette while letting the interior age more gracefully.
Q: If I want a rib quote, how much larger should I scale letters to avoid blurring?
A: Scale letters up enough that each character has clear white space around it. Practically that means moving from hairline script to a small serif with more letter spacing. Exact measurements depend on font choice and your body, so bring reference pics and ask the artist to show a stencil on skin before inking.
Q: Are finger tattoos a bad idea for someone who types a lot and washes hands frequently?
A: Finger tattoos face heavy wear from washing and typing and often need touch-ups sooner. If you still want the look consider placing the design on the side of the finger, use slightly bolder lines, or move it to the proximal phalanx where friction is less. Also plan for a likely touch-up in year one or two.
Q: How do I find an artist who understands Thorne of Glass inspired motifs without naming a specific person?
A: Use discovery pathways like relevant hashtags, local convention listings, and shop directories. Spend time in community threads to see healed photos and ask for portfolios showing small script, micro-realism, or emblem work. I recommend booking a consult to discuss aging and spacing rather than sending a single image.
Q: What should I wear to a sternum or rib session to make it easier for the artist?
A: Pick clothing that can be adjusted without fully undressing. A fitted sports bra, bandeau, or a shirt you can pull up works best. For the trip home bring a loose zip hoodie to stay comfortable and avoid fabric rubbing the fresh work.
