
Fine line trends look flawless on a feed, but they behave differently in real life. Tiny wrist pieces can fade into soft gray if the lines are too fine, small finger tattoos can blur from constant washing, and artists in smaller towns often hit a flat rate that surprises group bookers. Read on for compact trio ideas that account for aging, session prep, and wardrobe so the three of you leave the chair happy for years.
1. Three Fine Line Stars, Horizontal, on the Wrist
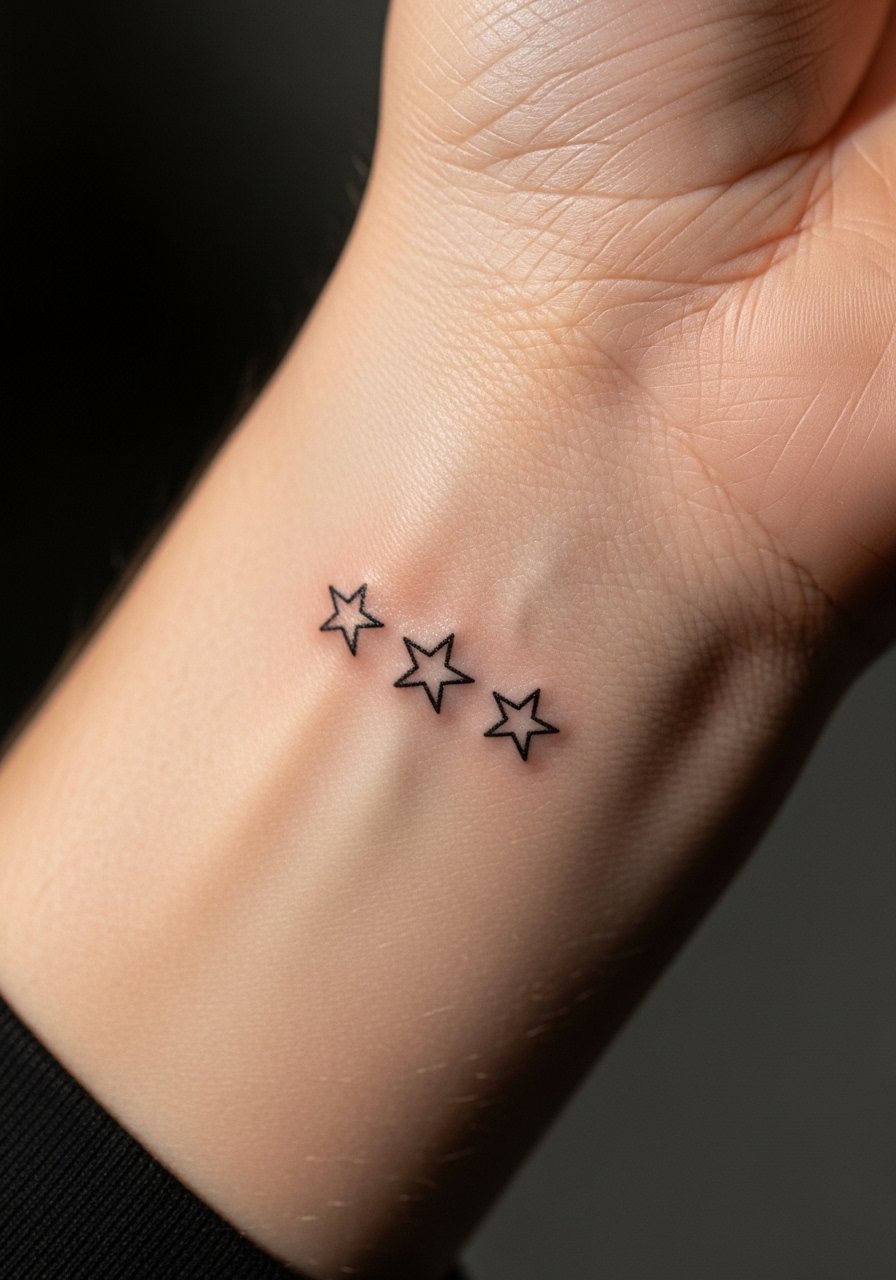
I've seen this stencil on dozens of wrists and it reads clean when the linework is slightly bold. Ask for 1.5mm minimum line weight and two spaced stars with the center star slightly larger. The session is quick and low pain, about 20 to 30 minutes. Expect the first six months to look crisp, then gradual softening by year two, with a possible touch-up at year three. Common mistake is requesting hairline strokes that vanish on medium skin. For showing it off, pair the piece with a thin gold chain bracelet on the opposite wrist, and wear a sleeveless crop top to let the design catch light during summer.
2. Roman Numerals III Stacked Vertically on the Collarbone
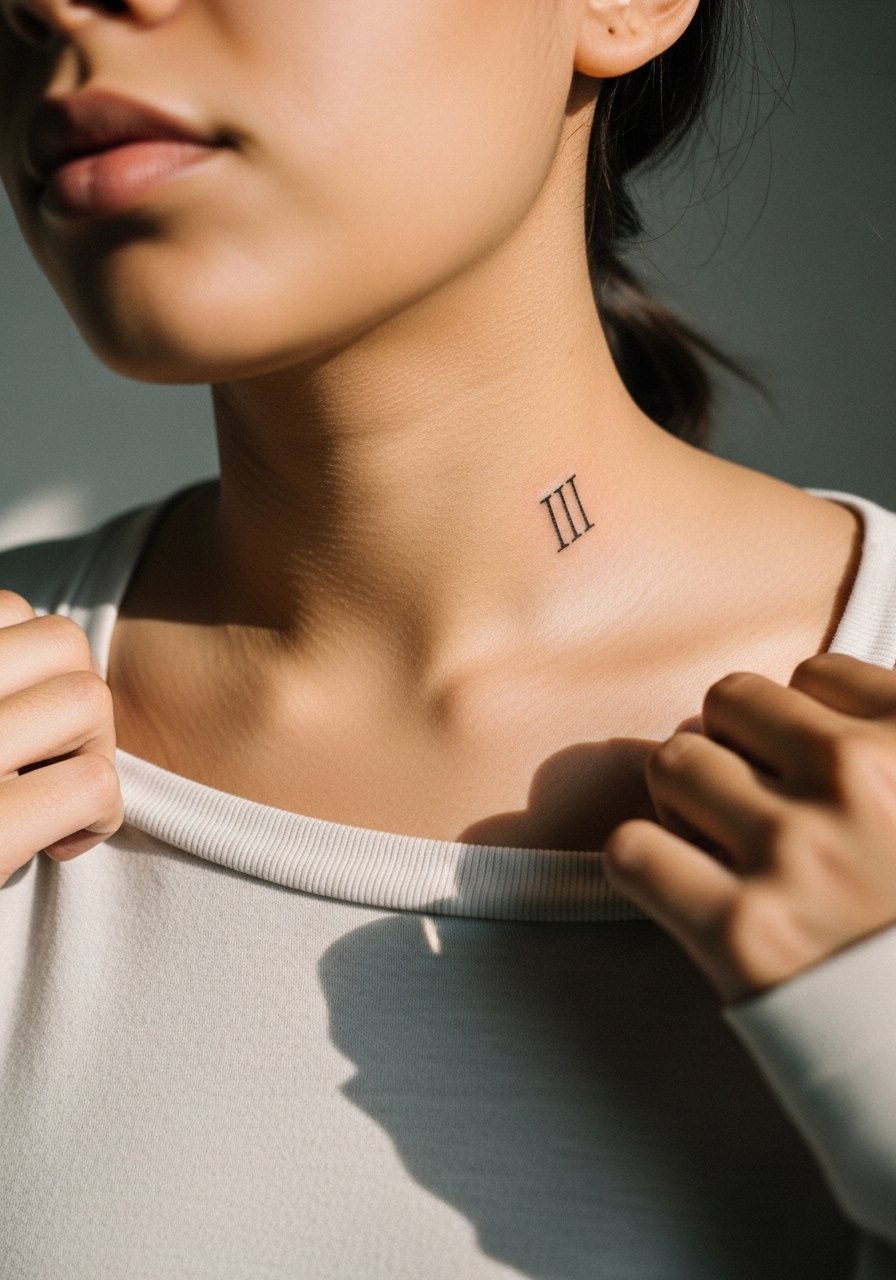
Fair warning, collarbone skin moves a lot when you breathe and the line weight needs consistent depth to stay defined. This one is a quiet marker of three siblings without names. Tell your artist you want slightly higher ink saturation and clean spacing between numerals to avoid merging as it heals. The session feels like a steady stitch rather than a burn, about 30 minutes. For showing the piece, layer a delicate layered necklace below it, or wear an off shoulder blouse that frames the collarbone without covering the numerals.
3. Three Interlocking Hearts, Tiny Outline on Inner Wrist
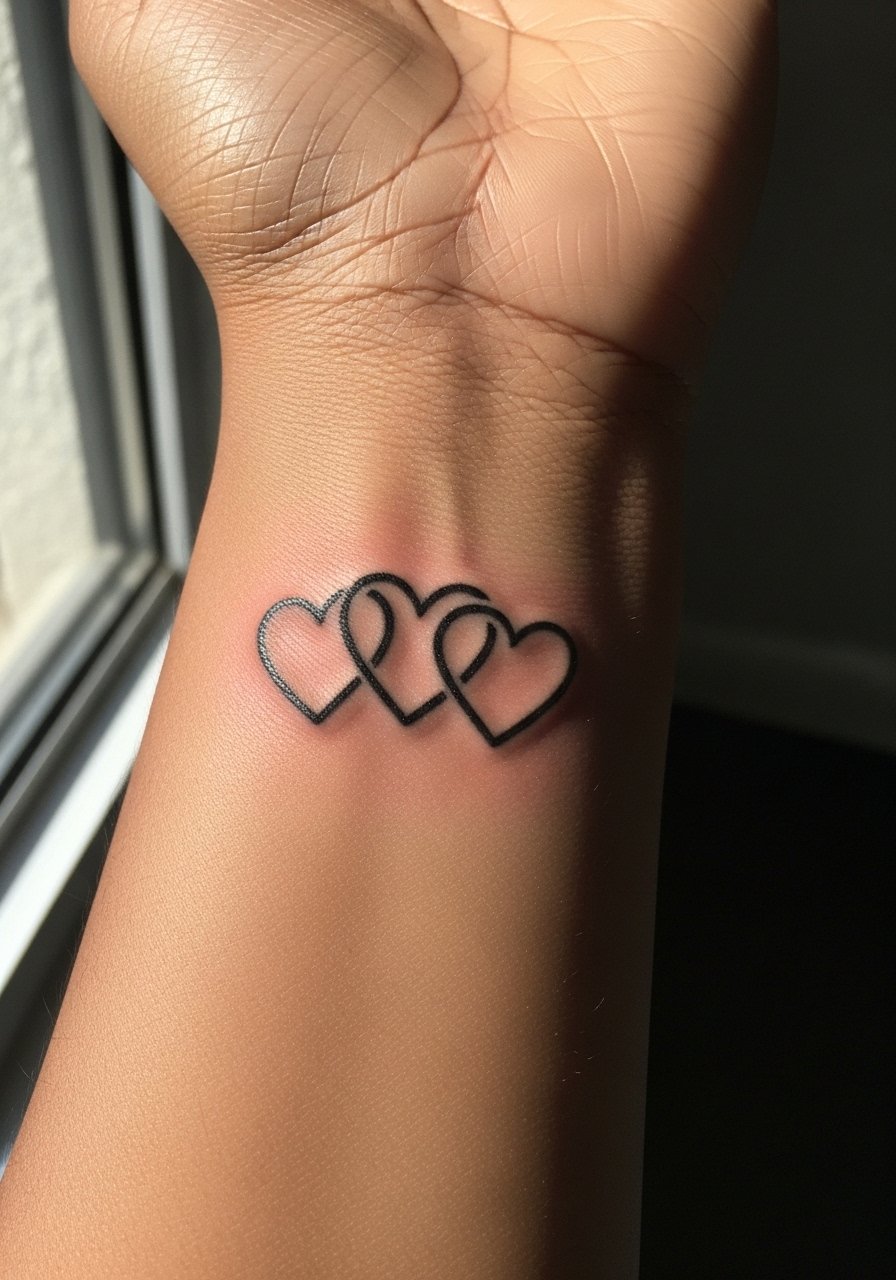
This motif ages well because the open outlines let the eye read negativespace rather than depend on tiny fill. During the consult, specify that each heart use slightly thicker outer contour and leave interior lines open for air and movement. The inner wrist is sensitive but manageable for a brief session under 30 minutes. A common error is insisting on micro shading inside each heart, which risks blurring into a smudged block over time. Expect a gentle fade at year two that can be refreshed. If you need to hide it for work, a thin wristwatch or bracelet covers it without removing its impact.
4. Tiny Puzzle Pieces Numbered 1, 2, 3, Behind the Ear
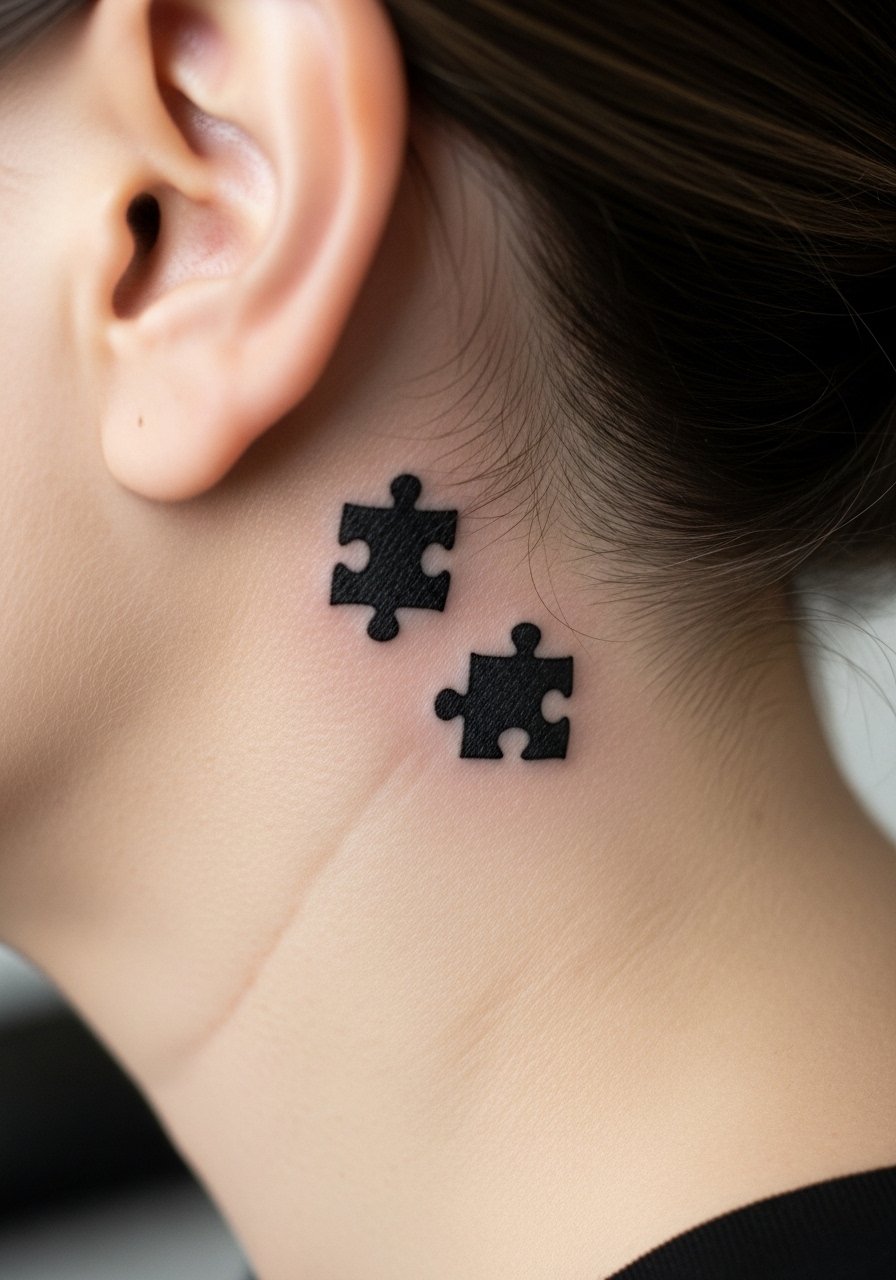
This placement is sneaky and low-visibility unless hair is up. When requesting numbered puzzle pieces, ask the artist to keep shapes simple with bold outlines so the tiny nubs do not turn into blobs. Behind-the-ear sessions are fast but require the artist to work at a shallow angle, so expect some awkward positioning and about 15 to 25 minutes per piece. Note that behind-the-ear tattoos need a careful stencil since hairline and curvature affect symmetry. For showing it off, style hair in a high ponytail and add a silk scrunchie and small studs. Because the area sits near hair and sweat, plan for a touch-up around year two if lines soften.
5. Three Birds in Flight, Shoulder Blade Span

There is more space on the shoulder blade so designers can give each bird room to breathe, which helps the lines hold longterm. The area is low pain and heals predictably, but it can distort if you wear tight straps during the first two weeks. Ask the artist to stagger wing positions and avoid tiny cross-hatching near feathers; that detail can turn muddy after a few years. Sessions take longer than wrist work, roughly 45 minutes for a three-bird layout. If you want to hide it at work on cooler days, a lightweight button-up or a loose tank slides over it without rubbing the tattoo while it heals.
6. Script "3 of 3" with Dot Accents, Ribcage or Upper Thigh
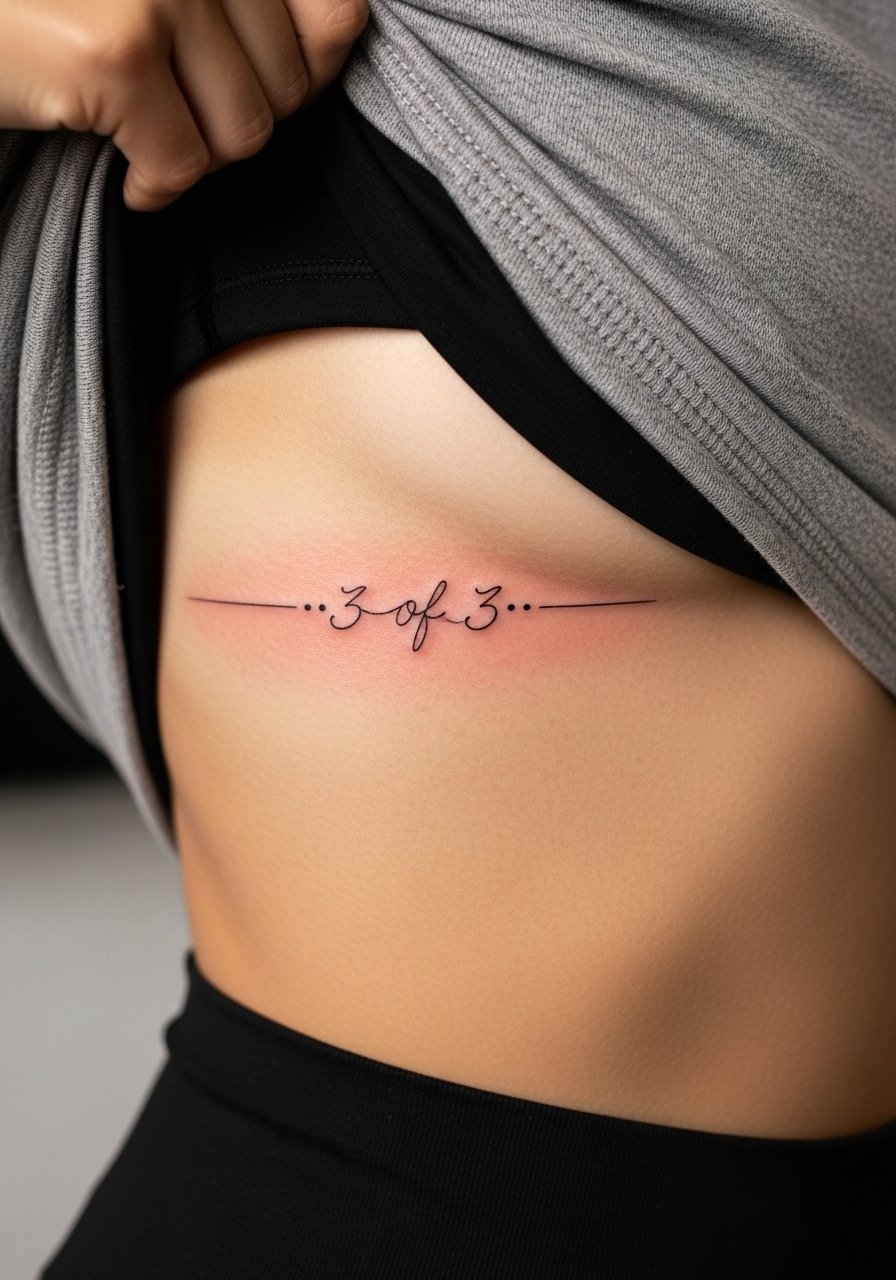
Ribcage script looks intimate and reads great in fitted tops, yet it is one of the higher pain placements. Expect a steady needle feel and a session length of 20 to 45 minutes depending on script size. Controversy is common here. One camp favors Saniderm for the first 48 hours to reduce scabbing and lock moisture. The other camp prefers dry healing and lighter ointment to avoid trapped bacteria. Both approaches have defenders, so ask your artist which they use and why. To protect the area during the session, bring a strapless or cropped top you can adjust easily.
Studio Day Picks
The wrist, behind-ear, and ribcage pieces above all ask for different prep and first-week care, so these picks smooth the session and reduce early friction for fine line work.
-
Indie tattoo salve from a small UK brand. Lightweight and non-greasy, this balm helps tiny wrist and behind-ear pieces avoid clogged pores while keeping lines defined.
-
Australian tea tree balm. Anti-itch properties make it useful for early healing on areas that brush clothing, such as the ribcage and shoulder blade.
-
Thin hydrogel tattoo sheets. These offer a low-profile protective layer for finger and wrist tattoos that face constant washing and friction.
-
Fragrance free gentle body wash. Use it during showers to cleanse fine line designs without stripping too much moisture from the healing skin.
-
Aquaphor healing ointment. A thin layer in the first few days helps tiny blackwork hold saturation without heavy blockage.
7. Overlapping Three Waves, Minimalist Ankle Band
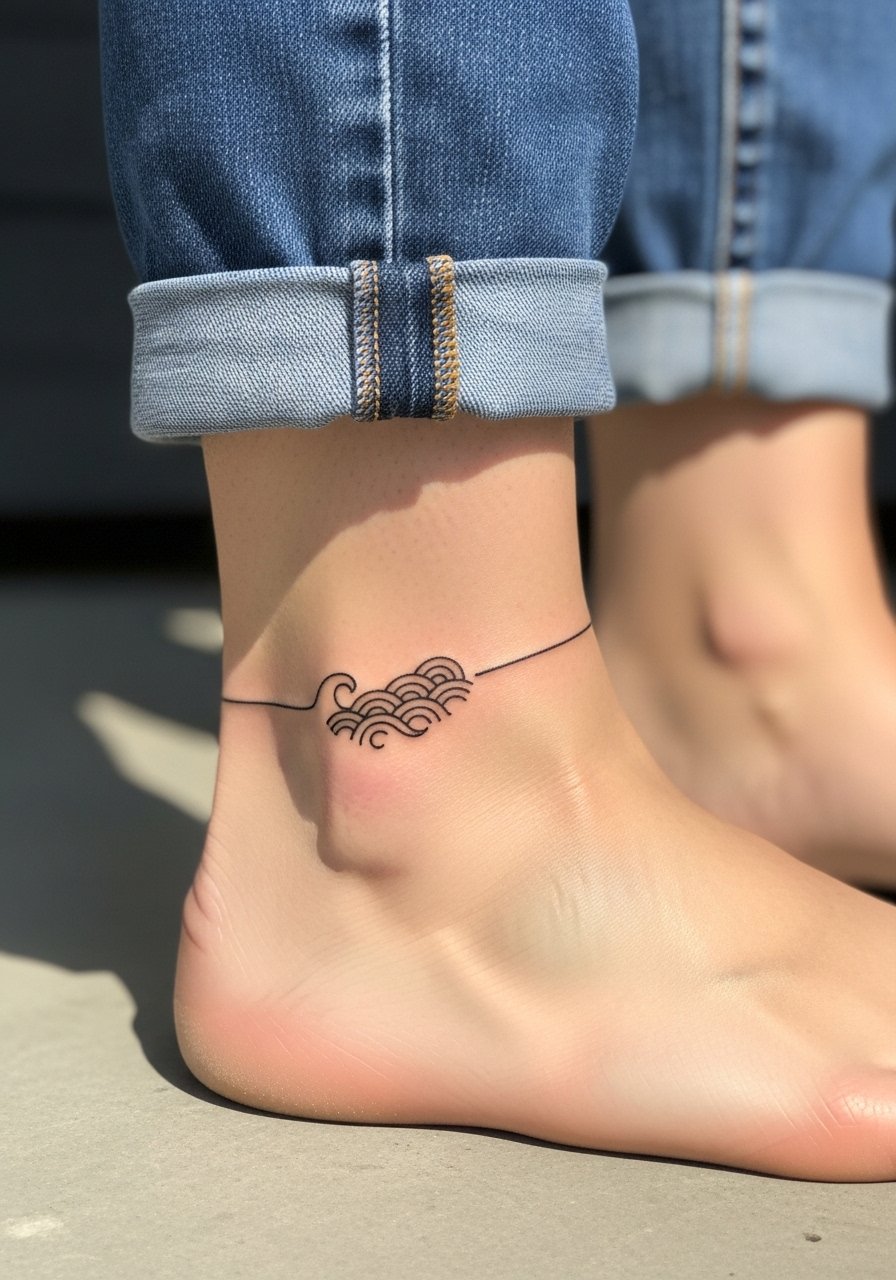
Ankle tattoos are vulnerable to rubbing from socks and shoes, which is a common regret for tiny wave motifs. I recommend slightly thicker outer lines and a shallow blue wash only if you plan to keep it visible. The session is short and the pain ranges from mild to moderate depending on bone proximity. For longevity, avoid too many tiny interior strokes that can fog into a single gray line at year two. For show-off outfits, cuffed straight-leg jeans or a midi skirt with espadrilles puts the ankle on display without stressing the area during healing.
8. Tiny Tree with Three Branches, Inner Arm
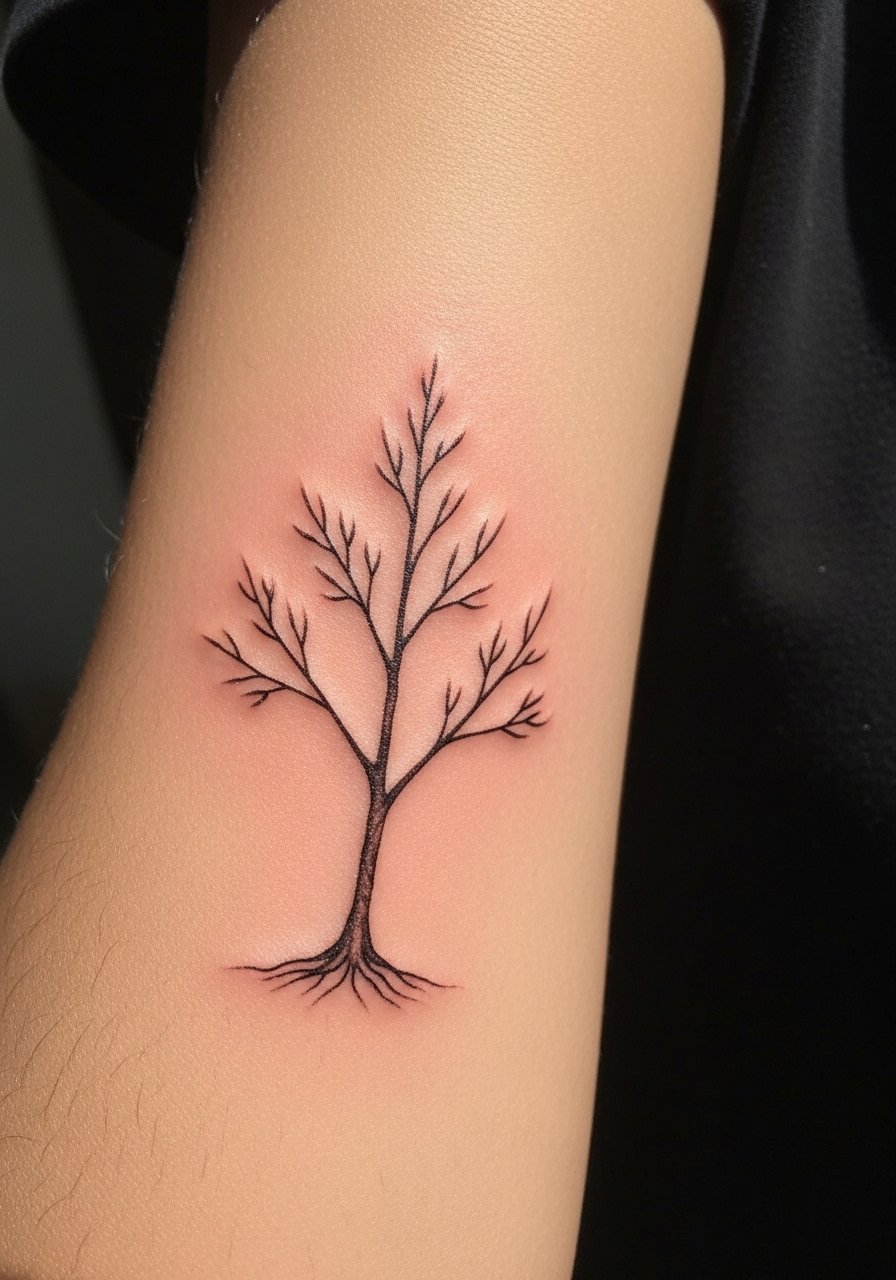
Inner-arm skin handles small detail well when the trunk and branch lines are given breathing room. When you sit with the artist, ask for a slightly bolder trunk and tapering branches to avoid feathering into the surrounding skin. The inner arm is a low to moderate pain zone and a quick session for this scale. Aging is kind here if you keep the lines spaced and avoid micro stippling that can blur after repeated stretching. For session comfort, roll up a linen button down shirt so the artist has clean access and your arm can rest during work.
9. Three Dots in a Triangle, Micro Dotwork on the Finger
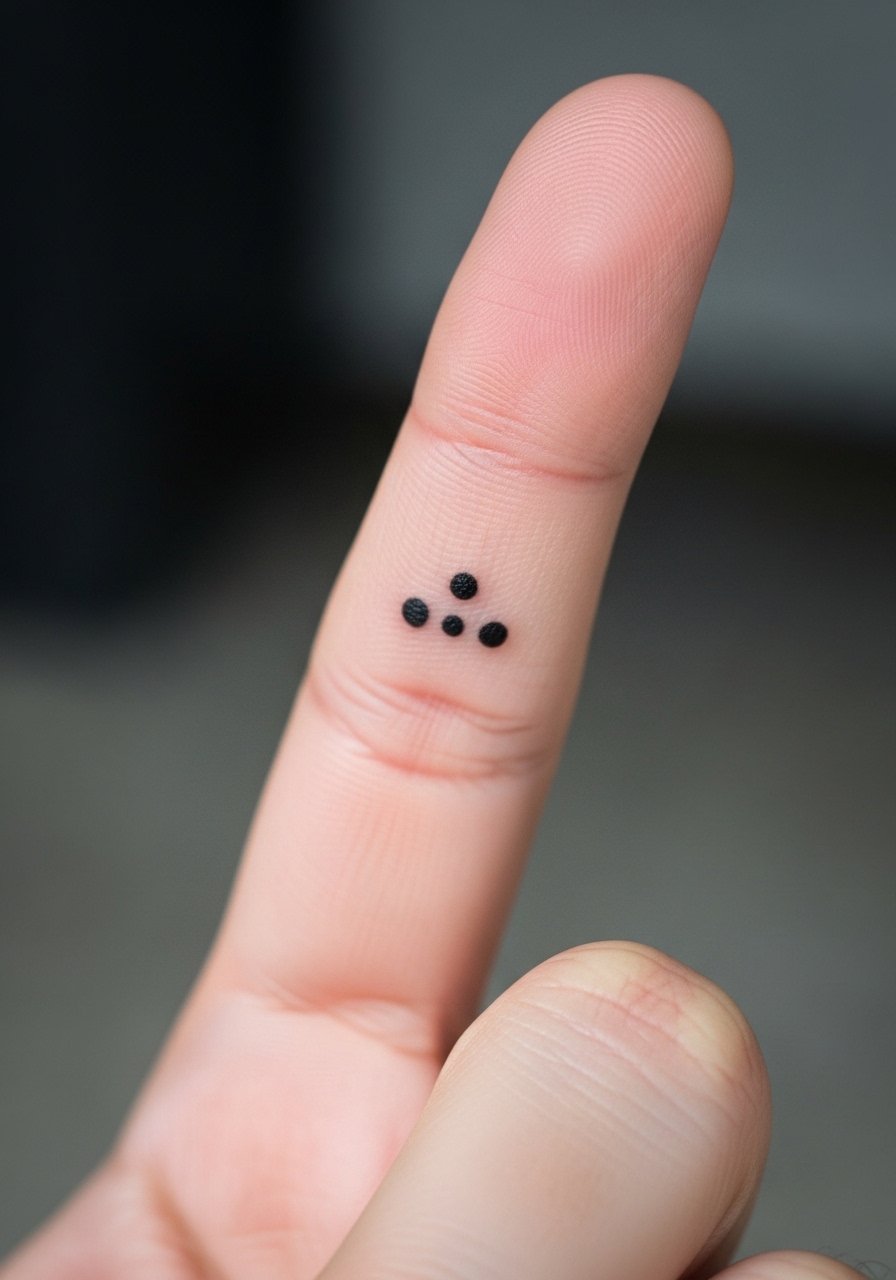
Finger dots are the ultimate subtle nod but they face high wash and abrasion rates, which speeds fading. The trick is to place them slightly off the joint and request a tiny outline punch rather than ultra-shallow pinpricks. Sessions are very brief and can sting more on fingers than on other places because the skin is thin. Expect touch-ups as early as year one for some people. For styling, keep jewelry minimal and try thin stackable rings above the knuckle so the tattoo breathes and does not sit under a band.
10. "Us Three" Cursive, Small on Collarbone
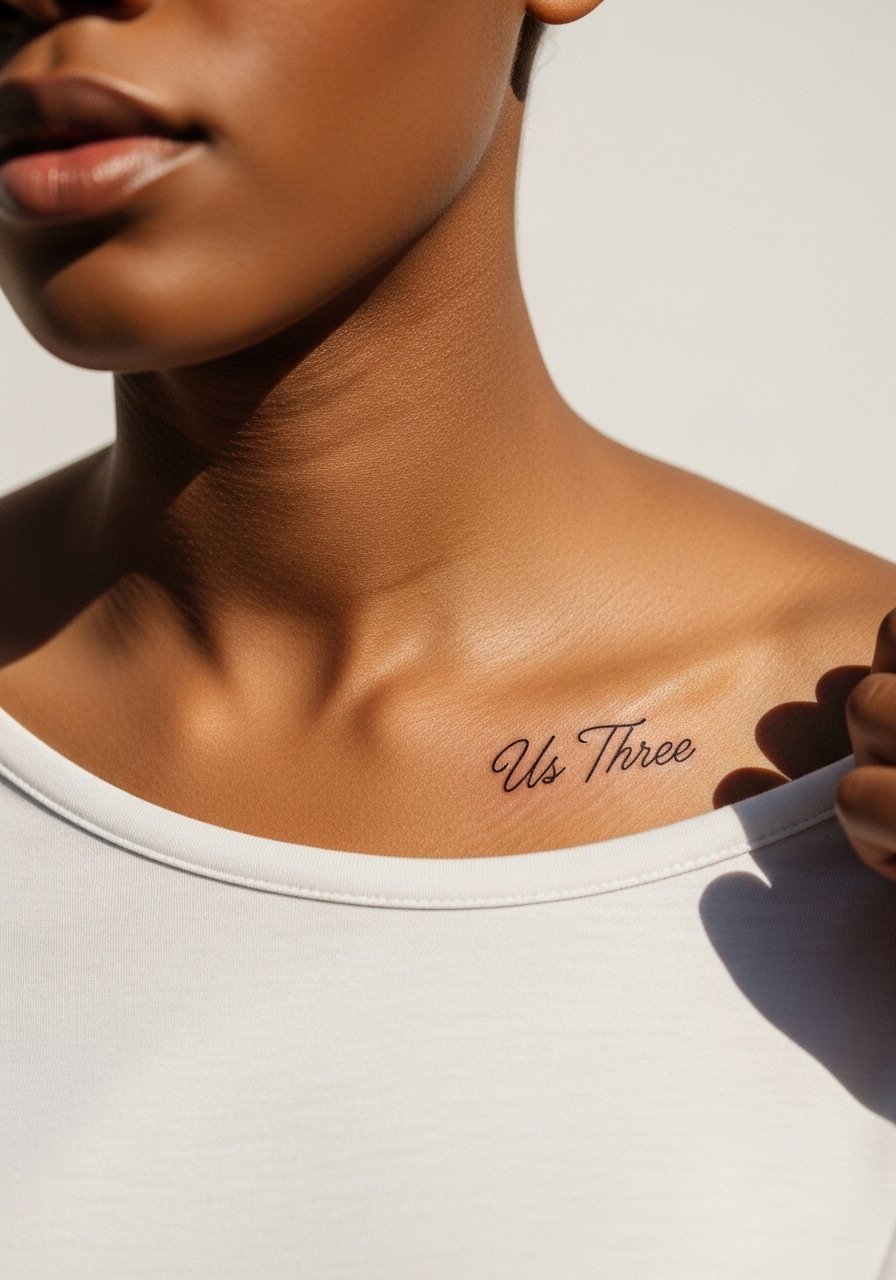
Script on the collarbone looks delicate but needs even ink depth to stay legible over time. If you want this phrase, pick a font with consistent stroke width and avoid tight flourishes that merge while healing. The area can be tender and session time is usually under 30 minutes. A common mistake is choosing a very thin handwritten style that vanishes on medium or dark skin. To make it pop at events, pair it with a thin chain pendant necklace that sits just below the script so attention layers without overshadowing.
11. Three Tiny Footprints in a Row, Ankle or Foot Border
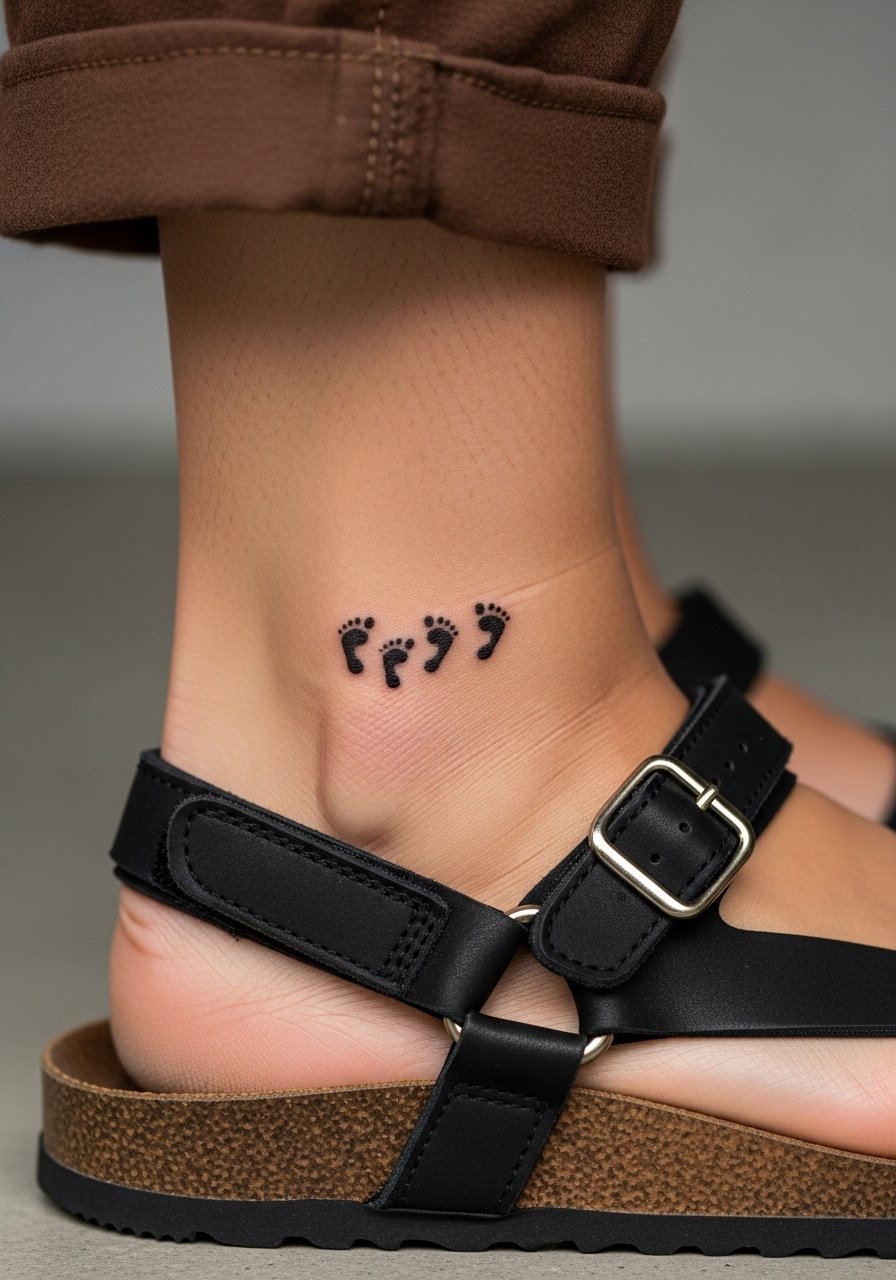
Foot and ankle pieces sit near shoes and socks, which makes early care crucial to prevent loss of saturation. Ask your artist to use clear spacing between prints and to avoid micro shading inside the toes. The pain is variable and can be sharp when near the bone. Expect a slightly slower healing window because of friction. For show-off looks, wear low sandals or cuffed jeans and consider an espadrille flat that shows the ankle without rubbing the new ink while it sets.
12. Intertwined Vines with Three Leaves, Forearm Band
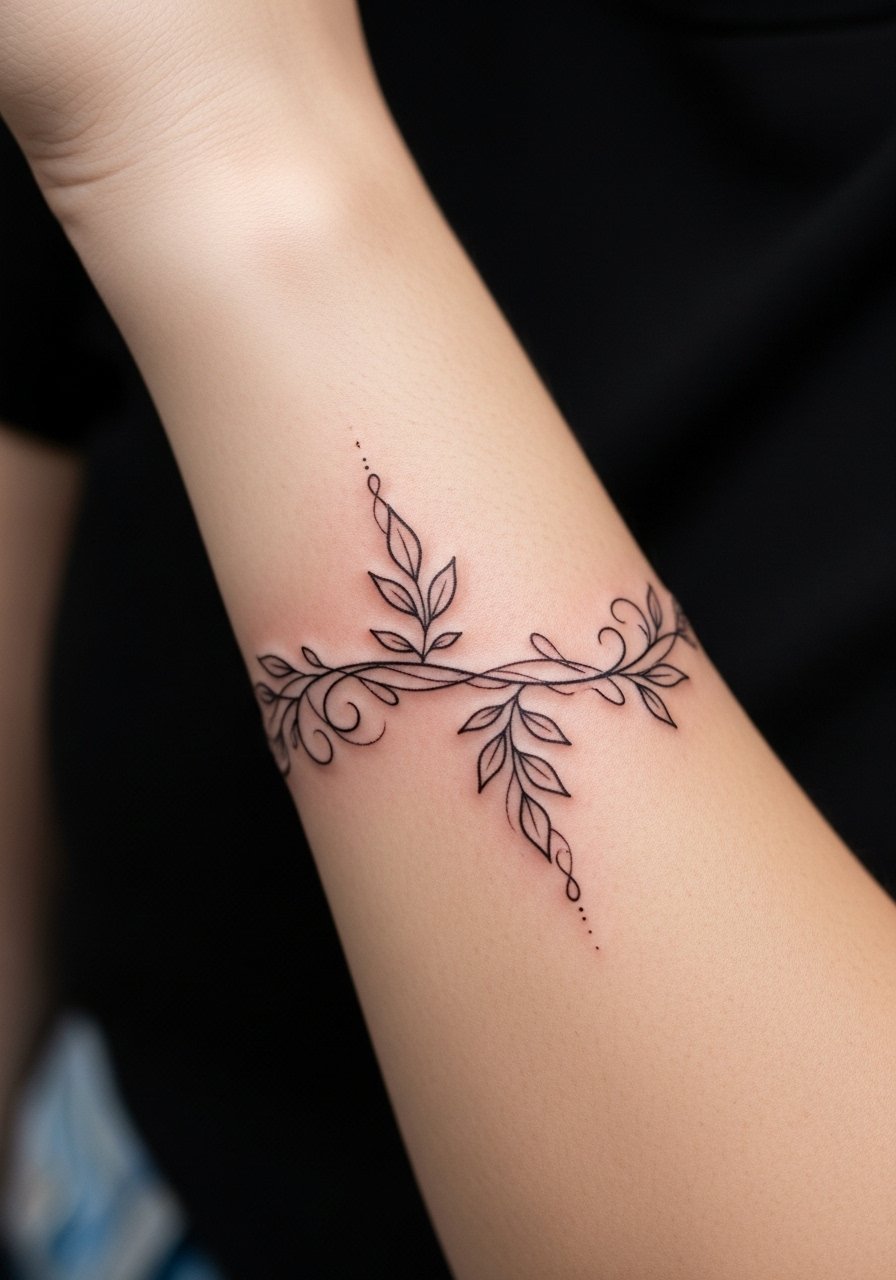
A forearm vine has room for structure, so ask for negative space between tendrils to prevent future merging. This placement heals predictably and tends to hold detail for several years if lines are spaced and the shading is minimal. The session is comfortable, about 30 to 45 minutes for a small band. Avoid asking for dense stipple shading near the vine junctions, which can soften into smudged tones. Pair it visually with rolled sleeves or a leather cuff bracelet on the opposite arm so the vine stands out without competing accessories.
13. Mini Constellation Trio, Inner Forearm
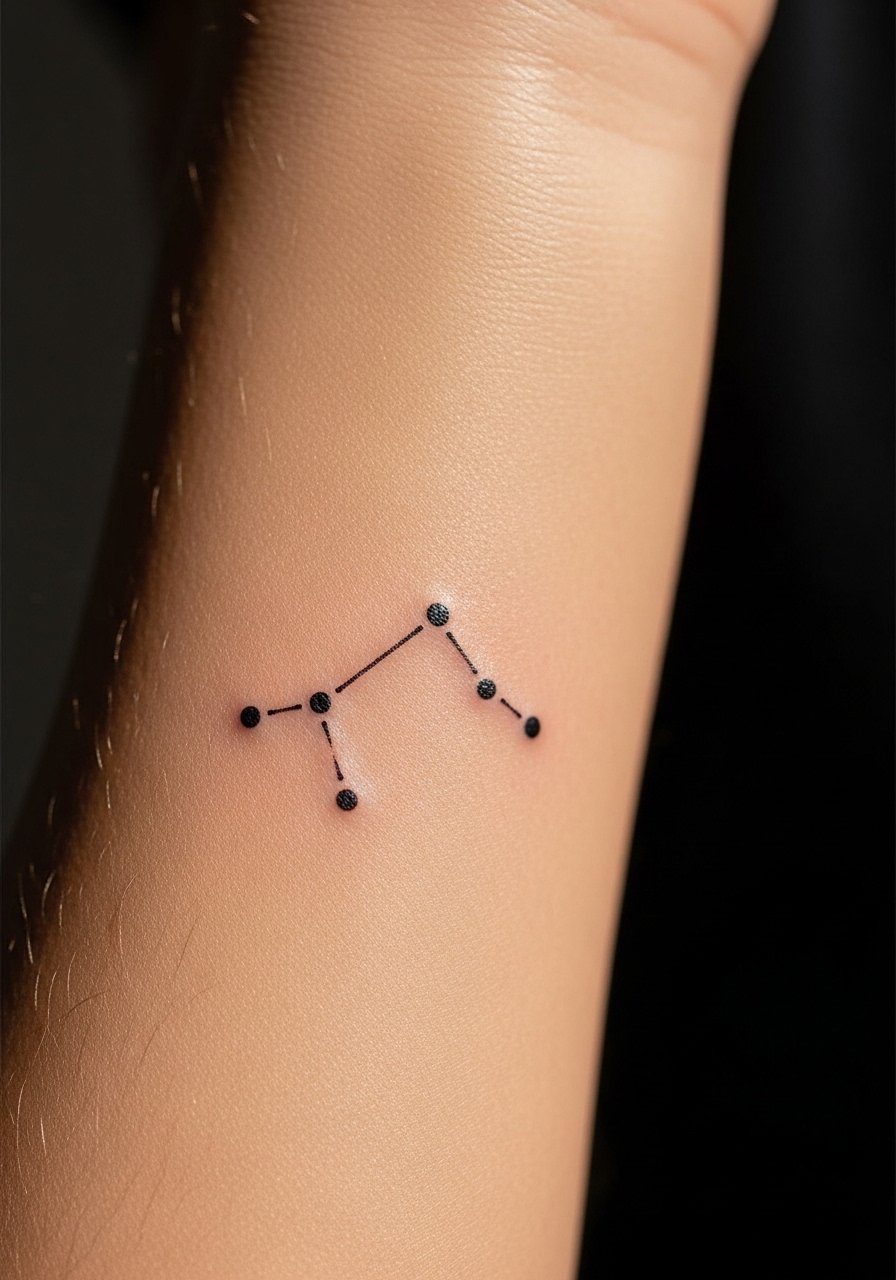
Constellation motifs translate well into tiny formats because their composition is about spacing more than heavy ink. When consulting, show the precise dot spacing you want and tell the artist to avoid dense connecting lines. The inner forearm is forgiving and shows detail for years with minimal touch-up needs. A common error is ordering the whole constellation too small and expecting the same impact as a larger piece. For session wear and to display afterward, roll up a linen button down shirt or wear a short sleeve tee so the design stays visible and flat during the session.
14. Tiny Compass with Three Points, Back of the Arm Near Tricep
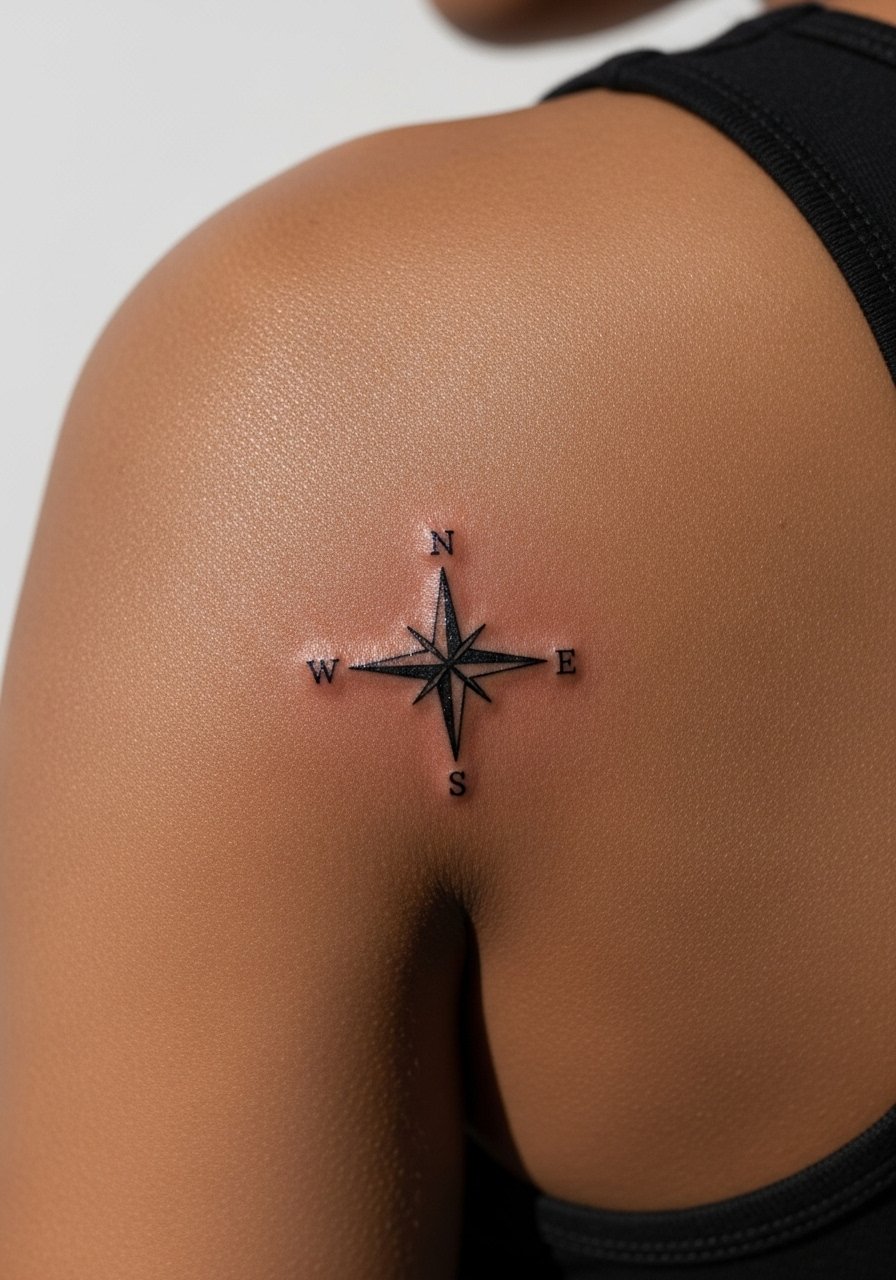
This spot gives you enough skin to center a tiny compass and still keep surrounding skin undistorted. Expect moderate discomfort as the artist works near the muscle, and plan for a session around 25 minutes. Ask for slightly bolder cardinal points and minimal internal shading so the tiny points remain legible after a few years. A mistake is packing too much tiny script into the central circle, which can blur. For coverage during healing, wear a loose tank top you can pull slightly aside so nothing rubs the area.
15. Asymmetric Triplet Stars, One Filled, Two Outlines, Ankle
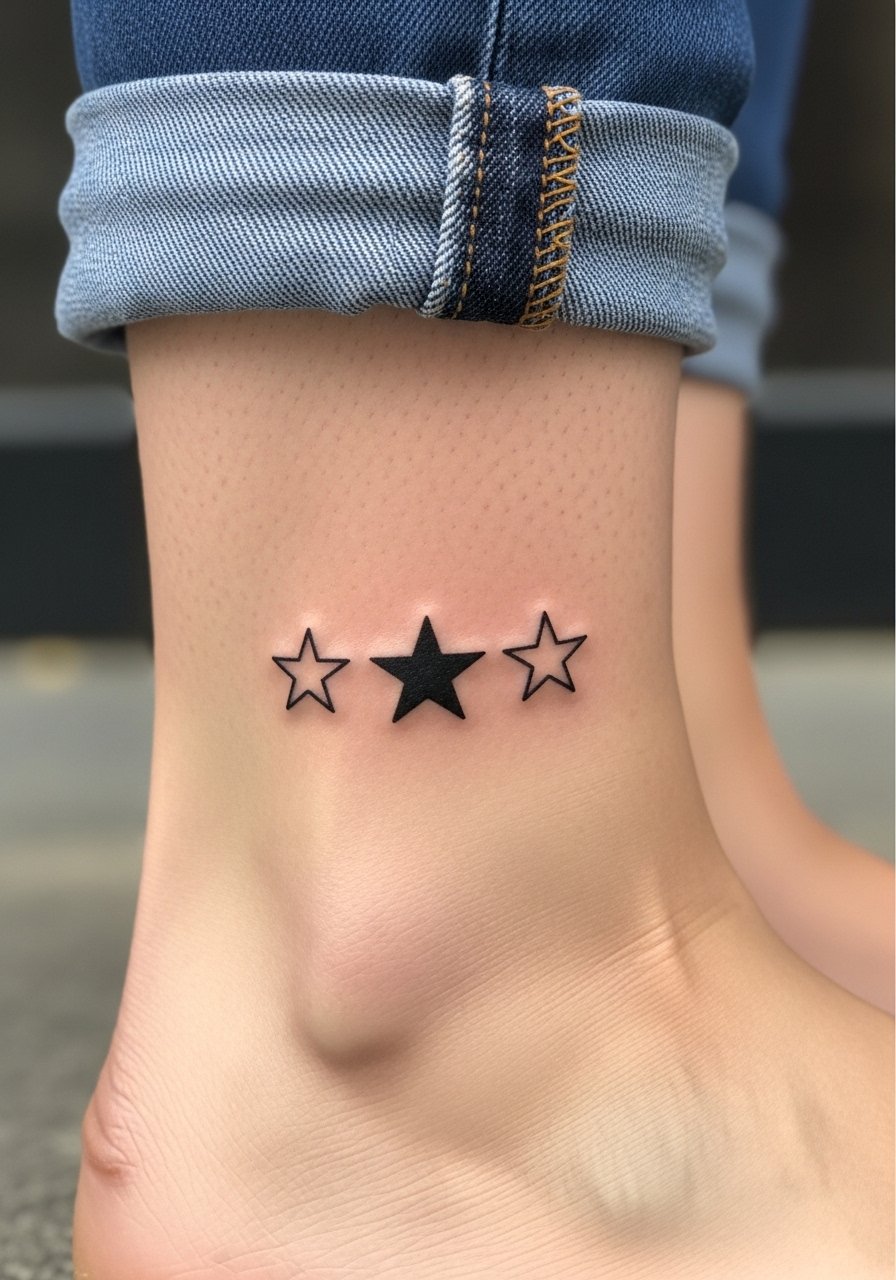
Making one star filled and the others outlines is a smart way to avoid the identical-regret problem while keeping a matching vibe. On the ankle, request slightly bolder fill for the solid star and cleaner open counters for the outline stars so they age differently on purpose. The ankle will need protection from shoe friction in the first week. This trio is quick, and touch-ups are common at year two if you spend lots of time barefoot or in sandals. For show-off style, cuff your jeans and add a thin anklet to frame the design.
16. Three Tiny Waves, Inner Wrist Wrap
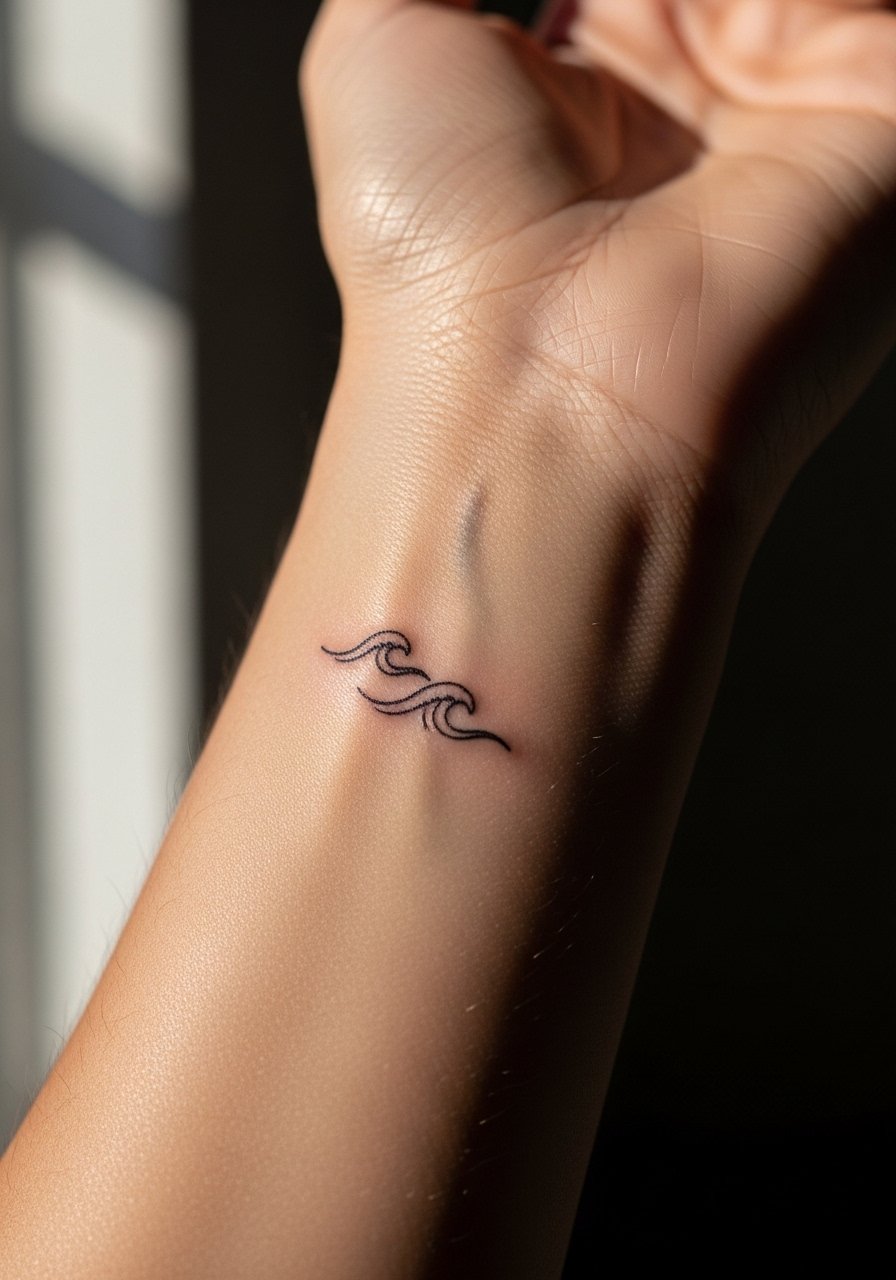
Wave motifs on the wrist wear well when lines are simple and move with the skin. I tell people to choose a single-direction flow for the waves so they do not create visual noise after healing. The inner wrist is sensitive but sessions are brief and tolerable. A common misstep is adding color washes that need frequent touch-ups on wrists that see sun and water. For session comfort, wear a sleeveless tank top so the artist can work without you readjusting clothing.
17. Tiny Three-Leaf Clover Variant, Upper Thigh Hip Edge
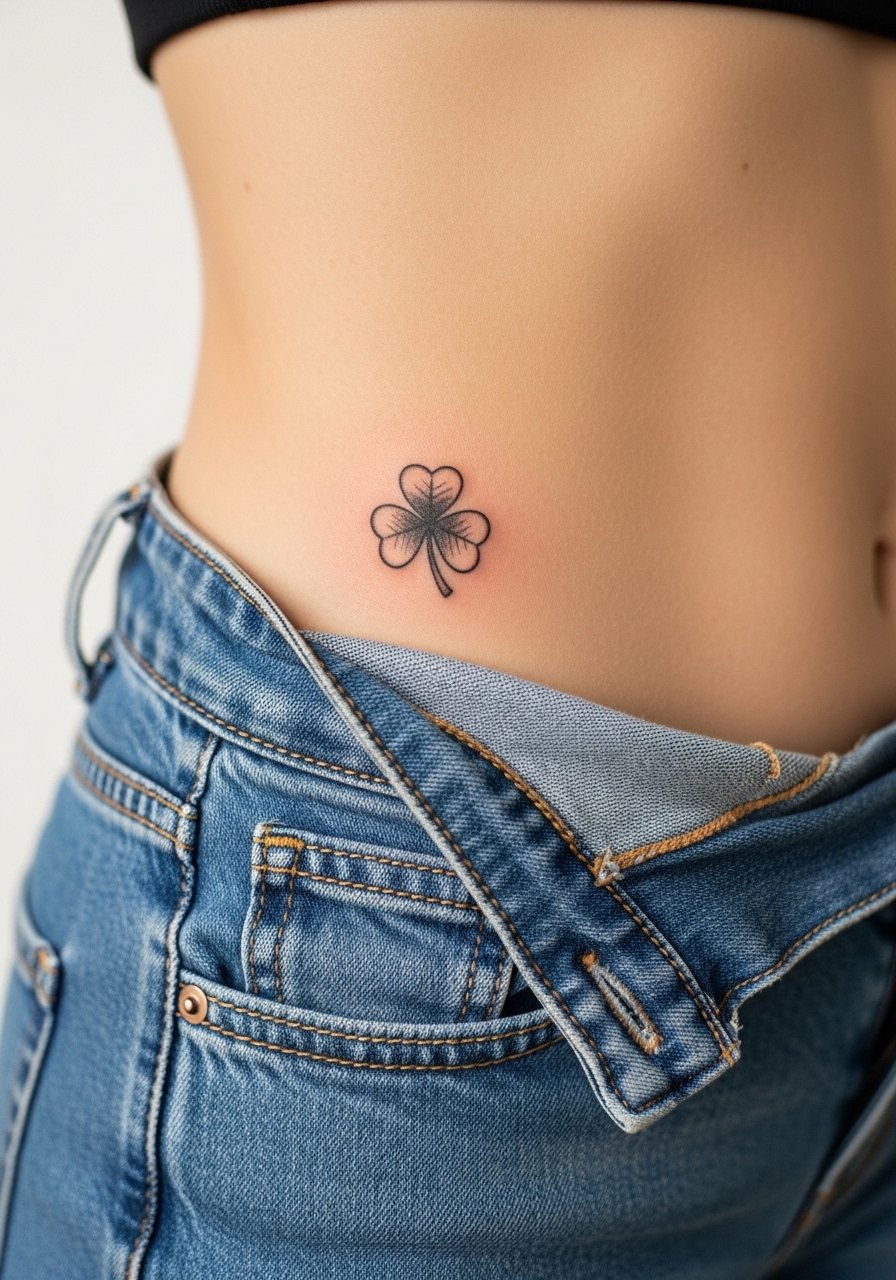
This Irish-heritage nod reads fresh when the leaves are open and not densely shaded. The upper thigh and hip area tolerate small detail well, but the spot sees friction from waistbands and jeans. Ask for a design that sits slightly above the waistline to avoid constant contact. Sessions are low to moderate pain and last about 20 minutes. Because this motif has cultural echoes, consider a personalized tweak rather than a direct replication to avoid appropriation. For the appointment, wear high-waisted bottoms that you can lower slightly so only the tattooed strip is exposed.
18. Mini Geometric Trio, Inner Bicep
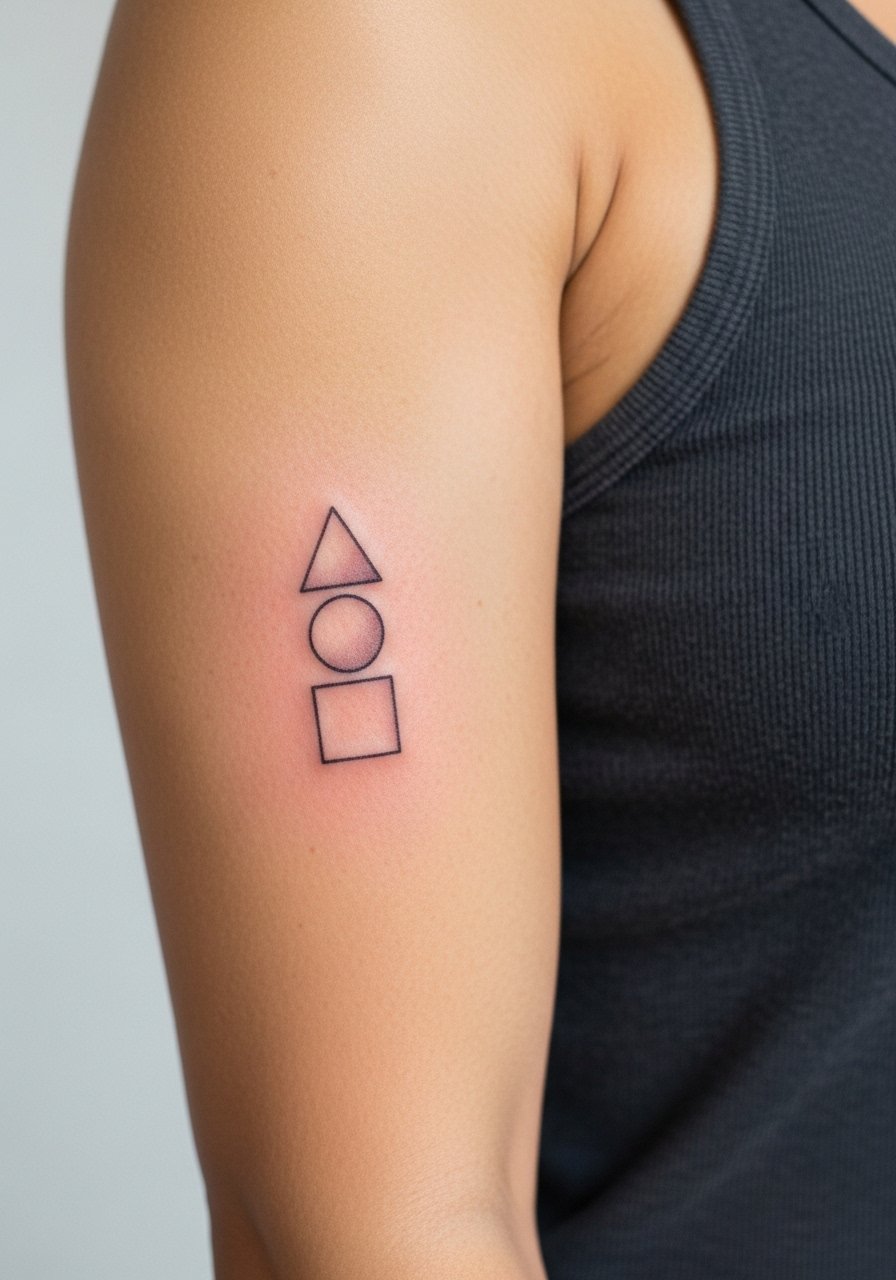
Inner bicep placements manage geometric lines well if the shapes are given breathing space. Artists warn against tiny, complex geometry there because skin compression can distort straight edges. The session is moderate on pain, especially when the arm is raised for access, and lasts around 20 to 35 minutes. A frequent mistake is packing too much detail into each tiny shape. For session wear, bring a loose tank top so you can raise your arm comfortably and the artist can work without tugging fabric.
19. Three Tiny Pet Pawprints, Back of Shoulder
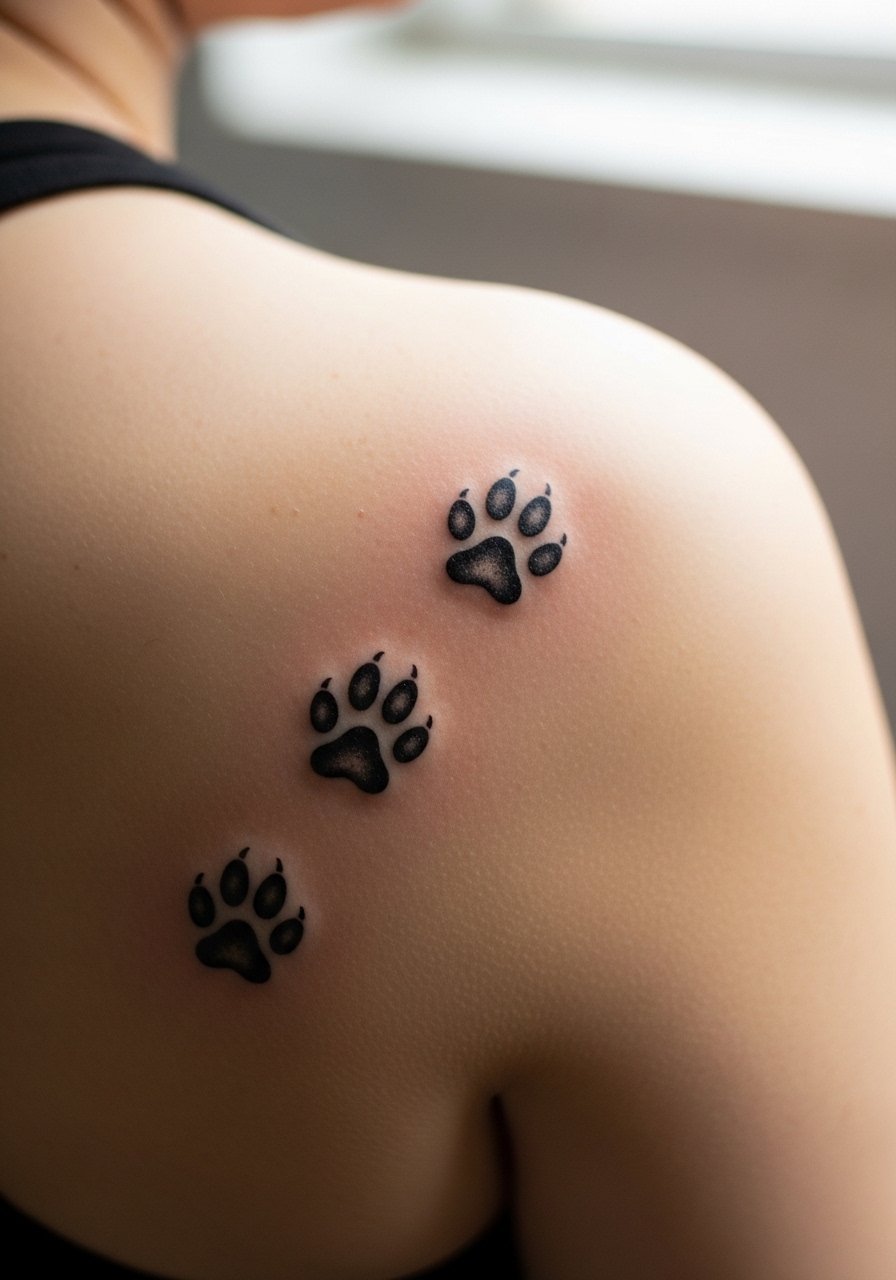
The back of the shoulder is forgiving and displays small motifs well when the spacing is deliberate. Pawprints need clean negative space between pads so they do not blur together after a year or two. Sessions are relatively painless and quick, and the area heals fast due to lower friction. Artists sometimes warn about undersized pads that become indistinct; request slightly larger pad circles to preserve shape. For wardrobe, choose a wide-neck or open-back top during the first two weeks so the area avoids chafing.
20. Three Stacked Dots as A Birth-Order Mark, Behind the Knee Edge
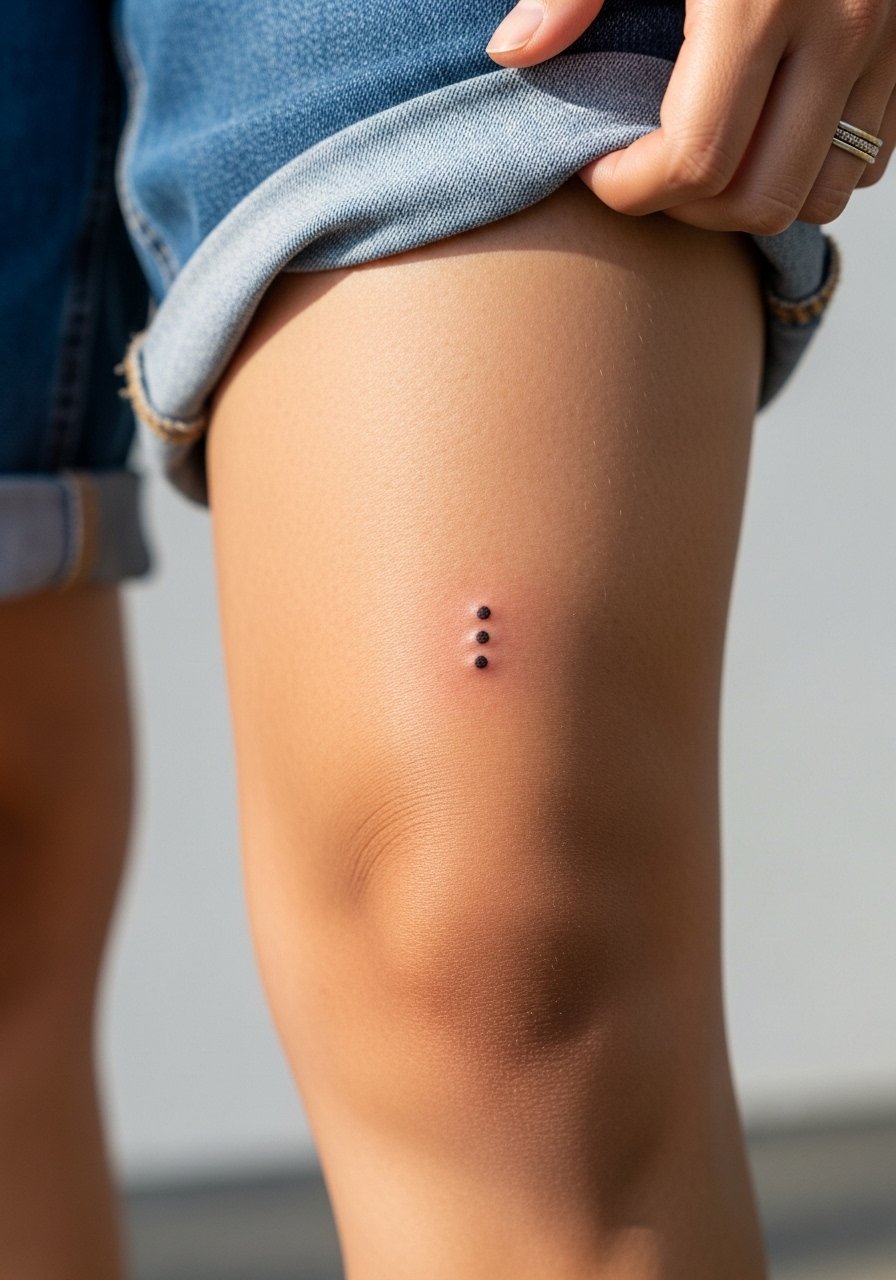
Behind-the-knee placements are uncommon for tiny marks but they sit hidden and personal. The skin there flexes a lot so spacing is crucial to avoid merging when you bend. This area can be more tender and the session may feel like a repetitive pressure as the artist works along the crease. Expect slower initial healing because of movement and sweat. Keep the area dry and wear loose shorts the first week so the dots do not rub against fabric while they set.
21. Tiny Looping Infinity Trio, Inner Anklebone
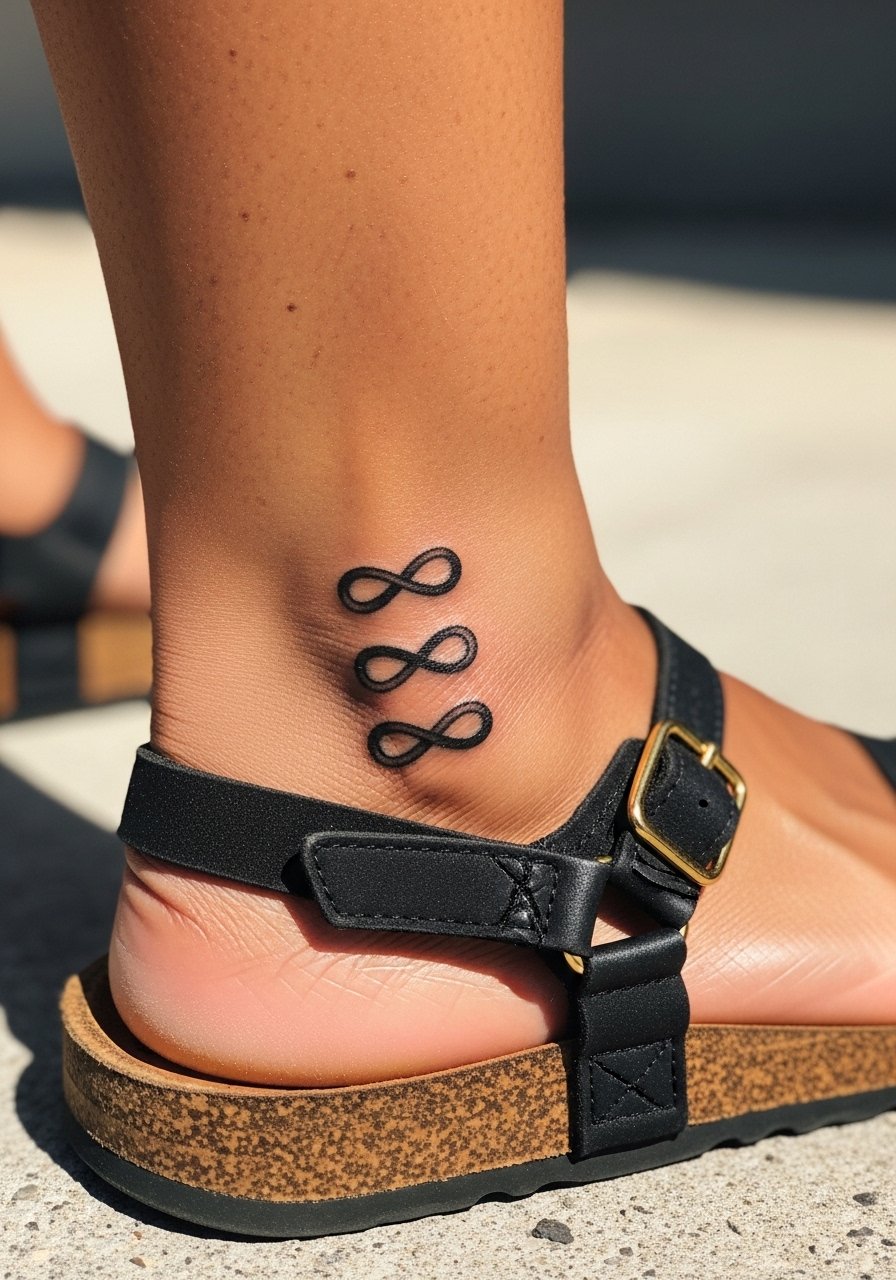
Anklebone designs look delicate when loops are open and not overly compacted. The bone proximity means the artist must control depth so the loops do not blow out. Sessions are short but may sting more than on fleshier spots. A common error is asking for hairline loops with dense crosshatching inside them; that detail will merge with time. For show-off outfits, choose low sandals or cuffed jeans and consider an anklet to frame the symbols without rubbing the healing skin.
22. Micro Floral Trio, Sternum Edge
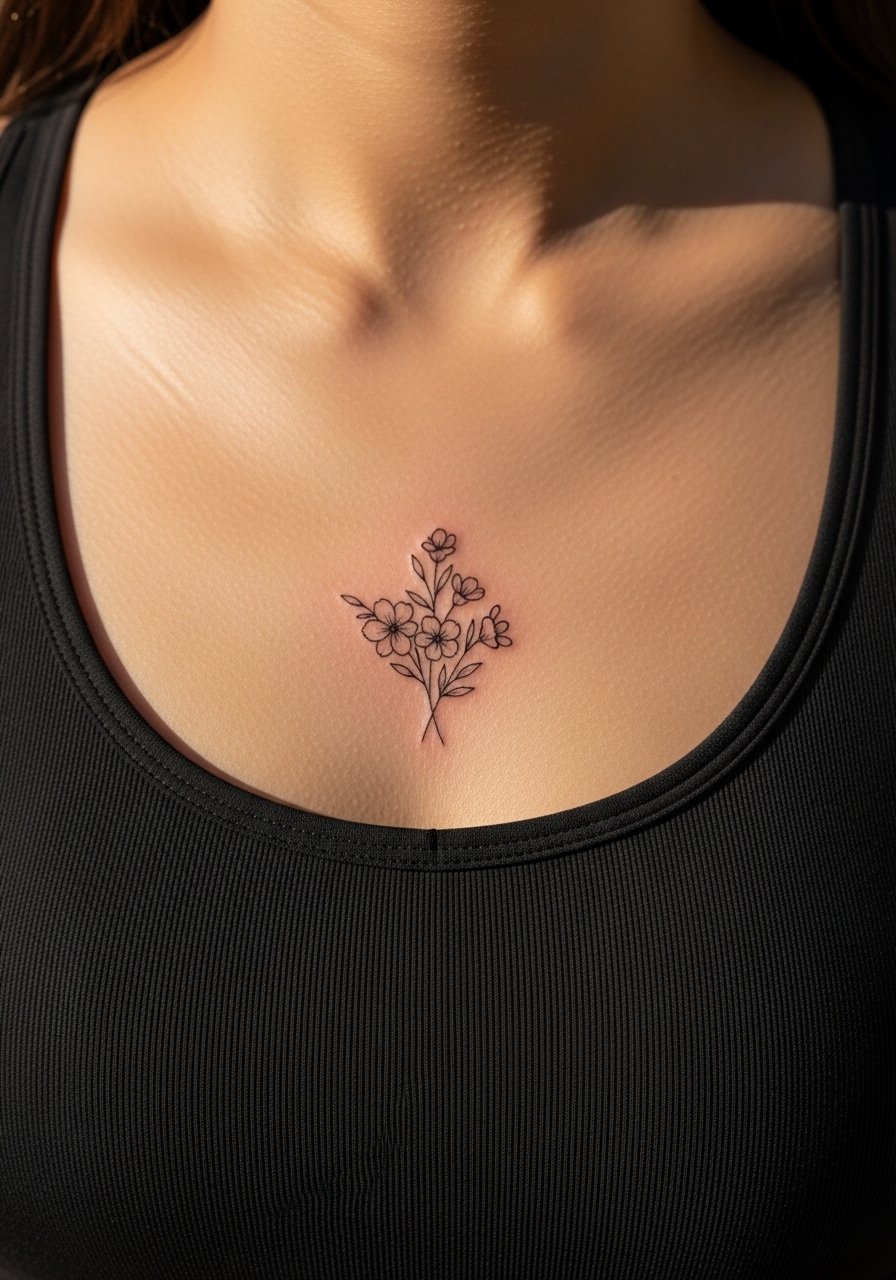
Sternum-adjacent pieces need careful placement because breathing can stretch the area during healing. Expect a higher pain score and a session that requires slow, measured passes from the artist. There is a split in practice on ointment use here. One camp prefers a thin protective film for the first 24 to 48 hours to cut down scabbing. The opposing camp suggests light, breathable coverings and minimal ointment to avoid trapping bacteria. Either way, avoid dense shading directly over the sternum so the petals do not pool into gray blocks.
23. Three Tiny Mountains, Inner Wrist Wrap

Mountains made tiny succeed when the peaks are simplified and negative space separates ridges. For wrists, I recommend asking the artist to space the peaks and give each a thicker baseline for longevity. The skin here is adaptive but sees a lot of washing, which speeds fading. Sessions are brief and the discomfort is low. A common mistake is making intricate rock textures at a tiny scale. For showing off the piece, pair it with a dainty bracelet stack on the other wrist rather than crowding the same forearm.
24. Three Dandelion Seeds, Floating, Calf Side
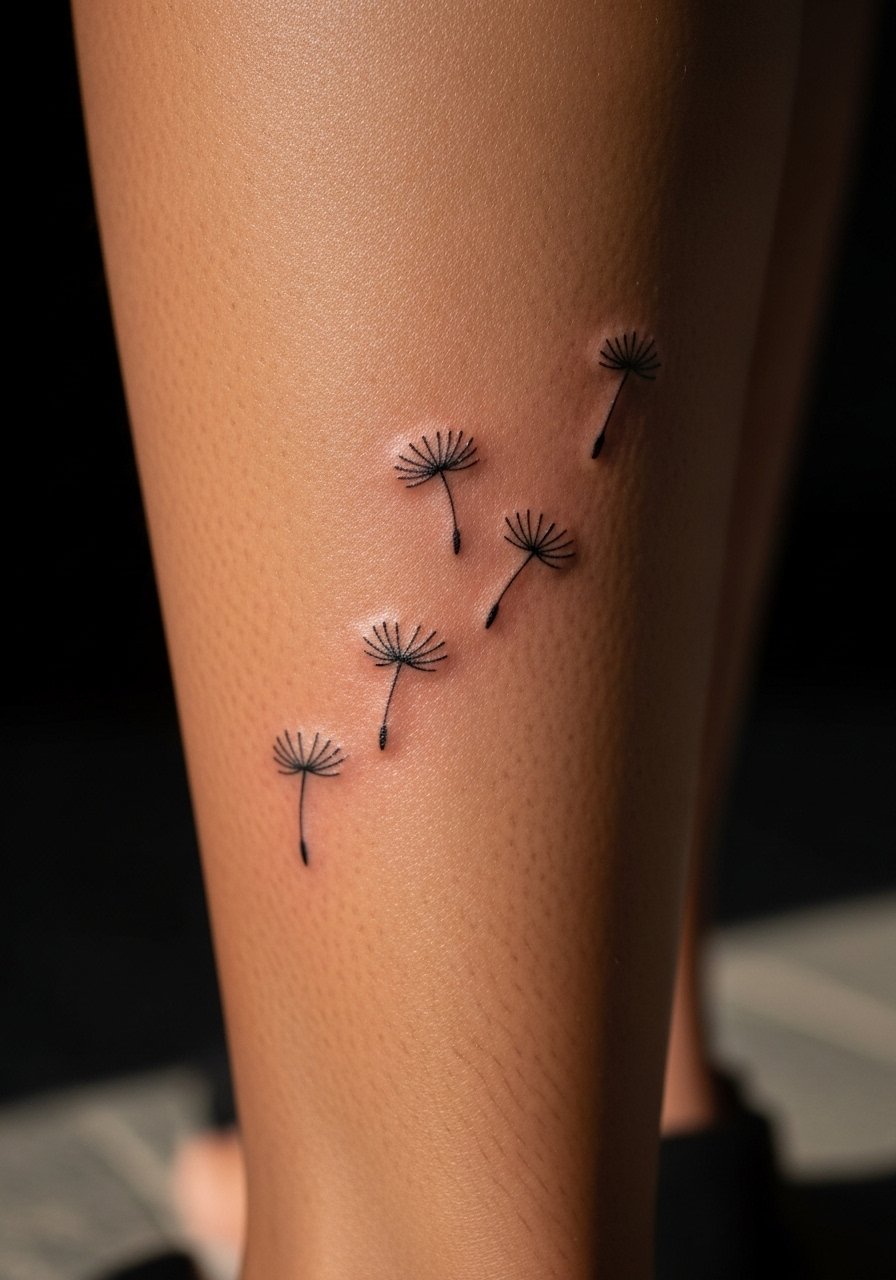
Calf placements are robust and handle delicate floating elements well since the skin is firmer and less prone to constant friction. Ask for airy linework with minimal cross-hatching, and tell the artist you want the seeds staggered vertically for motion. The session is comfortable and healing is usually straightforward unless you wear tight leggings. A common oversight is clustering the seeds too close together. For summer display, wear cropped trousers or a midi skirt so the seeds can appear to drift when you walk.
25. Three Simple Glyphs, Small on the Outer Foot
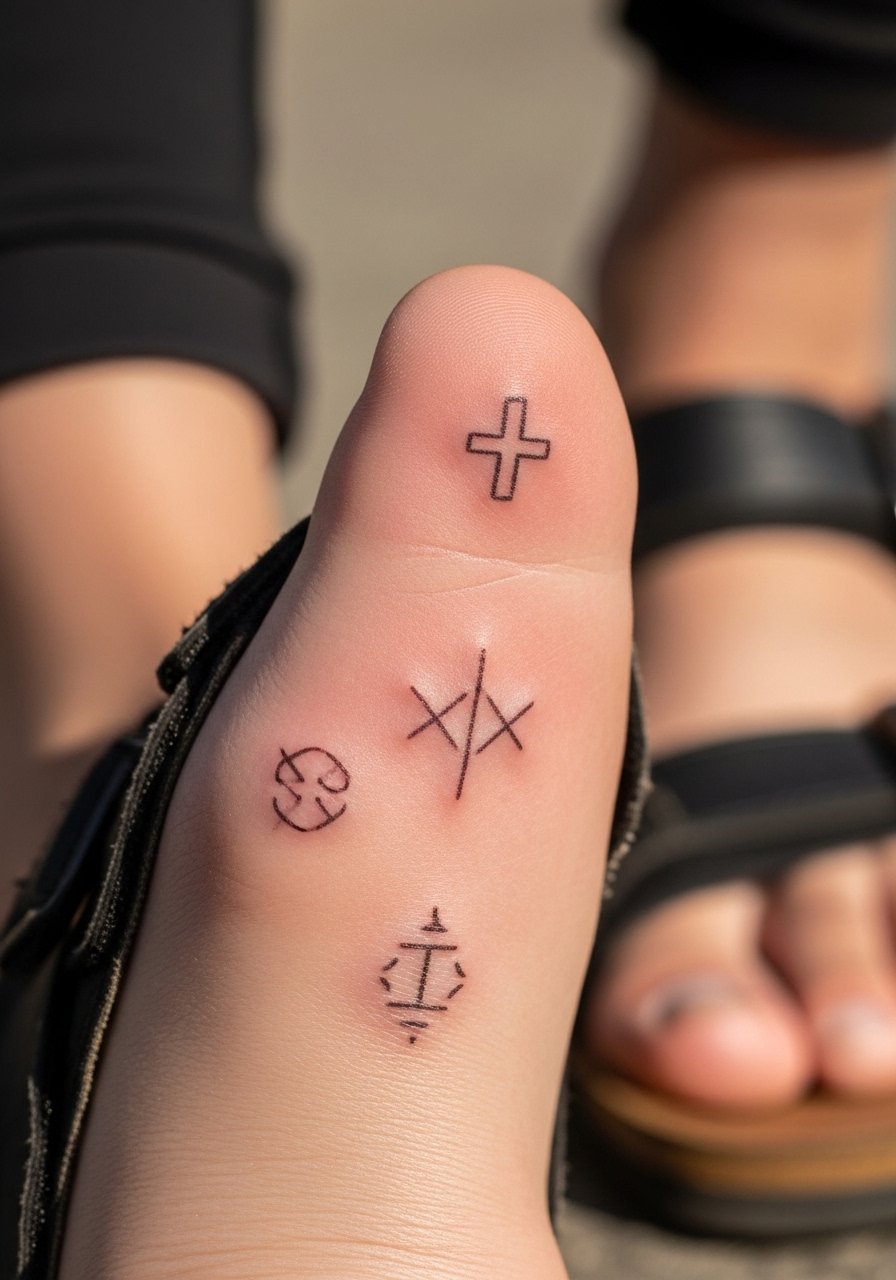
Outer foot tattoos face high exposure to sun and friction from footwear, so choose simplified glyphs with solid contours rather than tiny thin strokes. The session is often sharper because of the proximity to bone. Expect some early scabbing and keep footwear loose in the first week. The big mistake is choosing micro detail that will not survive daily life. To show it off in warm months, pair with minimal sandals or toe-ring jewelry that does not brush the tattoo itself.
26. Three Tiny Keys, Vertical Line Along Side Neck
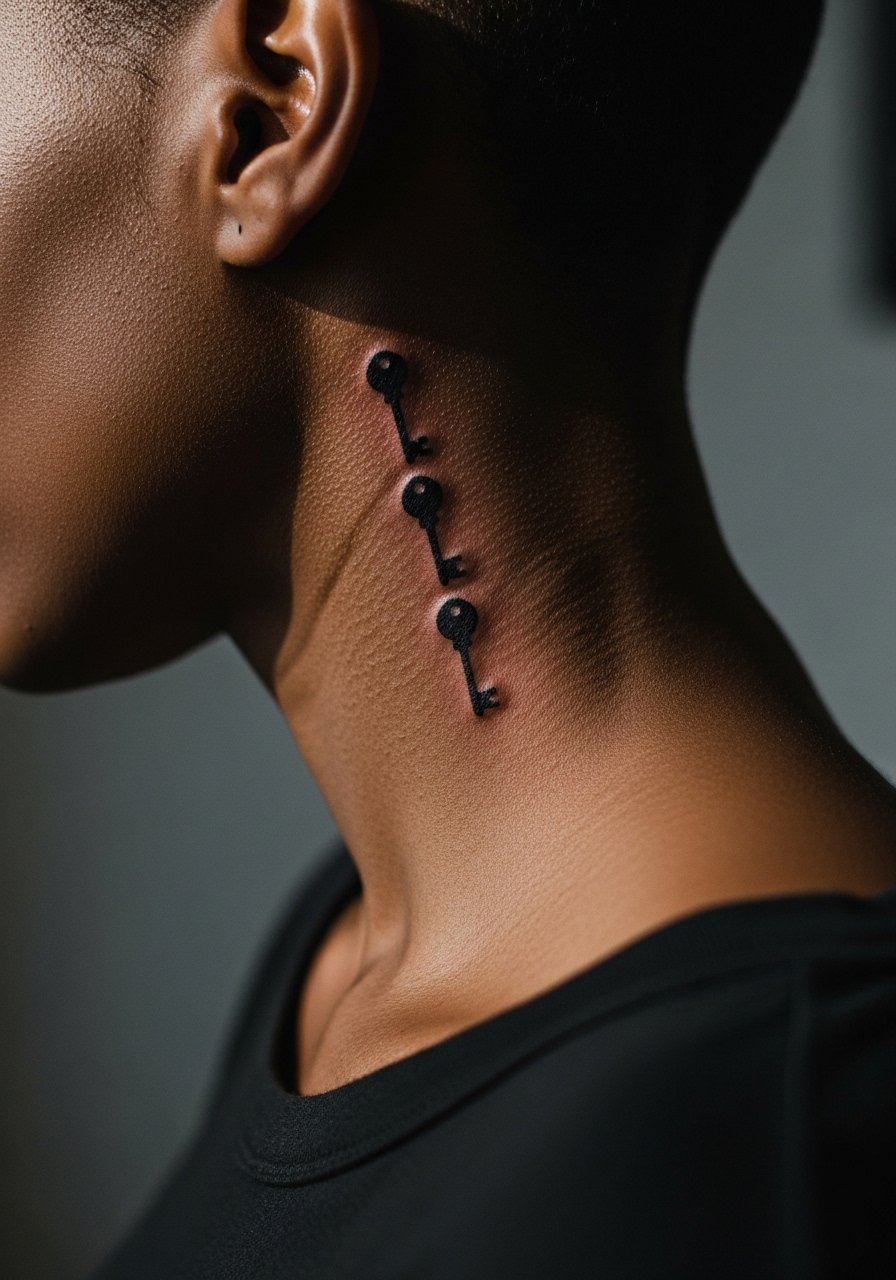
Neck placements demand careful thought because visibility is high and healing can be tricky in an area that moves and sweats. Keys here should use simple silhouettes and avoid tiny internal teeth detail that will fill in. The session feels like a steady press and is brief for this scale. Many people forget to consider career and visibility when choosing neck ink. For the session, wear a wide-neck shirt you can pull gently to one side so only the area being tattooed is exposed.
27. Three Tiny Music Notes, Behind the Ear Lobe Edge
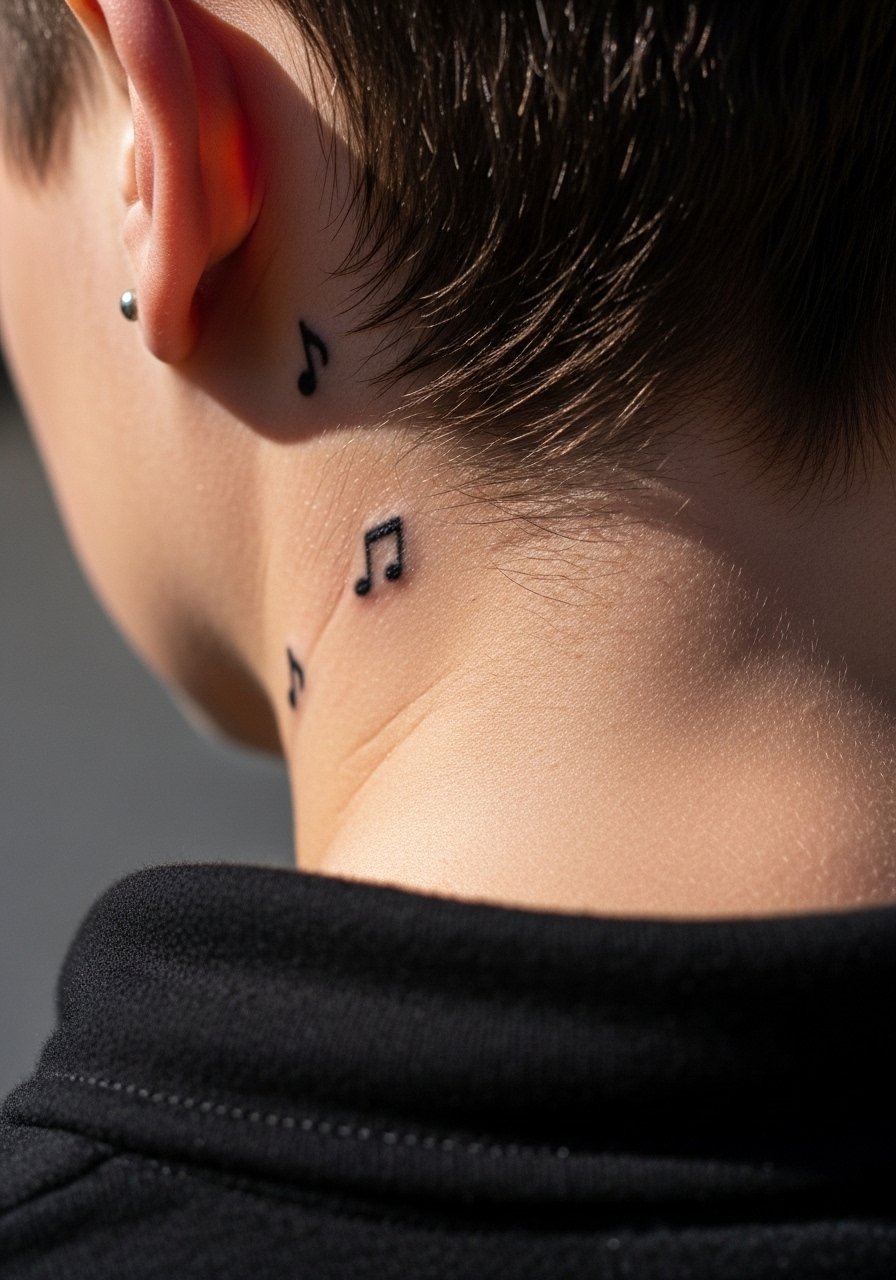
Behind-ear music notes are playful and discreet when placed on the small patch of skin there. Keep the notes small but distinct, with bold heads and tiny stems so the silhouette reads from a short distance. Sessions are fast and the area is less painful than ribs, though placement stability can be awkward. Because the spot is near hair, expect slight irritation if you sleep on that side the first week. Style hair up in a side braid or high bun while it settles and add a small stud earring to draw attention without overlapping the tattoo.
Frequently Asked Questions
Q: Will tiny fine line wrist tattoos always need touch-ups sooner than bold work?
A: Fine line work tends to soften faster on high-use areas like wrists and fingers. In my experience the difference often comes down to line weight and placement. Ask your artist for slightly bolder contours and plan for a potential touch-up at year two or three if you want crisp lines long term.
Q: For three matching pieces, how should we coordinate booking and pricing when studios have minimums?
A: Book a group consultation and ask if the shop offers flash days or a flat-rate walk-in schedule, which can lower per-person cost. If minimums apply, some studios will schedule the three of you consecutively to reduce overhead and time in the chair.
Q: Should we use Saniderm for tiny sibling tattoos or try dry healing after the first day?
A: Artists are split on this. One camp favors a protective film in the first 24 to 48 hours to limit scabbing and bacteria. The other camp prefers breathable, air-based healing with light ointment to avoid trapped moisture. The right choice depends on the artist's workflow and the tattoo location, so ask them which method they recommend and why.
Q: What clothing should we wear to a session for a wrist, collarbone, and behind-ear trio?
A: For wrists, bring short sleeves or a sleeveless top so the artist can access the area easily. For collarbones, a wide-neck or off-shoulder top that you can shift aside works best. For behind-the-ear work, wear your hair up and bring a shirt with a loose neckline so nothing rubs the area after the session.
Q: How do these tiny designs perform on medium and dark skin tones?
A: Tiny tattoos can read differently across skin tones. From what I have seen, slightly thicker outlines and simpler shapes maintain contrast better on medium and dark skin. Ask to see healed photos from the artist that match your skin tone and request slight adjustments to line weight accordingly.
